Tamiya 1/48 F14D

Scale Model Addict - Model Tips, Guides, Tools & Tech, Tutorials, and Community

Help Support Scale Model Addict:

Hey I can post pics again
IMG_5109.jpeg
 
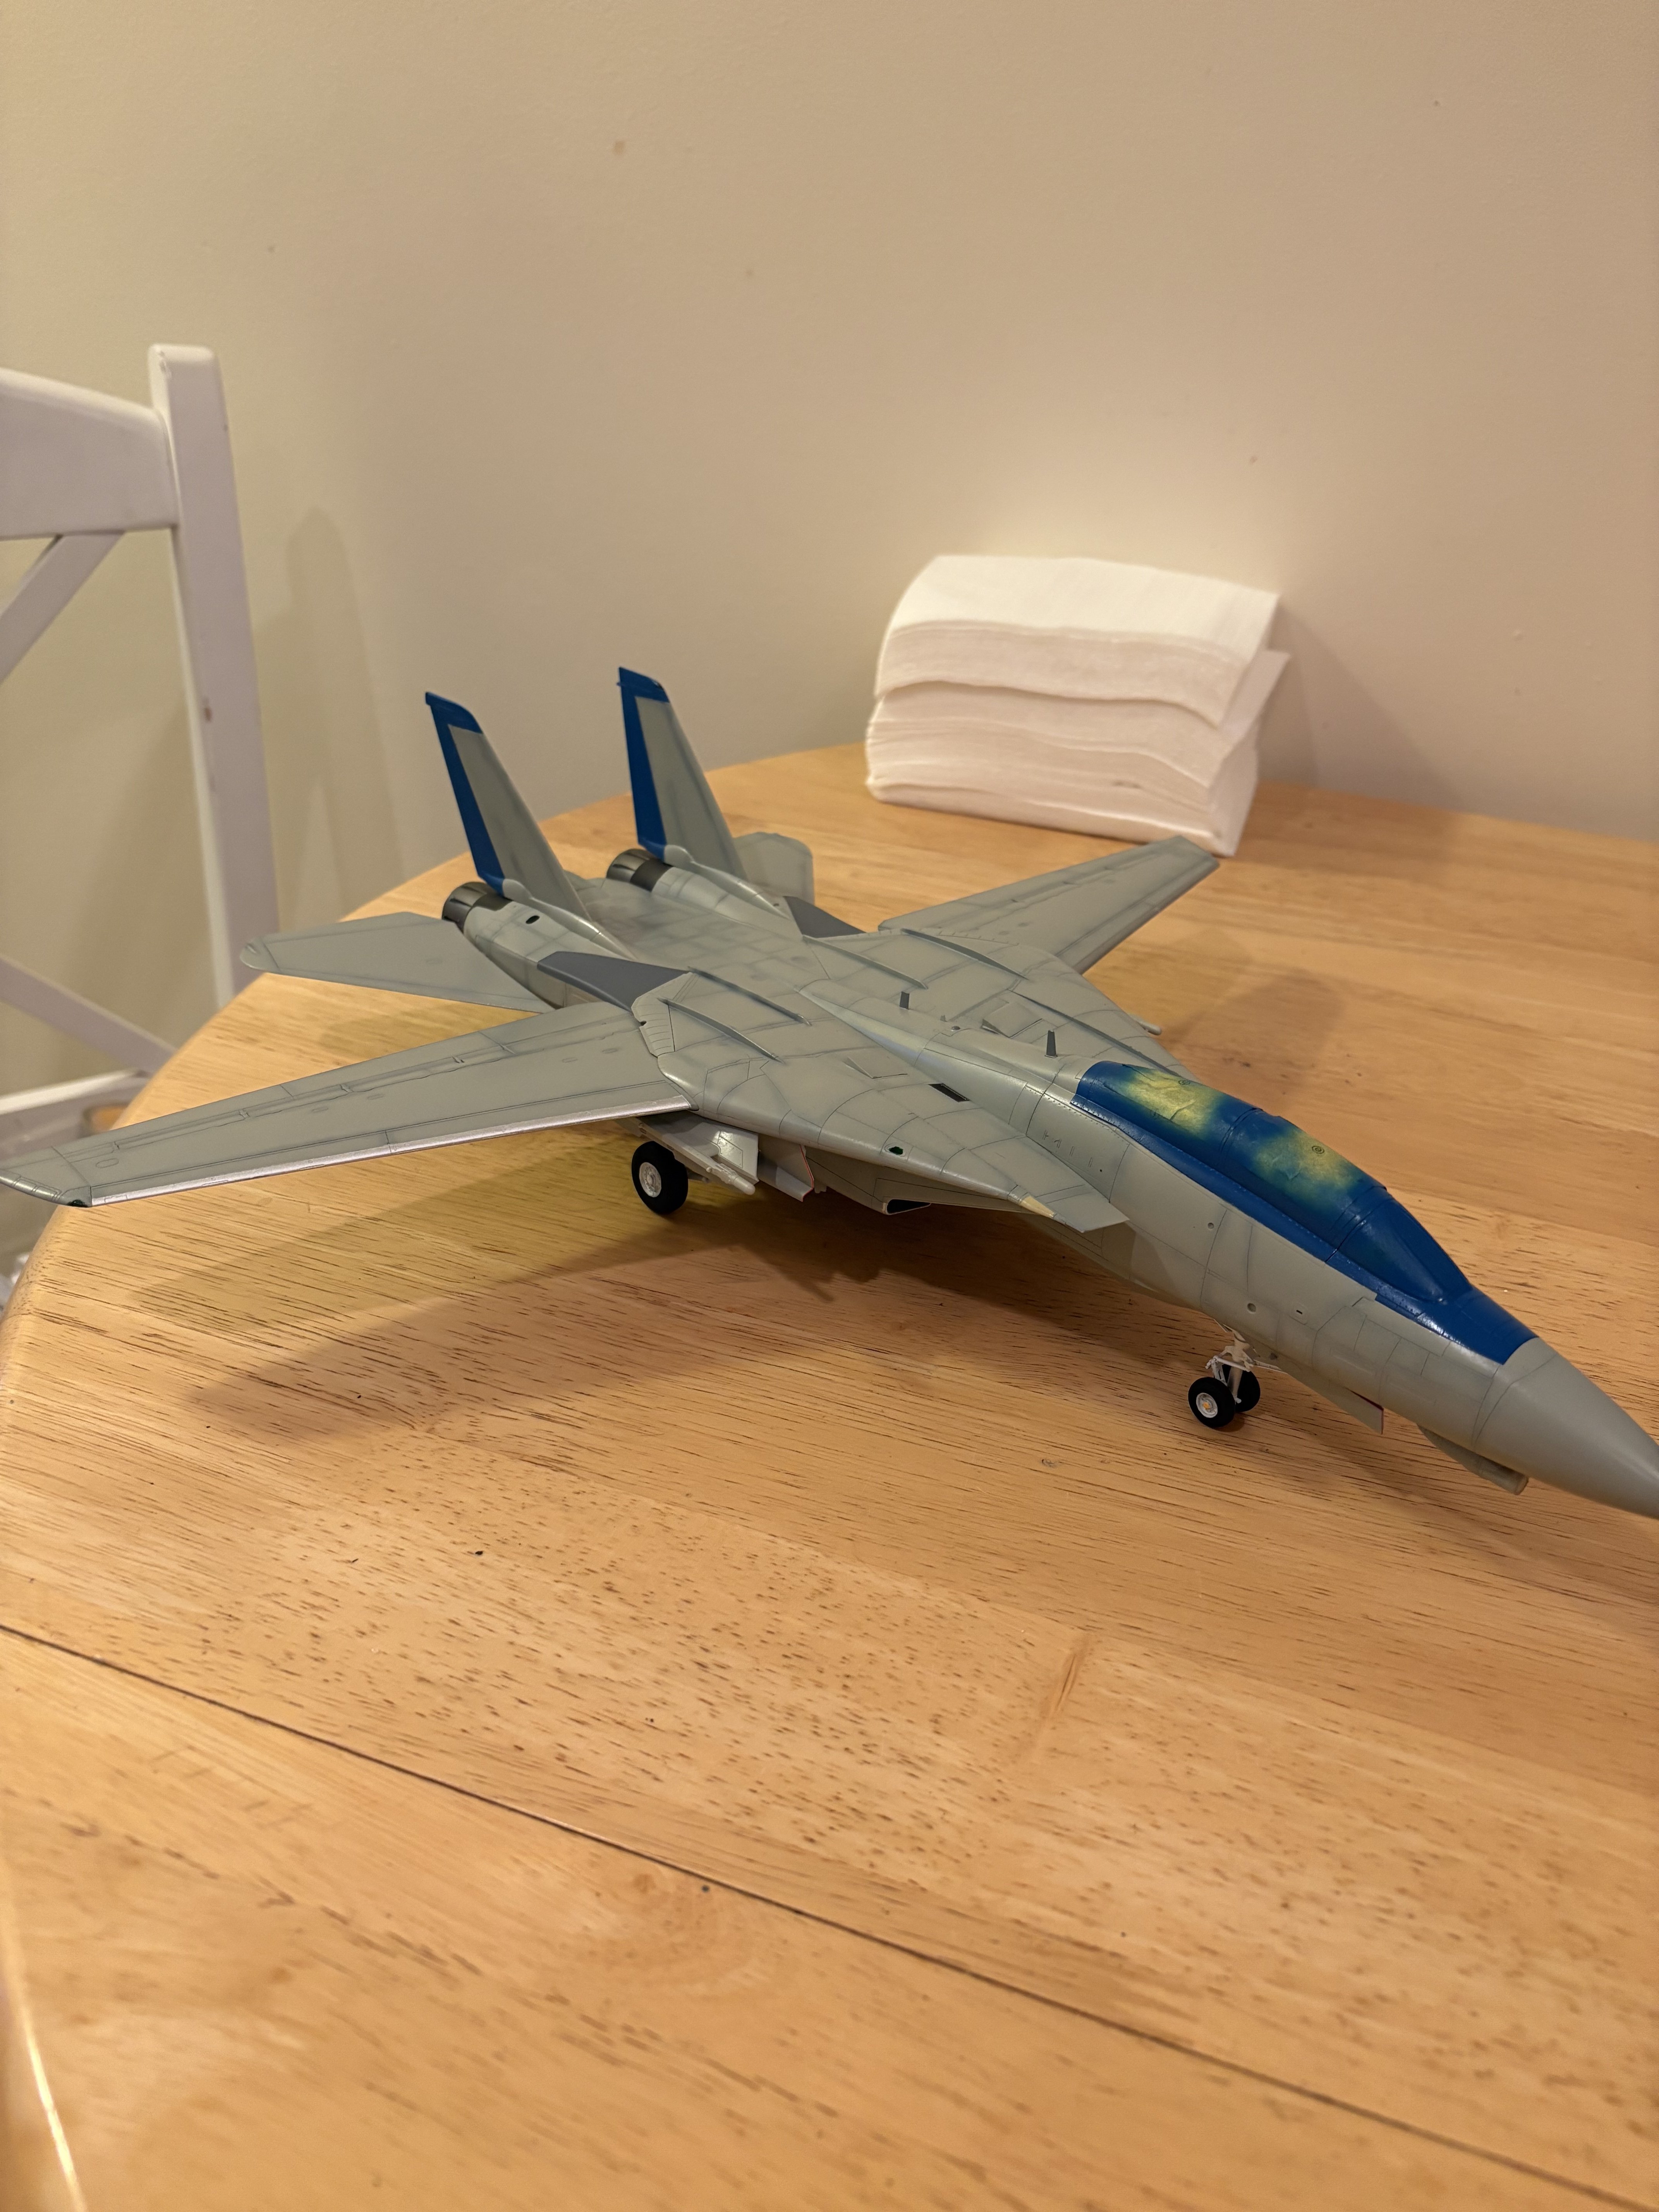
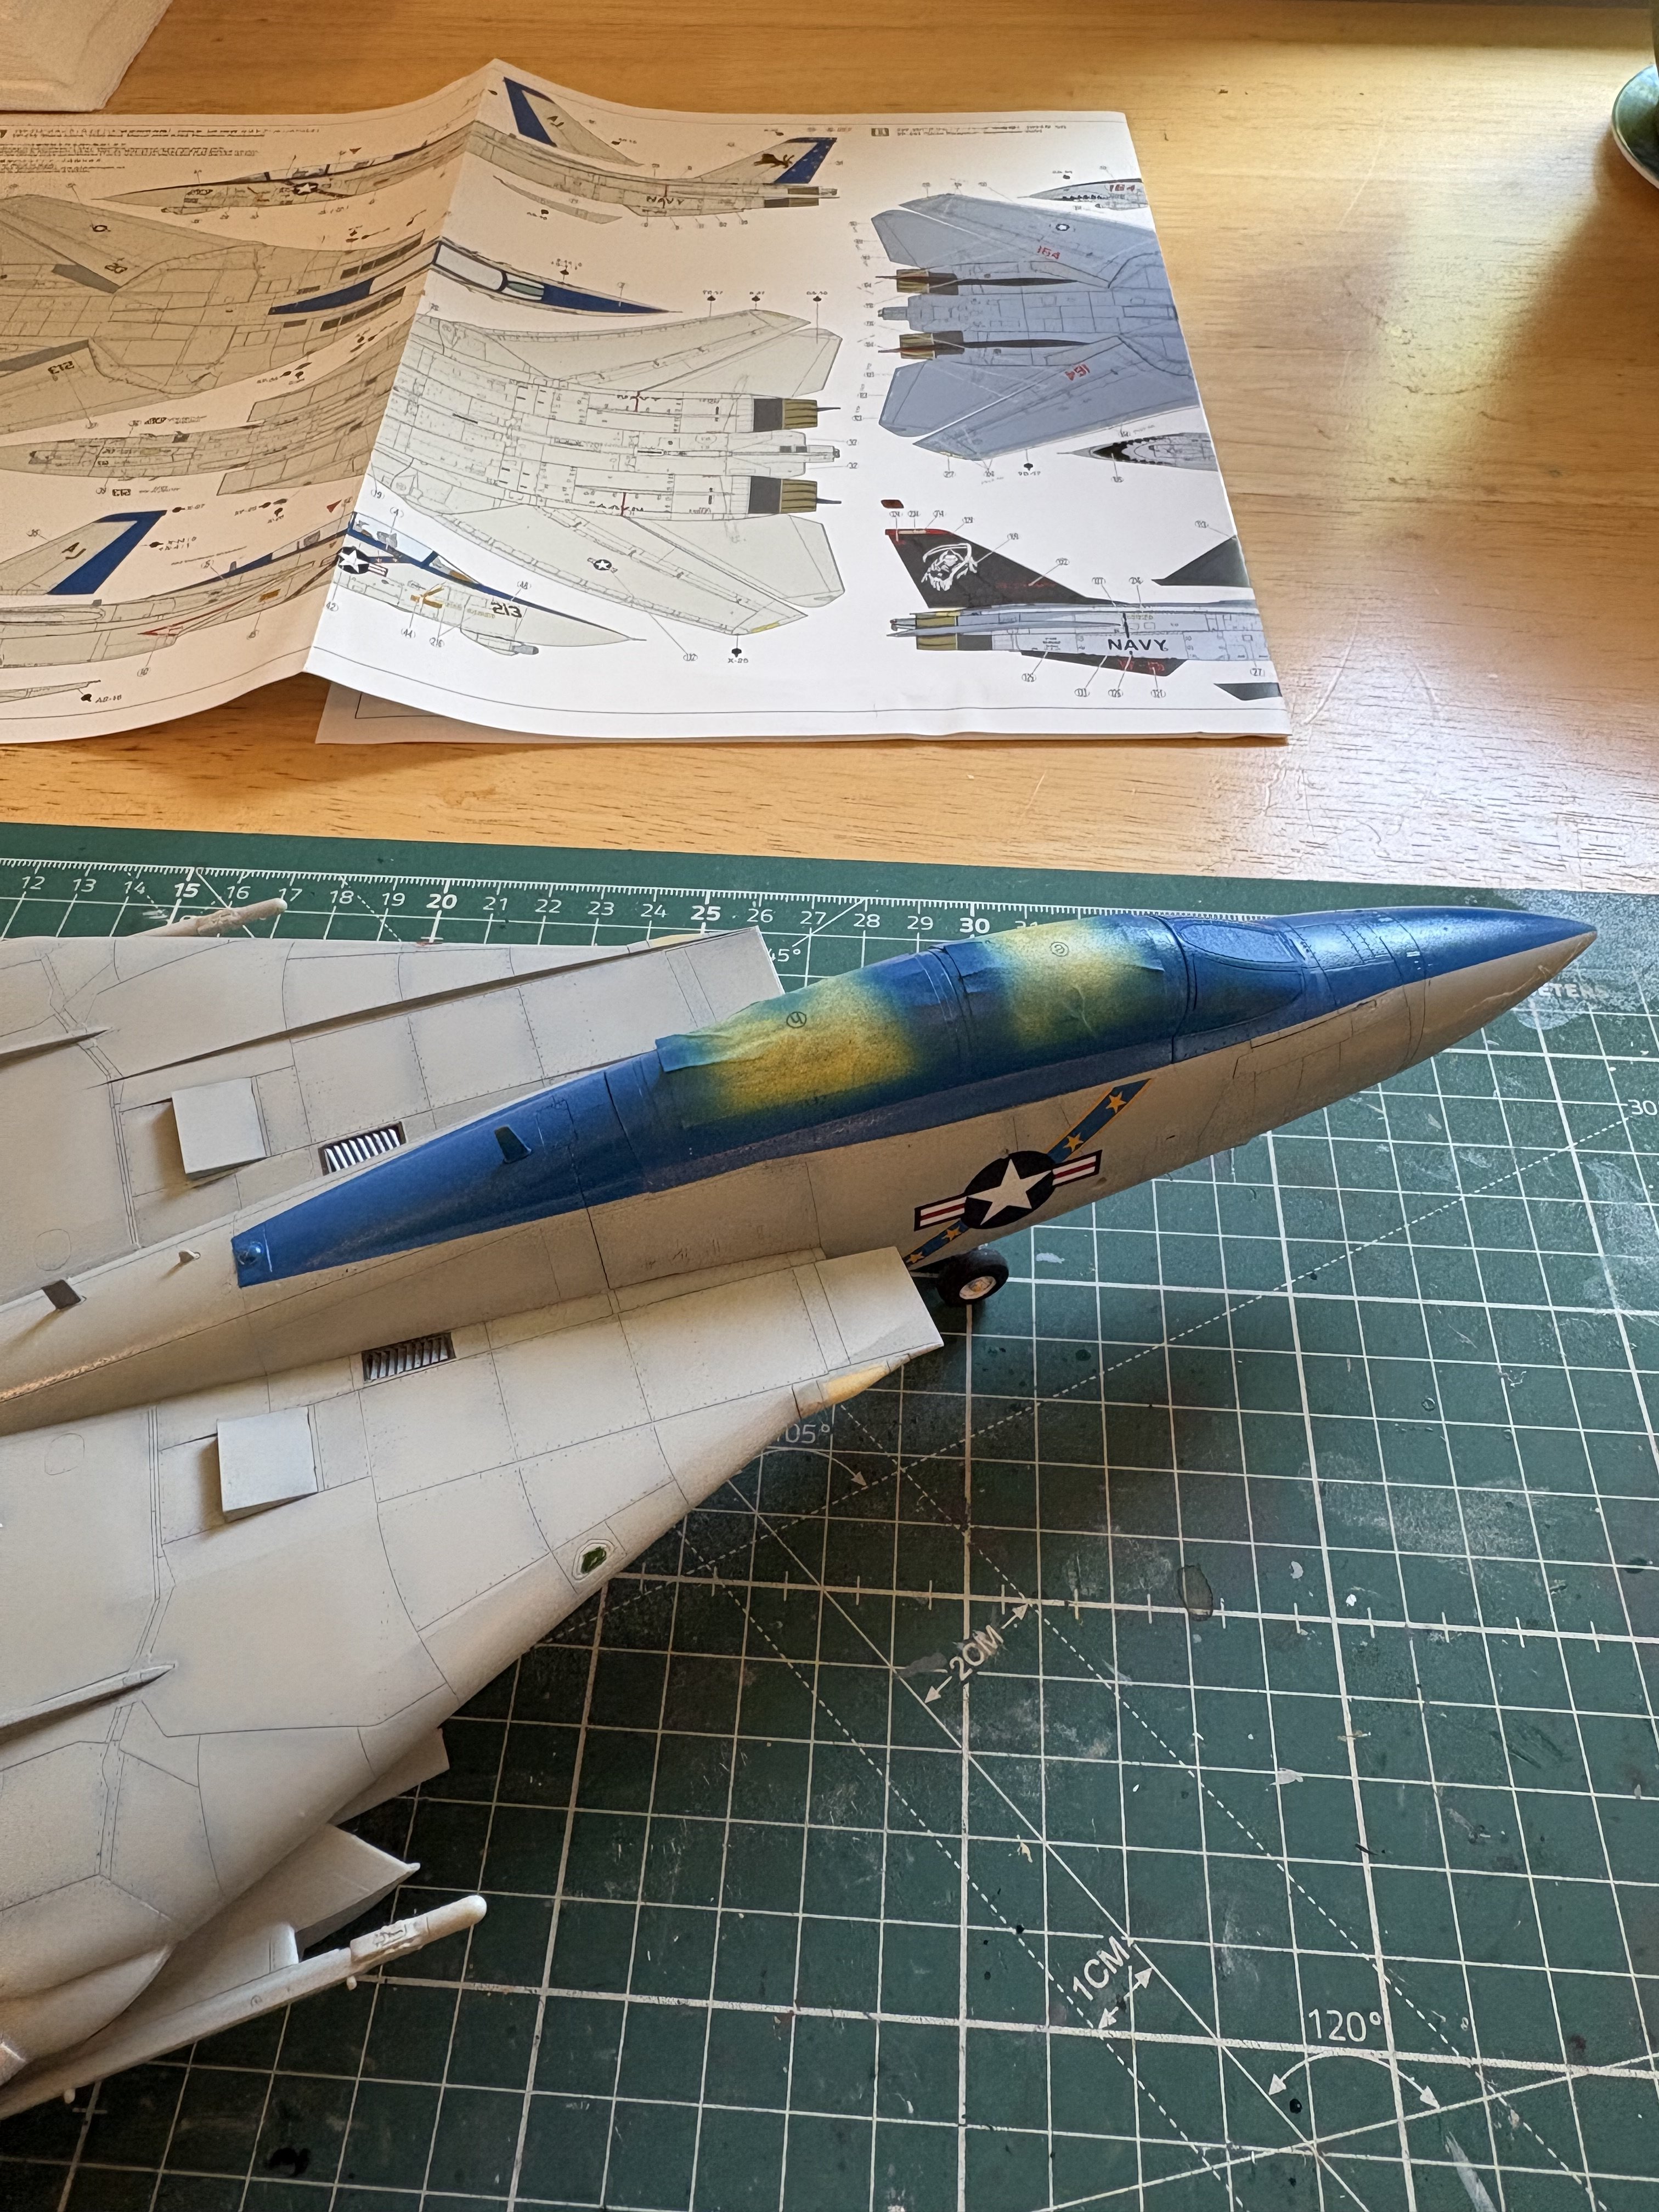
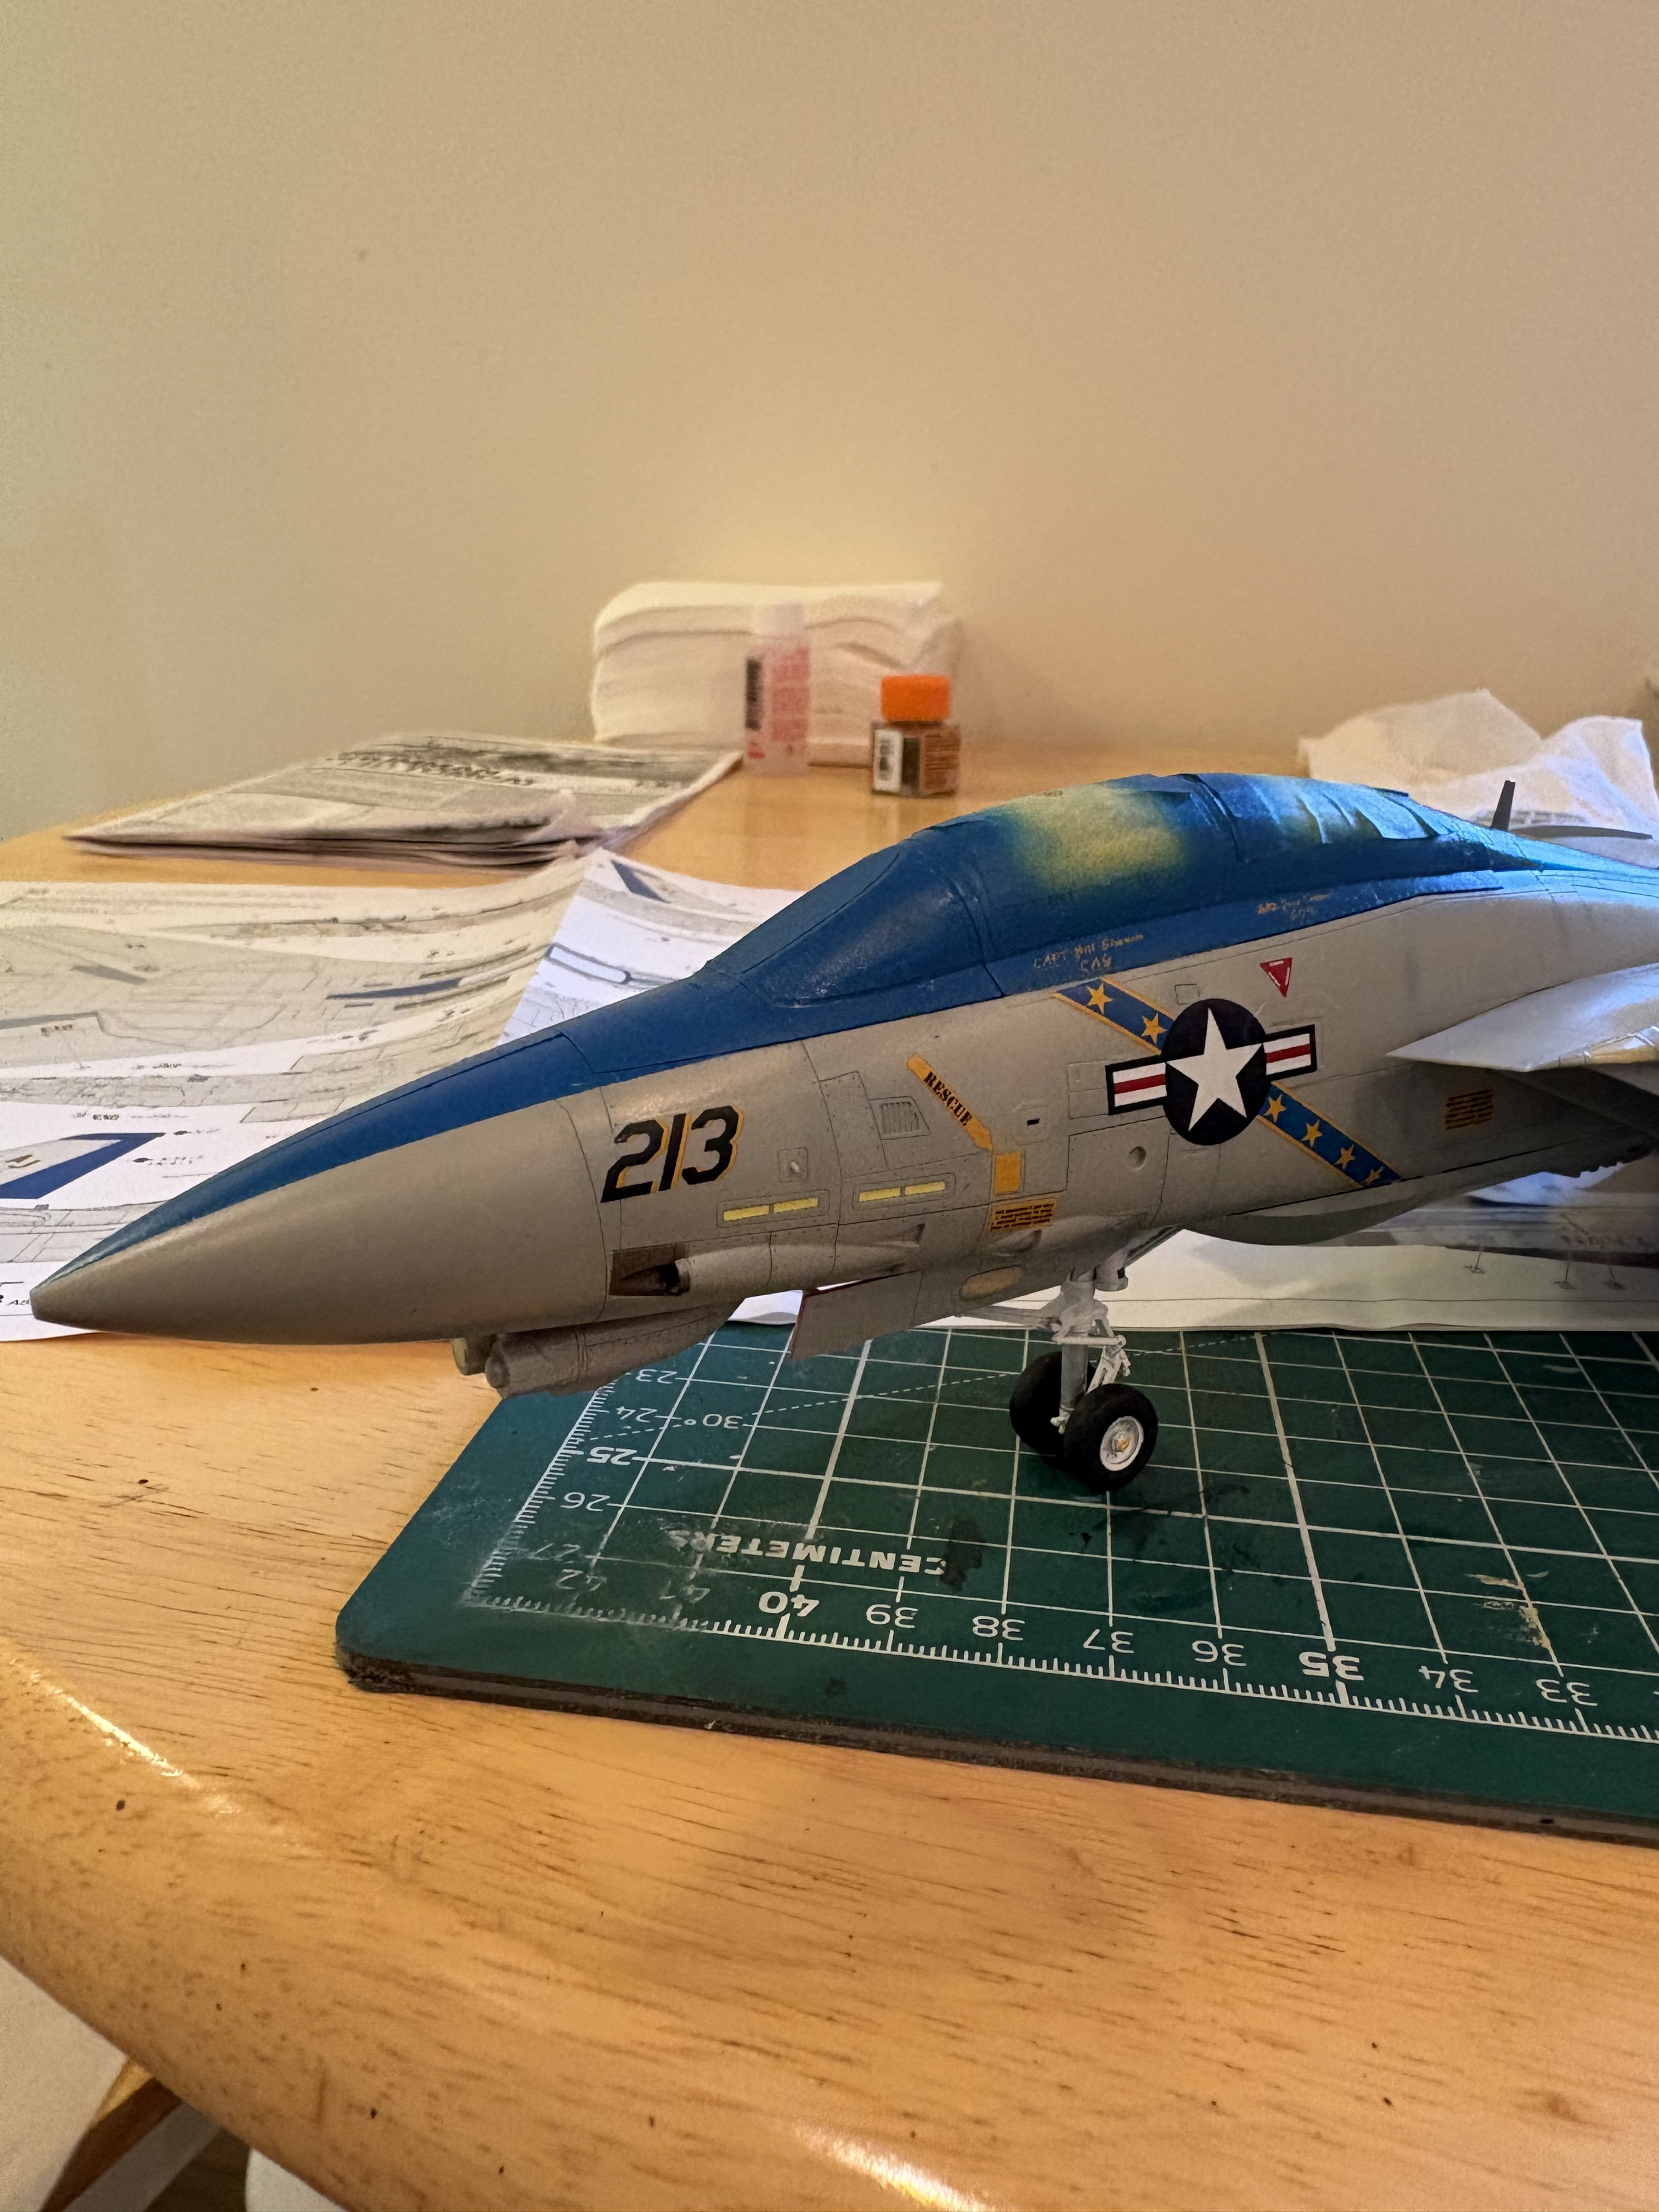
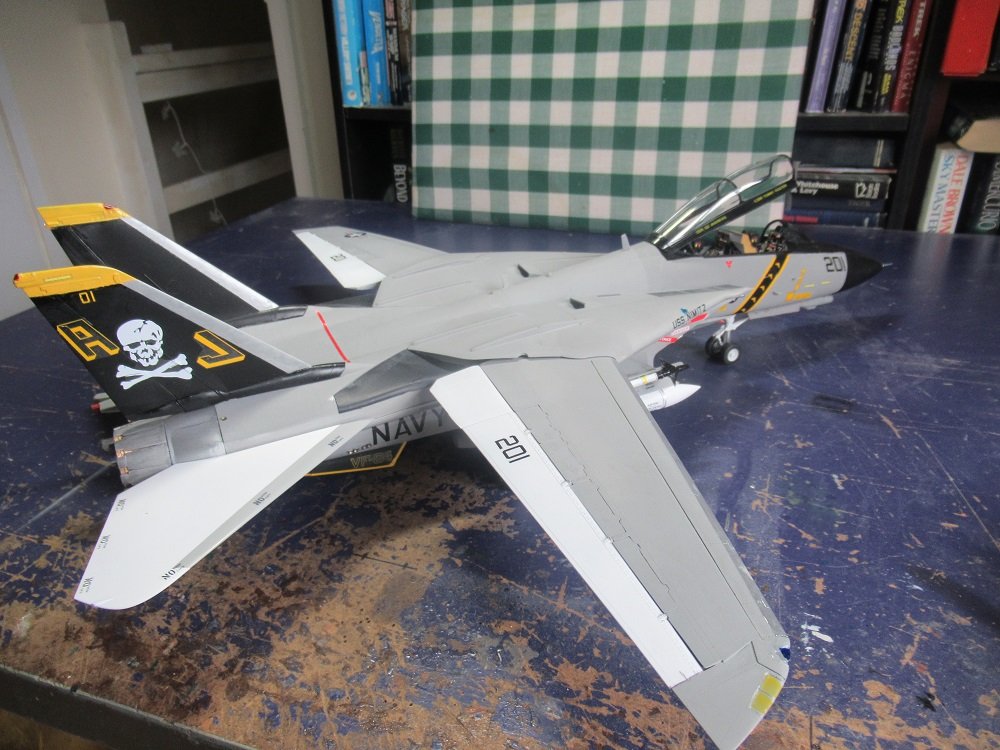
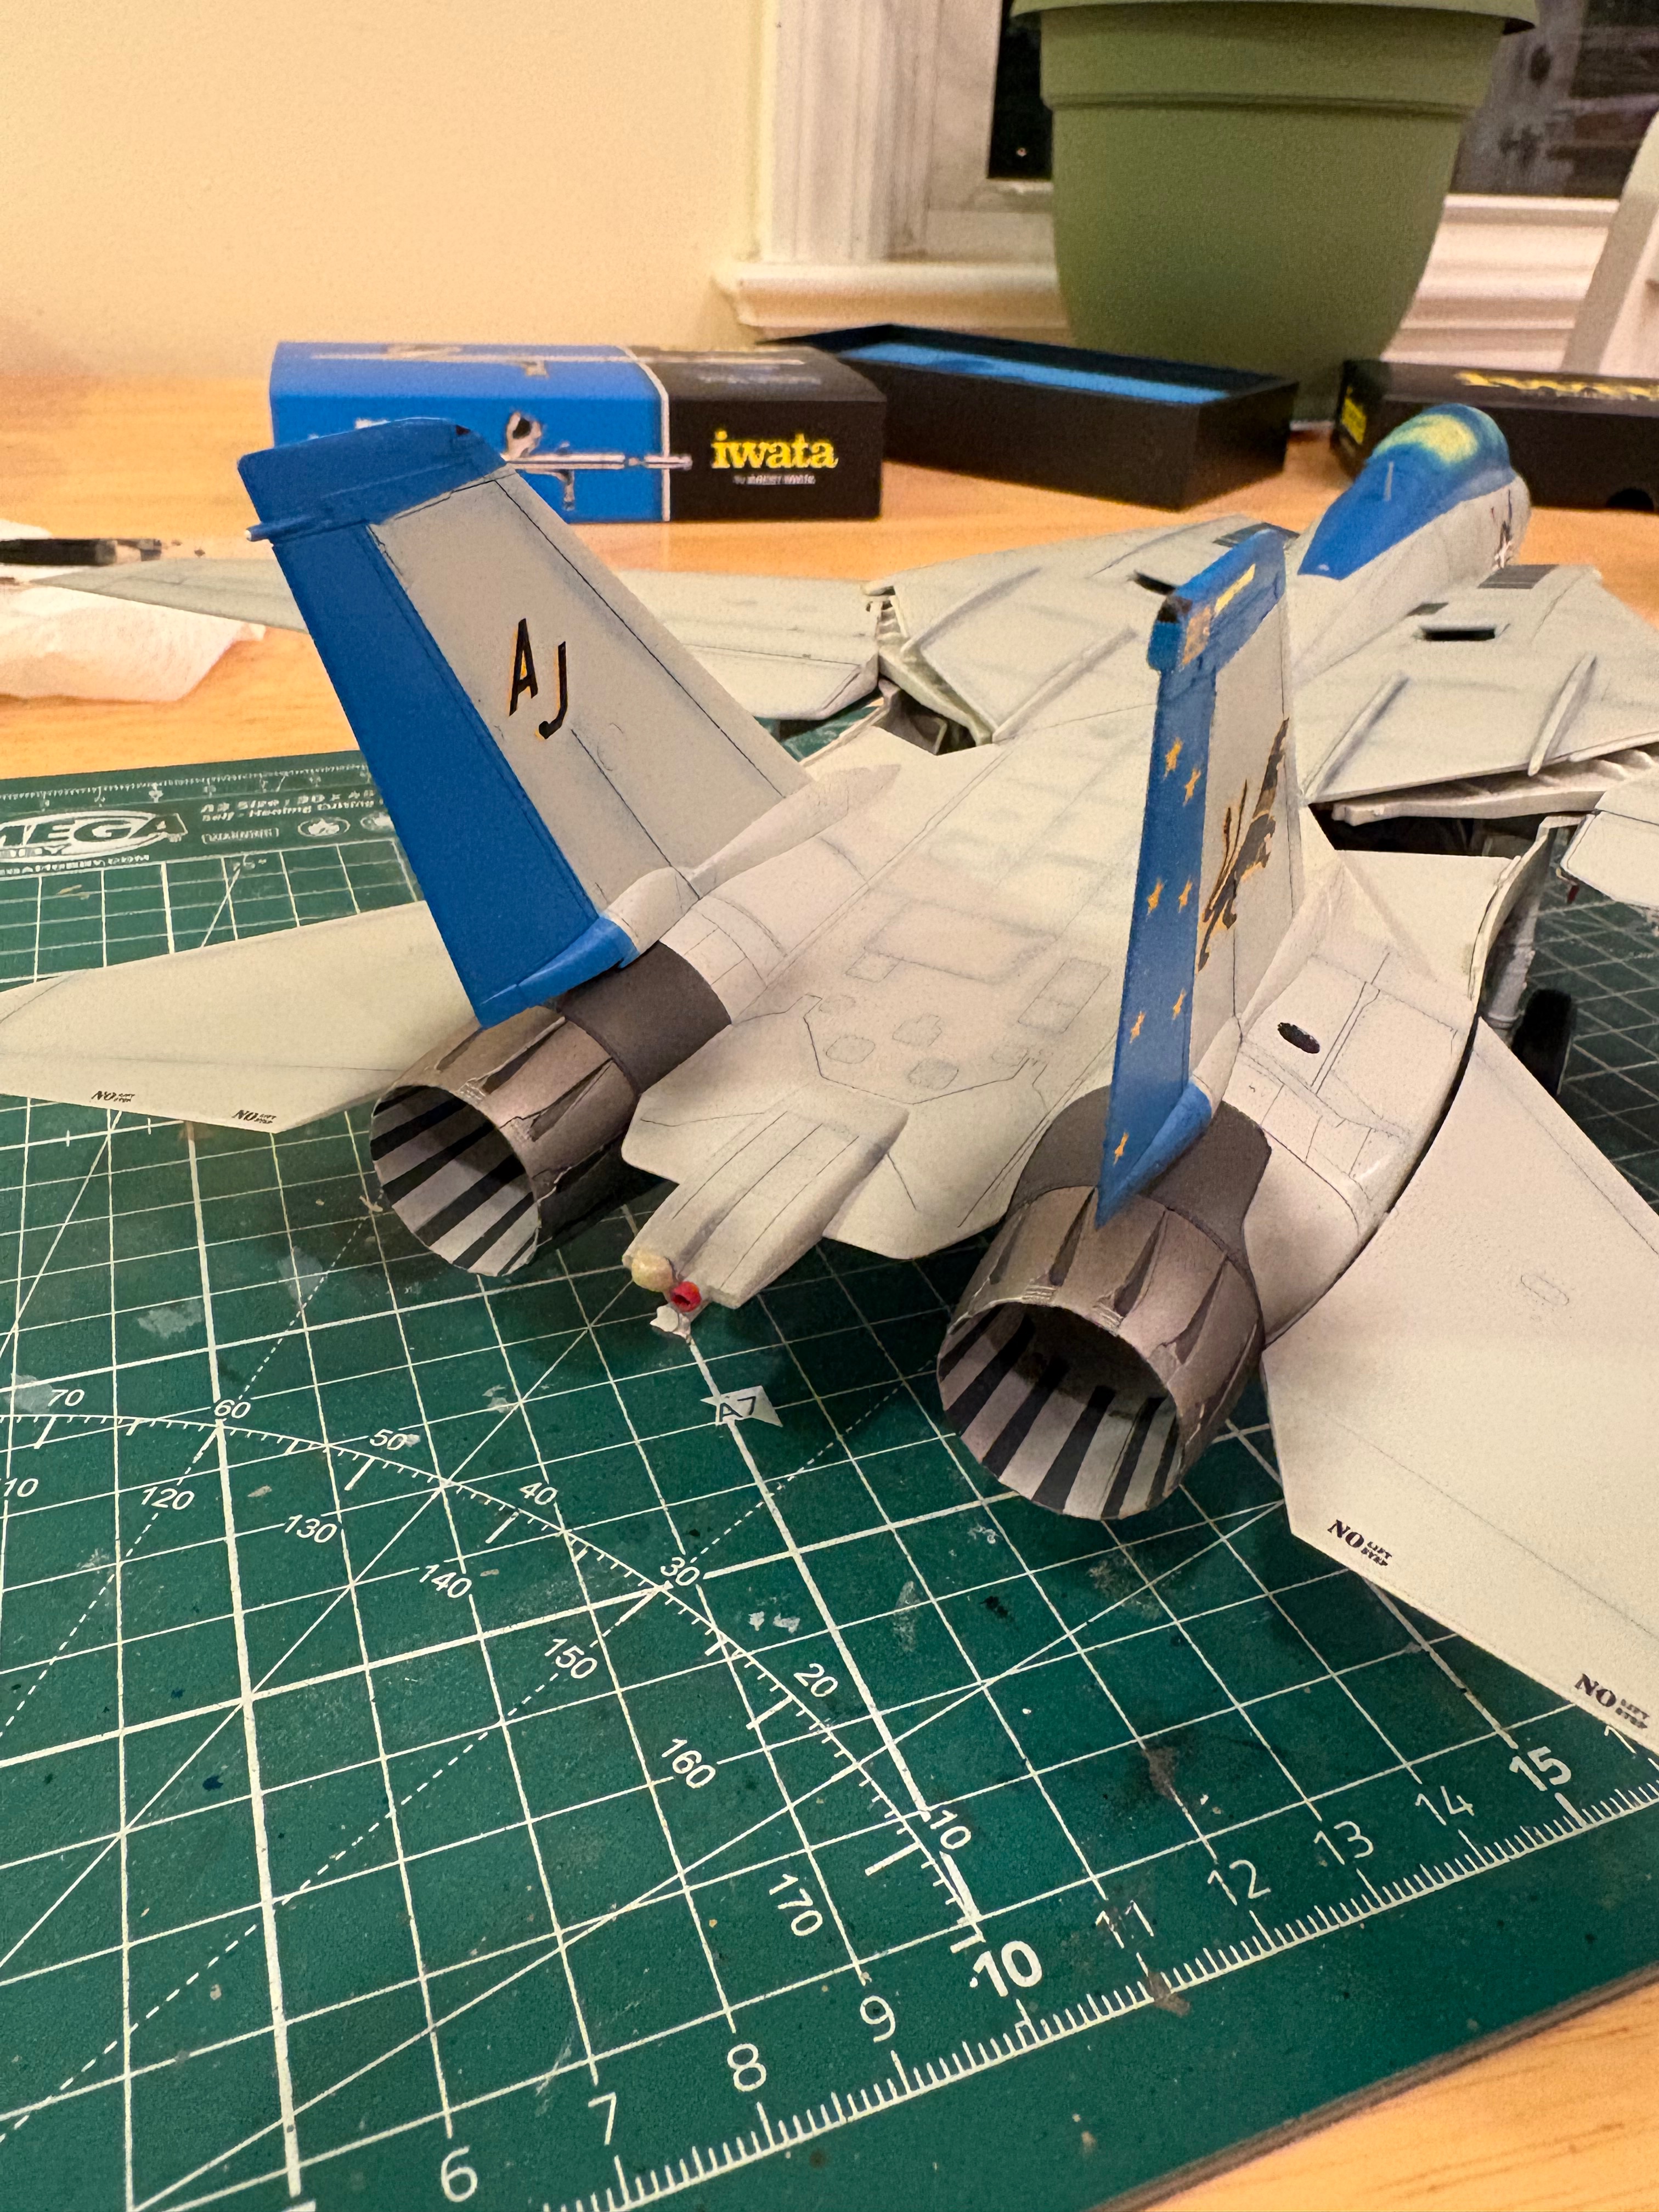
So I ran into a serious problem with the blue decals around the canopy and the nose. They partially crumbled before I could get them on and then were breaking apart as I tried to position them. I got them on but it looked like crap. They didn't fit great and there cracks where they broke apart. Kind of model ruining things. So I stripped them off and decided to paint the blue. The kit did come with seperate pilots names so I won't lose that, but getting the yellow trim on I don't think is possible. So after I get the blue on it looks great, and I notice a large amount of blue spray because I'm stupid and didn't mask enough. Luckily I was able to fix it with no permanent damage. Here's the end product.
IMG_5110.jpeg
 
So what do you guys think? Should I risk seriously screwing up the whole model by trying to put in the yellow trim along the bottom of the blue, or just go as is?
IMG_5111.jpeg

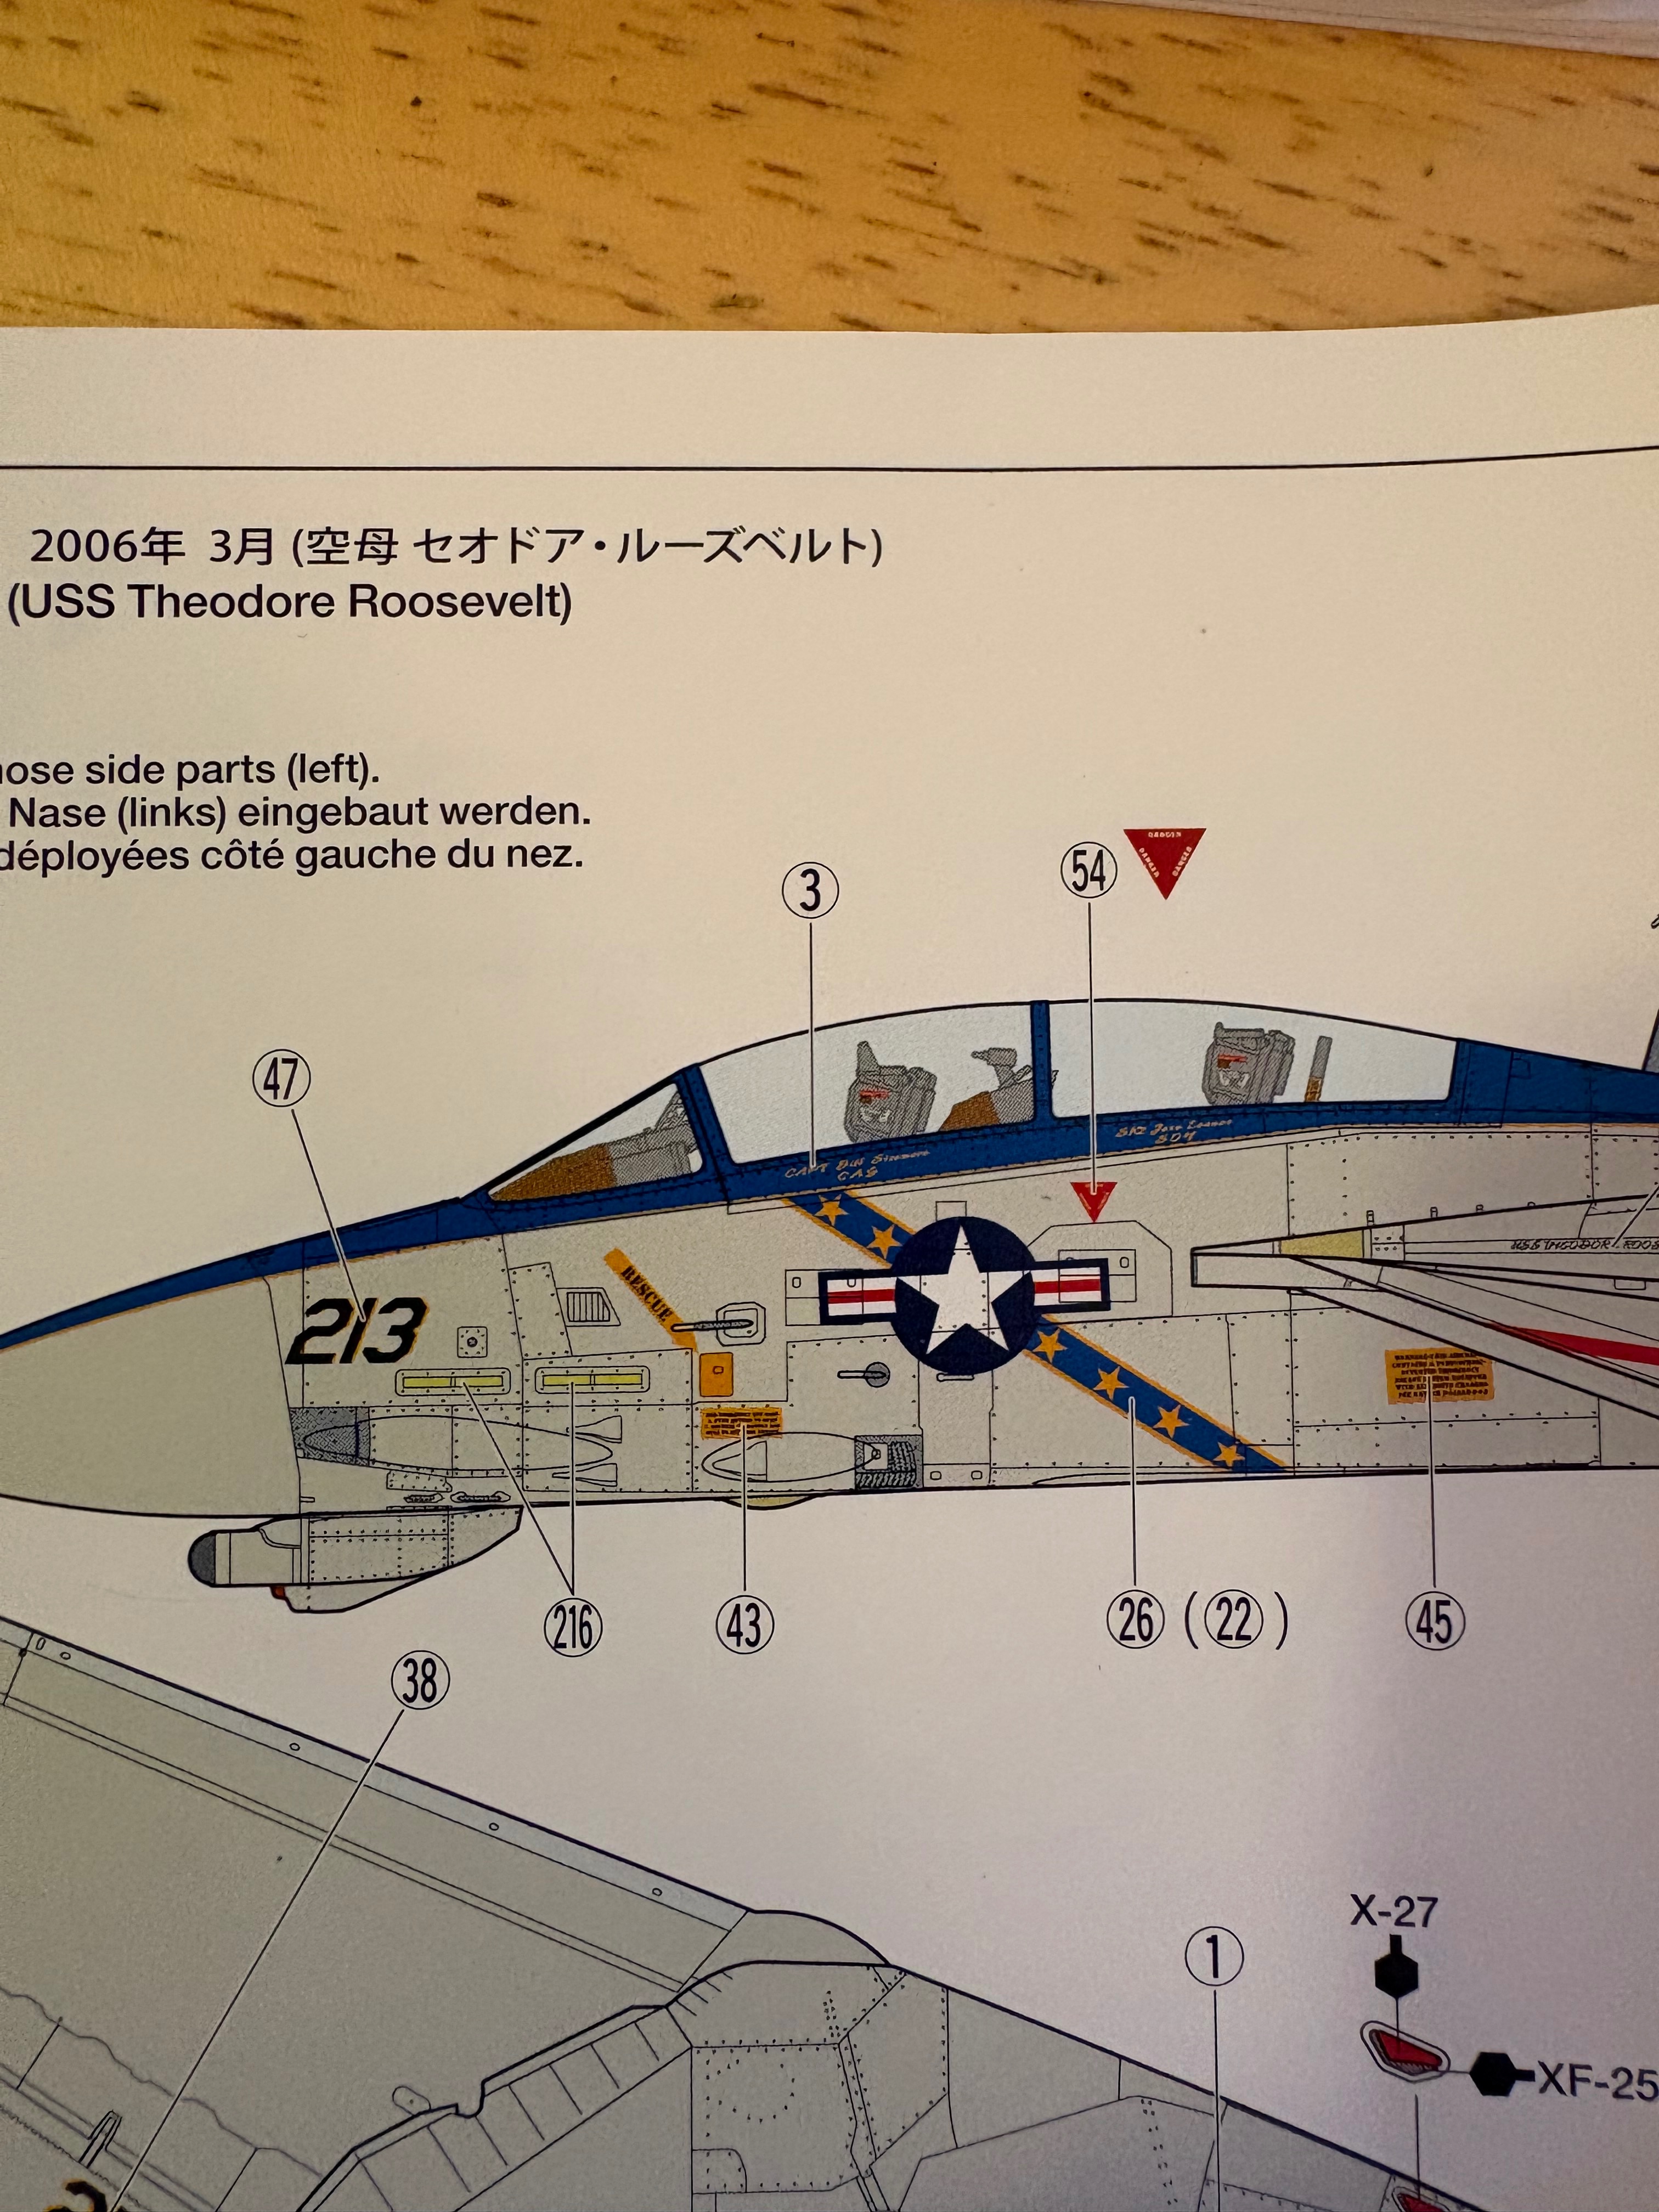
This how much of a yellow stripe we are talking
IMG_5112.jpeg
 
As an Amazon Associate we earn from qualifying purchases. Product prices and availability are accurate as of the date/time indicated and are subject to change.
So what do you guys think? Should I risk seriously screwing up the whole model by trying to put in the yellow trim along the bottom of the blue, or just go as is?
View attachment 193185
This how much of a yellow stripe we are talkingView attachment 193187
I probably wouldn't do it now. That would have been better to paint the yellow first, tape it off and paint the blue. It's so thin odds are it will be irregular.
 
I would be interested to know if anyone who has built this kit was able to get those decals around the canopy on and not have it look like crap? They didn't lay flat around the nose for me which is how I ended up damaging them, just like the decals around the engine exhaust. Maybe I'm not doing something right. I don't think so but maybe.
 
I would be interested to know if anyone who has built this kit was able to get those decals around the canopy on and not have it look like crap? They didn't lay flat around the nose for me which is how I ended up damaging them, just like the decals around the engine exhaust. Maybe I'm not doing something right. I don't think so but maybe.
I haven't built that kit but one of the modern jets I did had crazy long decals that went from cockpit back to the wings. The first side I jacked it up ugly. Second side I cut the decal and it went better. I probably would have cut it into three parts it was so damn long. I have since read people will sometimes cut the tricky decals into manageable sections. The only issue is if you're not spot on it can be obvious. It's funny they'll make an assembly have a ridiculous amount of parts but then the decals they'll make into some awkward impossible shape.
 
I haven't built that kit but one of the modern jets I did had crazy long decals that went from cockpit back to the wings. The first side I jacked it up ugly. Second side I cut the decal and it went better. I probably would have cut it into three parts it was so damn long. I have since read people will sometimes cut the tricky decals into manageable sections. The only issue is if you're not spot on it can be obvious. It's funny they'll make an assembly have a ridiculous amount of parts but then the decals they'll make into some awkward impossible shape.
That was supposed to say "one big impossible shape."
 
one of the modern jets I did had crazy long decals that went from cockpit back to the wings. The first side I jacked it up ugly. Second side I cut the decal and it went better. I probably would have cut it into three parts it was so damn long
Oddly, I found very long, narrow decals to be fairly easy to fit. The trick was to slide a small bit off the end of the paper, hold that in place and then pull the paper out from under the decal.

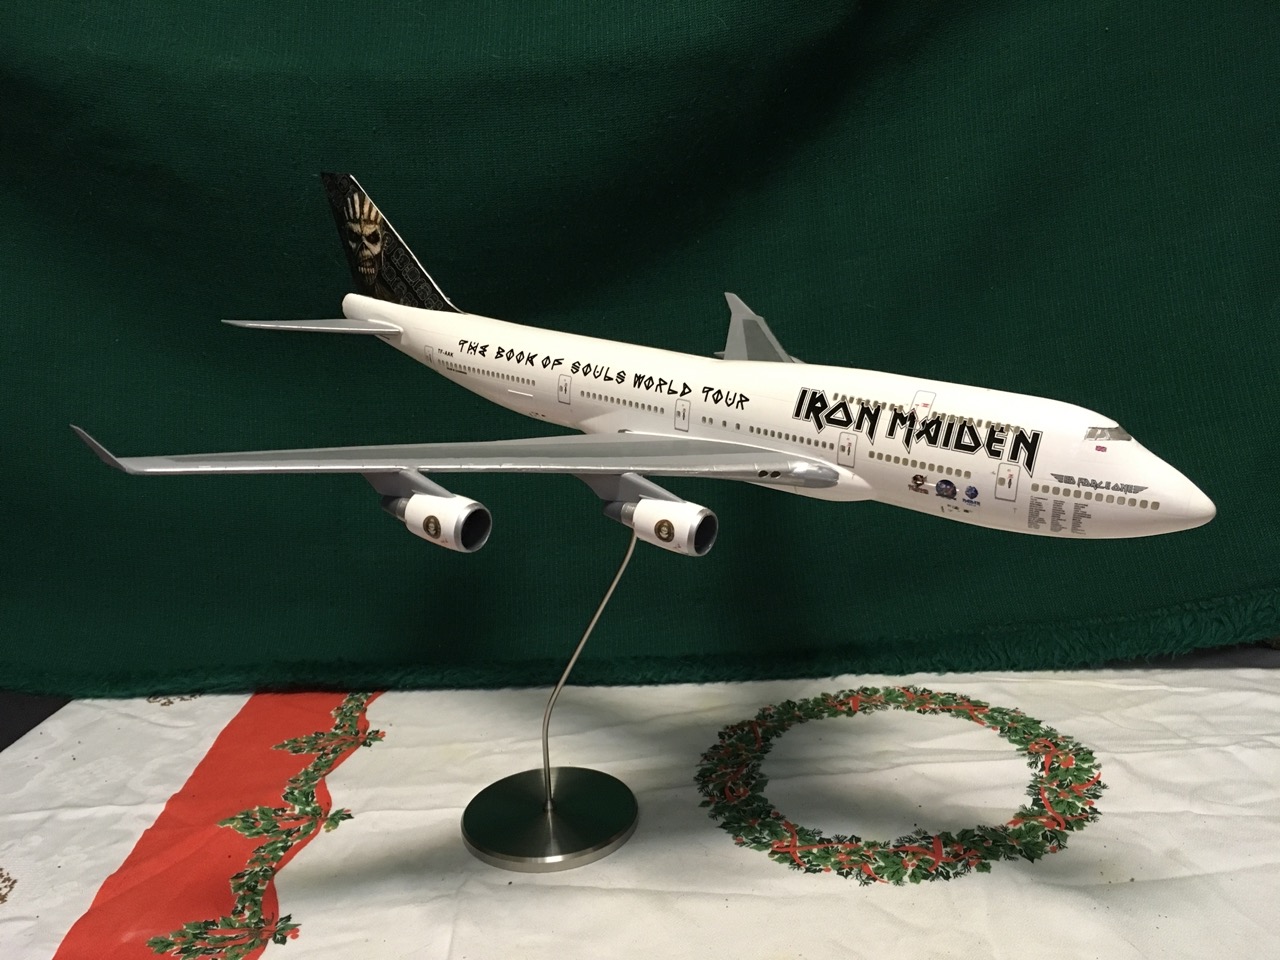
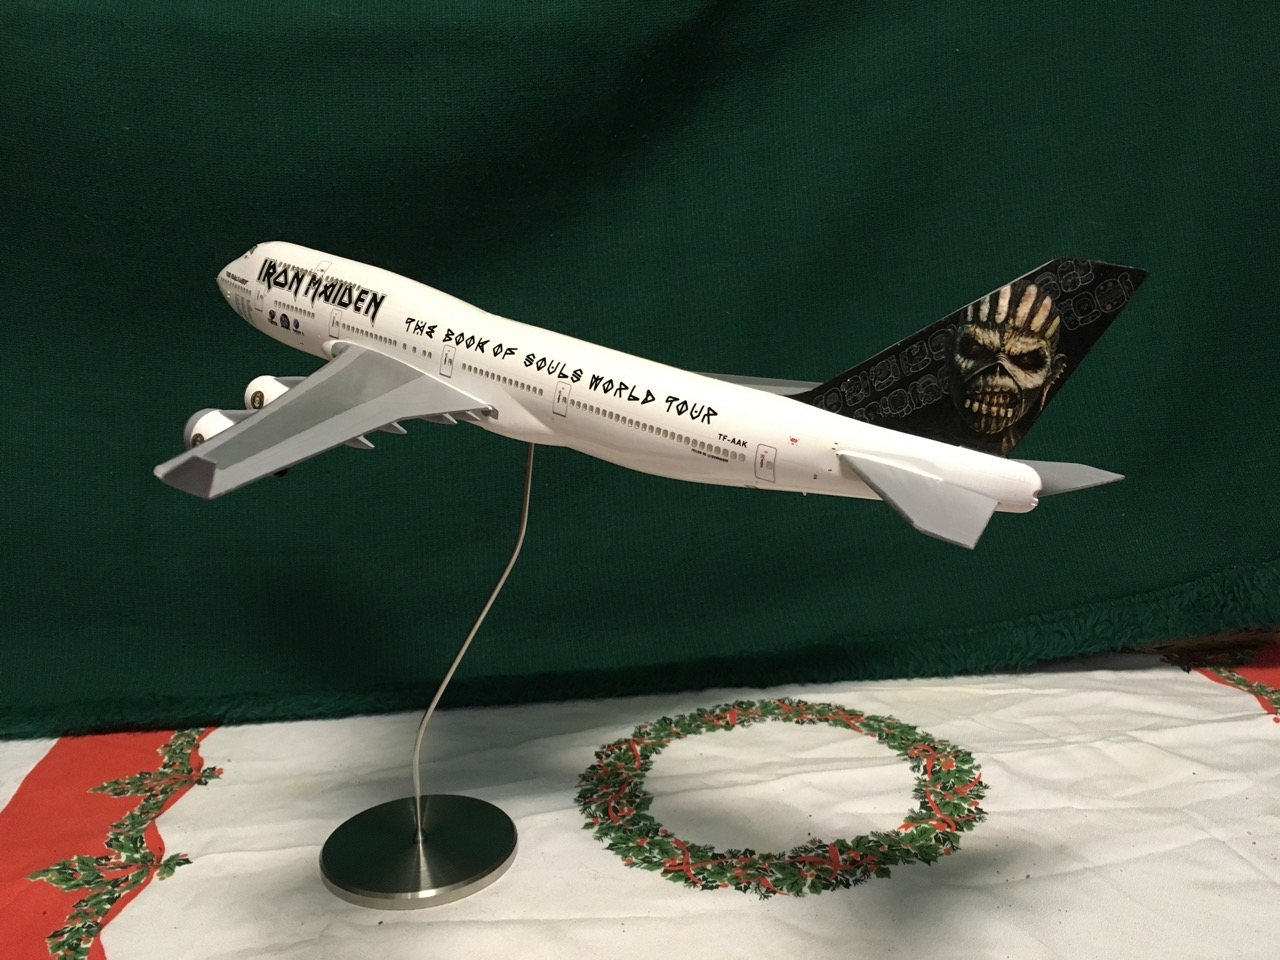
About ten years ago, I built this for my brother, one of whose main hobbies is this site and its contents:

IMG_1858.jpeg
IMG_1856.jpeg


The entire The Book of Souls World Tour on each side is one long, thin decal, and less visible is that there are also decals over the whole rows of windows, both to "glaze" them and to have a neat, printed black outline for them. All except one of those went on without a hitch — the real trouble was the large decals on the tail fin, which needed a lot of Micro Sol to conform to the surface.
 
WELL i aggree with the guys leave it as if you try an fit tamyia maskin tape over the decall near the cockpit ten to one the tape may pull off the decall then more trouble as when i build a plane like my big tomcat in 1/32 scale i always paint the plane in its top colours before i assemble it as i fit lights in mine an i always leave most decals till its painted an you have done a fab job on yours as i love the blue so carry on sir brilliant modeling an you was lucky as my decals eps the big
jolly roger on the tail splintered a bit an i fit all my decalls like Jakko said keep the decal on the backin paper an slide a small bit off an hold it then slide the paper out from under the decall but make sure the decall is goin to line up in its proper place before doin that
120839-7c55d5ee7687948312caafcfd25e4e1d.jpg
but soon fitted it togeather an pic of mine
ATB SIR chrisb
 
Last edited:
Oddly, I found very long, narrow decals to be fairly easy to fit. The trick was to slide a small bit off the end of the paper, hold that in place and then pull the paper out from under the decal.

About ten years ago, I built this for my brother, one of whose main hobbies is this site and its contents:

View attachment 193227View attachment 193226

The entire The Book of Souls World Tour on each side is one long, thin decal, and less visible is that there are also decals over the whole rows of windows, both to "glaze" them and to have a neat, printed black outline for them. All except one of those went on without a hitch — the real trouble was the large decals on the tail fin, which needed a lot of Micro Sol to conform to the surface.
Oh man I just noticed it's an Iron Maiden plane- very cool!
 
JAKKO BUILT A PLANE!
He does so occasionally :) I could post pictures of a number of others, and I just remembered that there's a gallery subforum, so I might just do that in a minute …
On this occasion it's because my brother, big Maiden fan that he is, asked if I wanted to build it for him. (Our father, metalworker by education, made the stand for it.)

it's an Iron Maiden plane- very cool!
Ed Force One, from 2016–'17.
 
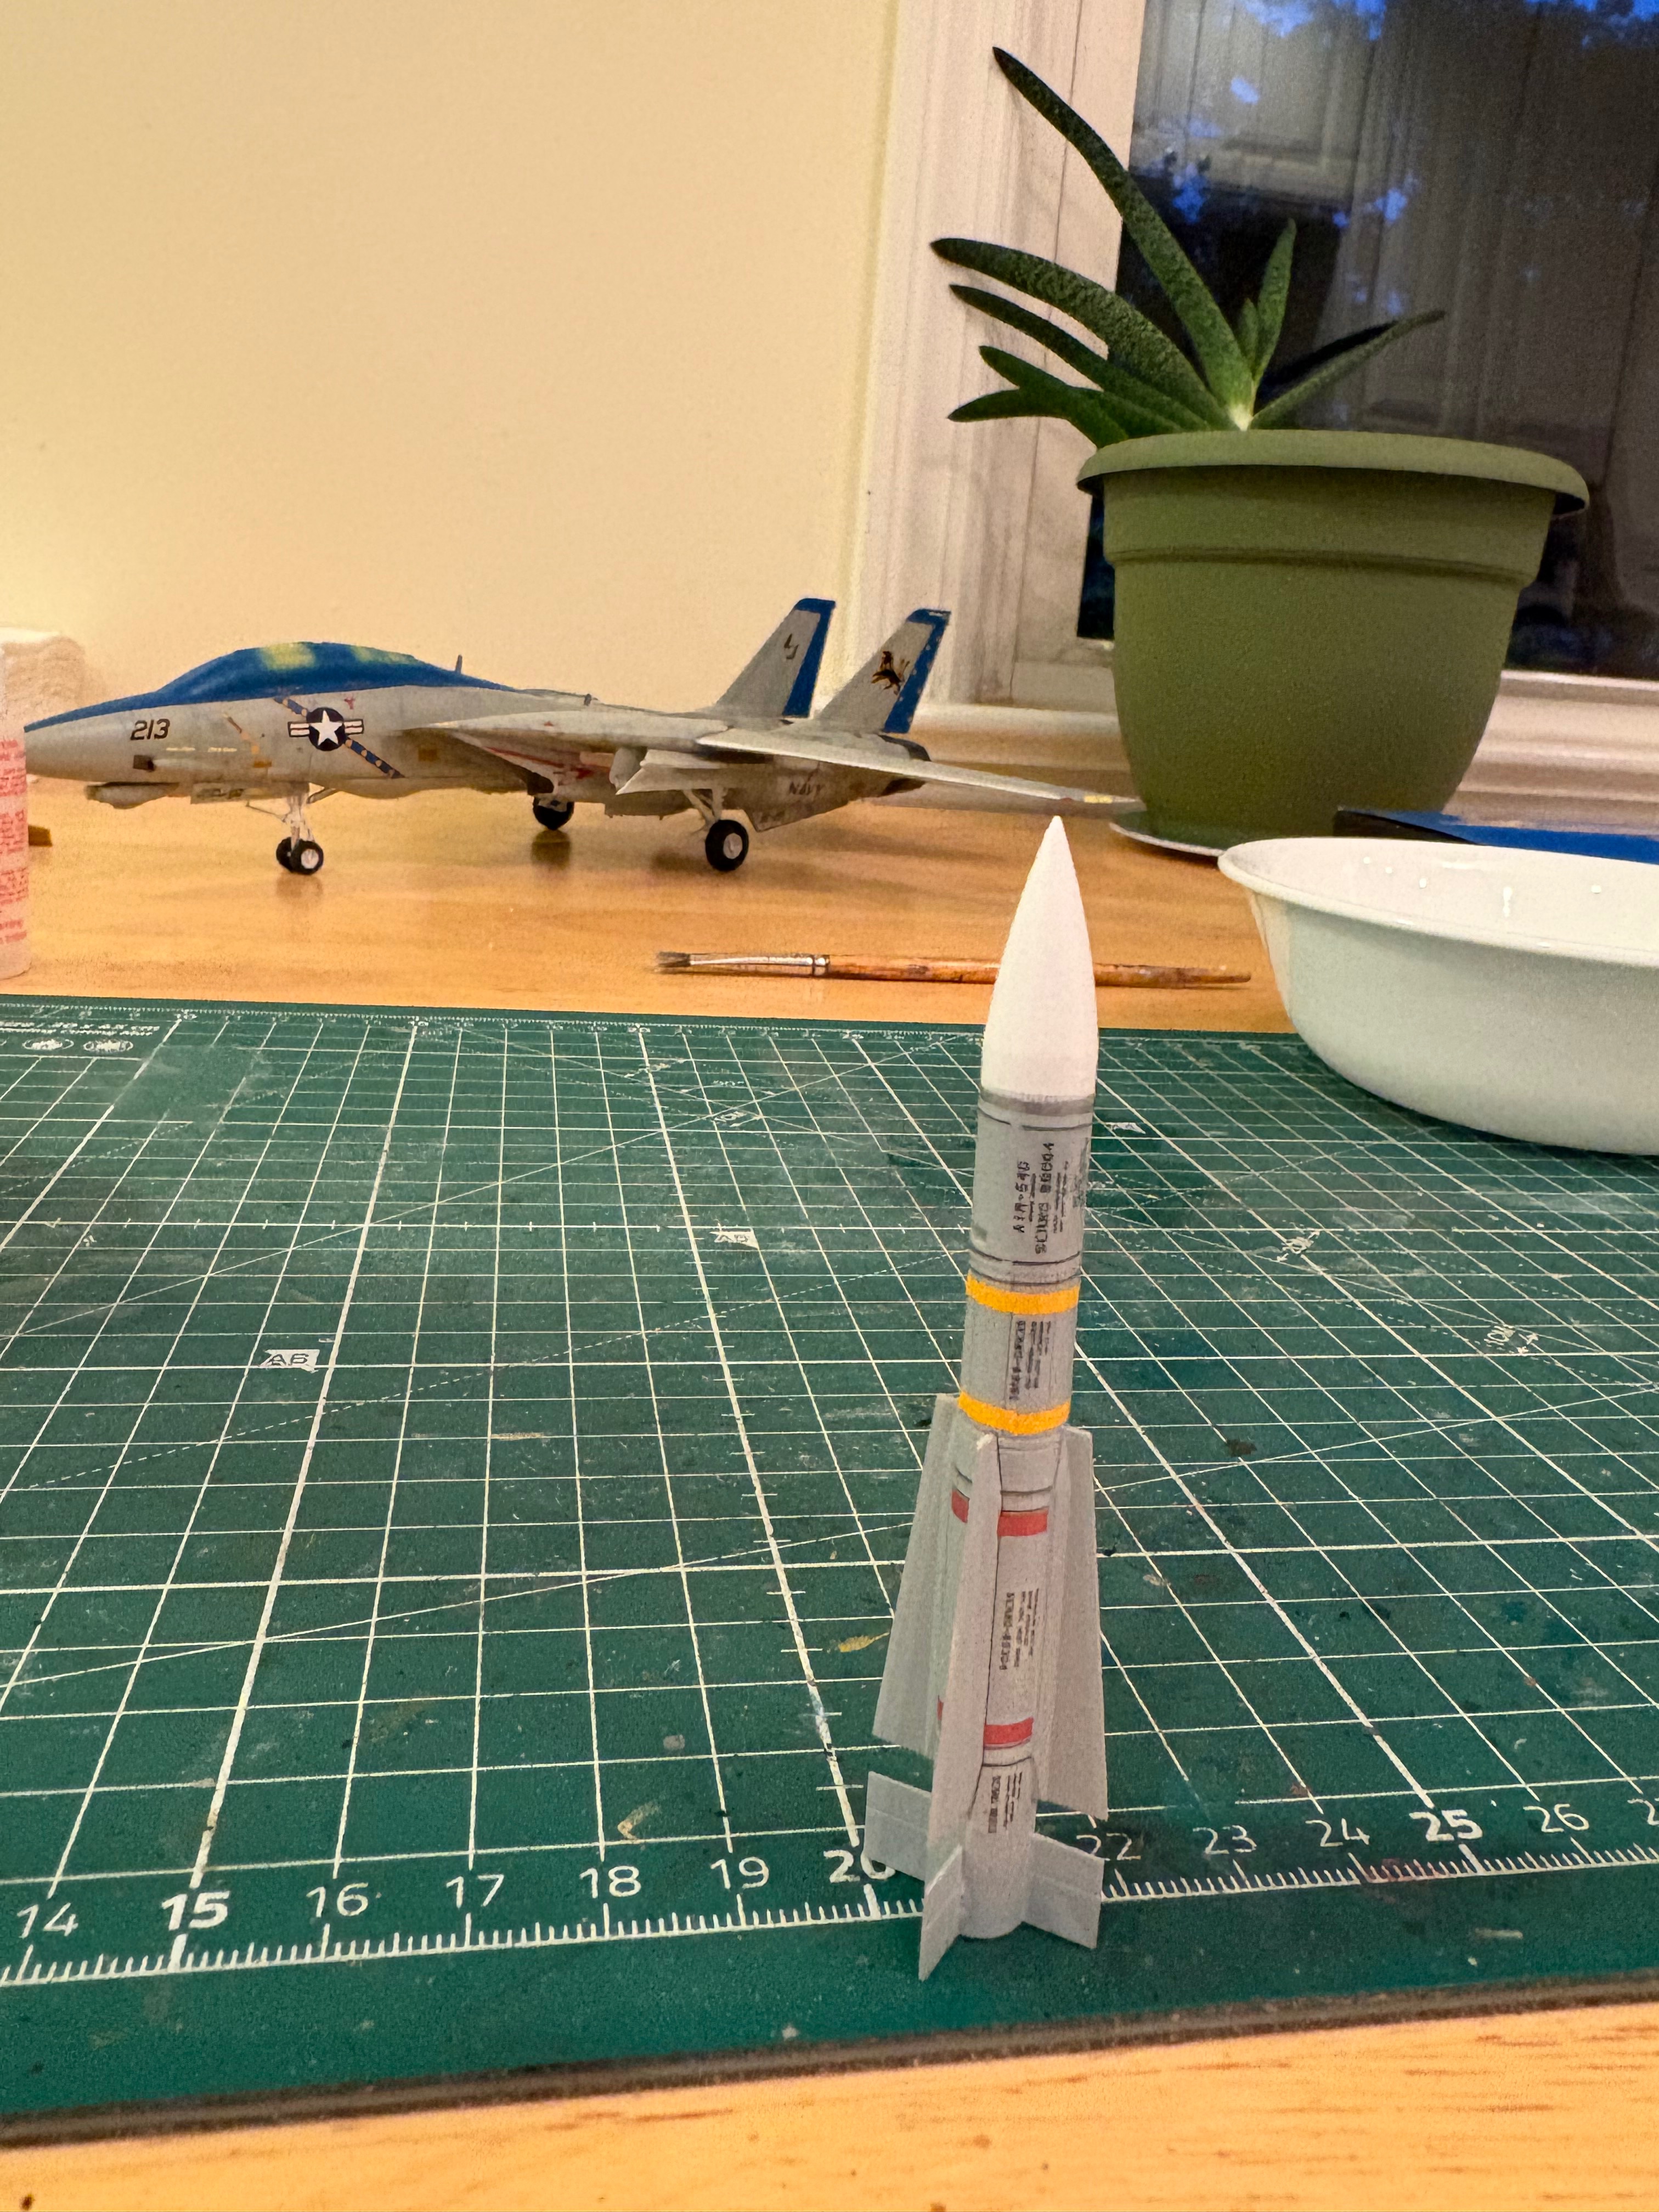
It's definitely going on the plane after all the work I put into it 😜. I did google it and google is telling me the d can carry the phoenix and so says Mr Tamiya so…
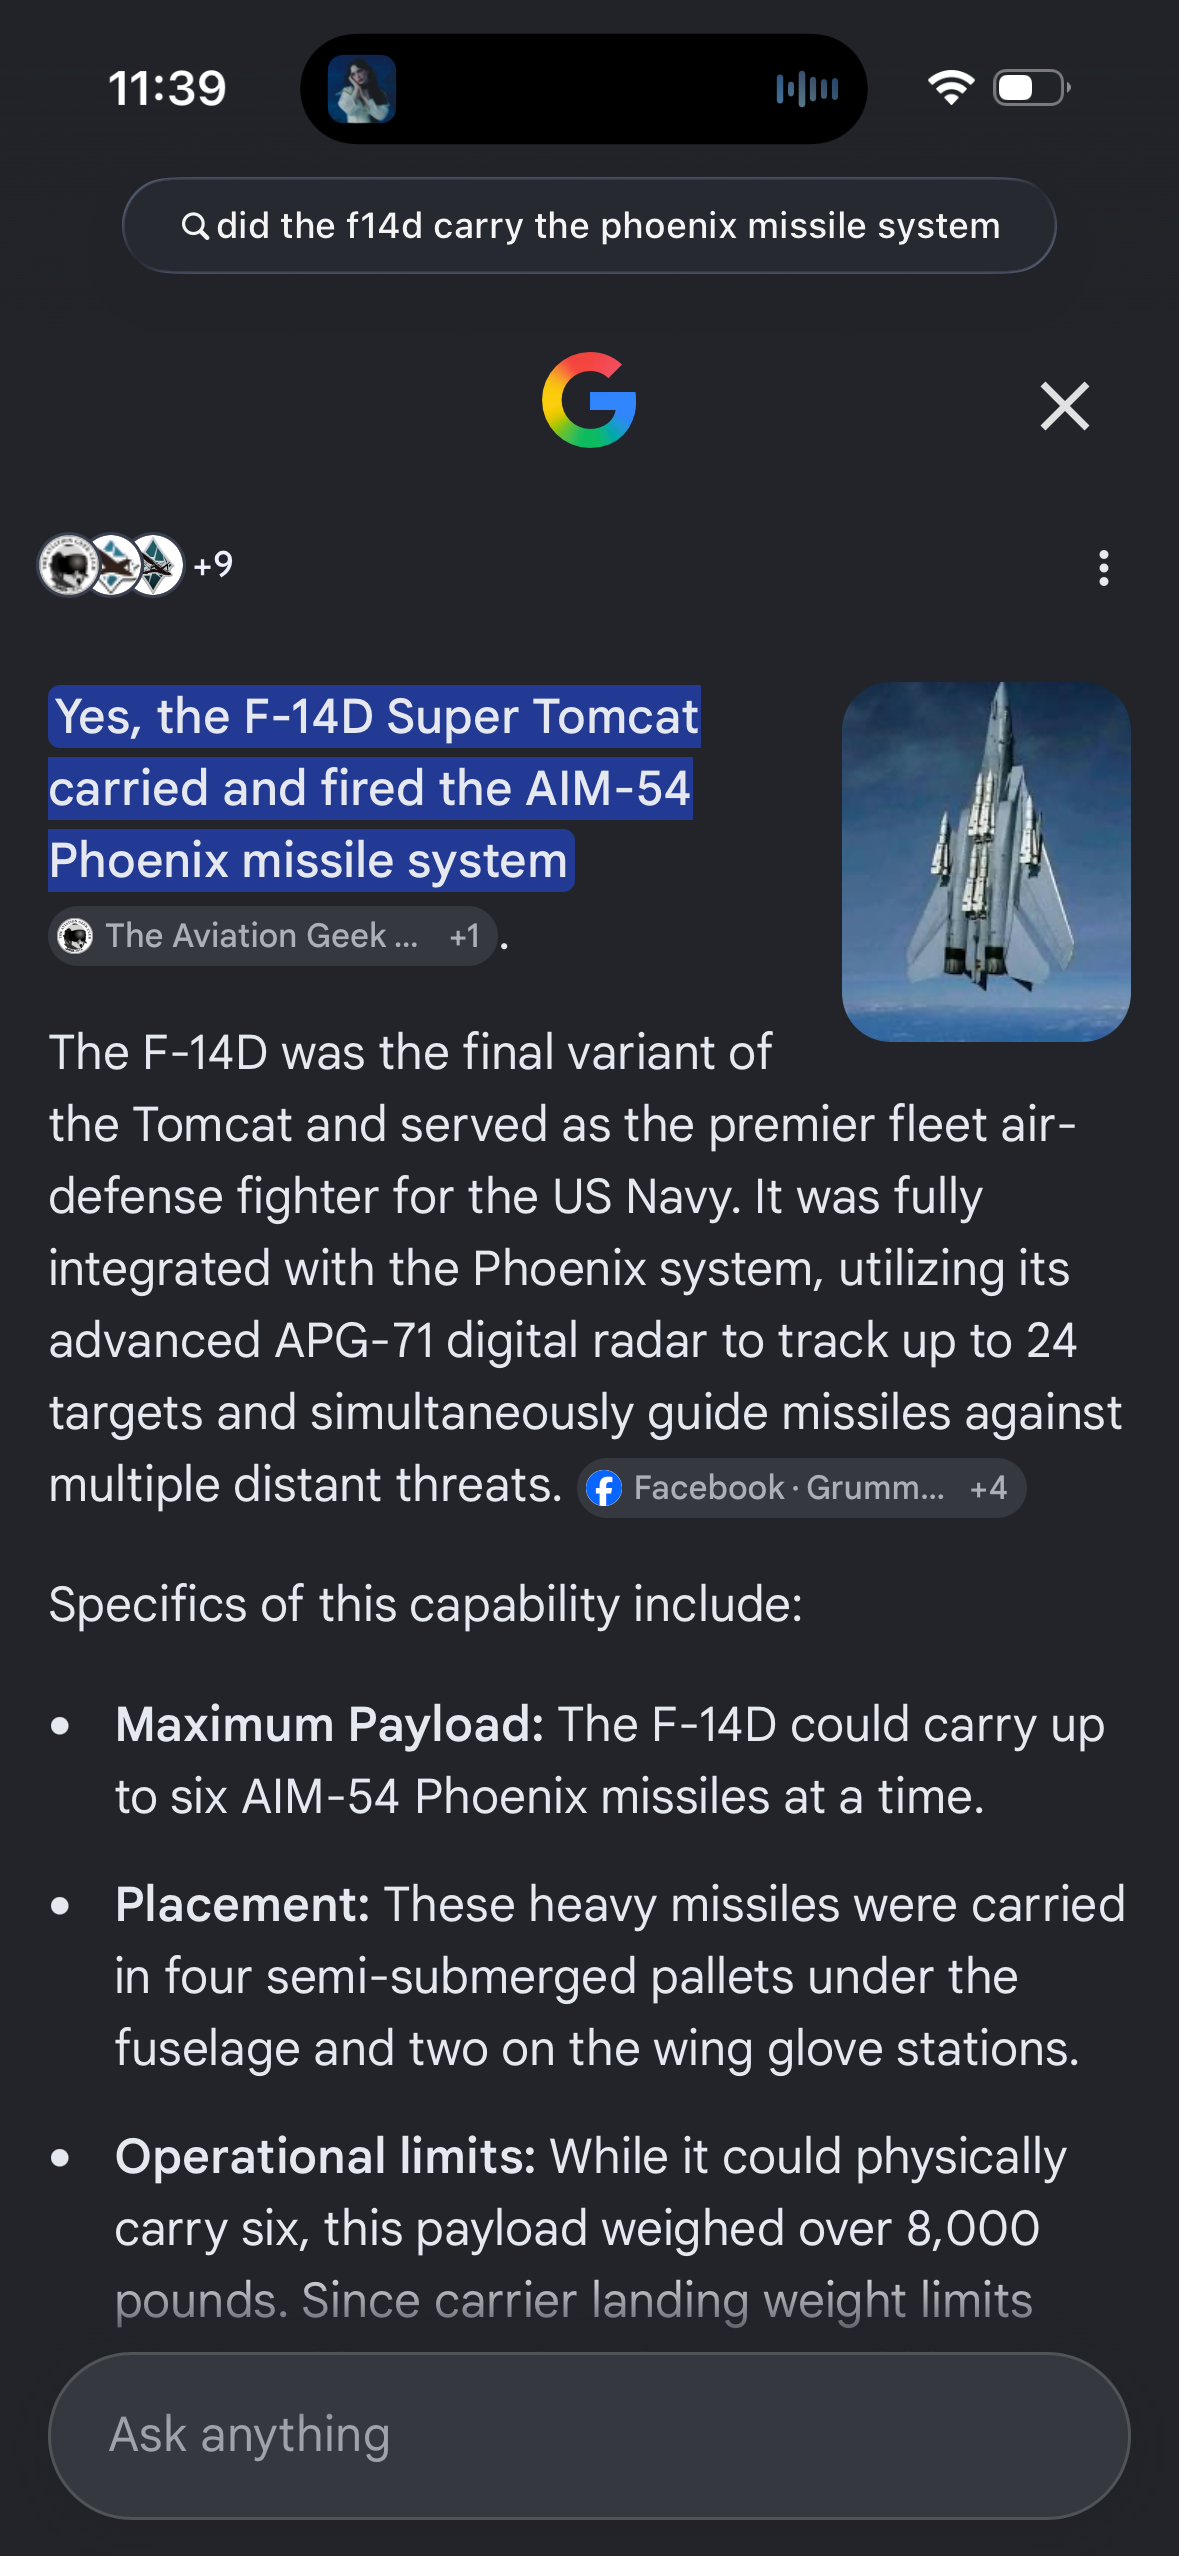
May I ask what the source on Google was? The AIM-54 was designed in tandem with the AWG-9 radar, used by the F-14A and B. The D-model was upgraded to the APG-71 radar, more modern but lacking the capability to employ the Phoenix. The D was used as a multi role fighter and became known as the "Bombcat" by the Navy as a result. It didn't have the fleet defense capability of the A/B (even though the Phoenix never scored a kill). Maybe the D could carry the AIM-54, but it couldn't employ it. Having said all that, I'm not as knowledgeable on the F-14 as other modern US fighters. If someone knows better I'd love to hear more accurate information.

Either way, your build looks awesome and I don't blame you for putting the missiles on!
 
Wikimedia has this photo:

1280px-AIM-54C_Phoenix_missle_on_a_F-14D_of_VF-2_aboard_USS_Constellation_%28CV-64%29_on_20_March_2003_%28030320-N-4142G-013%29.jpg


… which has the official caption of:—
U.S. Navy Aviation Ordnanceman install an AIM-54C Phoenix long-range air-to-air missile under the wing of a F-14D Tomcat assigned to the "Bounty Hunters" of Fighter Squadron 2 (VF-2) onboard the aircraft carrier USS Constellation (CV-64) in the Arabian Sea. VF-2 was assigned to Carrier Air Wing 2 (CVW-2) aboard the Constellation for a deployment in support of Operation Iraqi Freedom from 2 November 2002 to 2 June 2003.
I can't tell if this is really an F-14D, but the AIM-54 category page has two more photos of what are said to be Ds with AIM-54 missiles.
 

Latest posts

Back
Top