Masking discoloration

Scale Model Addict - Model Tips, Guides, Tools & Tech, Tutorials, and Community

Help Support Scale Model Addict:

BarleyBop

Well-Known Member
Glue Member
Joined
Sep 4, 2022
Messages
5,413
City & State/Province
Ottawa, Canada
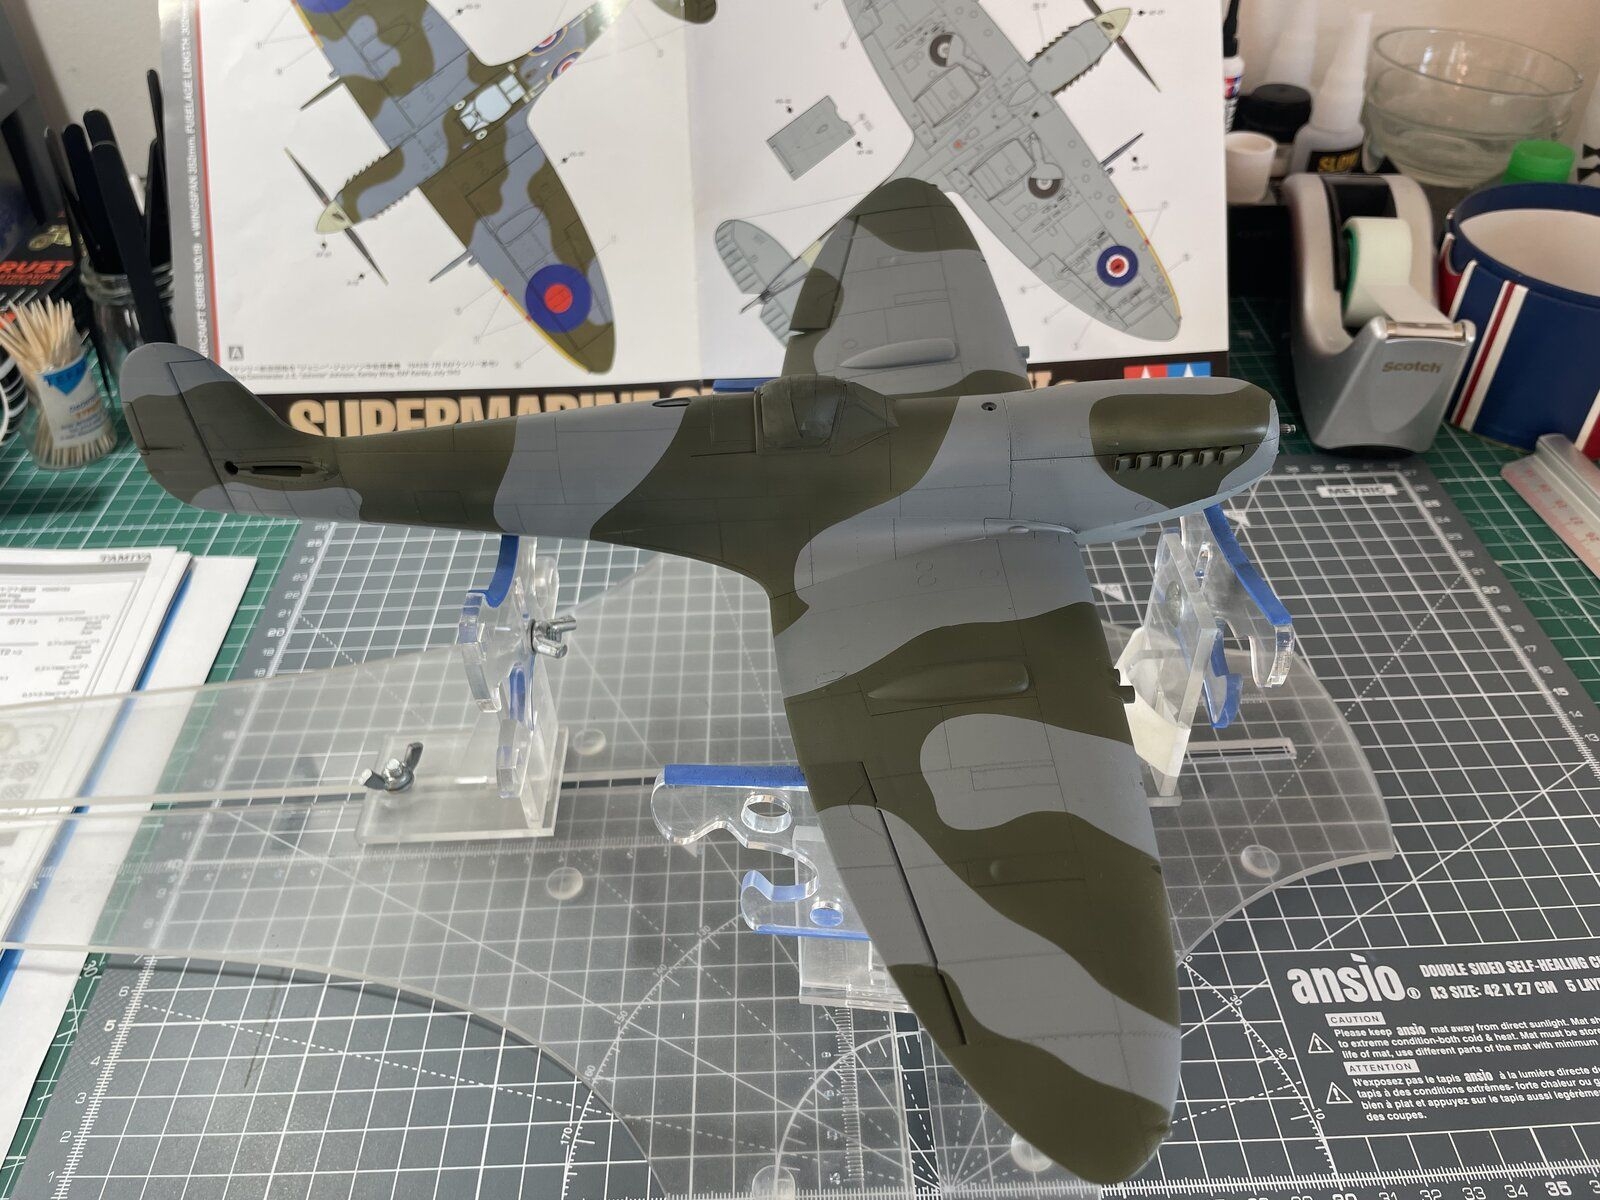
...so AirBrush newb is all keen to use AK camouflage plastic putty for the wing tops and upper fuselage. It is a three colour scheme, one under, two on top. The underpainting goes smoothly, and even the preshading comes through!
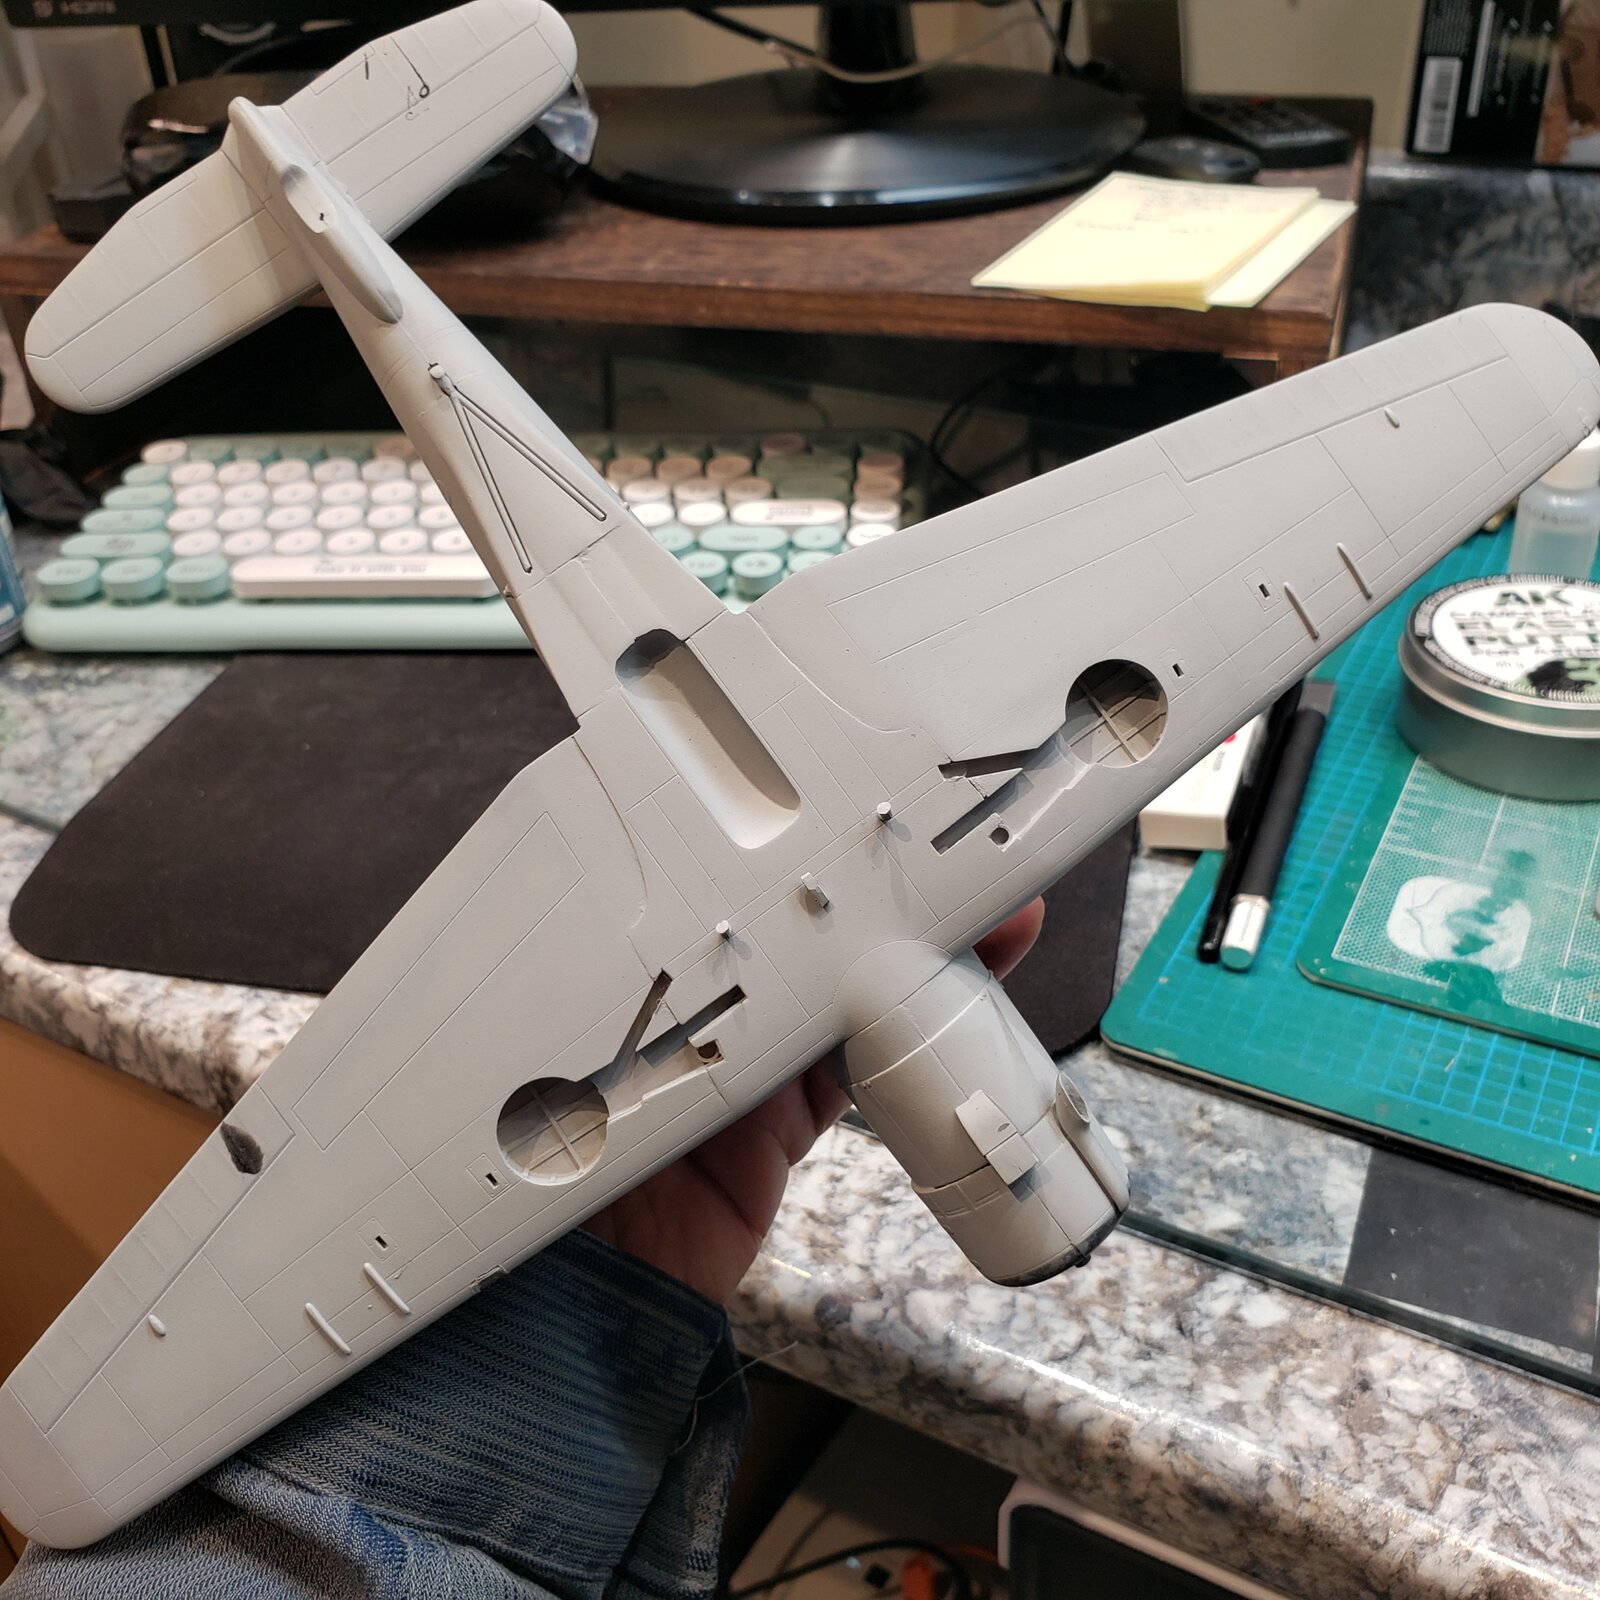
17699880017404551069086750698111.jpg

On the the upper surfaces!

1. My first mistake was not painting a base colour, then applying mask for the second colour. No biggie, I just repainted everywhere.
Then masked again.
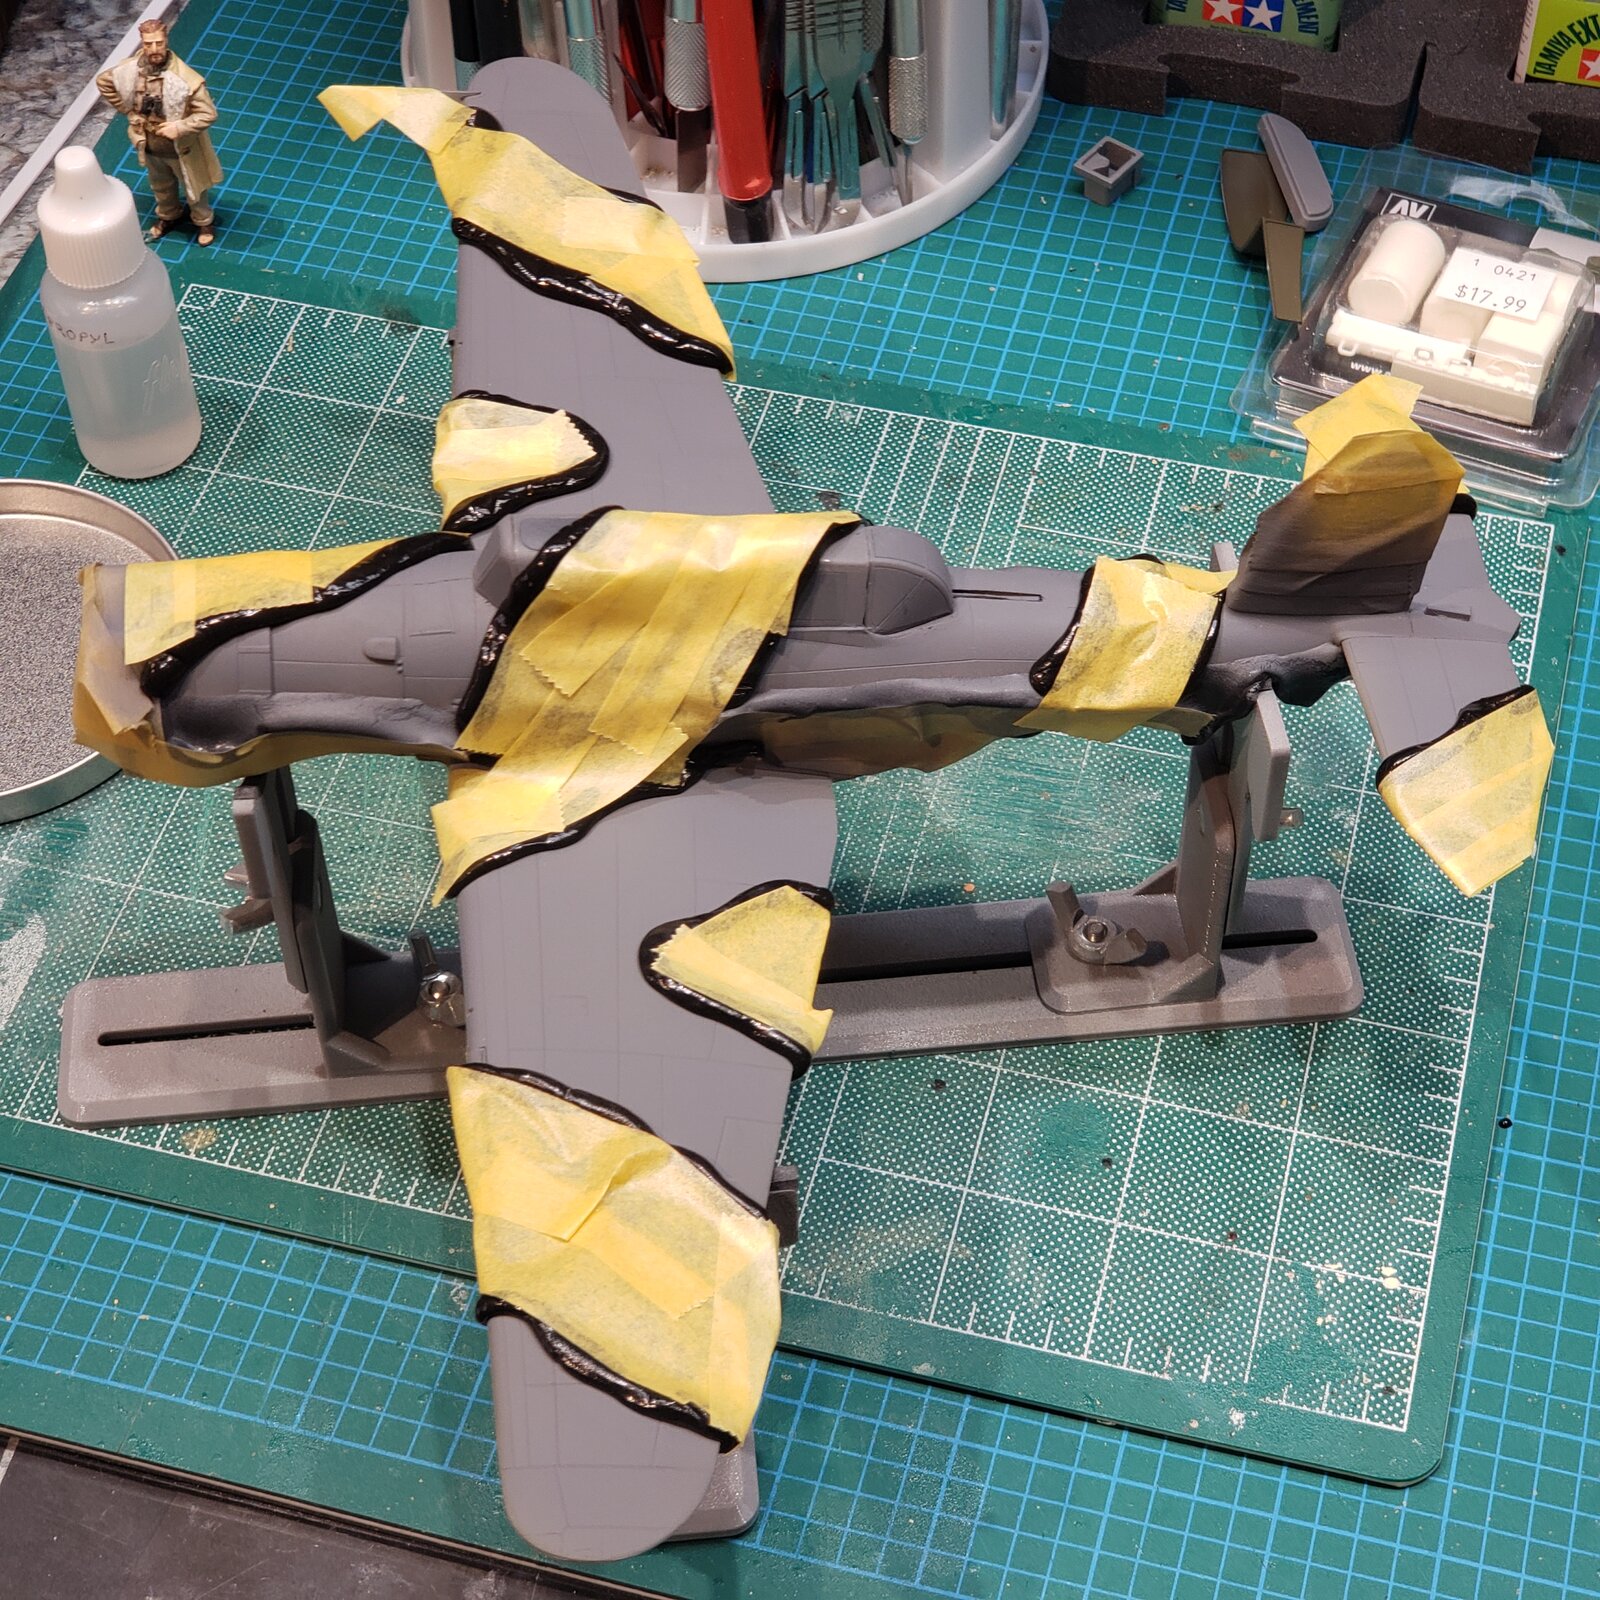
20260130_201131.jpg


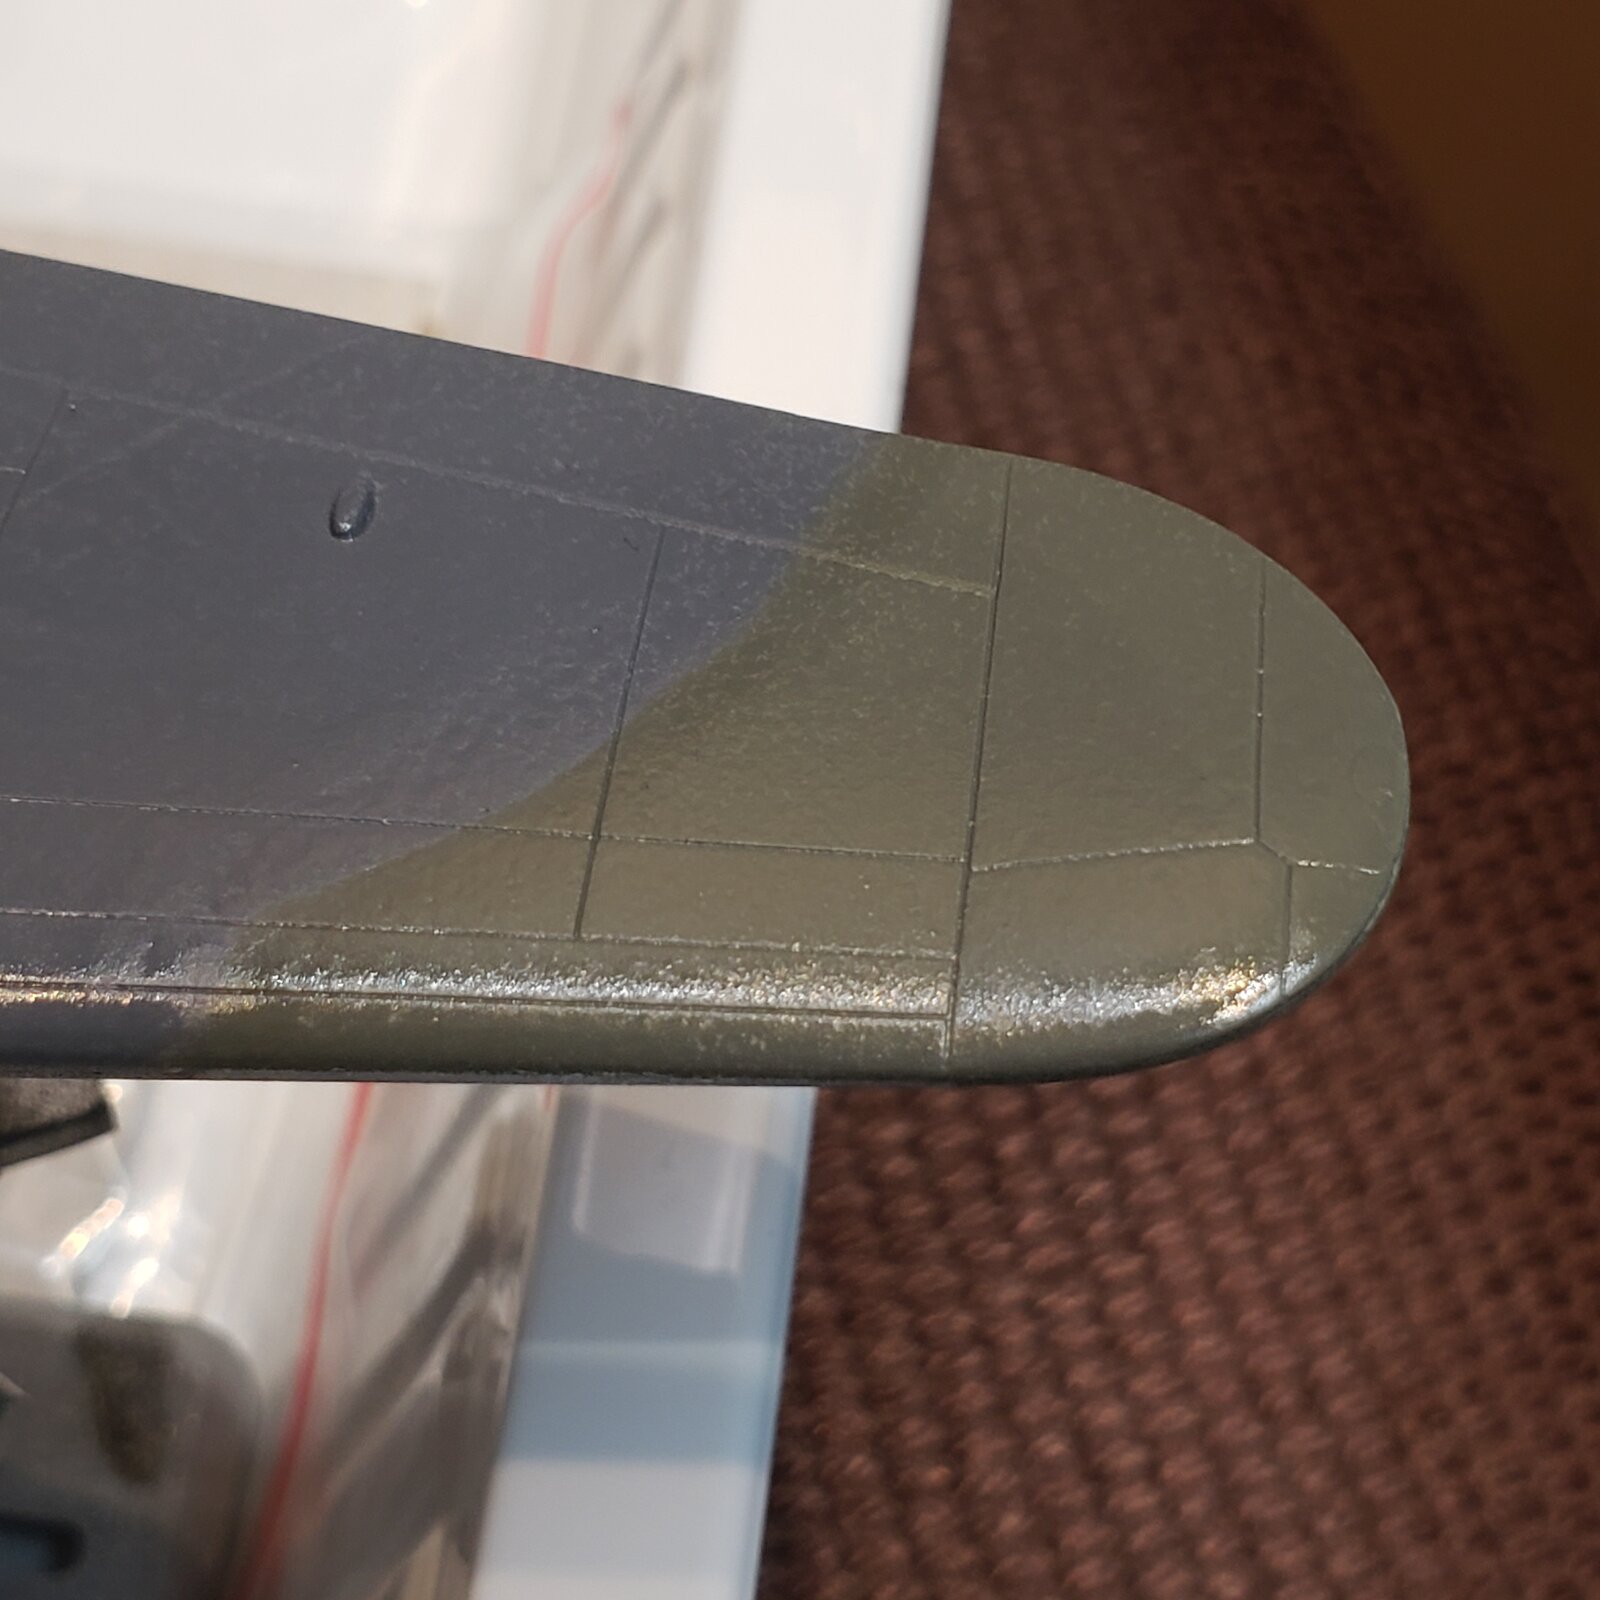
2. Perhaps I didn't wait long enough for the base to cure before applying camo putty? After painting the second colour, the base colour was darker where it was masked.
No biggie, wait a couple of days and mask to repaint the edges that are darker.
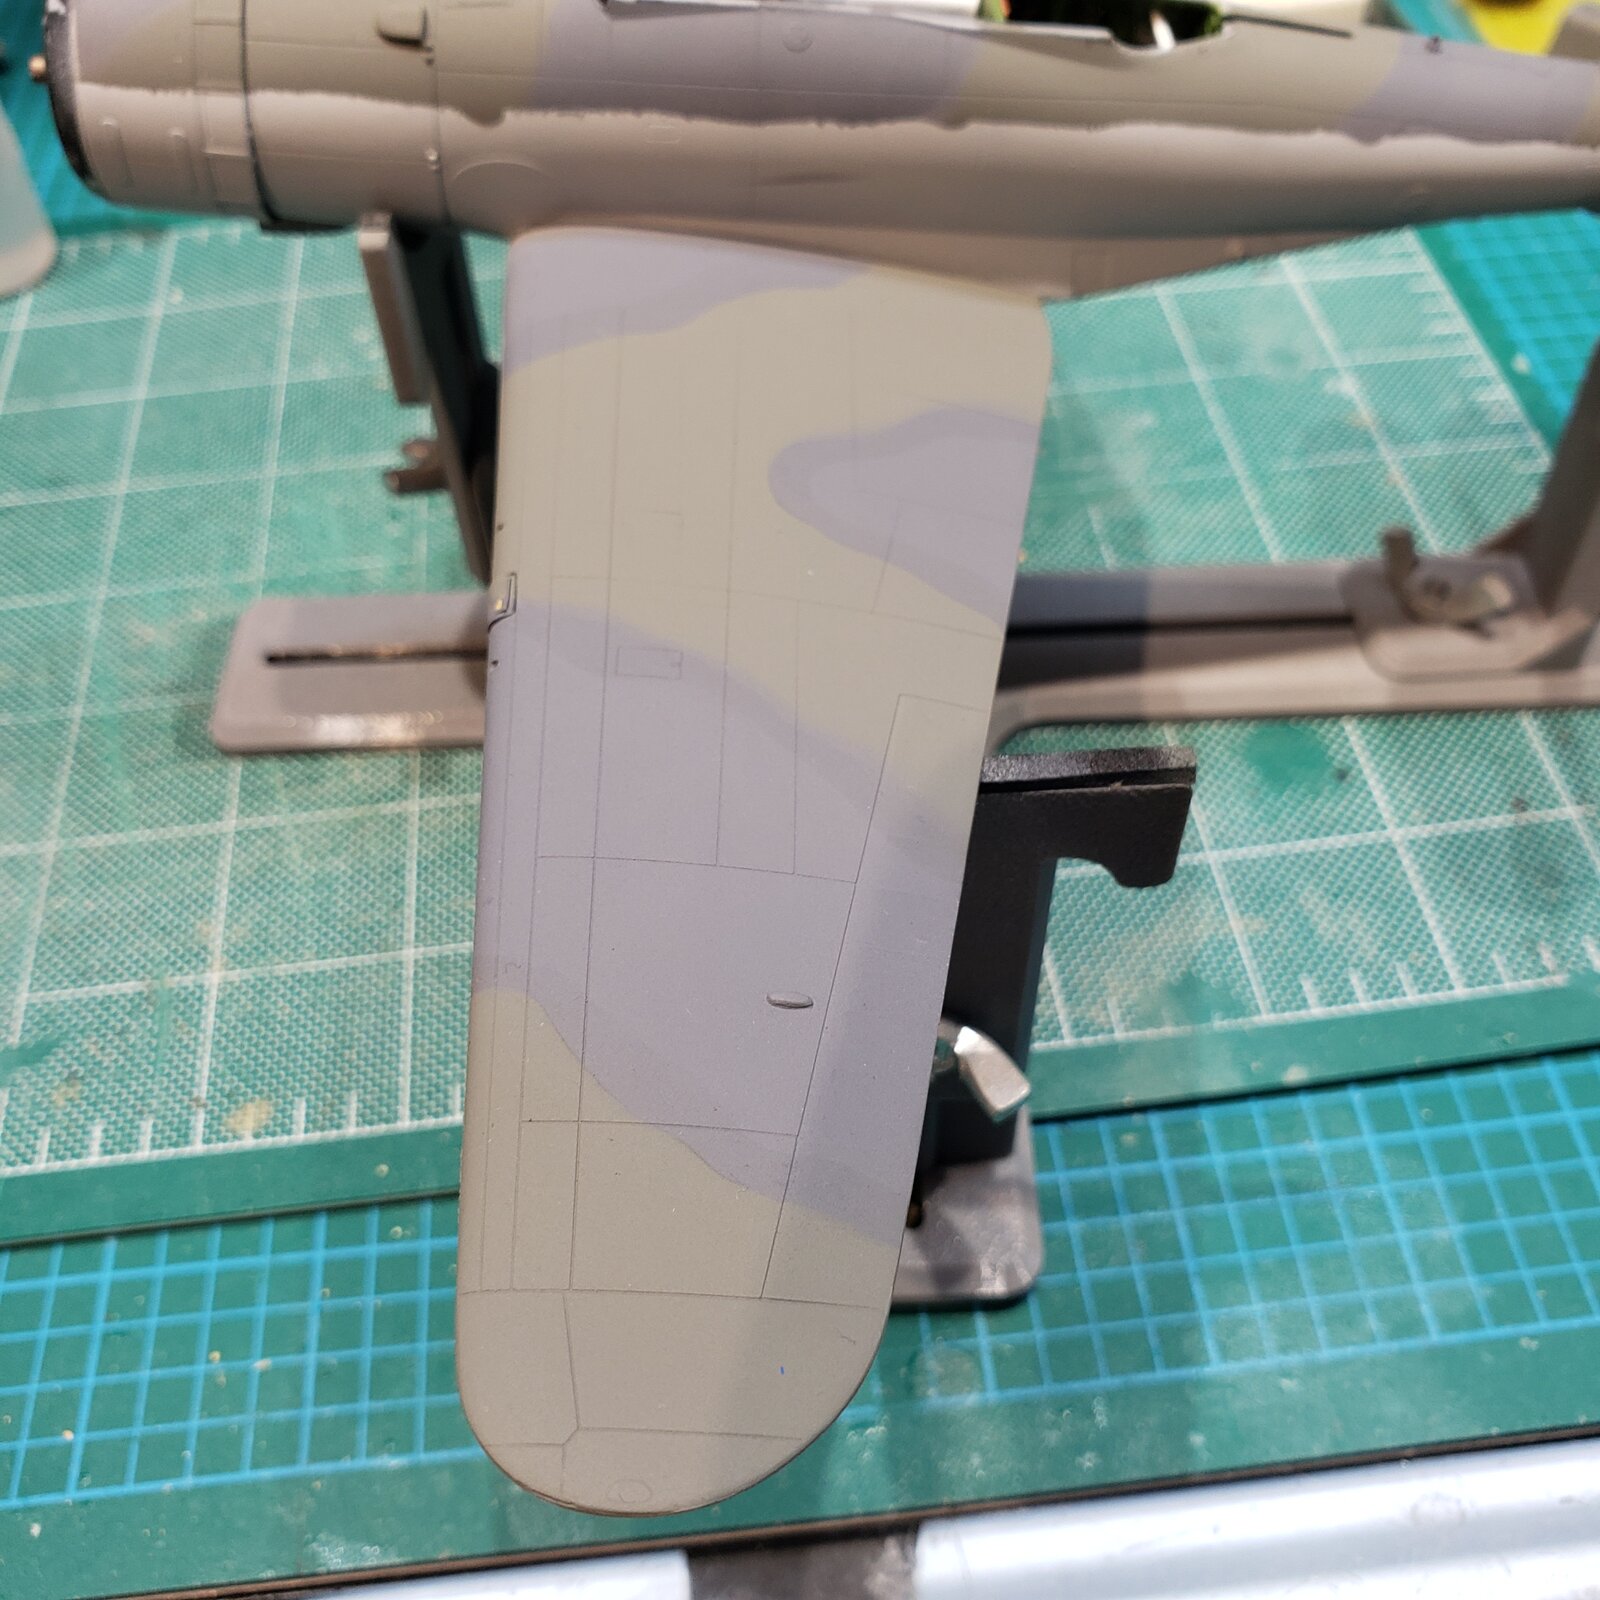
20260201_155059.jpg


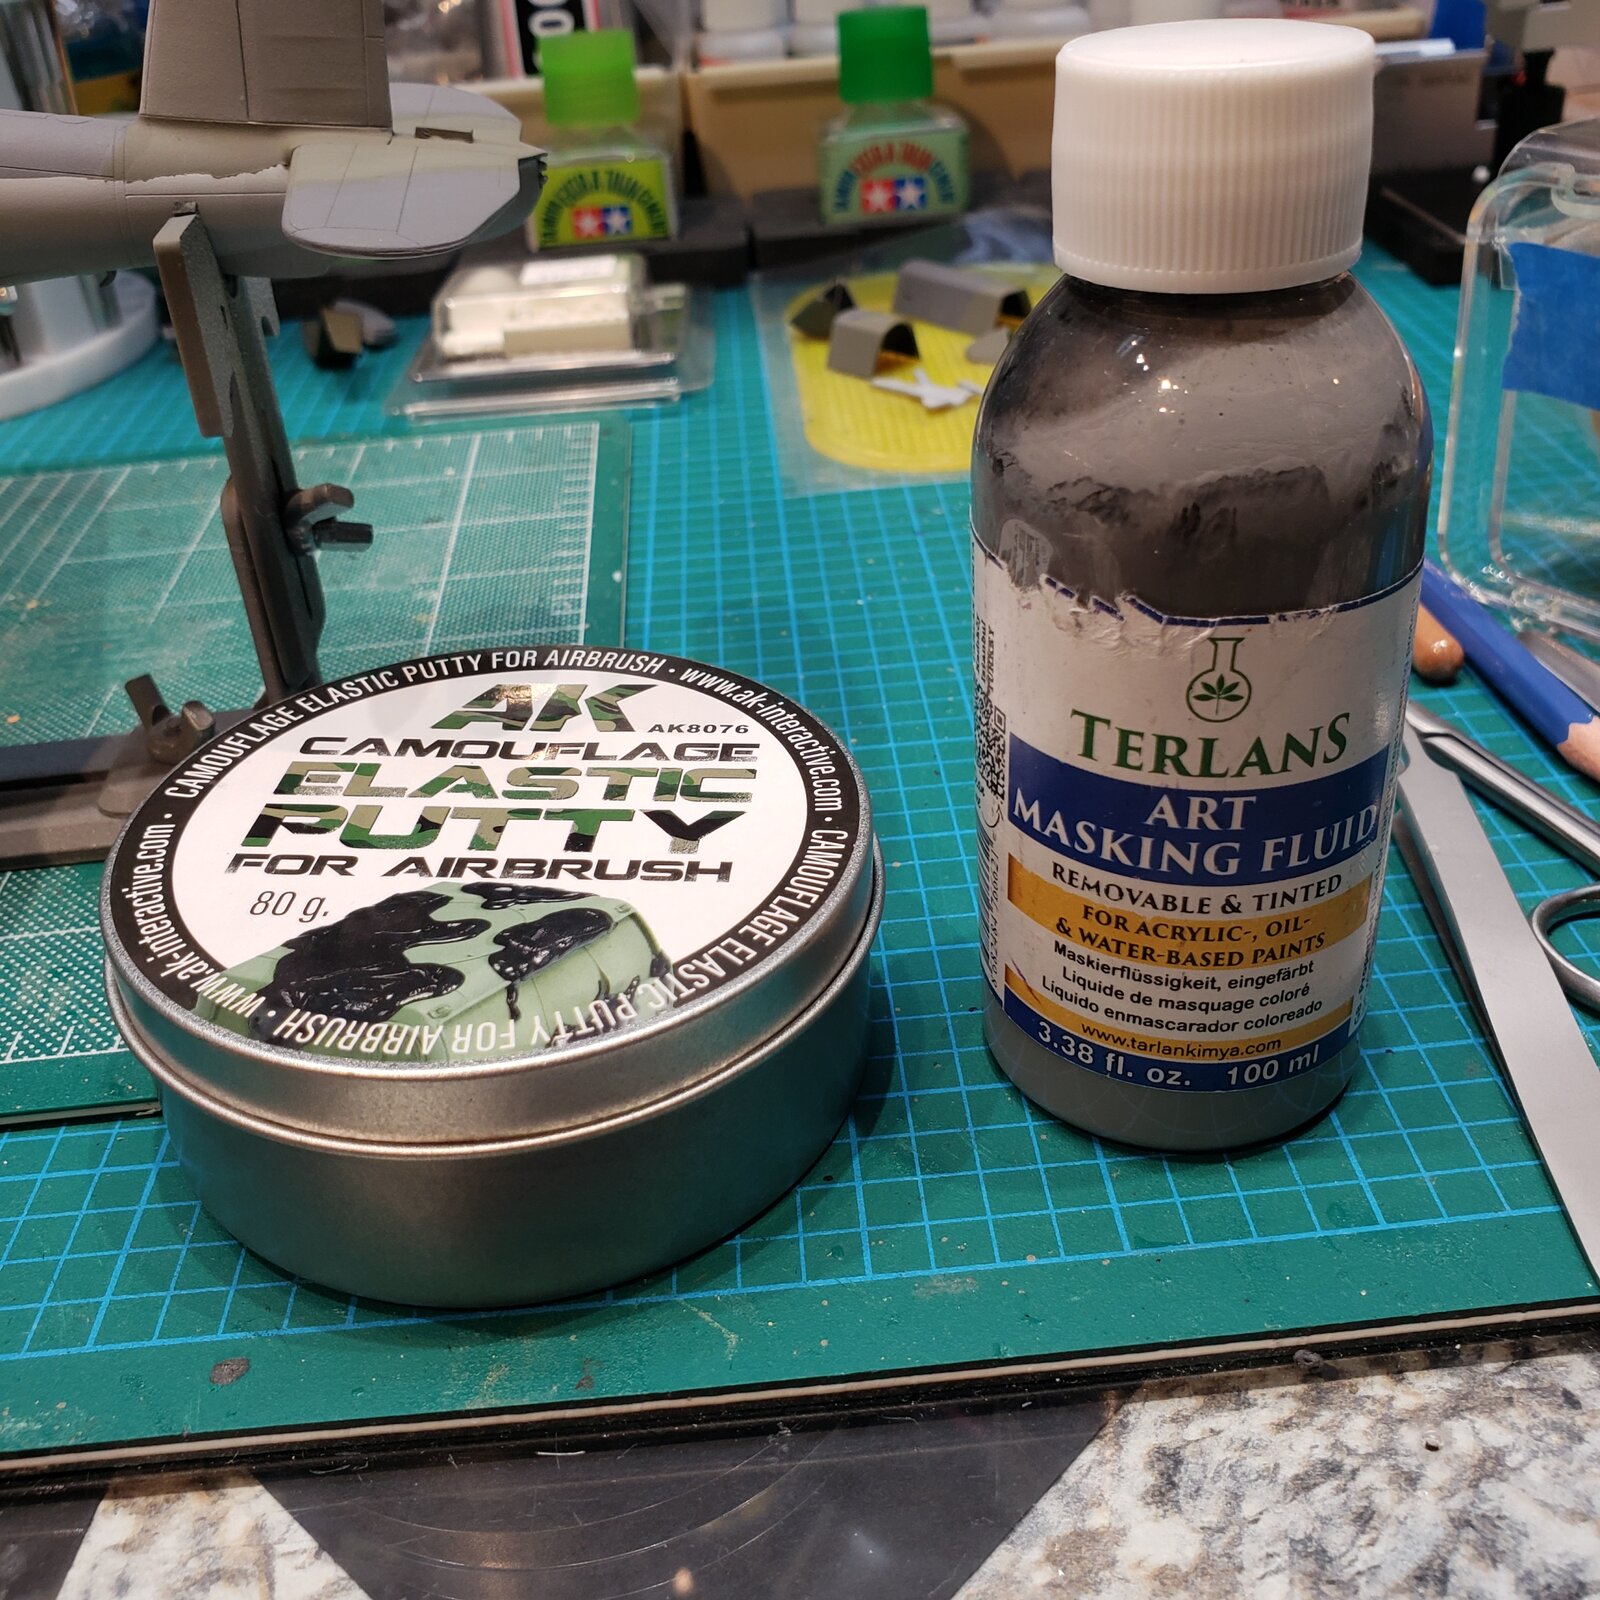
3. So I remask, this time using an art masking fluid.
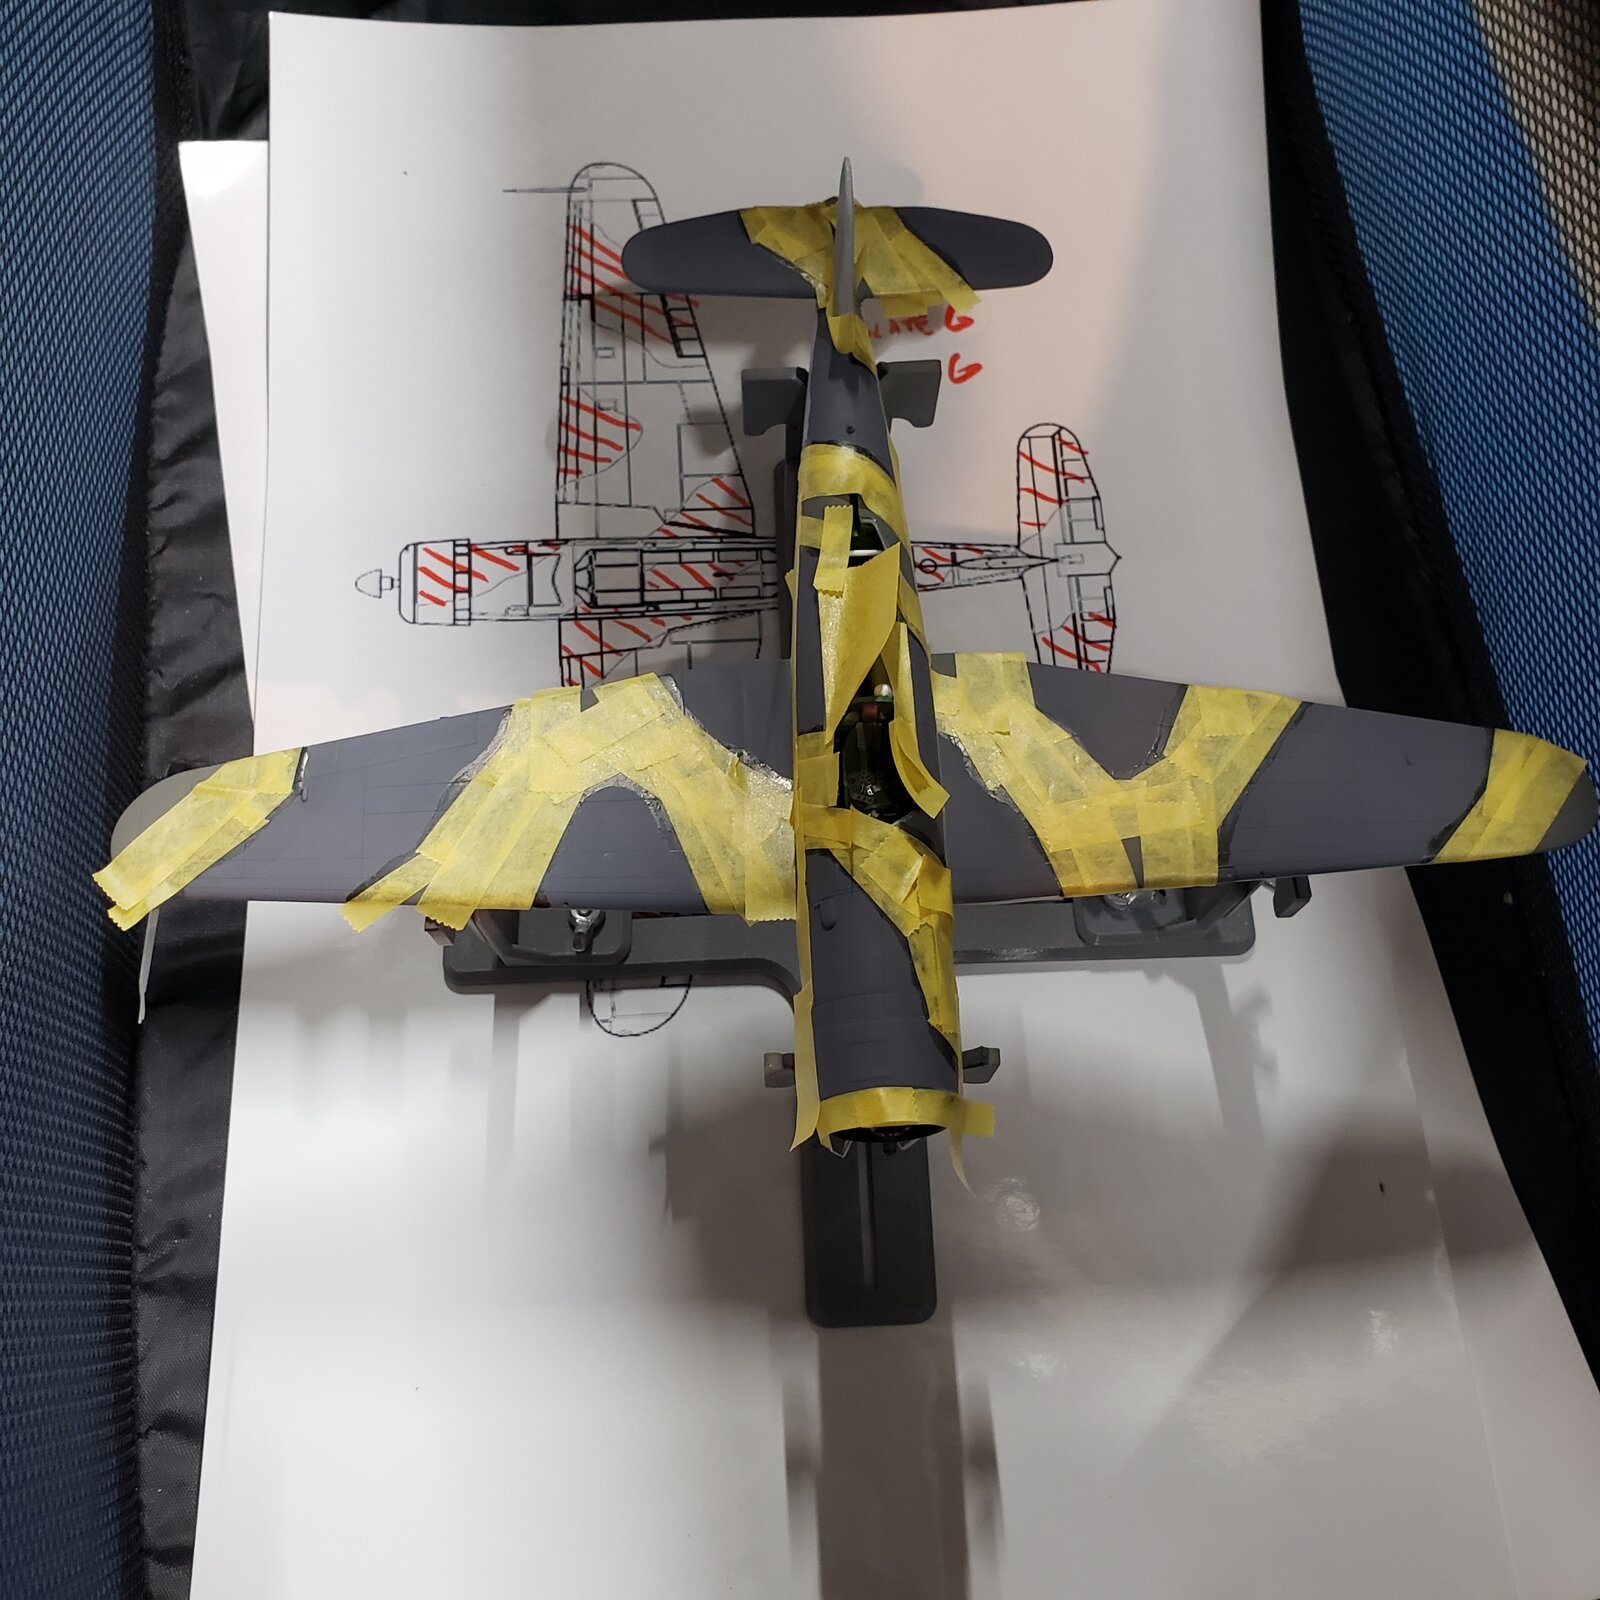
20260201_165651.jpg


Now it is the second colour that has the edge discoloration.
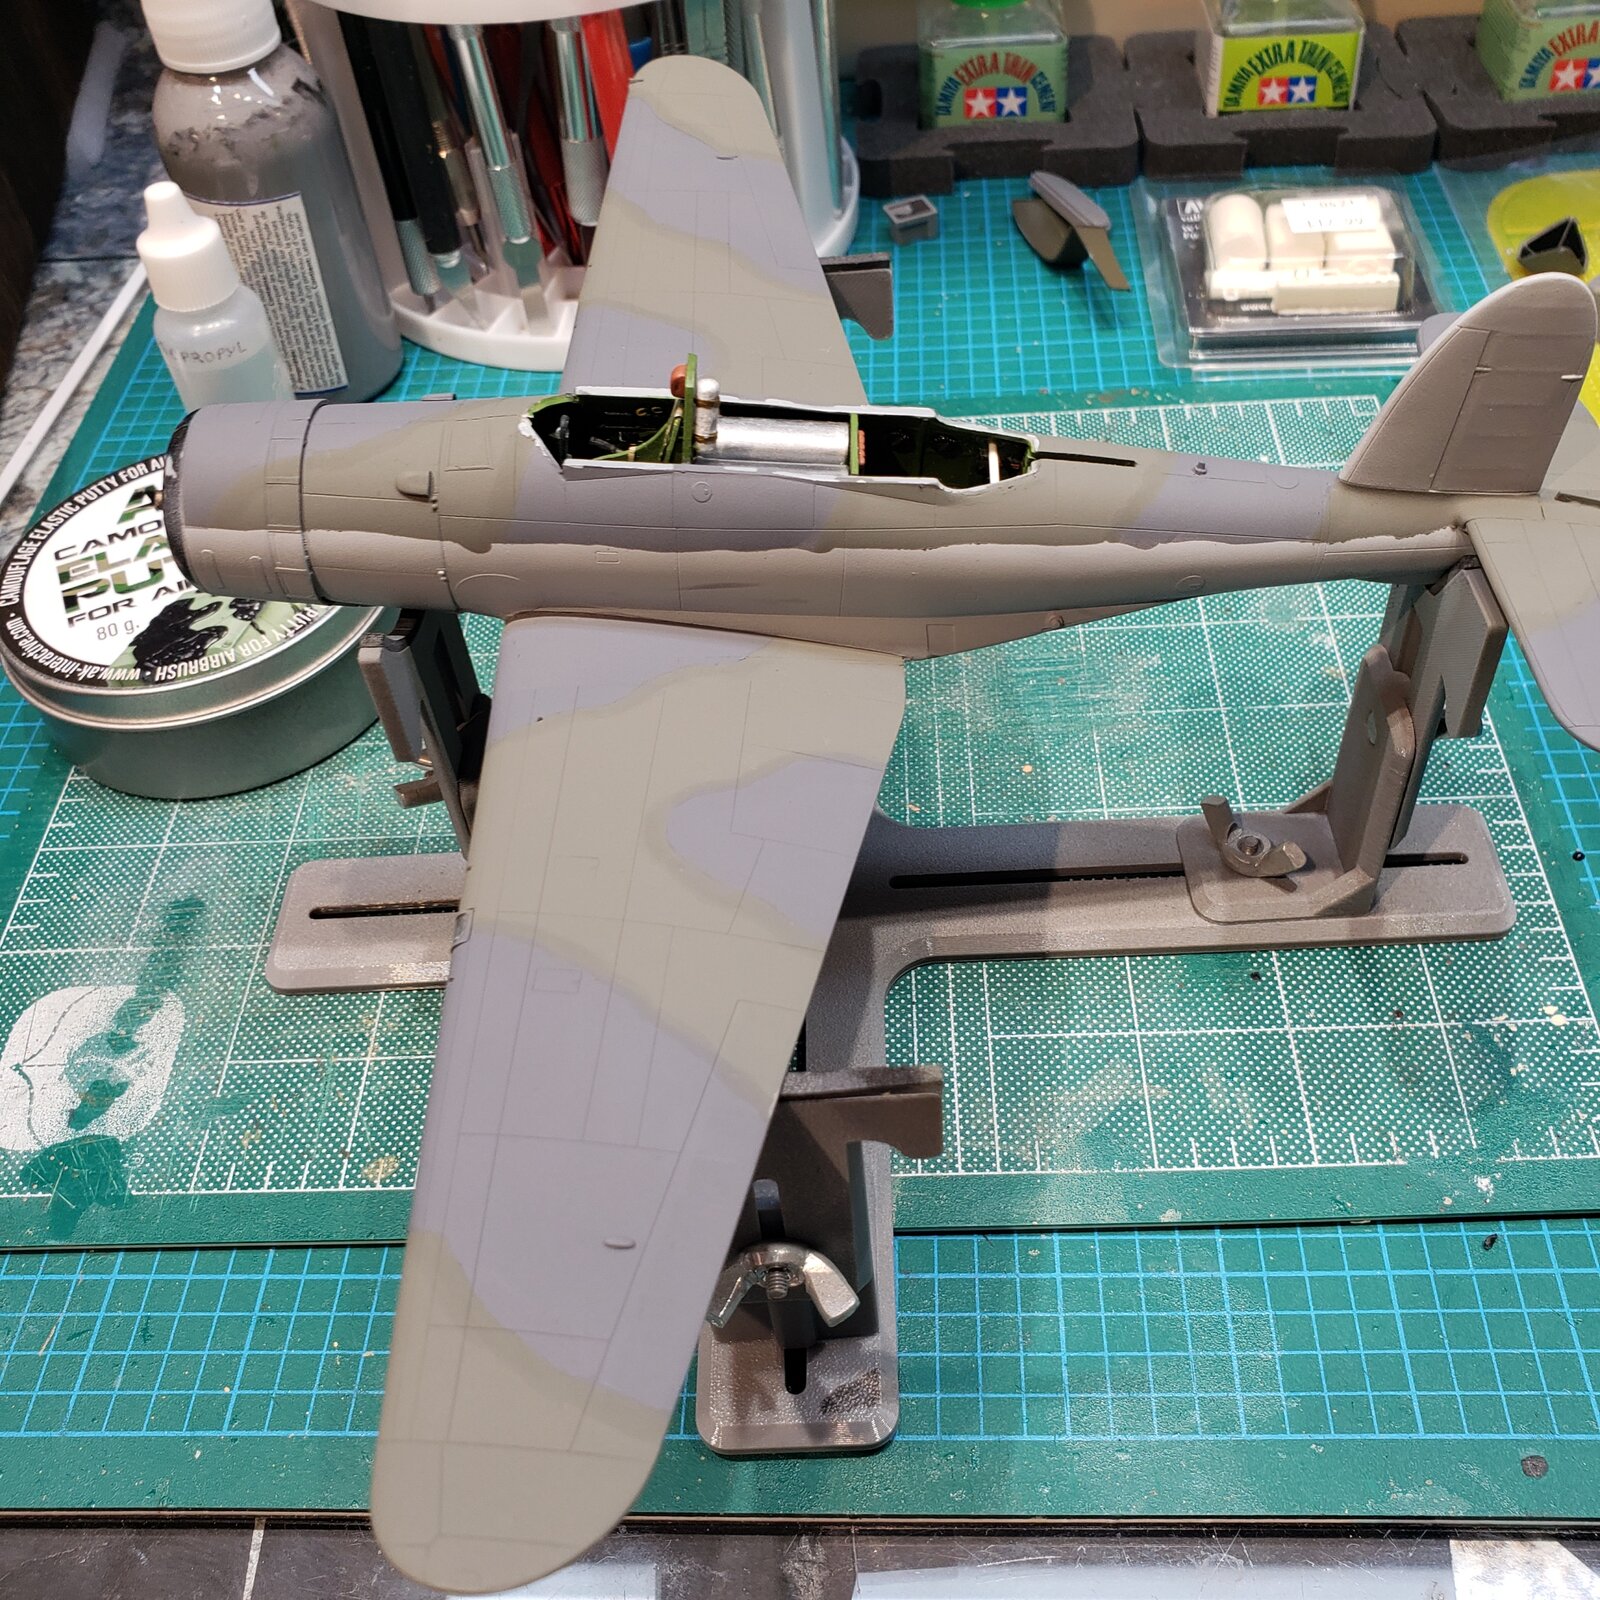
20260201_175521.jpg


Now I will wait a week to see if that fades. If not, I will have to bite the bullet and try to fix the edge by freehanding it. The very thing I'd been trying to avoid!
Both the putty and liquid masks came off very easily leaving a clean edge. (yay for small mercies!)

I had mentally prepared for and will go back into the line between upper and lower surfaces with the lighter colour to soften the edge, but that is a relatively straight line...

Searching online, suggestions range from masking too early, to colour transfer from the masking products, to chemical interaction with ammonia in the liquid mask if it is too old...

... Sigh. :rolleyes:
 
Possible the base wasn't dry or cured enough and then whatever moisture was in the putty seeped into that undercoat. Maybe? I've used that AK putty before but did not have that problem.
 
did it change the sheen and hence the saturation and not the actual hue ?
How long did it cure before the putty ?
 
As an Amazon Associate we earn from qualifying purchases. Product prices and availability are accurate as of the date/time indicated and are subject to change.
Just two days... so probably not cured long enough.

And though sheen is difficult to account for, the dark does seem different depending on the angle and direction of light. I noticed that when masking the second time, having to view at an angle for most contrast to see the edge.

My fault, obviously, being so used to brush painting it seemed there was next to nothing put down with the airbrush, and dry to the touch in minutes...

I'll know for next time! Still will give it a week to see if that makes a difference.
 
I've never used any of the products shown in this thread. All I have used is kids Silly Putty, and I've never had any problems.

I've also used it on 1:1 vehicles. It's great for touch-up work, where you want a soft edge for blending the same color. It actually works better than folding tape onto itself to make that soft edge.

The stuff is reusable, too (at least for several uses).
 
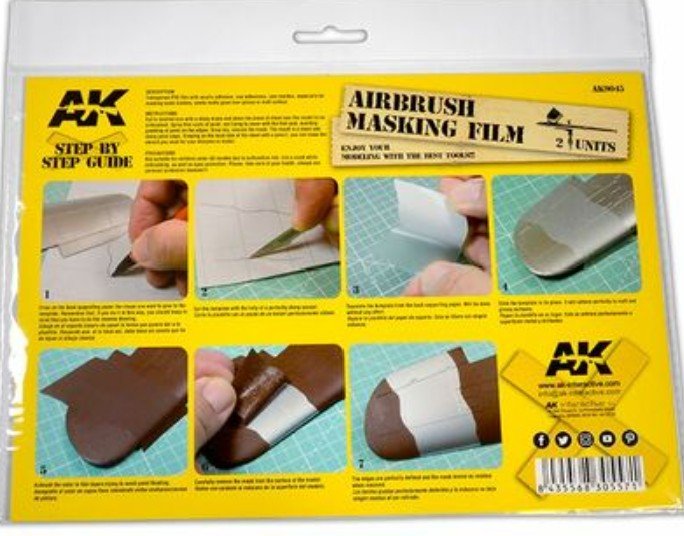
masking film
Interesting... I've cut plenty of frisket film in my time (as well as rubylith and amberlith for print and silkscreen), this looks quite similar... I imagine it stretches and conforms to the 3D shape of the surfaces as well.

I probably would not have noticed anything if I had filled the entire area to be masked with the putty, not just the edges and infilling with tape.
 
From what I've seen of other folks' results, it must be something I'm doing; their success is what prompted me to try it out!
Having worked with the putty, it has the advantage of being able to shape it in raised cords, that allows use of the airbrush to achieve a 'soft' edge if desired.
Both the liquid film and masking film will produce a crisp edge, which also is perfect for given situations.
 
I've never used any of the products shown in this thread. All I have used is kids Silly Putty, and I've never had any problems.

I've also used it on 1:1 vehicles. It's great for touch-up work, where you want a soft edge for blending the same color. It actually works better than folding tape onto itself to make that soft edge.

The stuff is reusable, too (at least for several uses).
I've used the kid's silly puddy which I purchased at the local dollar store. It worked well for a few years, then started to get hard and didn't stick very well. I did get my money's worth out of it.
I never noticed any discolouration on the paint jobs when I used the silly puddy. I would usually give the kit a good once over with the hairdryer after painting to help the paint cure a bit quicker.
I know I've had some issues with the AK generation of paints. I had assumed that I could use them the same way that I use Vajello Model Air. That proved to be an incorrect assumption in a few cases.
 
I know I've had some issues with the AK generation of paints. I had assumed that I could use them the same way that I use Vajello Model Air. That proved to be an incorrect assumption in a few cases.
Never assume one brand of acrylic will behave like another. In fact, you are better off assuming they won't until you've proven they will.
 
...so AirBrush newb is all keen to use AK camouflage plastic putty for the wing tops and upper fuselage. It is a three colour scheme, one under, two on top. The underpainting goes smoothly, and even the preshading comes through!

View attachment 178525
On the the upper surfaces!

1. My first mistake was not painting a base colour, then applying mask for the second colour. No biggie, I just repainted everywhere.
Then masked again.

View attachment 178519

2. Perhaps I didn't wait long enough for the base to cure before applying camo putty? After painting the second colour, the base colour was darker where it was masked.
No biggie, wait a couple of days and mask to repaint the edges that are darker.

View attachment 178520

3. So I remask, this time using an art masking fluid.

View attachment 178521

Now it is the second colour that has the edge discoloration.

View attachment 178522

Now I will wait a week to see if that fades. If not, I will have to bite the bullet and try to fix the edge by freehanding it. The very thing I'd been trying to avoid!
Both the putty and liquid masks came off very easily leaving a clean edge. (yay for small mercies!)

I had mentally prepared for and will go back into the line between upper and lower surfaces with the lighter colour to soften the edge, but that is a relatively straight line...

Searching online, suggestions range from masking too early, to colour transfer from the masking products, to chemical interaction with ammonia in the liquid mask if it is too old...

... Sigh. :rolleyes:
I almost always free hand as I prefer the softer lines. On a modern plane I'd be more apt to mask as the camo is more marked. Since you mention possible delays using the putty, to avoid discoloration, it definitely is not something I would use. It's looking good.
 
I had the exact same effect the first time I tried using worms to mask. I used the sticky-tack stuff not AK brand, but they might be similar. Never knew "exactly" what went wrong but the consensus was it was brand new right out of the plastic and too sticky and/or had some film to it.

See 2nd picture in post #3 here.
 
I use a combination of masking film or tape and then add a small rope of blue tack to feather and detail the edges. I use lacquer paints, so edge buildup is less of a problem, but I still avoid spraying into the putty gap. Come in REALLY light from straight above to make your edge, then build your color on the larger areas from behind and over the top of the rope.
 

Latest posts

Back
Top