
Looking good! I bought some templates for painting insignia but they're metal and I haven't had much luck with them. How did you paint?

You are using an out of date browser. It may not display this or other websites correctly.
You should upgrade or use an alternative browser.
You should upgrade or use an alternative browser.
M3A1 HALFTRACK - 1/16 - from Andy's Hobby HR
- Thread starter GCB
- Start date
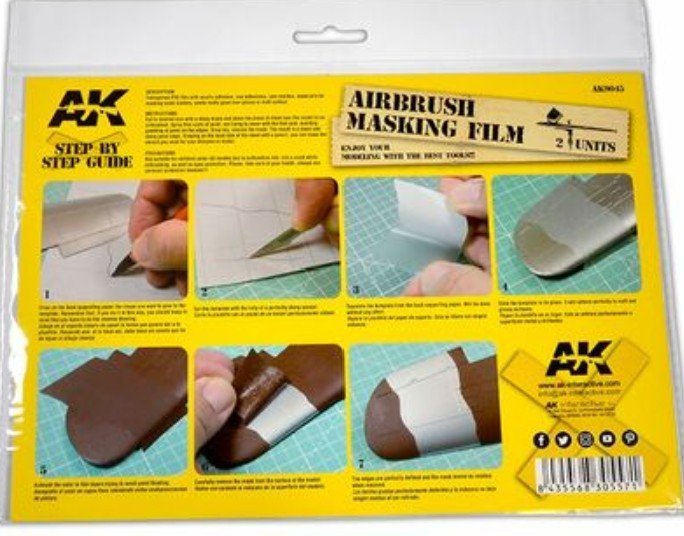
Ok. I did that for a 1/32 mustang I built. Worked quite well.

mustang1989
Well-Known Member
- Joined
- Aug 6, 2022
- Messages
- 552
Been missing out on the action but I'm definitely all caught up now. All I can say so far is WOW!!! This build is rockin'!!


![Pampers Sensitive Baby Wipes, Clinically Proven, Fragrance Free, Unscented, Water Based, Hypoallergenic, Multi-Use, Hand Wipes 336 Wipes Total (6X Flip-Top Packs) [Packaging May Vary]](https://m.media-amazon.com/images/I/41KLBHu9CAL._SL500_.jpg)






As an Amazon Associate we earn from qualifying purchases. Product prices and availability are accurate as of the date/time indicated and are subject to change.

GCB
Well-Known Member
- Joined
- Aug 22, 2023
- Messages
- 867
On this model, the ordnance as much as I know is: one M2 0.5 and three M1919 0.3 machine guns (see below). Am I right?
And question: how do you paint these machine guns to look realistic? Obviously black, but with different nuances.. So, the receiver matt but with some grey, the barrel support black and the barrel black shiny? All with some dry brushing silver?? Any input welcome.
Thanks
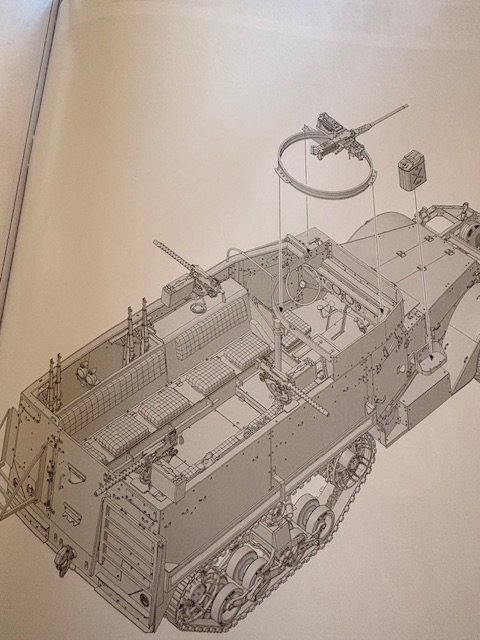
And question: how do you paint these machine guns to look realistic? Obviously black, but with different nuances.. So, the receiver matt but with some grey, the barrel support black and the barrel black shiny? All with some dry brushing silver?? Any input welcome.
Thanks

Edbert
Well-Known Member
- Joined
- May 16, 2024
- Messages
- 3,123
Yes.Am I right?
As far as painting, I think there are multiple answers. I used to use a Humbrol "gunmetal" that worked great. It was too old when I started building again so I bought some new ones, IMO they are too light/silver/gray. I like the results of a semigloss black or very dark gray followed with a light drybrush of dull silver.

Jakko
Well-Known Member
The official load-out was one M2 HB .50-calibre gun and one M1919A4 .30-calibre gun:On this model, the ordnance as much as I know is: one M2 0.5 and three M1919 0.3 machine guns (see below). Am I right?
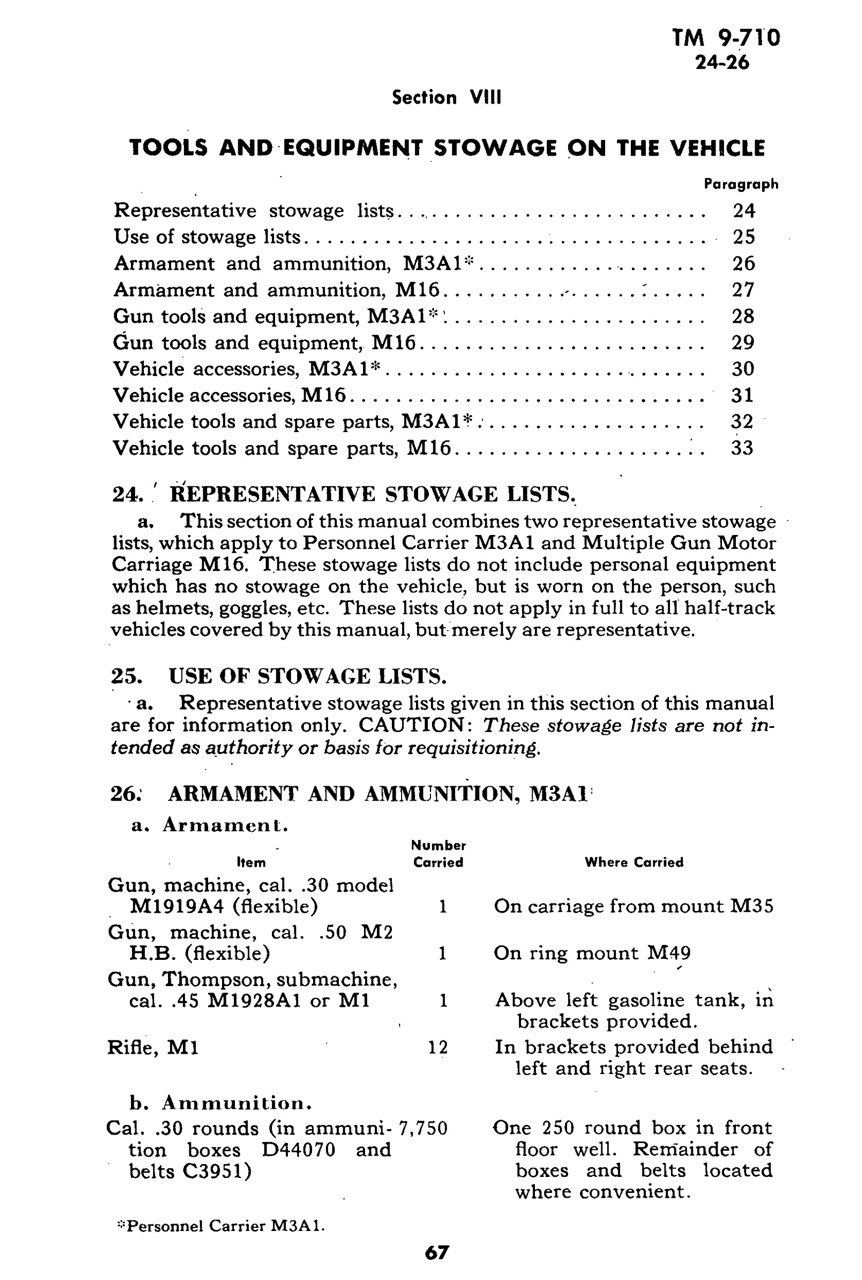
But there are three mountings for the M1919A4, so the intention was that it would be fitted on whichever side of the vehicle the crew needed it. In practice, crews often "acquired" one or two extra guns and fit them in empty sockets. The one most likely to be left empty would be at the rear, I would think.
Not blackAnd question: how do you paint these machine guns to look realistic? Obviously black
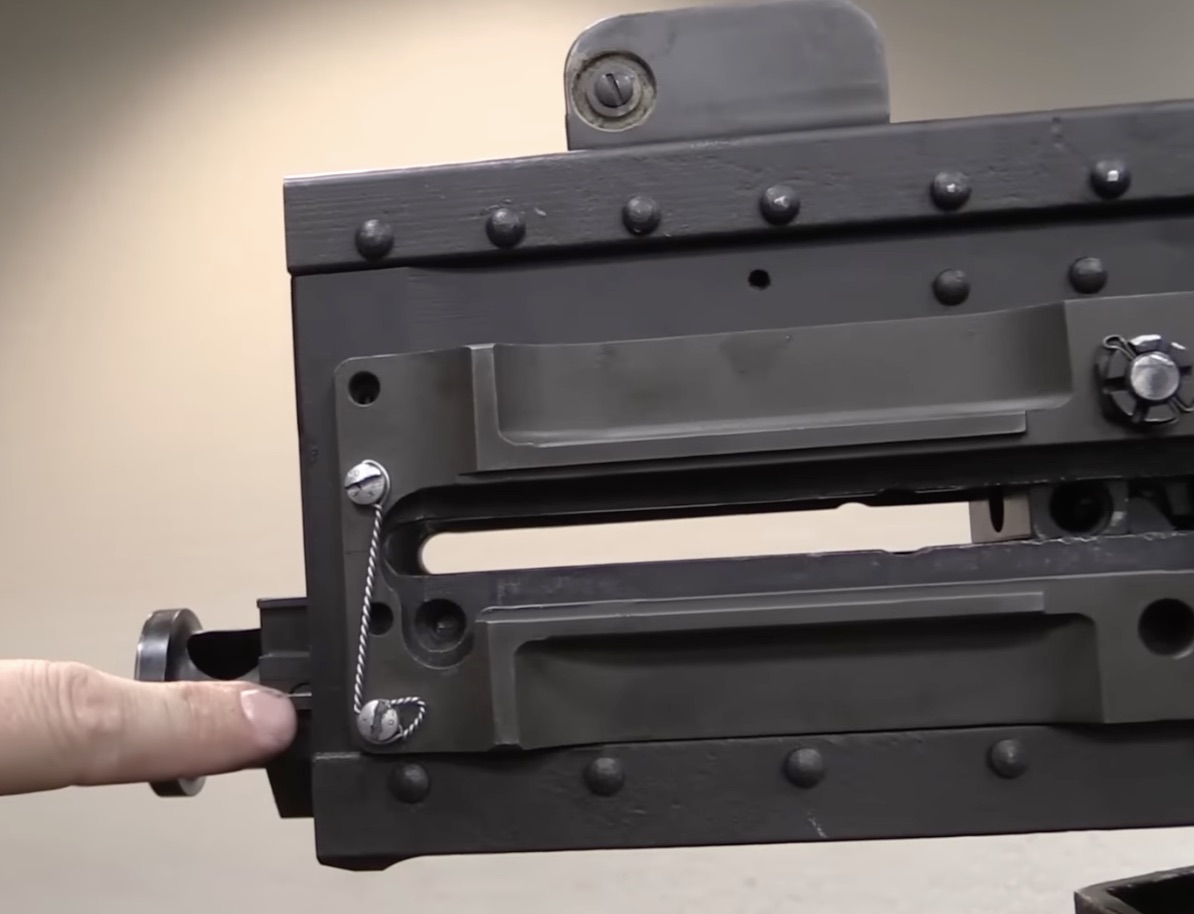
 American firearms of the Second World War were usually "parkerized", which is to say: phosphate conversion coated. This gives a matt finish to the weapon, frequently in medium/dark grey or a greenish colour. These weapons definitely don't look really metallic, so don't use silver, gun metal or any colour like that. Let me link to Forgotten Weapons' treatment of the M2 HB once more:
If you watch that, pay attention to close-ups of the gun. It doesn't have much, or even hardly any, proper "metallic" colour on the outside. Here's a quick still:
For any M1 Garand rifles you want to put in the model, this Reddit post has some useful information.

Though perhaps not kosher, I like to barely 'dust' just a tad of Tamiya titanium weathering to pick out a few edges or raised bits... I find it helps 'de-plastify' the look and feel.
GCB
Well-Known Member
- Joined
- Aug 22, 2023
- Messages
- 867
Thanks Edbert...Yes.
As far as painting, I think there are multiple answers. I used to use a Humbrol "gunmetal" that worked great. It was too old when I started building again so I bought some new ones, IMO they are too light/silver/gray. I like the results of a semigloss black or very dark gray followed with a light drybrush of dull silver.
GCB
Well-Known Member
- Joined
- Aug 22, 2023
- Messages
- 867
The official load-out was one M2 HB .50-calibre gun and one M1919A4 .30-calibre gun:
View attachment 176530
But there are three mountings for the M1919A4, so the intention was that it would be fitted on whichever side of the vehicle the crew needed it. In practice, crews often "acquired" one or two extra guns and fit them in empty sockets. The one most likely to be left empty would be at the rear, I would think.
Not black
If you watch that, pay attention to close-ups of the gun. It doesn't have much, or even hardly any, proper "metallic" colour on the outside. Here's a quick still:
View attachment 176531
For any M1 Garand rifles you want to put in the model, this Reddit post has some useful information.
I knew I will get a detailed answer. Thanks Jakko.
GCB
Well-Known Member
- Joined
- Aug 22, 2023
- Messages
- 867
Will try a few options and see what looks betterThough perhaps not kosher, I like to barely 'dust' just a tad of Tamiya titanium weathering to pick out a few edges or raised bits... I find it helps 'de-plastify' the look and feel.
Edbert
Well-Known Member
- Joined
- May 16, 2024
- Messages
- 3,123
The silver you use should be a dark or dull silver, and applied very lightly, just to bring out highlights, but I guess it depends on how weathered the overall halftrack will be, they did get abused.
You could even use some color variations for interest, particularly on the 50, I think the barrels discolored first from heat, but not the shroud, it would be much more matte as seen below.
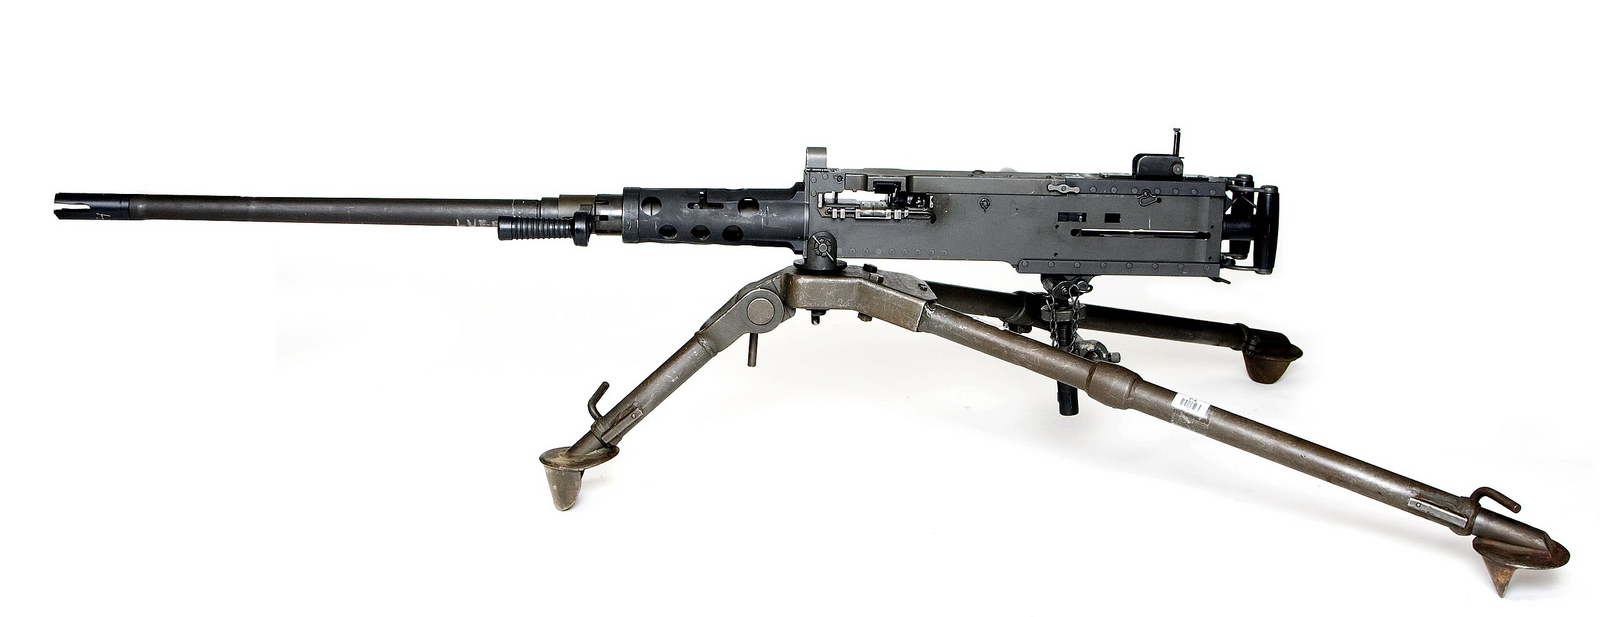
You could even use some color variations for interest, particularly on the 50, I think the barrels discolored first from heat, but not the shroud, it would be much more matte as seen below.
Last edited:
Edbert
Well-Known Member
- Joined
- May 16, 2024
- Messages
- 3,123
I've not worked on it is at least a month, too many in-progress and the last week I've hardly done anything on any kits. Work ramped up at the start of the year and been remodeling the man-cave with thoughts of adding more AC and bringing my paint booth in from the garage.Btw, where do you stand on your M3 halftrack?
I'll get her done though.
... you know...remodeling the man-cave
... if you use the words 'remodeling' and 'man-cave' in the same sentence, its either not 'remodeling' or a 'man-cave'.

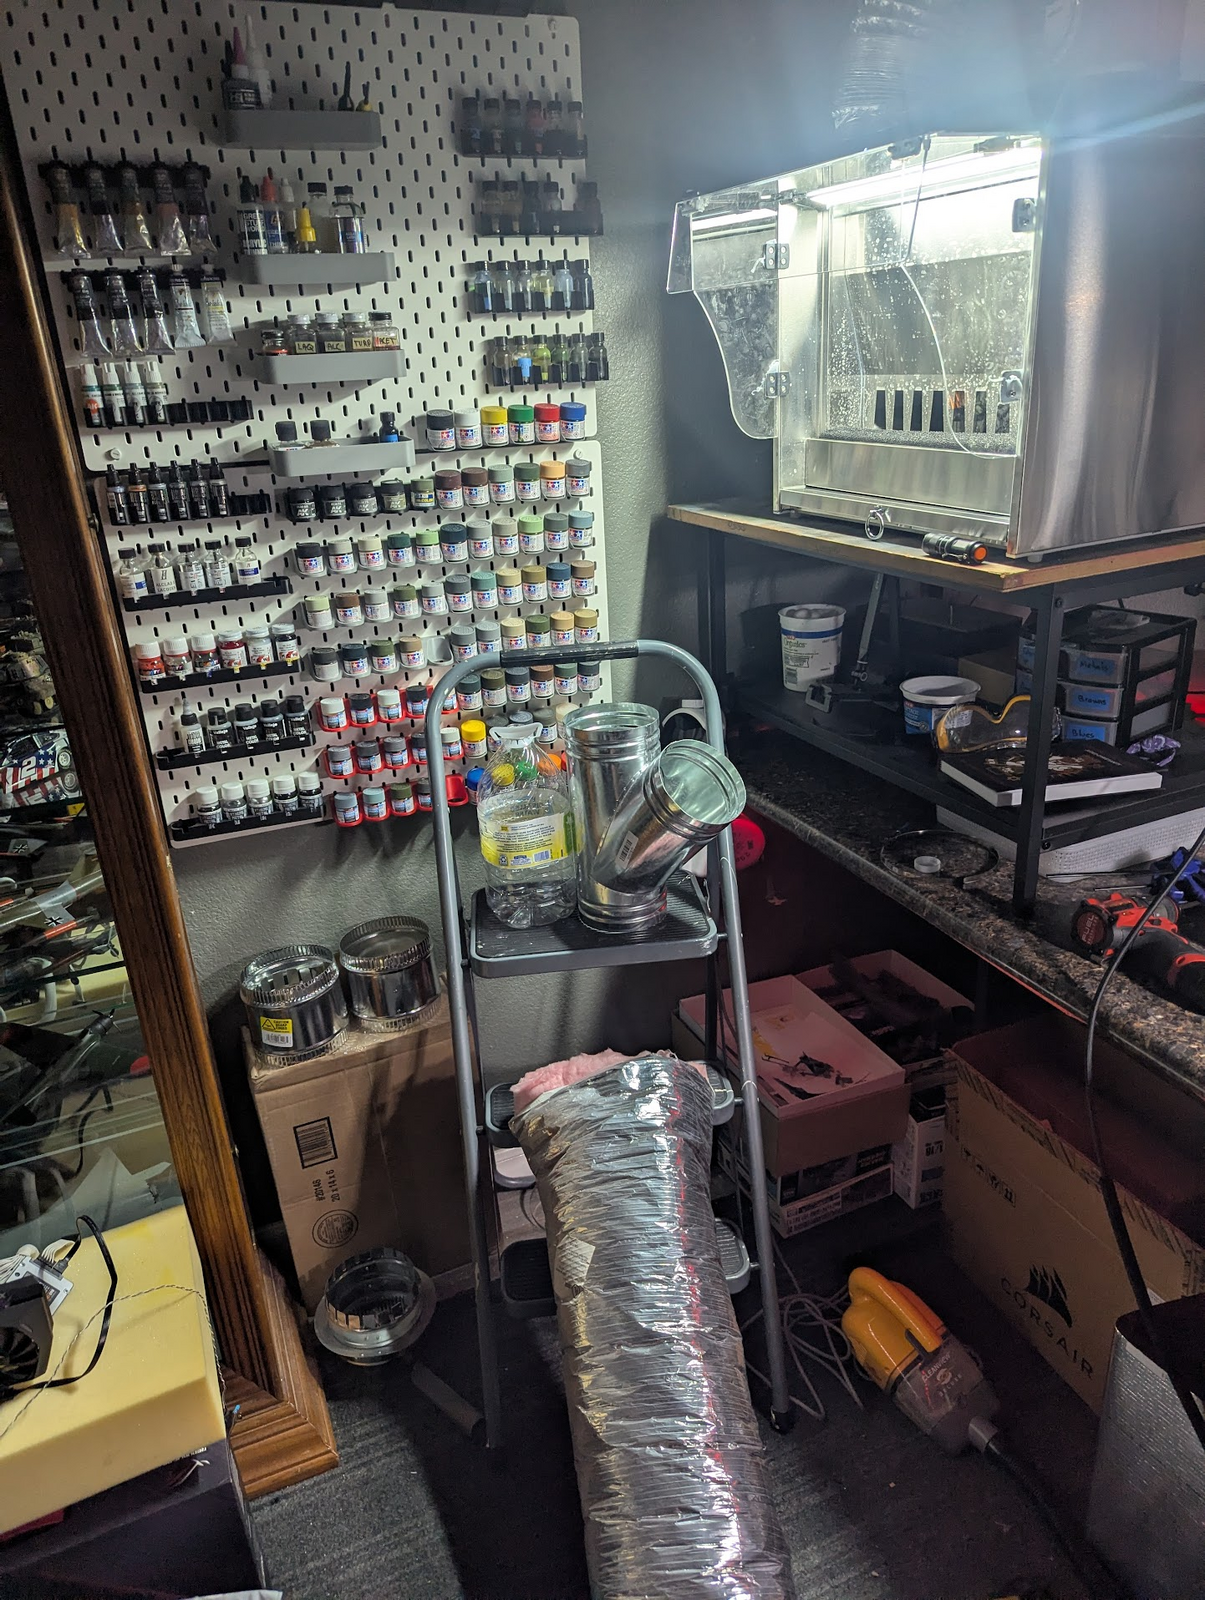
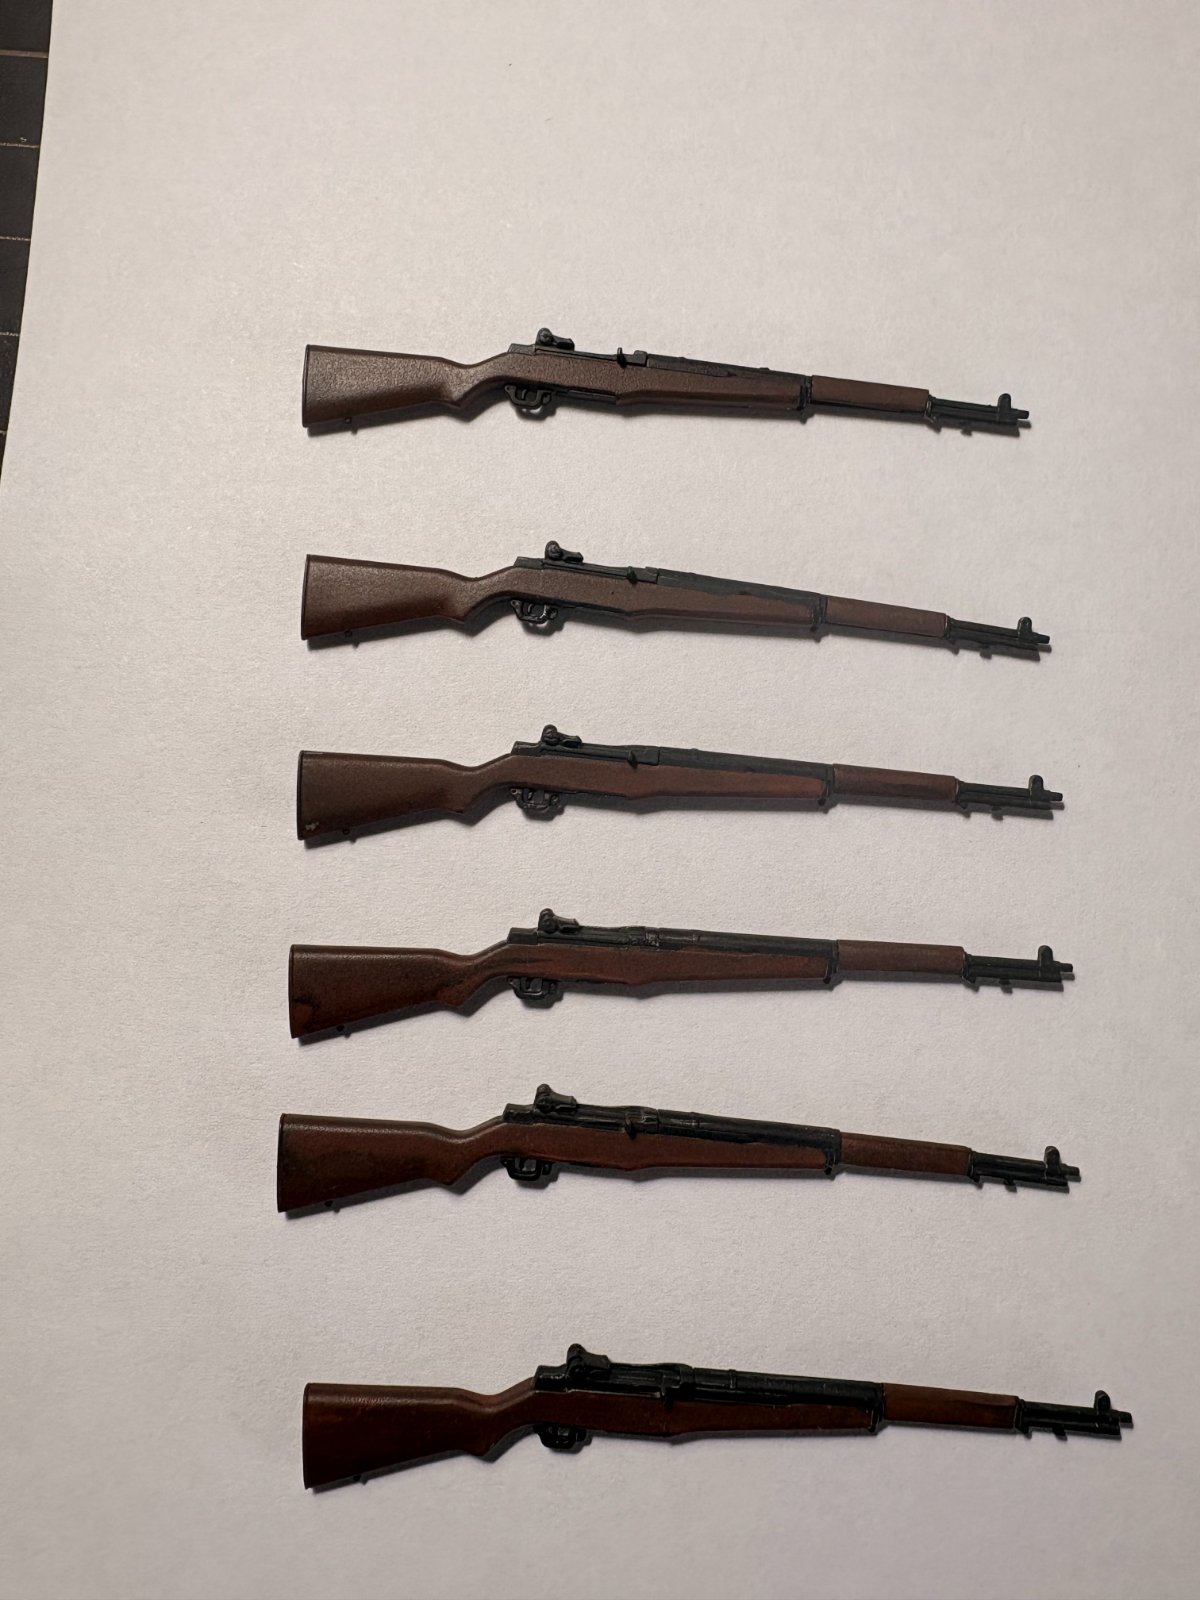
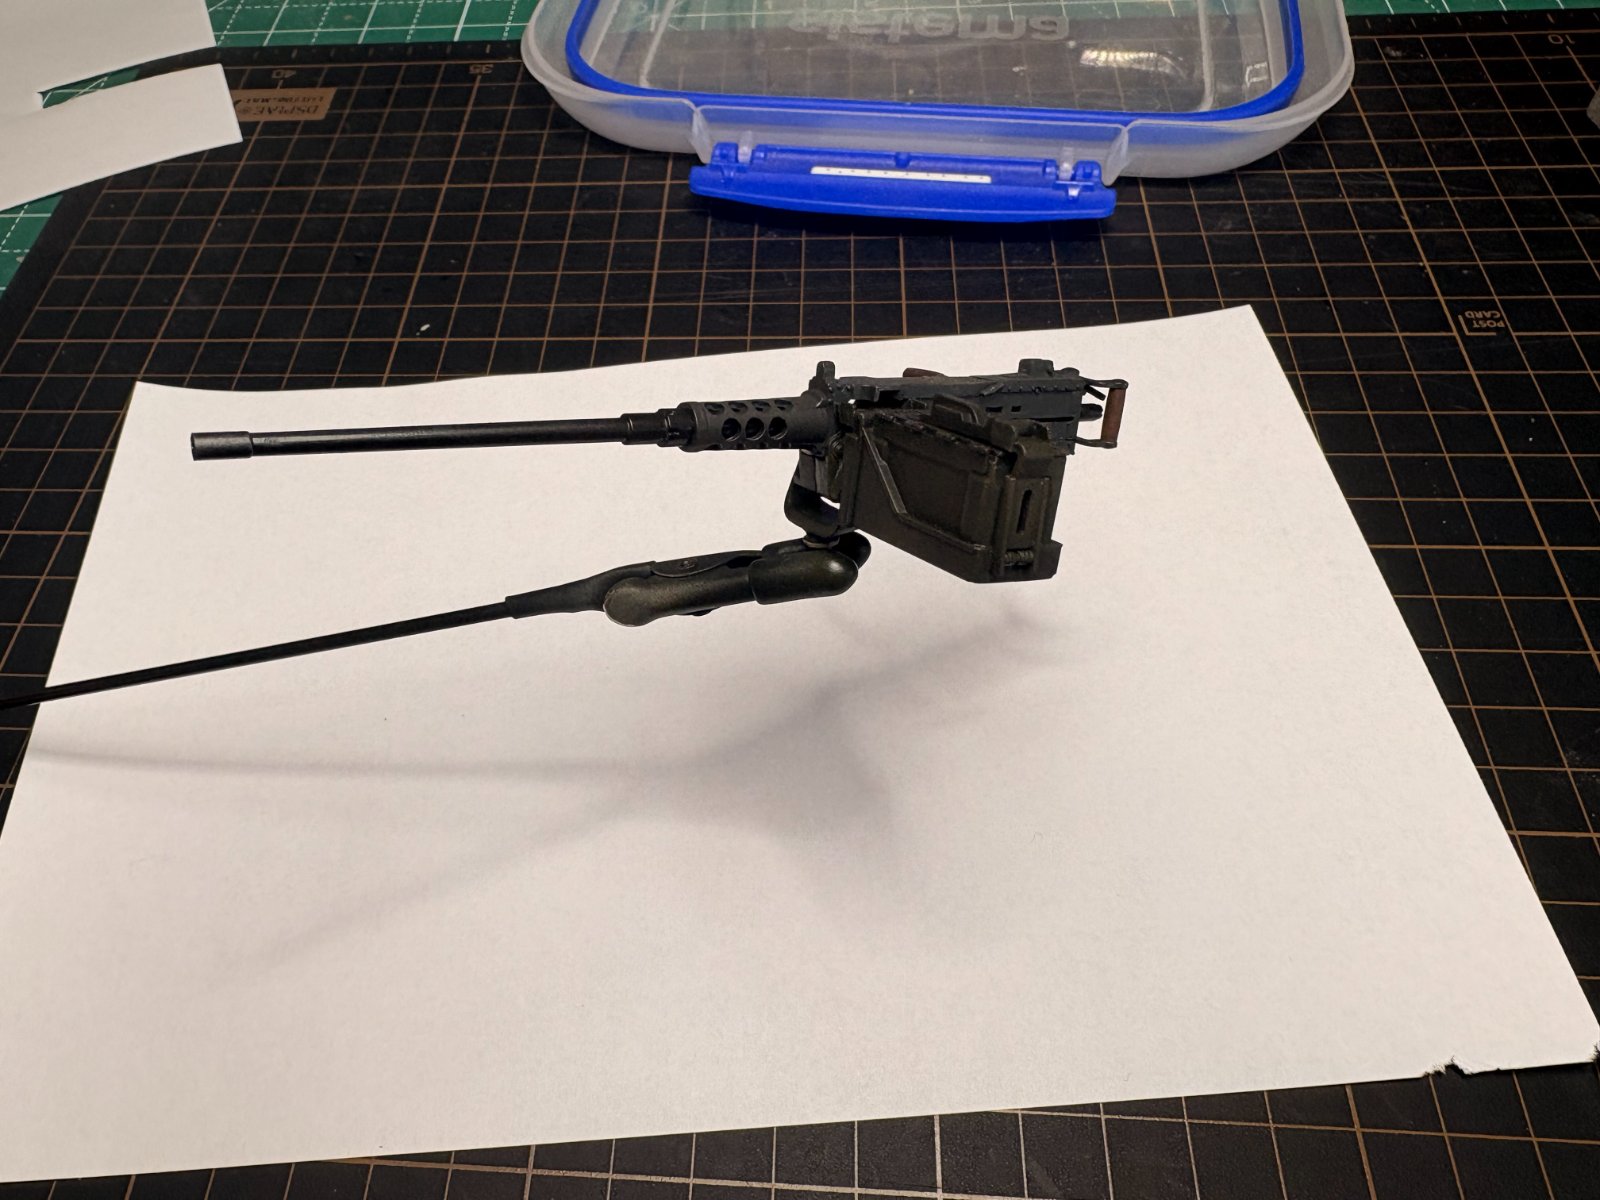
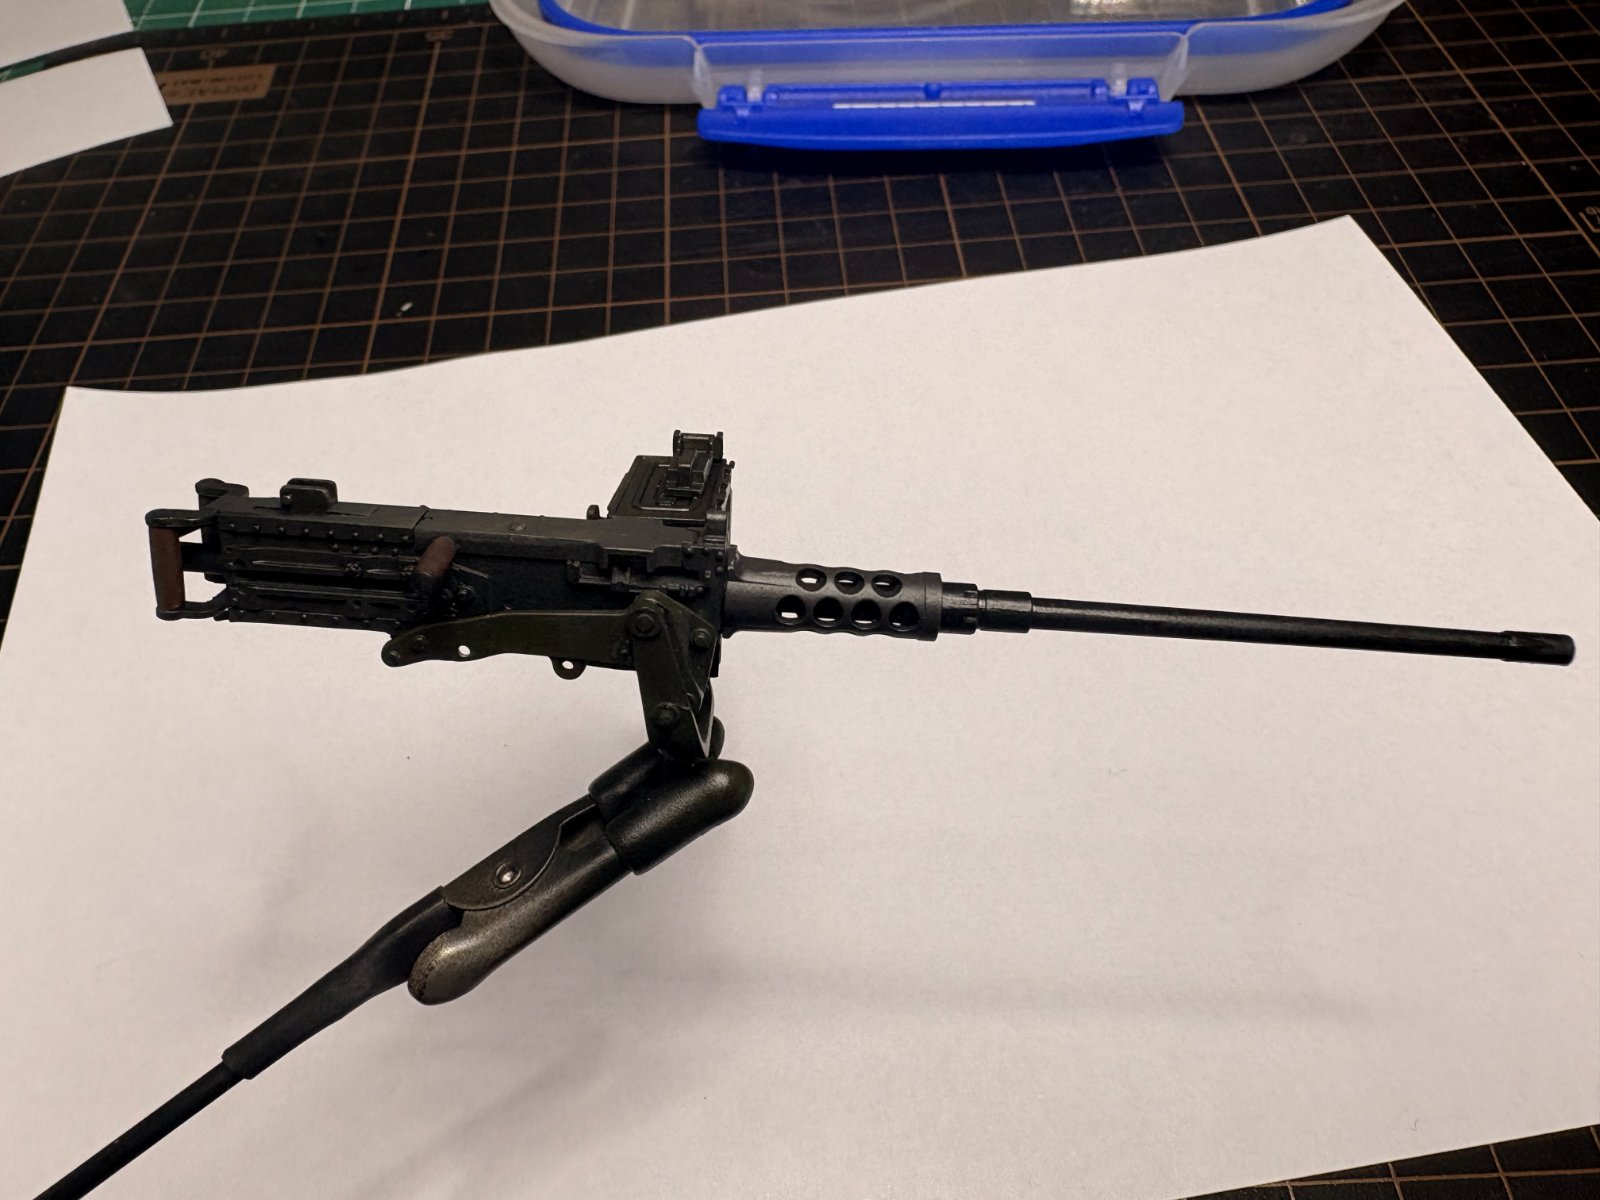
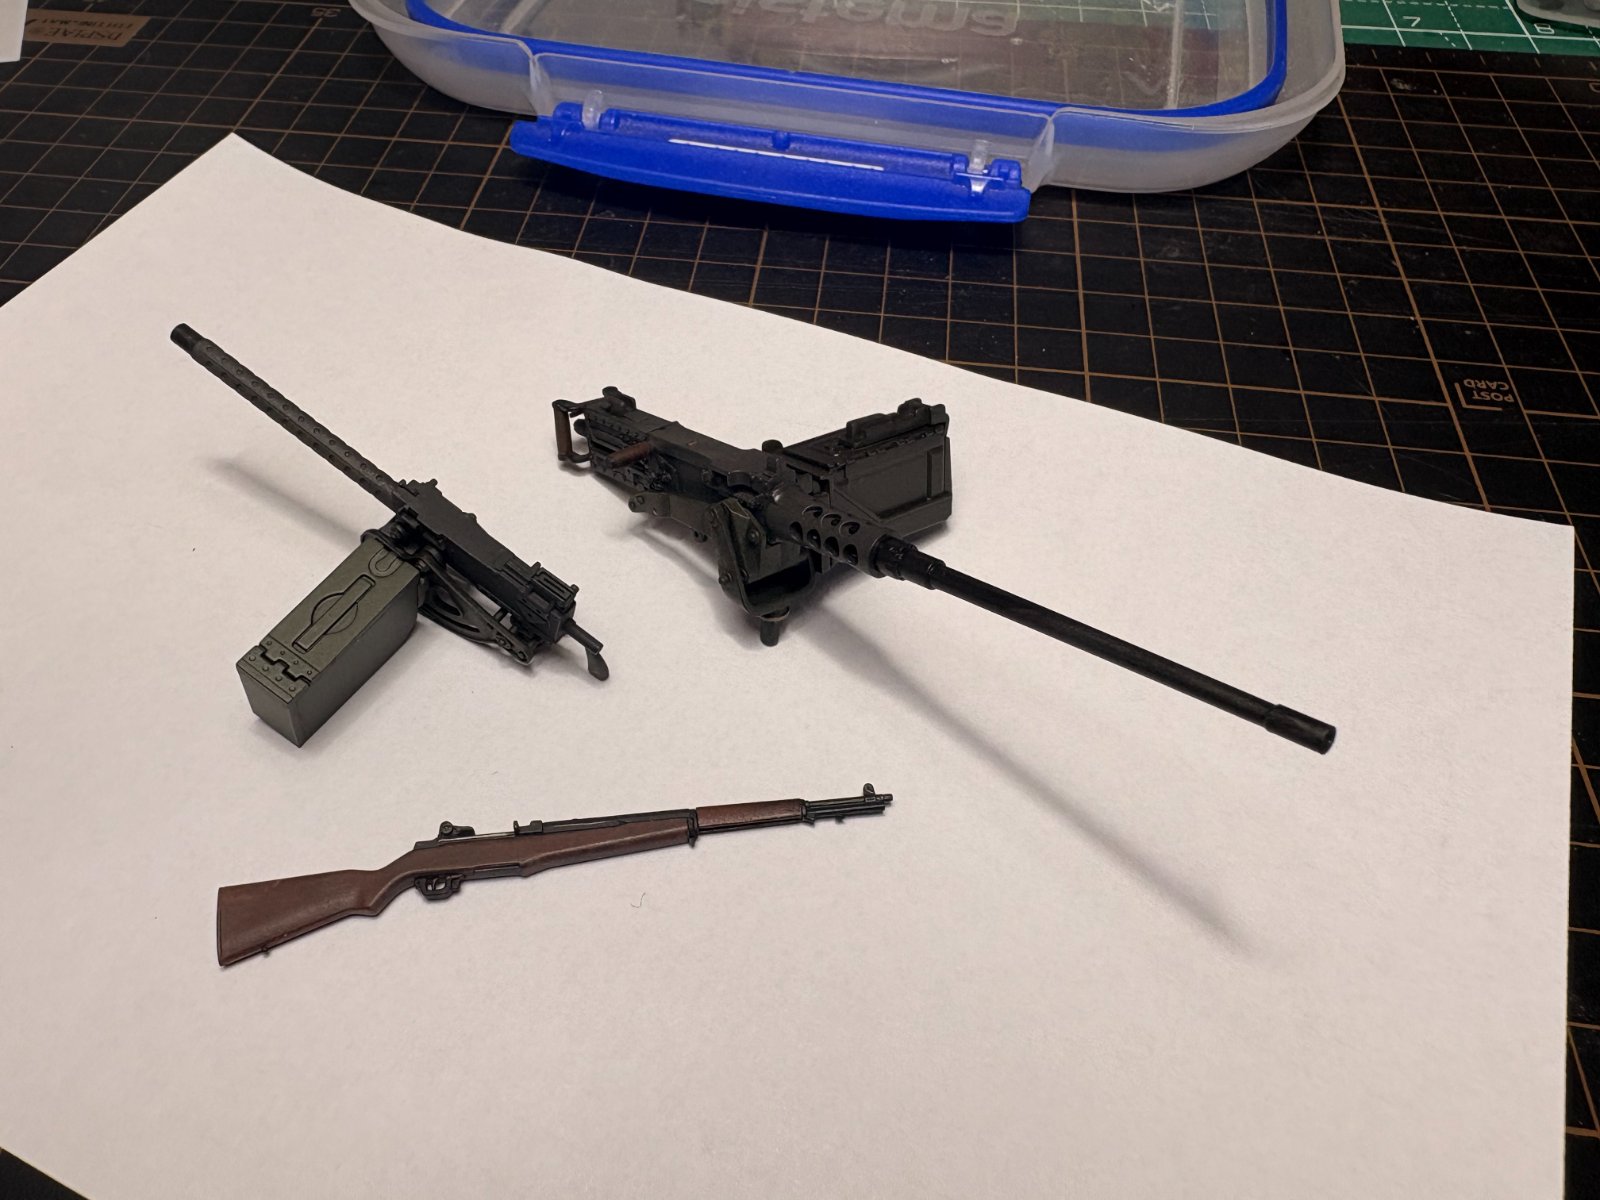
GCB
Well-Known Member
- Joined
- Aug 22, 2023
- Messages
- 867
Meanwhile worked on the rear of the halftrack. And it was a difficult one: cutting, grinding (dremel) and sanding as the back was not fitting at all.
Reminded another Takom model, the AH-64D Apache, with very nice details and most pieces fitting well but others completely out of alignment. Not sure if Takom sub-contract some of the parts, or have a major quality control problem, or just rush some parts and do not design them well.
Anyway, finally fitted and continuing.
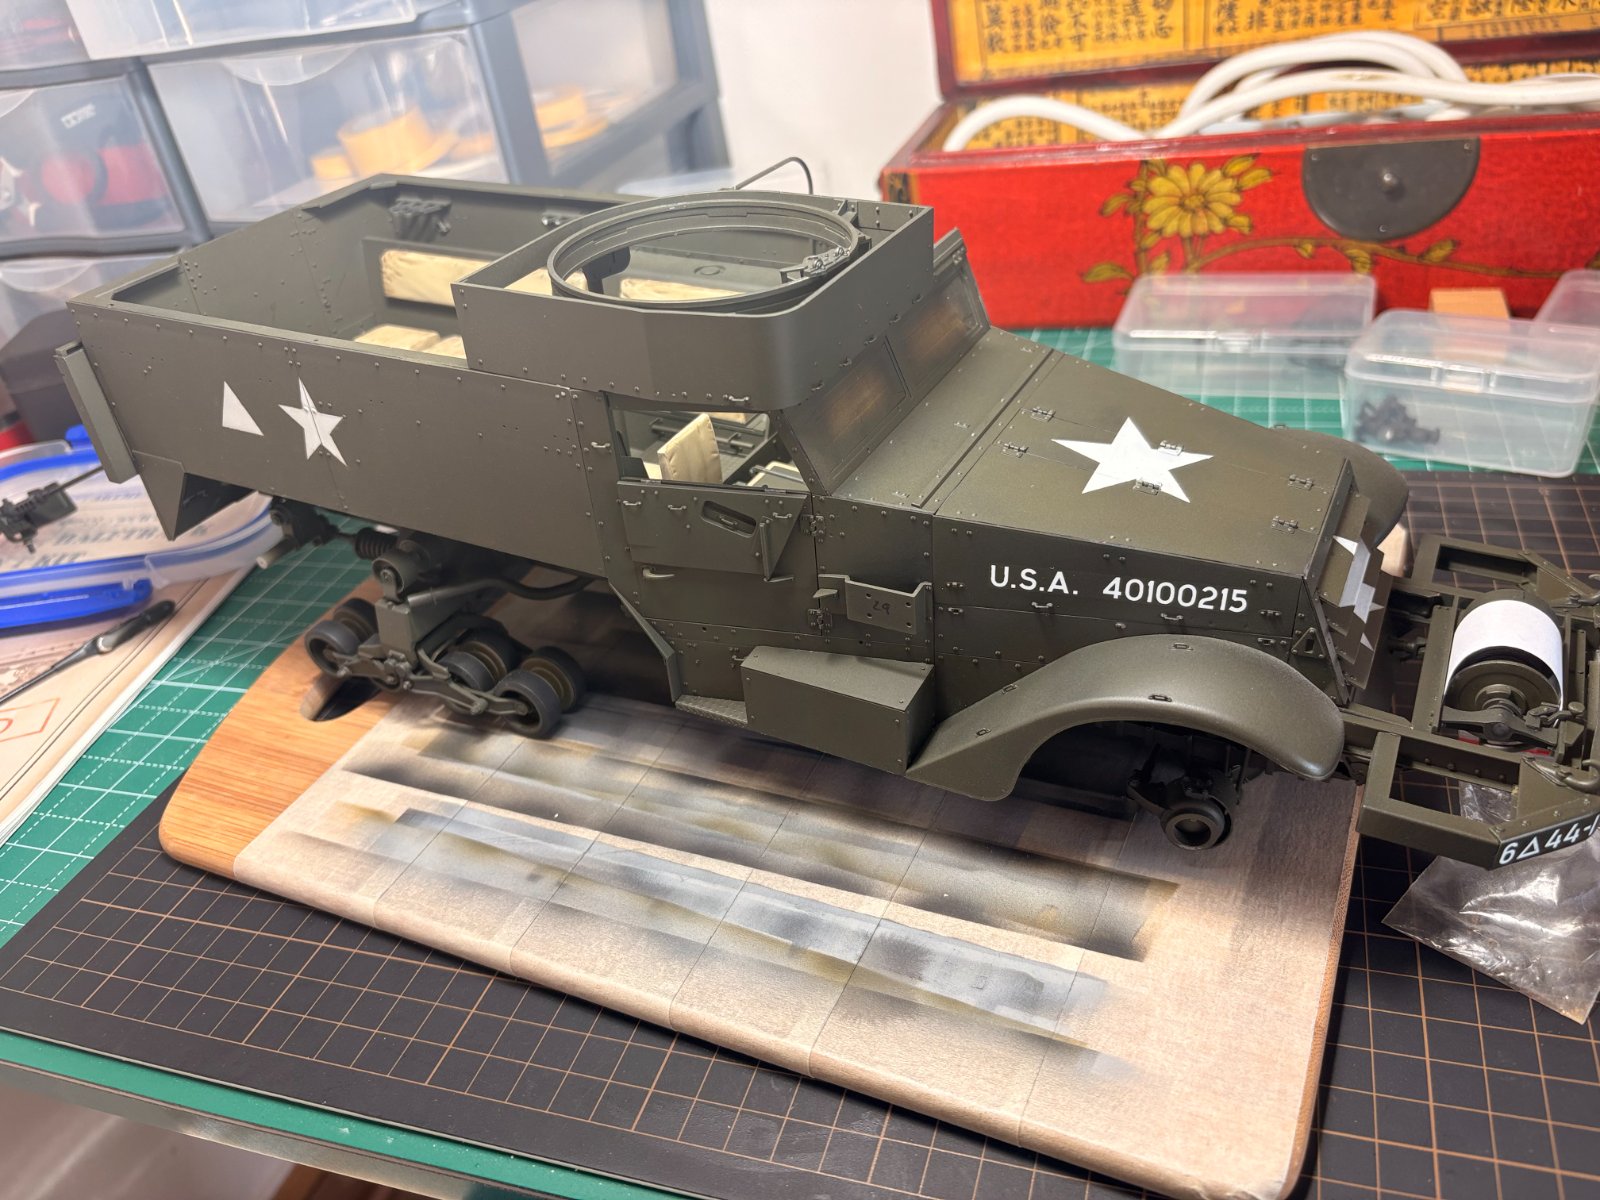
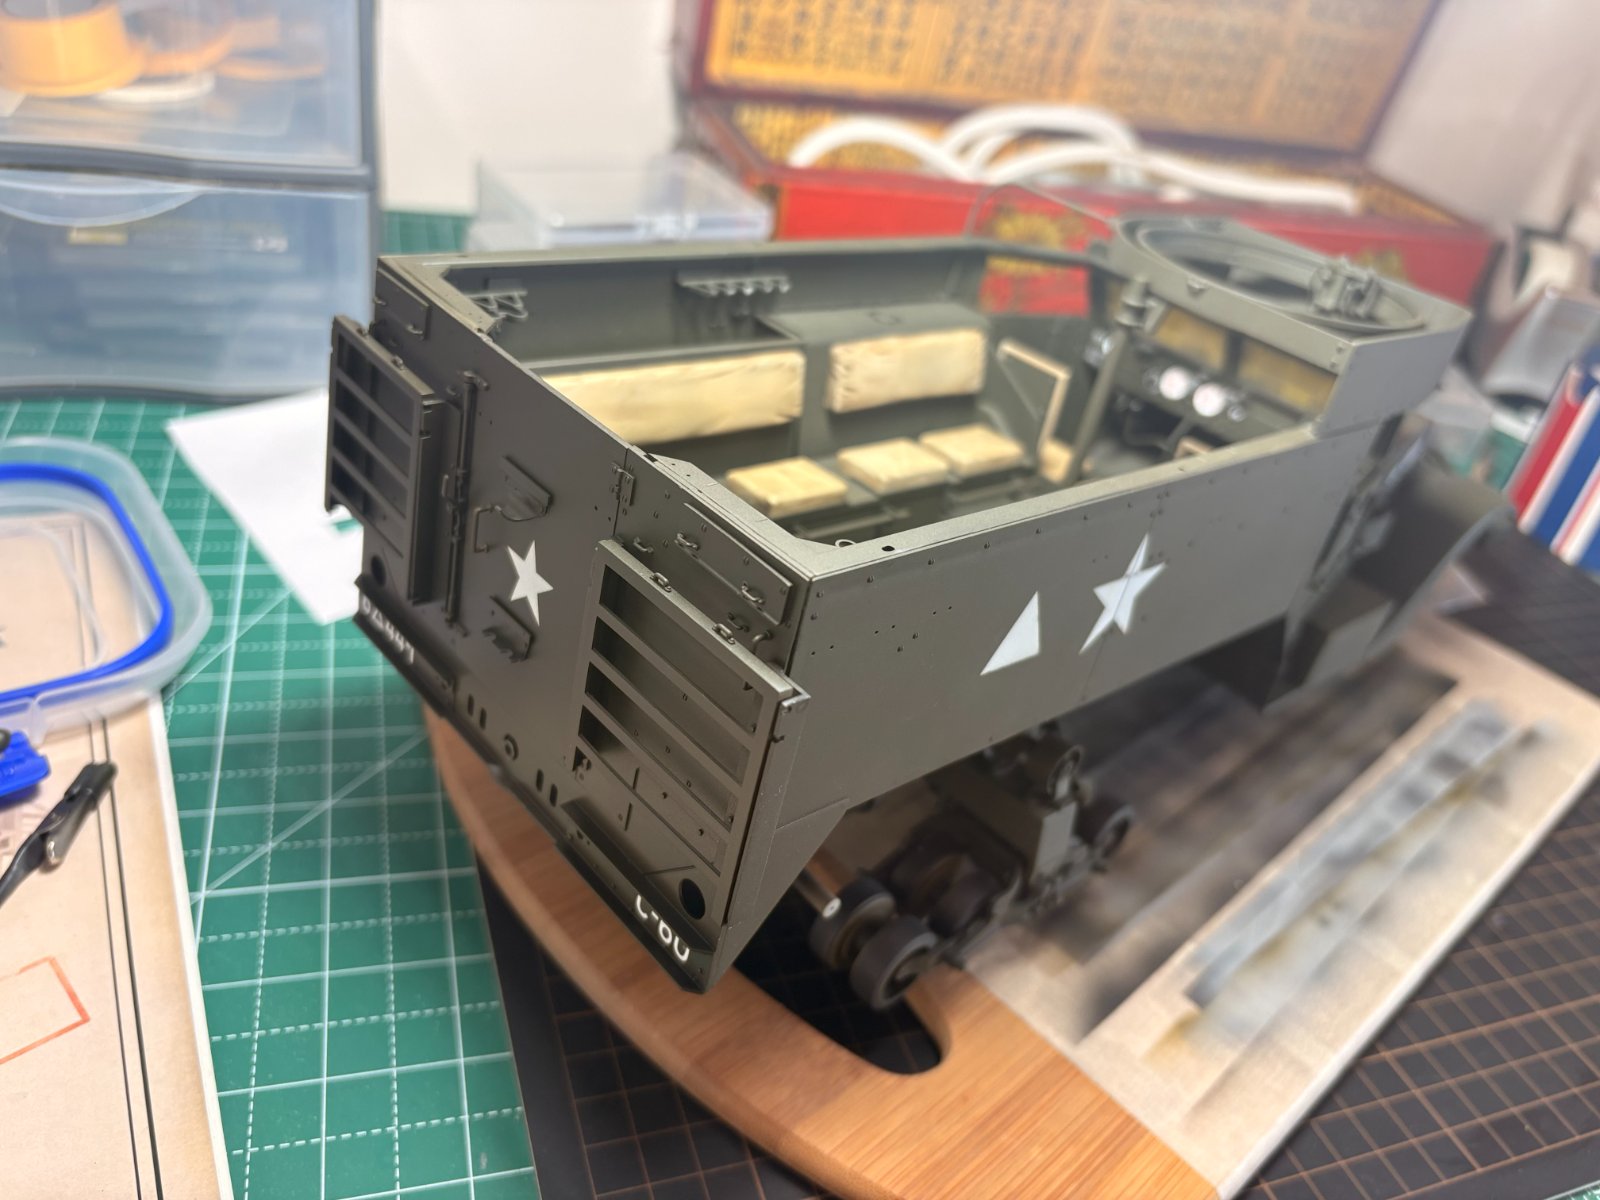
Reminded another Takom model, the AH-64D Apache, with very nice details and most pieces fitting well but others completely out of alignment. Not sure if Takom sub-contract some of the parts, or have a major quality control problem, or just rush some parts and do not design them well.
Anyway, finally fitted and continuing.
Jakko
Well-Known Member
My experience with Takom kits is that fit tends to be very tight, but that fit problems are usually caused by the modeller … You really need to dry-fit everything and for things like the sides and rear of this halftrack, would do well to put all three panels in place, glue the sides only and then take the rear off again once the glue has set.
GCB
Well-Known Member
- Joined
- Aug 22, 2023
- Messages
- 867
Jakko, I did dry fit the panels, and that when I found the issues.
For example, the side panels, even having "notches" to align with the chassis, did not lined up with the end of the chassis.. Same for rear panel.
Anyhow, sorted now and moving ahead
For example, the side panels, even having "notches" to align with the chassis, did not lined up with the end of the chassis.. Same for rear panel.
Anyhow, sorted now and moving ahead
Edbert
Well-Known Member
- Joined
- May 16, 2024
- Messages
- 3,123
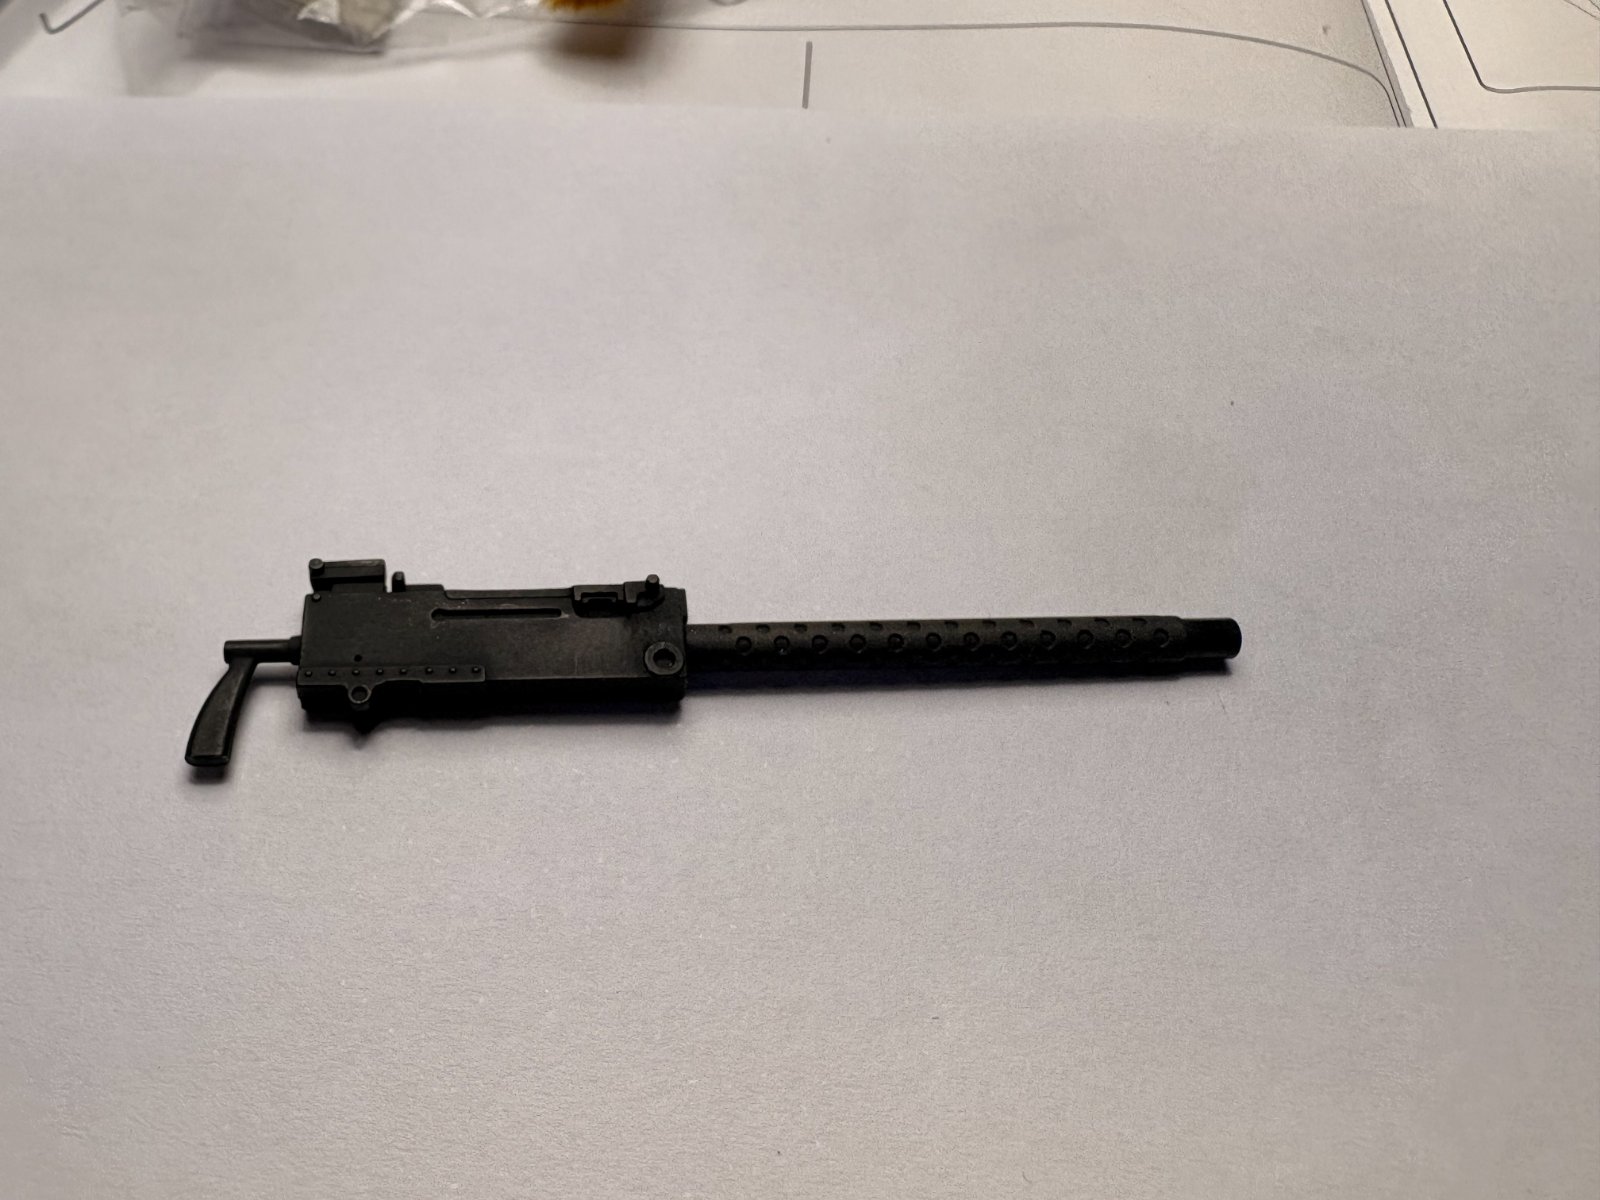
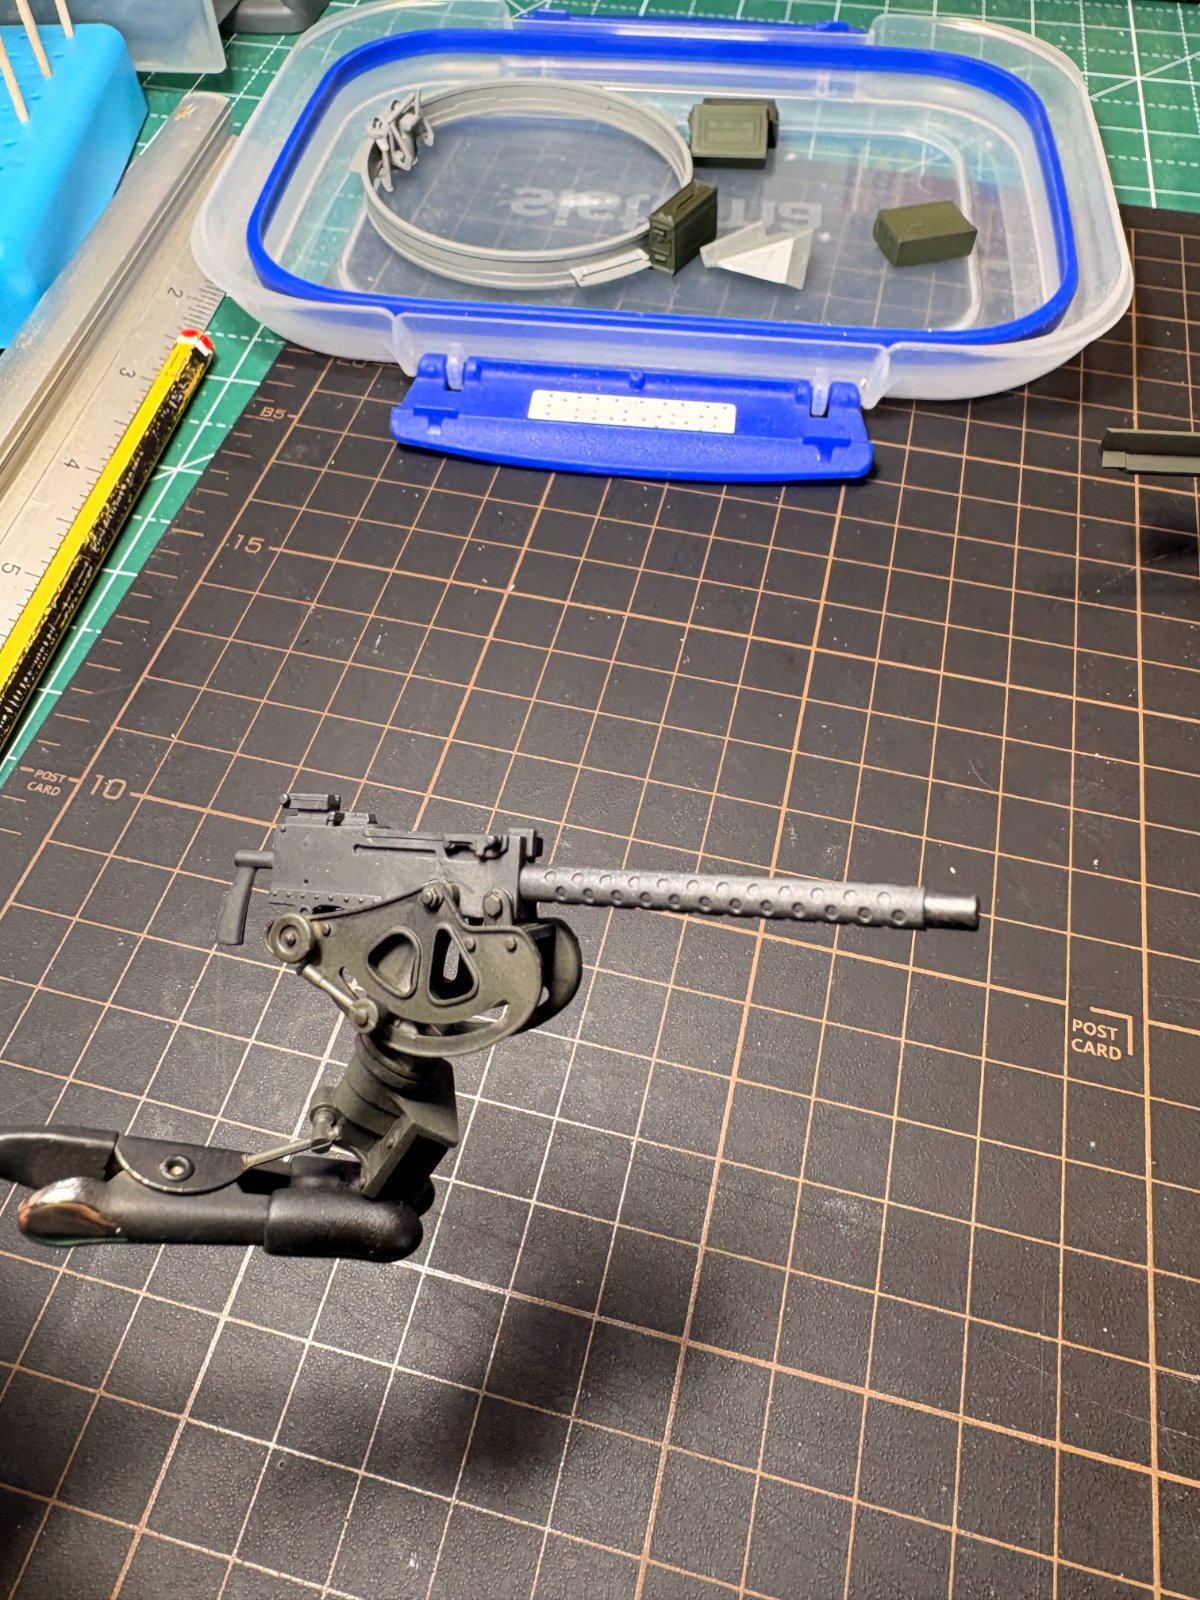
Man that looks GREAT!Ordnance completed.. Will add some weathering when mounted on vehicle
Making me want to pull mine out and get to work. Still struggling to decide if I want to detail out the engine or not. Guess there's plenty more to work on until I make up my dang mind though.
Edbert
Well-Known Member
- Joined
- May 16, 2024
- Messages
- 3,123
Can you be more specific, did you take any pictures? Interested of course for myself, but I'm sure others would like to see/know.the back was not fitting at al
Looks great!Ordnance completed.. Will add some weathering when mounted on vehicle
View attachment 178138View attachment 178139View attachment 178140View attachment 178142View attachment 178143View attachment 178144
mustang1989
Well-Known Member
- Joined
- Aug 6, 2022
- Messages
- 552
user 22148
Well-Known Member
- Joined
- Oct 3, 2024
- Messages
- 497
Lovely work!
Similar threads


- Replies
- 2
- Views
- 198


