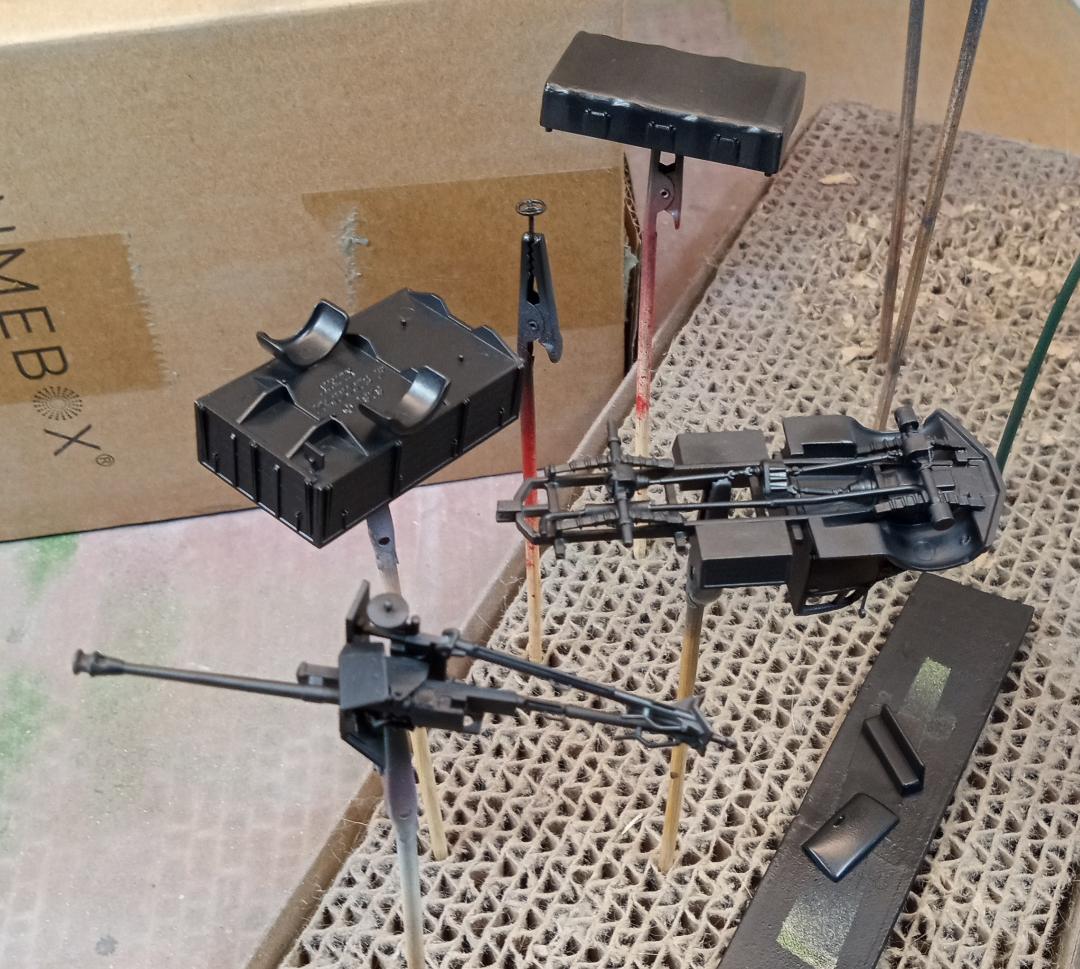
Nice! I have a couple in the stash; have you decided on a paint scheme/campaign?Pretty good detail

Nice! I have a couple in the stash; have you decided on a paint scheme/campaign?Pretty good detail
I'm leaning towards box art, Eastern Front.Nice! I have a couple in the stash; have you decided on a paint scheme/campaign?
... lots of weathering possibilities! From dusty wheat fields to rain, snow, sleet and mud!Eastern Front

I like it. Pantherman

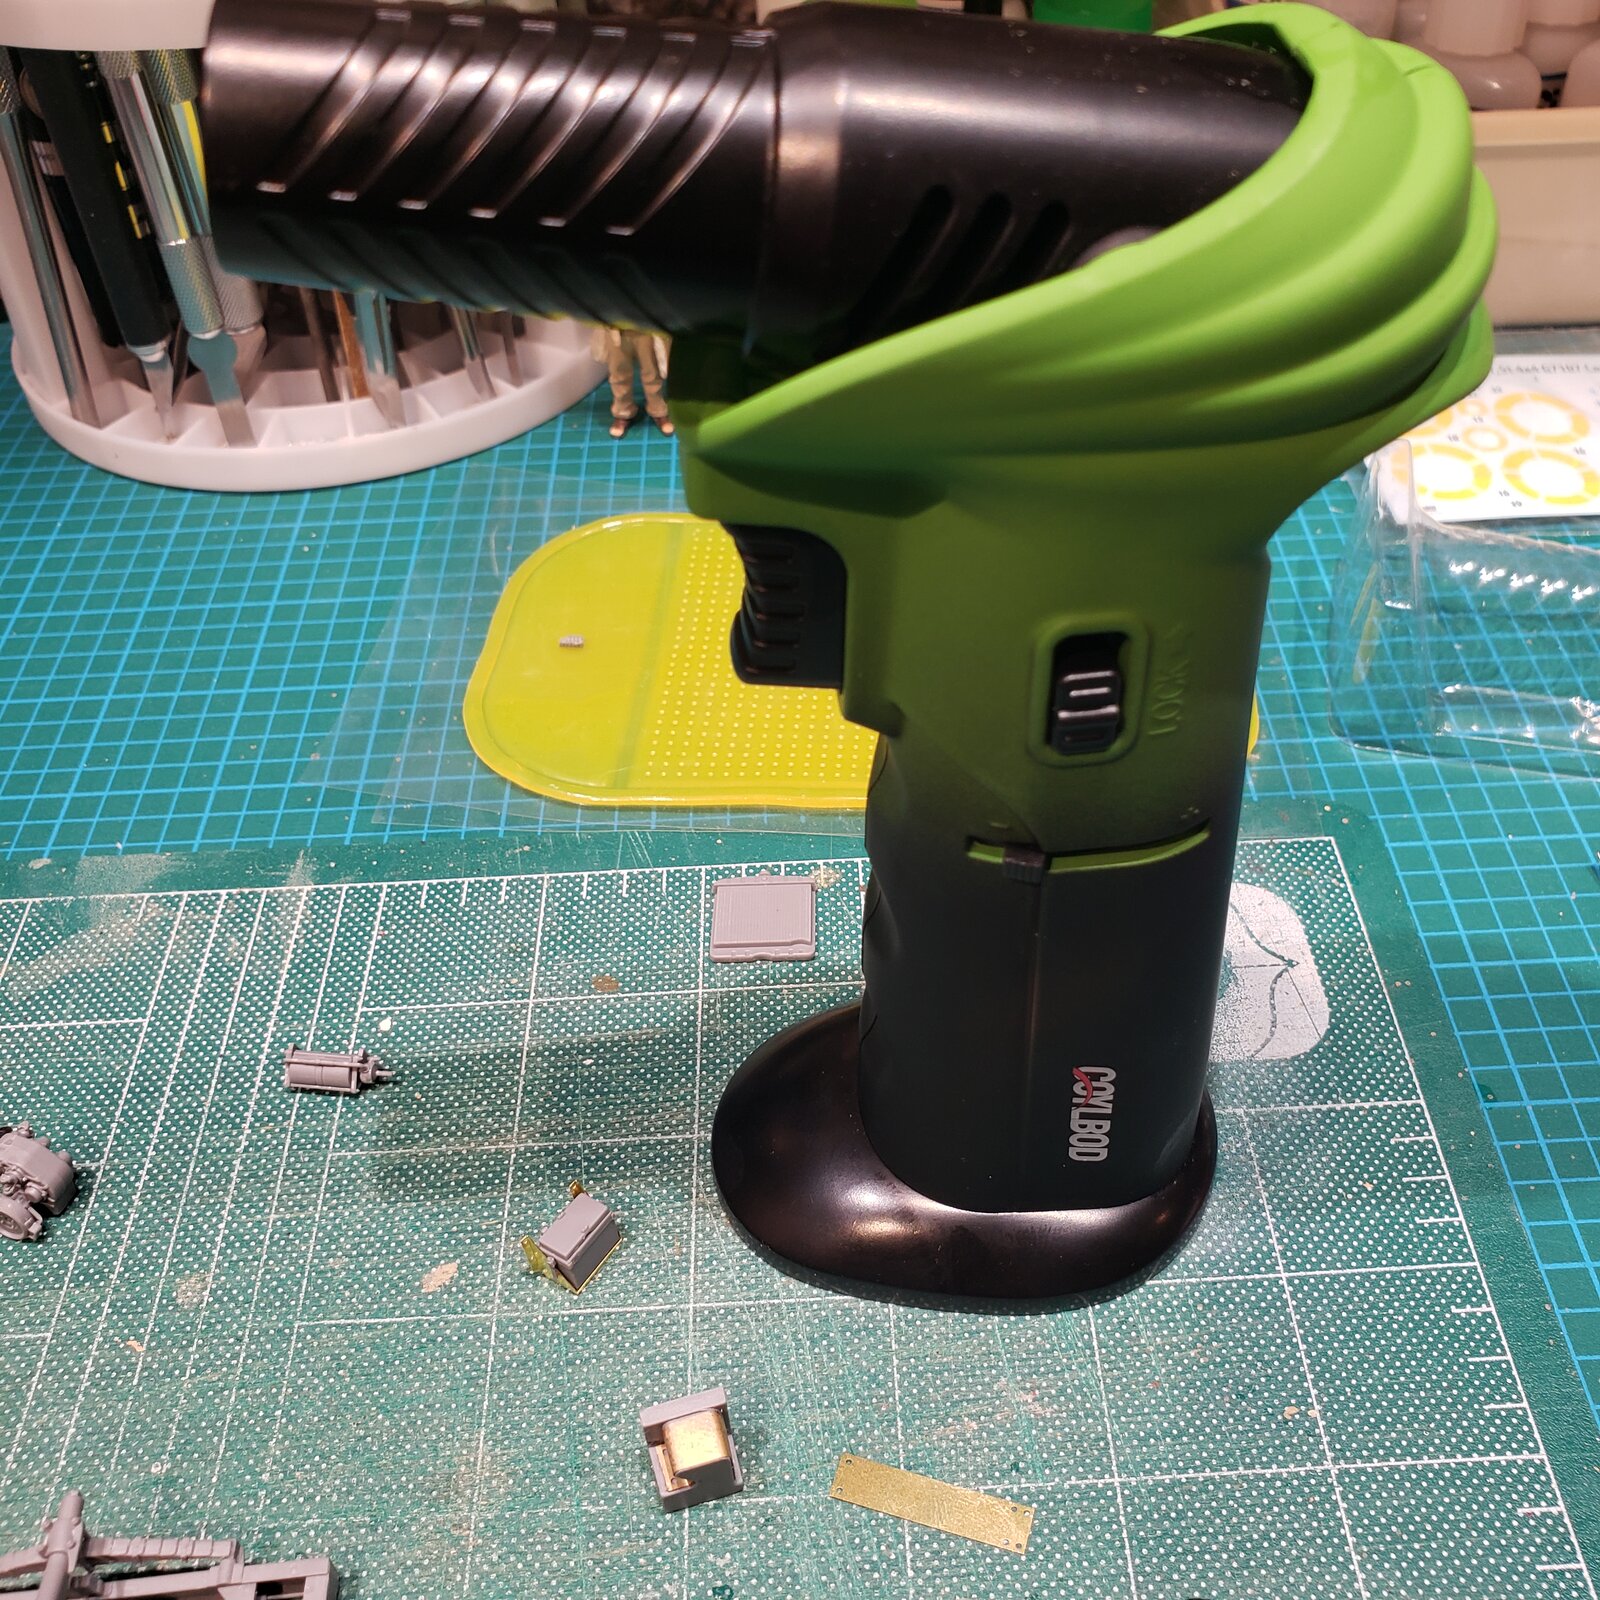
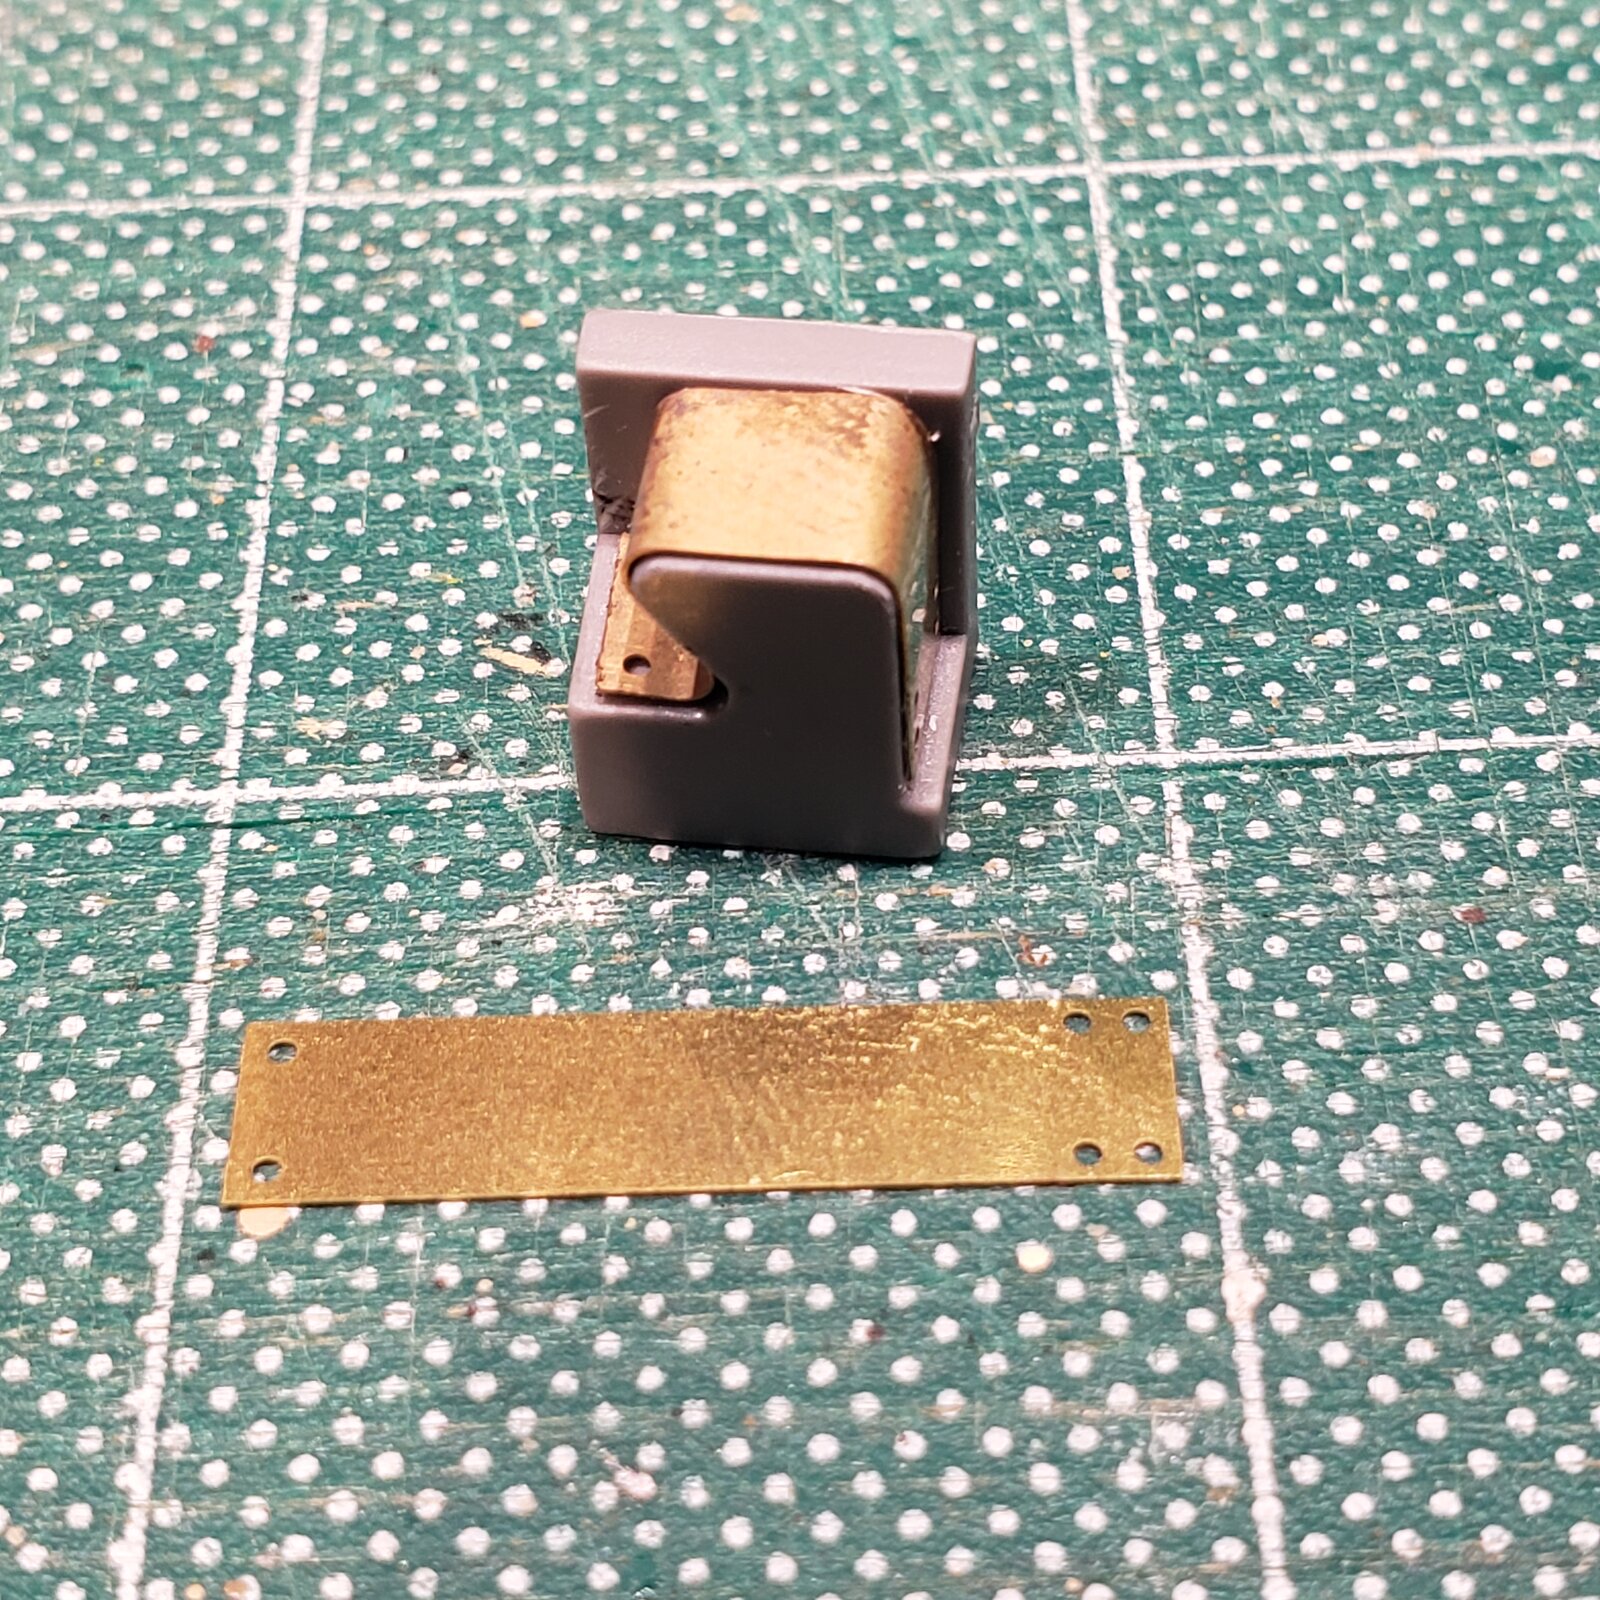
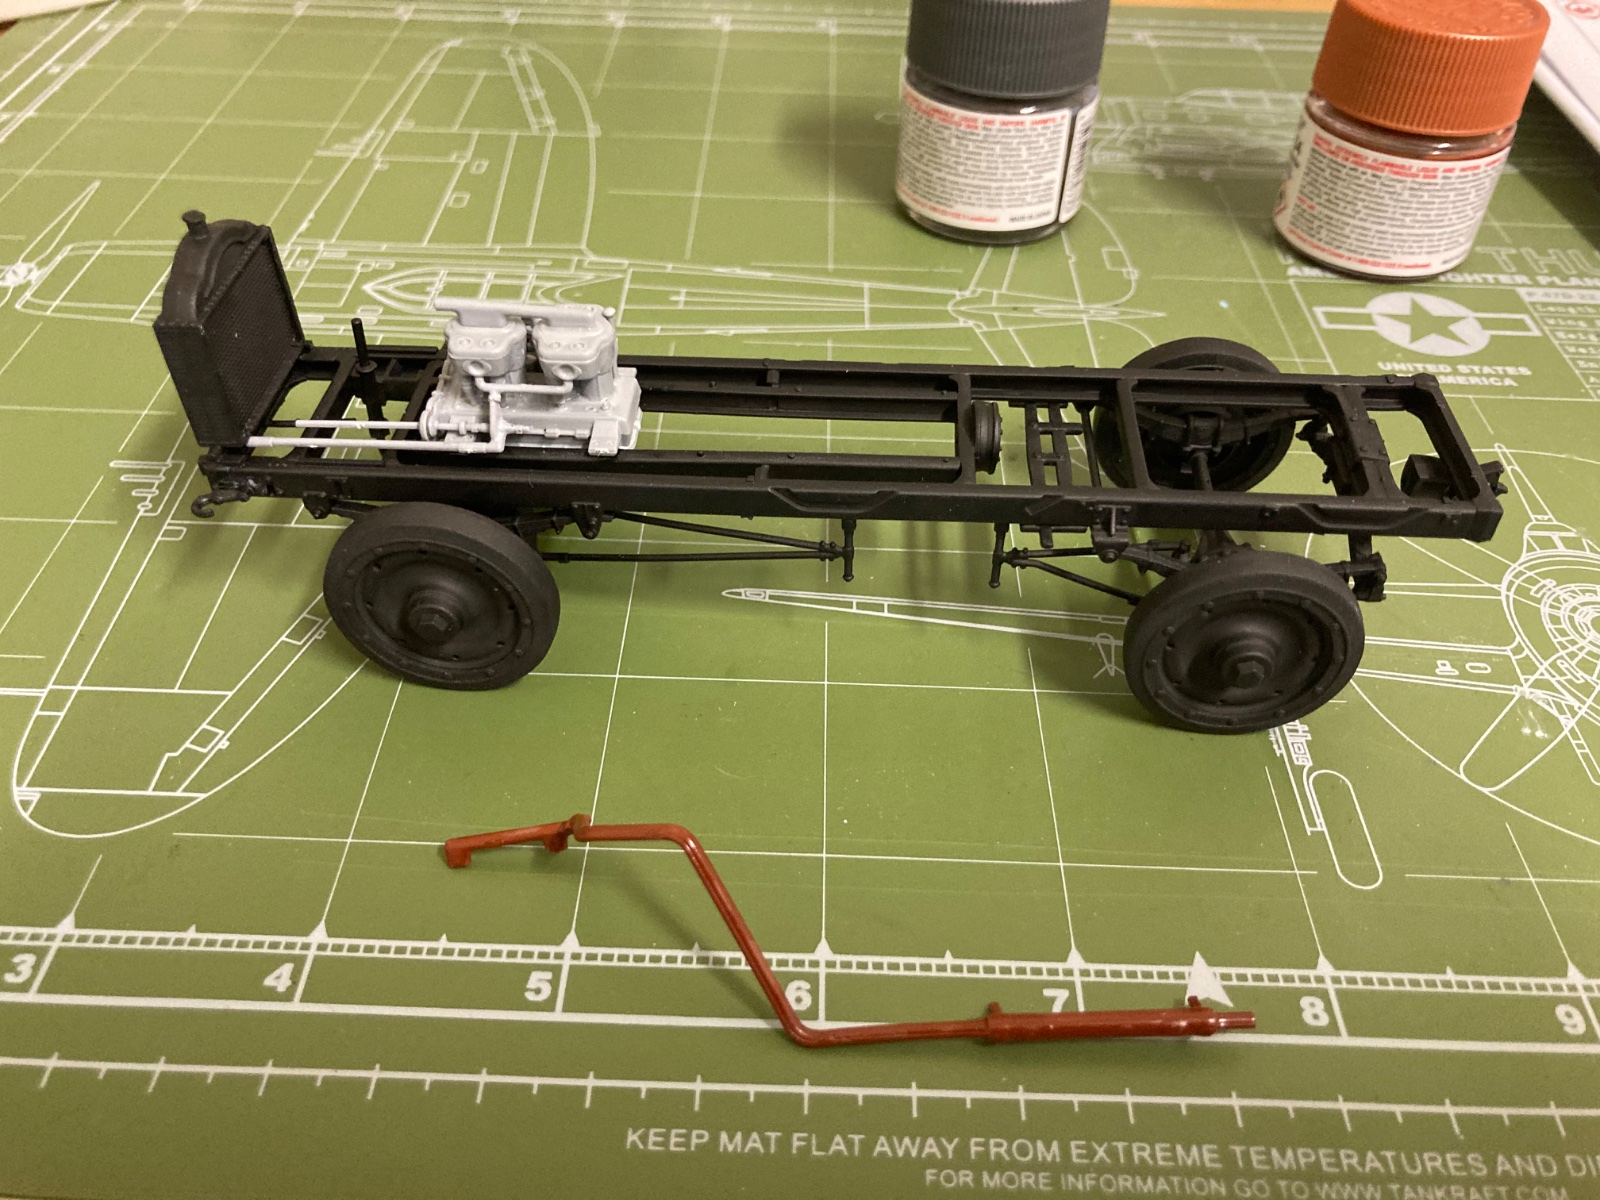
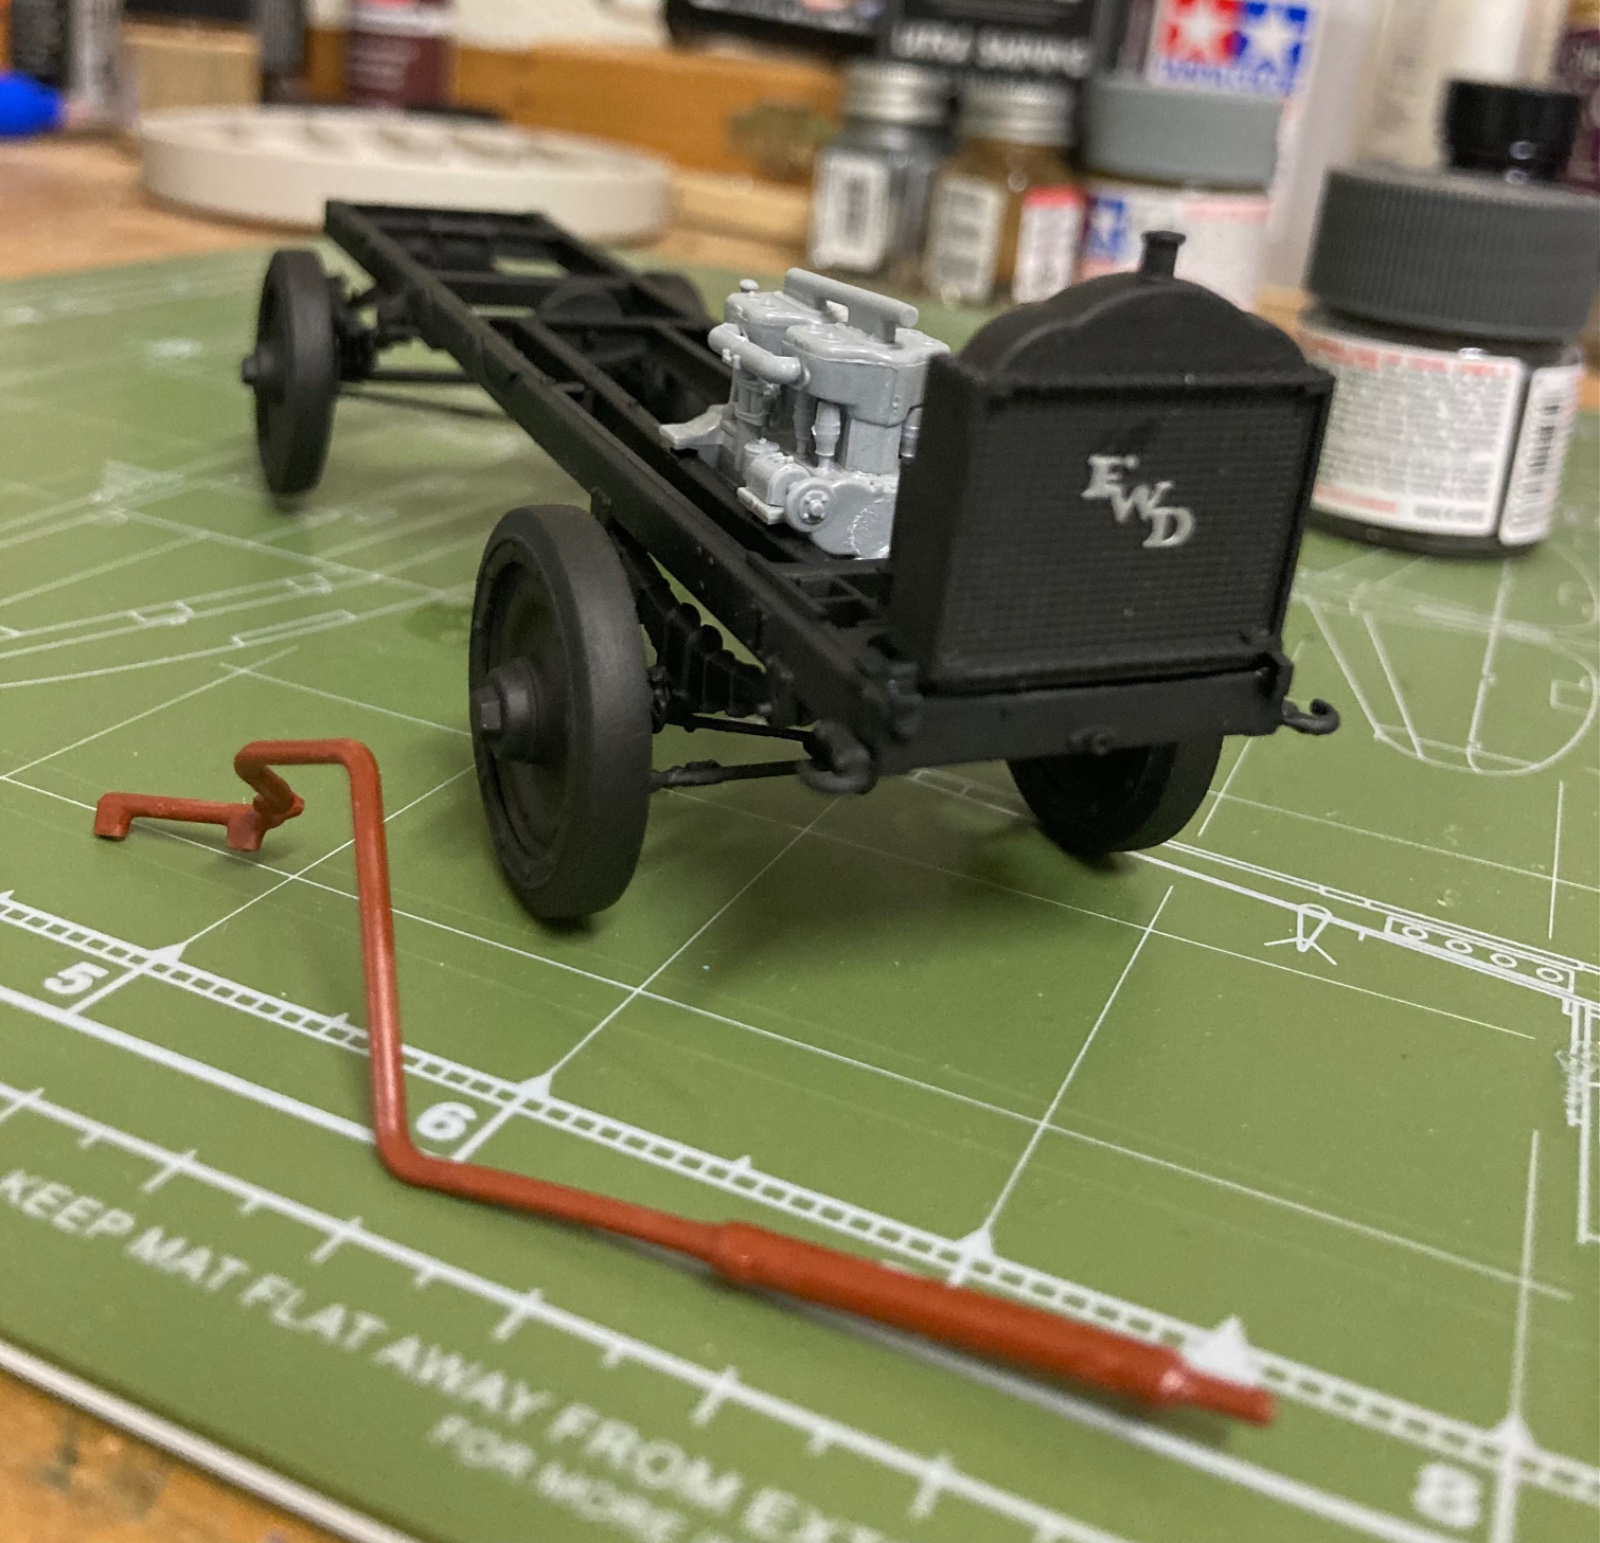
Nice. And removing nose hair....... PanthermanTrick from Night Shift, heat PE to help with bending. Worked great.
Kit came with form for the bend!
View attachment 170716
Worked great.
View attachment 170717
BONUS: we now have the perfect tool for Crème brûlée, and flaming Sambuca!

After seeing your sticky matt, I had to order one.Sticky mat to the rescue!
..in the past, I'd only chance removing extra small parts one assembly at a time... it was just too easy to accidently brush one with my sleeve, or sneeze, etc... especially with my magnifying cheaters on, almost like blinders!
I was so excited when I saw this contraption on another thread, I didn't bother bookmarking the post, just went straight to Amazoony and ordered it!
So THANK YOU, @KINGSLUG !
View attachment 170363
I can leave the bench, turn off the light, and know that all those teeny parts will be there in the morning.
Nice, hang on to the protective sheets, with tiny parts, you can just lay it back on top if you are going to step away for awhile!matt

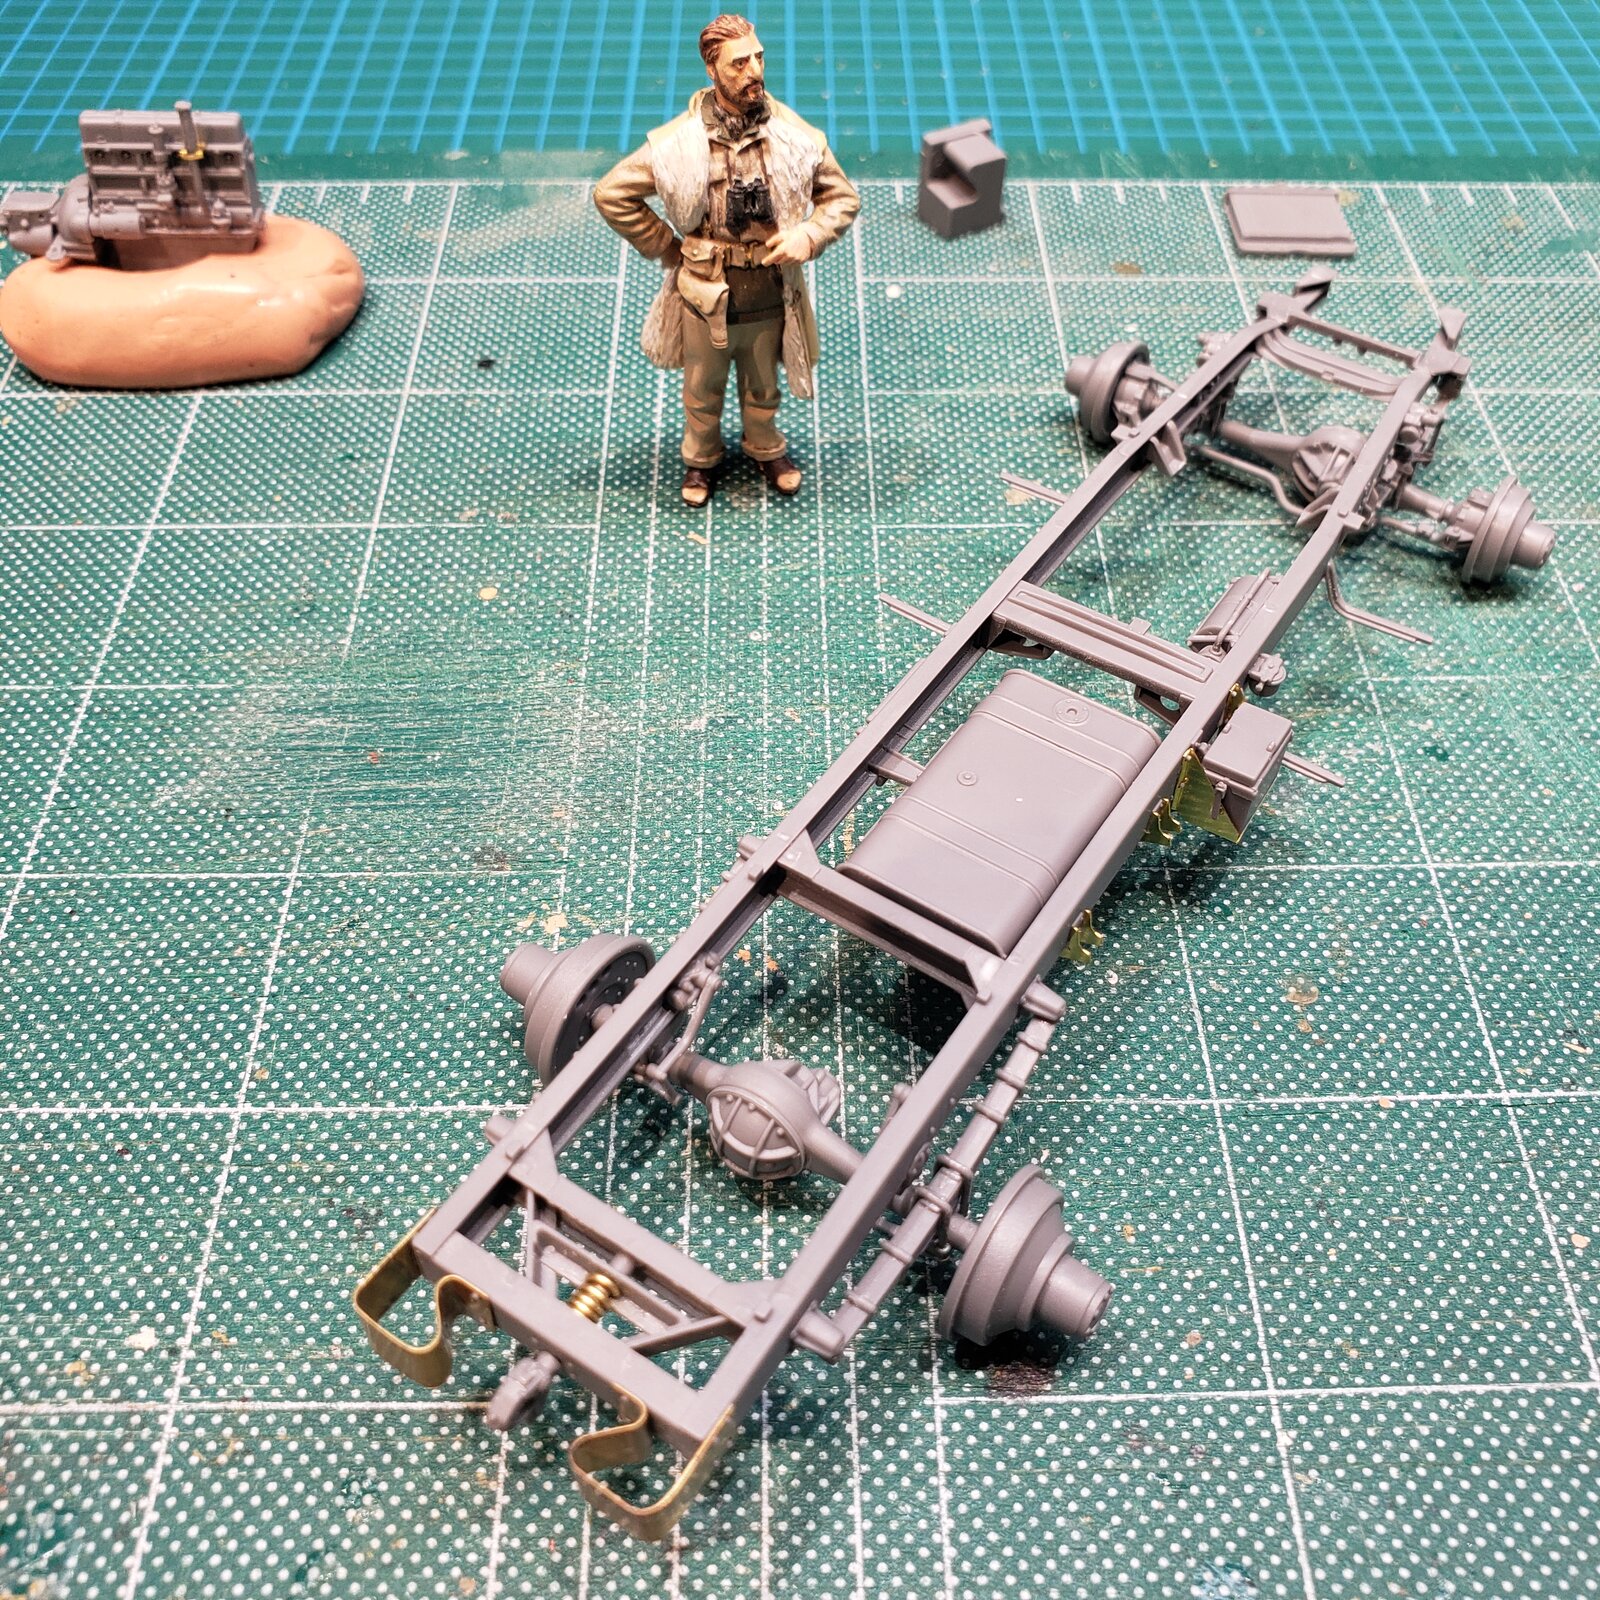
So did I. Love it. PanthermanAfter seeing your sticky matt, I had to order one.

That's been a well-known technique for very much longer than this Night Shift guy has been making a name for himselfTrick from Night Shift, heat PE to help with bending.
 It's called annealing: heating metal so the atoms that make up the material align to the crystal grid again. This makes it more ductile, so you can bend it more easily. However, I would recommend doing this only with parts that actually need to be bent into difficult curves, not as a matter of course. Exactly because the material becomes more ductile, you will very easily deform parts that should be straight.

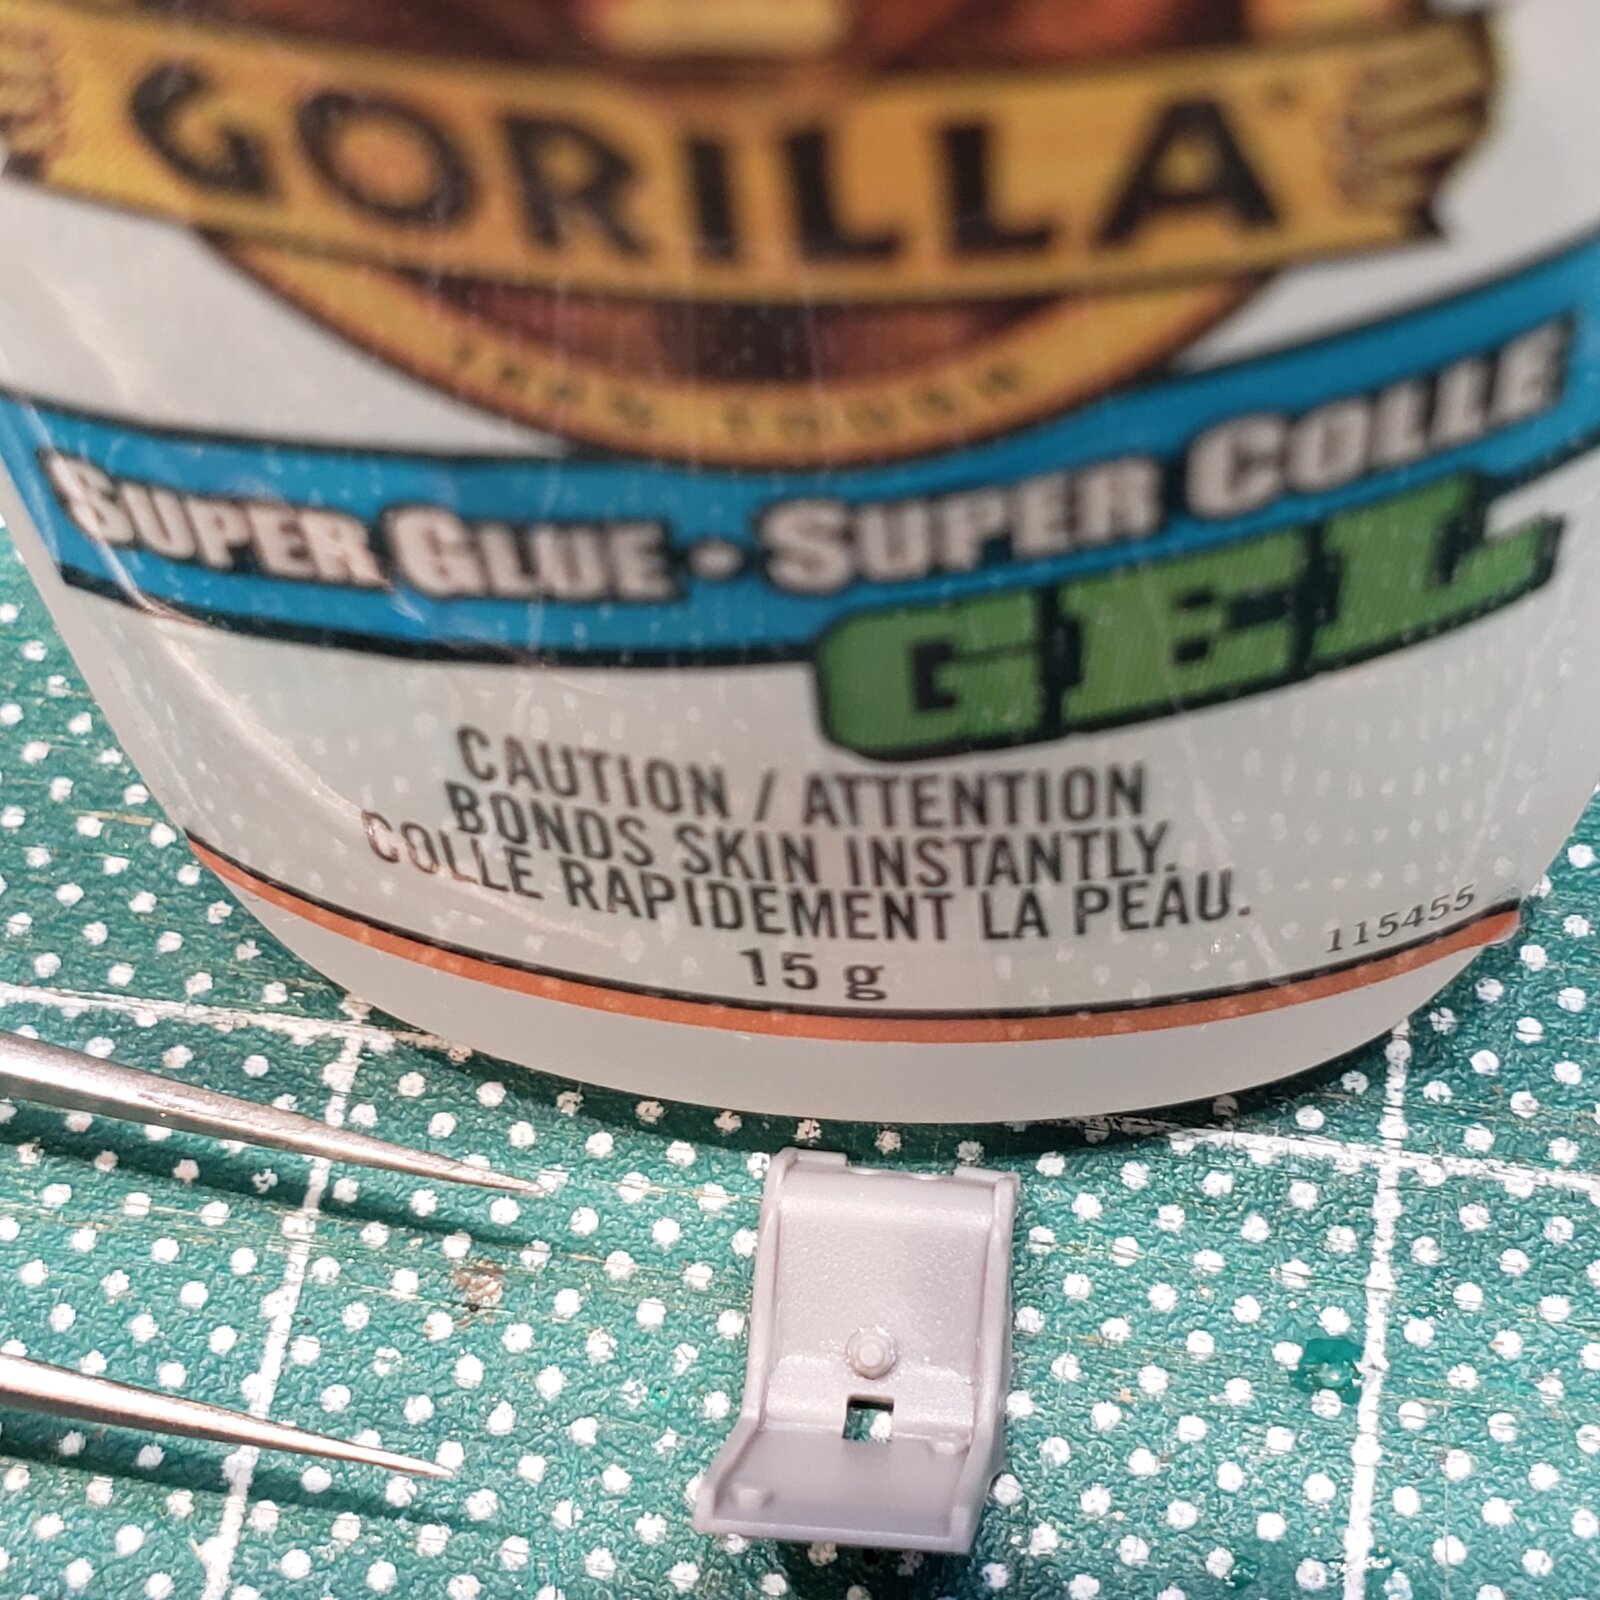
It's gotta be done. If not every time you look at that model you're brain will scream SHOULD HAVE FITTED THAT NUT.
《disclaimer: we have all faced this situation》
So, at what point do little parts, teeny tiny parts, make a lot more sense if they were molded onto a bigger part, rather then make me:
a) remove it from the sprue
b) not lose it
c) clean it up
d) not lose it
e) pick it up
f) not lose it
g) glue it in a dab of glue actually smaller than the part
h) not lose it
i) prep it for paint
j) not knock it off and lose it
k) paint it
and
l) not lose it,
except now we're talking about my sanity!
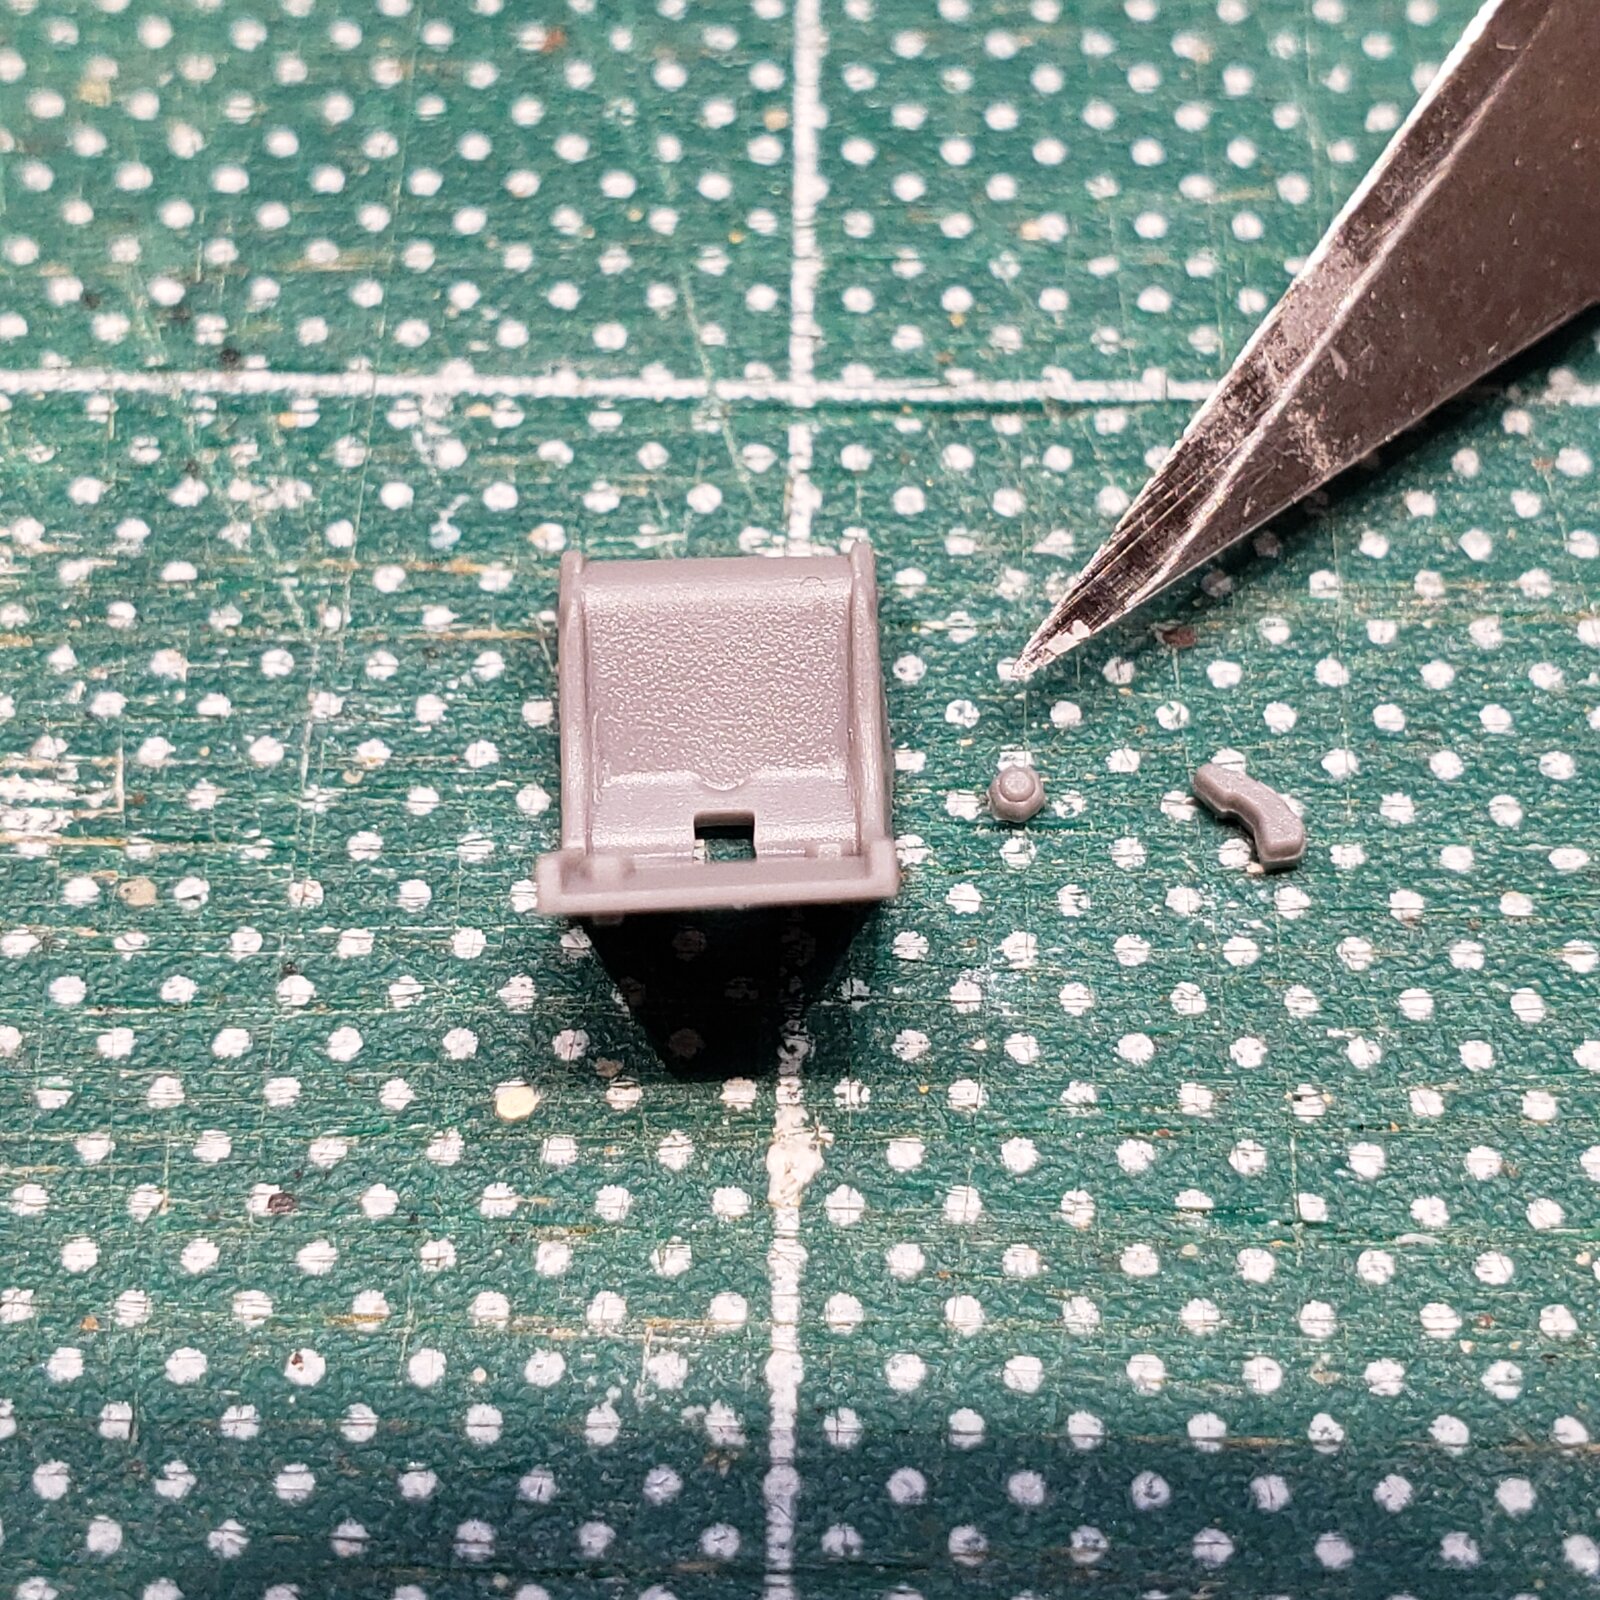
That little nut is going to be glued in the slight depression over the square hole on the bracket. #11 blade tip for reference.
View attachment 170823
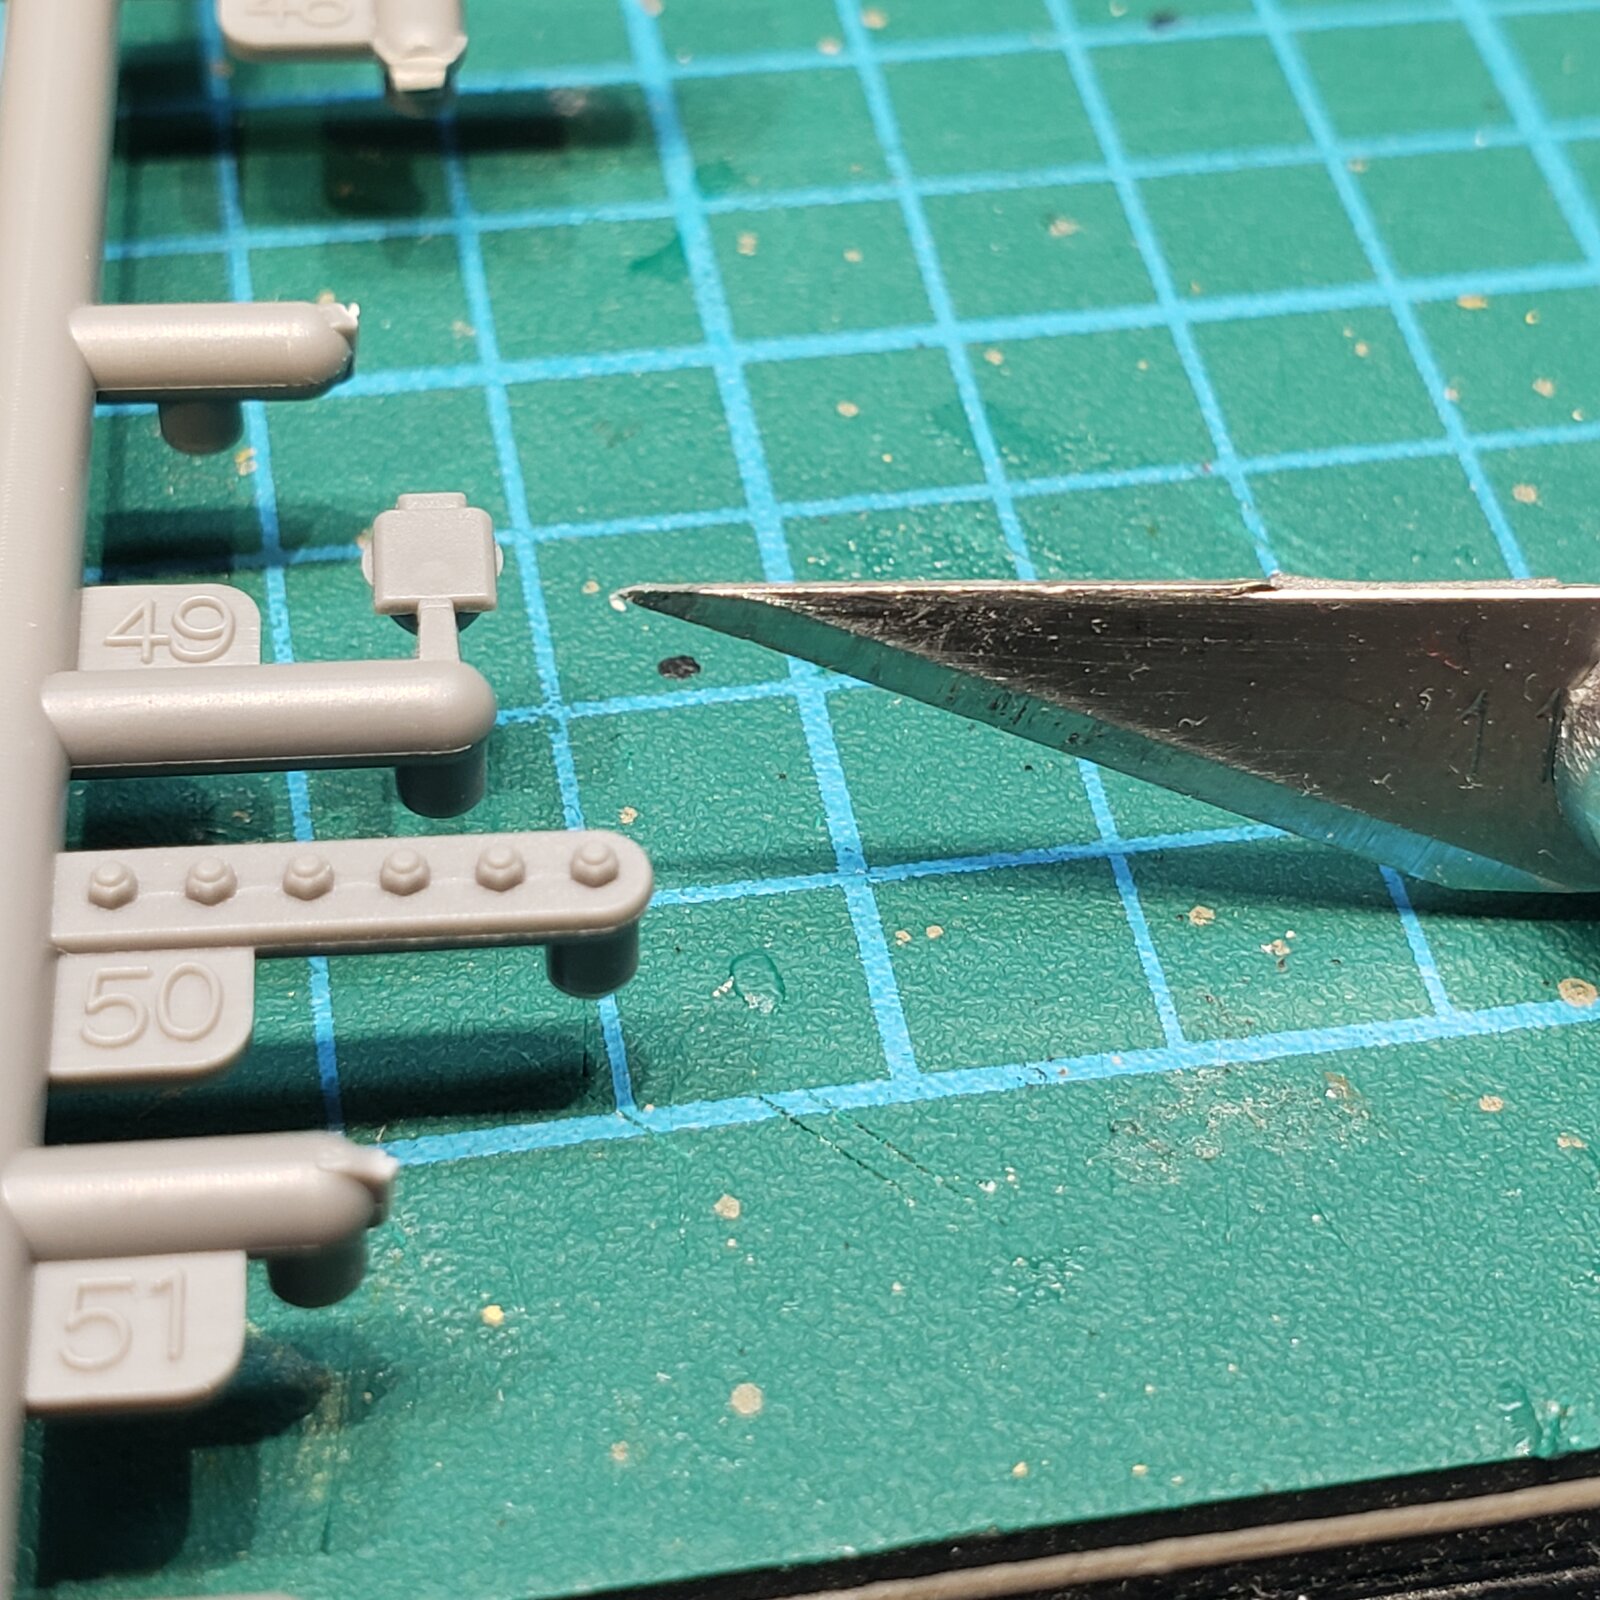
...And there's more than one!
View attachment 170825
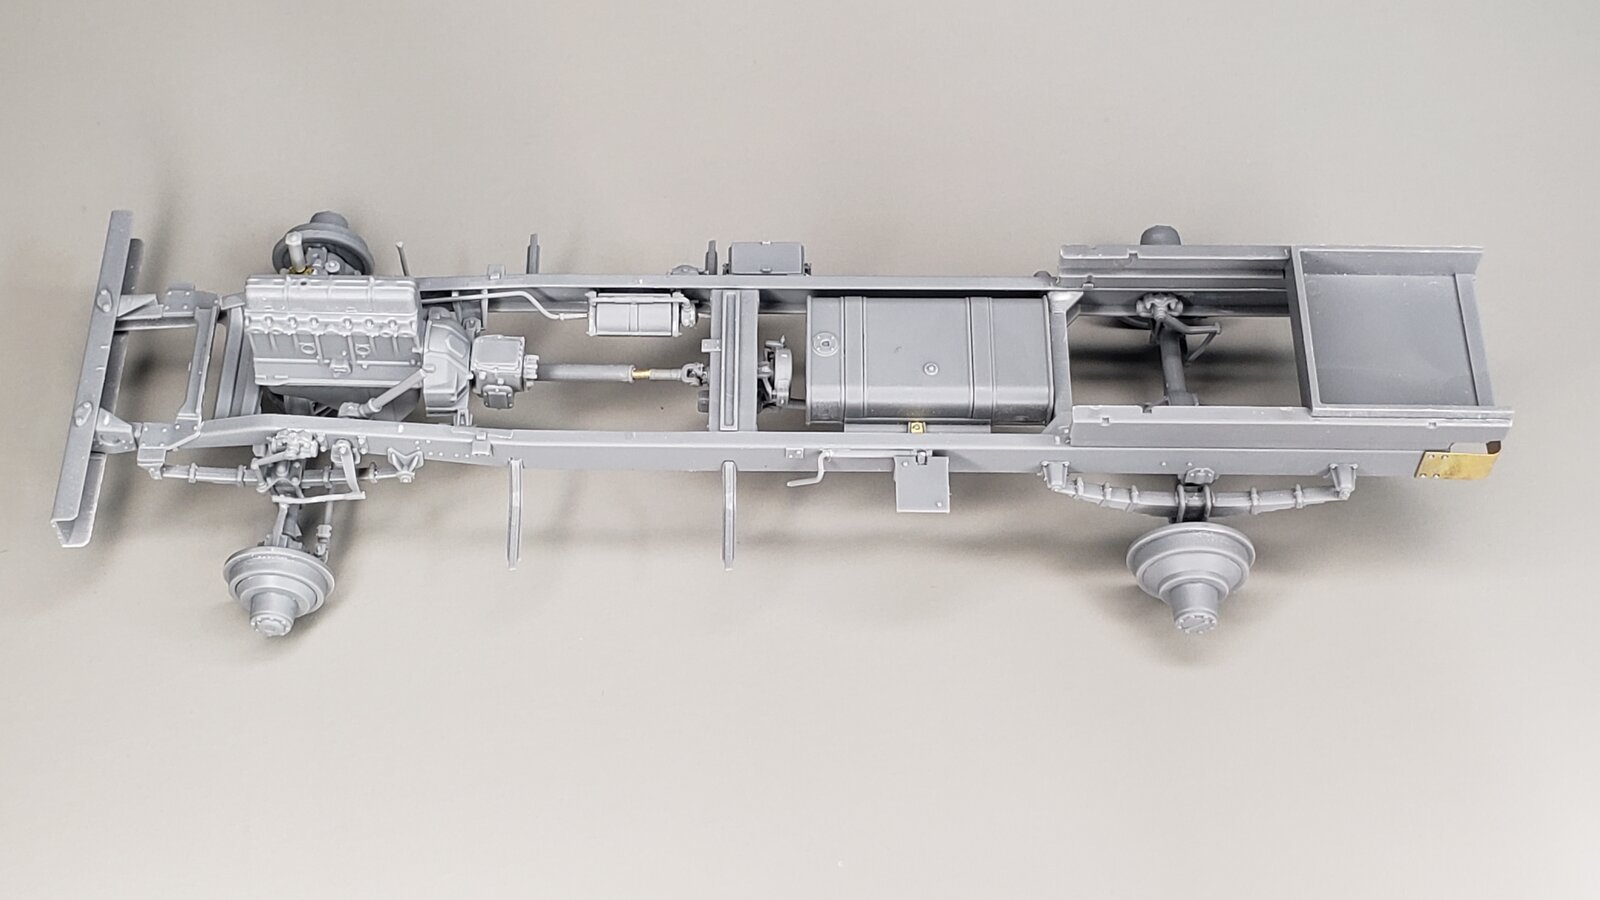
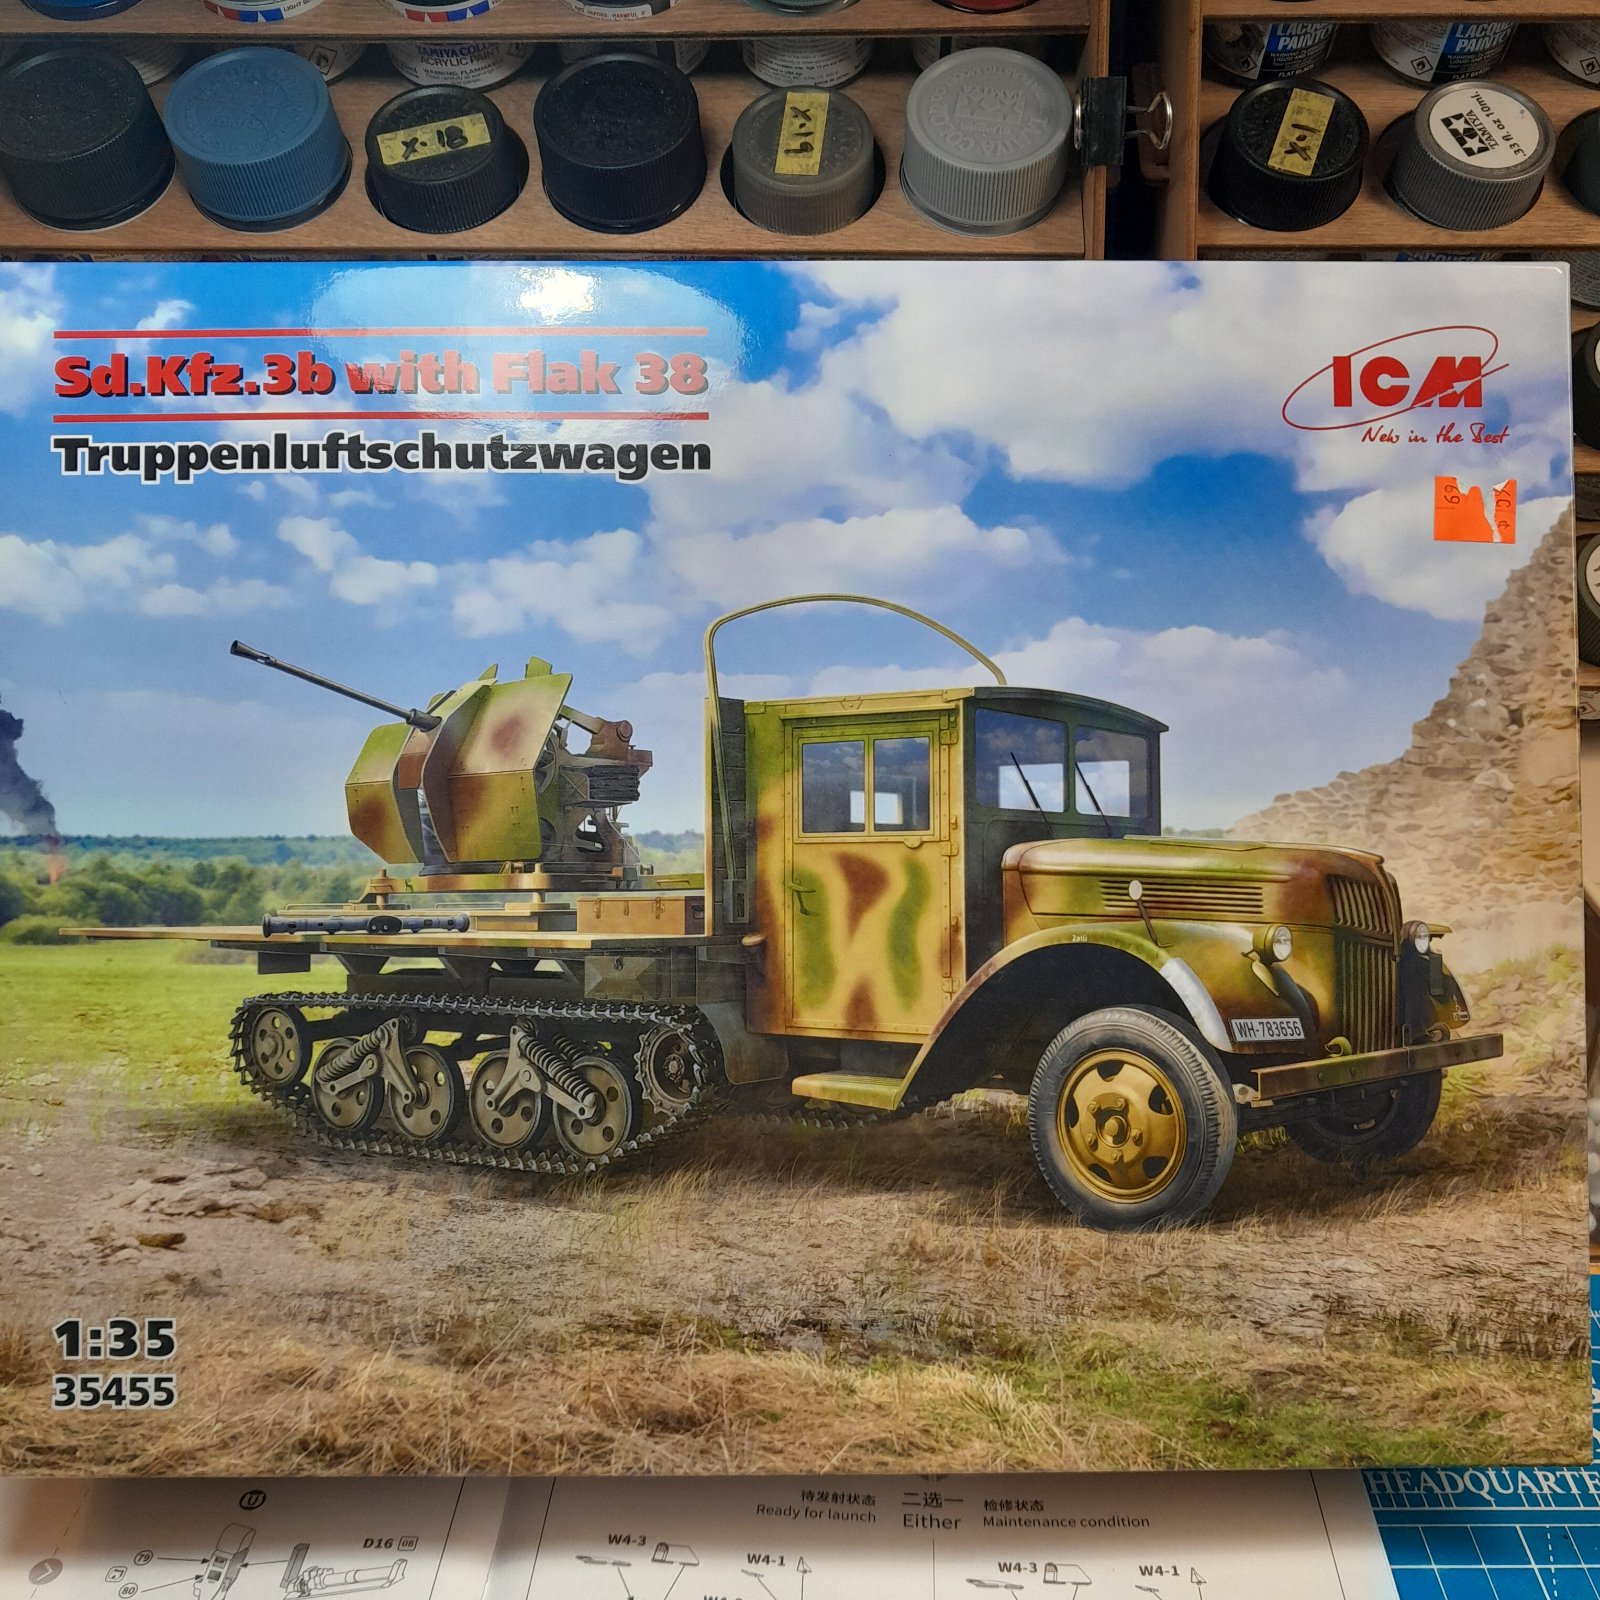
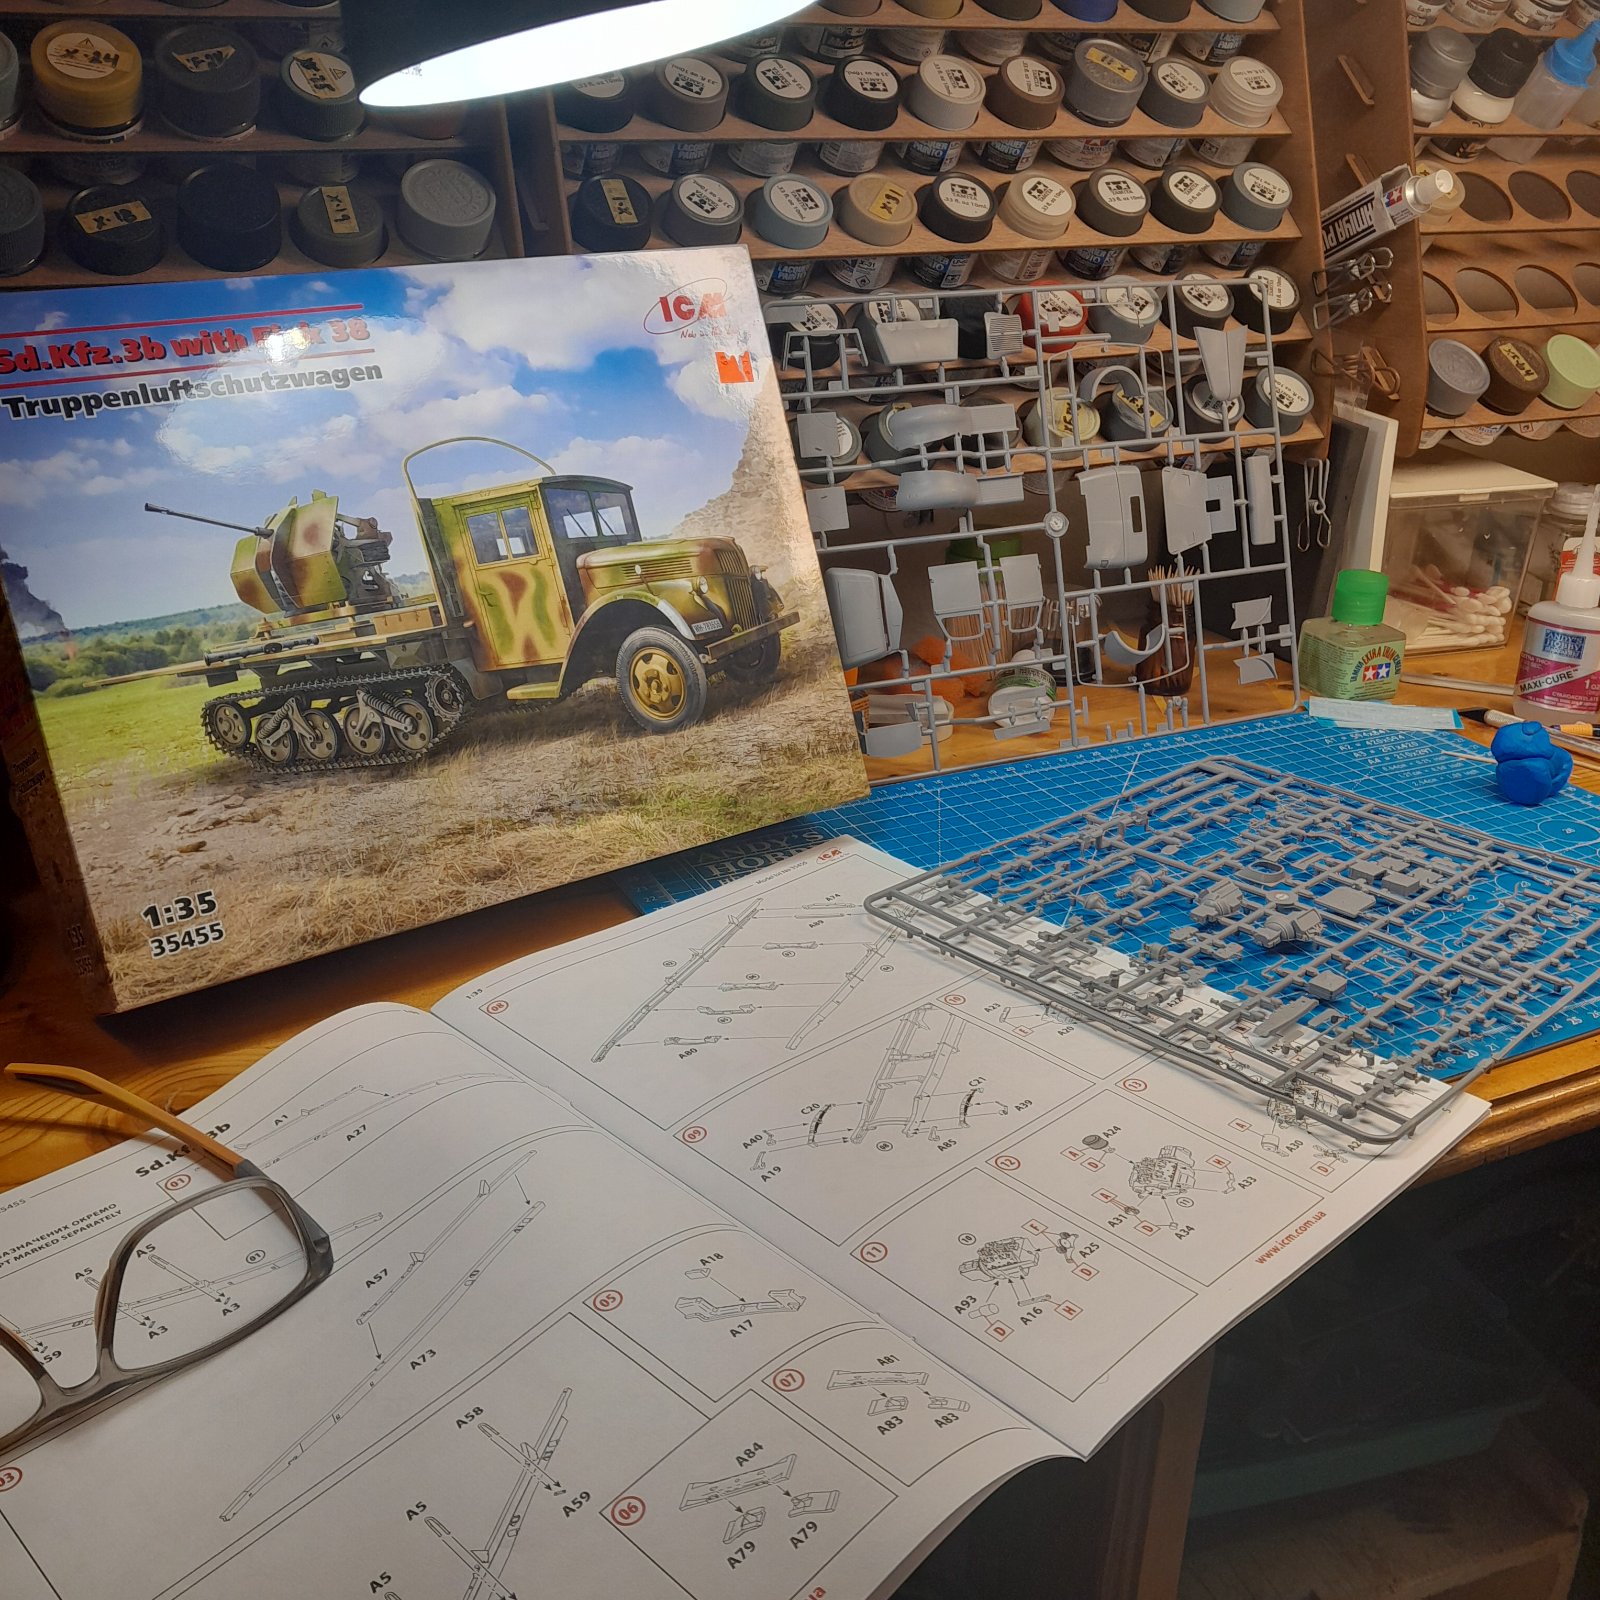
Nice! I really wanted to build a truck with tracks, like the Opel Maultier, but couldn't find any record of it in Africa, having been built for the Eastern Front. Google AI puts it in all theaters, but I've yet to be convinced!I'm in

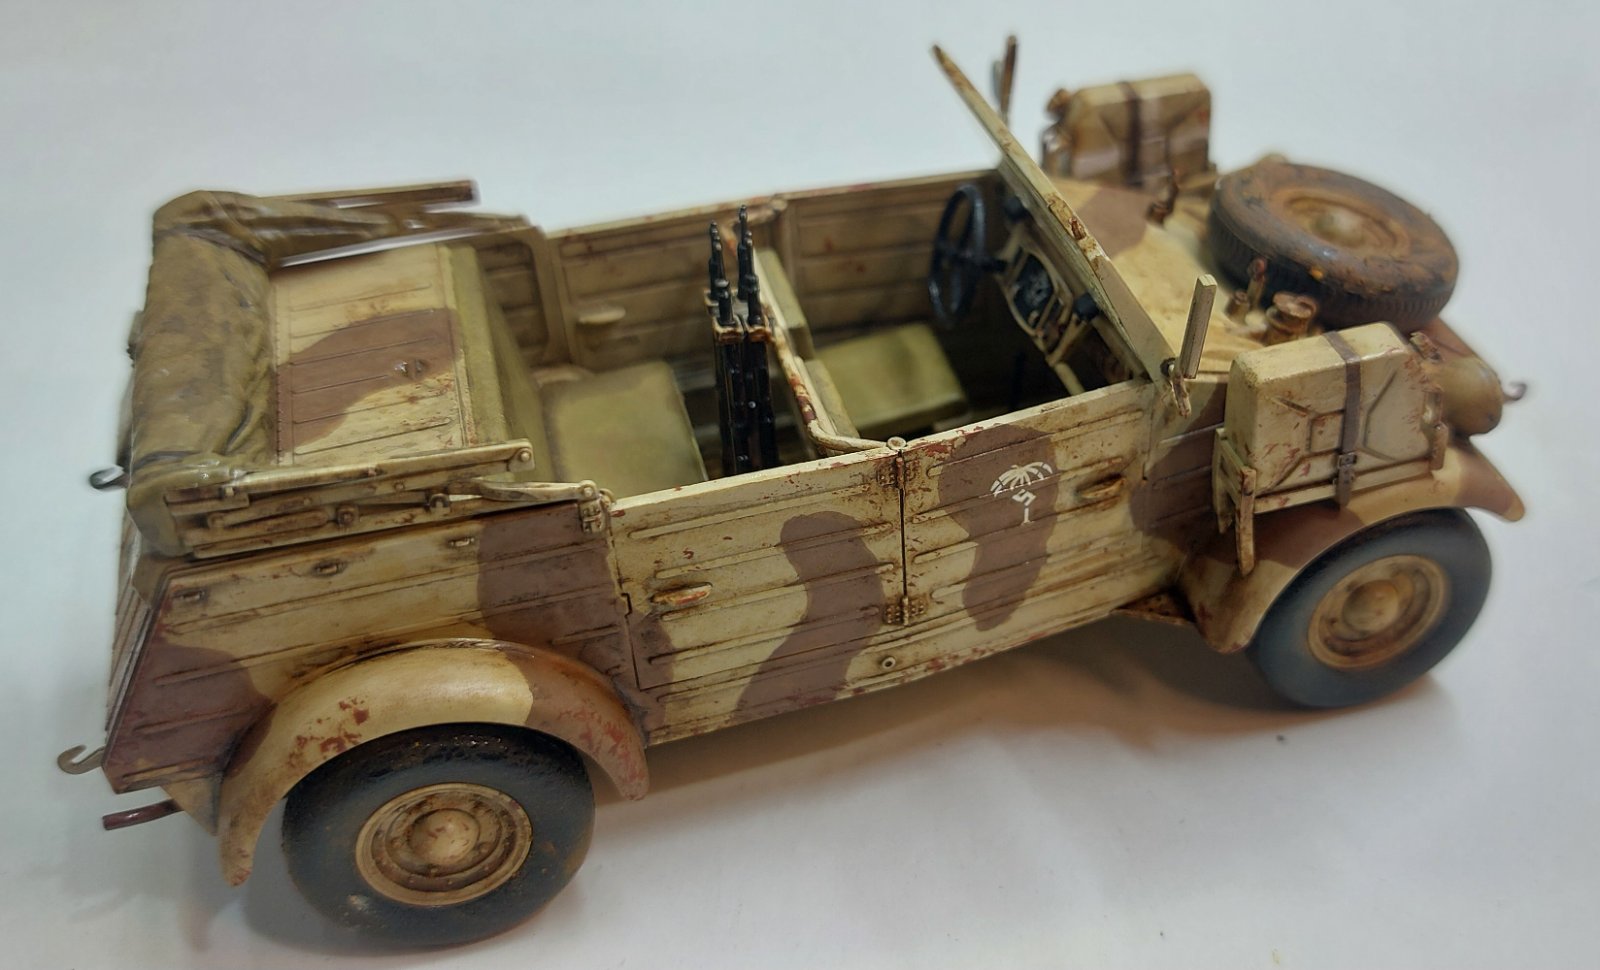
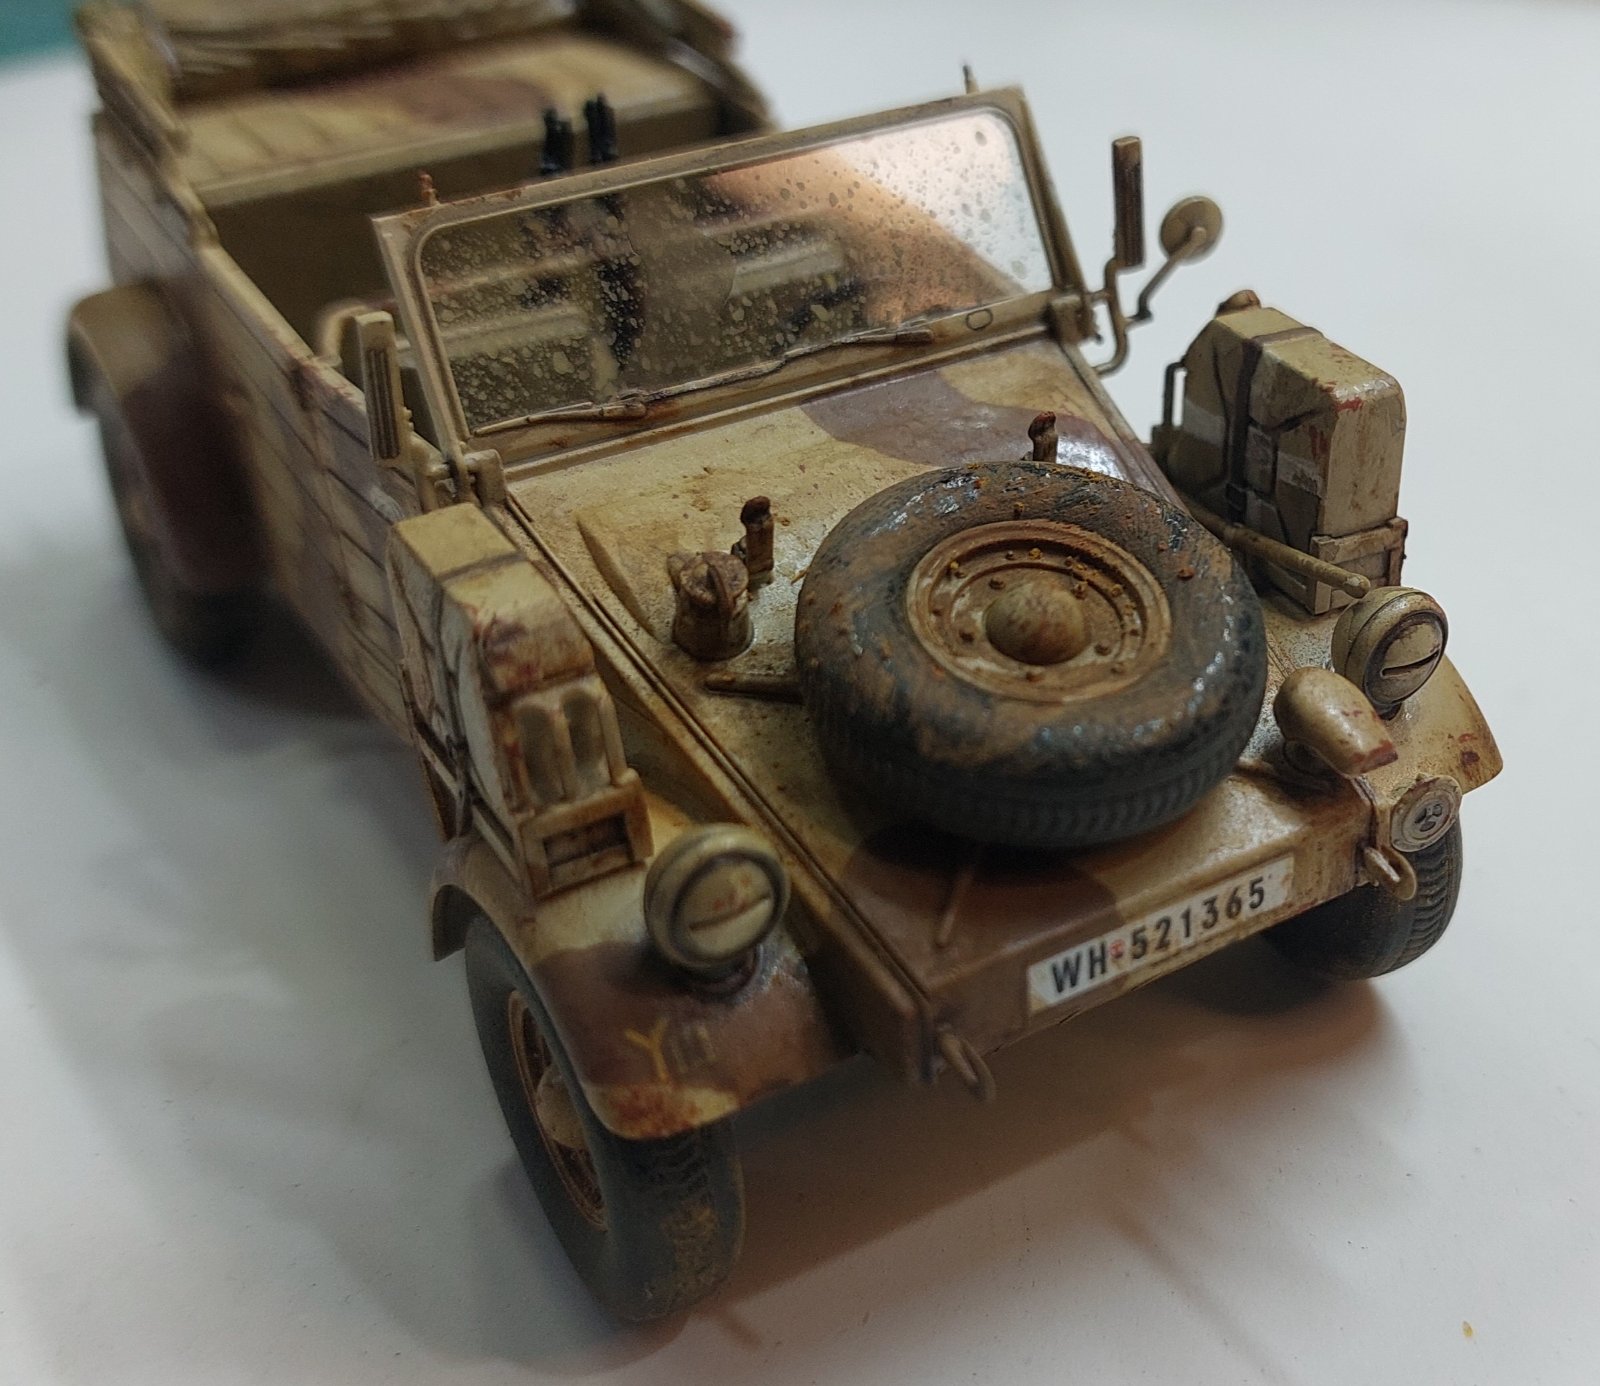
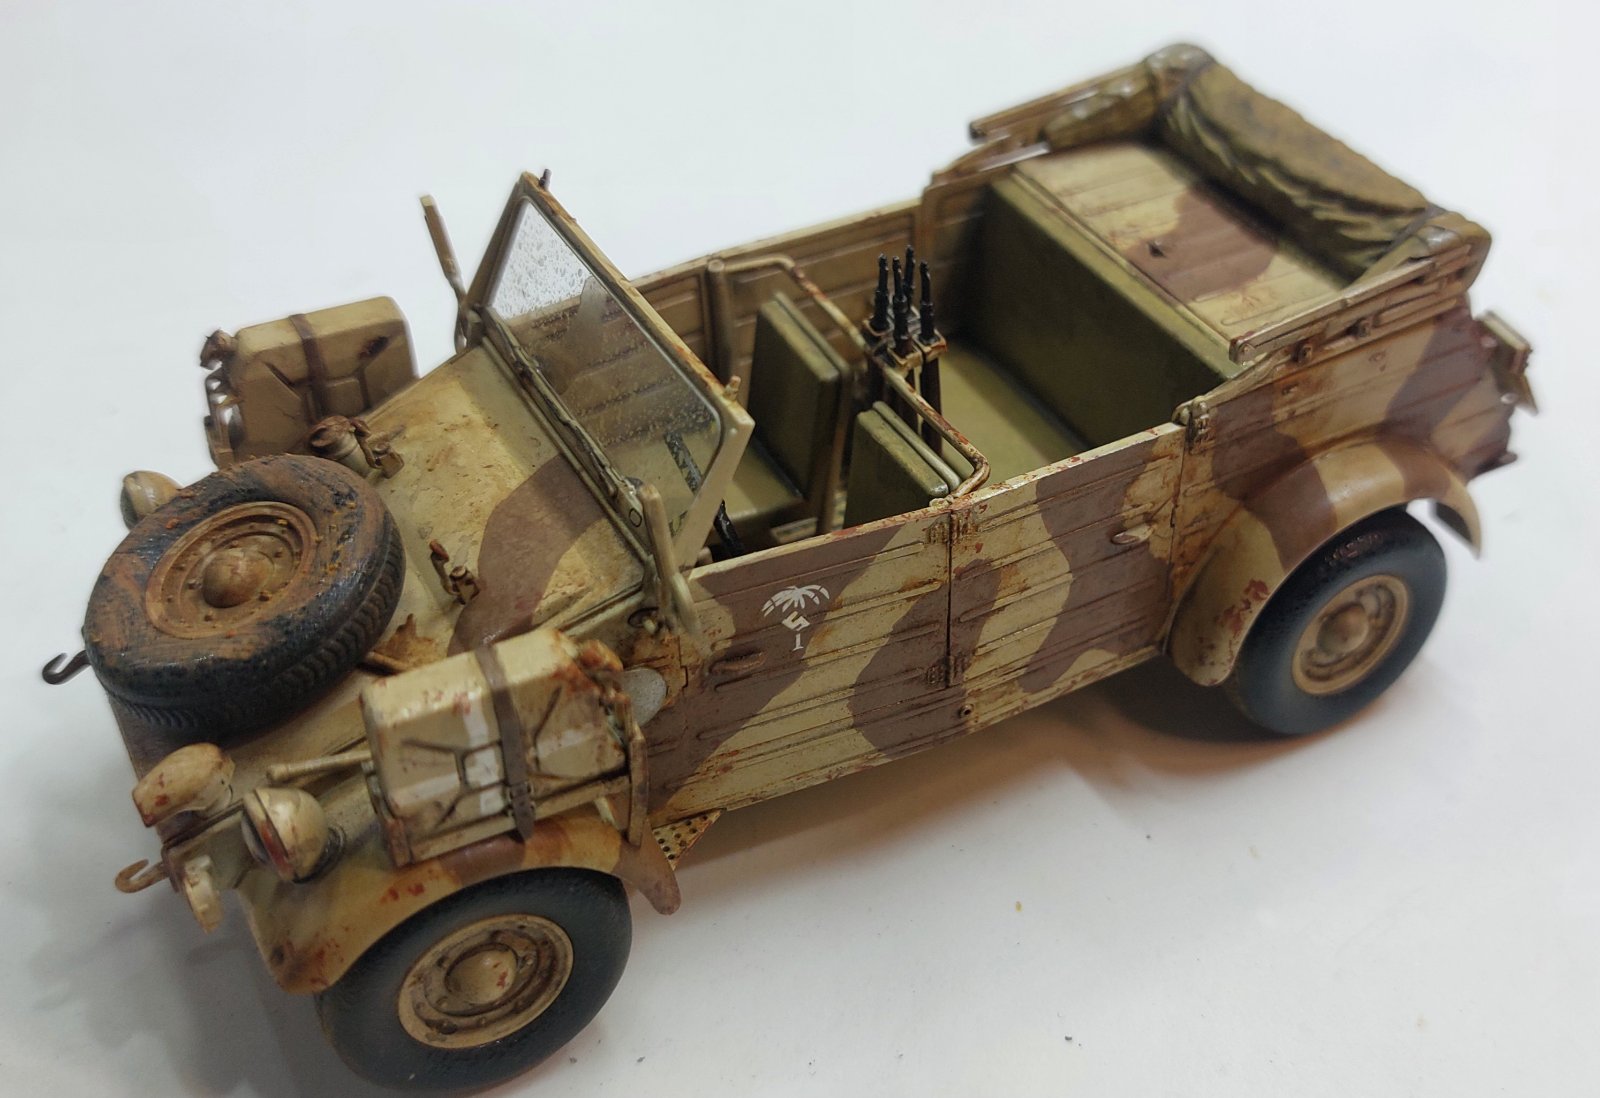
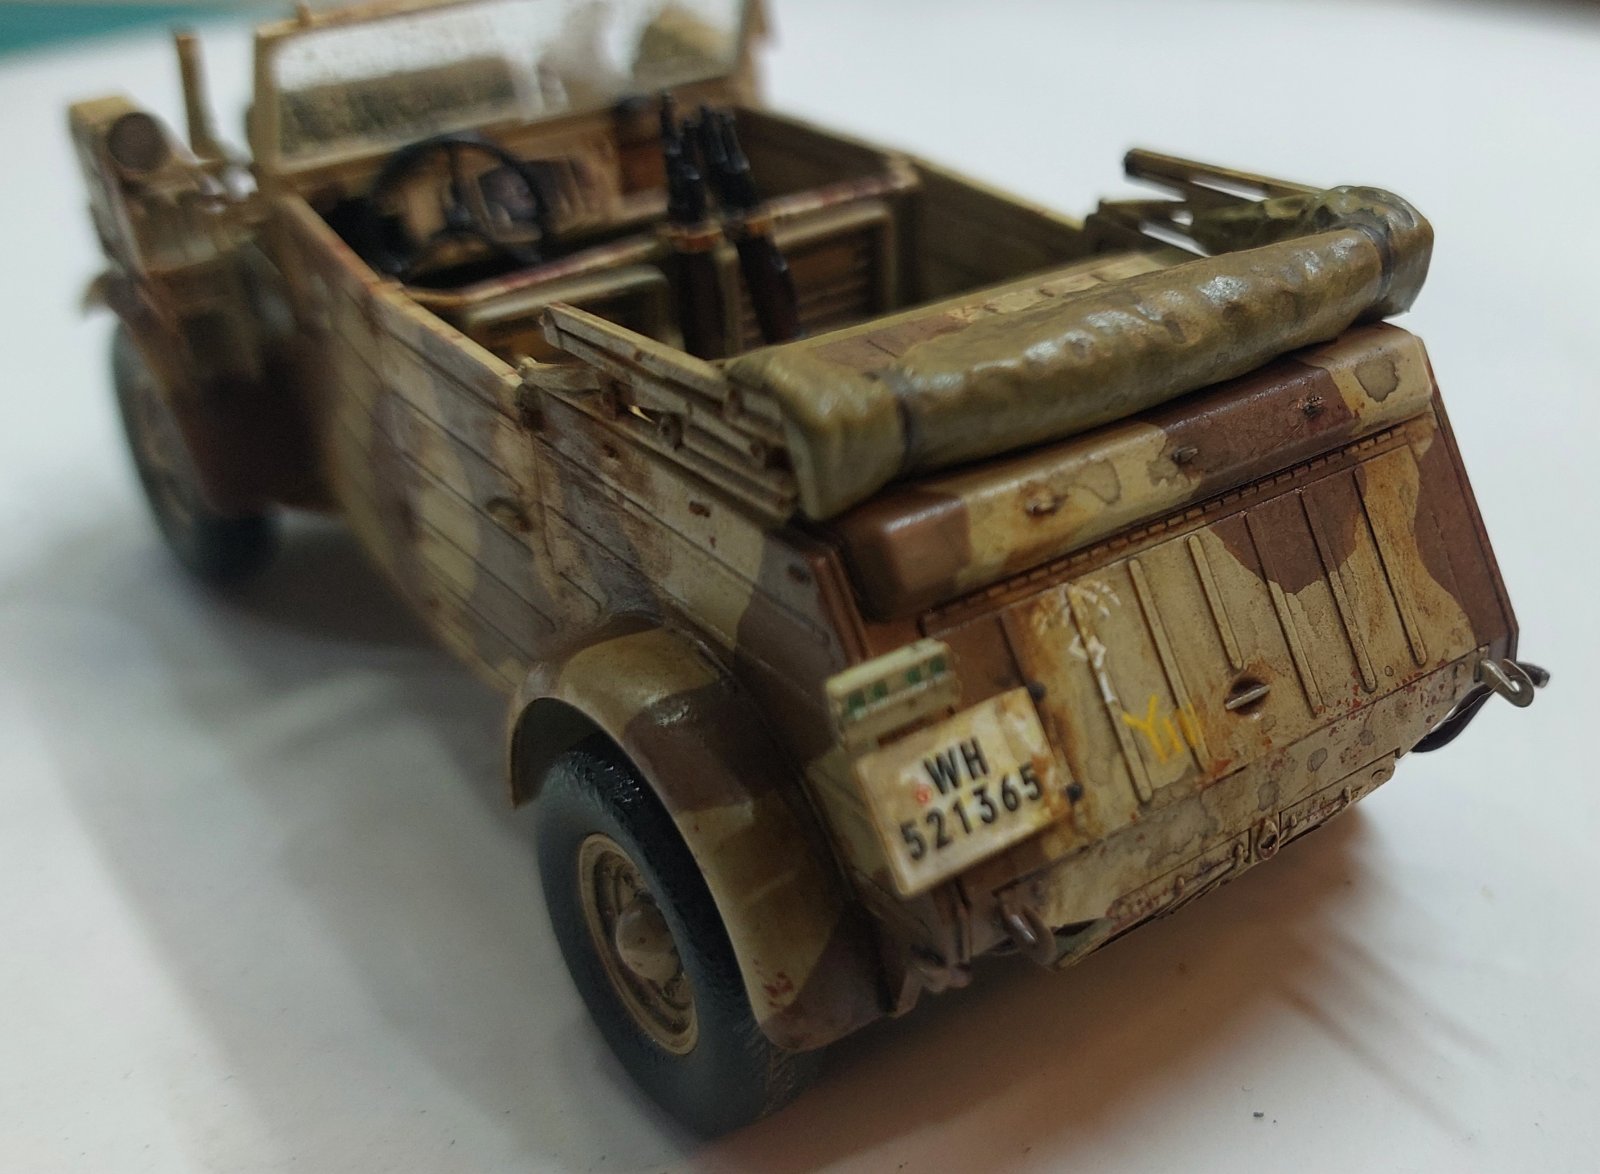
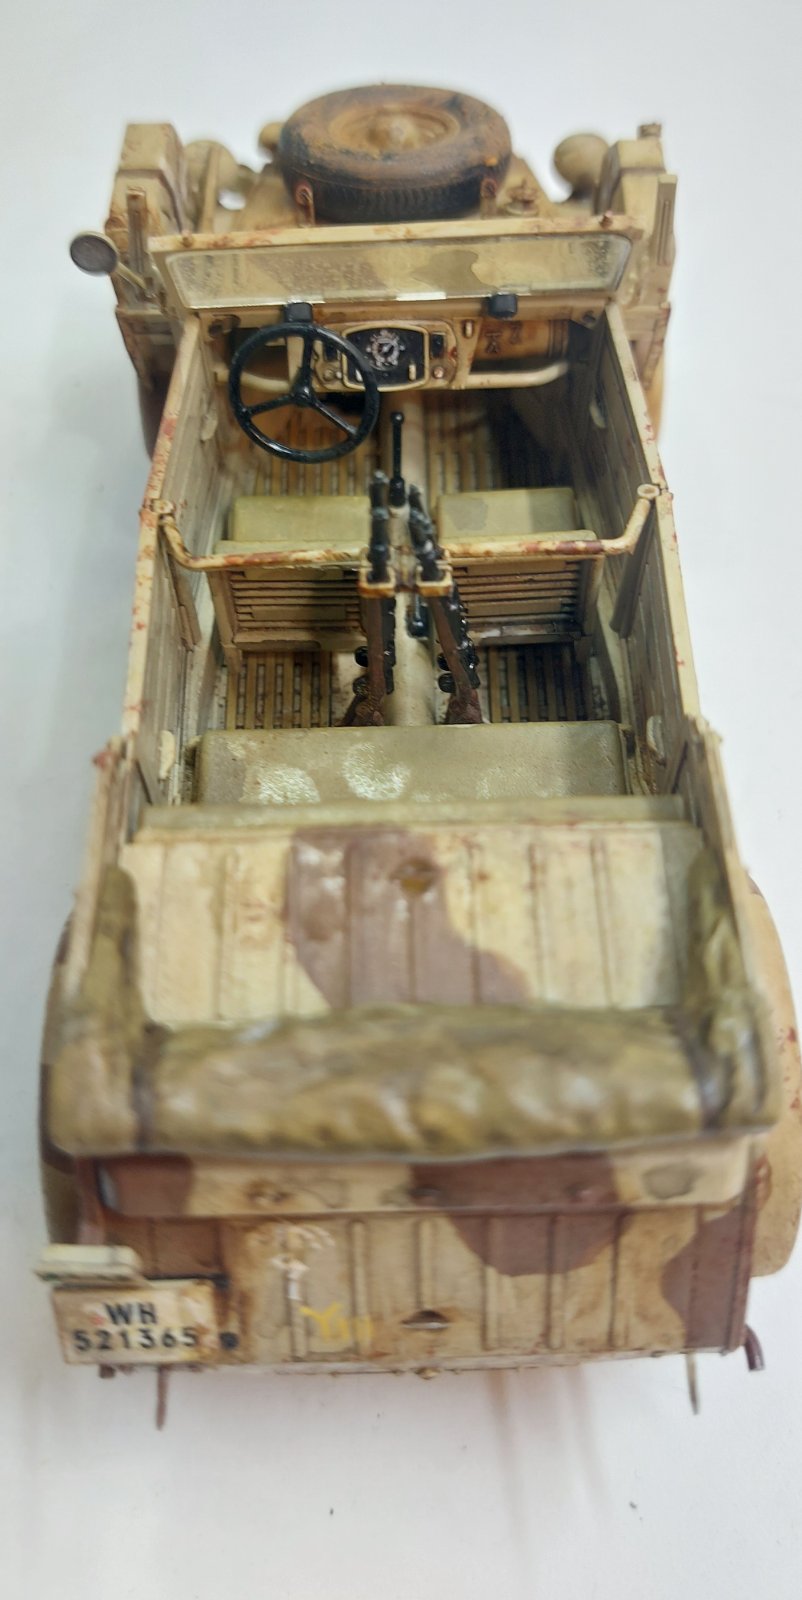
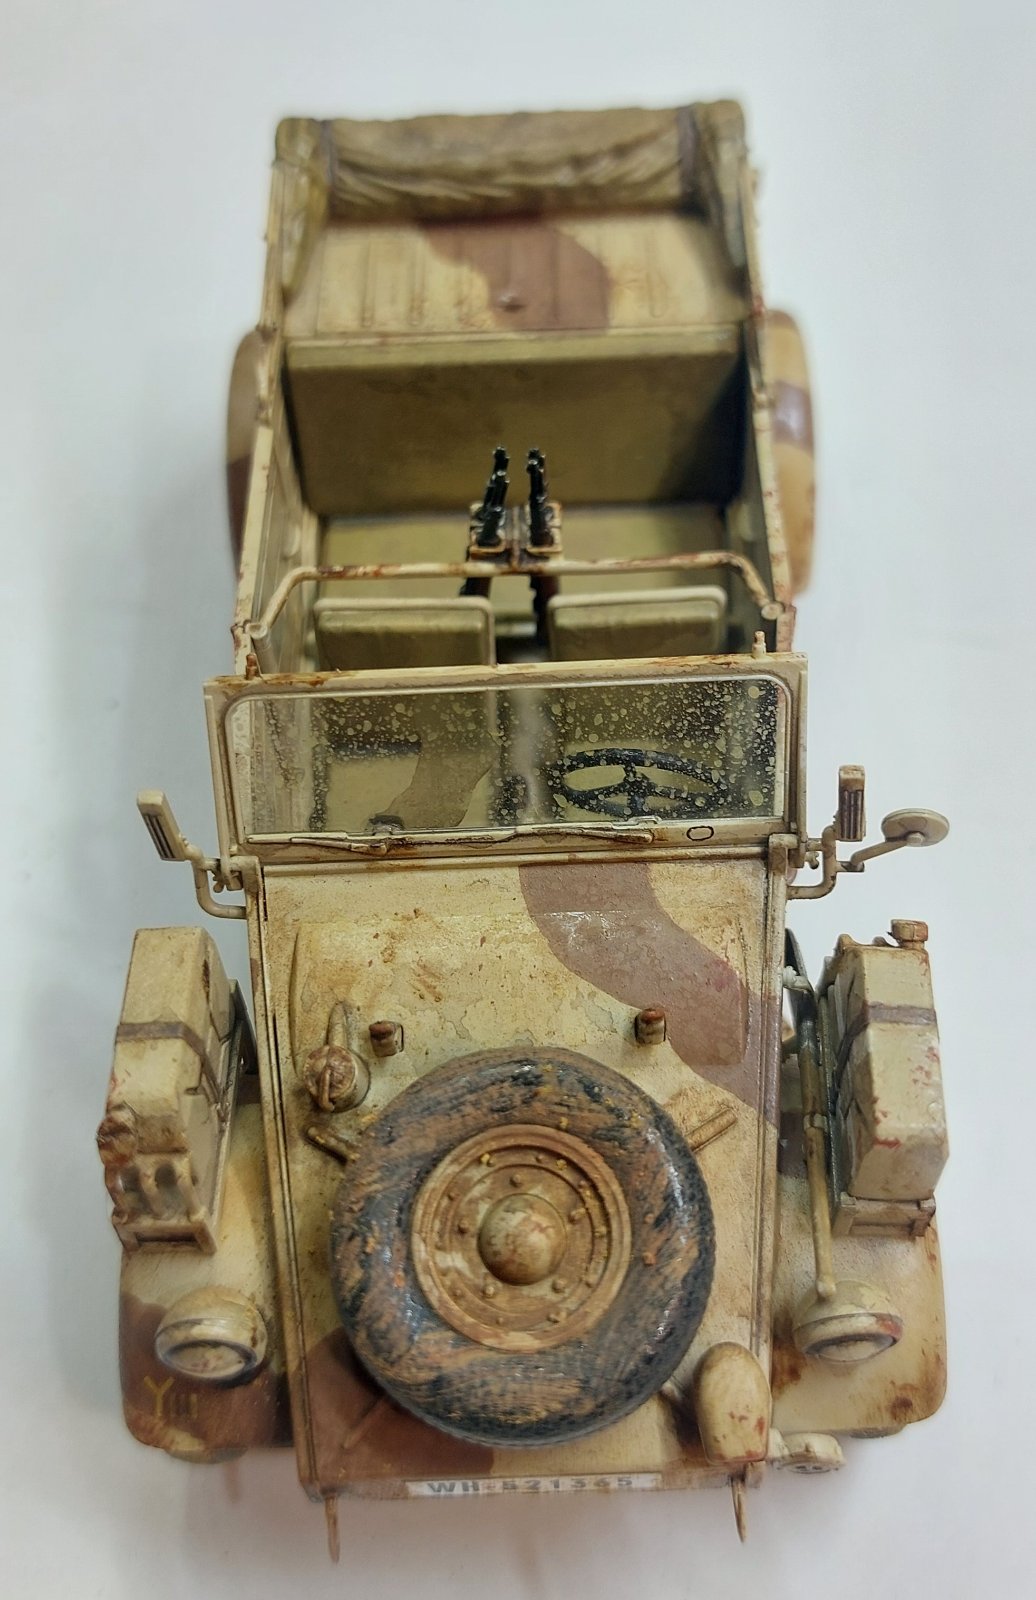
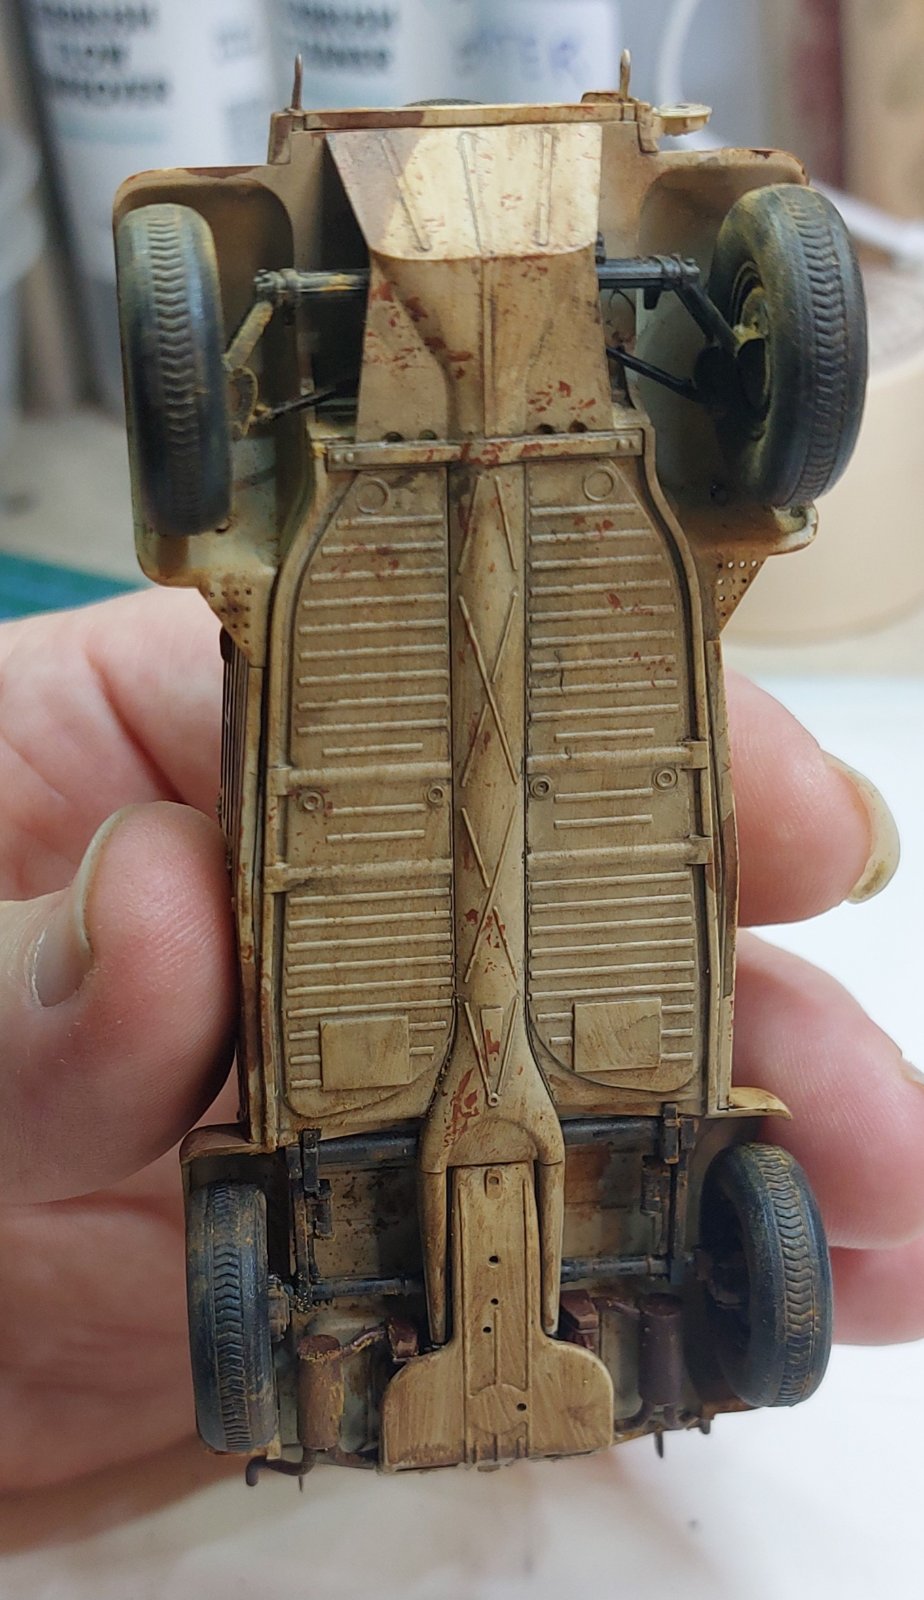
Thanks Barley, not so happy with the underside but not seen. Might do a bit more to it at a later date. PanthermanLooks great!
I have been thinking about that. Thought I would make a template and then wash off the area's carefully with a small bud.I like it. Especially the mud on the windshield because it gave me an idea. I might make mine look like I tried to use the windshield wipers to clear the mud
A toothbrush works well for this: put paint on the ends of the bristles and then draw your finger (or a stick or something) over them.I was going to flick it with a brush but I don't think none of my brushes would do that


![Pampers Sensitive Baby Wipes, Clinically Proven, Fragrance Free, Unscented, Water Based, Hypoallergenic, Multi-Use, Hand Wipes 336 Wipes Total (6X Flip-Top Packs) [Packaging May Vary]](https://m.media-amazon.com/images/I/41KLBHu9CAL._SL500_.jpg)