
You are using an out of date browser. It may not display this or other websites correctly.
You should upgrade or use an alternative browser.
You should upgrade or use an alternative browser.
Kotare 1/32 Spitfire Va as flown by Douglas Bader
- Thread starter Edbert
- Start date


Is it someday yet?
Last edited:

Edbert
Well-Known Member
- Joined
- May 16, 2024
- Messages
- 3,118
Don't make me pull the car over!Is someday yet?
user 22148
Well-Known Member
- Joined
- Oct 3, 2024
- Messages
- 497
Eduard?
user 22148
Well-Known Member
- Joined
- Oct 3, 2024
- Messages
- 497
Kotare.
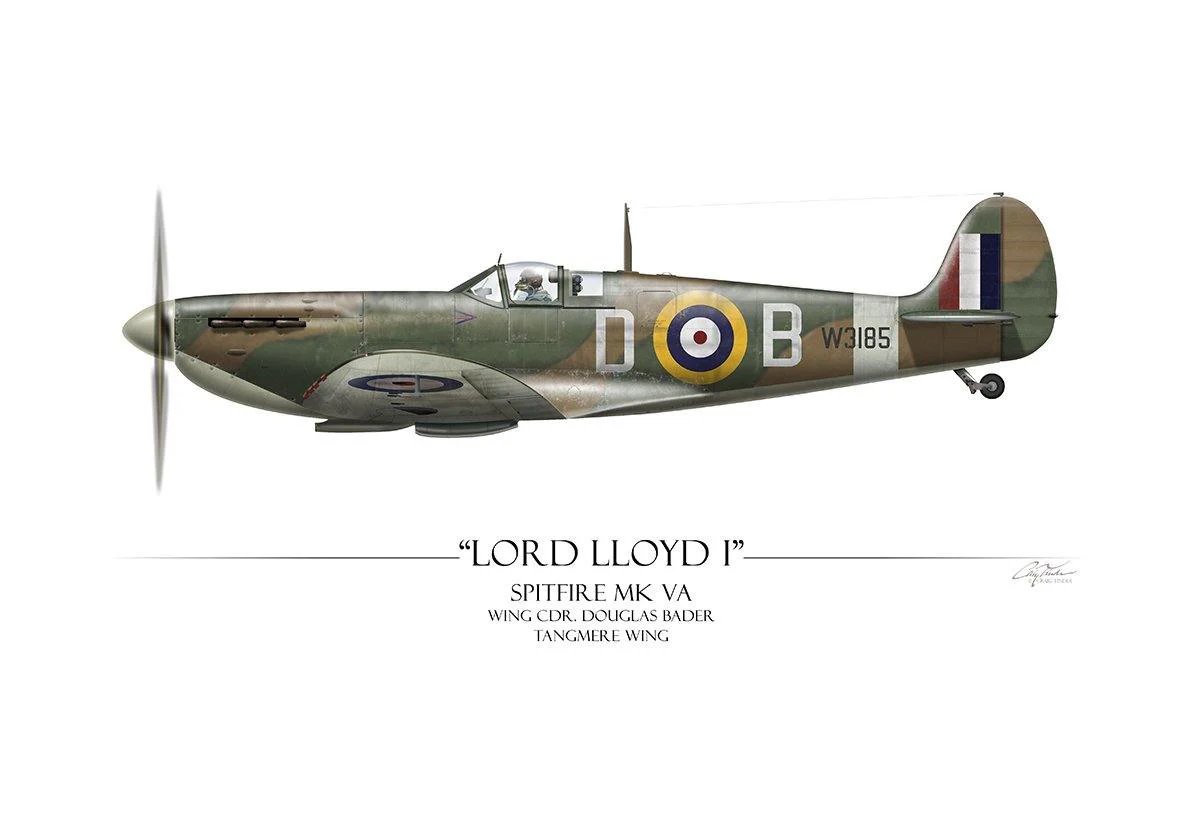
This is the 5a version, assume I'll build Douglas Bader's plane that never came back.
DB's mk.Va? A very good choice. I'll look forward to that, I've not seen the Kotare kit built up yet.


![Pampers Sensitive Baby Wipes, Clinically Proven, Fragrance Free, Unscented, Water Based, Hypoallergenic, Multi-Use, Hand Wipes 336 Wipes Total (6X Flip-Top Packs) [Packaging May Vary]](https://m.media-amazon.com/images/I/41KLBHu9CAL._SL500_.jpg)






As an Amazon Associate we earn from qualifying purchases. Product prices and availability are accurate as of the date/time indicated and are subject to change.
Edbert
Well-Known Member
- Joined
- May 16, 2024
- Messages
- 3,118
DB's mk.Va? A very good choice.
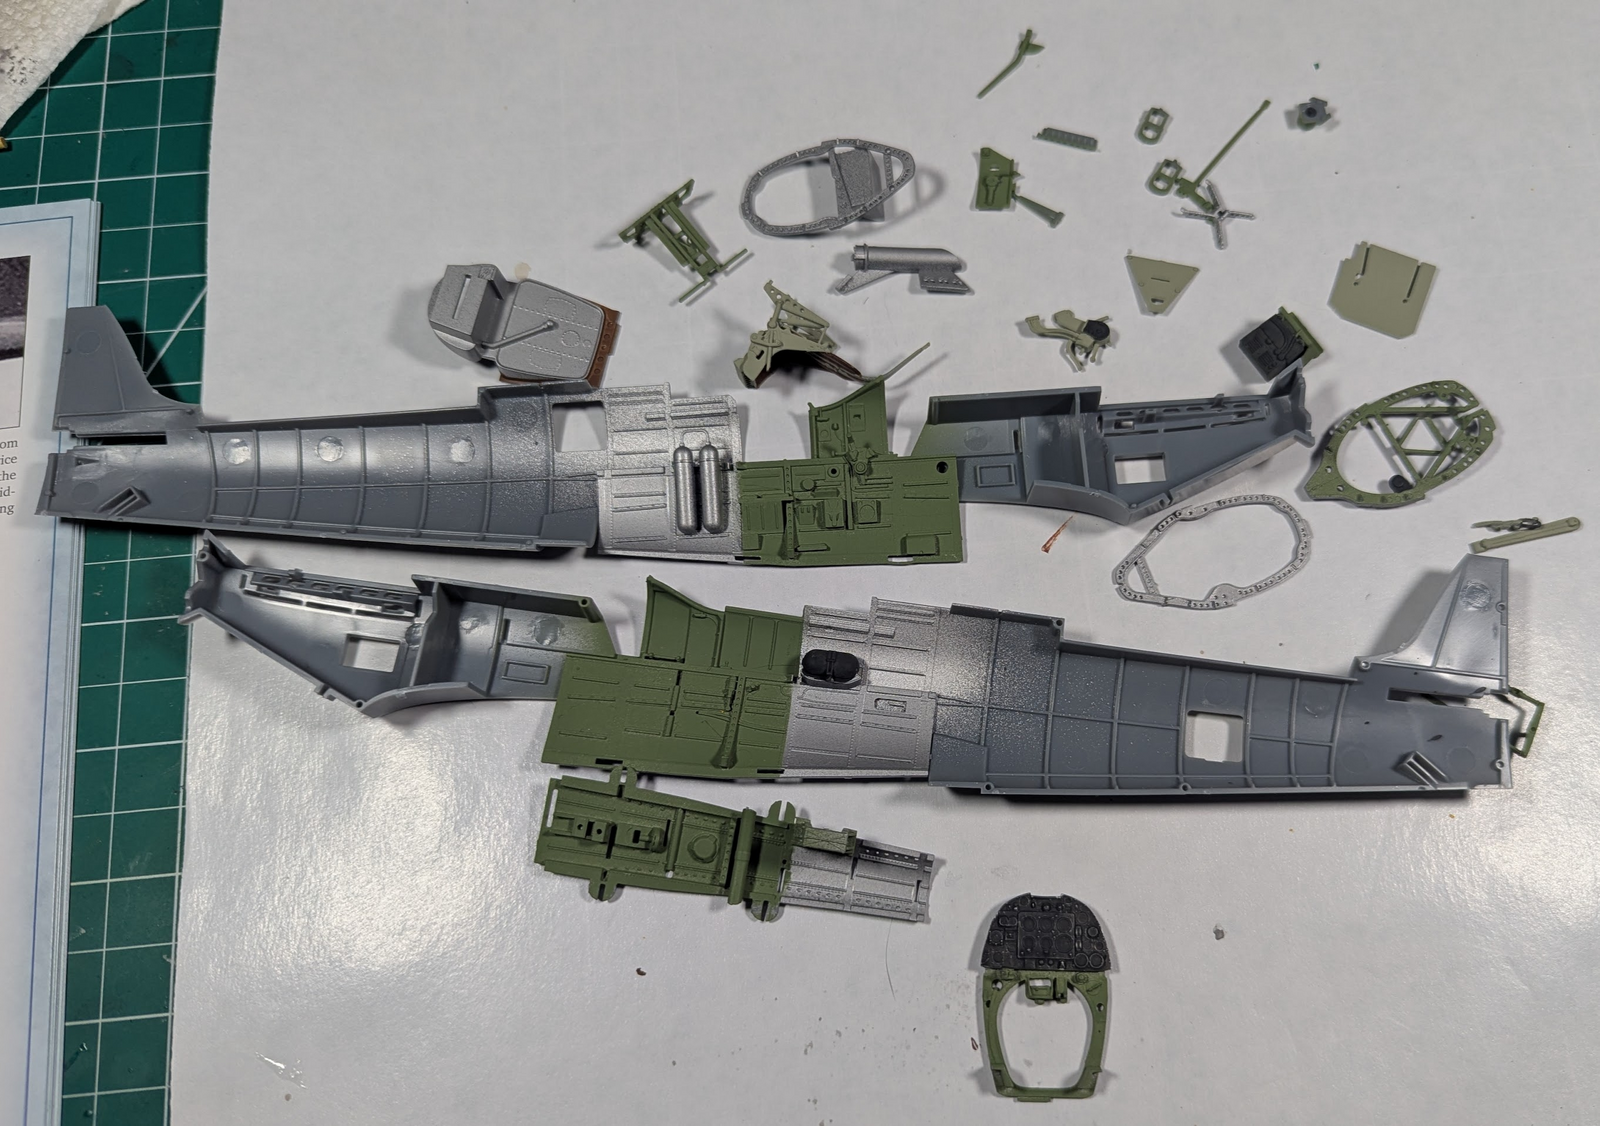
I only wish it were a 5b, this kit is amazing, I think half the parts are the cockpit and areas immediately on both ends. Unlike the Zoukei Mura kits, there's no linkages to the rudder nor pistons inside the engine. Heck, there's no Merlin included at all, but I think they left room for one. Suspect that will be released later in some sort of platinum edition.
user 22148
Well-Known Member
- Joined
- Oct 3, 2024
- Messages
- 497
I suspect they'll do a B or C winged Spitfire at some-point, although it'd require a new wing. I've never actually built a 1/32 aircraft kit but I do like t he look of this one.,
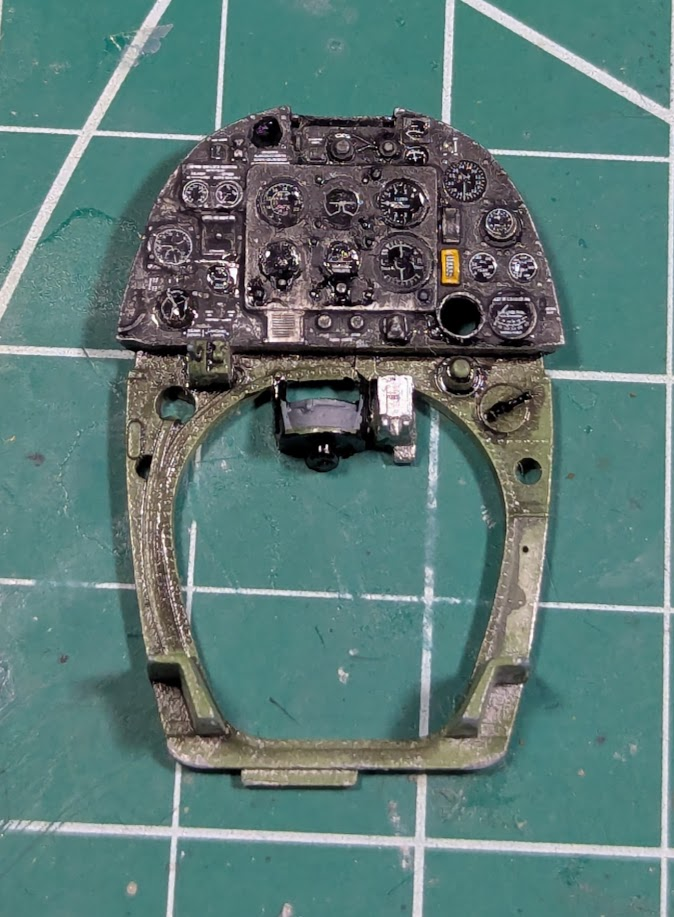
Edbert
Well-Known Member
- Joined
- May 16, 2024
- Messages
- 3,118
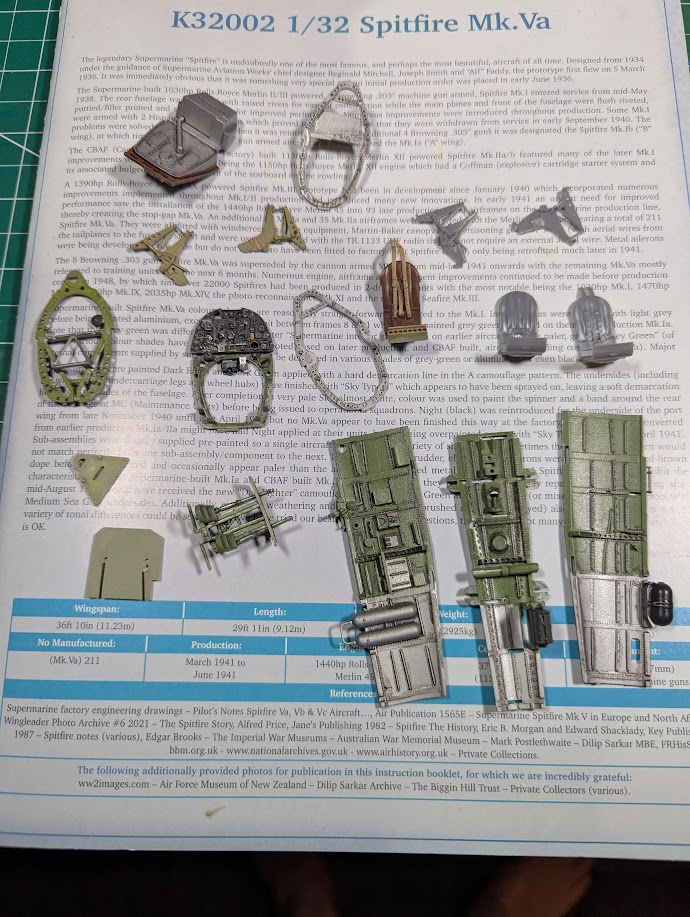
There's a 4th seat not shown in the image above. Initially I used the one with molded-in seatbelts. The missing one is being sanded down and re-painted. Reason for that will be shown later.
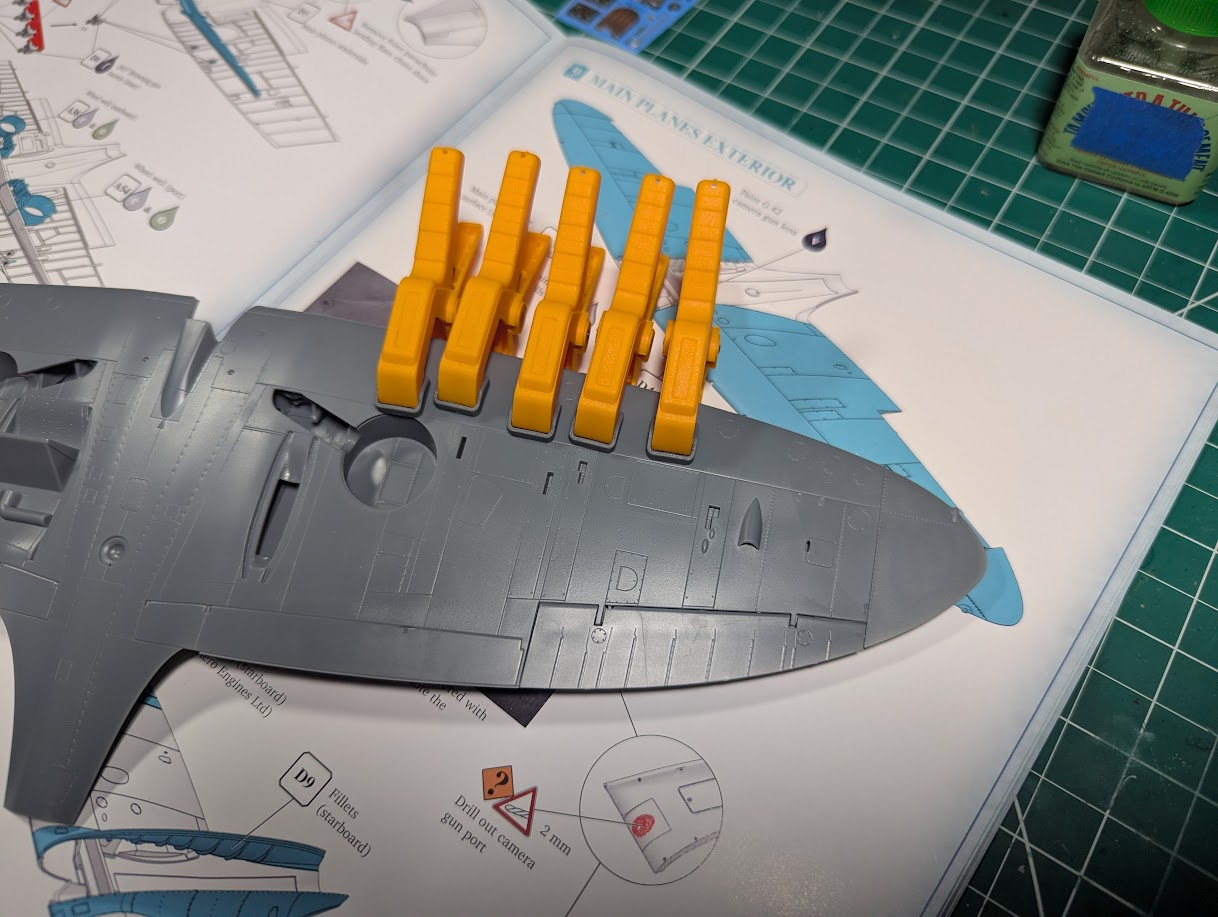
I read somewhere that 80% of the parts in this kit were cockpit-related. Some really tiny bits in there for sure. But it makes sense when you realize there's no engine parts at all, except exhaust stacks. The wings went together like a work of engineering art.
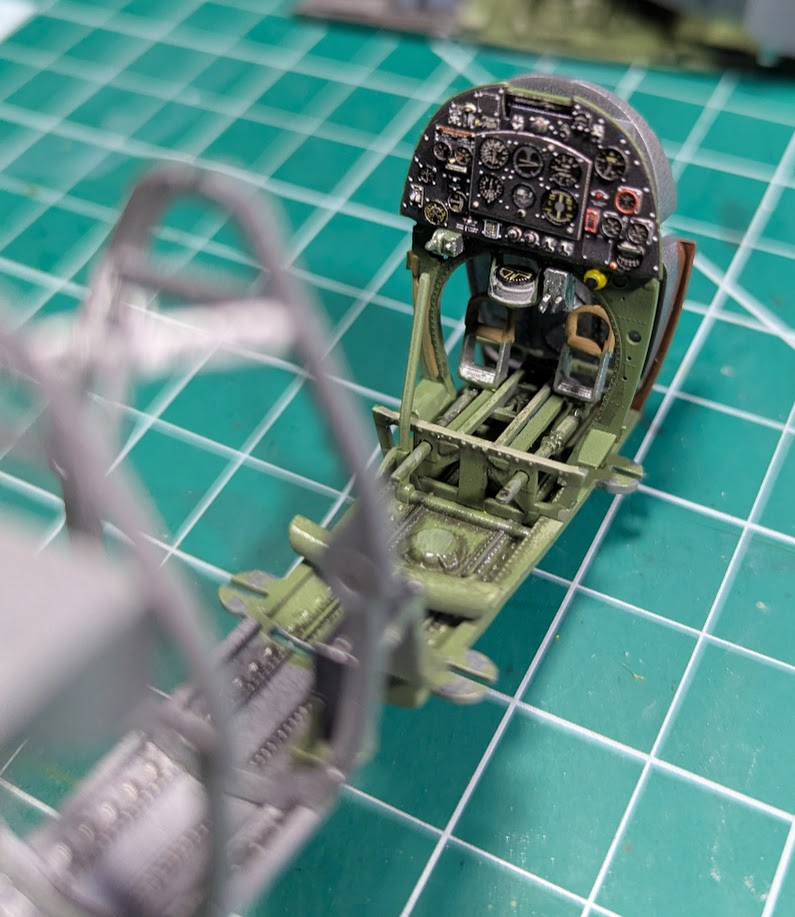
My IP was just not acceptable to me, so I co I cheated

(Quinta studios to the rescue)
Last edited:
There's a nice looking catalogue to look through!Quinta studios
New to me...
Your IP not quite so crisp, but did have a battle worn look to it!

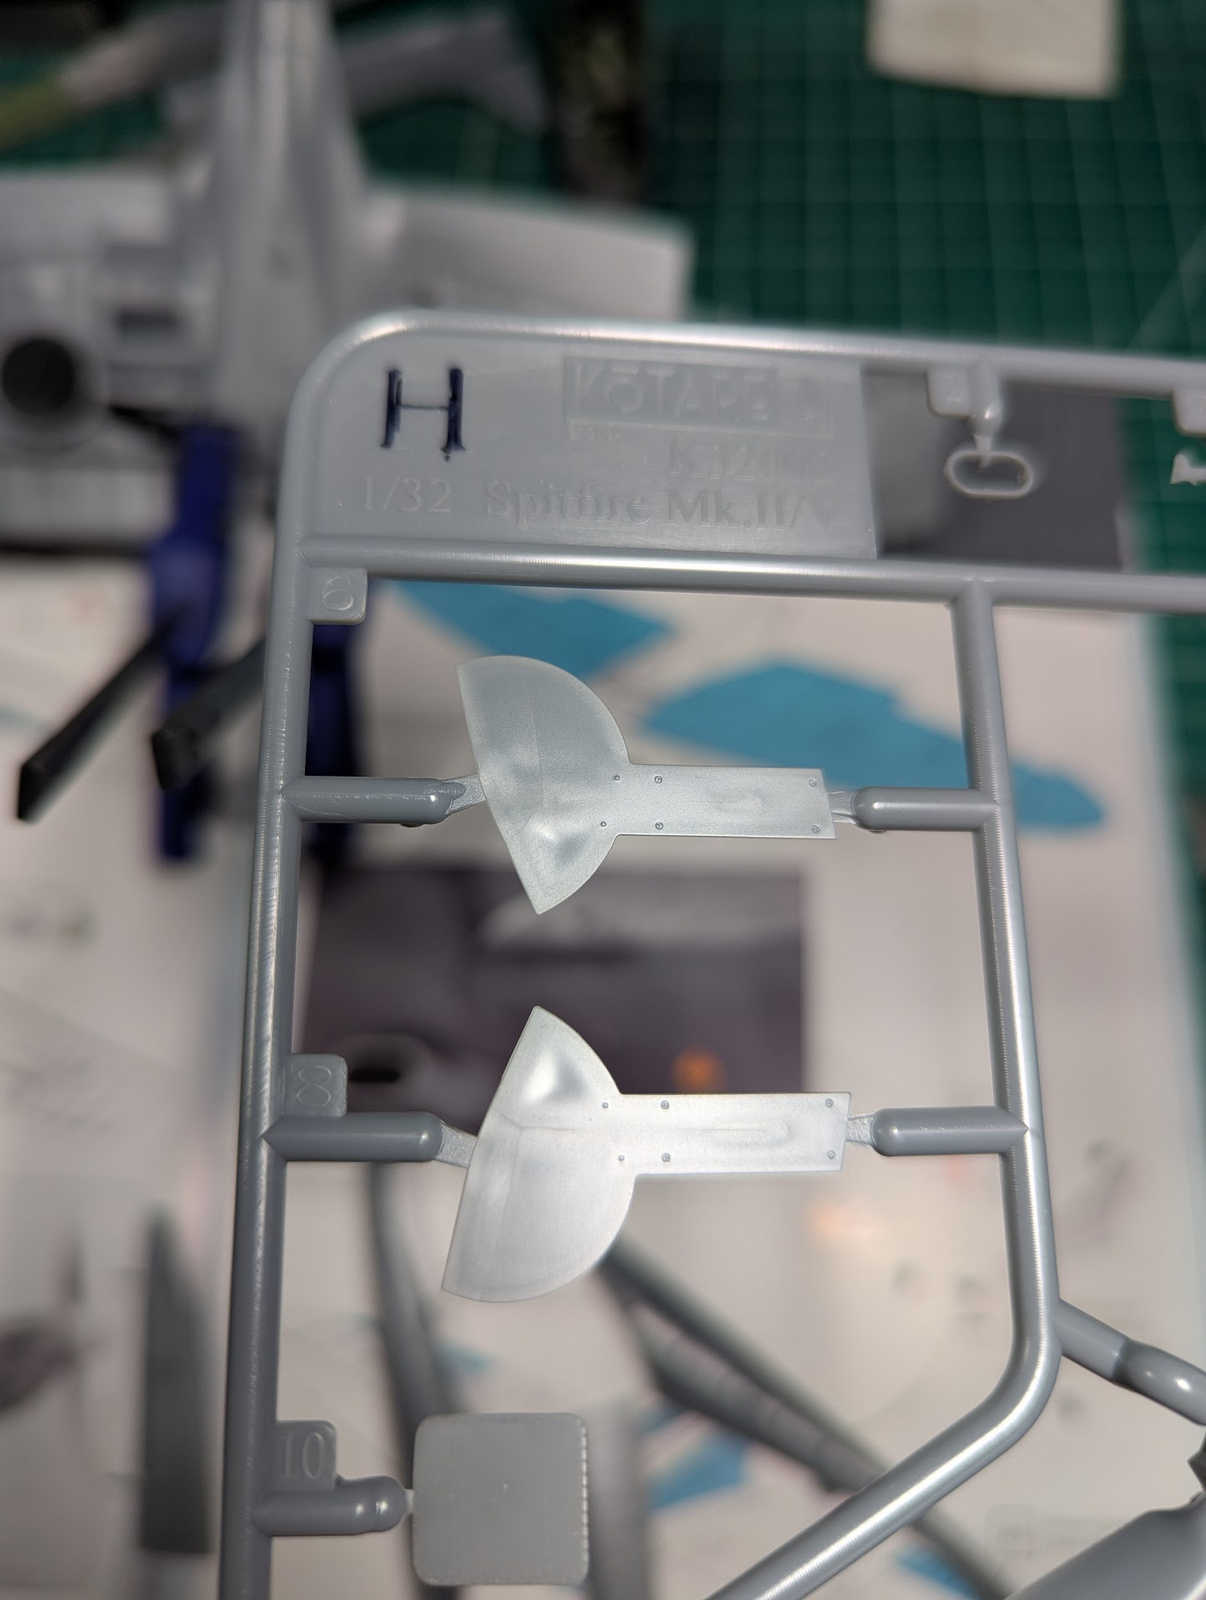
Or it was removed from the mold too soon. See the distortion in the sprue leg (part No.10) just below?This is an unfortunate casting effort, very hard to photograph.
View attachment 150406
I think those two "dips" indicate under-pressured styrene into the molds? Not what one would expect from an expensive kit.
Edbert
Well-Known Member
- Joined
- May 16, 2024
- Messages
- 3,118
Whatever you do do not click on the link below, your wallet begs you not to!There's a nice looking catalogue to look through!
New to me...
Another catalog
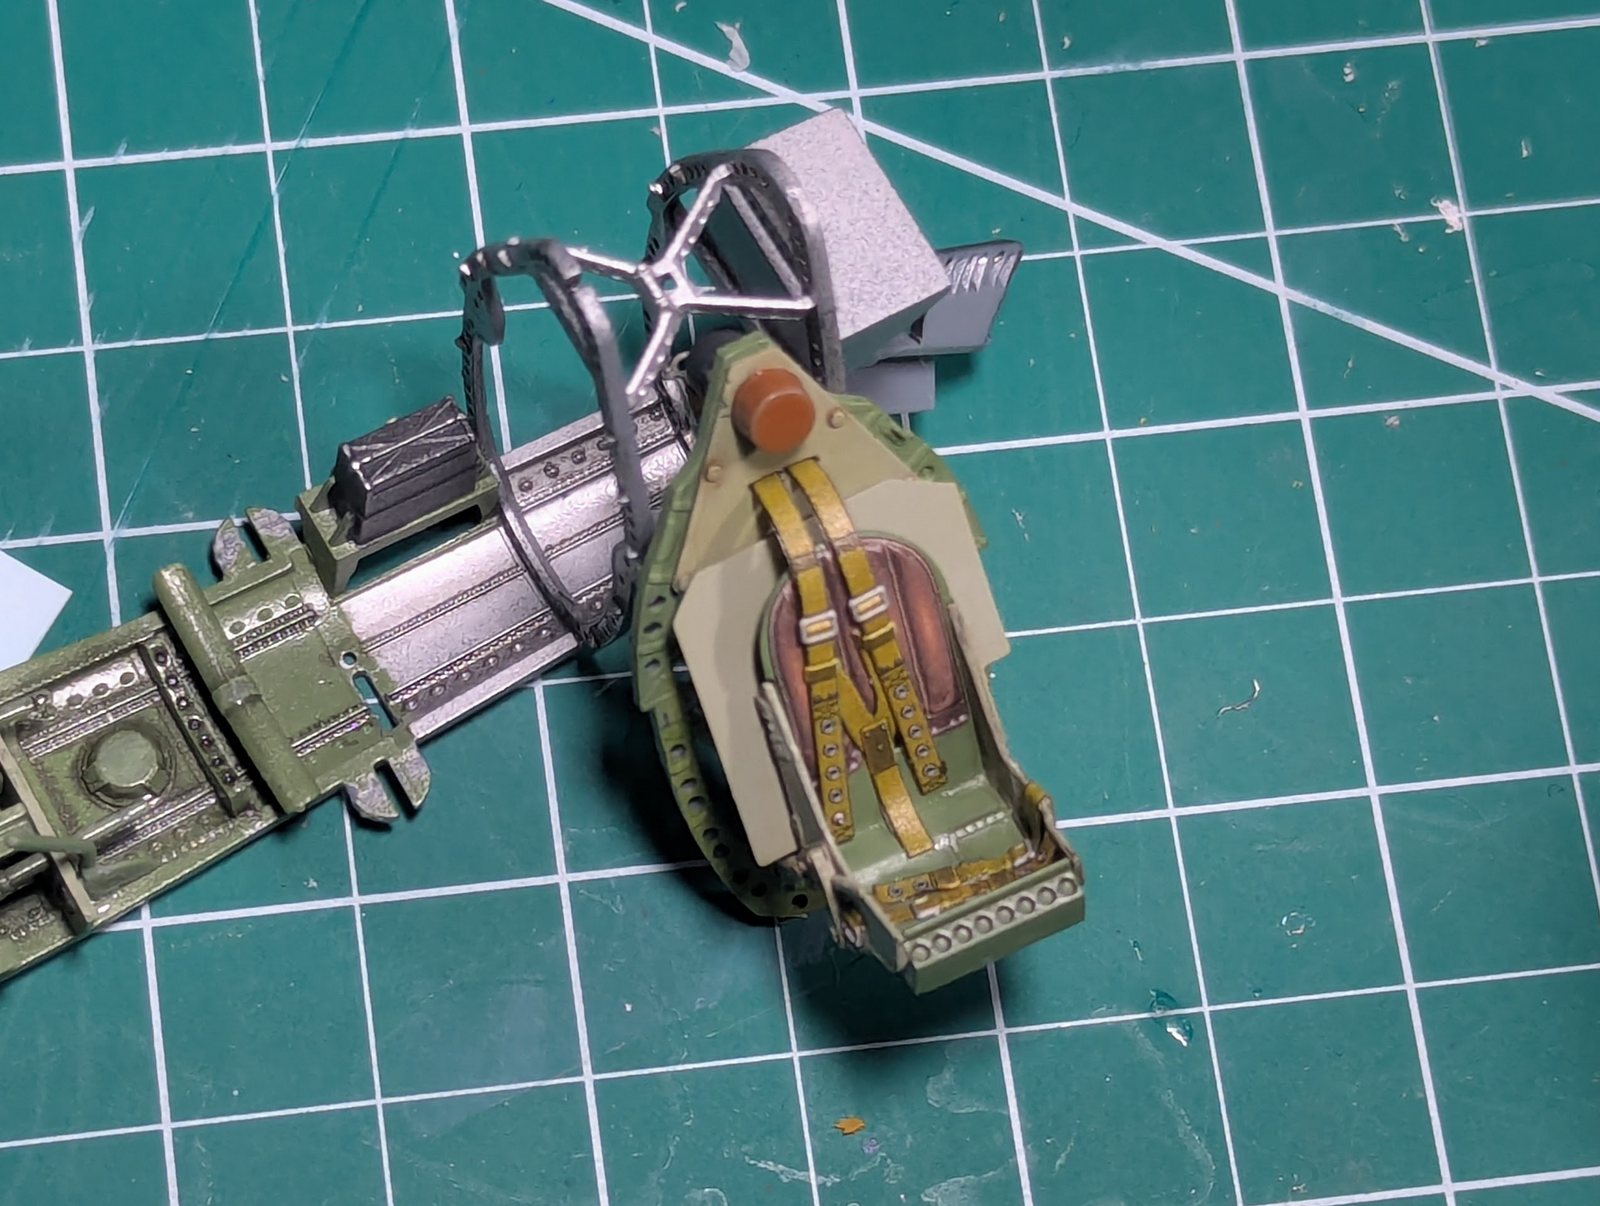
That would probably improve the look.Those "holes" on the front of the seat were to hold multi-colored flares. I feel that if I am not going to put flares in there then I should drill the holes out. Perhaps not through, but deeper.
Flares … on the front of the seat … somehow I think that's a bad idea …
- Joined
- Apr 29, 2024
- Messages
- 1,569
Coming along nice. I almost bought that kit for my next endeavor but I thought I'd perhaps wait a bit because there was no engine to speak of. Still seems like a great build to do.
Edbert
Well-Known Member
- Joined
- May 16, 2024
- Messages
- 3,118
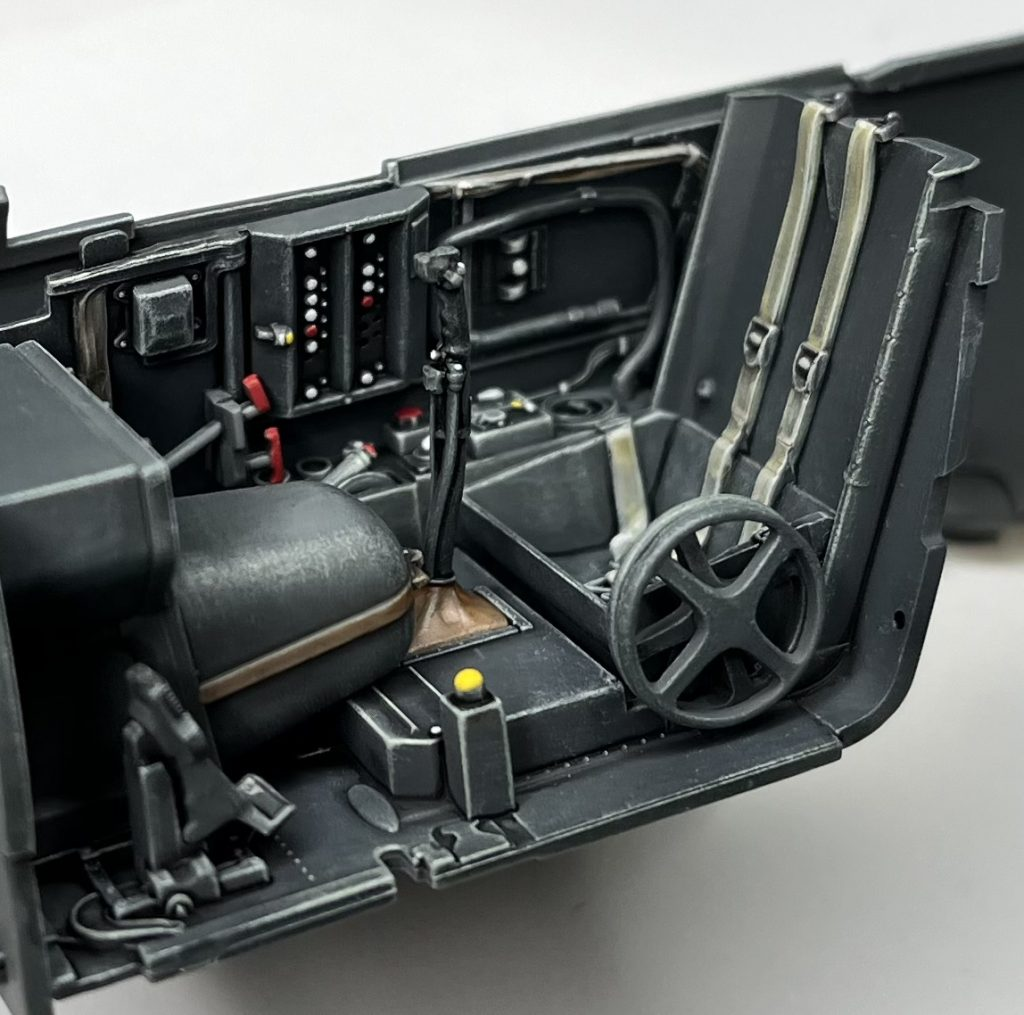
I sorta wish I had waited for the B-wing version myself, but they are about to release a 109 too.Coming along nice. I almost bought that kit for my next endeavor but I thought I'd perhaps wait a bit because there was no engine to speak of. Still seems like a great build to do.
https://modelgeekspodcast.com/home/kotare-1-32-bf-109k-test-shot-build/
Edbert
Well-Known Member
- Joined
- May 16, 2024
- Messages
- 3,118
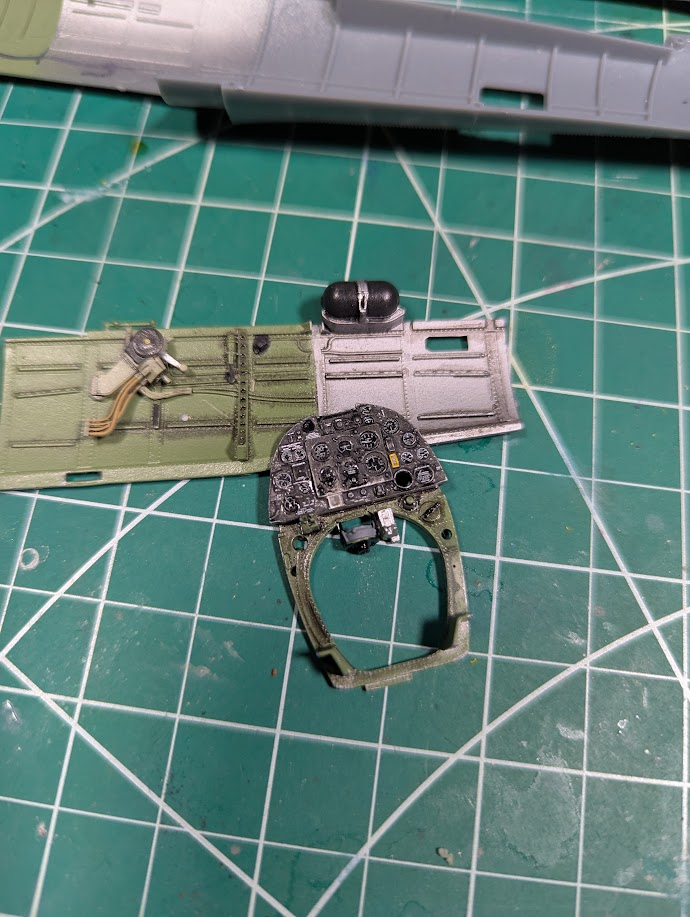
Wrapping up the cockpit here, just wanted to show some pics because it is about to all be invisible.
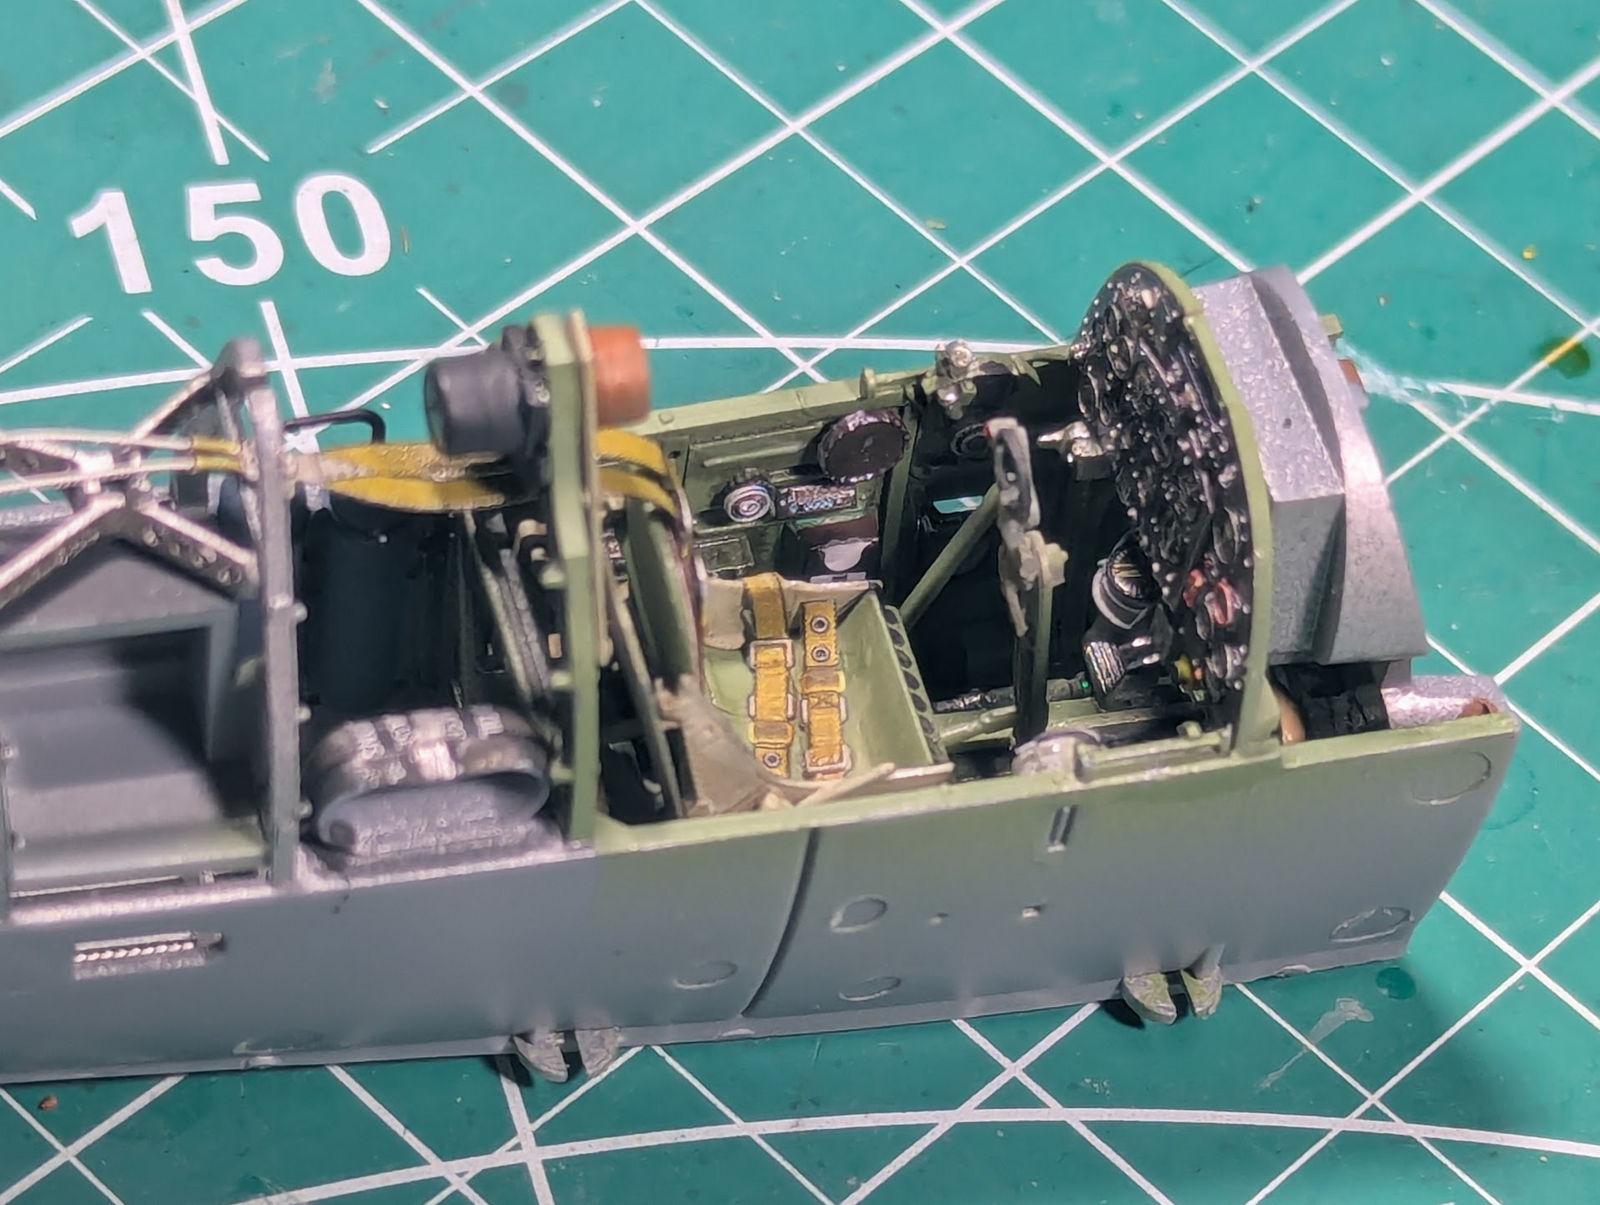
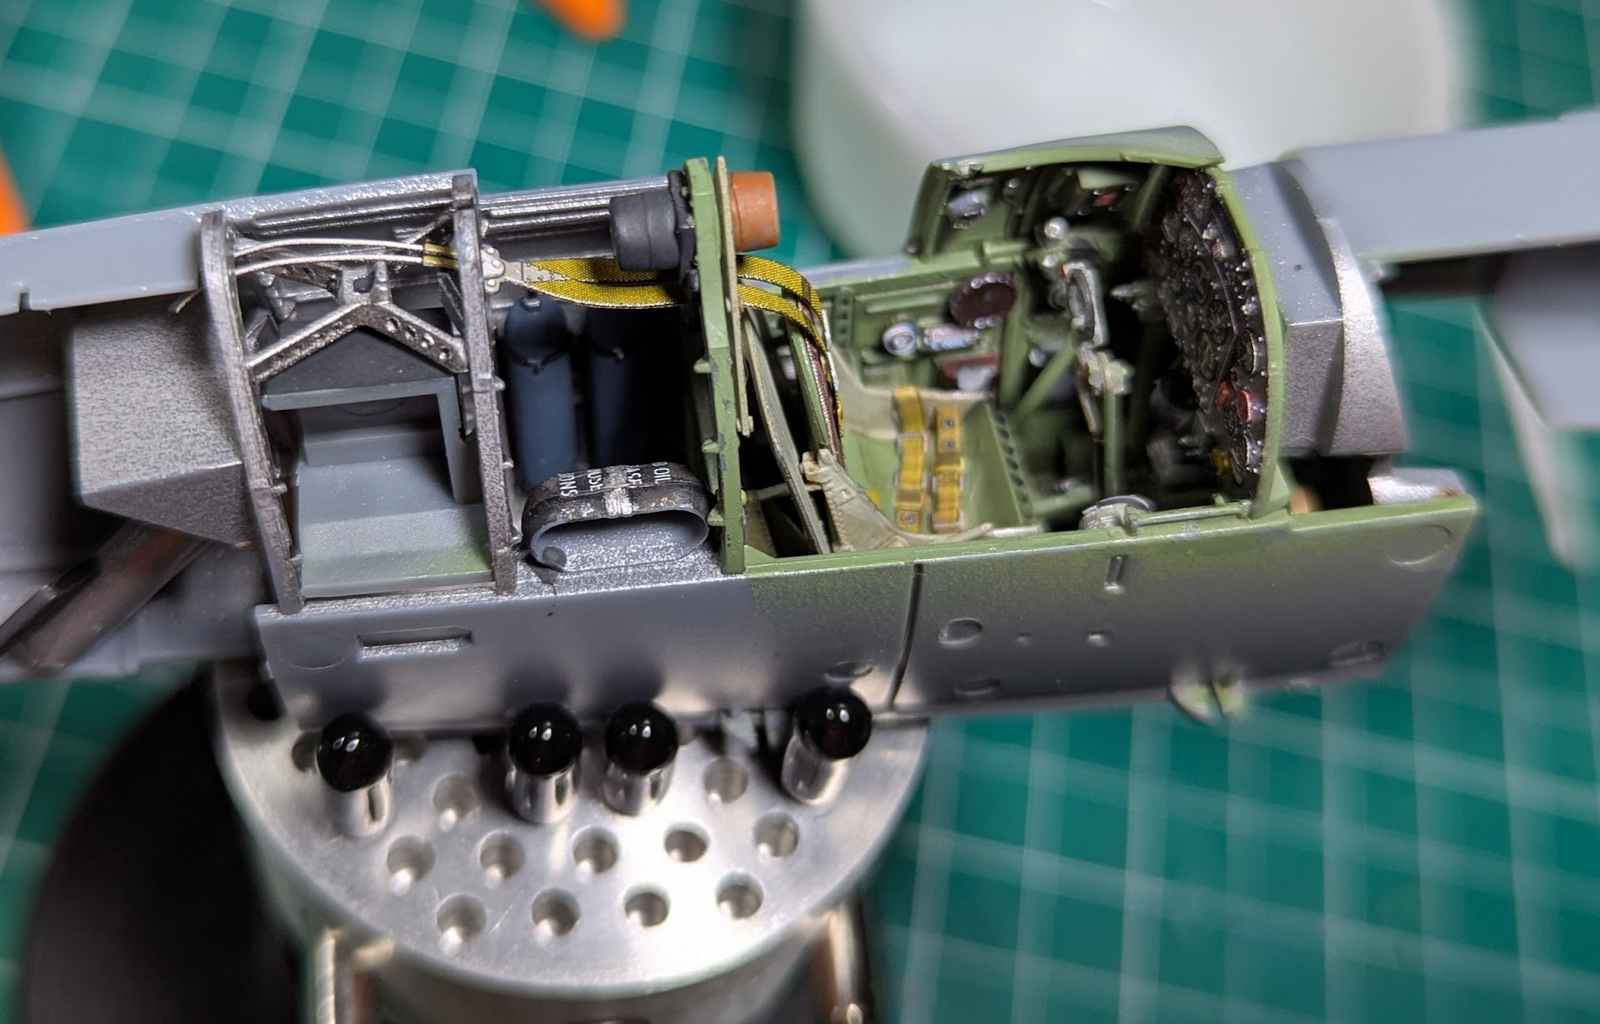
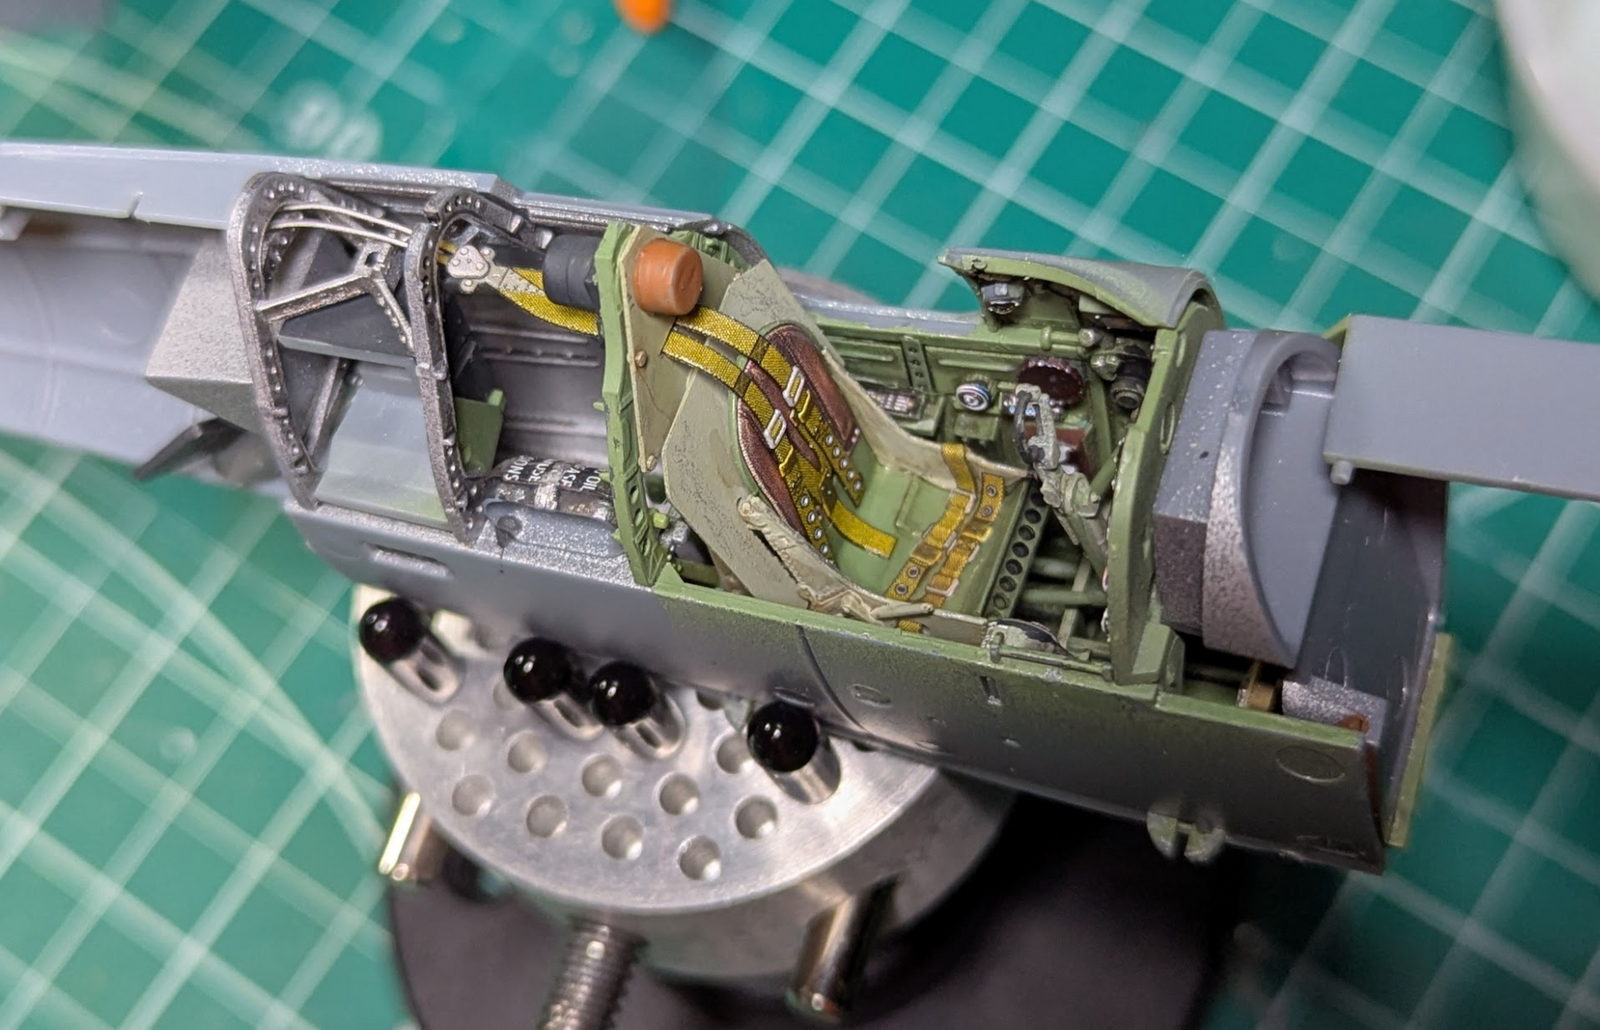
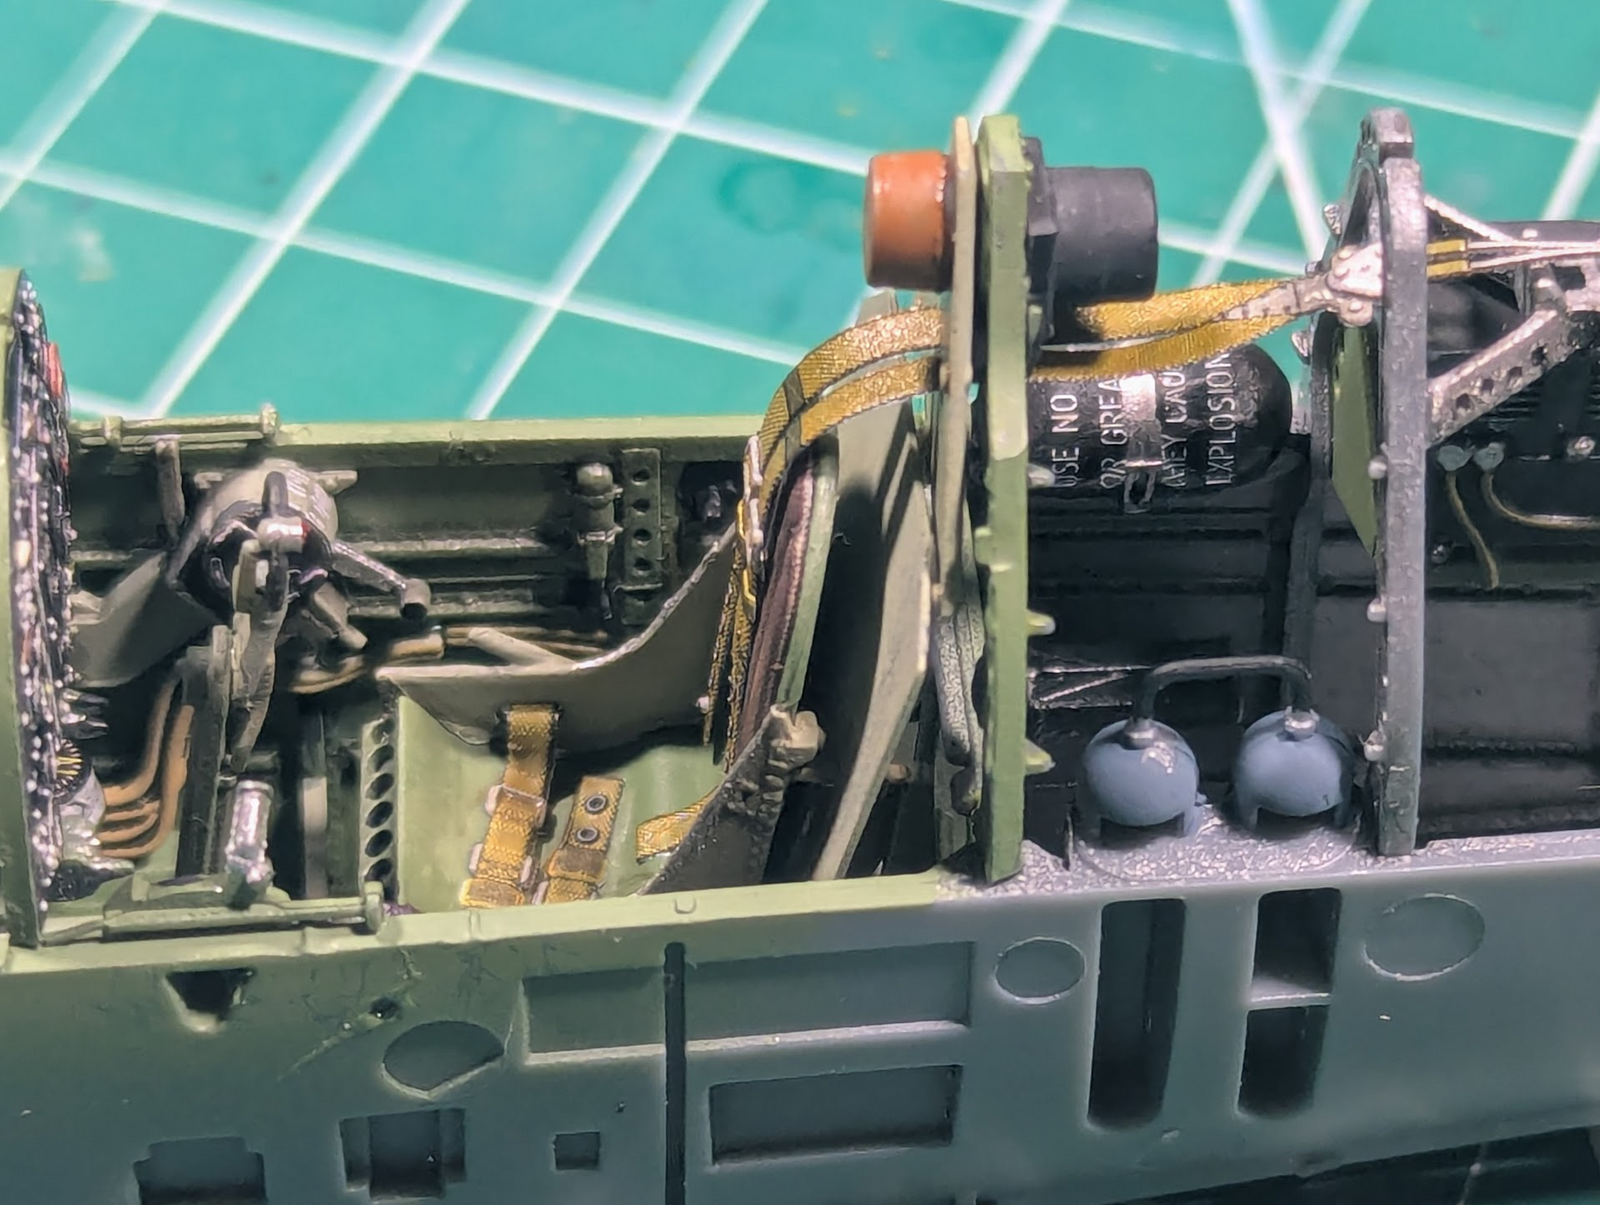
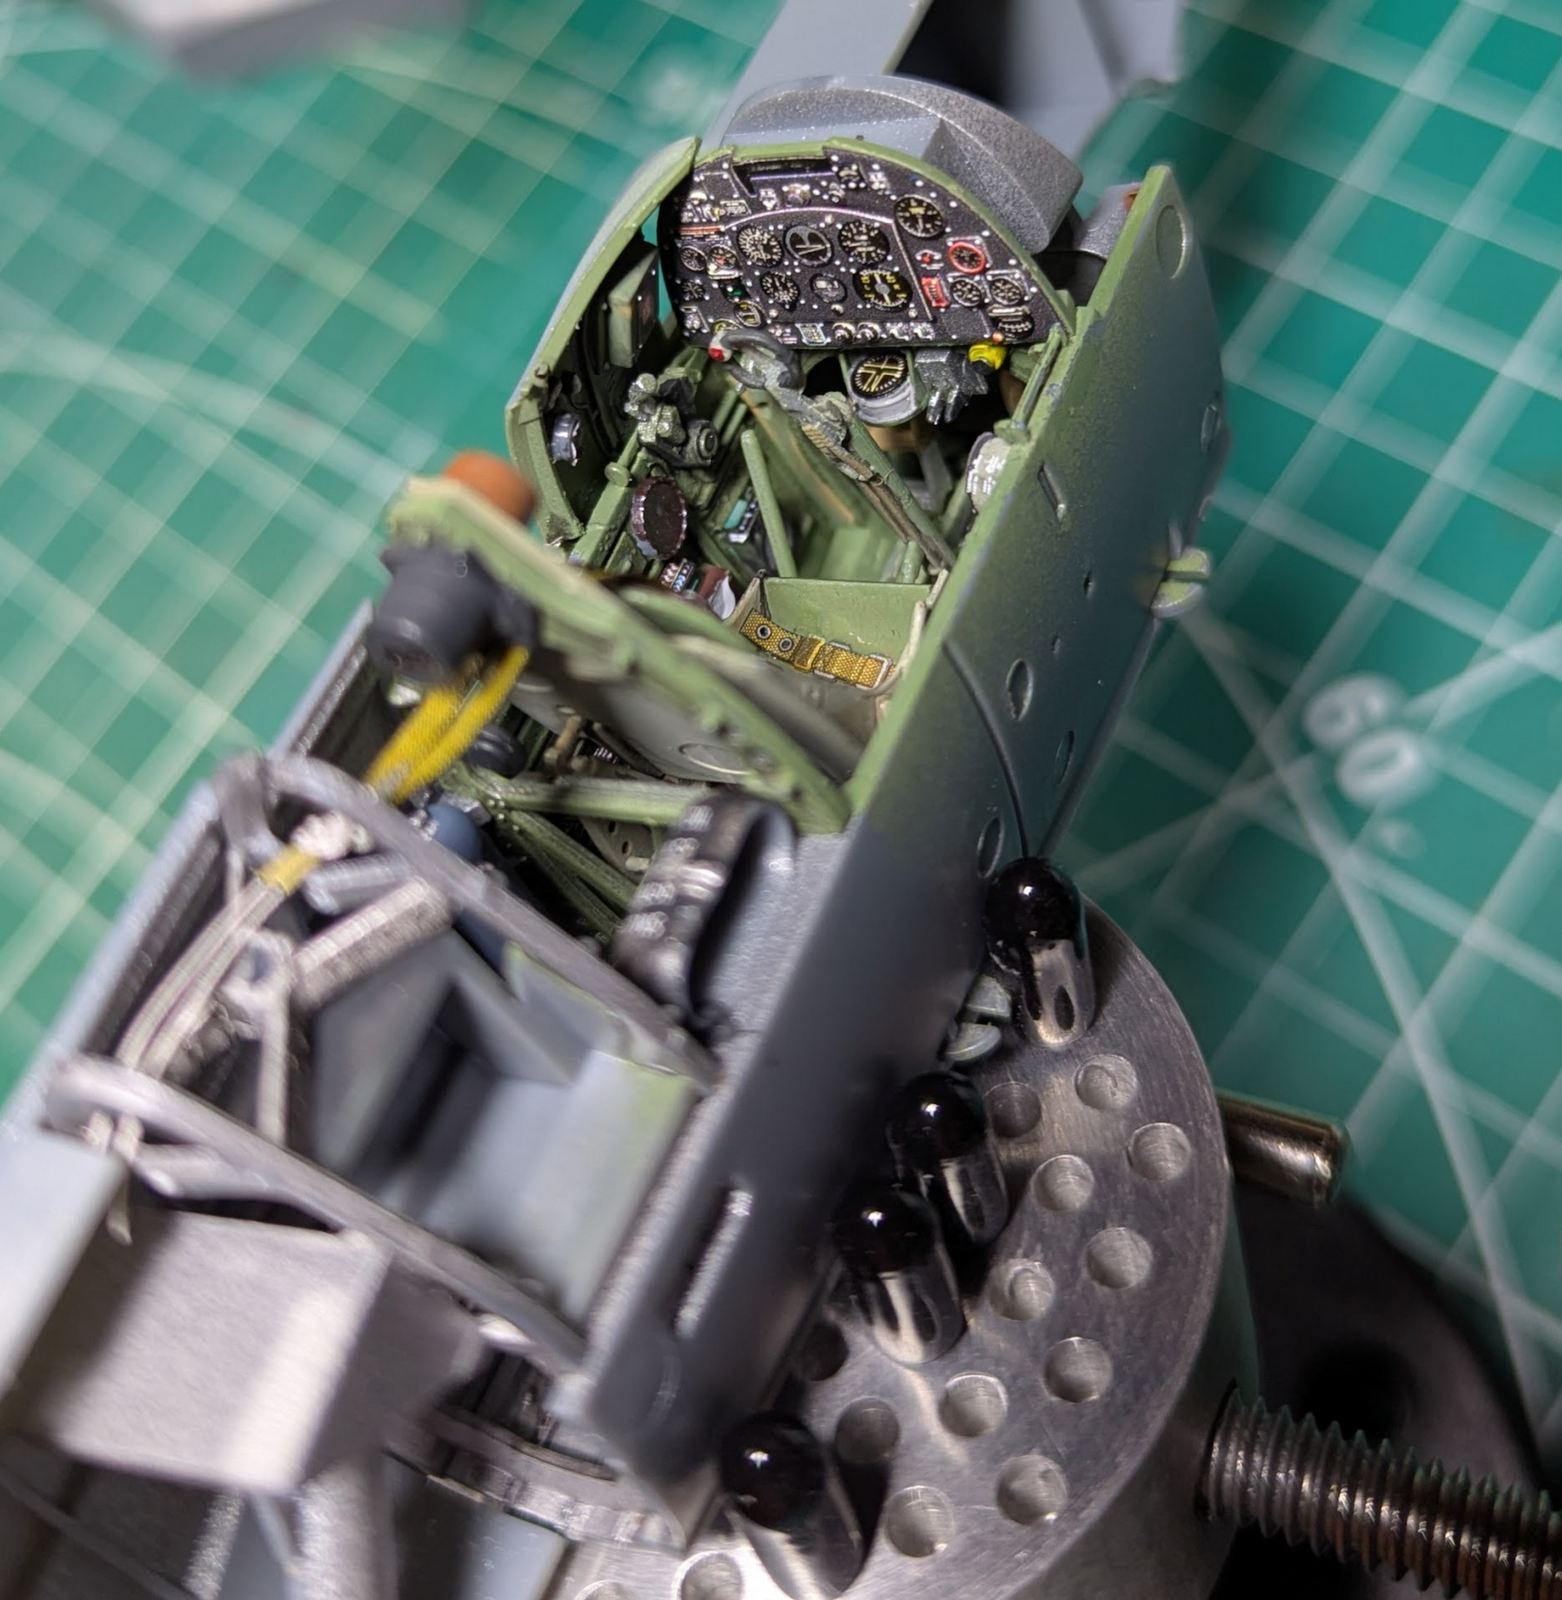
That tank behind the pilot's right shoulder/elbow says "use no oil or grease - they cause explosions" which I thought was interesting.
Just in case any Spitfire aficionados are wondering where the rest of it is (like the side-door), these side panels are only the bottom half.
That tank behind the pilot's right shoulder/elbow says "use no oil or grease - they cause explosions" which I thought was interesting.
Just in case any Spitfire aficionados are wondering where the rest of it is (like the side-door), these side panels are only the bottom half.
Edbert
Well-Known Member
- Joined
- May 16, 2024
- Messages
- 3,118
These were taken with one side panel at a time, during the test-fit period. It is TIGHT, all the parts must align perfectly or there will be gaps.
First two are with the starboard fuselage half in place, bottom three with the port half.
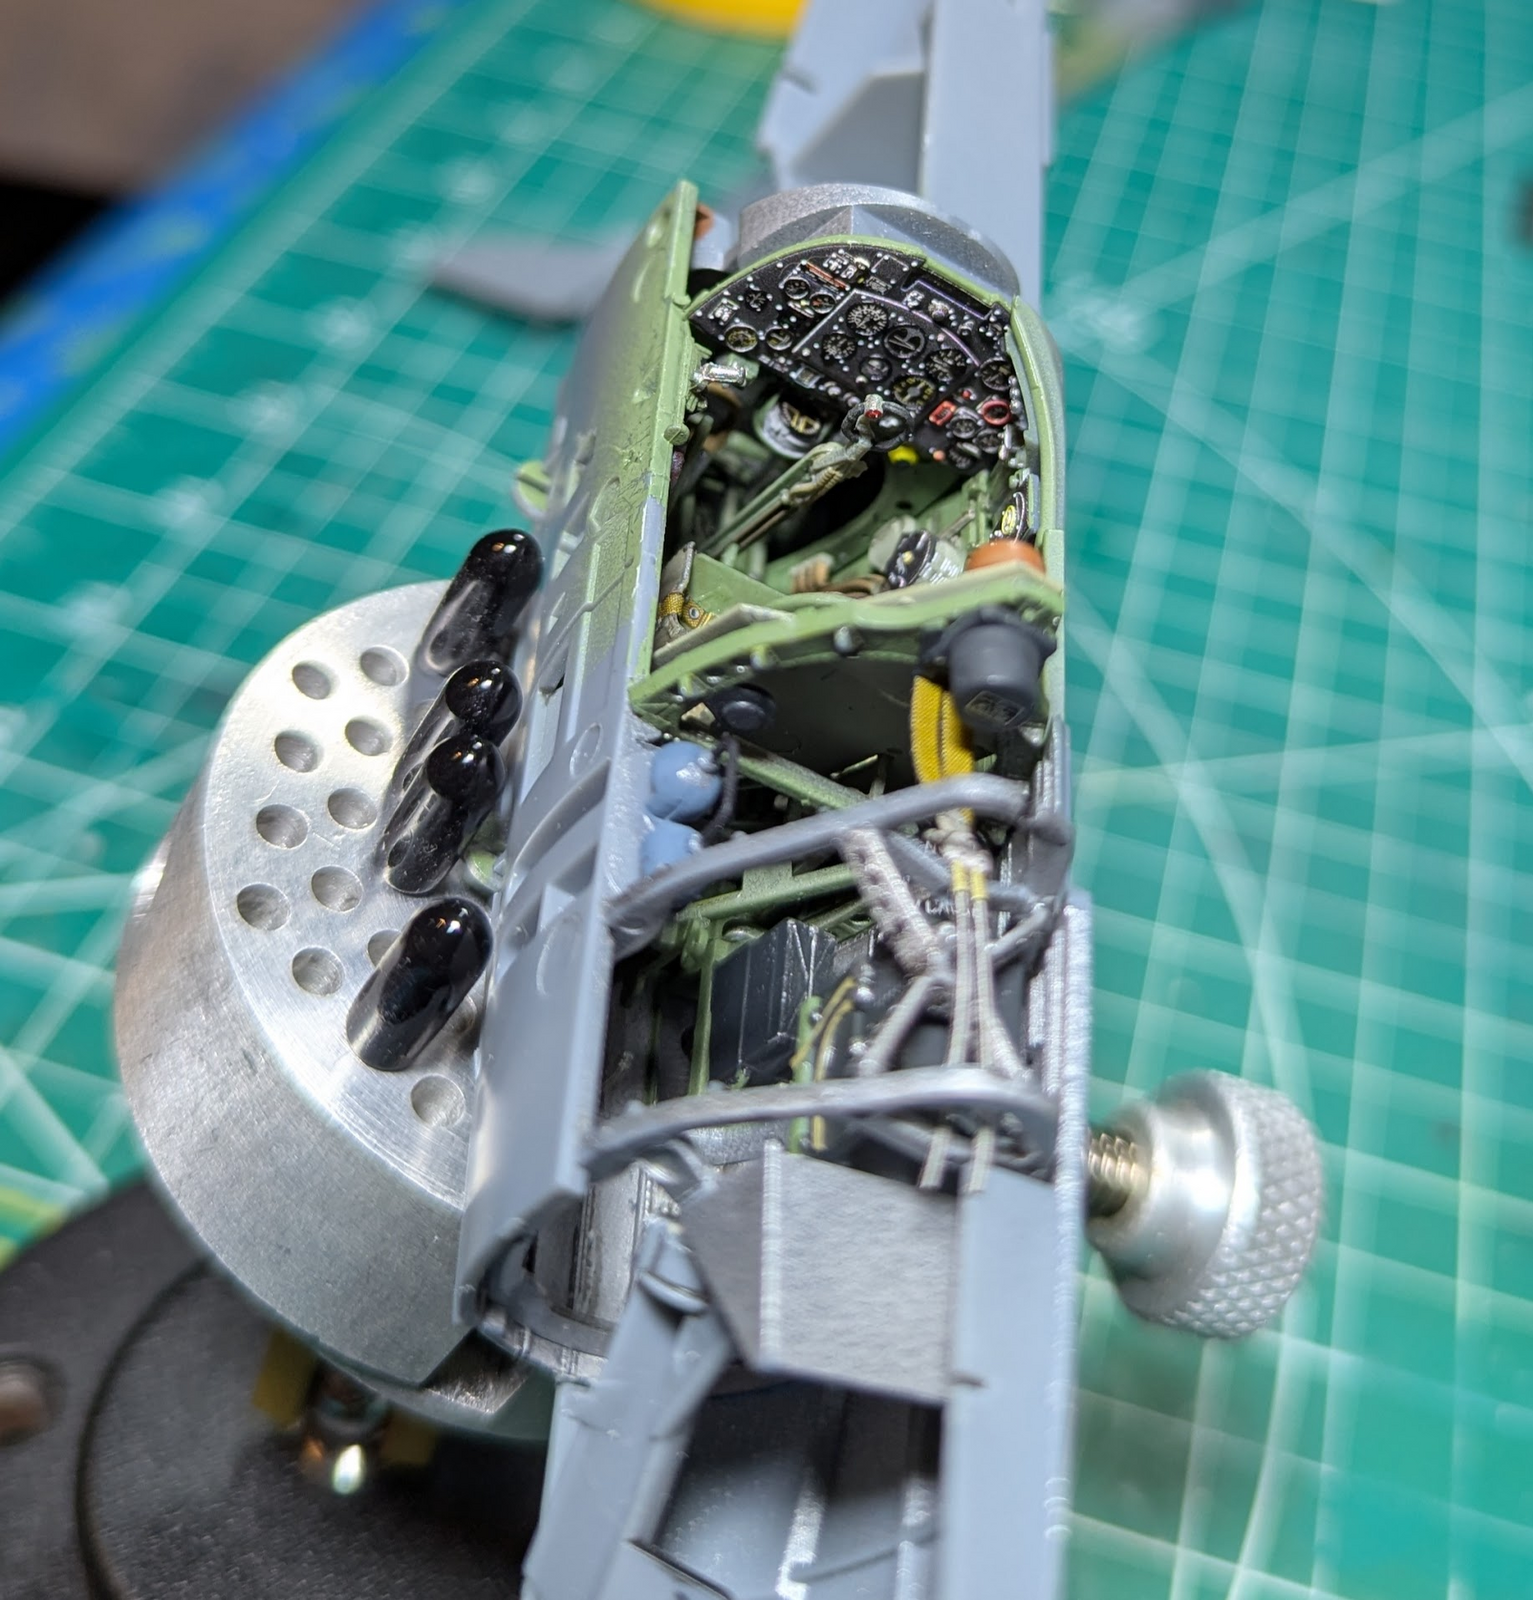
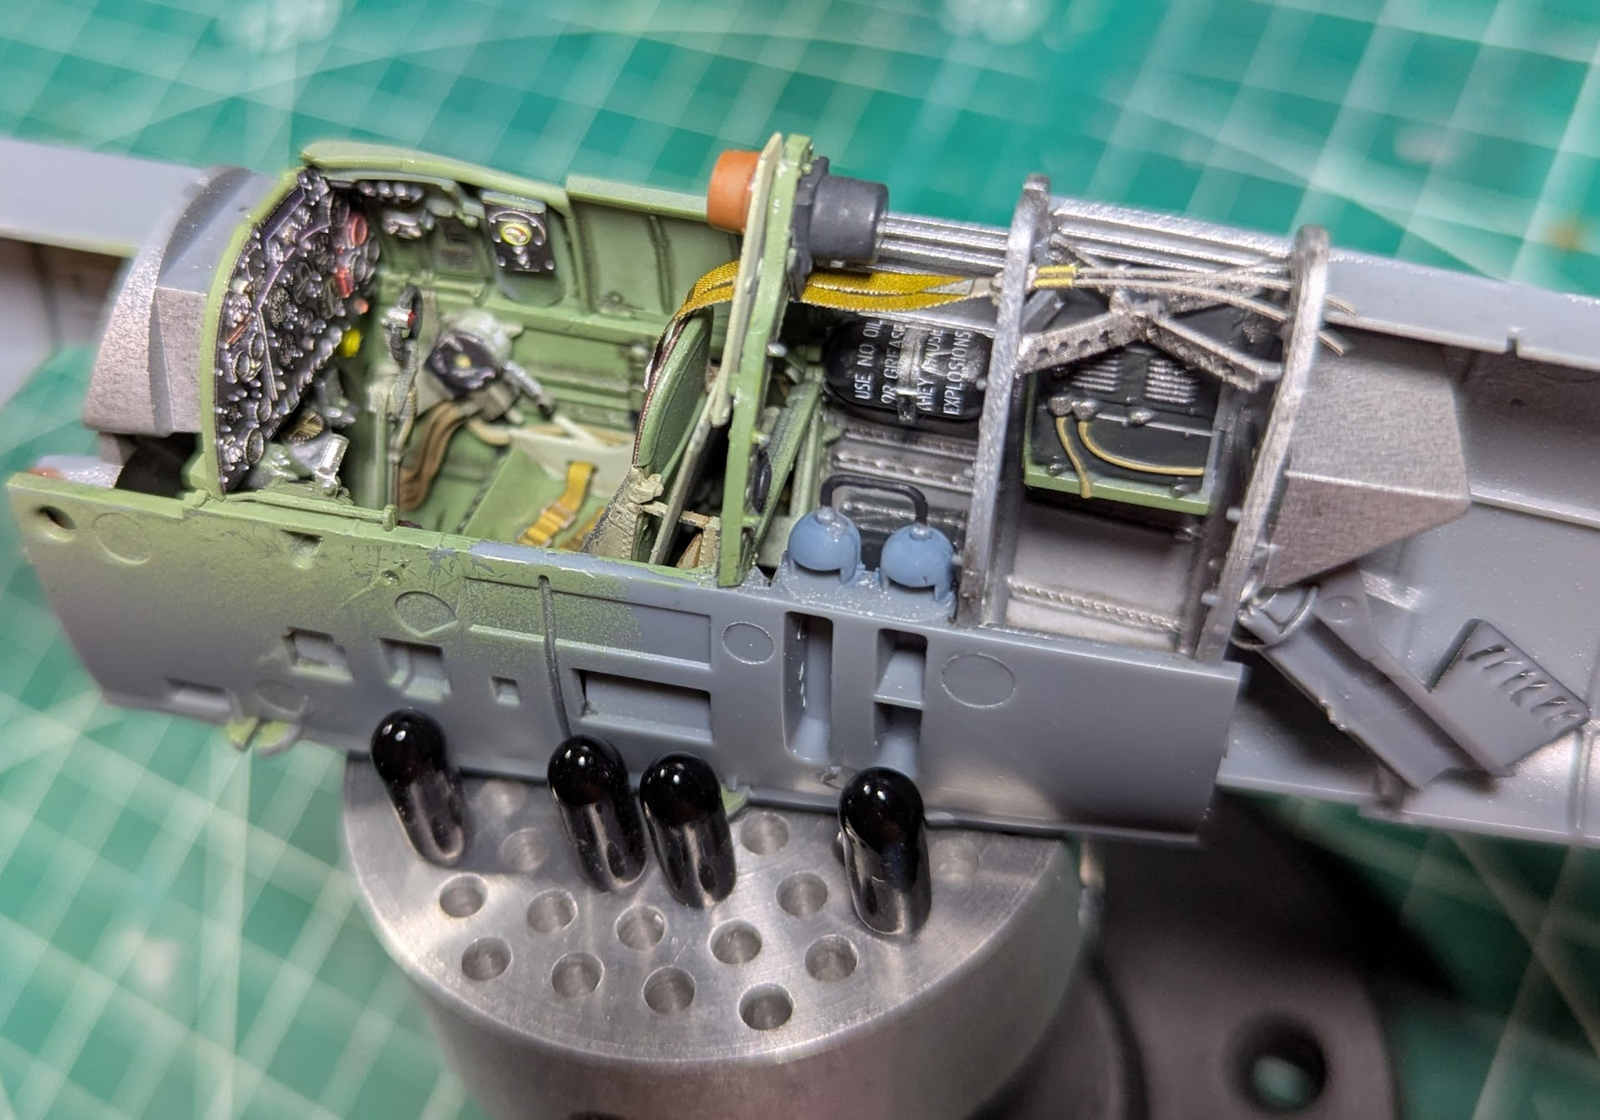
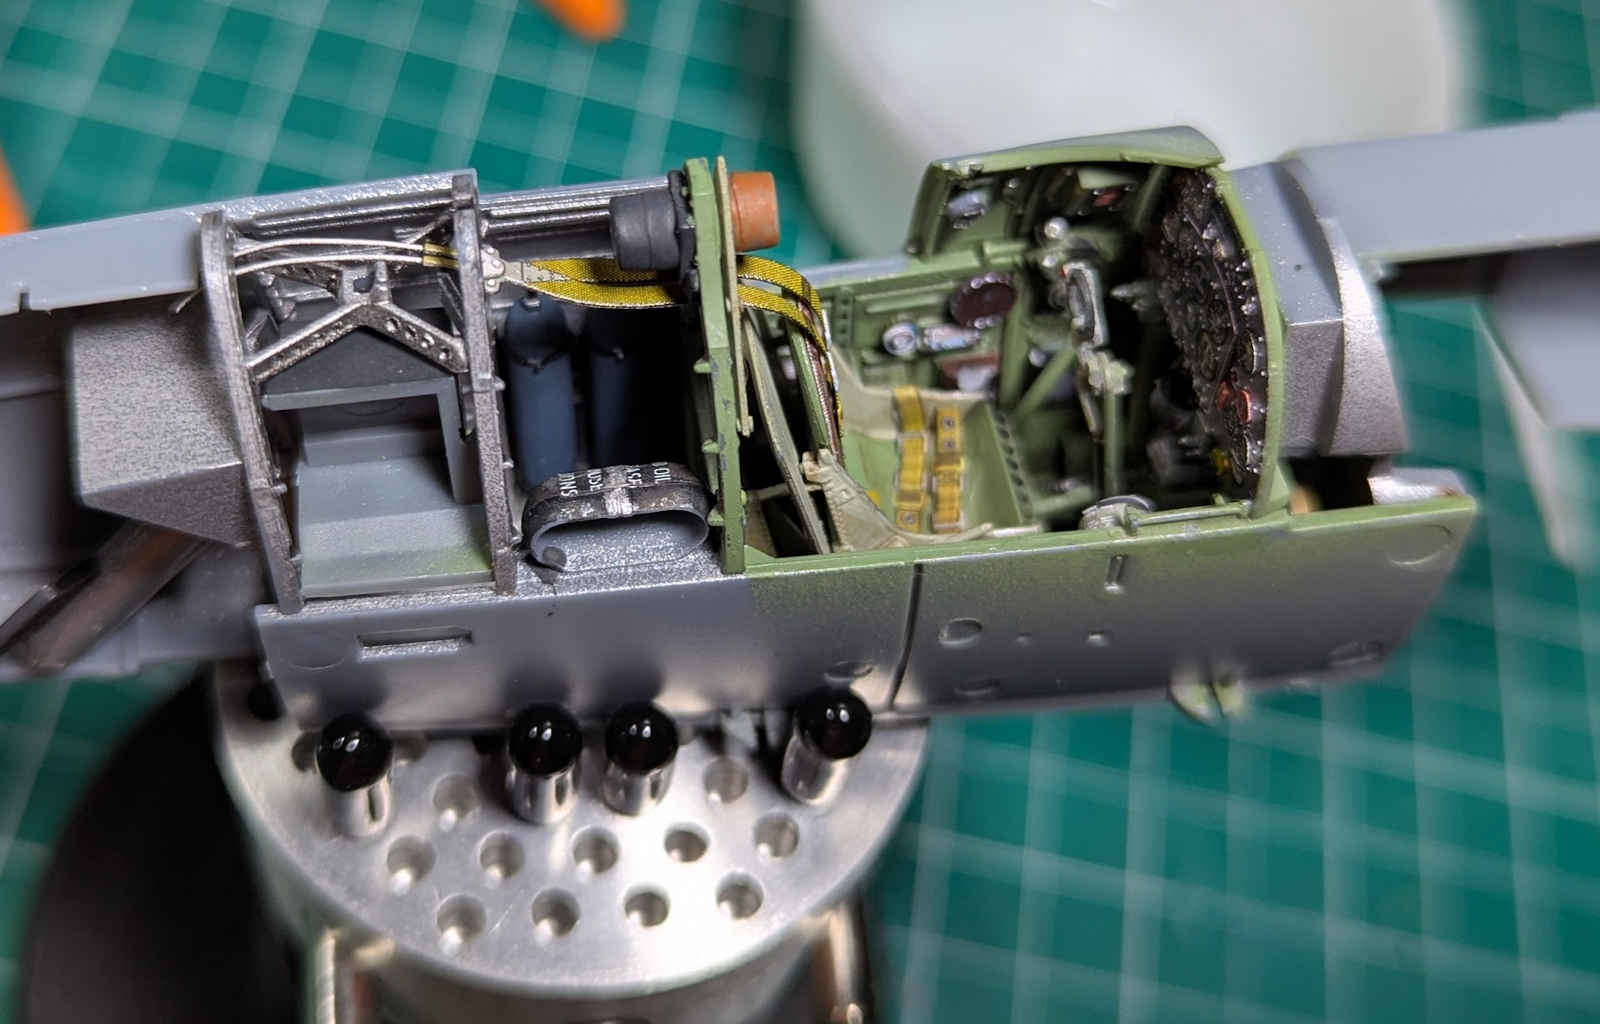
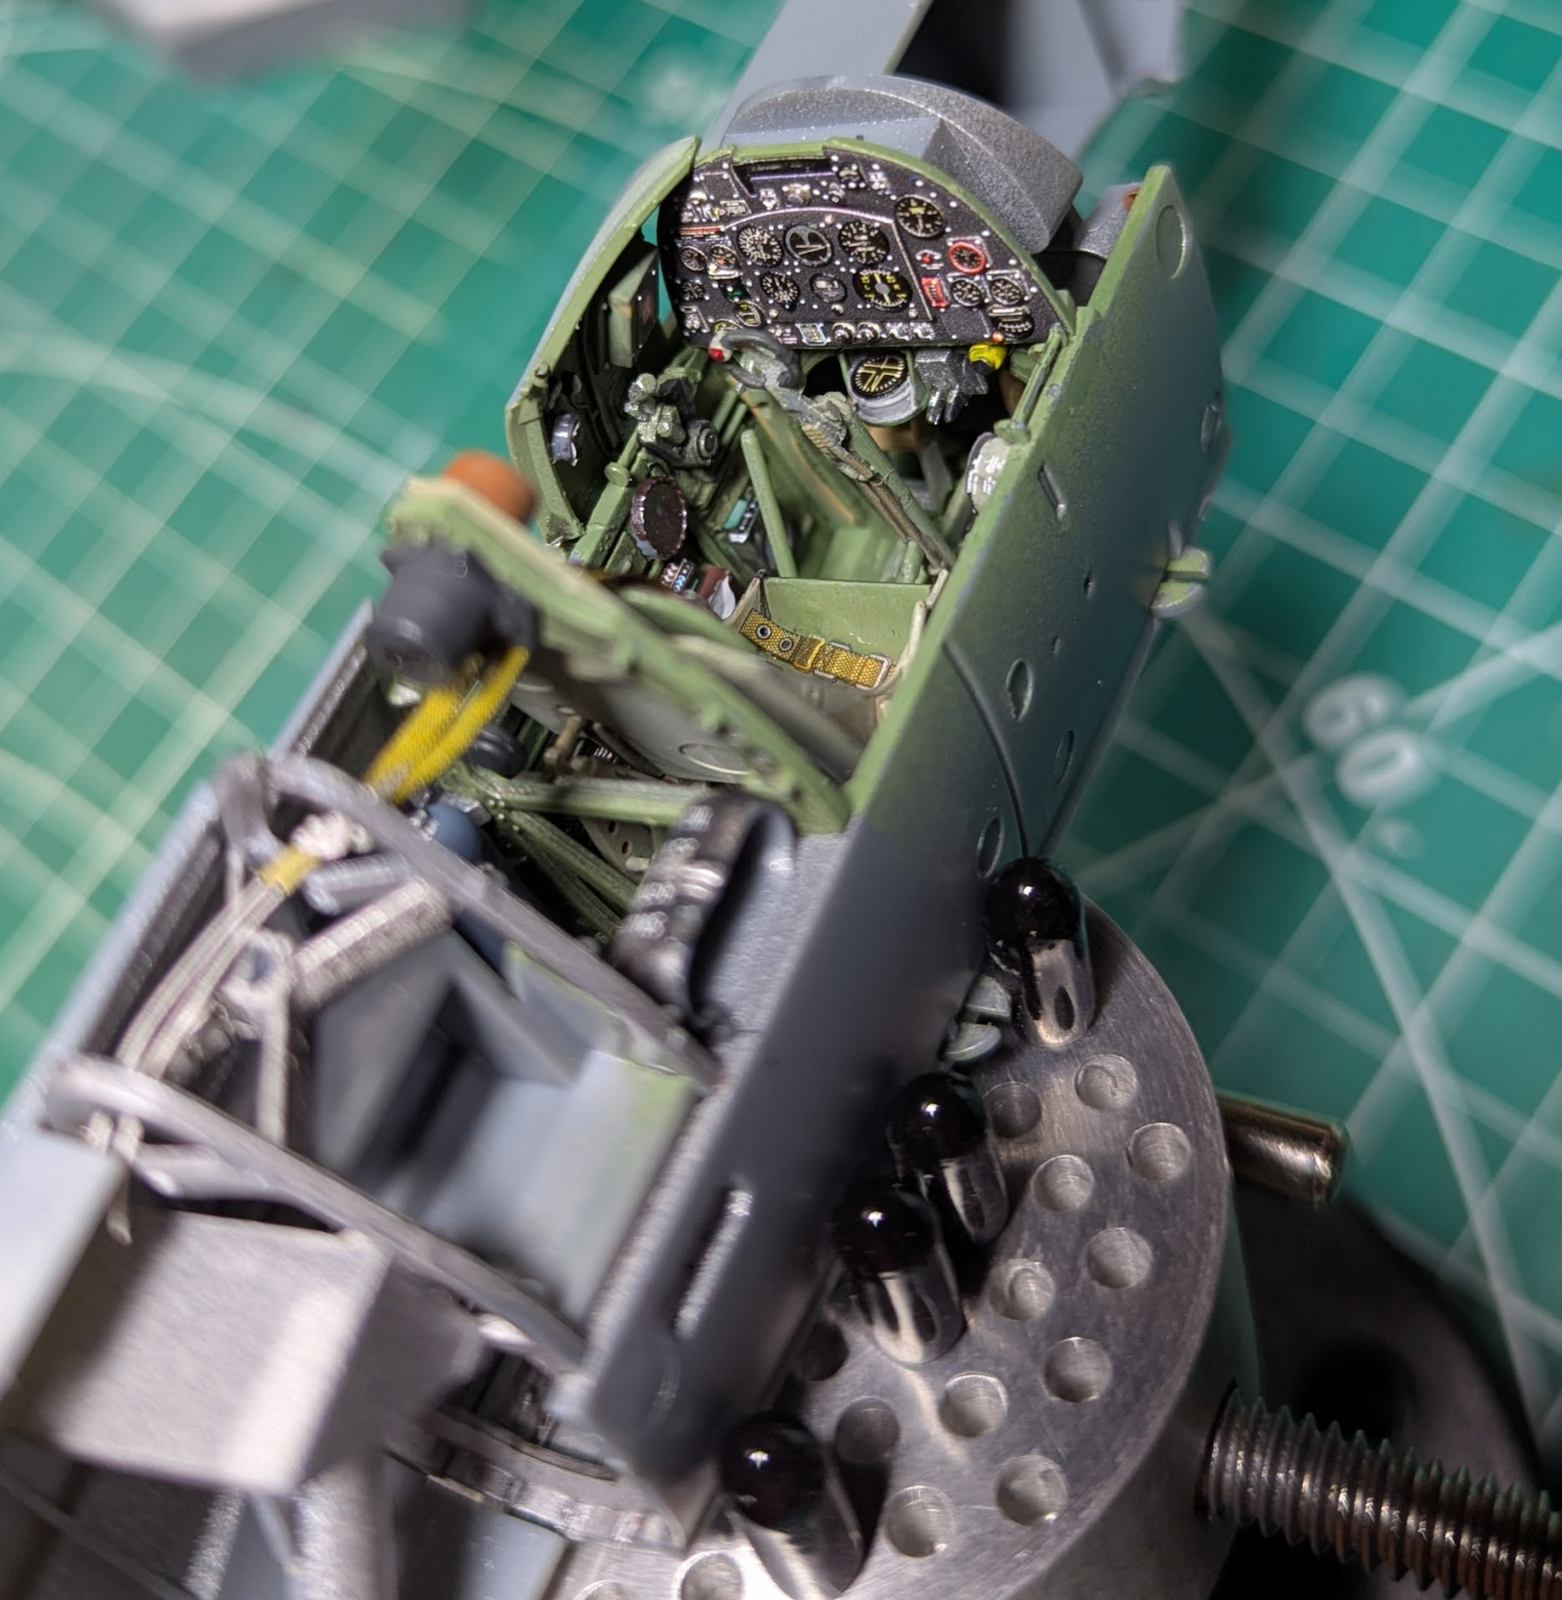
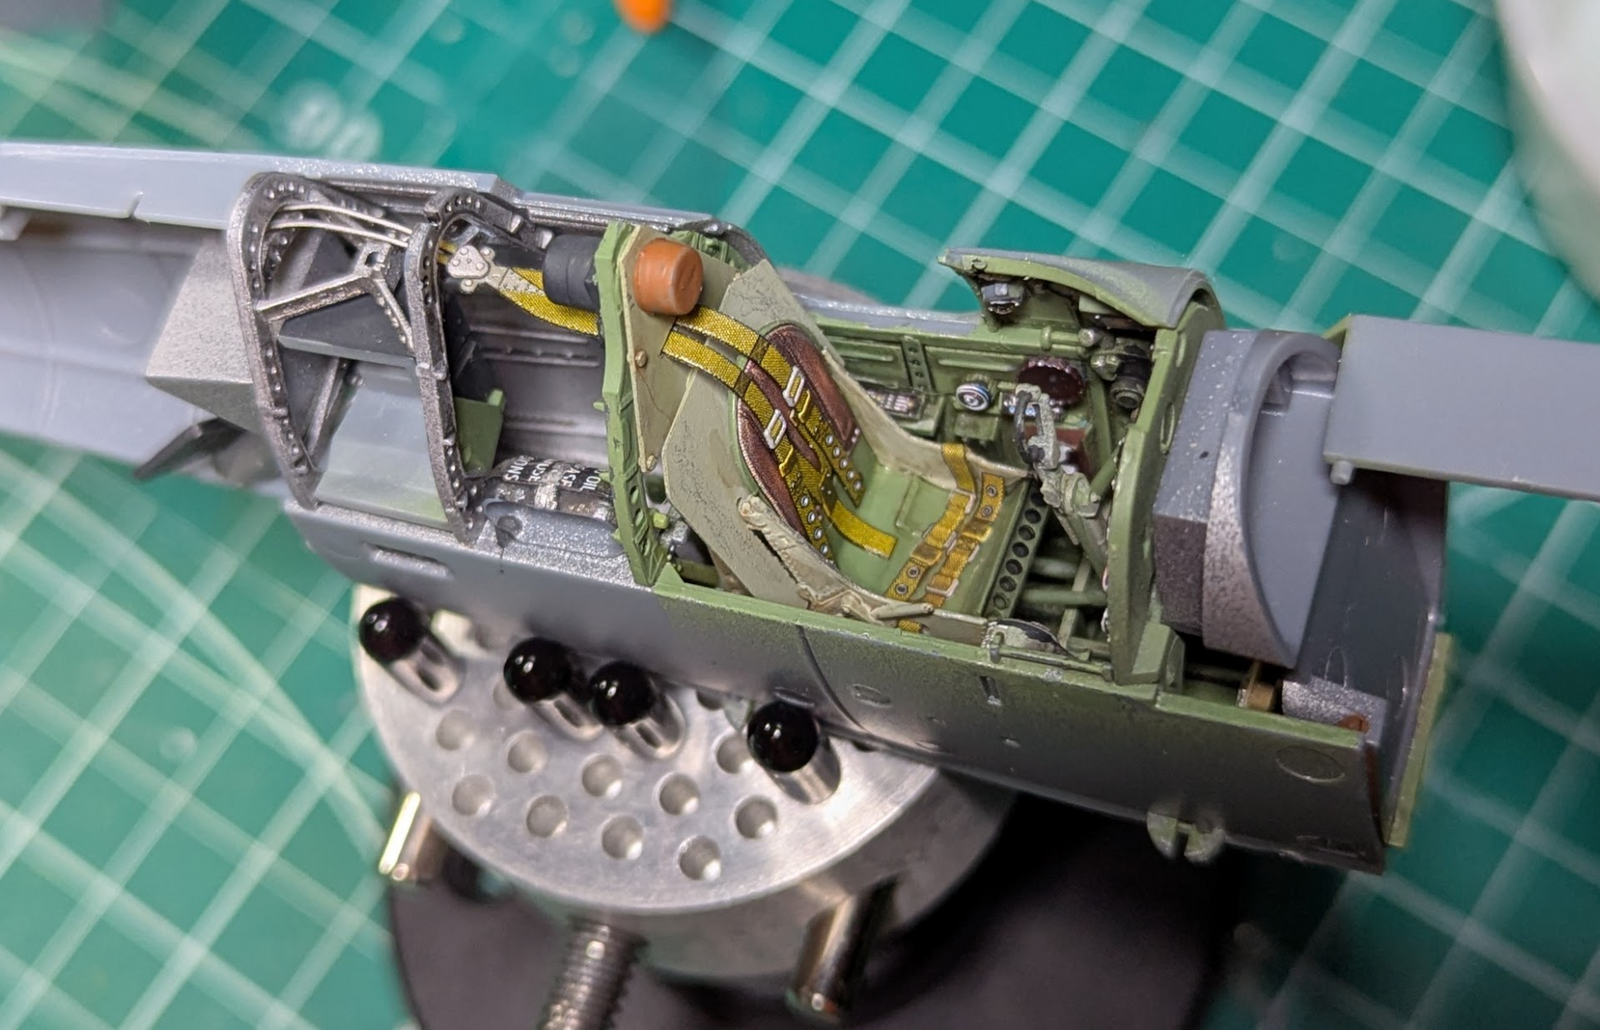
First two are with the starboard fuselage half in place, bottom three with the port half.
Last edited:
Thanks for the peek!about to all be invisible
Great work on that interior.
I'm frankly surprised at the number of gauges, dials and controls for that era.
In stressful situations such as takeoff, landing and dogfights, a modern eye tracking study would certainly be interesting to see which and how often the 'user' interacted with them. (I guess once a UI interaction designer, always a GUI guy!)

kevin
Well-Known Member
Well done.....
I was the same way when I did my two tanks with full interiors. Even though probably 75% will never be seen, I painted and weathered everything as they were built.
I was the same way when I did my two tanks with full interiors. Even though probably 75% will never be seen, I painted and weathered everything as they were built.
Last edited:
Why are some of us like this? (We probably don't want to know the reason.)Well done.....
I was the same way when I did my two tanks with full interiors. Even though probably 75% will never be seen, I painted and weathering everything as they were built.
I'm getting jealous …These were taken with one side panel at a time, during the test-fit period. It is TIGHT, all the parts must align perfectly or there will be gaps.
First two are with the starboard fuselage half in place, bottom three with the port half.
View attachment 151059
View attachment 151063
View attachment 151060
View attachment 151061
View attachment 151071
I wonder if there is a way to make the fuselage open to see the wonderful detail.
Edbert
Well-Known Member
- Joined
- May 16, 2024
- Messages
- 3,118
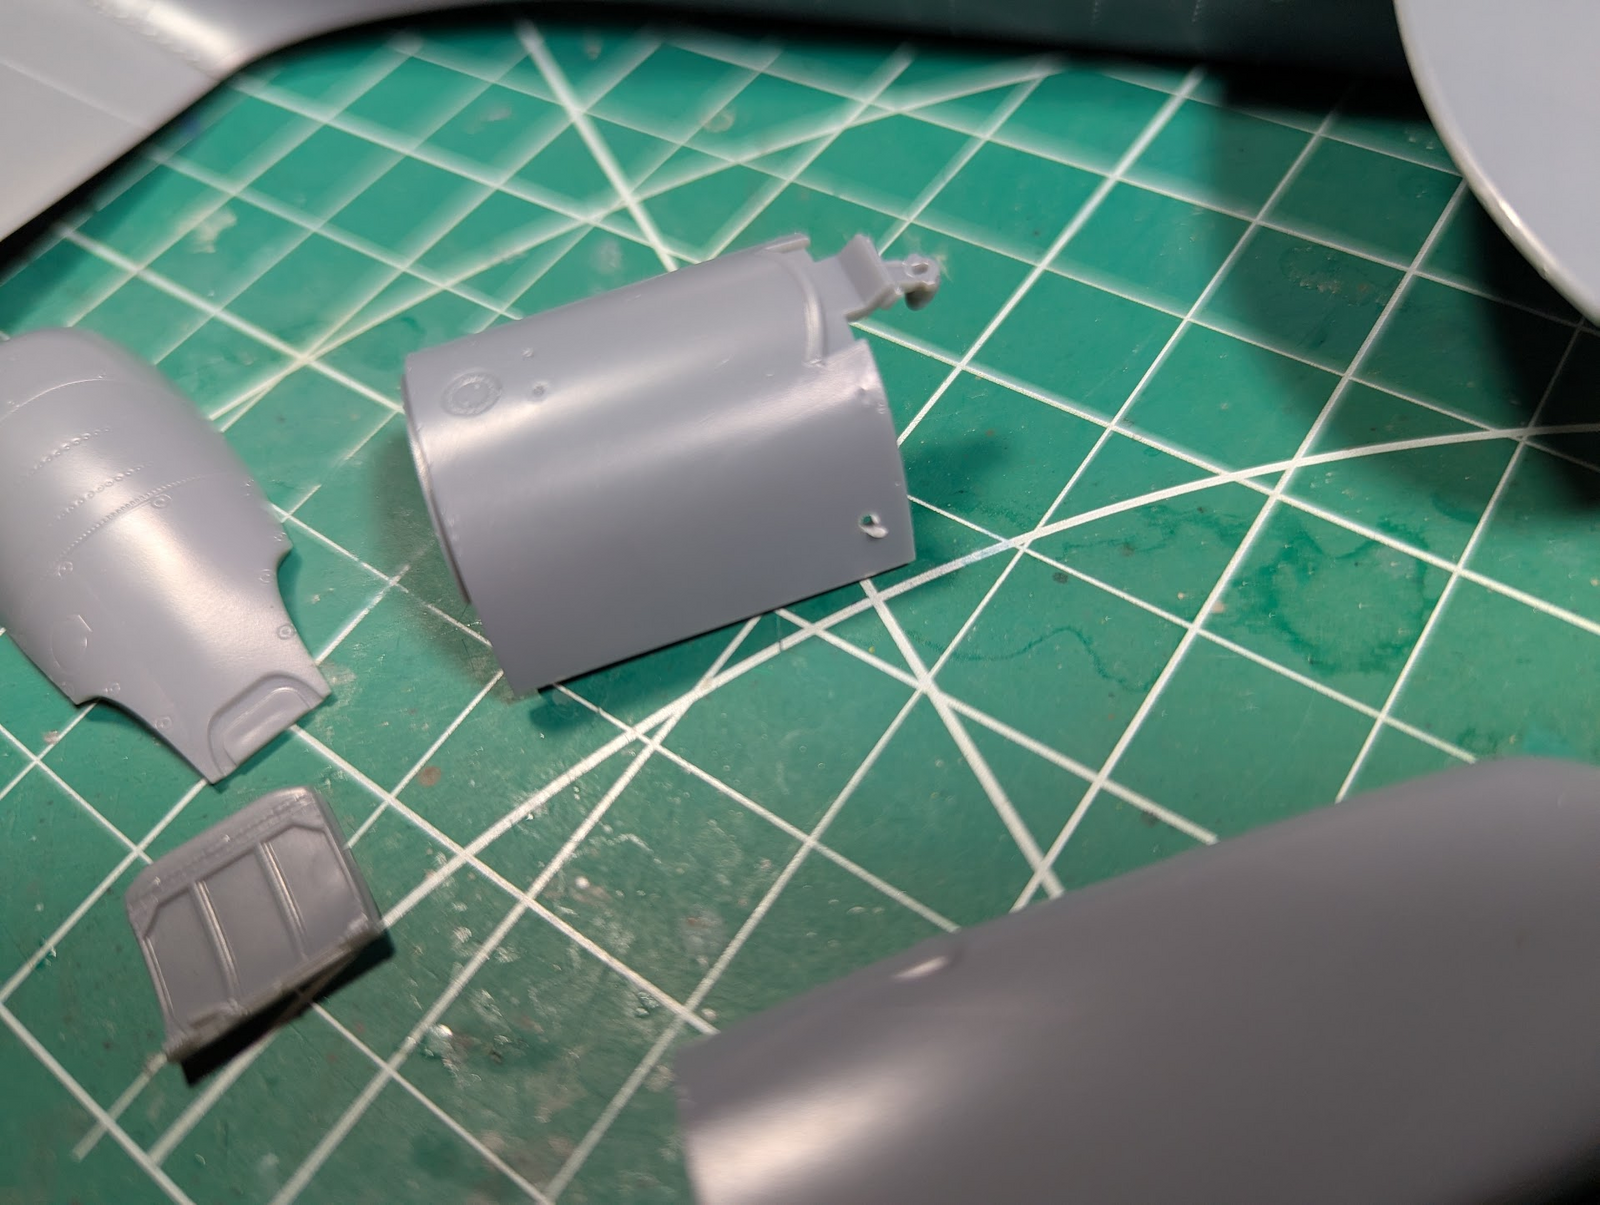
The fuselage halves went together great, but I did not take any pictures. I spent 2 days (technically, but probably 30-40 minutes actual "work"), did the back half and had so many clamps on it that I just let it lie overnight. Ditto on the front half, you can see the captured shaft where there would be an engine on many kits. The shaft obviously spins freely but to to the anchors/bearings in the front and rear it is very sturdy and straight.
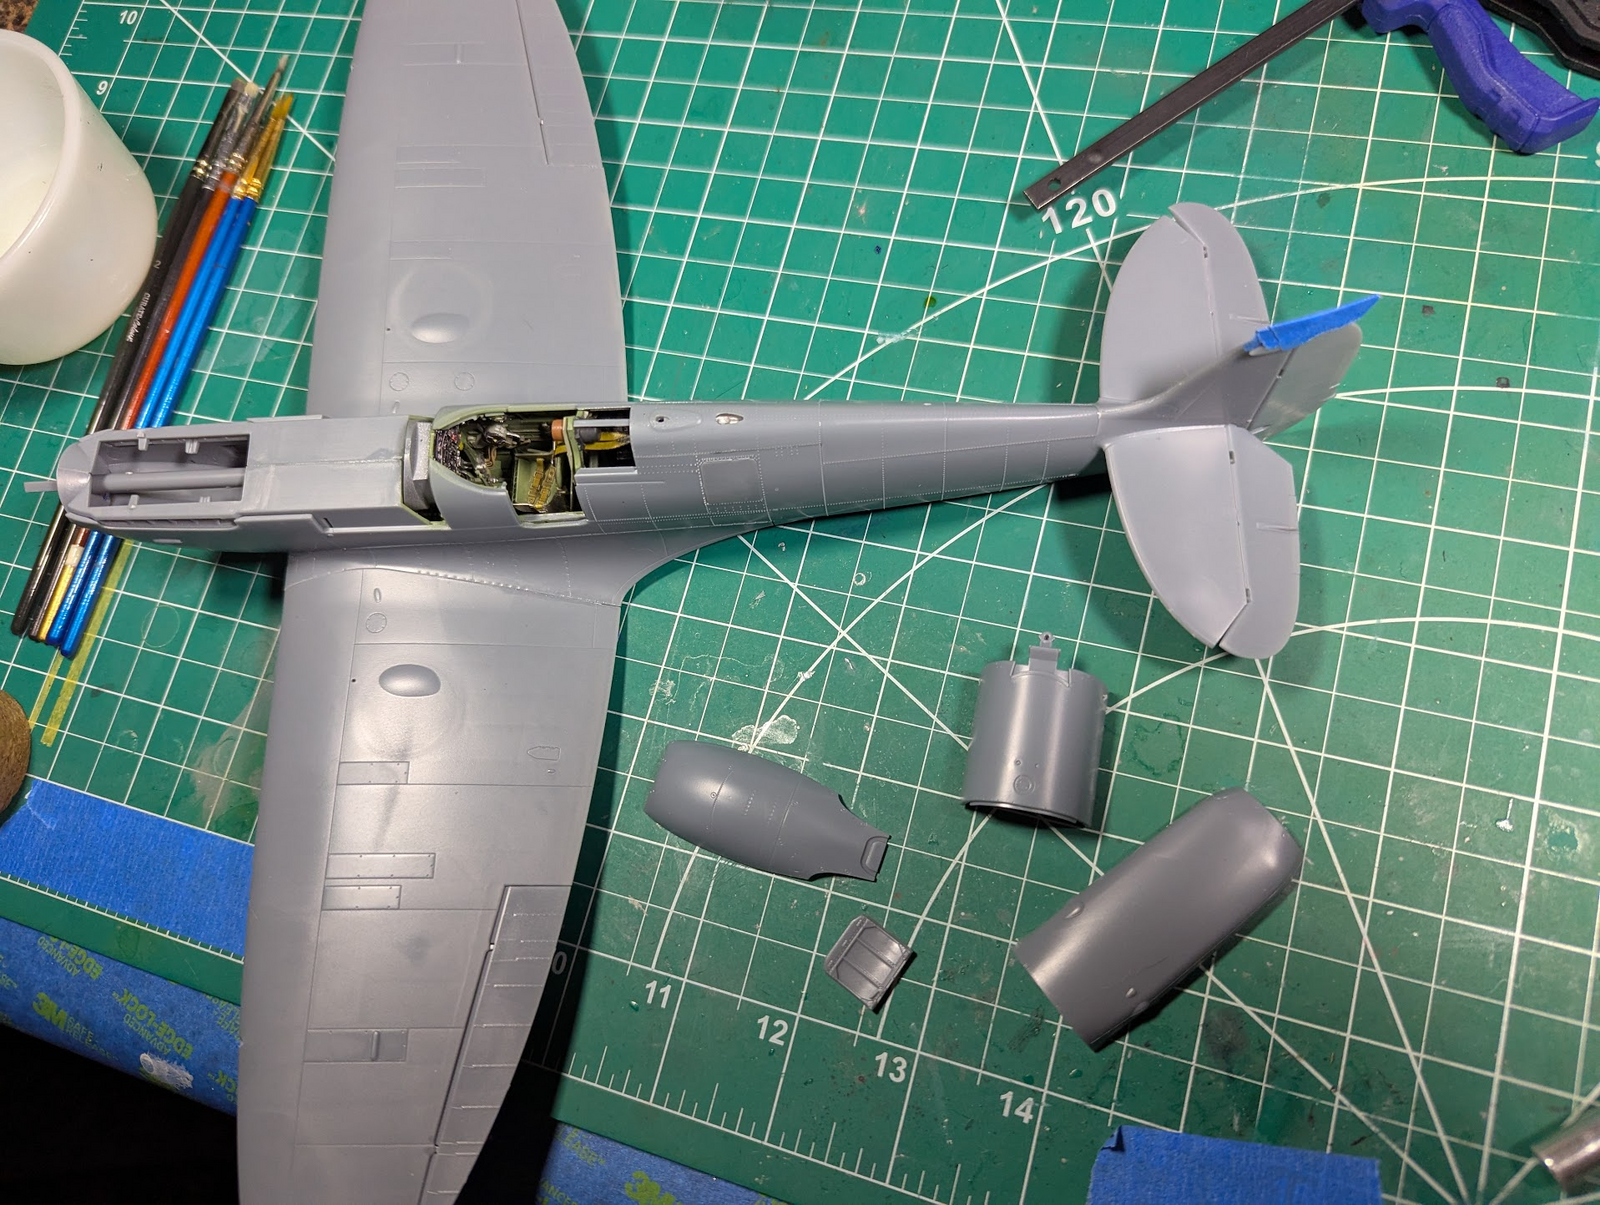
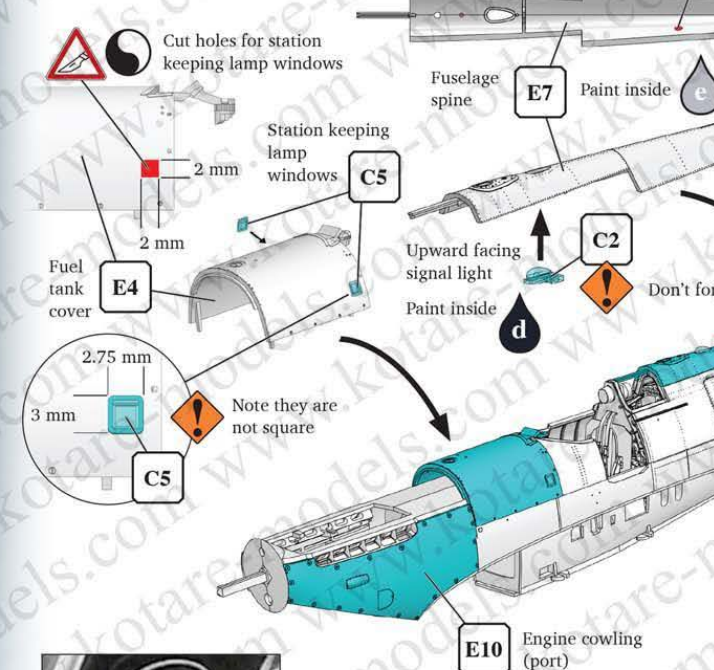
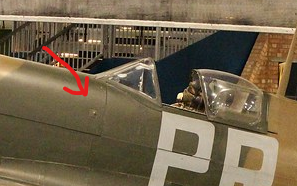
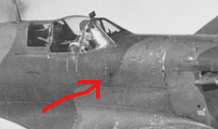
Those three parts and the door is all I'll need to finish the fuselage assembly. There's a bit to do yet on the wings but I can see primer coming up soon. One thing caused me to have to stop. Have you ever seen (or noticed) "station keeping lamp windows" on a Spit cowling before? They are not shown in the portrait I posted on page 1. They show up in the Kotare paintings, but the instructions are very clear.
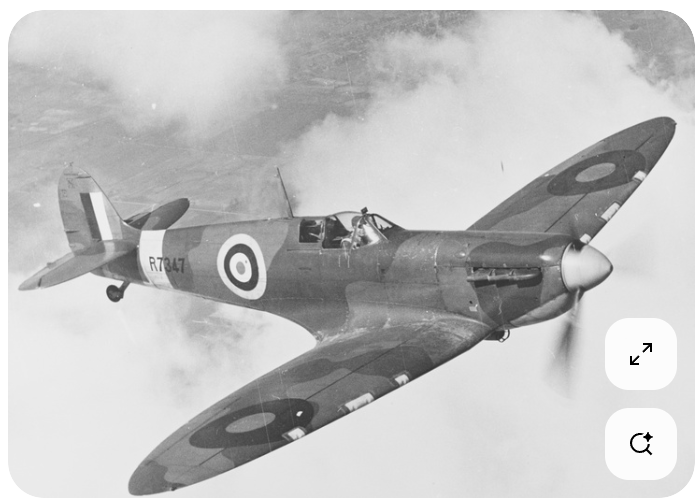
It can be found in many photographs, most of them are vintage and quite hard to see in detail due age of the photo, usually just a dark blob like this.
But I'd say an equal number of pictures are clear there is/was not one there. Some of the photos in Kotare's instructions do not have them. But this one with Douglass in it, there it is.
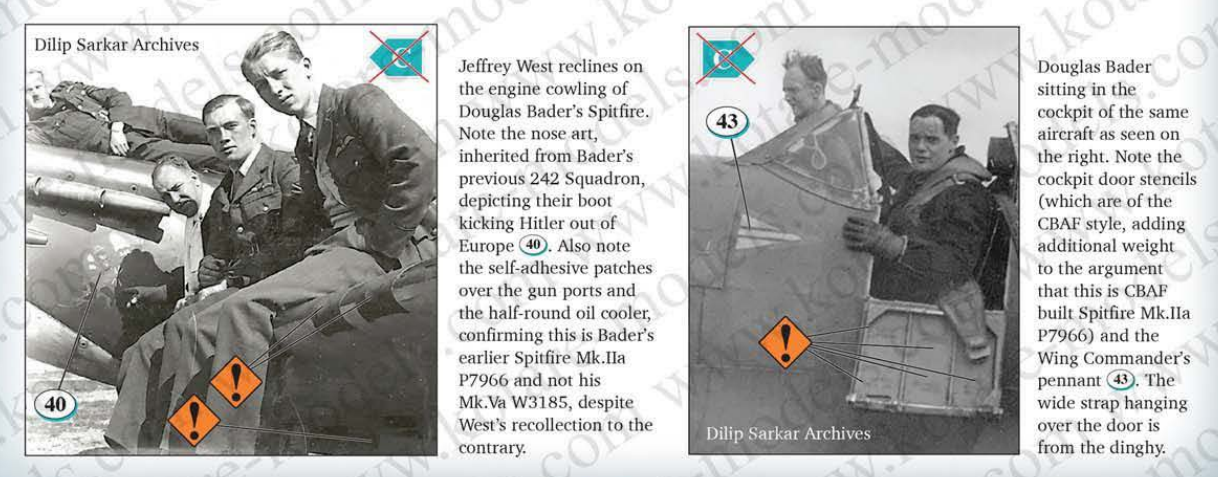
Many of these photos where it is absent are later Marks, even the Vb, but restored versions of the early ones do not typically have them. This one is an exception.
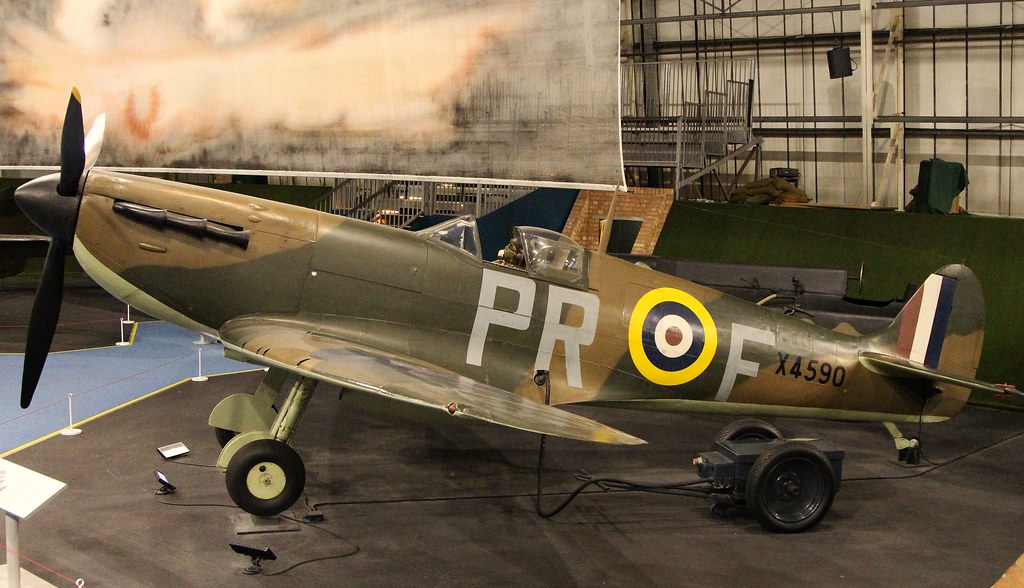
Those three parts and the door is all I'll need to finish the fuselage assembly. There's a bit to do yet on the wings but I can see primer coming up soon. One thing caused me to have to stop. Have you ever seen (or noticed) "station keeping lamp windows" on a Spit cowling before? They are not shown in the portrait I posted on page 1. They show up in the Kotare paintings, but the instructions are very clear.
It can be found in many photographs, most of them are vintage and quite hard to see in detail due age of the photo, usually just a dark blob like this.
But I'd say an equal number of pictures are clear there is/was not one there. Some of the photos in Kotare's instructions do not have them. But this one with Douglass in it, there it is.
Many of these photos where it is absent are later Marks, even the Vb, but restored versions of the early ones do not typically have them. This one is an exception.
Edbert
Well-Known Member
- Joined
- May 16, 2024
- Messages
- 3,118
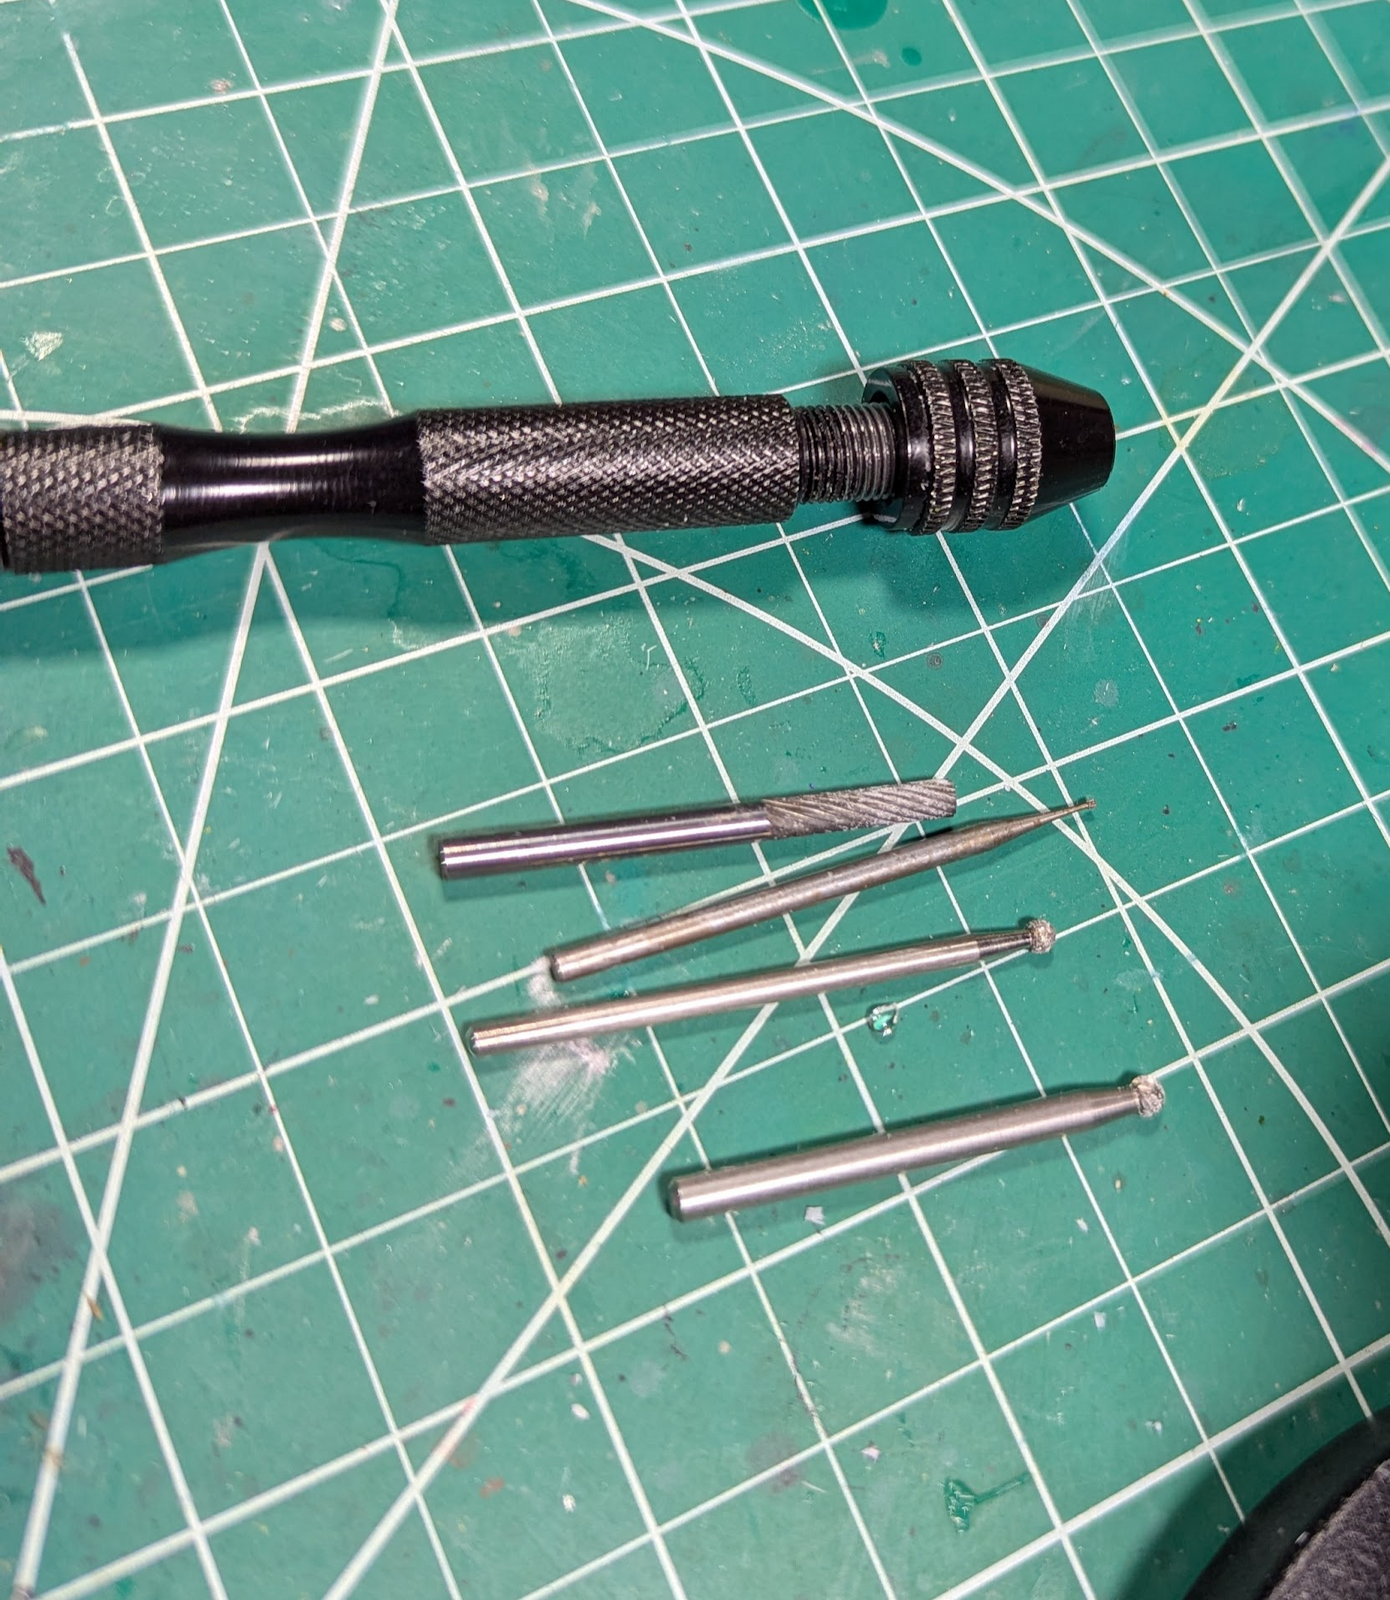
I ground away a large amount of plastic from the inside, the sheet metal of the cowl would be about 200x too thick for scale, nothing like a little clear window to show that. Each of the clear bits is a square with full shoulder, but 1/4 of that shoulder would interfere with part of the cowl used to locate it correctly.
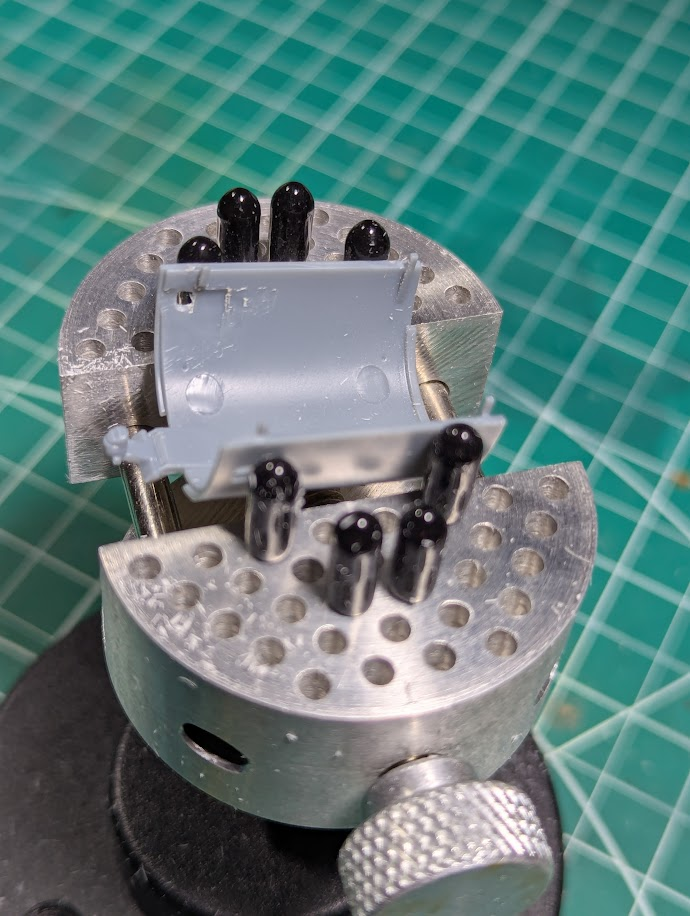
You can see I am trying to avoid that pin with the tools. I thought I'd just cut it off since locating this part should be easy, but I decided to leave it and cut off a shoulder of the clear bit for clearance.
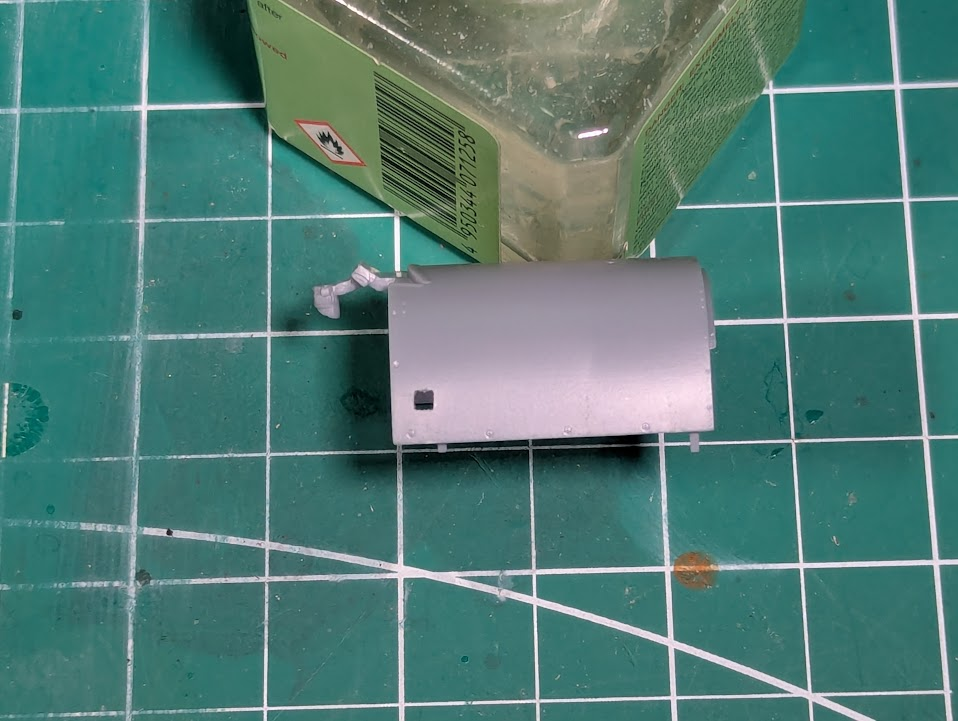
The hole was easily squared up from the ouotside, and the window fit pretty well too. Gluing it was not easy, I wanted to use super-thin but could not guarantee missing the pane, so I tried the old Testors clear stuff. You know, the thin but milky looking stuff with the long tube?
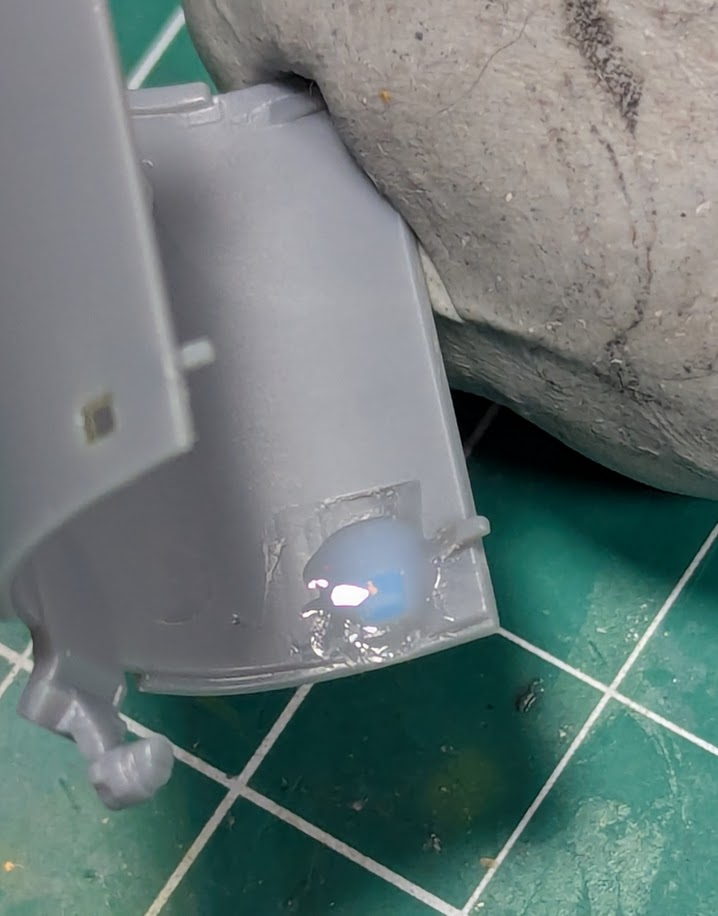
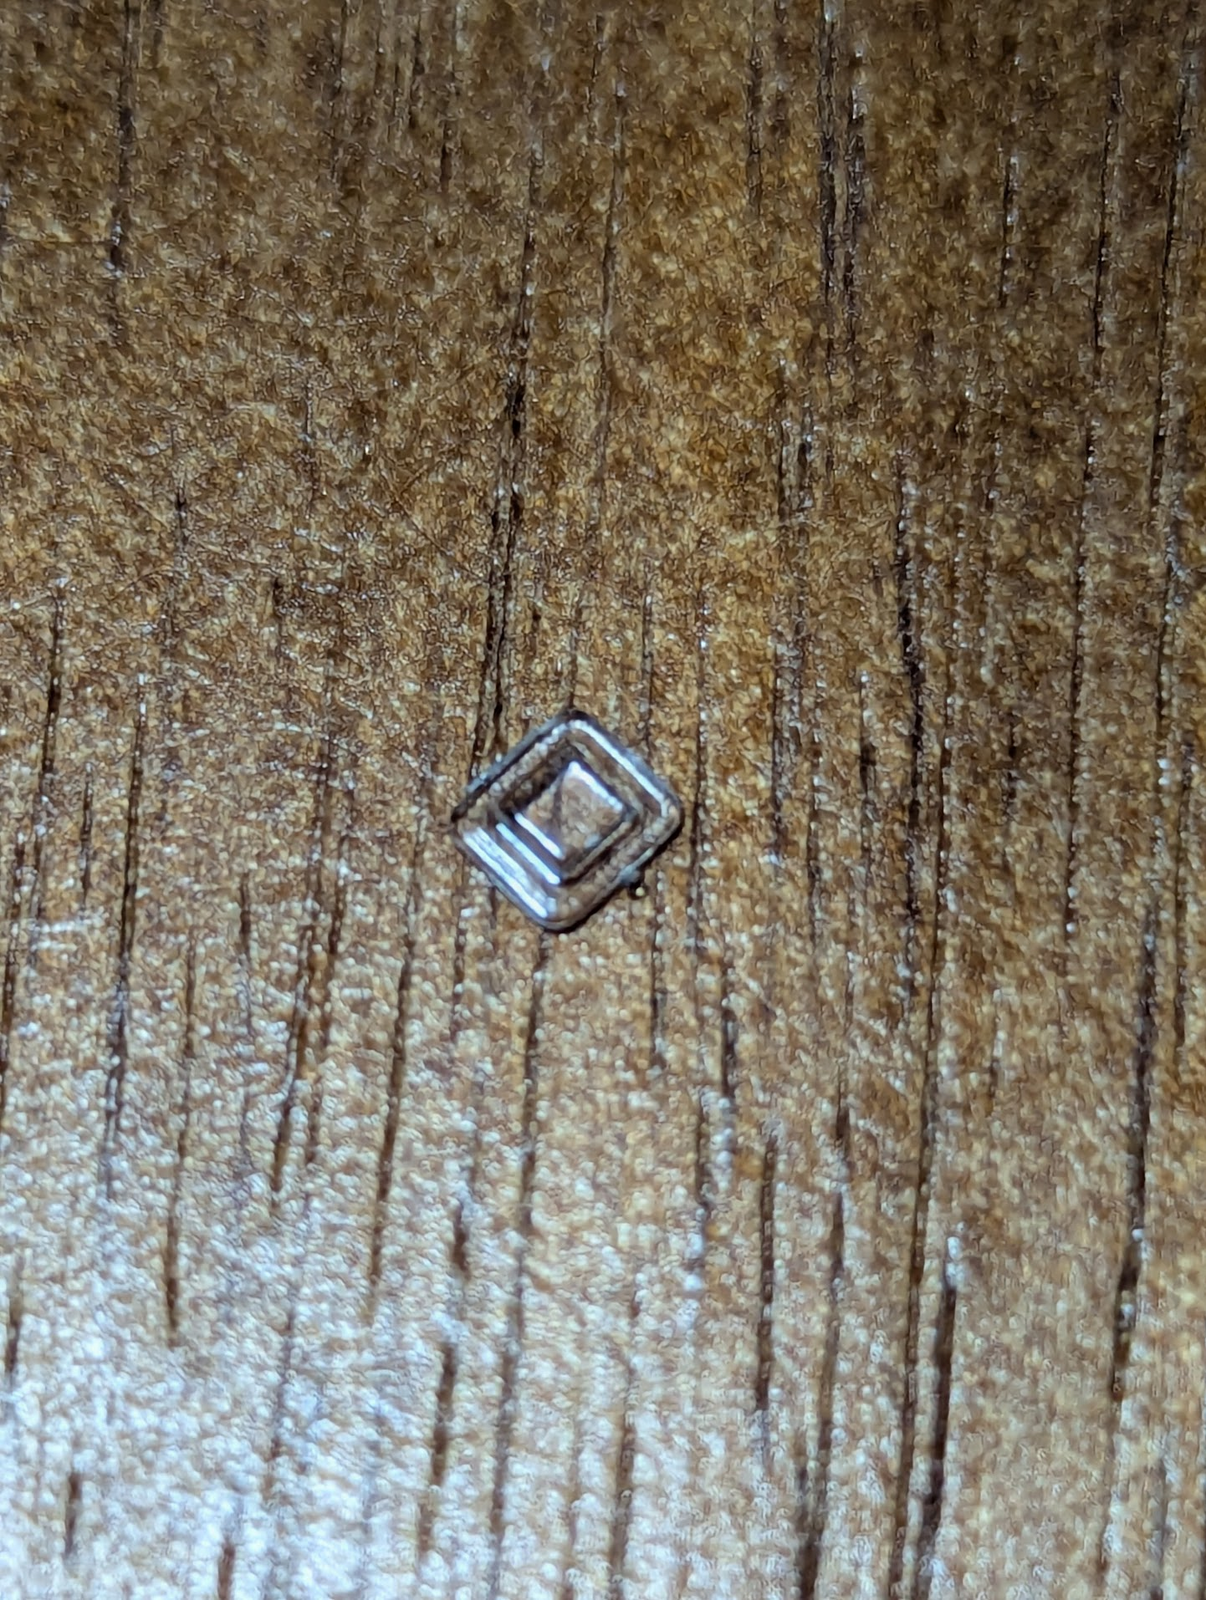
It looked kind of like this from the inside Not quite true, but while struggling to get it perfect it occurred to me (shutup, I know I am slow) that this glue is often used to make windows. So the pic above is just a blob of the Testors clear cement.
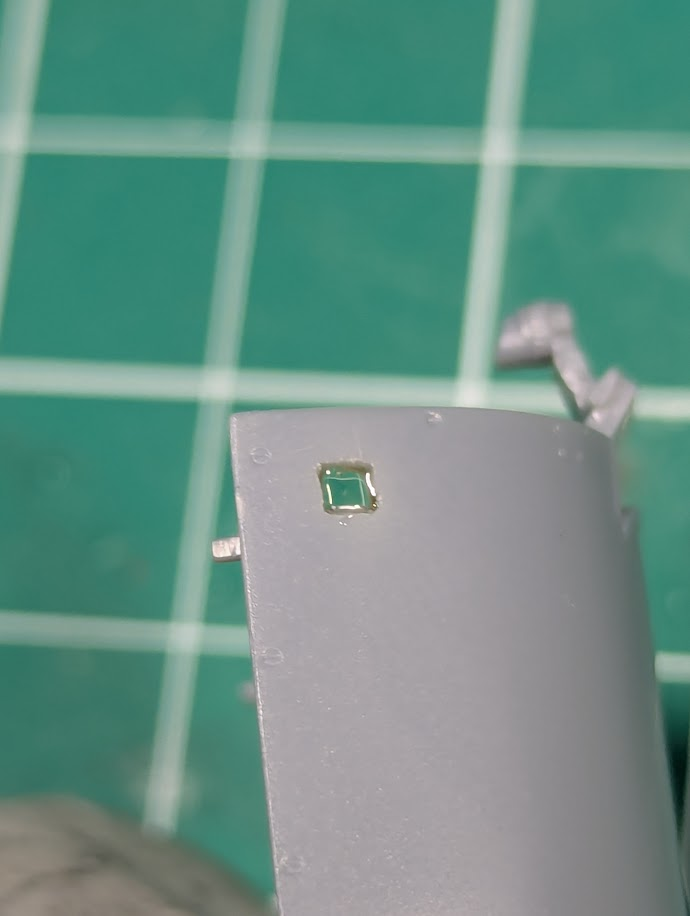
After drying the effect is good, no worse than I was getting with the 2mm clear plastic.
You can see I am trying to avoid that pin with the tools. I thought I'd just cut it off since locating this part should be easy, but I decided to leave it and cut off a shoulder of the clear bit for clearance.
The hole was easily squared up from the ouotside, and the window fit pretty well too. Gluing it was not easy, I wanted to use super-thin but could not guarantee missing the pane, so I tried the old Testors clear stuff. You know, the thin but milky looking stuff with the long tube?
It looked kind of like this from the inside
Not quite true, but while struggling to get it perfect it occurred to me (shutup, I know I am slow) that this glue is often used to make windows. So the pic above is just a blob of the Testors clear cement.
After drying the effect is good, no worse than I was getting with the 2mm clear plastic.
How are you going to mask that when painting? Or are you just going to replace it after painting?After drying the effect is good, no worse than I was getting with the 2mm clear plastic.
Edbert
Well-Known Member
- Joined
- May 16, 2024
- Messages
- 3,118
I considered trying to wipe the paint off with a detail brush and alcohol. That will only work if I do it before clear coating, and it runs a big risk of hitting the paint I want to keep, and it is in a VERY visible area.How are you going to mask that when painting? Or are you just going to replace it after painting?
I think instead I'll put a drop of liquid mask on it, and push the blob into the corners.
When finished, it should be barely visible, it will be dark inside. Since these are marker lights, I thought one would be red and the other green, but in all the pictures I can find they are just dark spots, or in some cases (modern color photographs) they appear as paint.
In the end, I think I'll just have a dark, slightly recessed, shiny square.
Similar threads


- Replies
- 1
- Views
- 48


