Star Wars Theme Group Build

Scale Model Addict - Model Tips, Guides, Tools & Tech, Tutorials, and Community

Help Support Scale Model Addict:

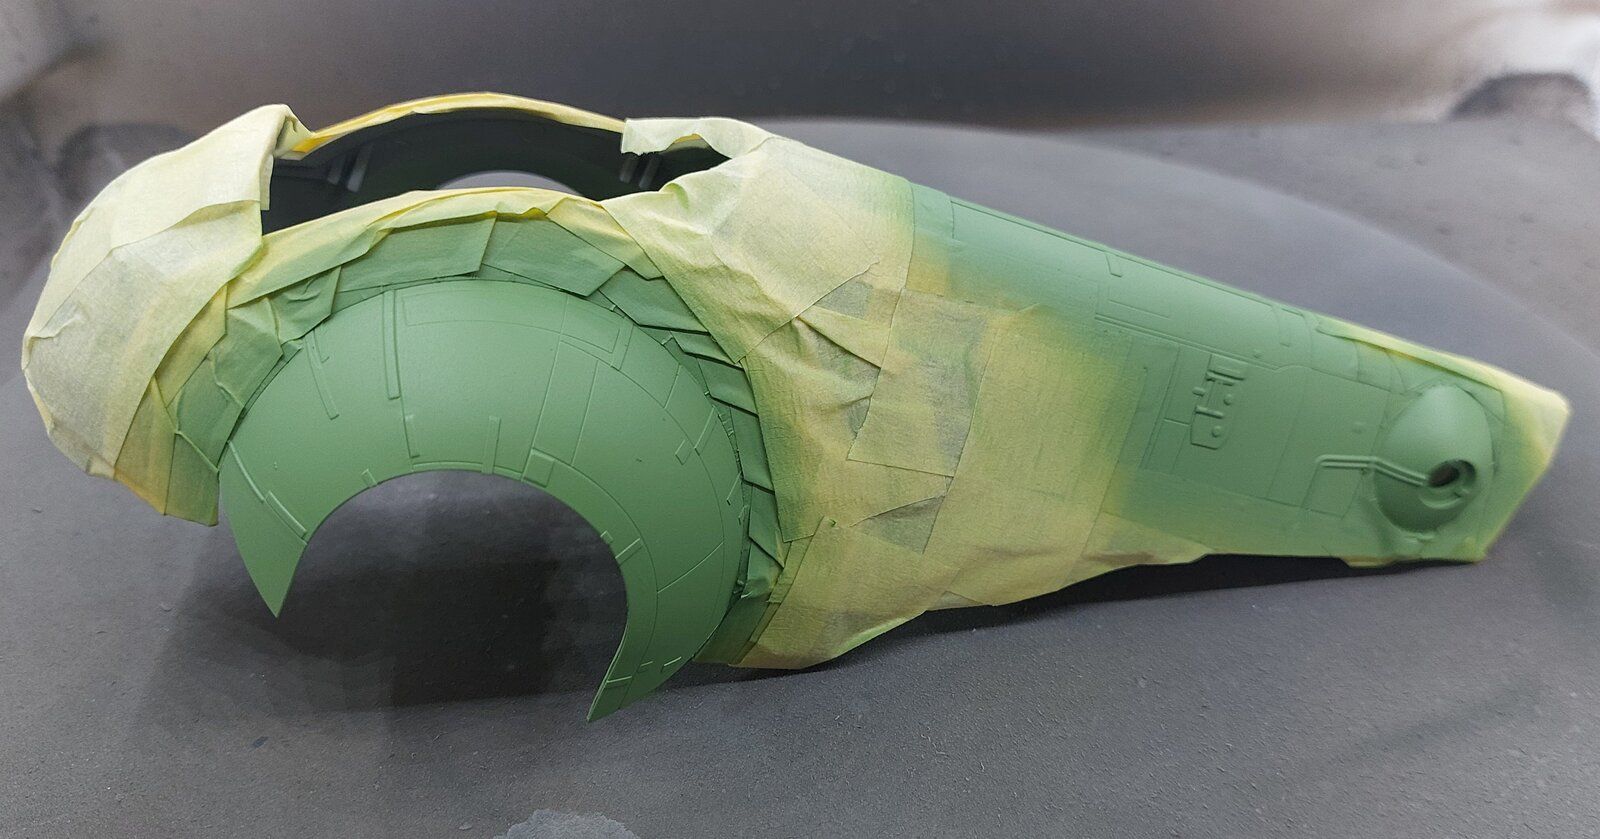
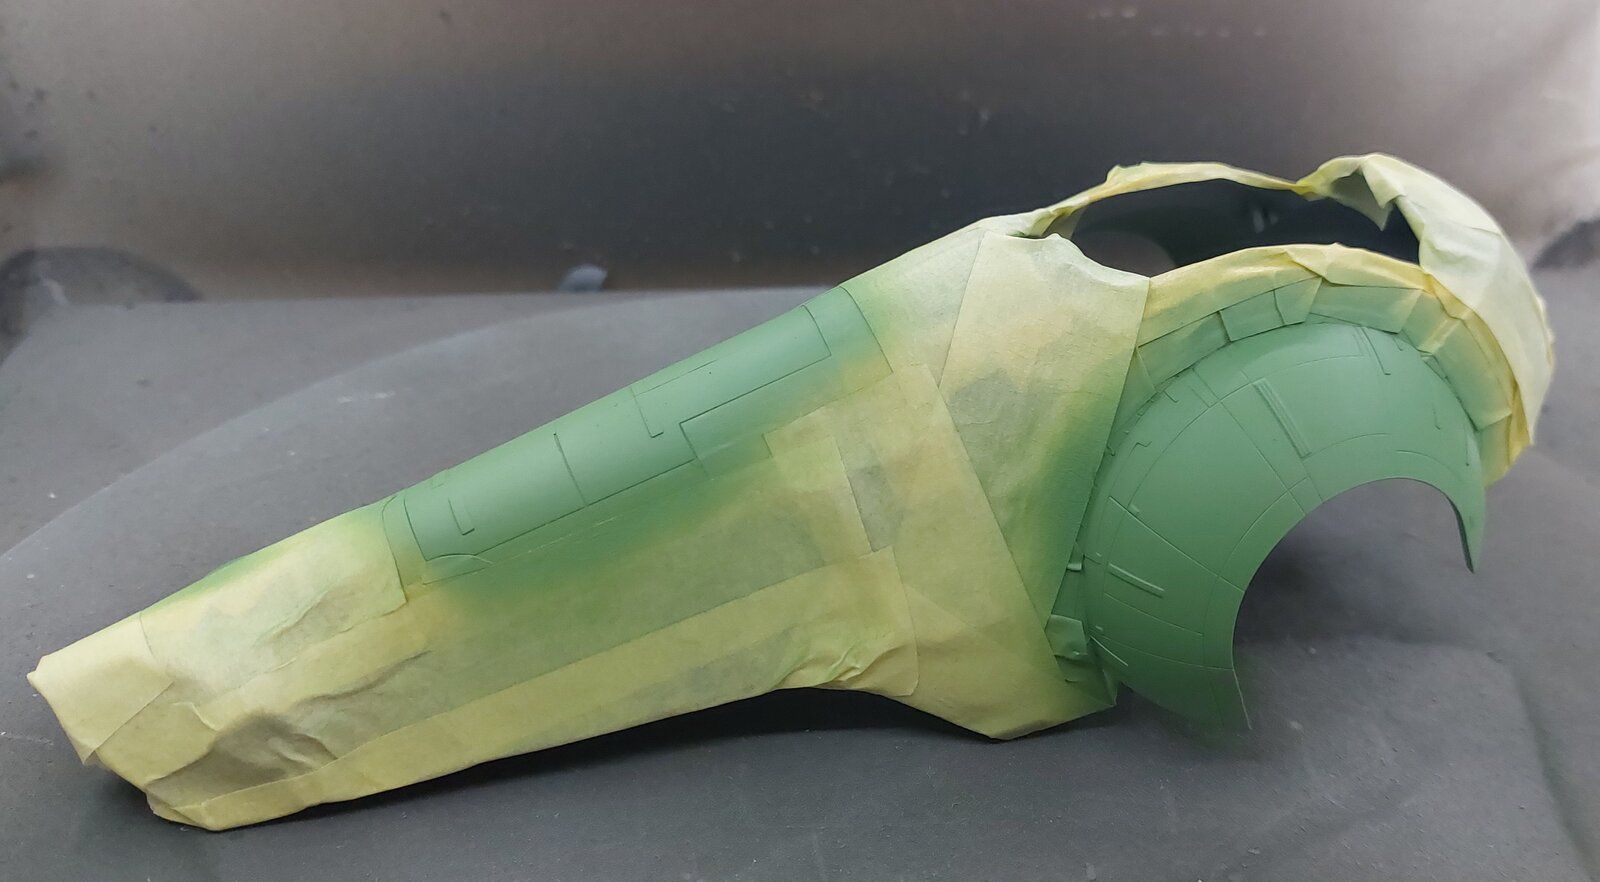
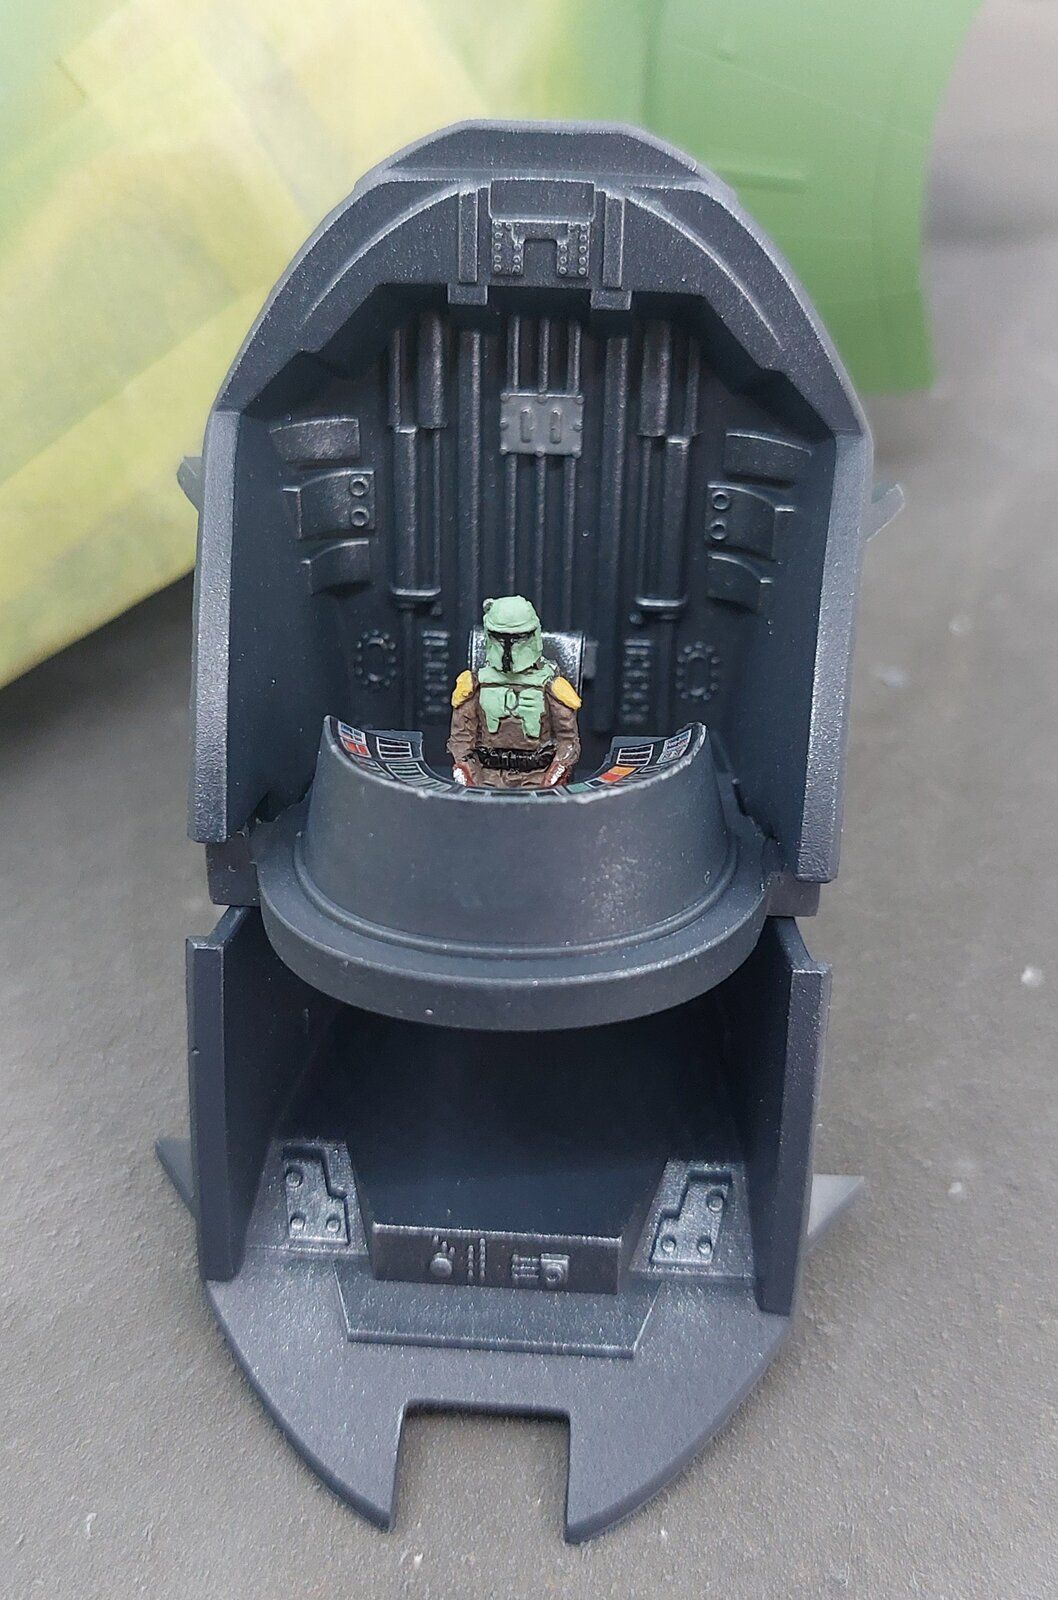
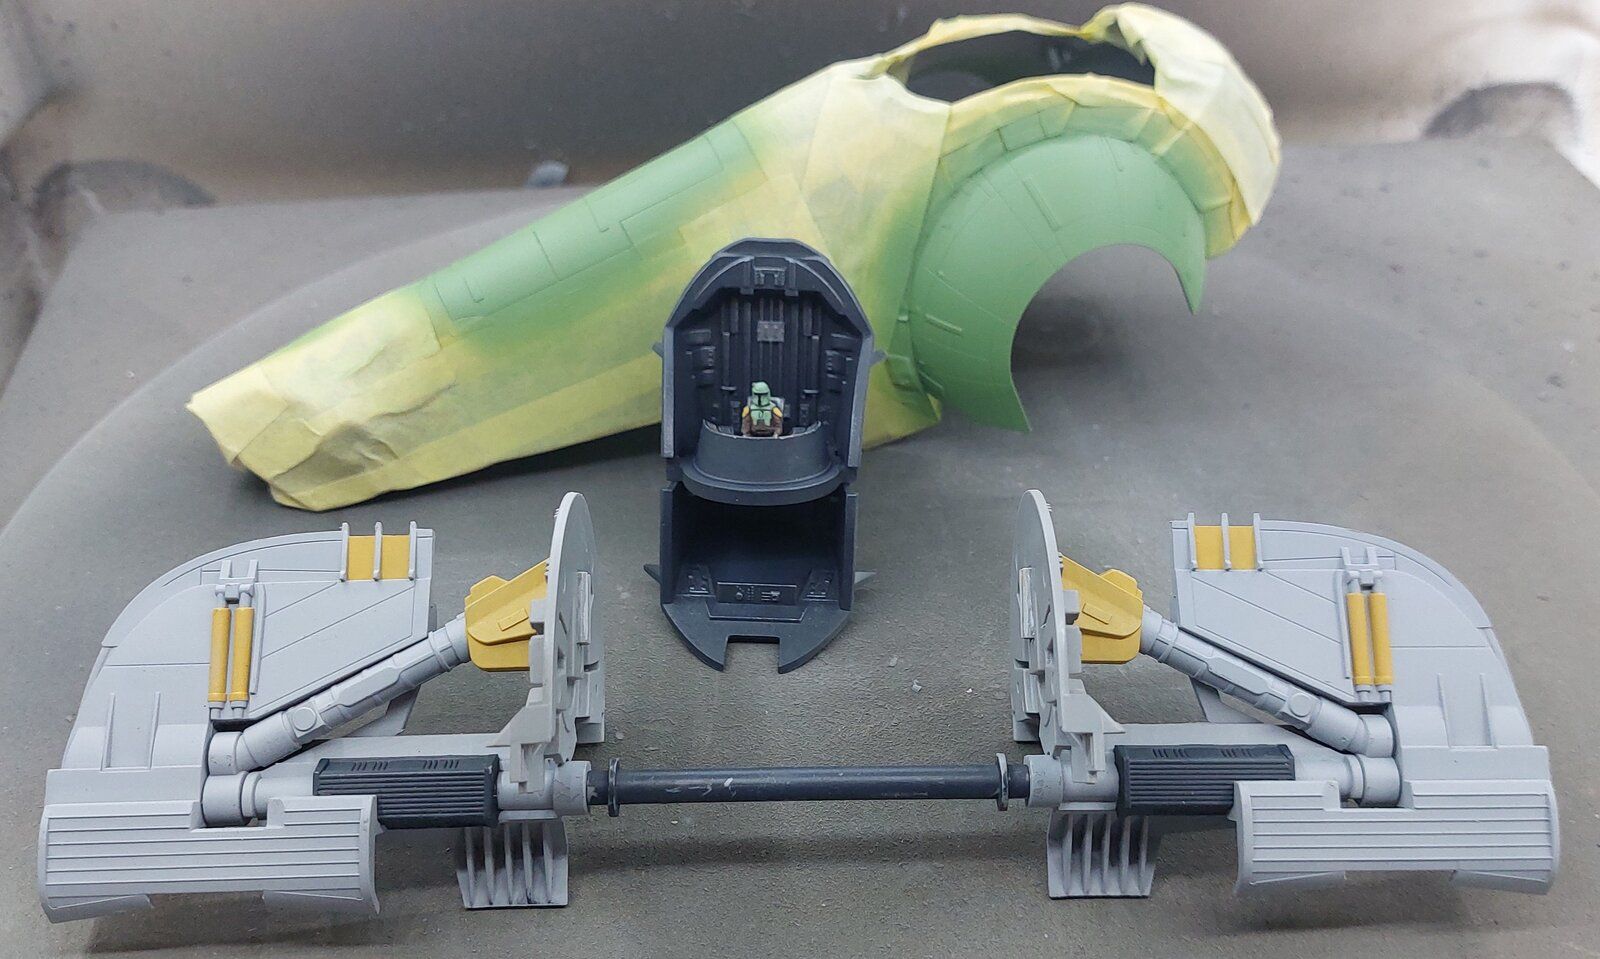
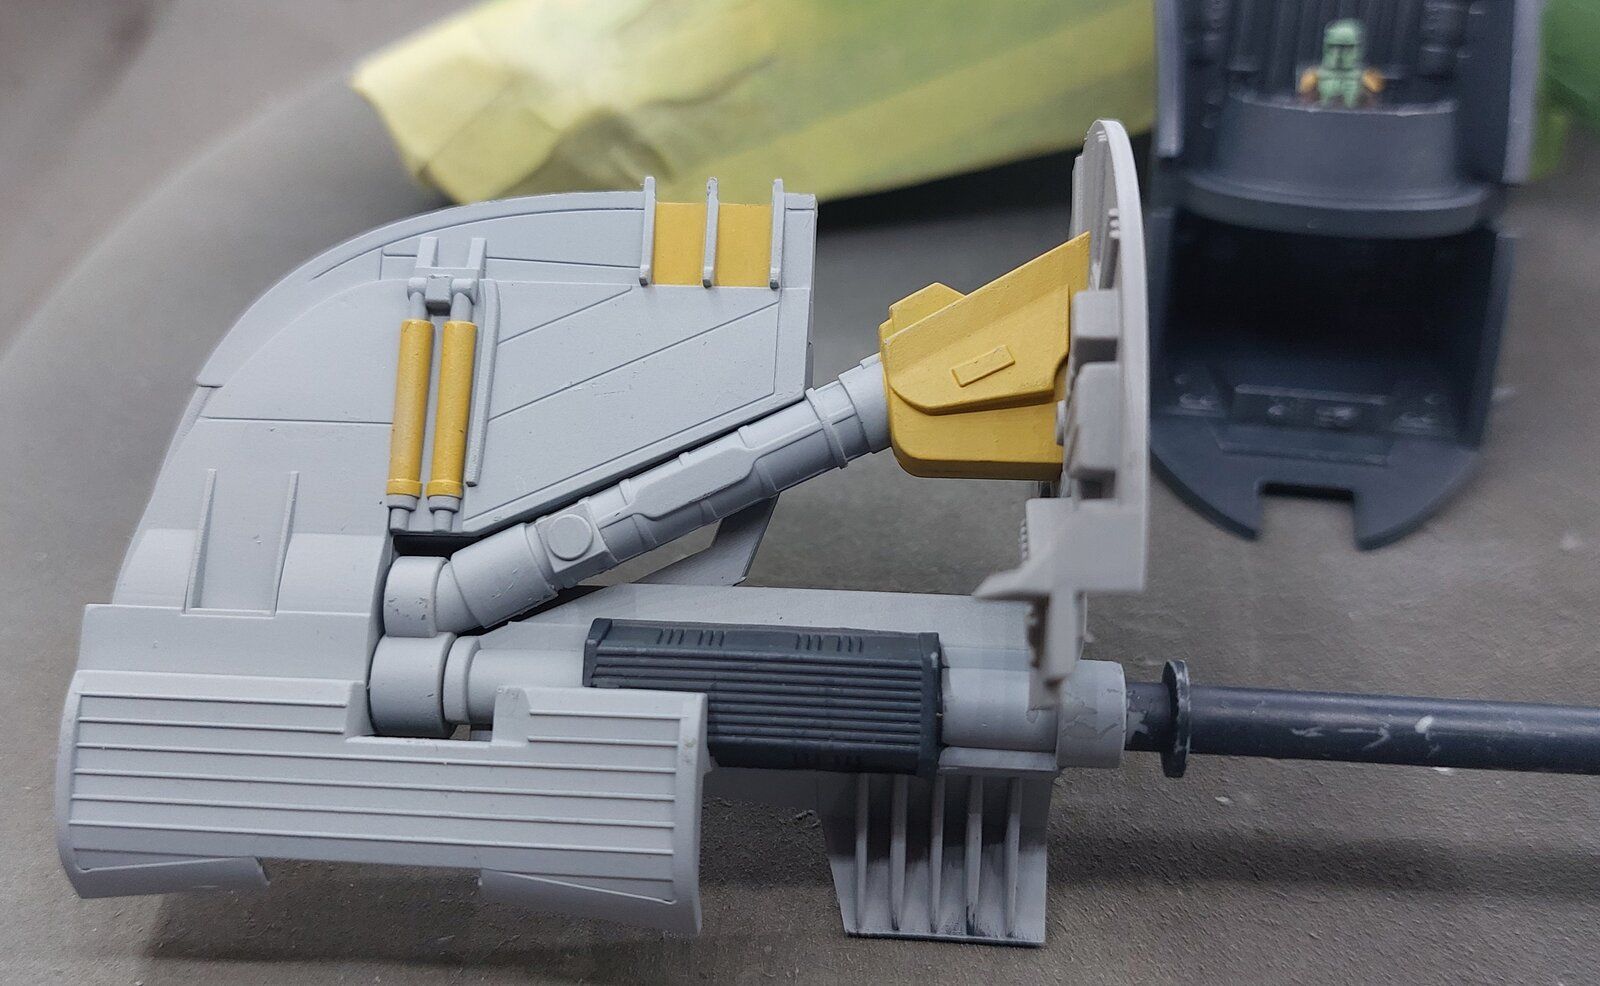
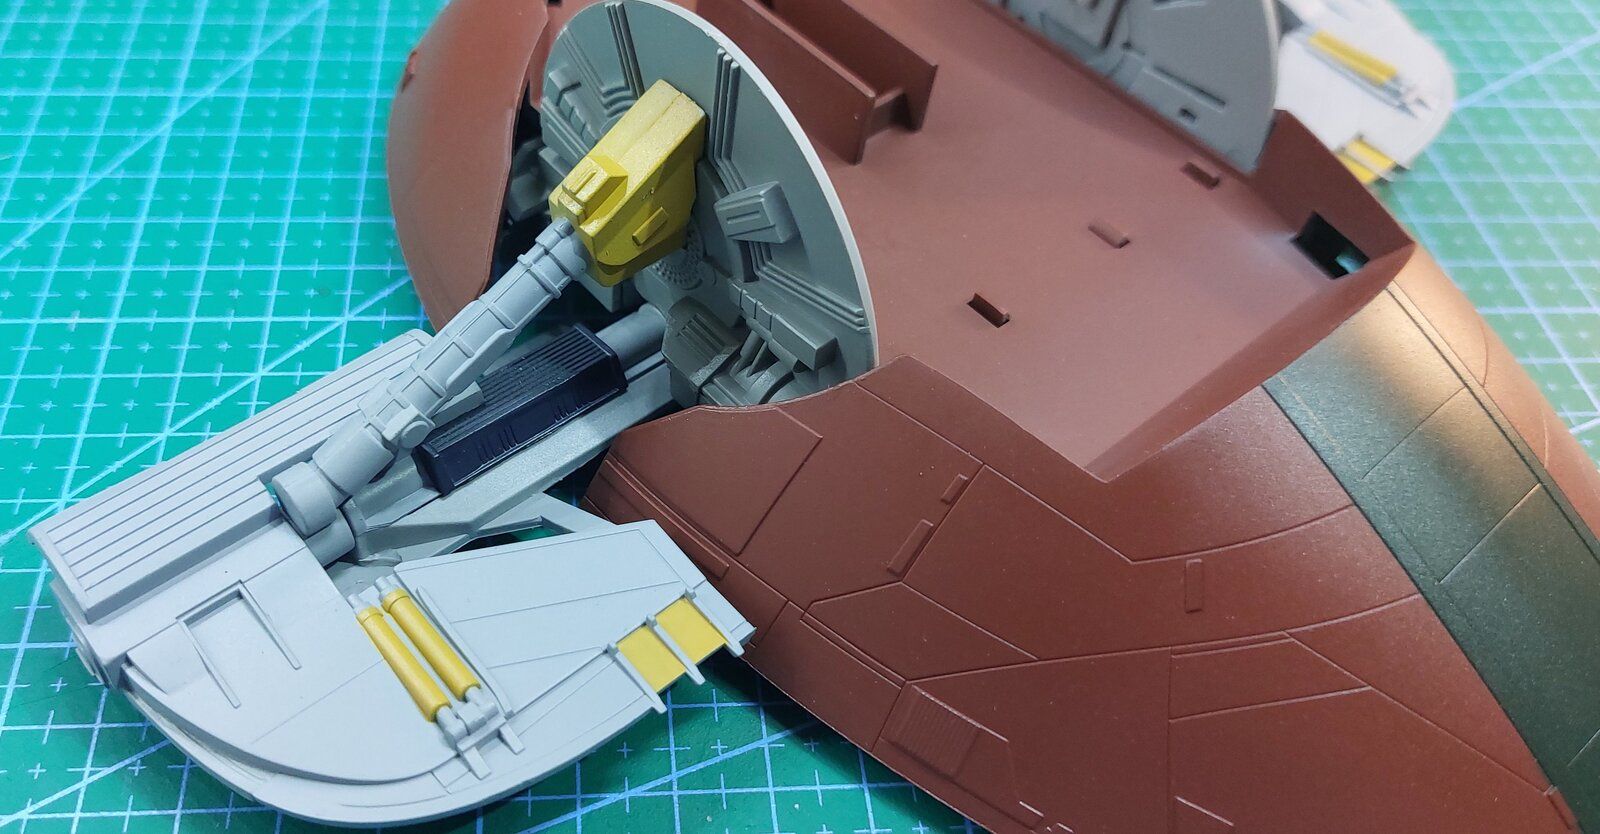
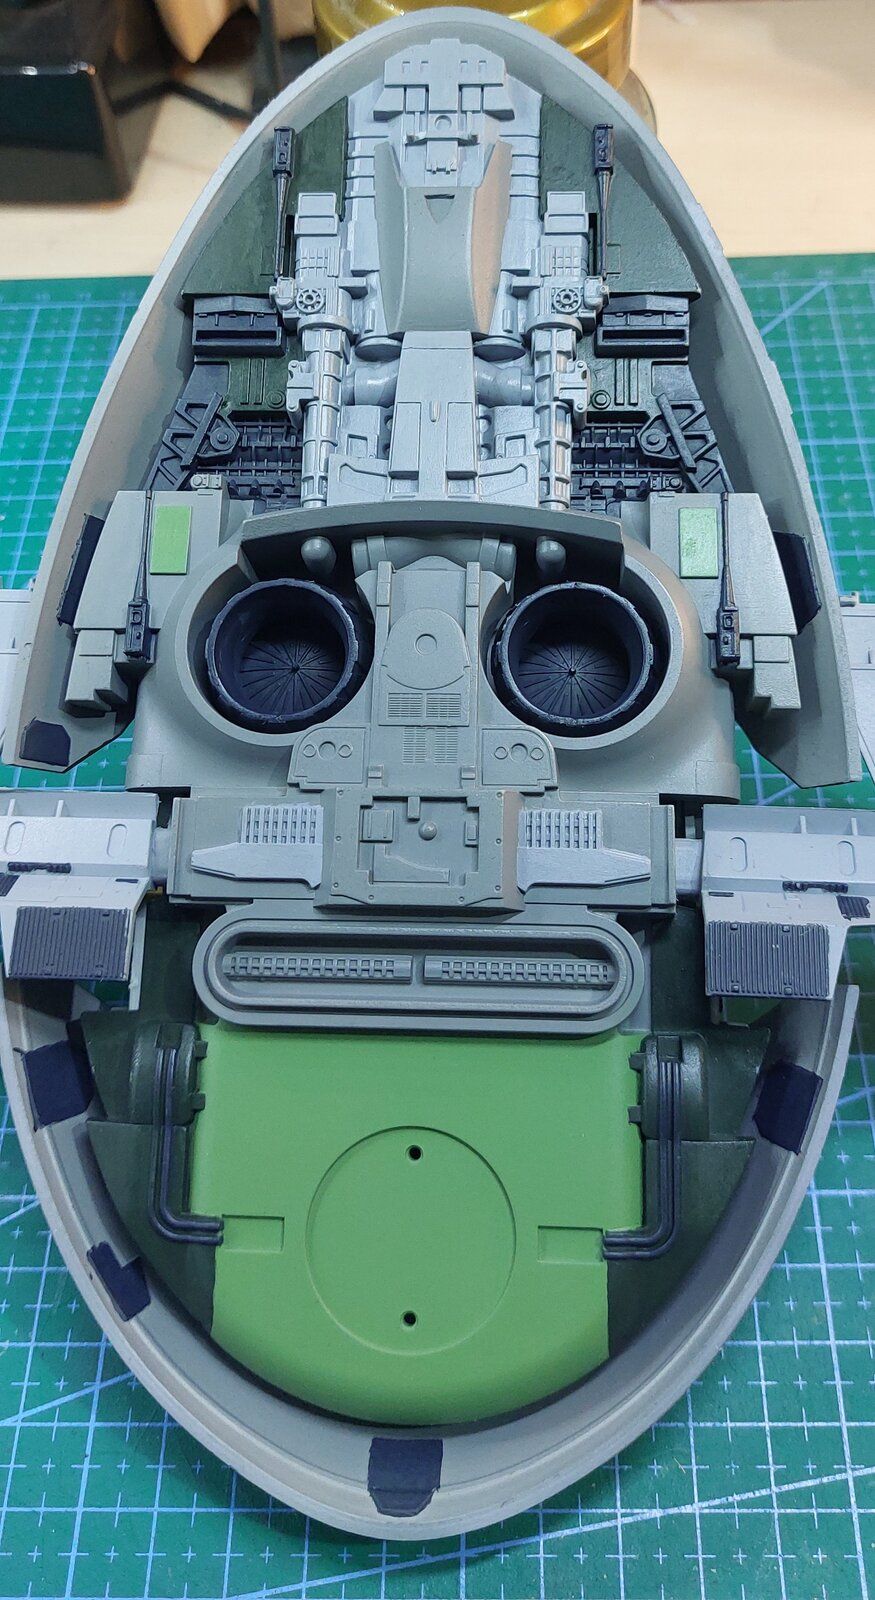
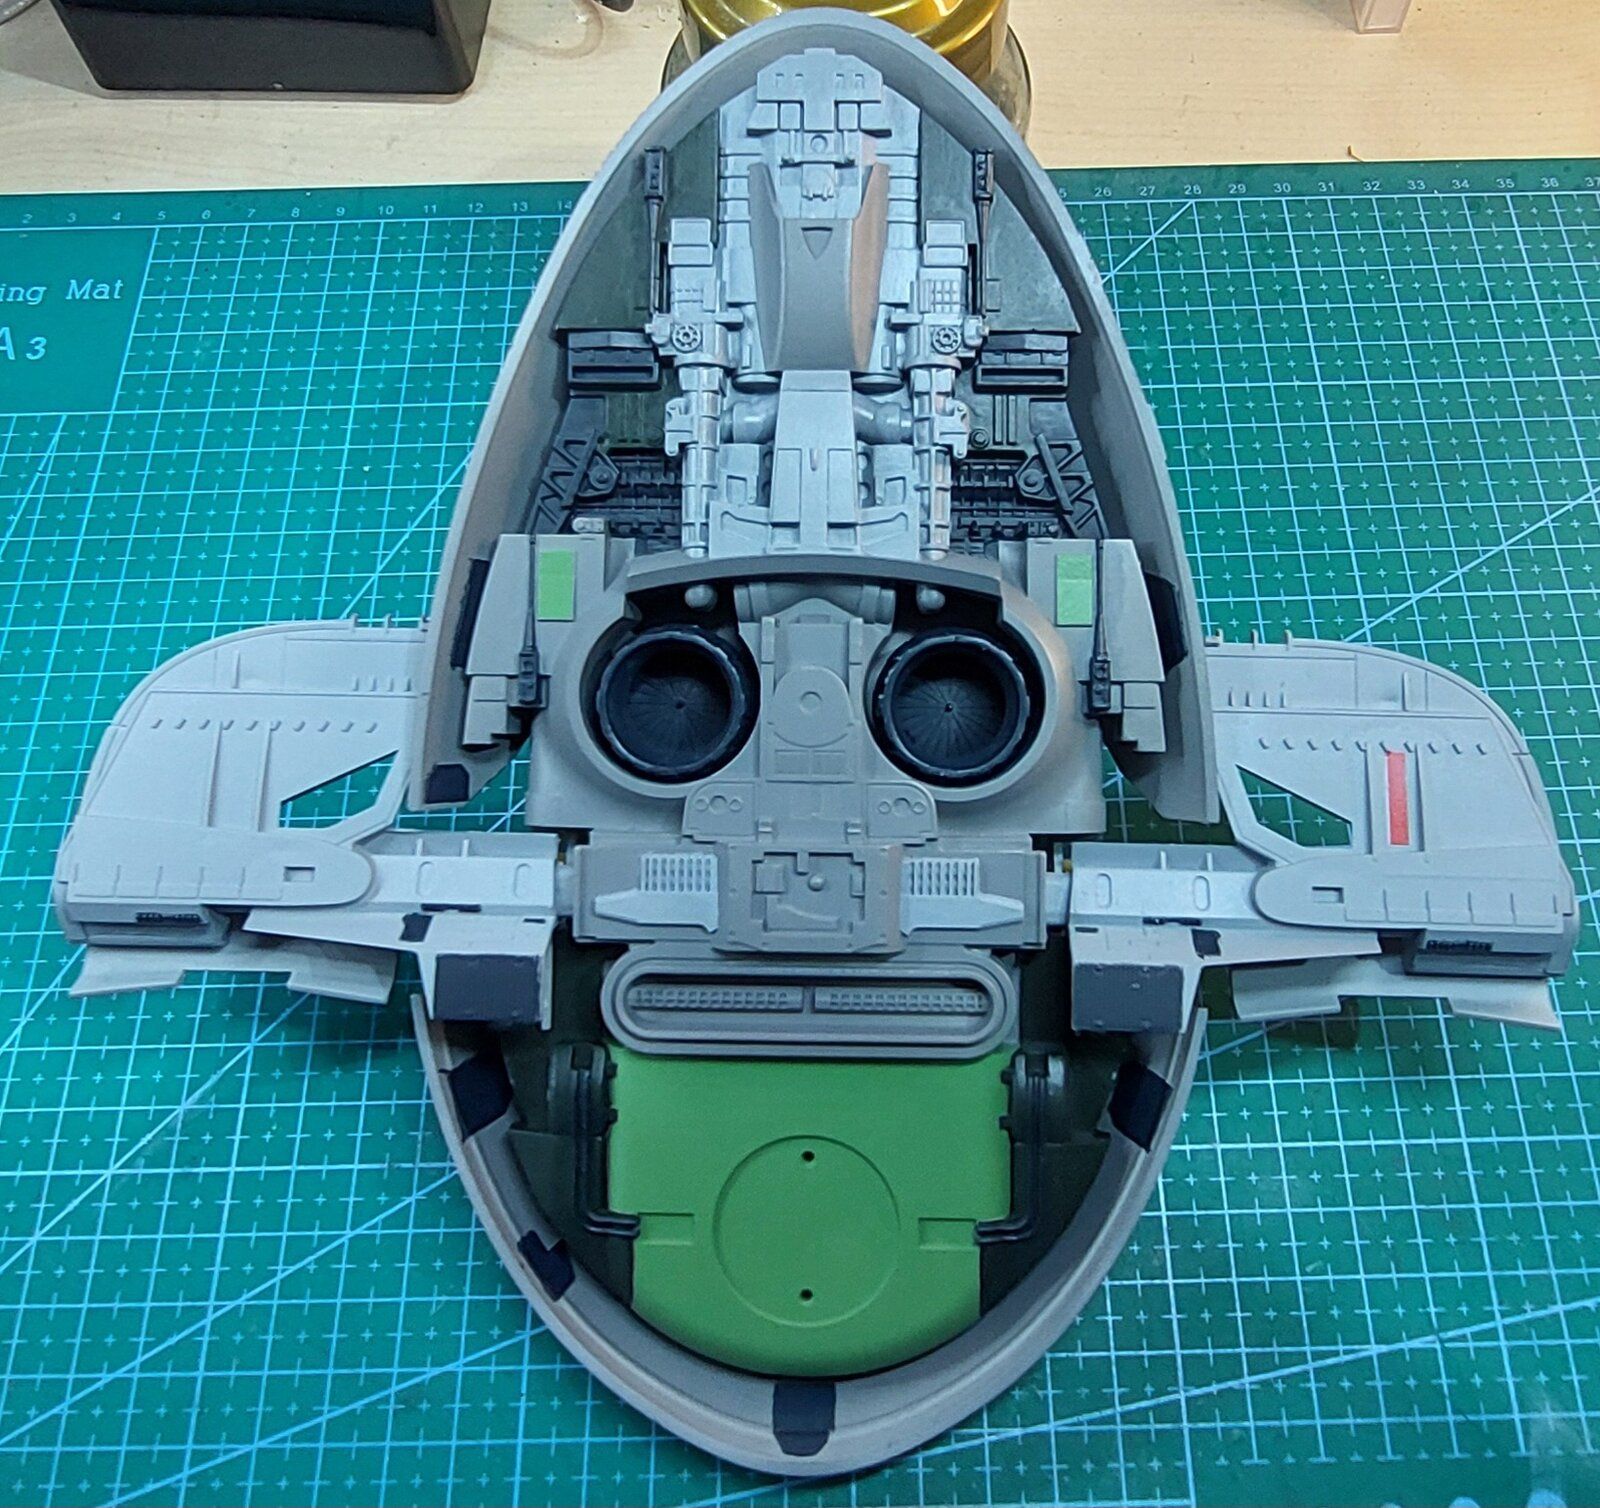
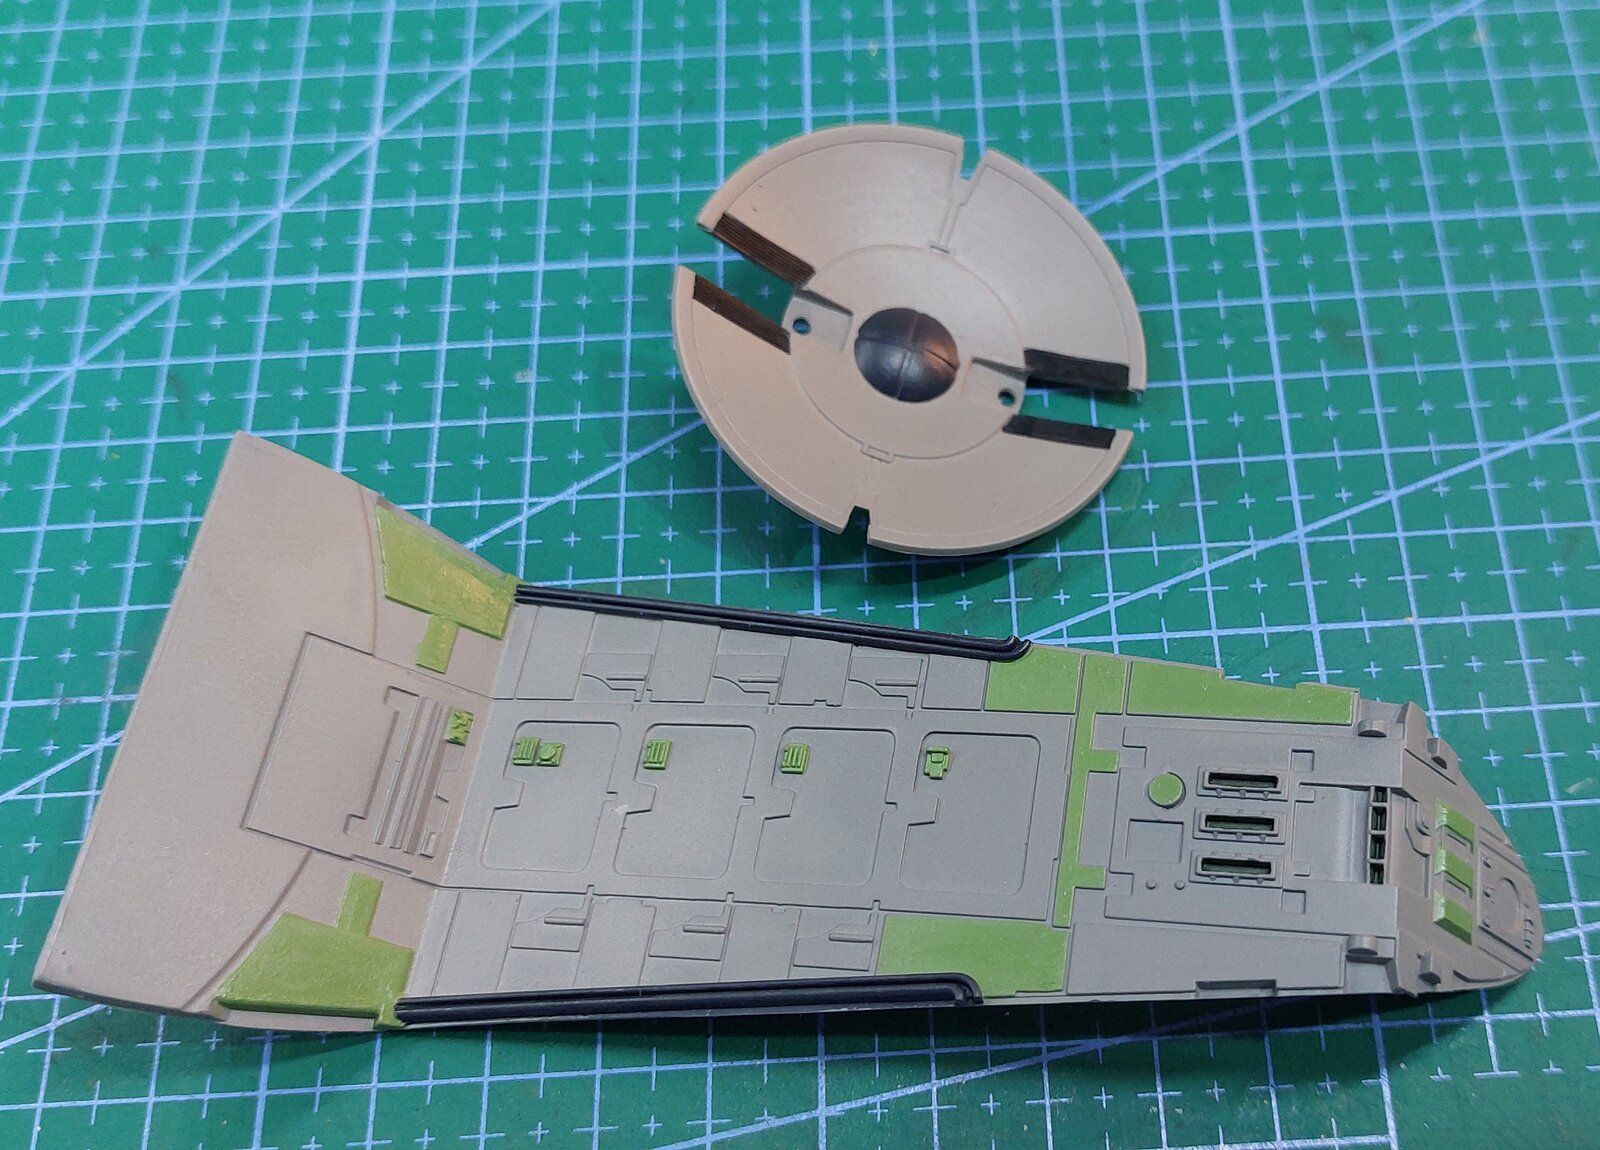
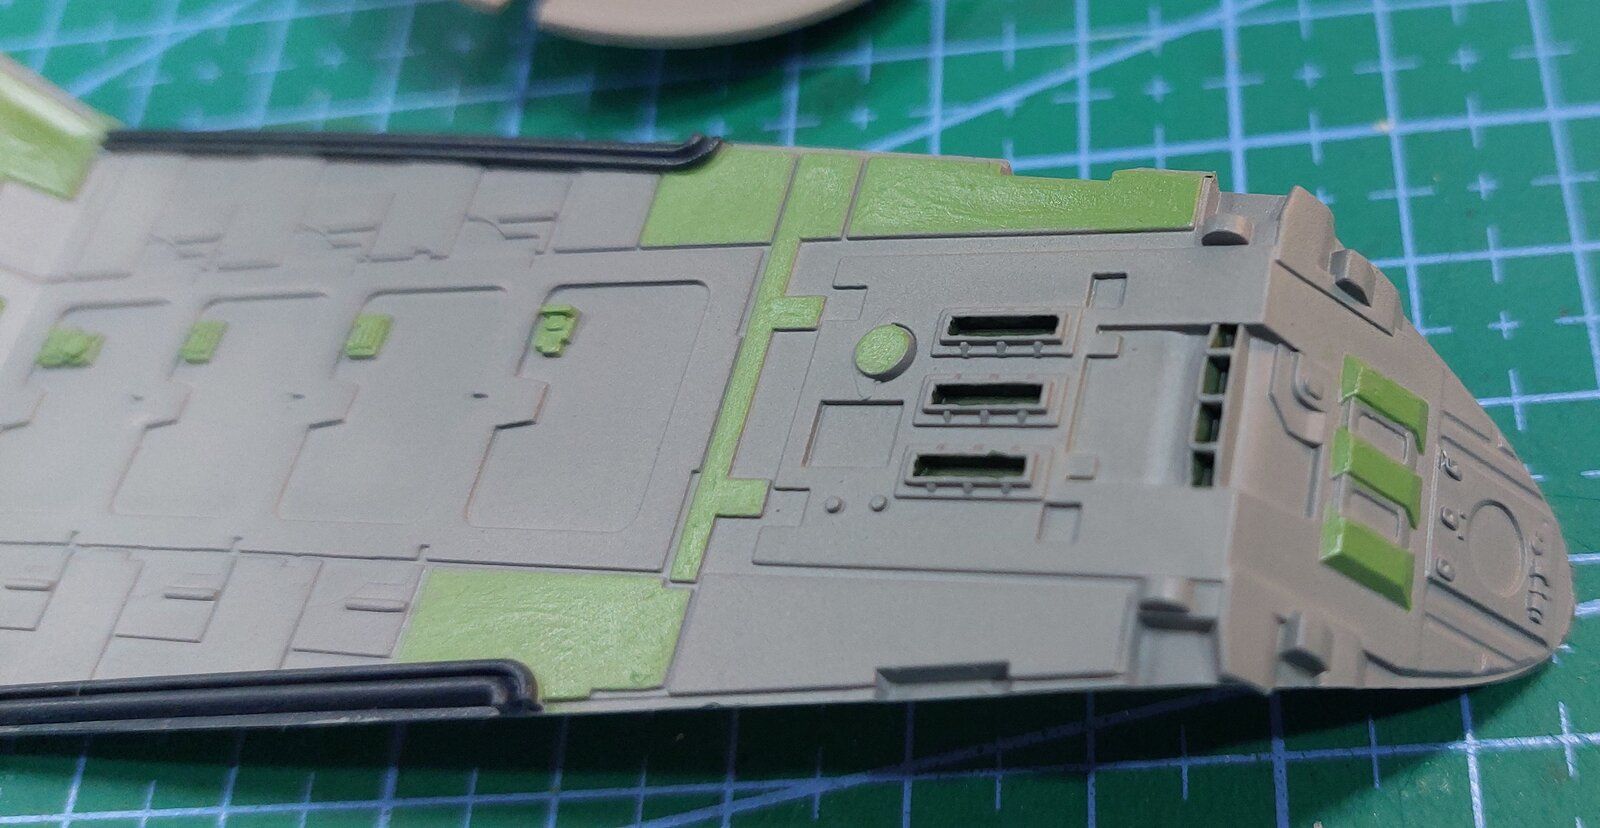
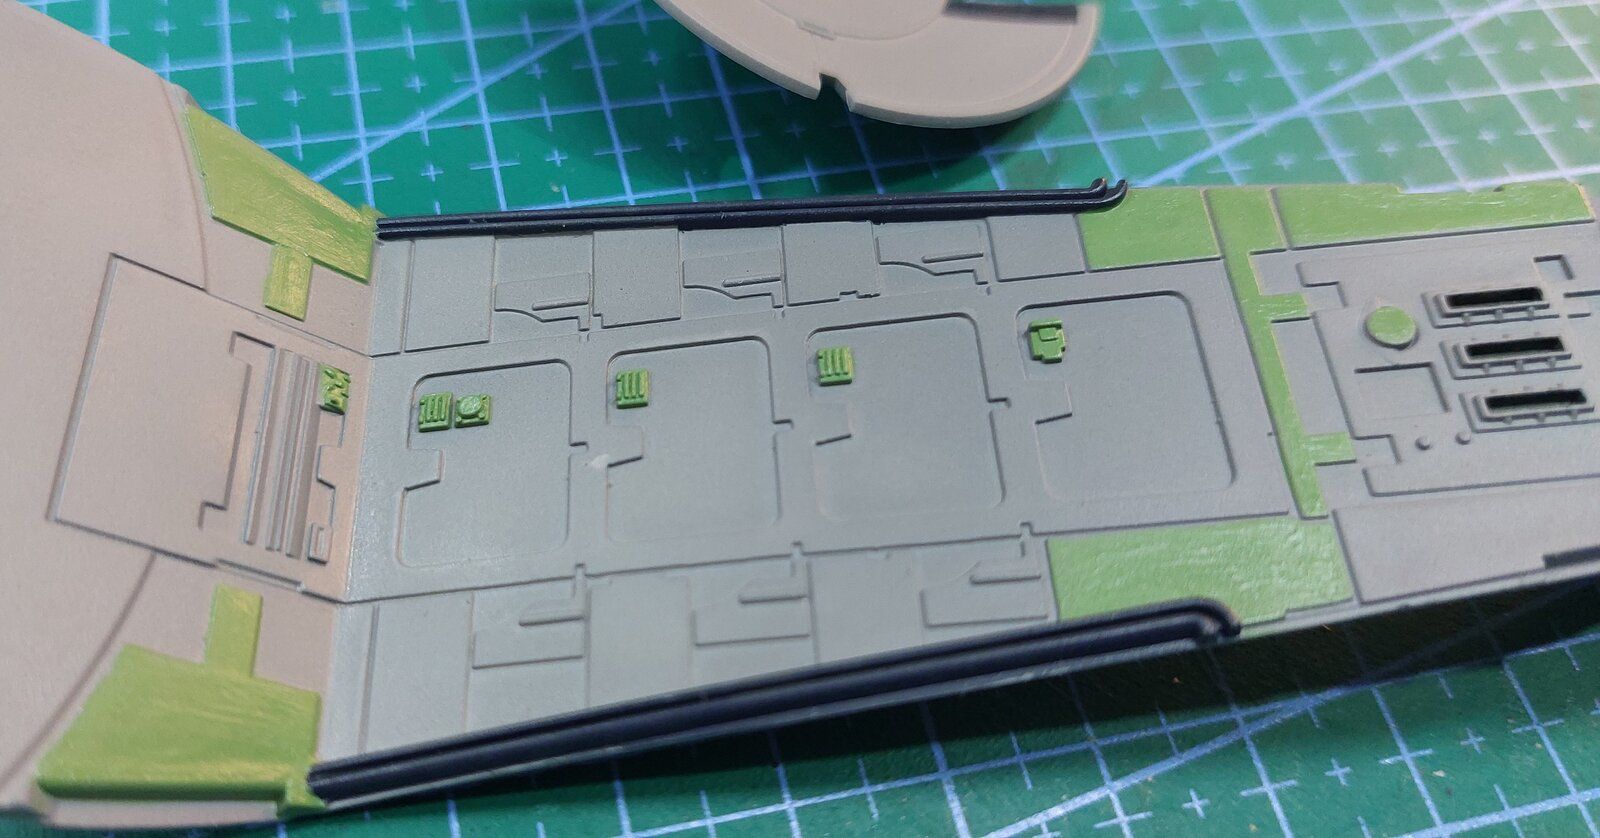
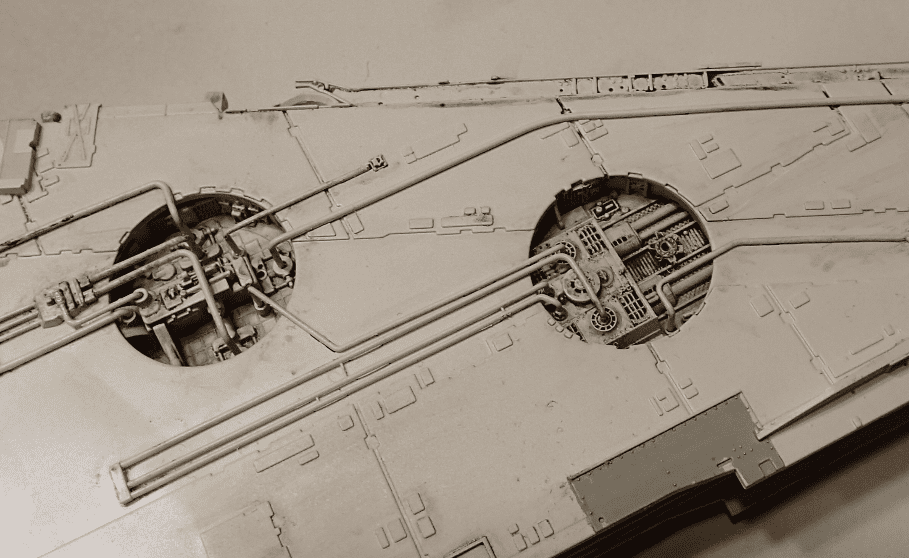
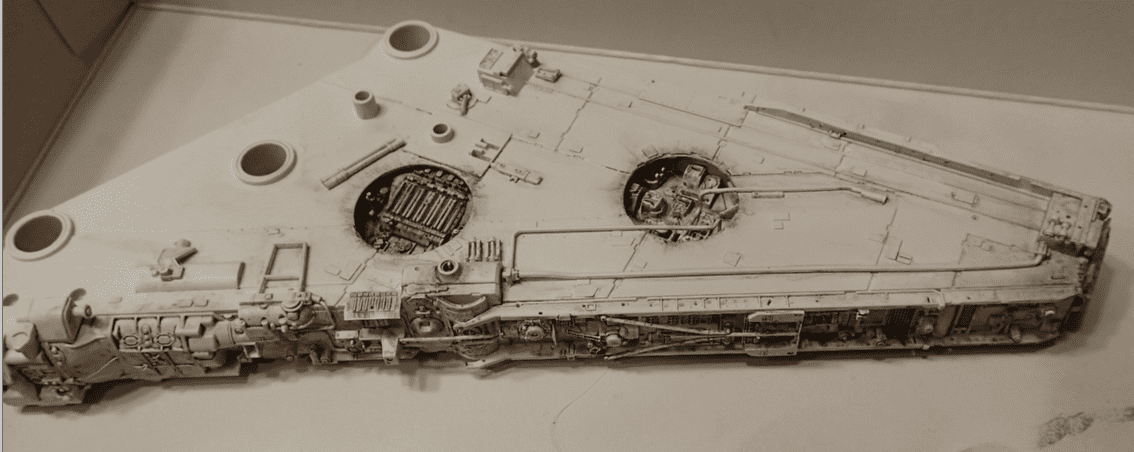
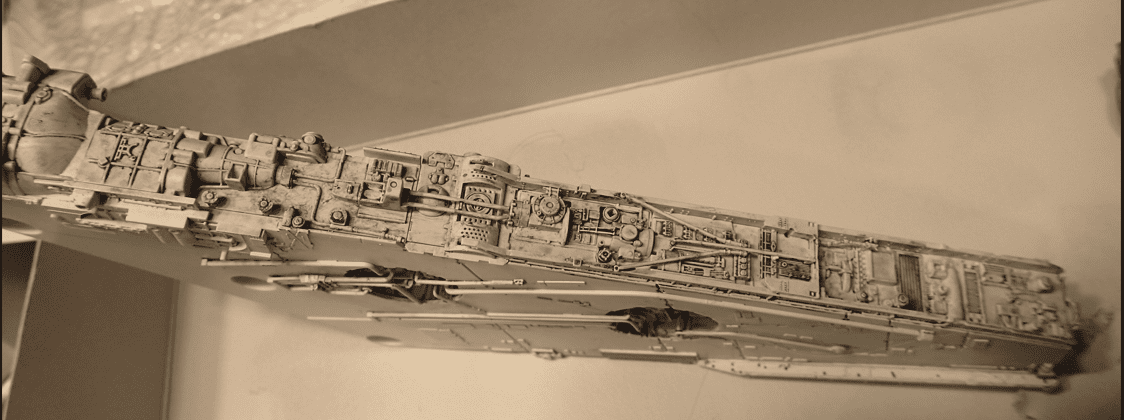
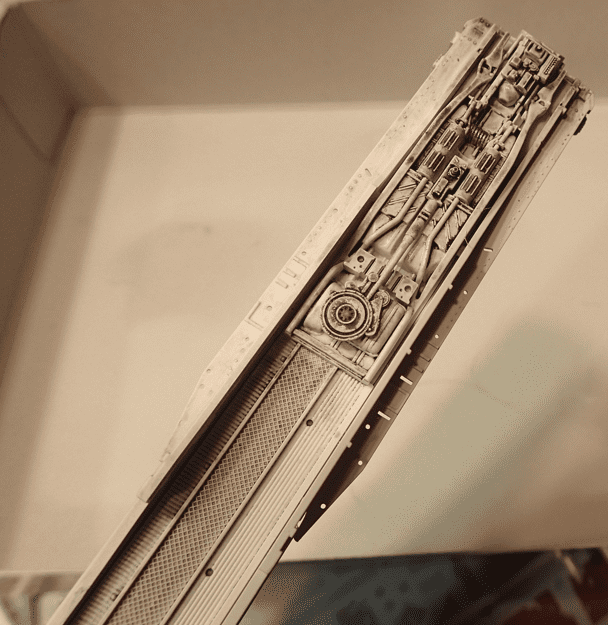
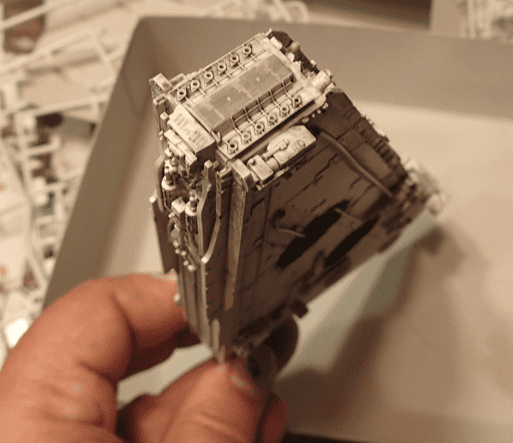
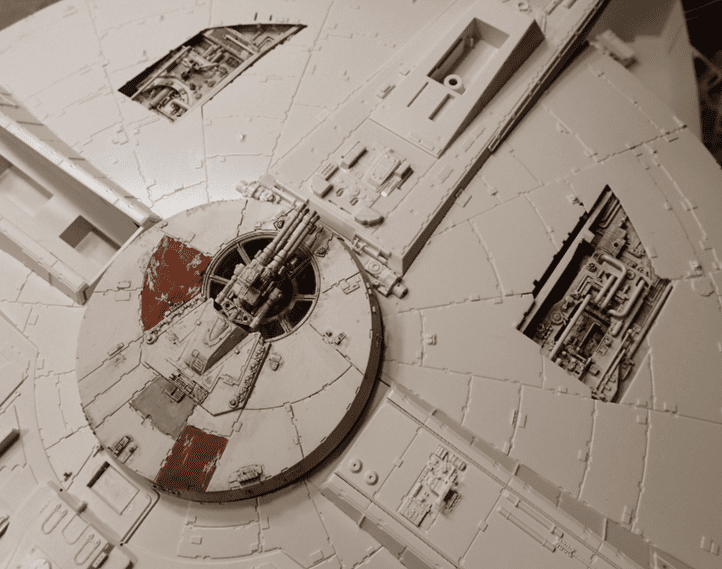
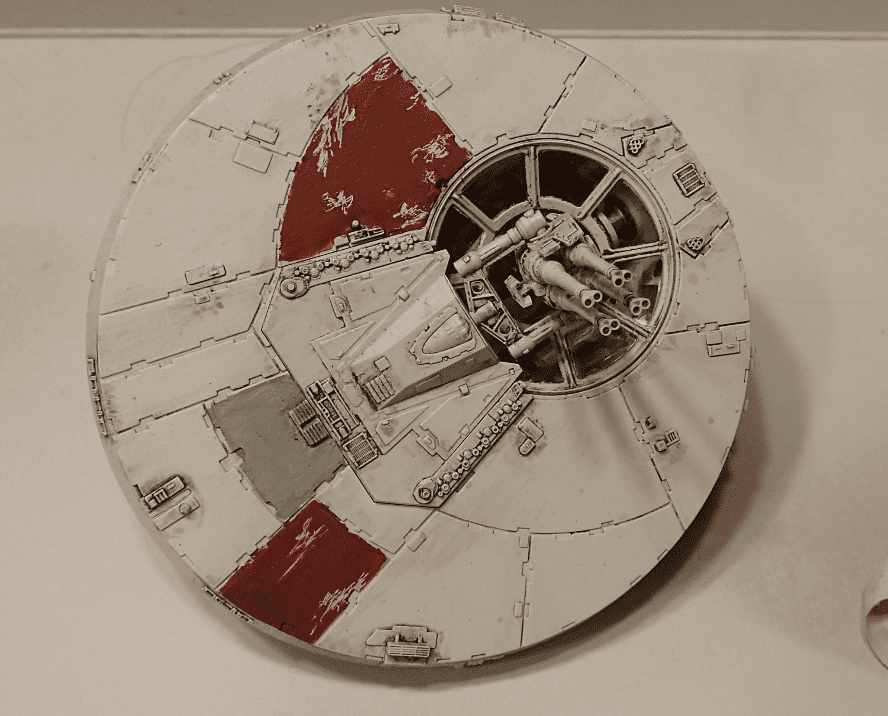
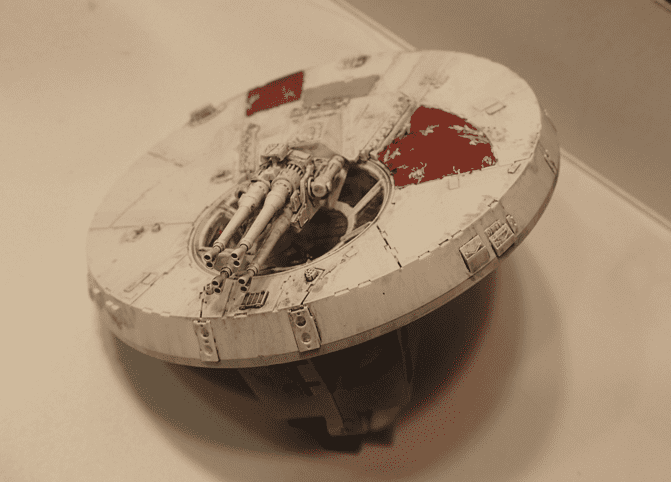
The amount of detail painting on this build is more than I expected although I am enjoying the work. It's just taking waaaaaaaay longer than I thought. Pantherman
View attachment 120377View attachment 120378View attachment 120379View attachment 120380
Bit more done this weekend. Pantherman
20240721_144619.jpg
20240721_144630.jpg
20240721_144649.jpg
20240721_144719.jpg
20240721_144733.jpg
 
Looking good Pantherman.

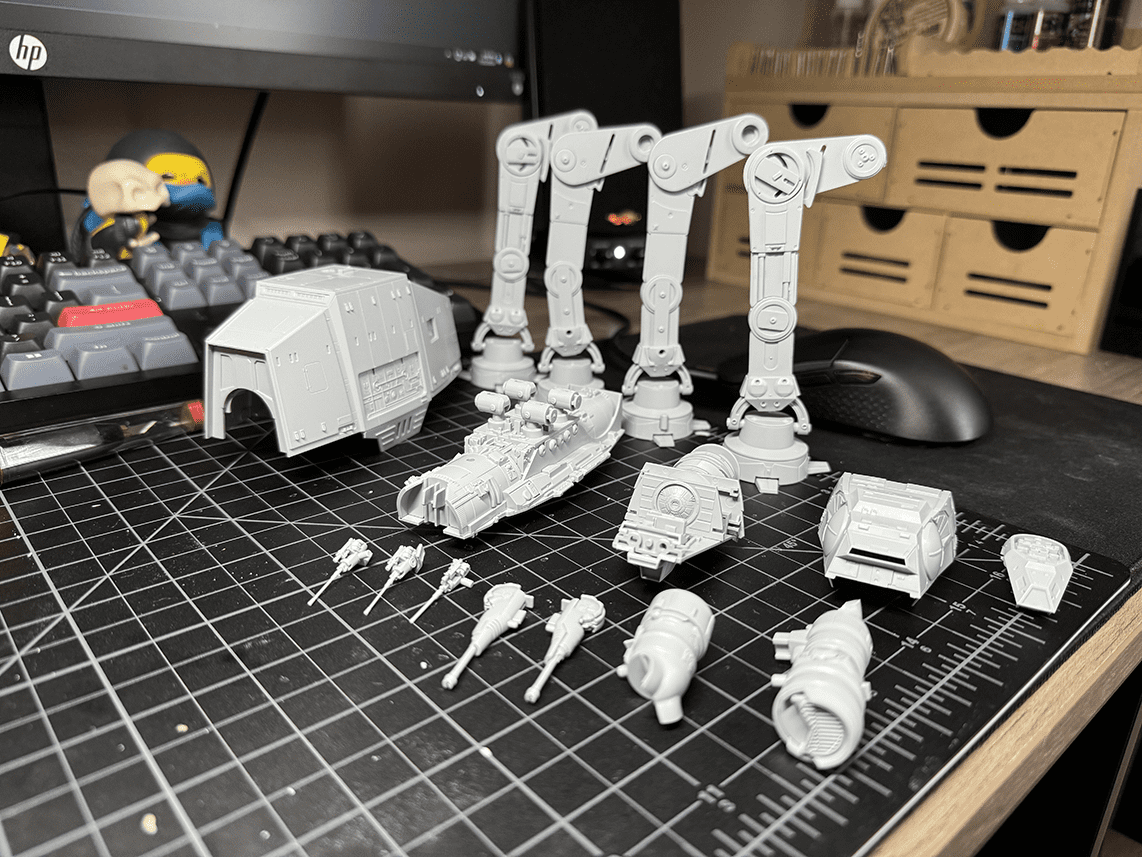
I got the initial build done today. I think I am going to pose it fallen with a snow base, need to grab some supplies.

View attachment 120471
For what it is worth, I find Tamiya XF-19 with just a hint of white added makes a great color for the AT-AT and AT-STs
if you prefer a slightly warmer tone Xf-20 is good
 
For what it is worth, I find Tamiya XF-19 with just a hint of white added makes a great color for the AT-AT and AT-STs
if you prefer a slightly warmer tone Xf-20 is good
Thanks, I appreciate it. I am, unfortunately, sans airbrush for a while as I am in-between living spaces. I have to use spray cans. I'm stuck on deciding what Tamiya color to use as there seems to be a few different recommendations. The Bandai directions call out Flat white with Neutral Gray but I can't do that. I will see if I can find something close.
 
Last edited:
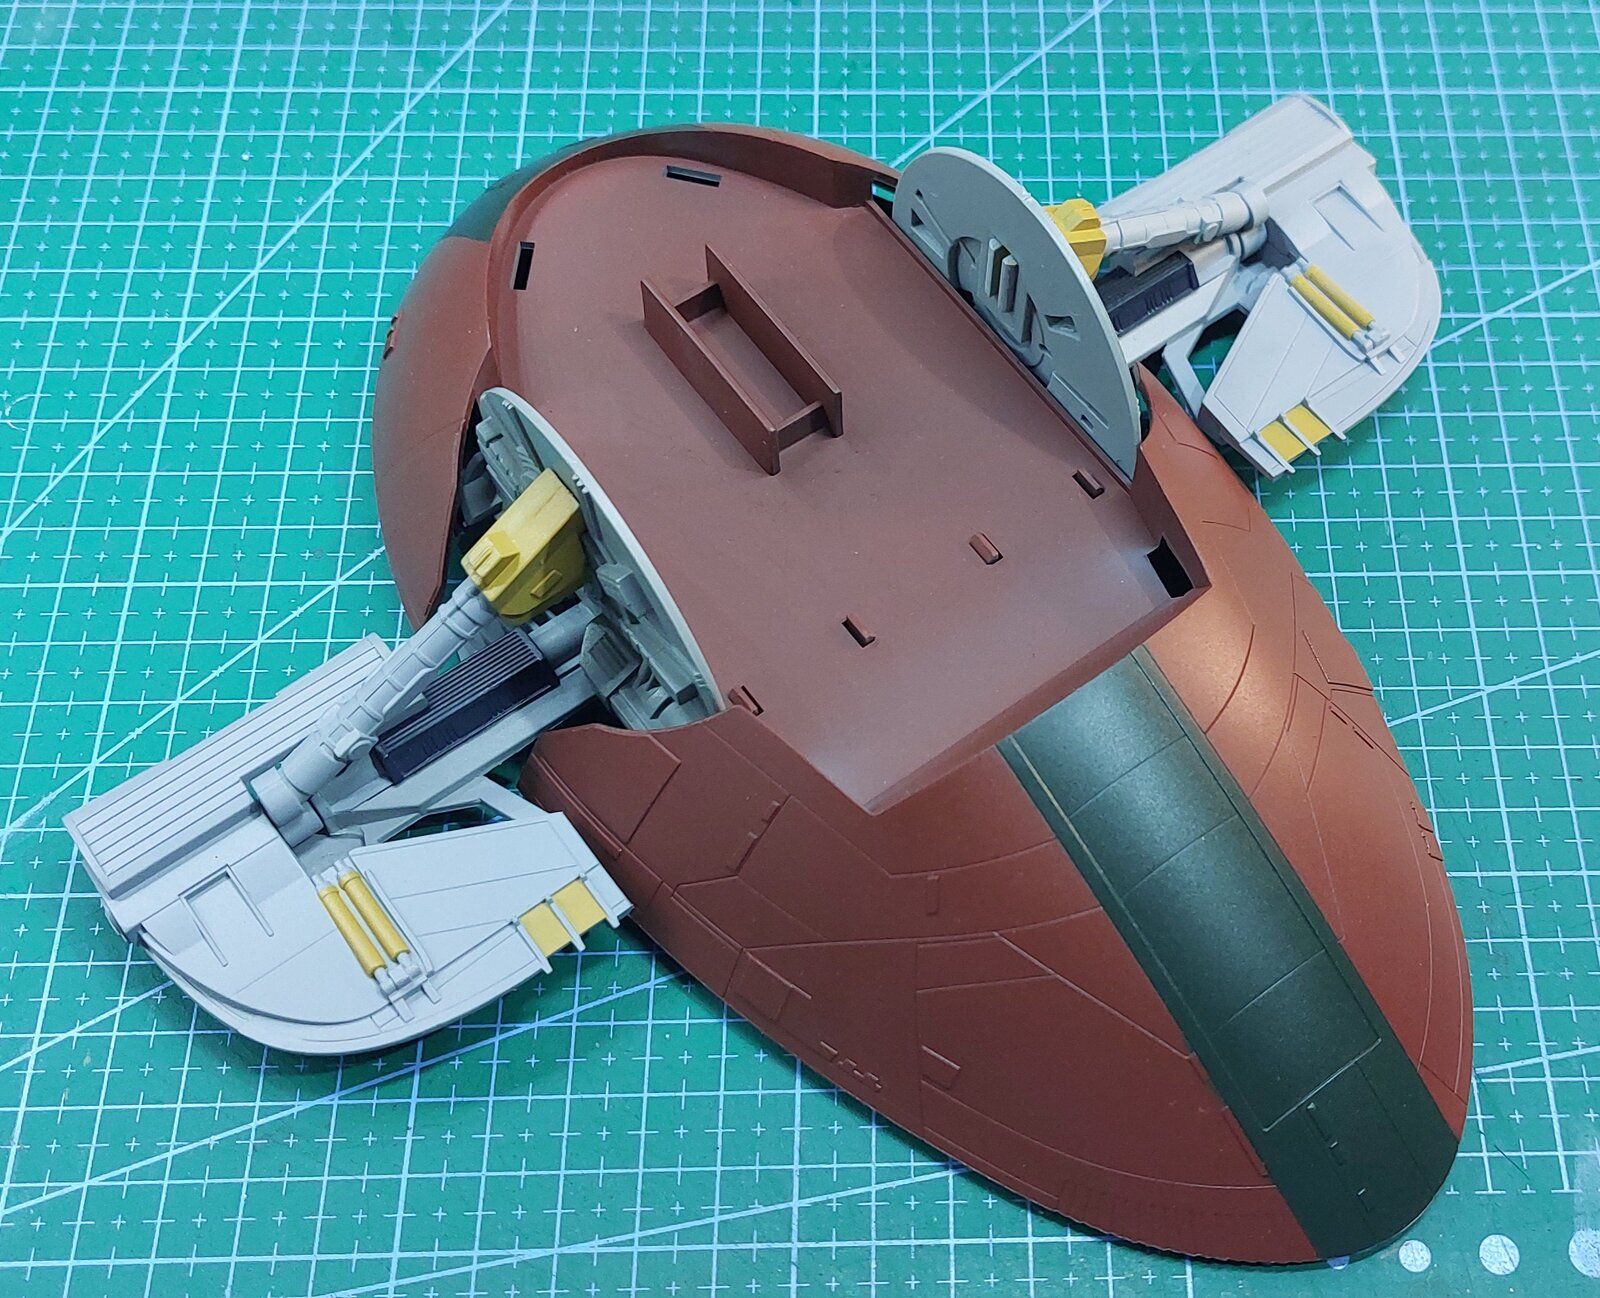
Bit more done, most of the detail painting is done, just got to finish the top section.

Now here is where I am looking for some help. I think I would like to finish this without any weathering and I would like to display it in flight, any ideas on how to make a stand would be welcome.

I will then build the same slave 1 but with all the weathering and on the ground so although both are the same model they should look different.

What do you all think? Pantherman
20240722_204835.jpg
20240722_204839.jpg
20240722_204933.jpg
20240722_204955.jpg
20240722_205019.jpg
20240722_205025.jpg
20240722_205032.jpg
 
Bit more done, most of the detail painting is done, just got to finish the top section.

Now here is where I am looking for some help. I think I would like to finish this without any weathering and I would like to display it in flight, any ideas on how to make a stand would be welcome.

I will then build the same slave 1 but with all the weathering and on the ground so although both are the same model they should look different.

What do you all think? Pantherman
View attachment 120553View attachment 120554View attachment 120555View attachment 120556View attachment 120557View attachment 120558View attachment 120559

Sounds like a great plan
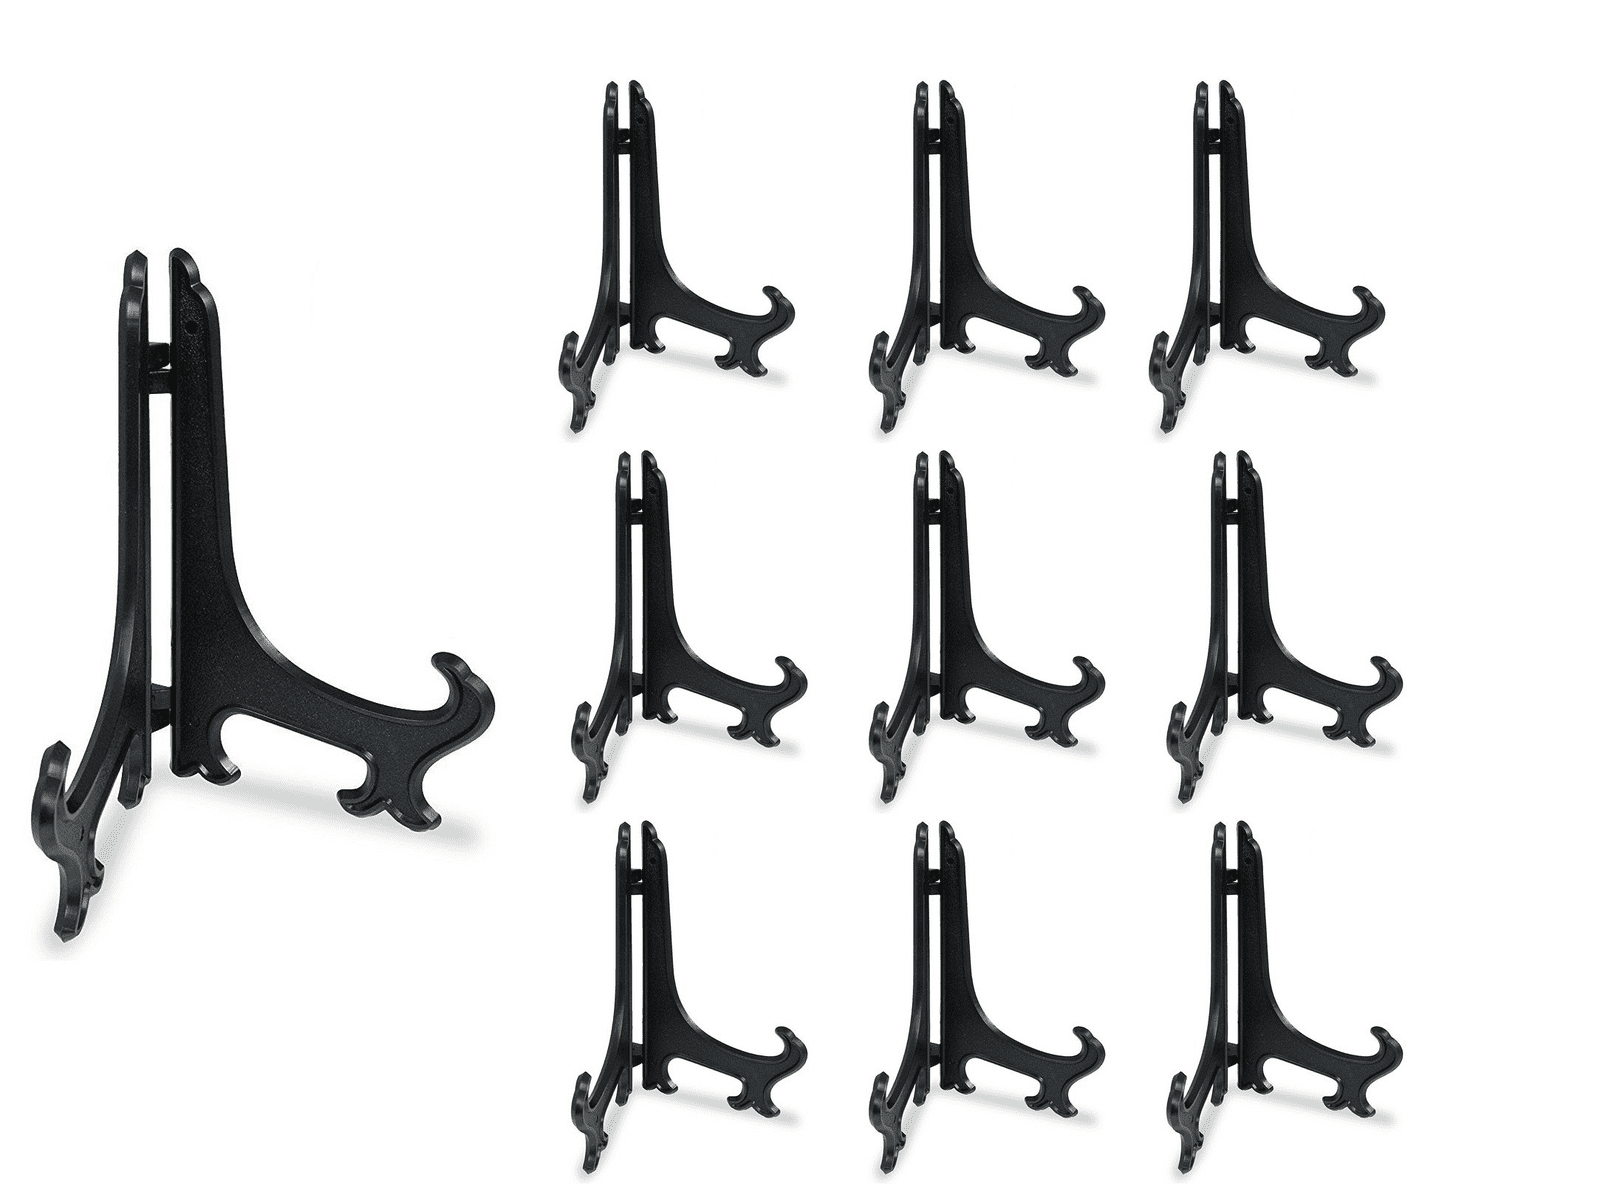
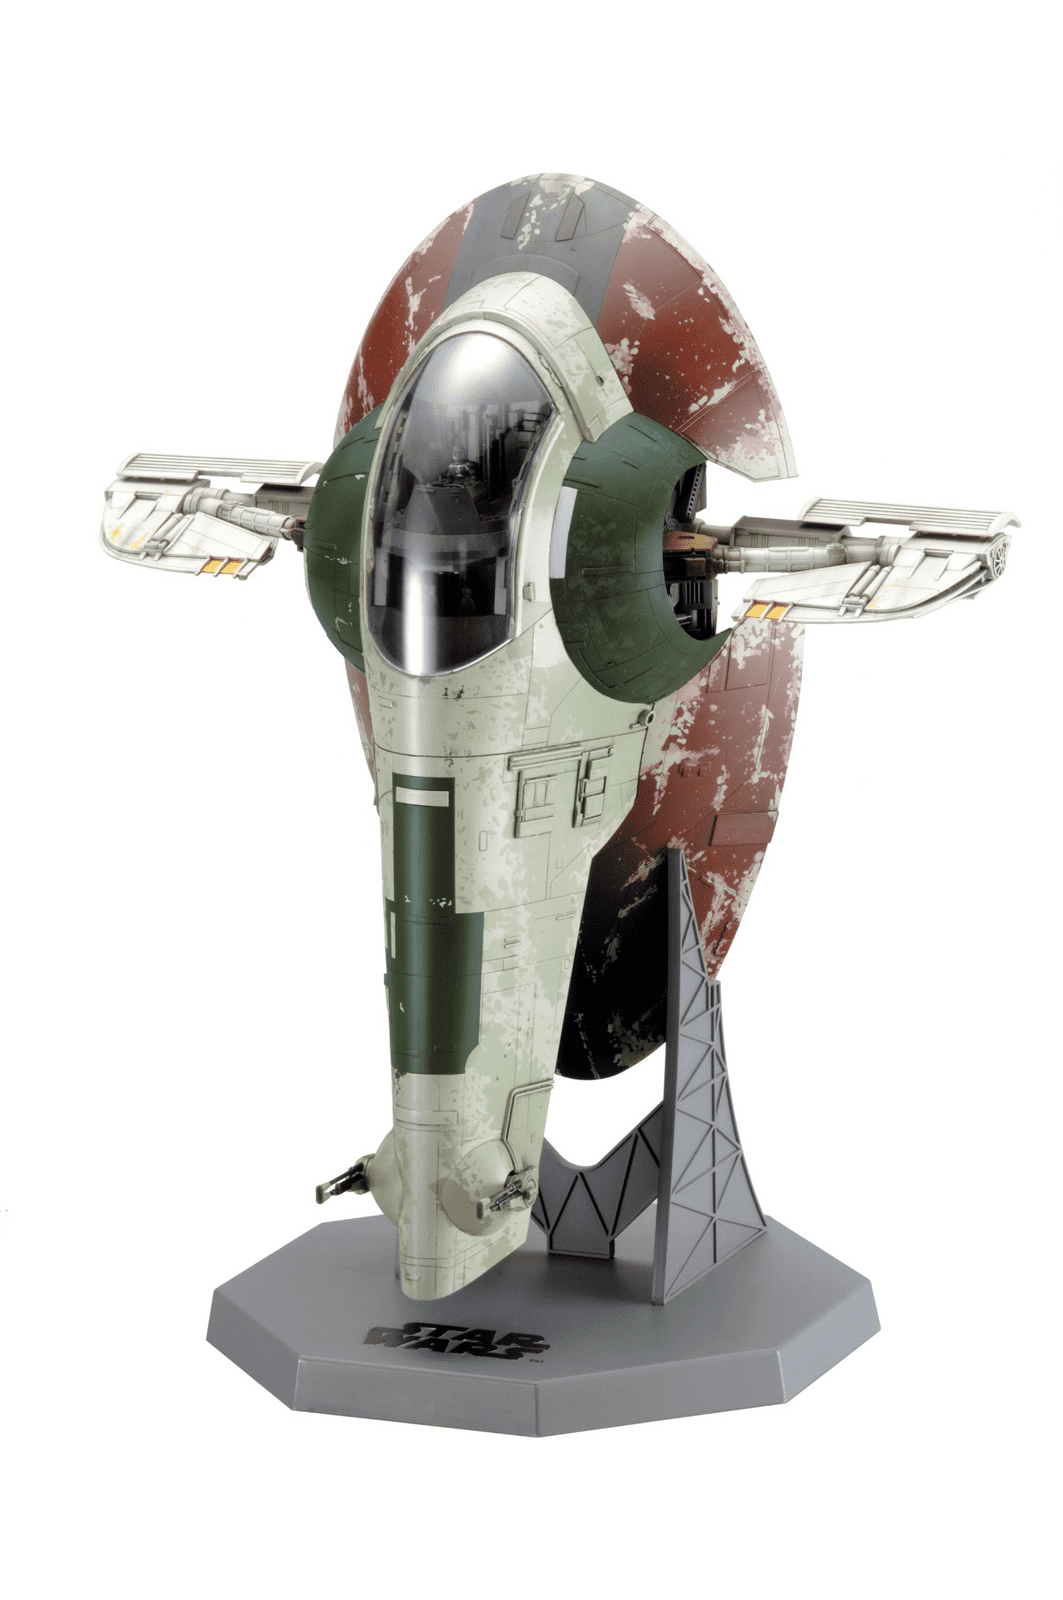
You could make your own Fine Molds style stand, I could get some pics of what it look like, but basically it like a picture frame stand

1721682241050.png

Not mine, but shows the stand
1721682289642.png
 
Bit more done, most of the detail painting is done, just got to finish the top section.

Now here is where I am looking for some help. I think I would like to finish this without any weathering and I would like to display it in flight, any ideas on how to make a stand would be welcome.

I will then build the same slave 1 but with all the weathering and on the ground so although both are the same model they should look different.

What do you all think? Pantherman
View attachment 120553View attachment 120554View attachment 120555View attachment 120556View attachment 120557View attachment 120558View attachment 120559
I will take some picture of the stand that came with mine along with some measurements tonight.
The other thing you could do is glue a nut on the back and mount it to a bent rod (with threading on the end) and mount that to a flat base. That type of stand you would be able to have it at an angle instead of straight up and down.
 
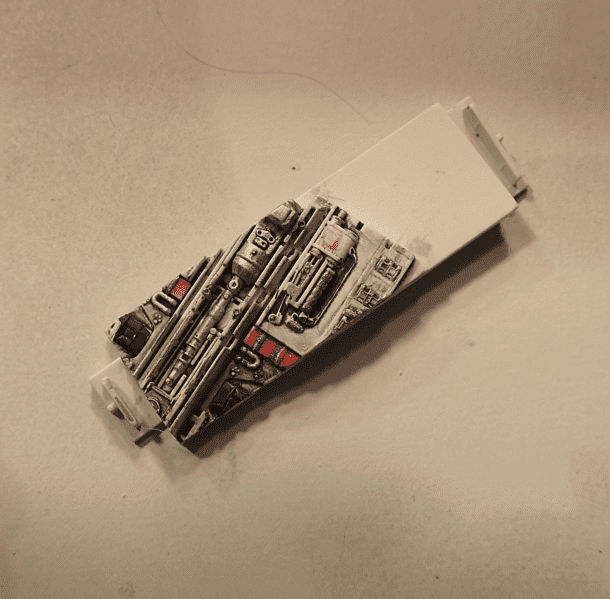
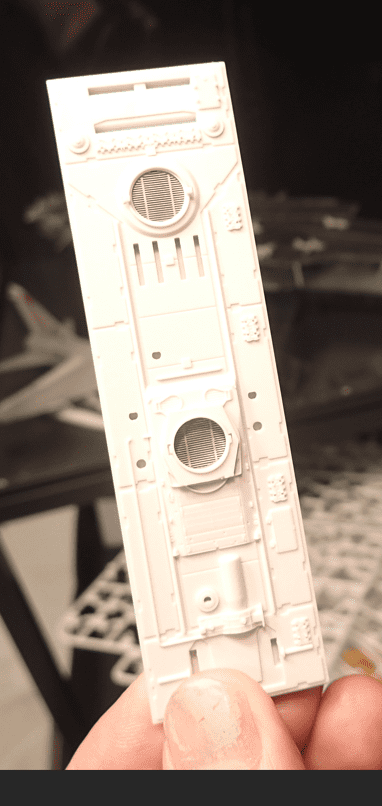
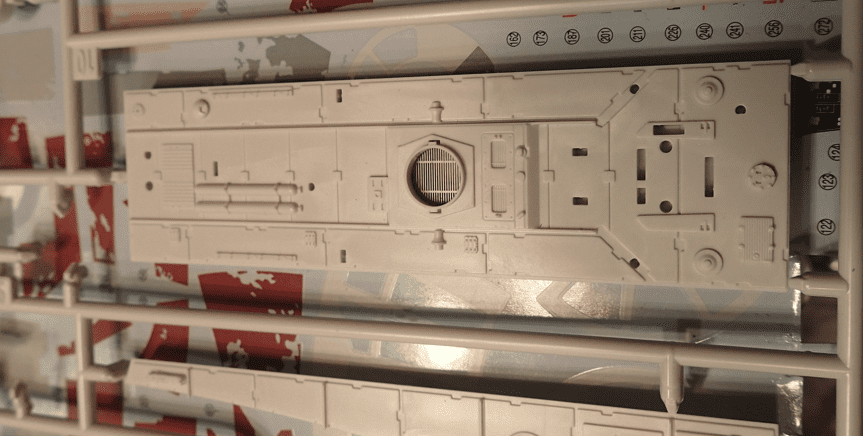
This part here, spent some time detailing only to realize you don't see much in the end
View attachment 120582
View attachment 120585

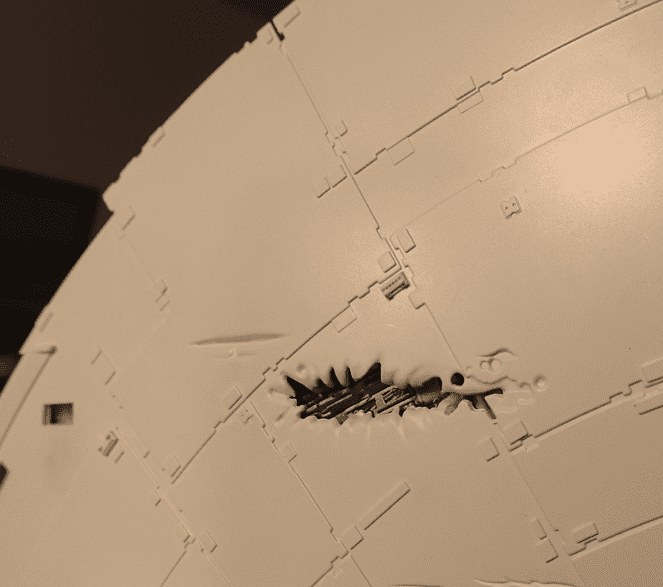
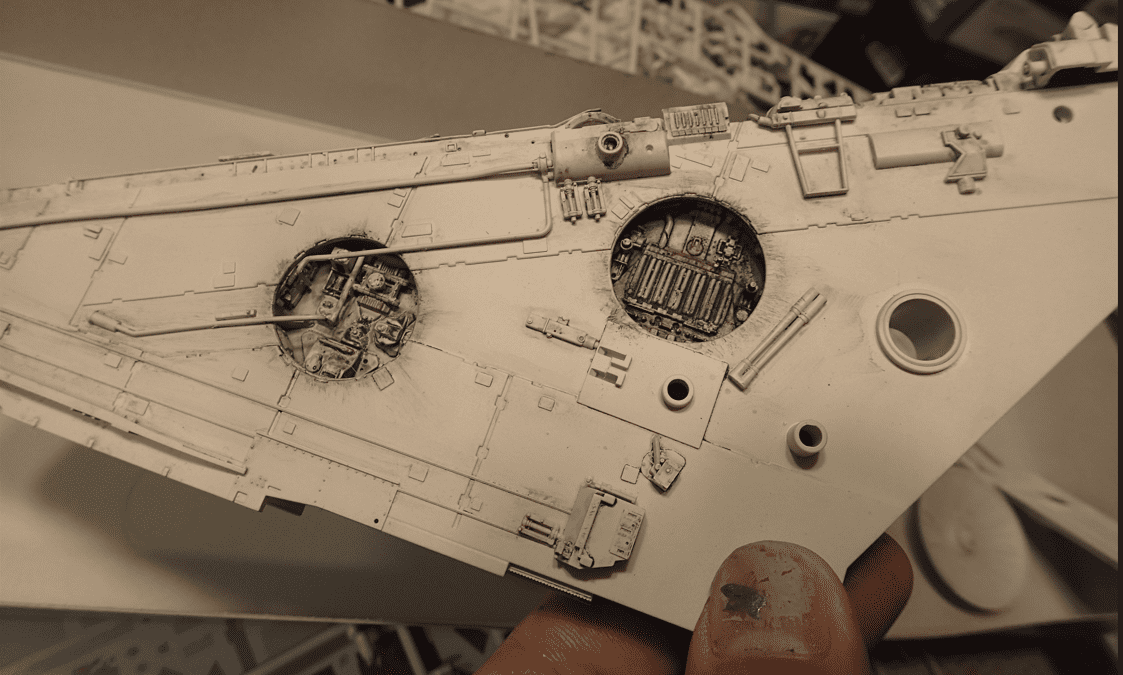
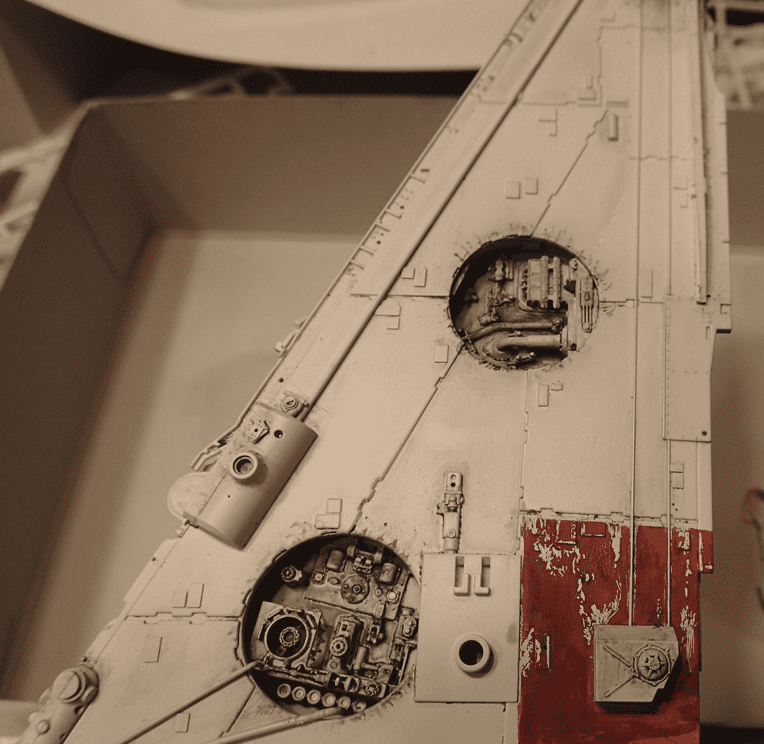
also started painting/weathering on the mandibles and bottom gun well

View attachment 120586
View attachment 120587
View attachment 120591
View attachment 120593
View attachment 120592
View attachment 120588
View attachment 120590
View attachment 120589
I tend to do the same thing but most times I know it won't be seen.

Everything is looking great.
 
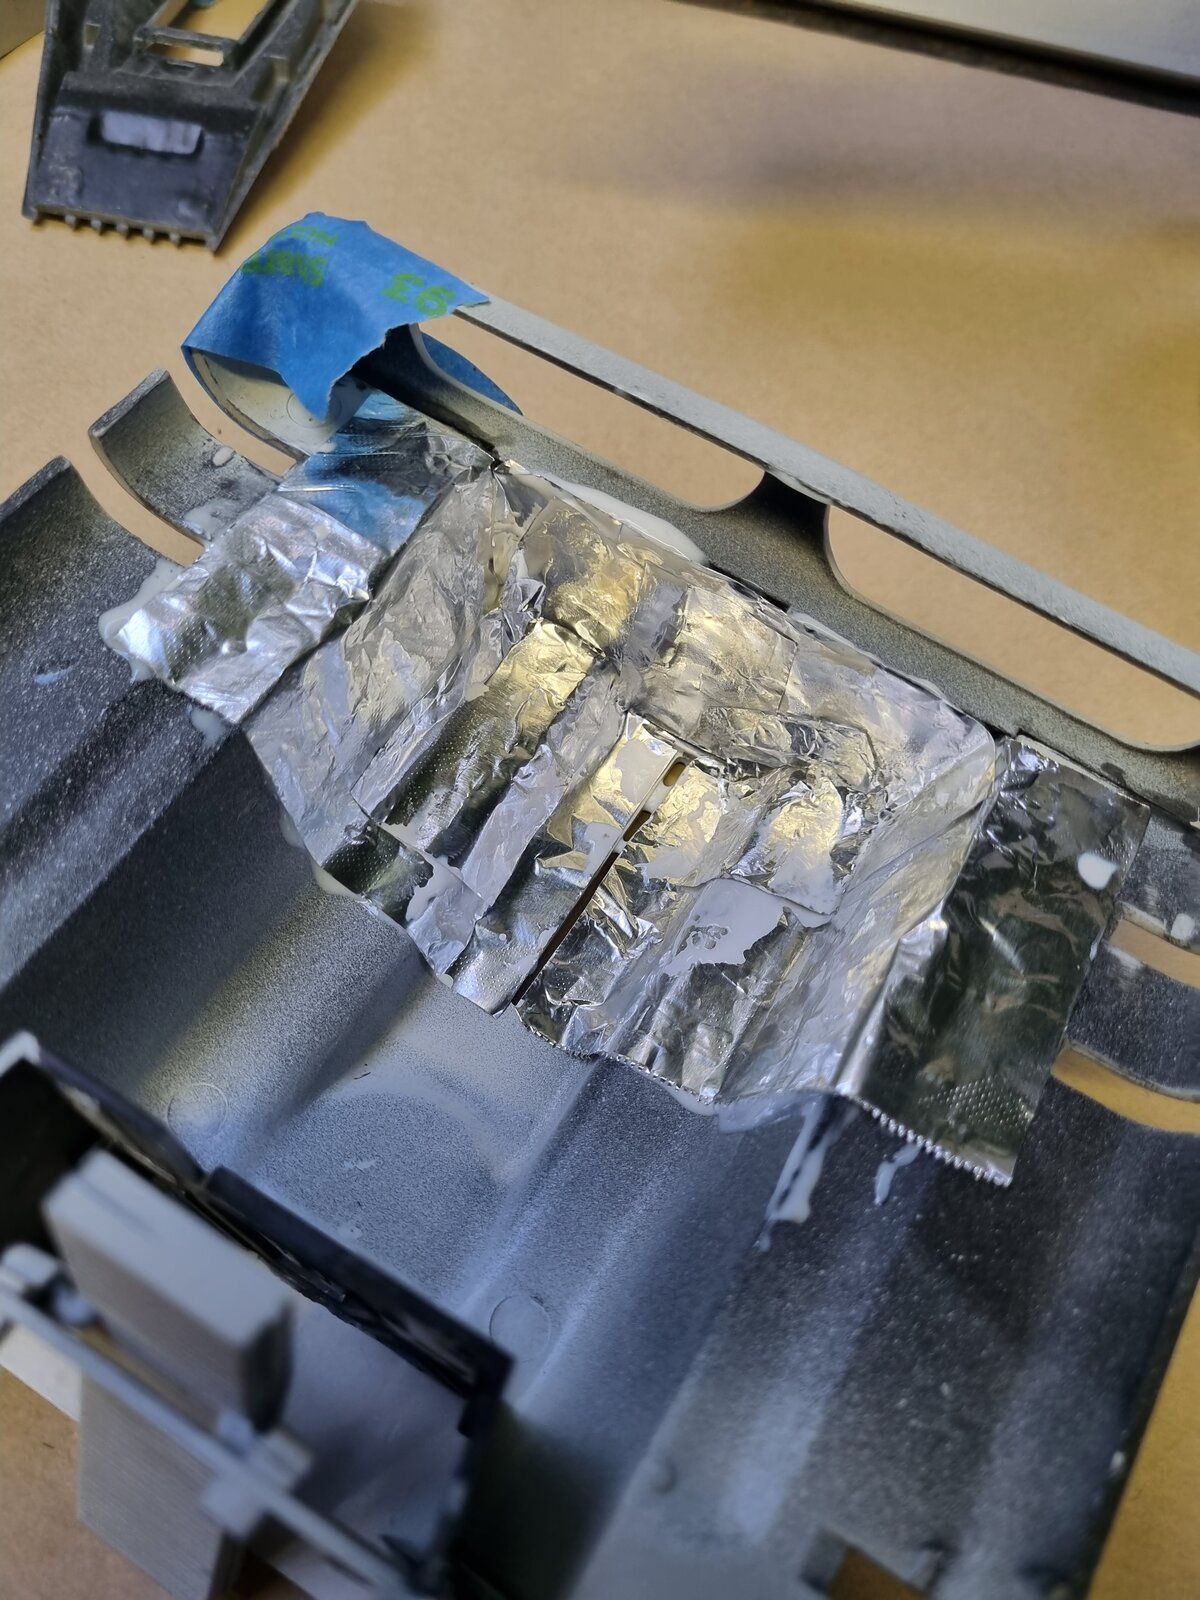
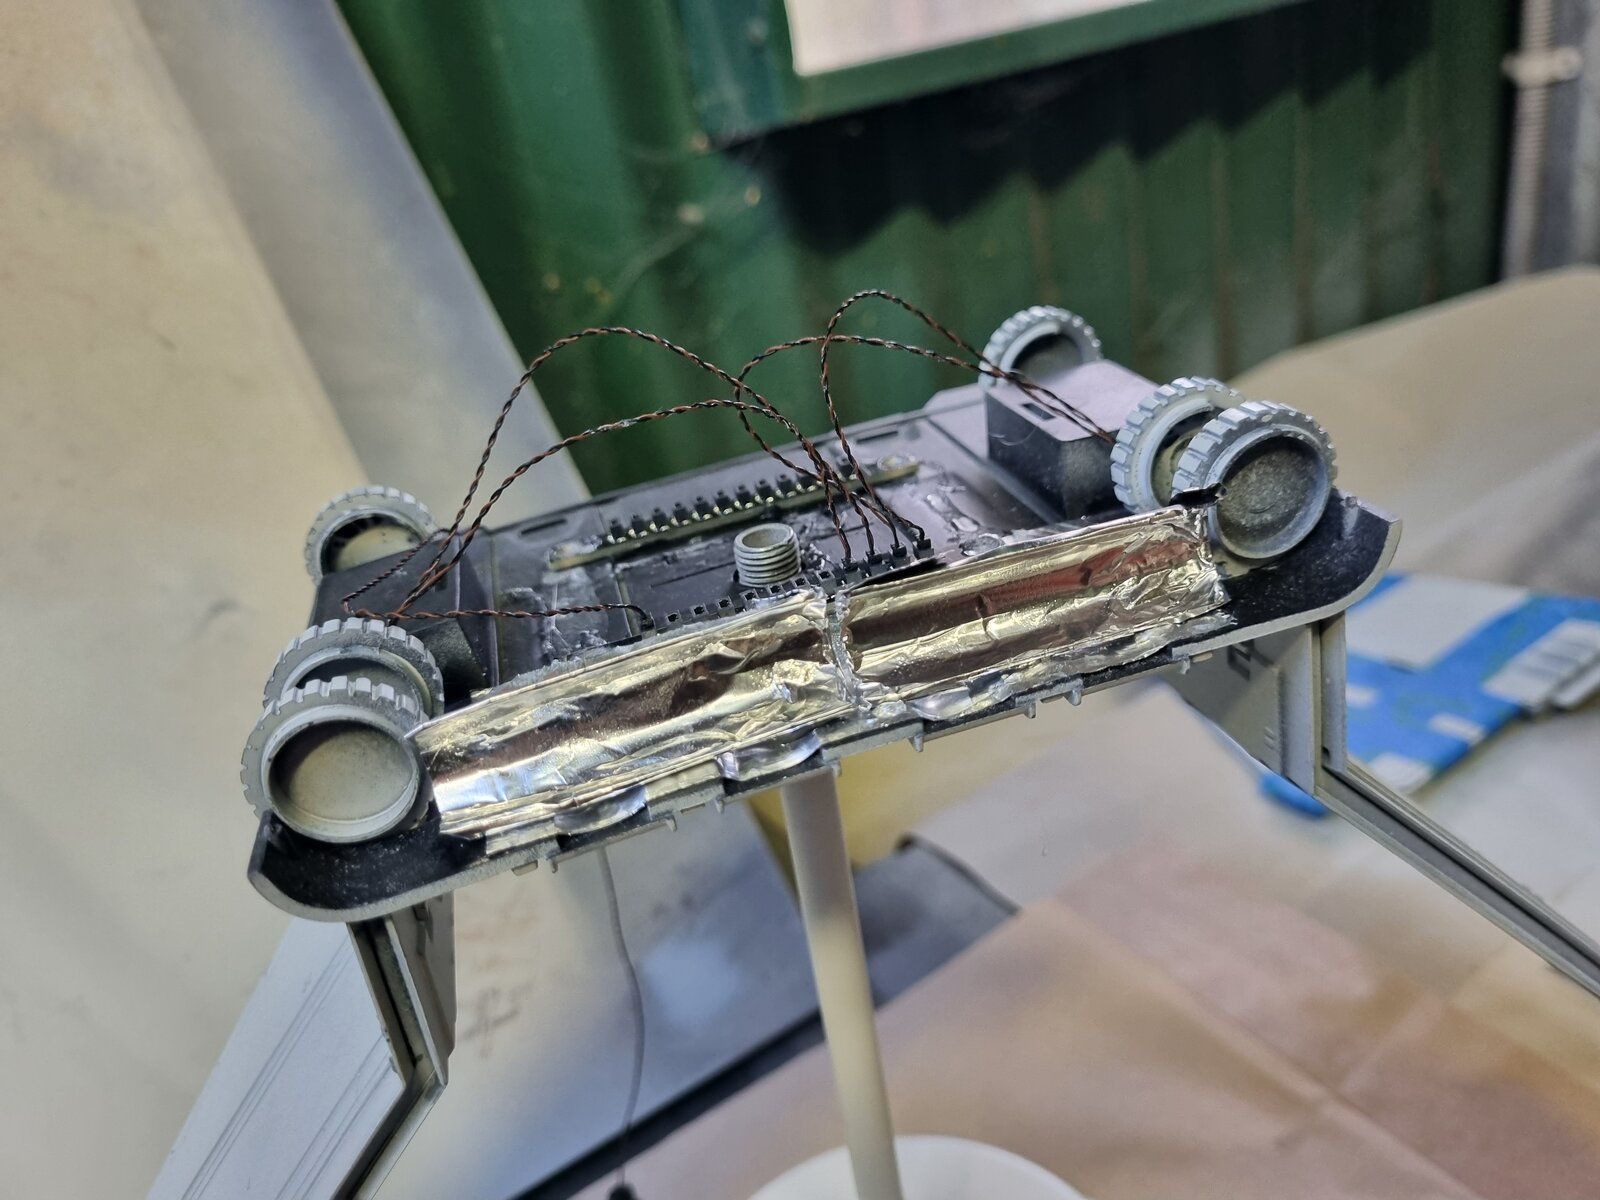
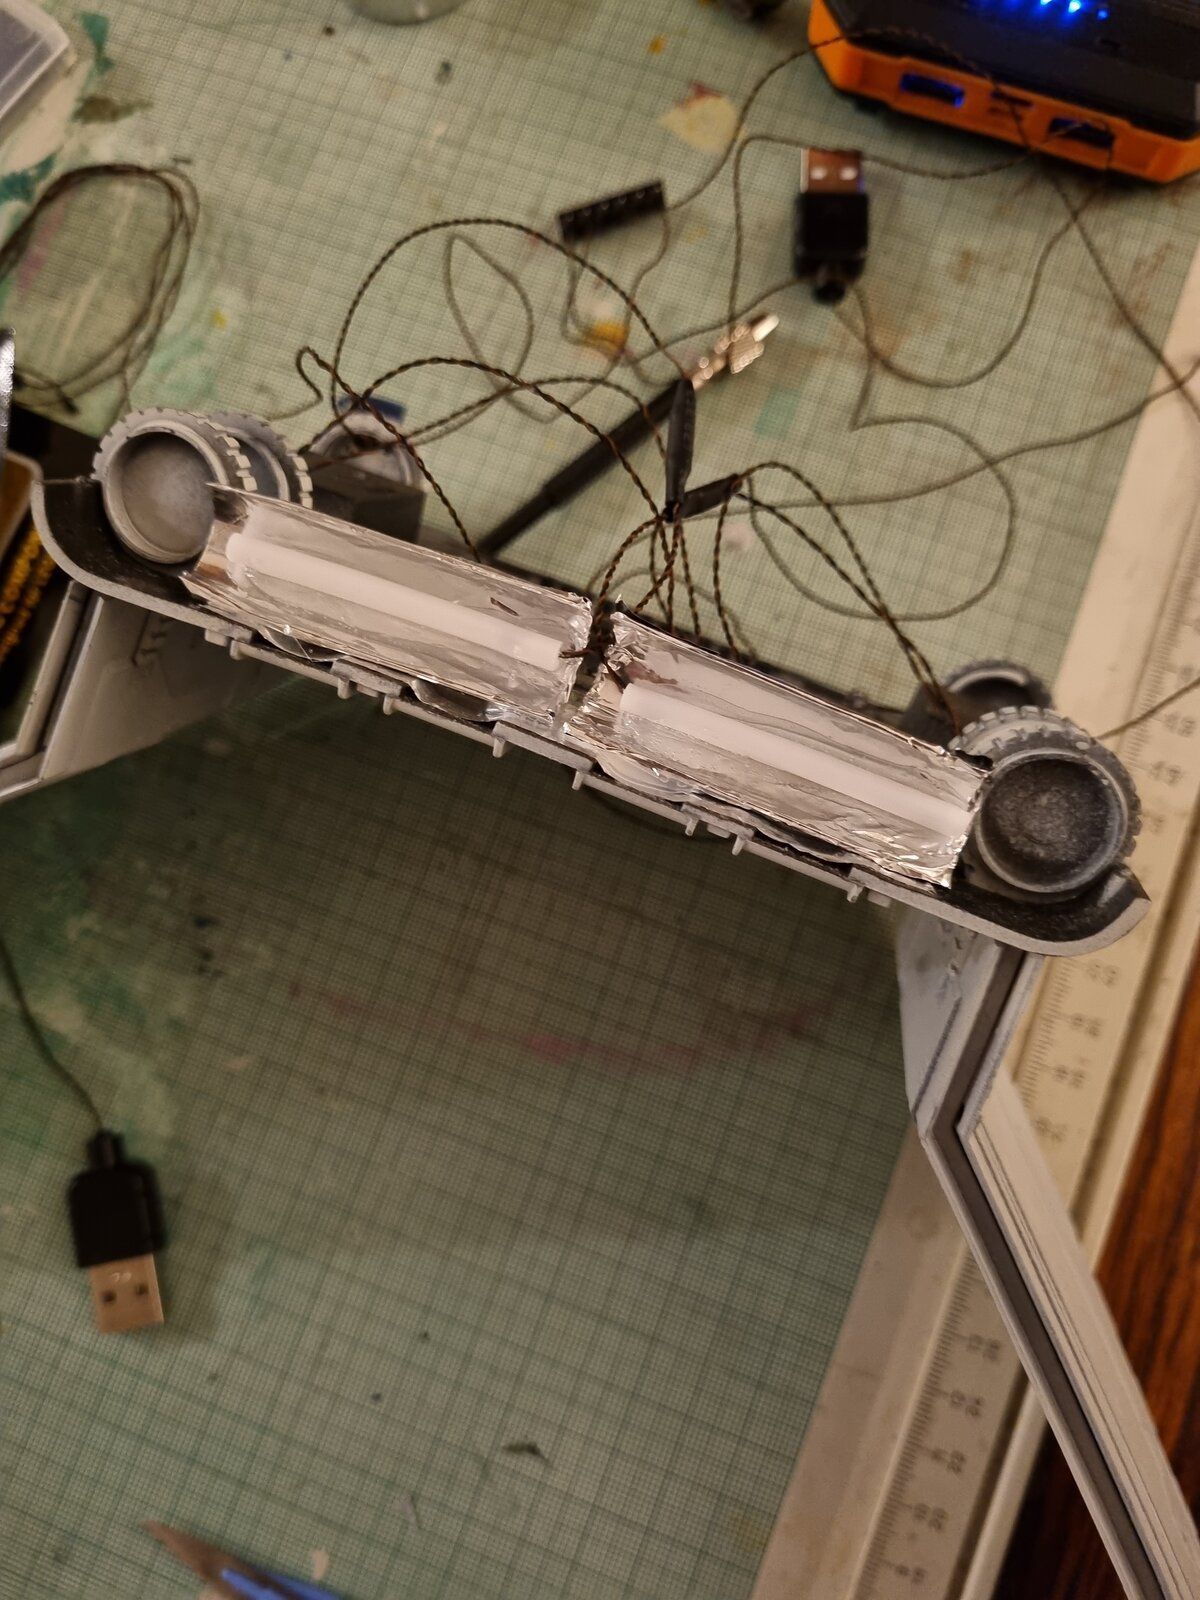
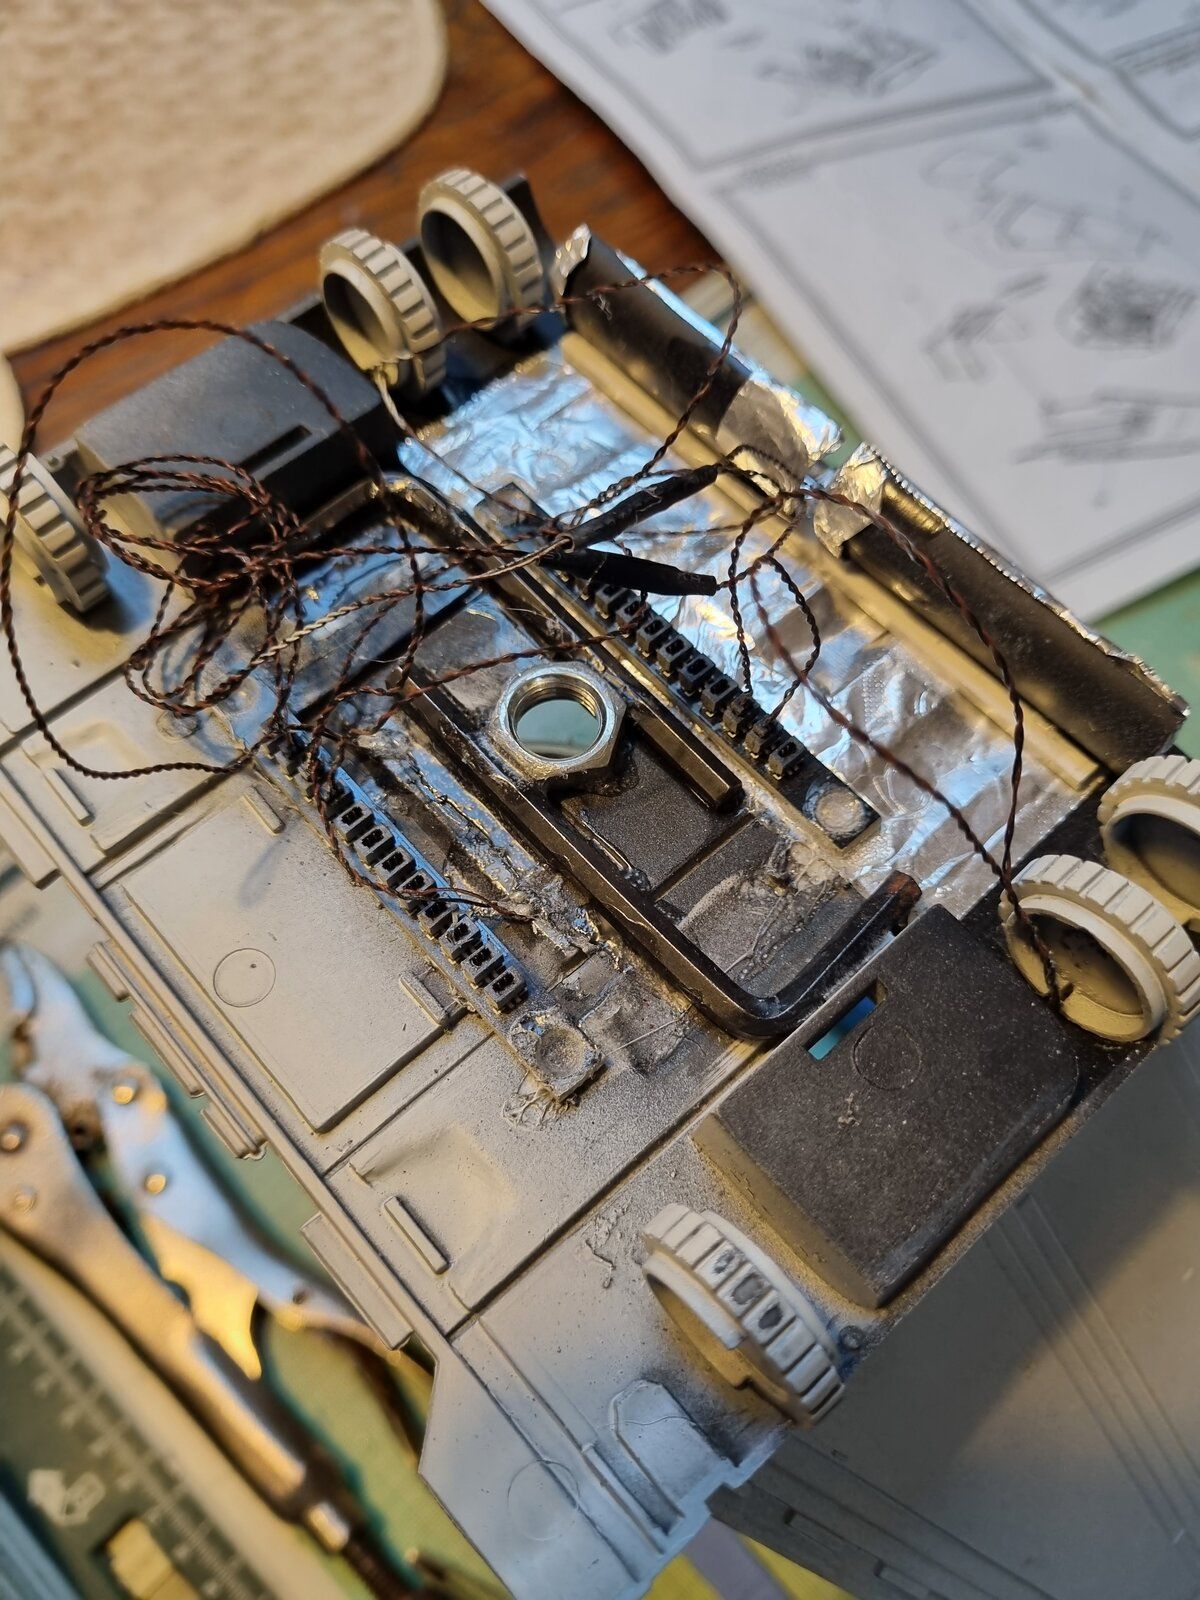
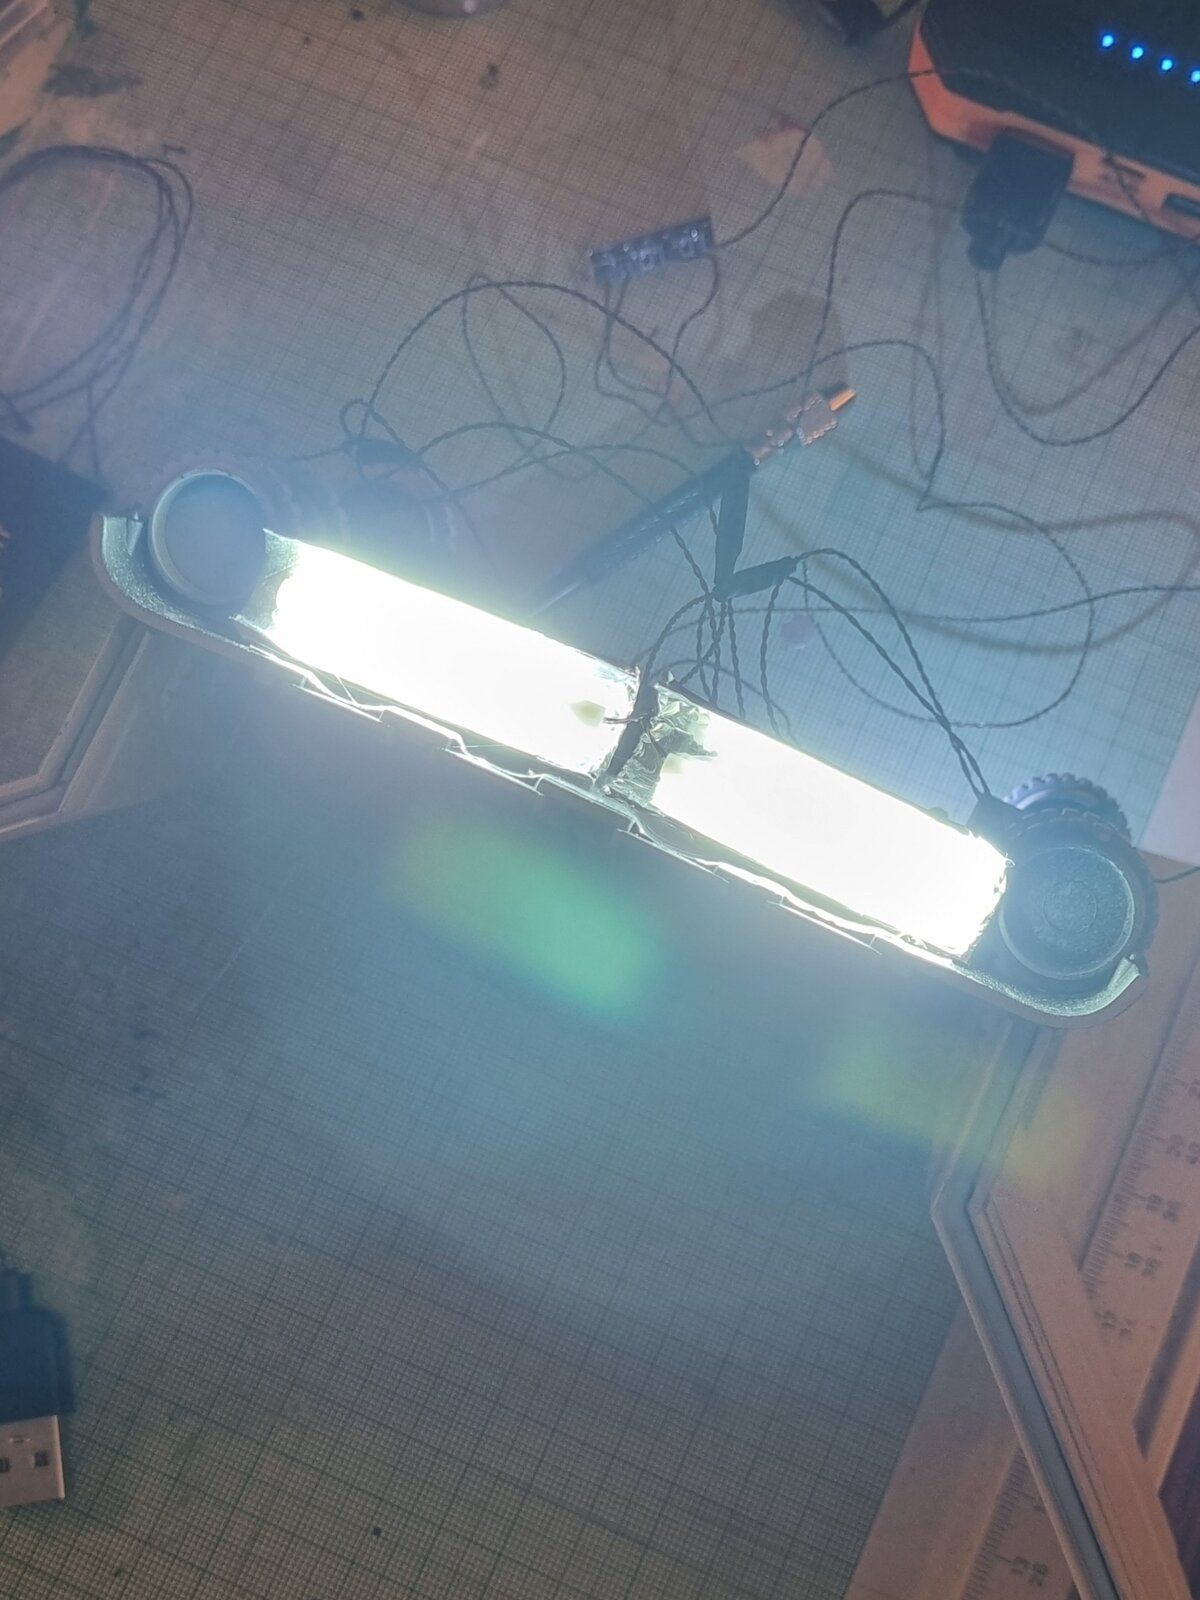
Lining the engine area with aluminium foil and building the mounts for my "engines" (courtesy of Light My Bricks). For the mounts, I cut a 5mL syringe in half, primed the halves then glued aluminium foil onto them the mounted them into the engine area - lining them up with the exhaust ports. I then glued the light bars in place and ran the wires back to the 2 expansion boards which I've glued in place. I've installed the landing lights in place and the wing lights are in place as well.

Here's a question for the group - should I have the landing lights on the flashing circuit or should I leave them static?

I'm happy with the engine test so far. Still waiting on my Shapeways engine inserts.

1000019317.jpg


1000019319.jpg


1000019674.jpg


1000019843.jpg


1000019673.jpg
 
Lining the engine area with aluminium foil and building the mounts for my "engines" (courtesy of Light My Bricks). For the mounts, I cut a 5mL syringe in half, primed the halves then glued aluminium foil onto them the mounted them into the engine area - lining them up with the exhaust ports. I then glued the light bars in place and ran the wires back to the 2 expansion boards which I've glued in place. I've installed the landing lights in place and the wing lights are in place as well.

Here's a question for the group - should I have the landing lights on the flashing circuit or should I leave them static?

I'm happy with the engine test so far. Still waiting on my Shapeways engine inserts.

View attachment 120621

View attachment 120622

View attachment 120623

View attachment 120624

View attachment 120625
Nice work. Looks like the studio model.
 

Latest posts

Back
Top