Star Wars Theme Group Build

Scale Model Addict - Model Tips, Guides, Tools & Tech, Tutorials, and Community

Help Support Scale Model Addict:

I'm in as haven't done anything sci-fi yet. My kit should arrive Monday. Pantherman

View attachment 119143
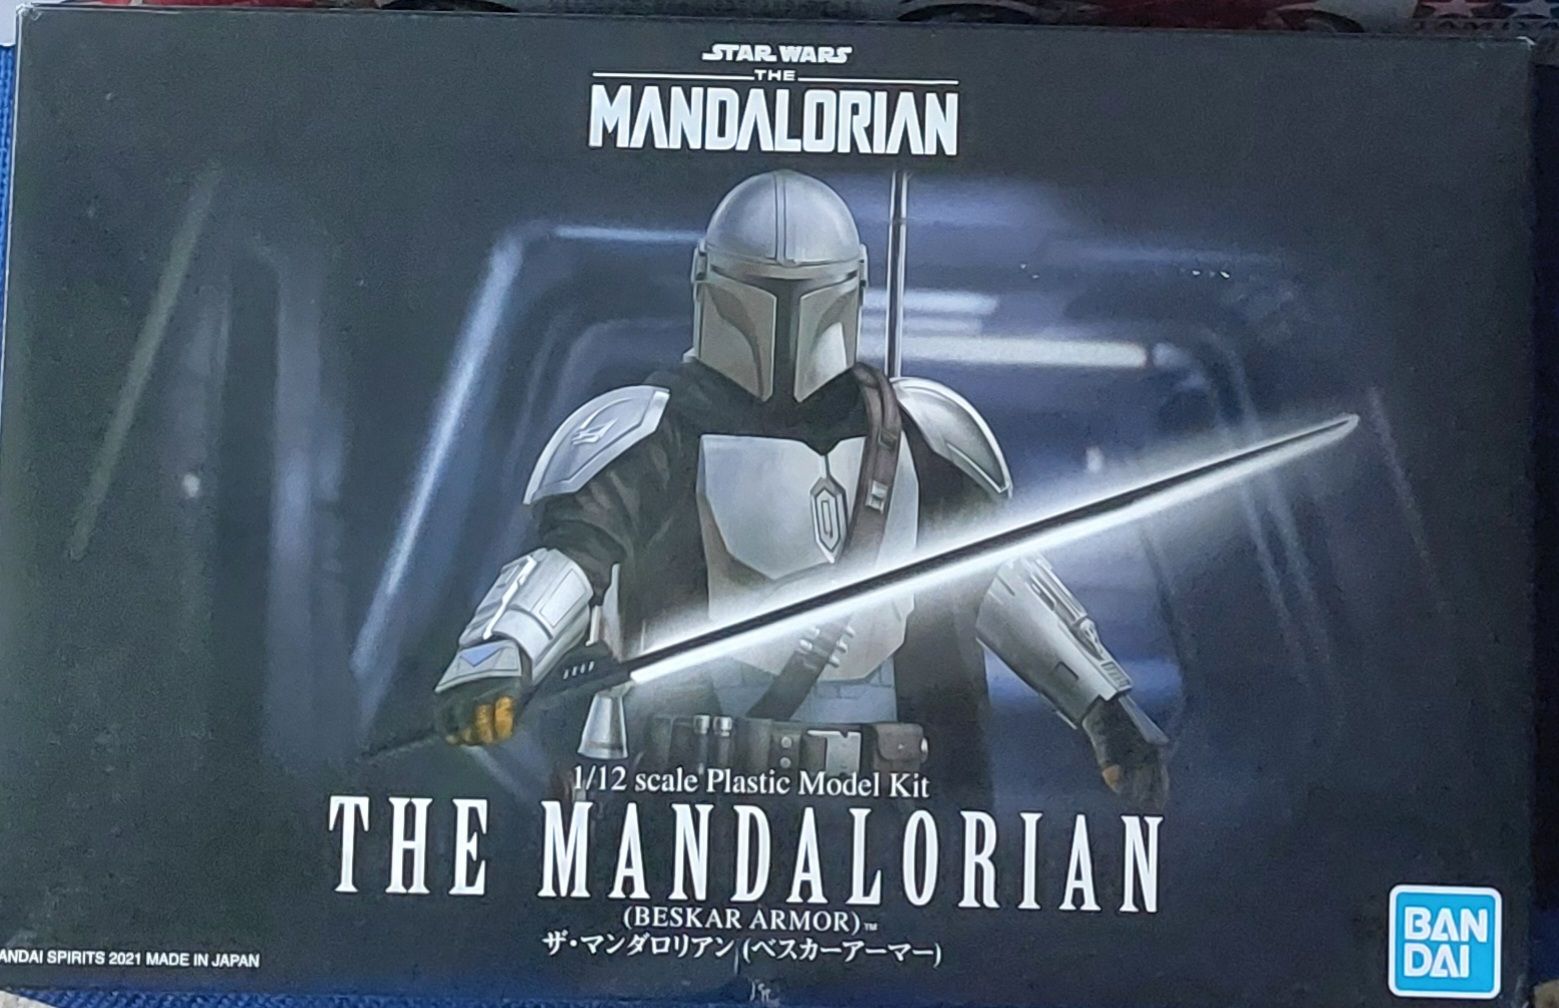
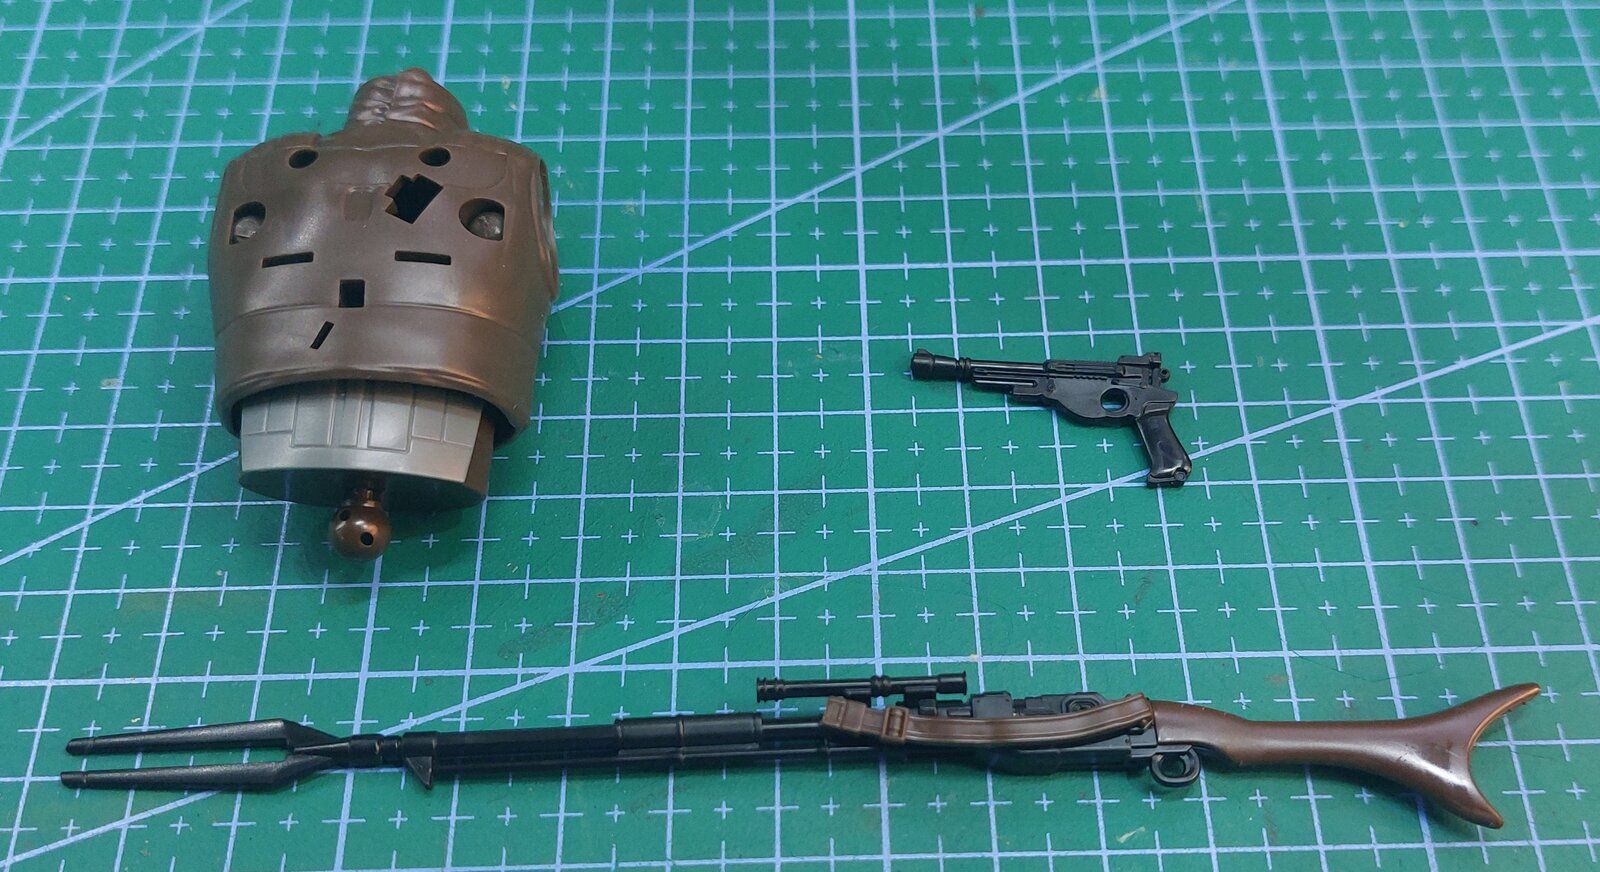
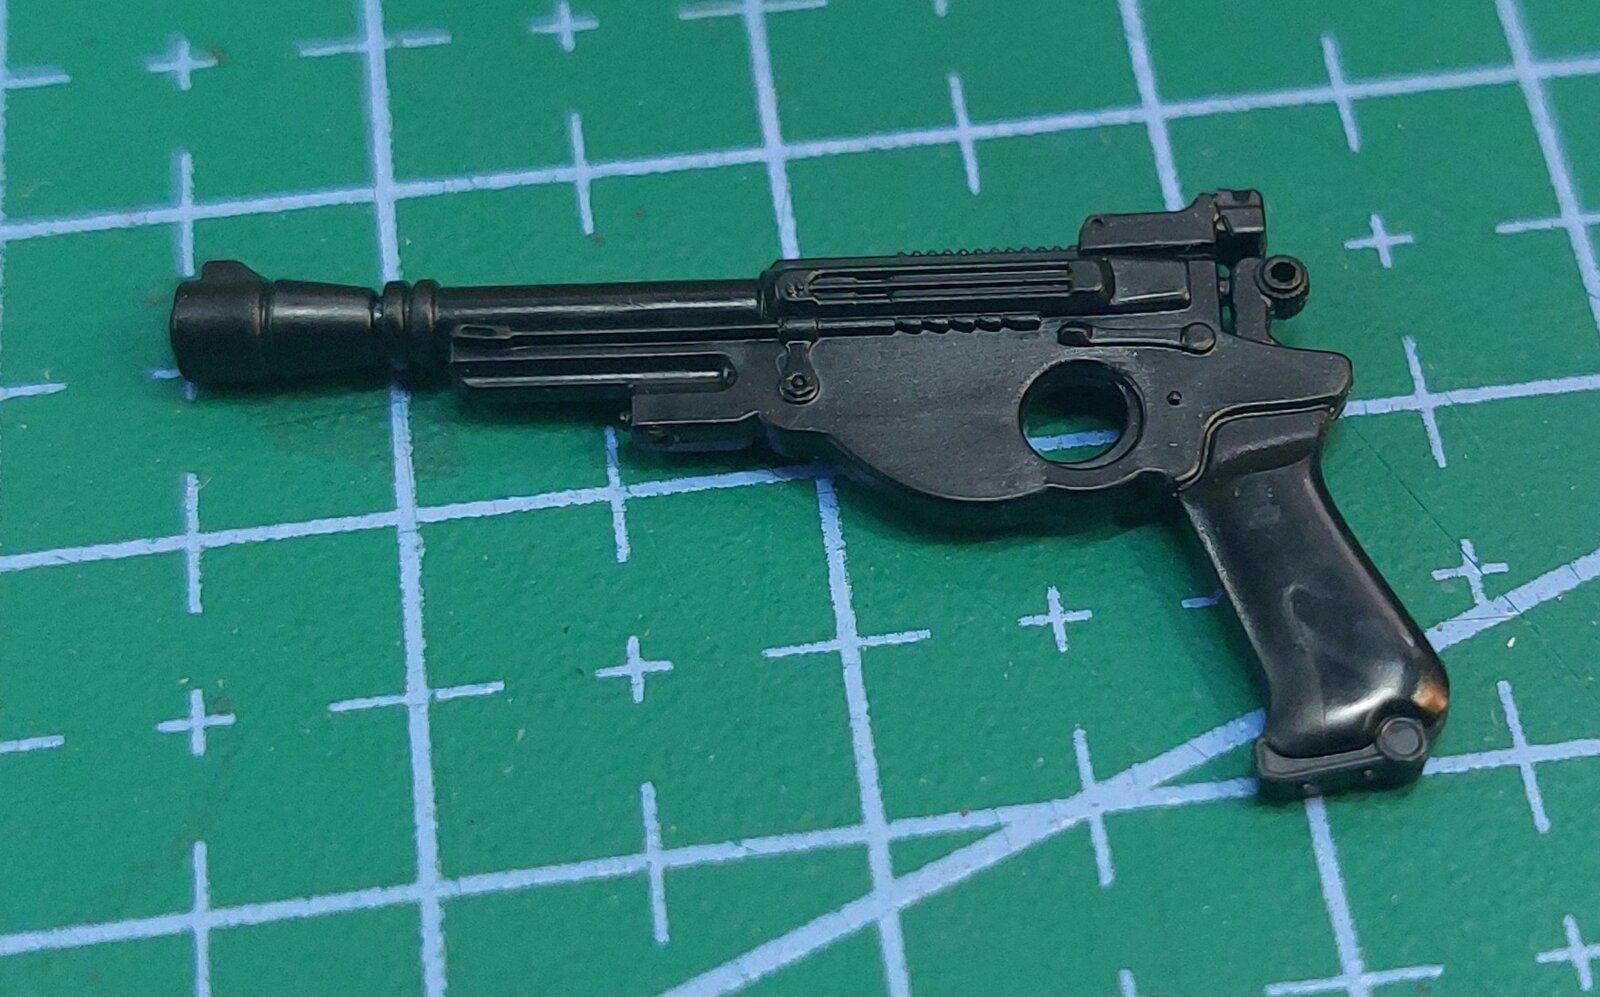
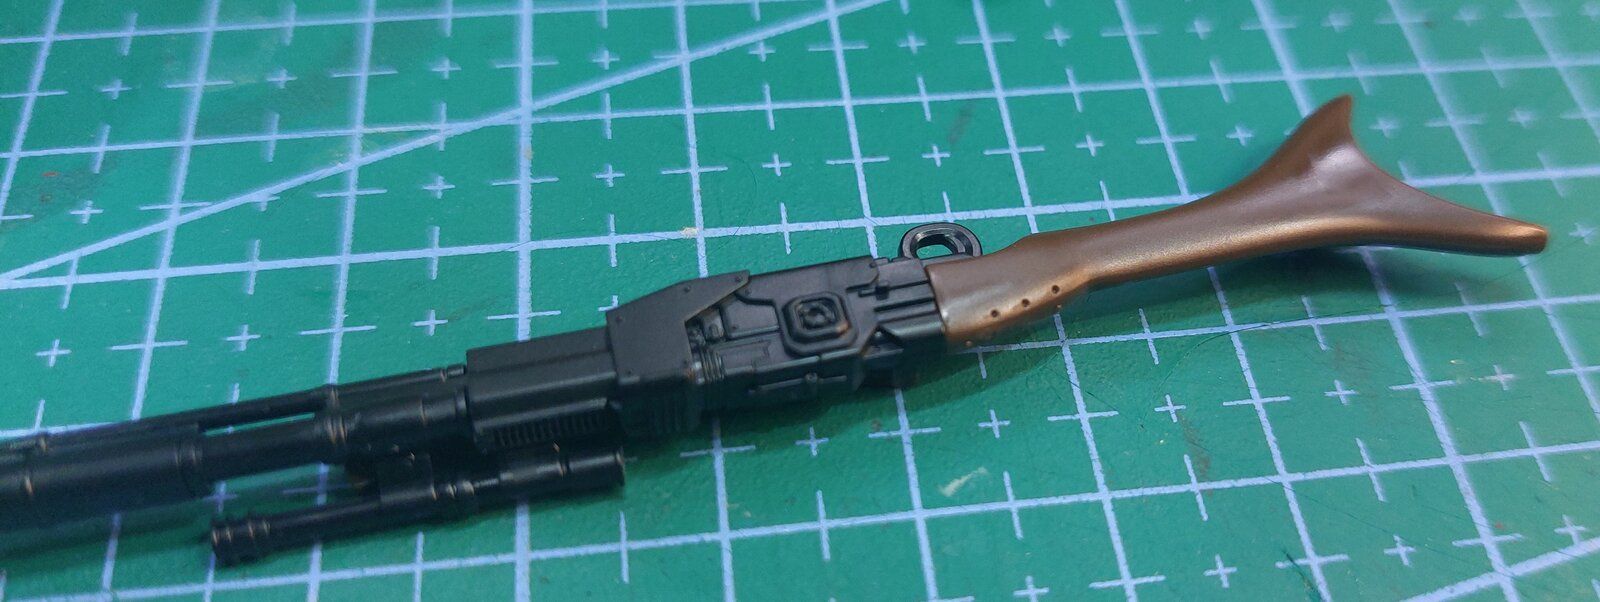
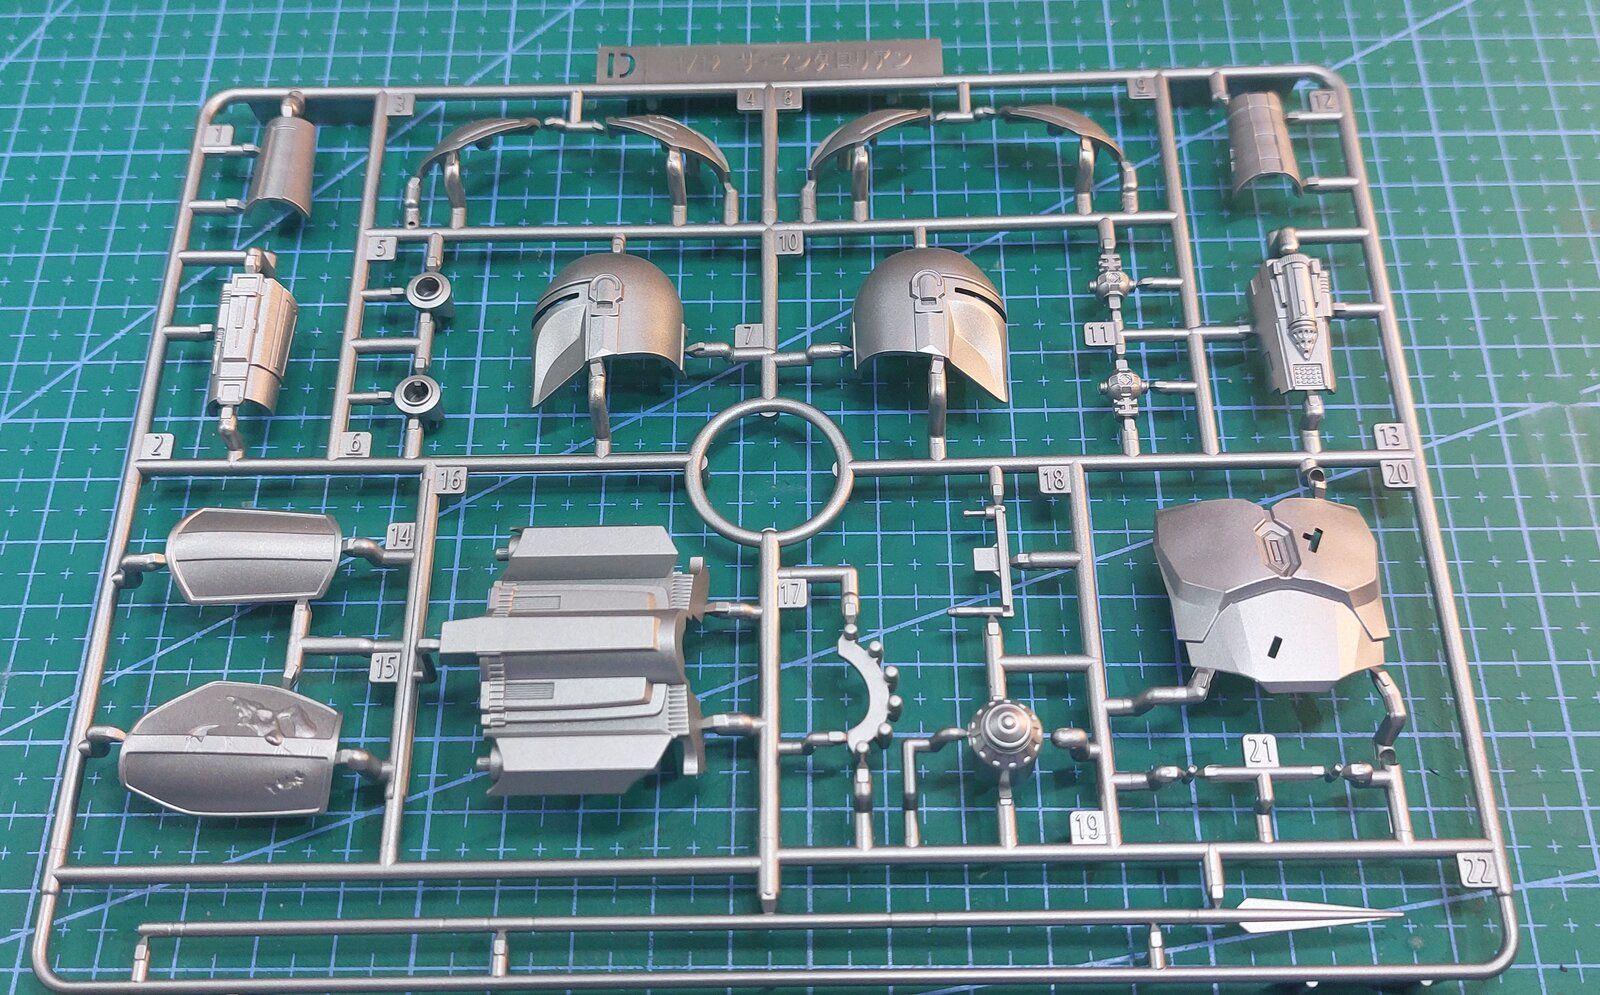
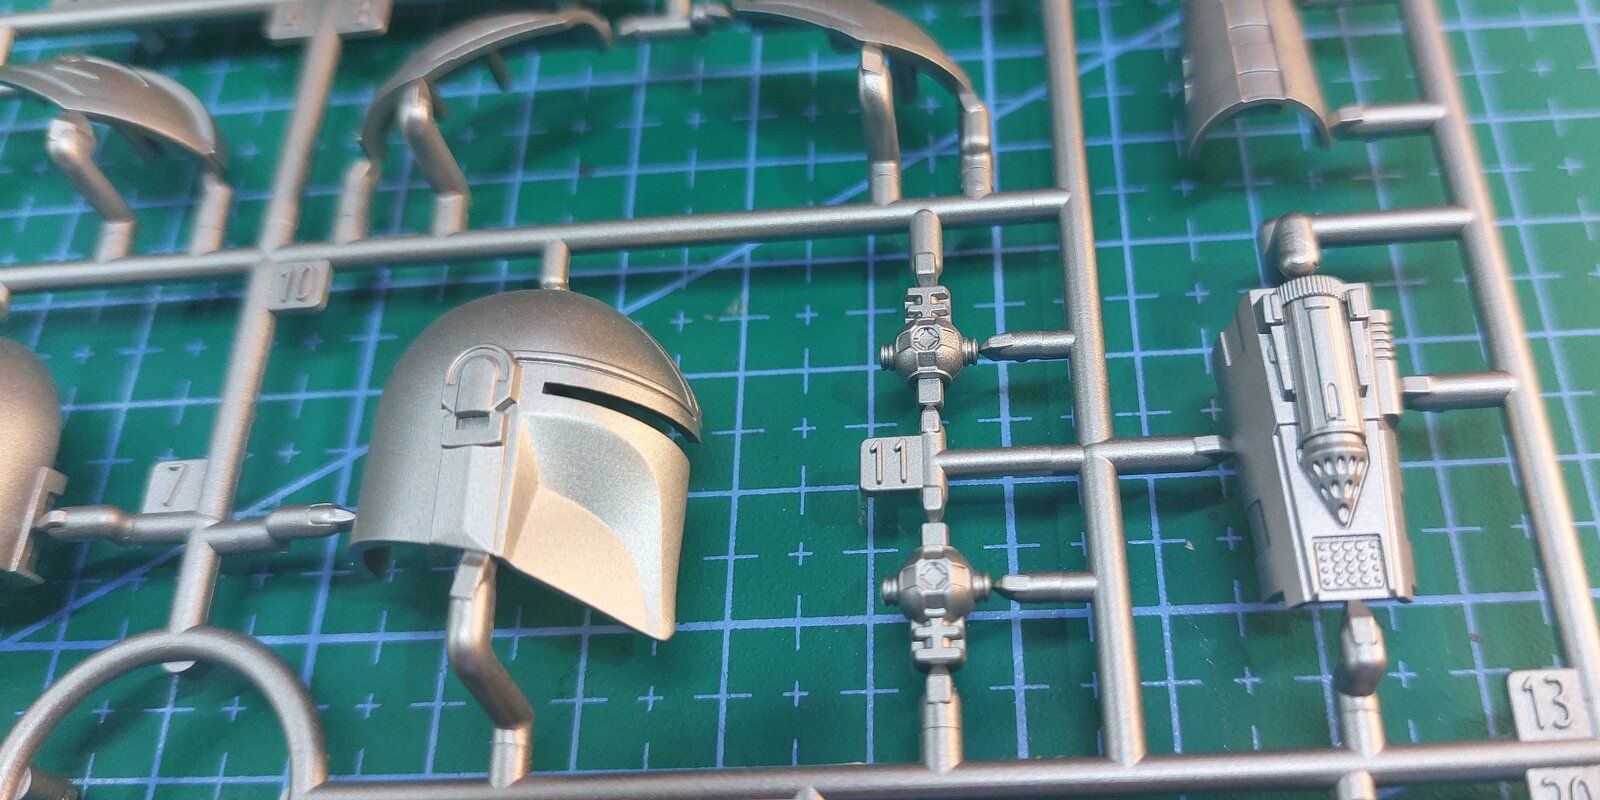
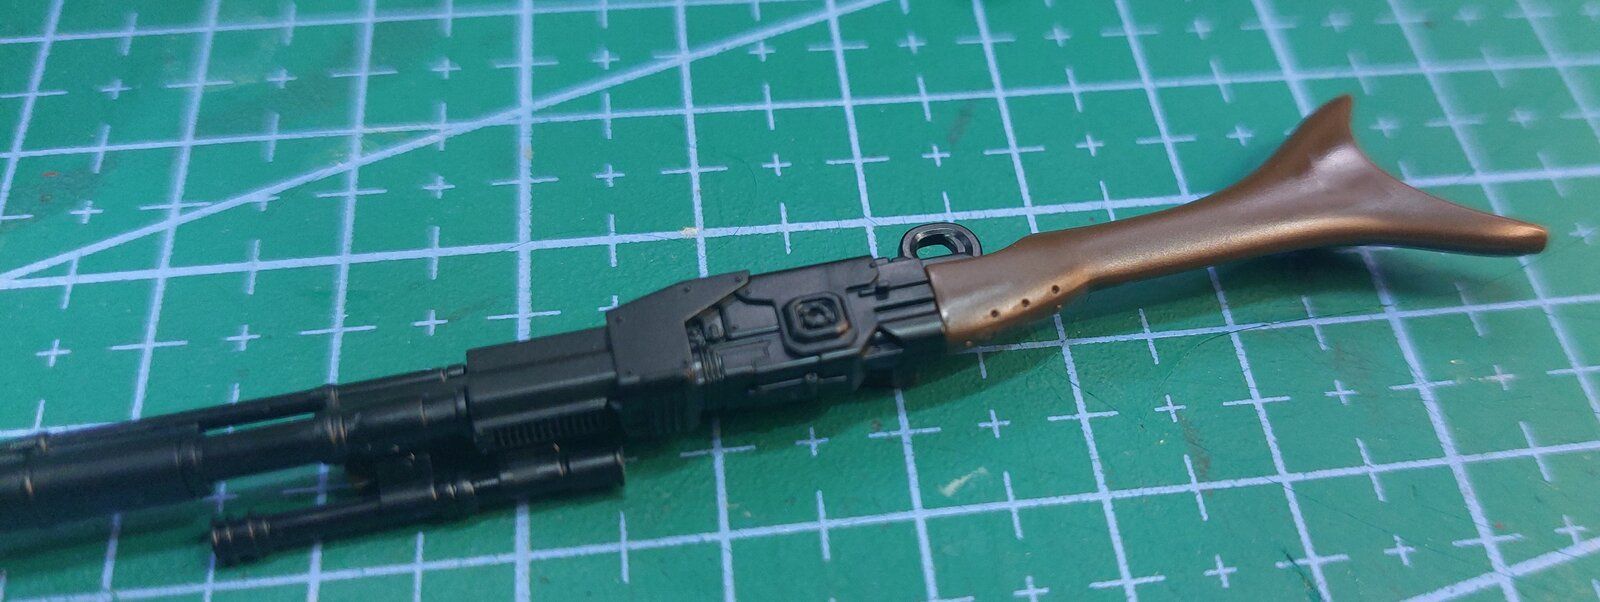
I thought I would make a start on my Mandalorian so hope it's OK with you all if I add this to the group build ?

I decided to spray the silver coloured parts in chrome, think it looks much better. Pantherman
20240722_202940.jpg
20240723_155449.jpg
20240723_155458.jpg
20240723_155522.jpg
20240723_155549.jpg
20240723_155601.jpg


20240723_155522.jpg
 
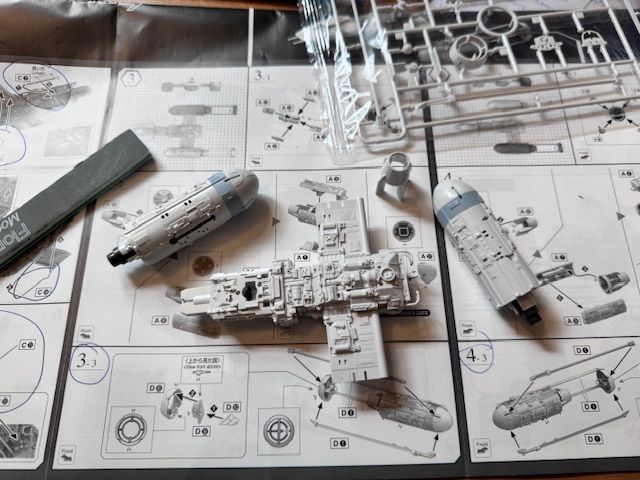
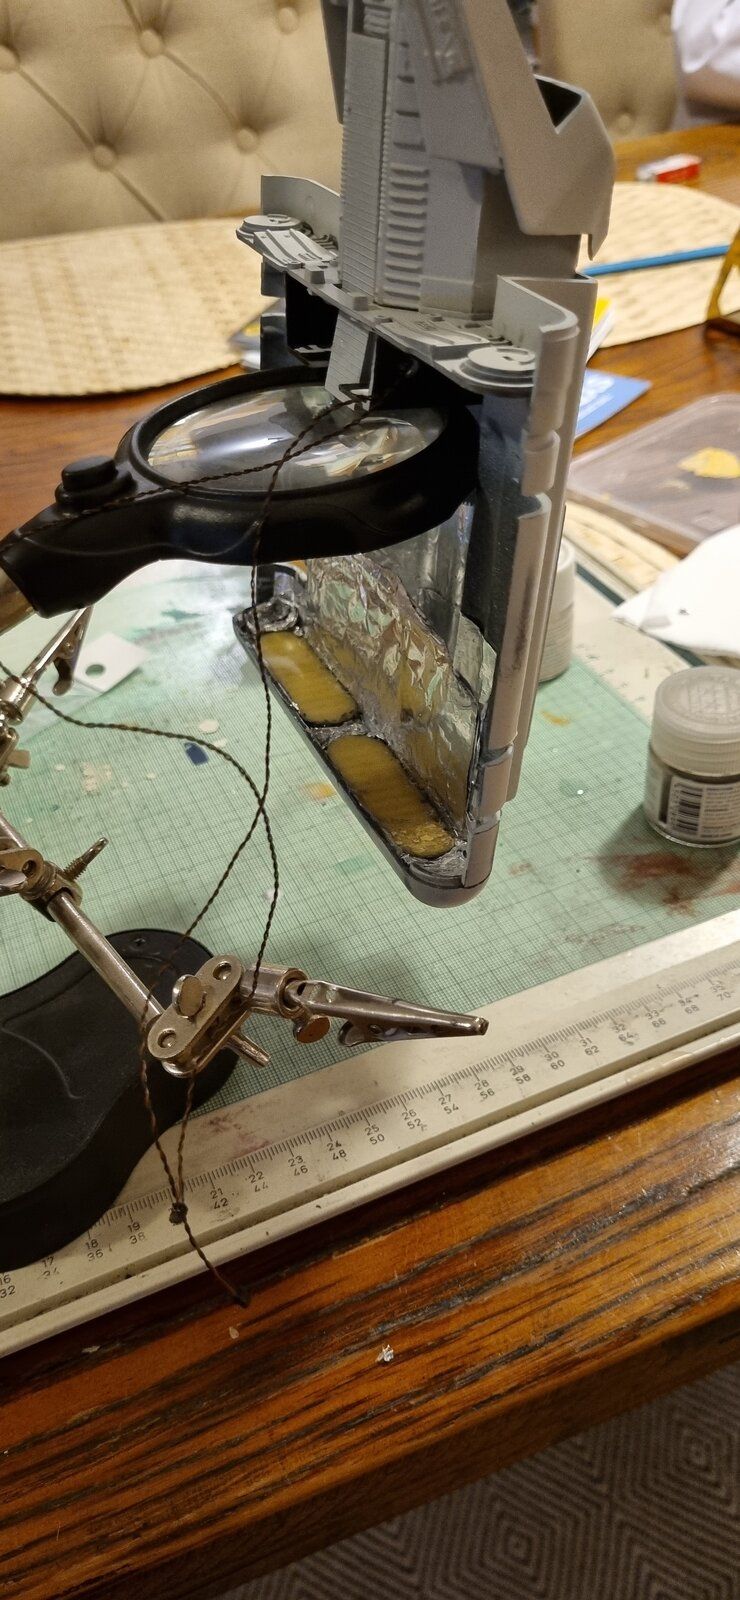
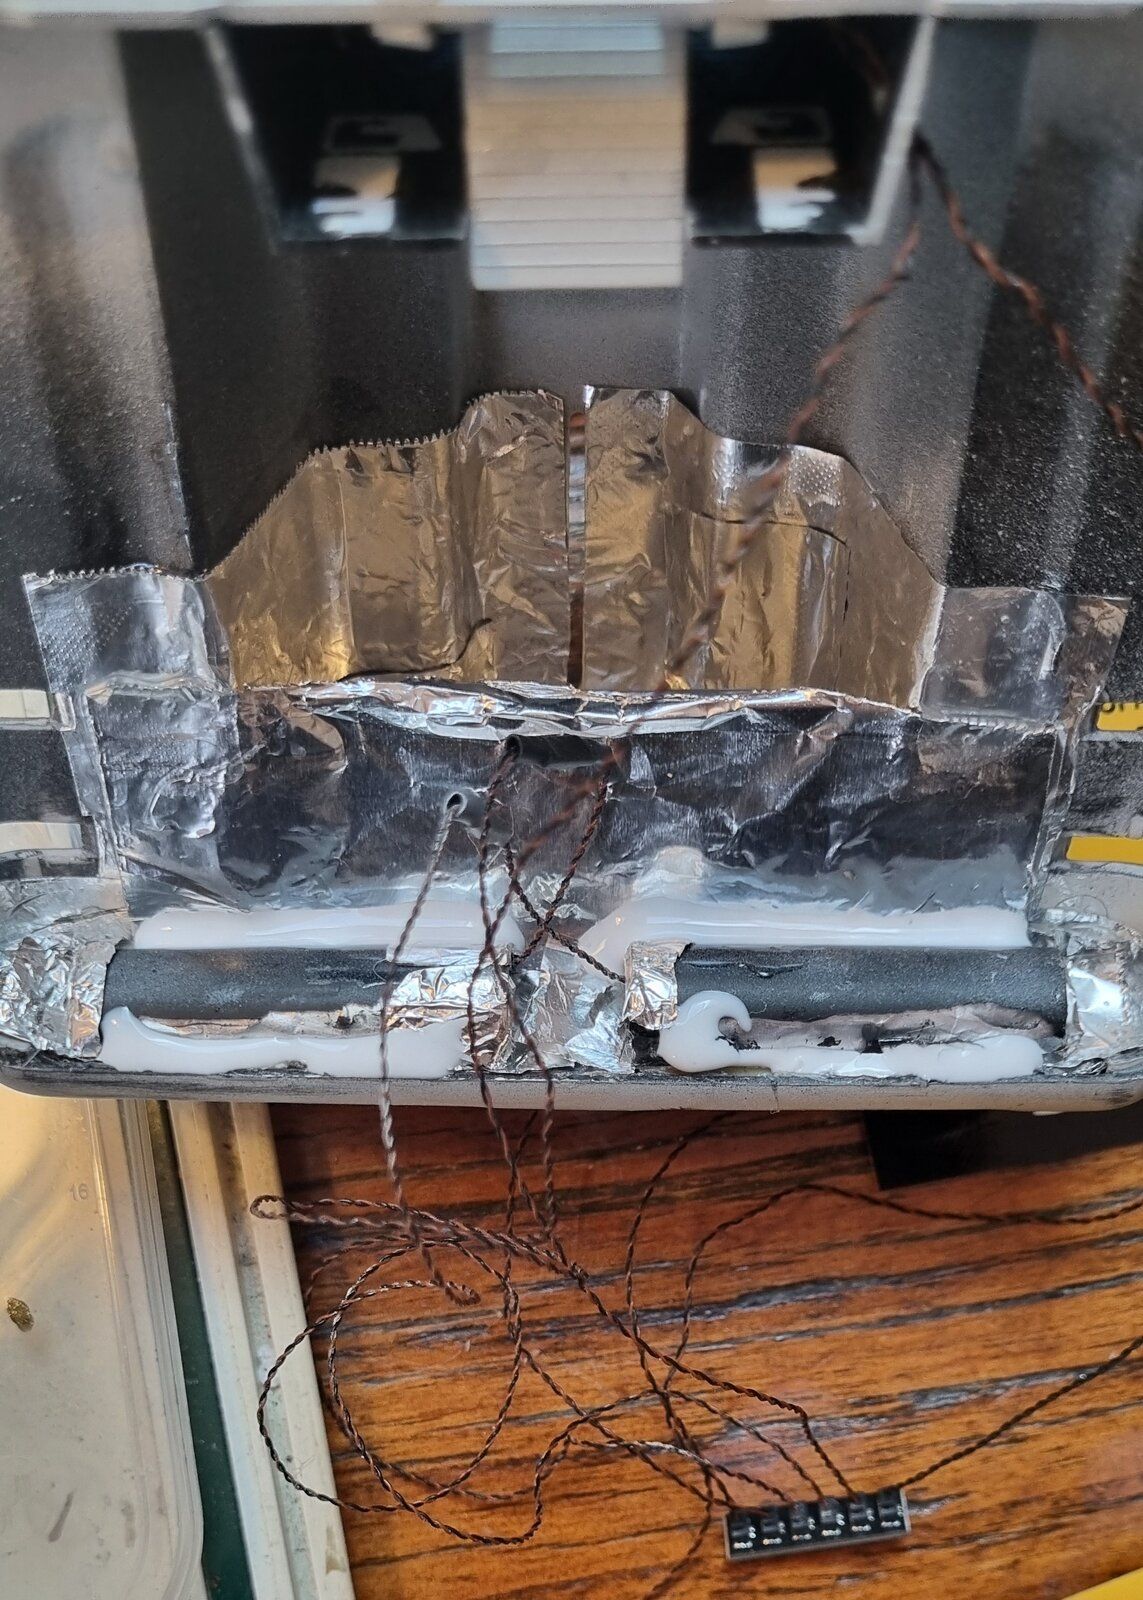
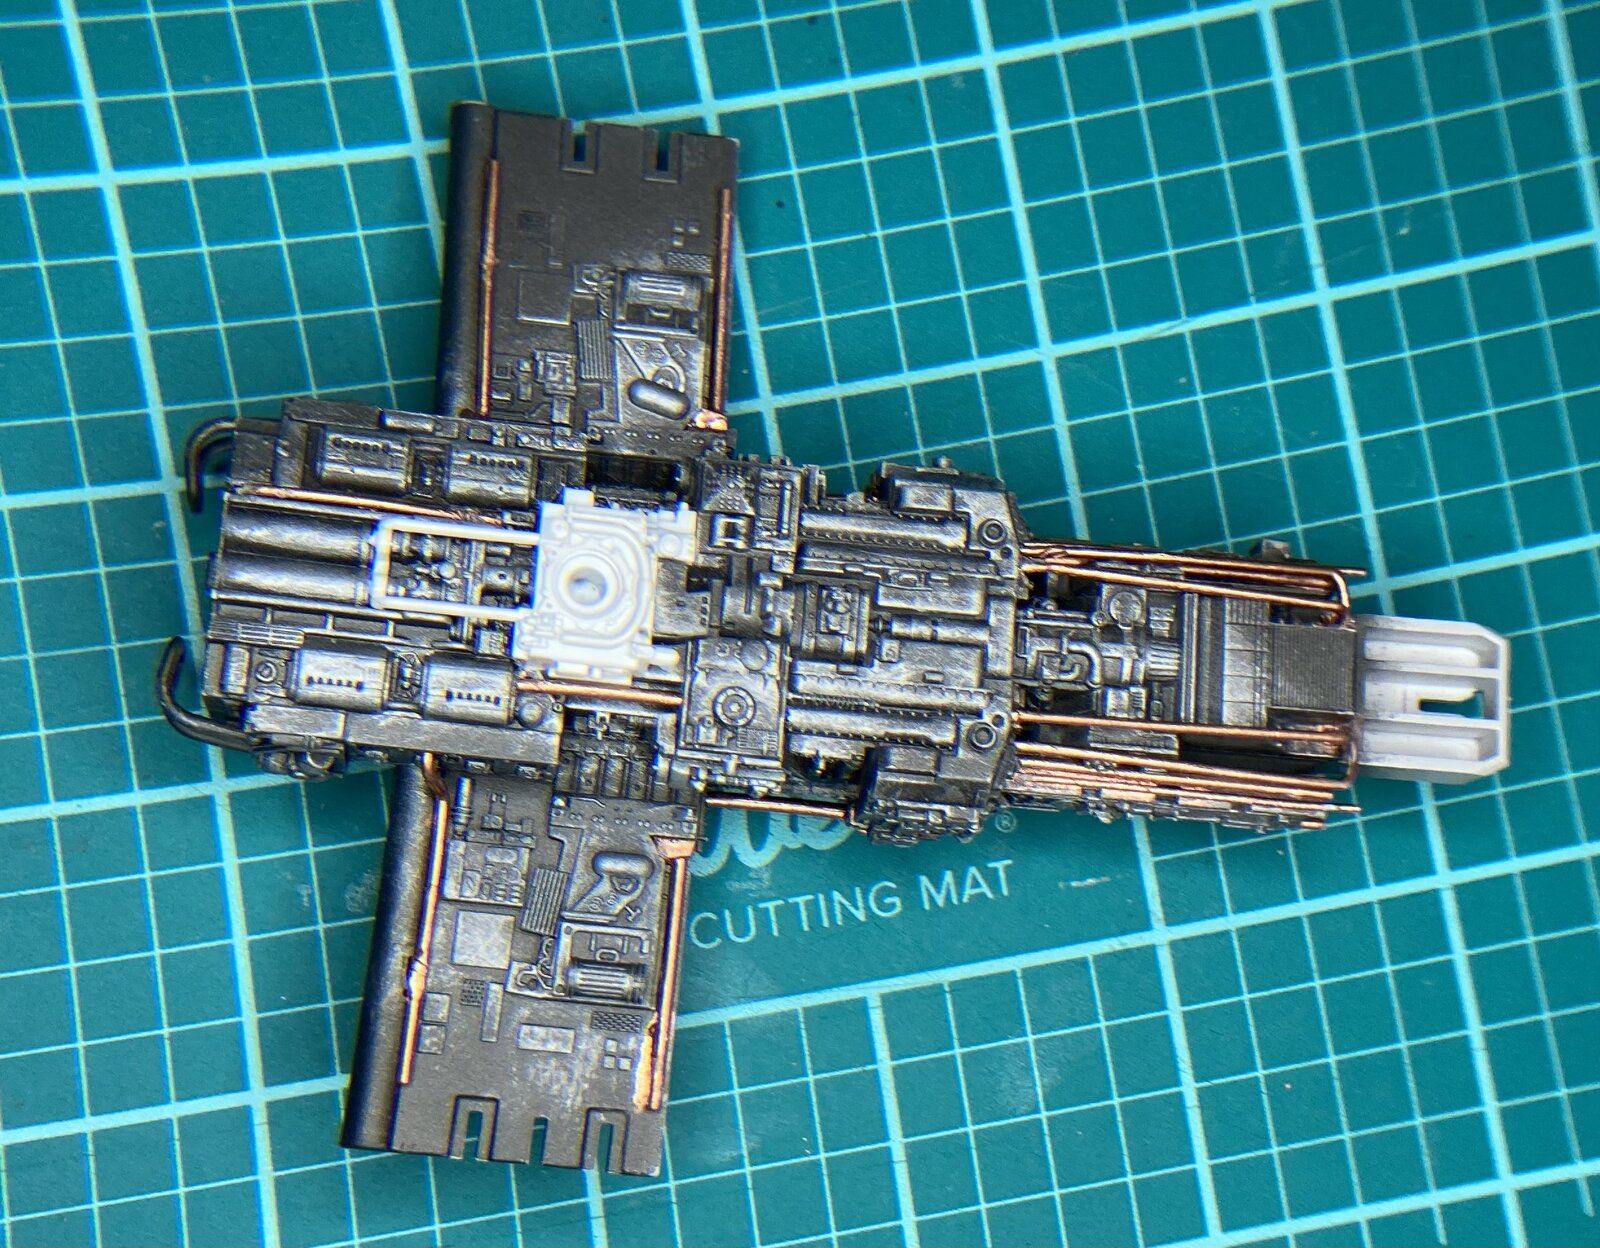
Lining the engine area with aluminium foil and building the mounts for my "engines" (courtesy of Light My Bricks). For the mounts, I cut a 5mL syringe in half, primed the halves then glued aluminium foil onto them the mounted them into the engine area - lining them up with the exhaust ports. I then glued the light bars in place and ran the wires back to the 2 expansion boards which I've glued in place. I've installed the landing lights in place and the wing lights are in place as well.

Here's a question for the group - should I have the landing lights on the flashing circuit or should I leave them static?

I'm happy with the engine test so far. Still waiting on my Shapeways engine inserts.

View attachment 120621

View attachment 120622

View attachment 120623

View attachment 120624

View attachment 120625
For the landing light, I would say it depends how many. If they were white I would prolly leave them static, if you had 2 or 3 red ones maybe a slow flash.
 
I thought I would make a start on my Mandalorian so hope it's OK with you all if I add this to the group build ?

I decided to spray the silver coloured parts in chrome, think it looks much better. Pantherman
View attachment 120654View attachment 120655View attachment 120656View attachment 120658View attachment 120659View attachment 120660

View attachment 120657
That's a nice kit, I put one together last year and the cape threw me a little. I haven't gotten around to painting mine yet. The Grogu kit is a nice add to this one as it come with two scale sizes. The one in the phram is scaled to this size and looks good beside him.

Enjoy the build!
 
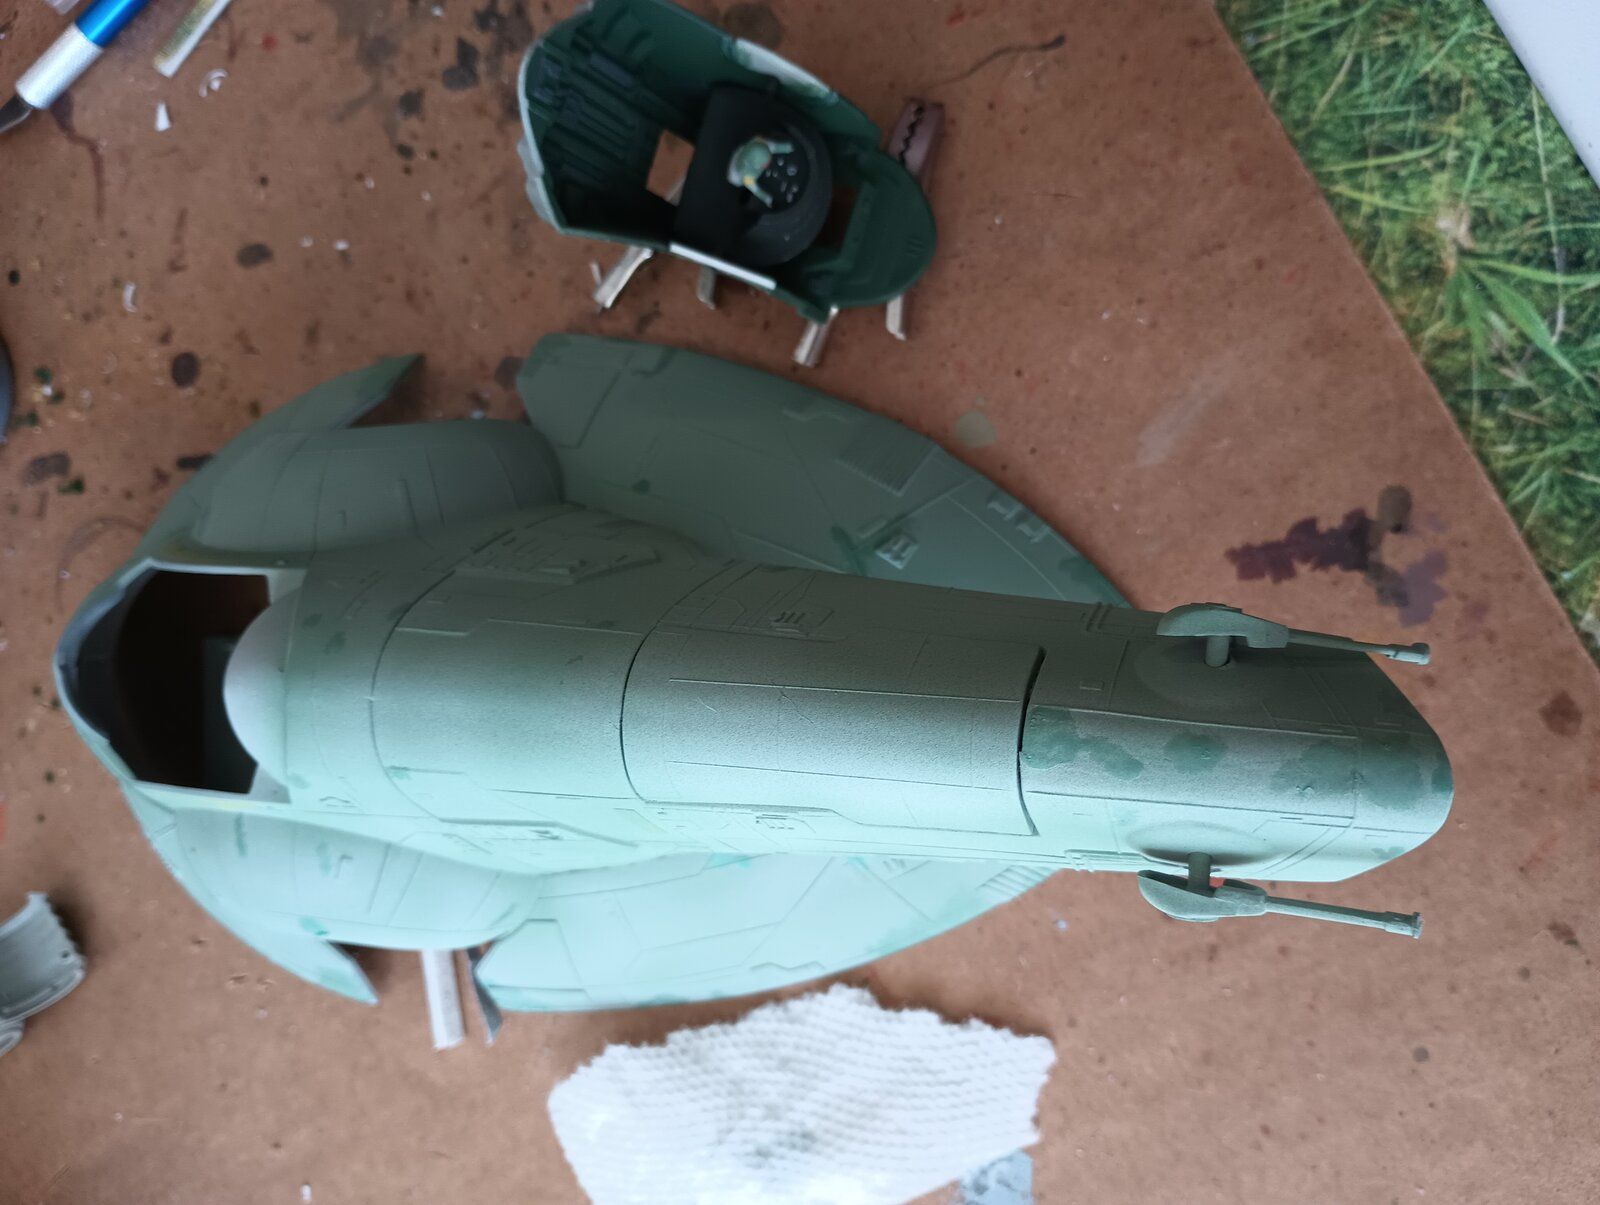
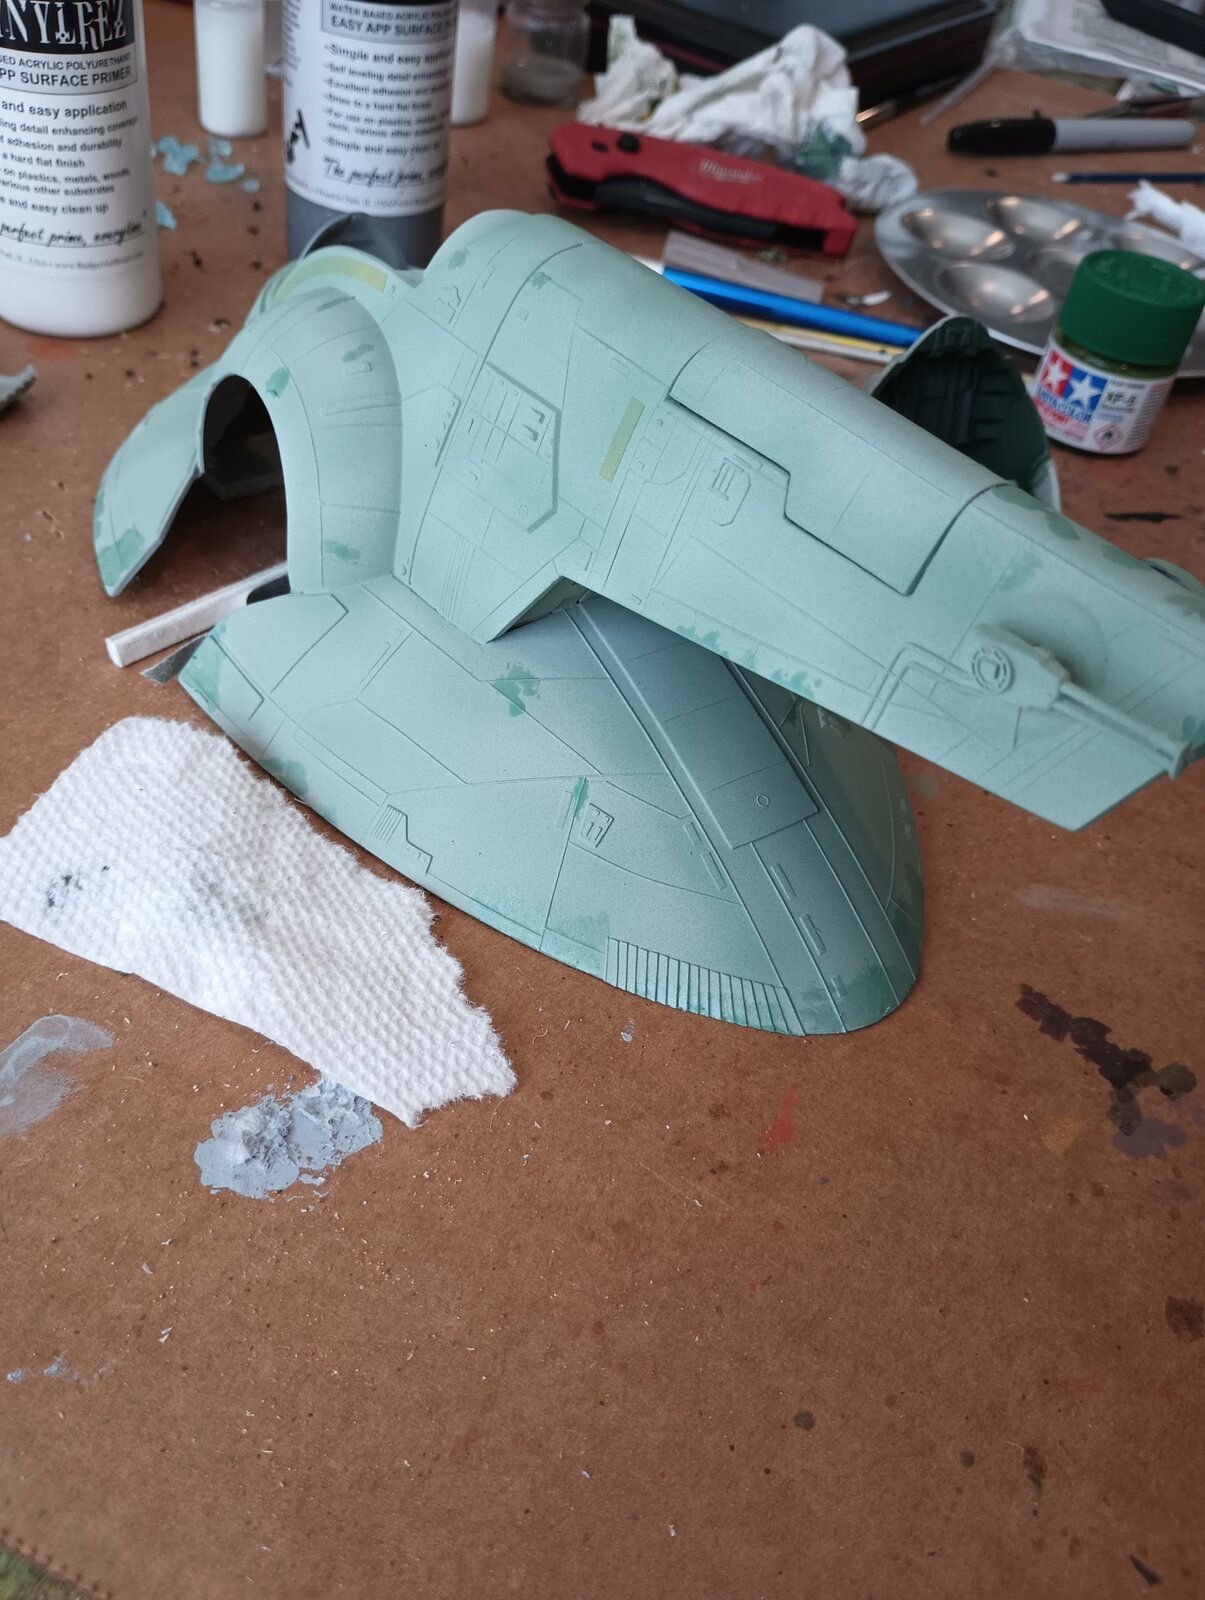
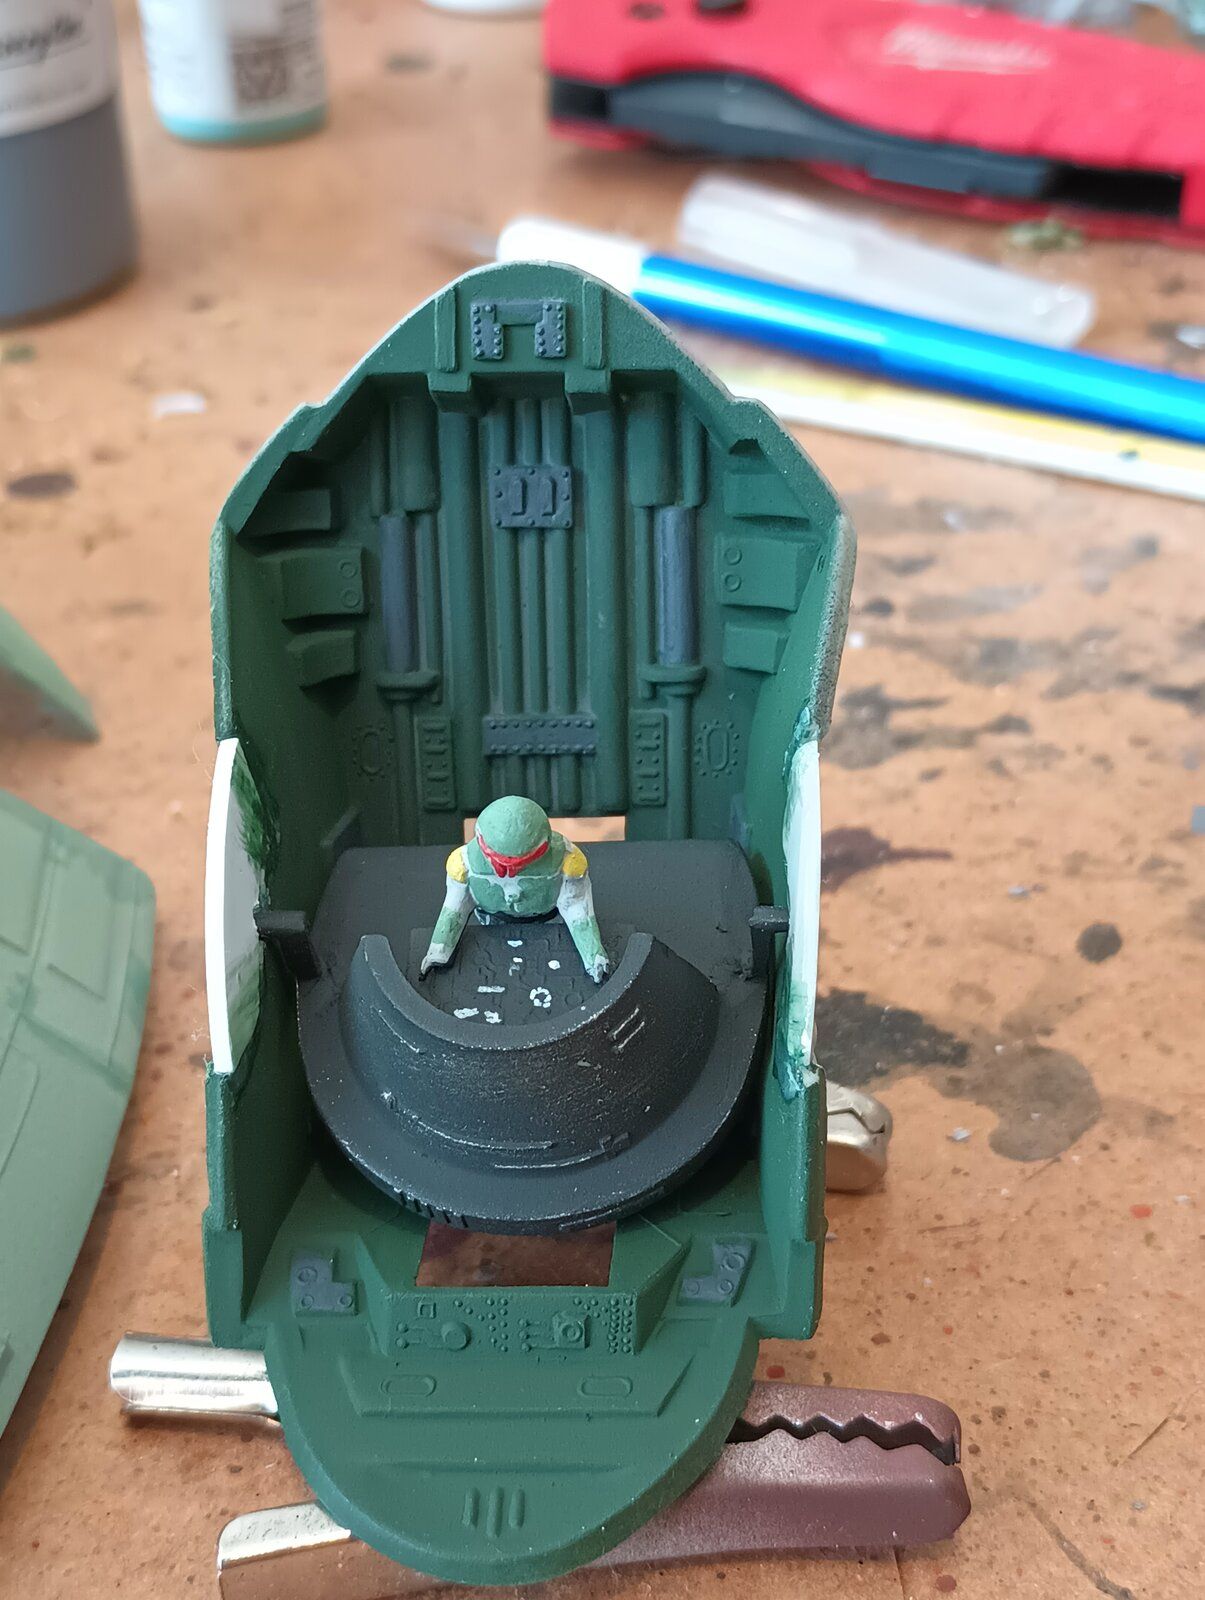
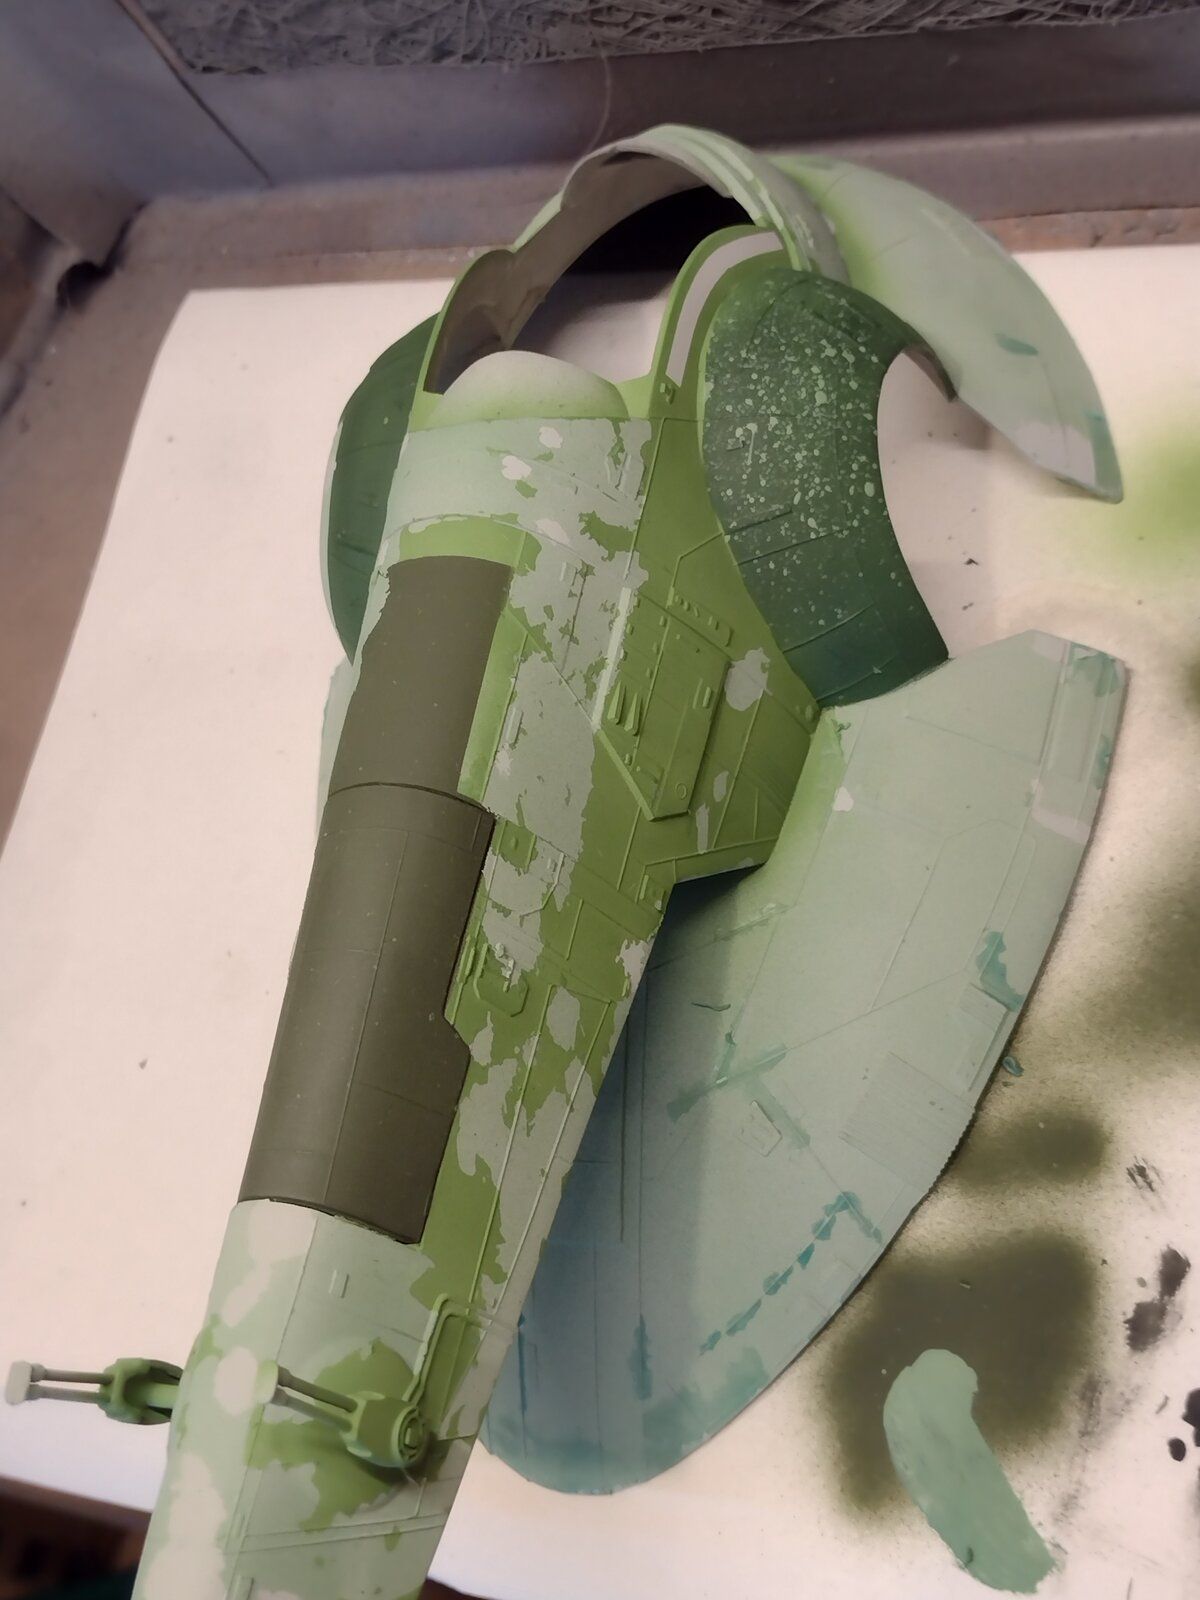
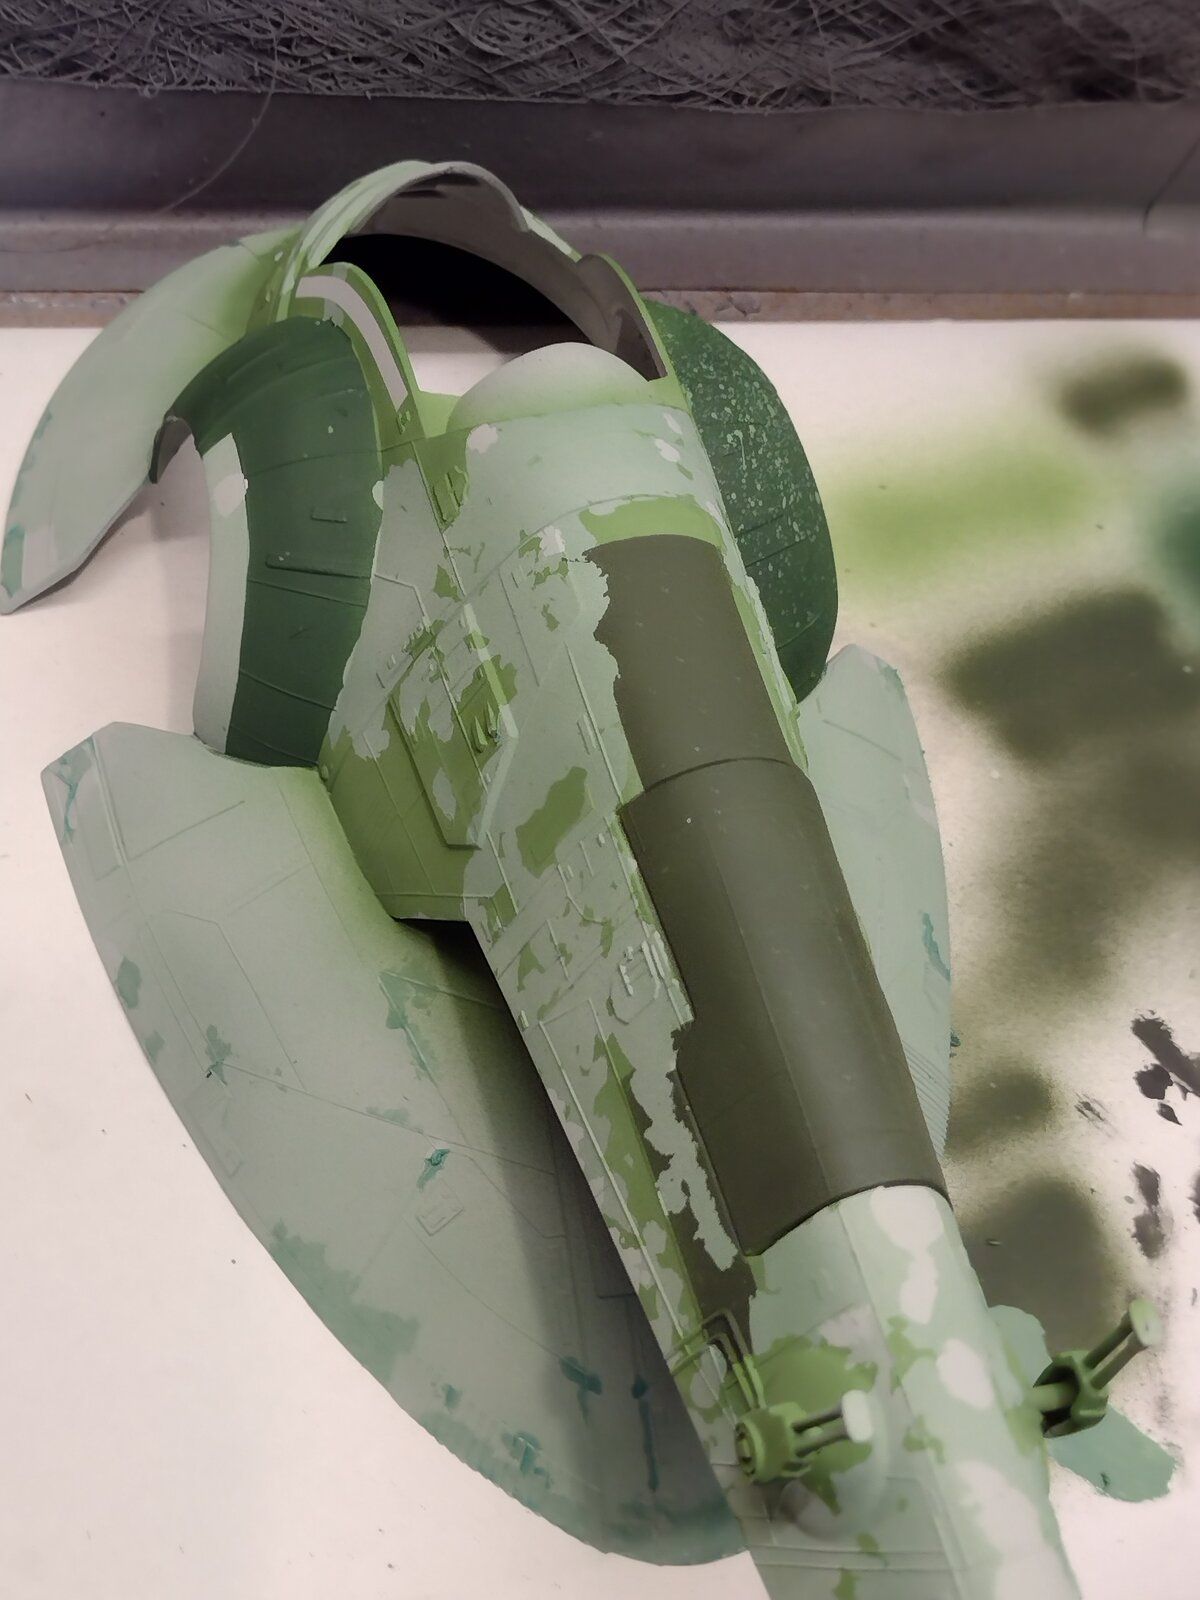
Finally got a little more done. First round of masking and the first layer of green sprayed very lightly on hull and skirt. The cockpit is mostly finished except for touching up the pieces that hold Boba in to be able to pivot based on orientation of ship.
Slave I (13).jpg
Slave I (14).jpg
Slave I (15).jpg


Panther, I forgot to look for the base last night. I put a reminder in my phone for tonight. Sorry bout that.
 
Finally got a little more done. First round of masking and the first layer of green sprayed very lightly on hull and skirt. The cockpit is mostly finished except for touching up the pieces that hold Boba in to be able to pivot based on orientation of ship. View attachment 120672View attachment 120673View attachment 120674


Panther, I forgot to look for the base last night. I put a reminder in my phone for tonight. Sorry bout that.
No worries, thanks. PM
 
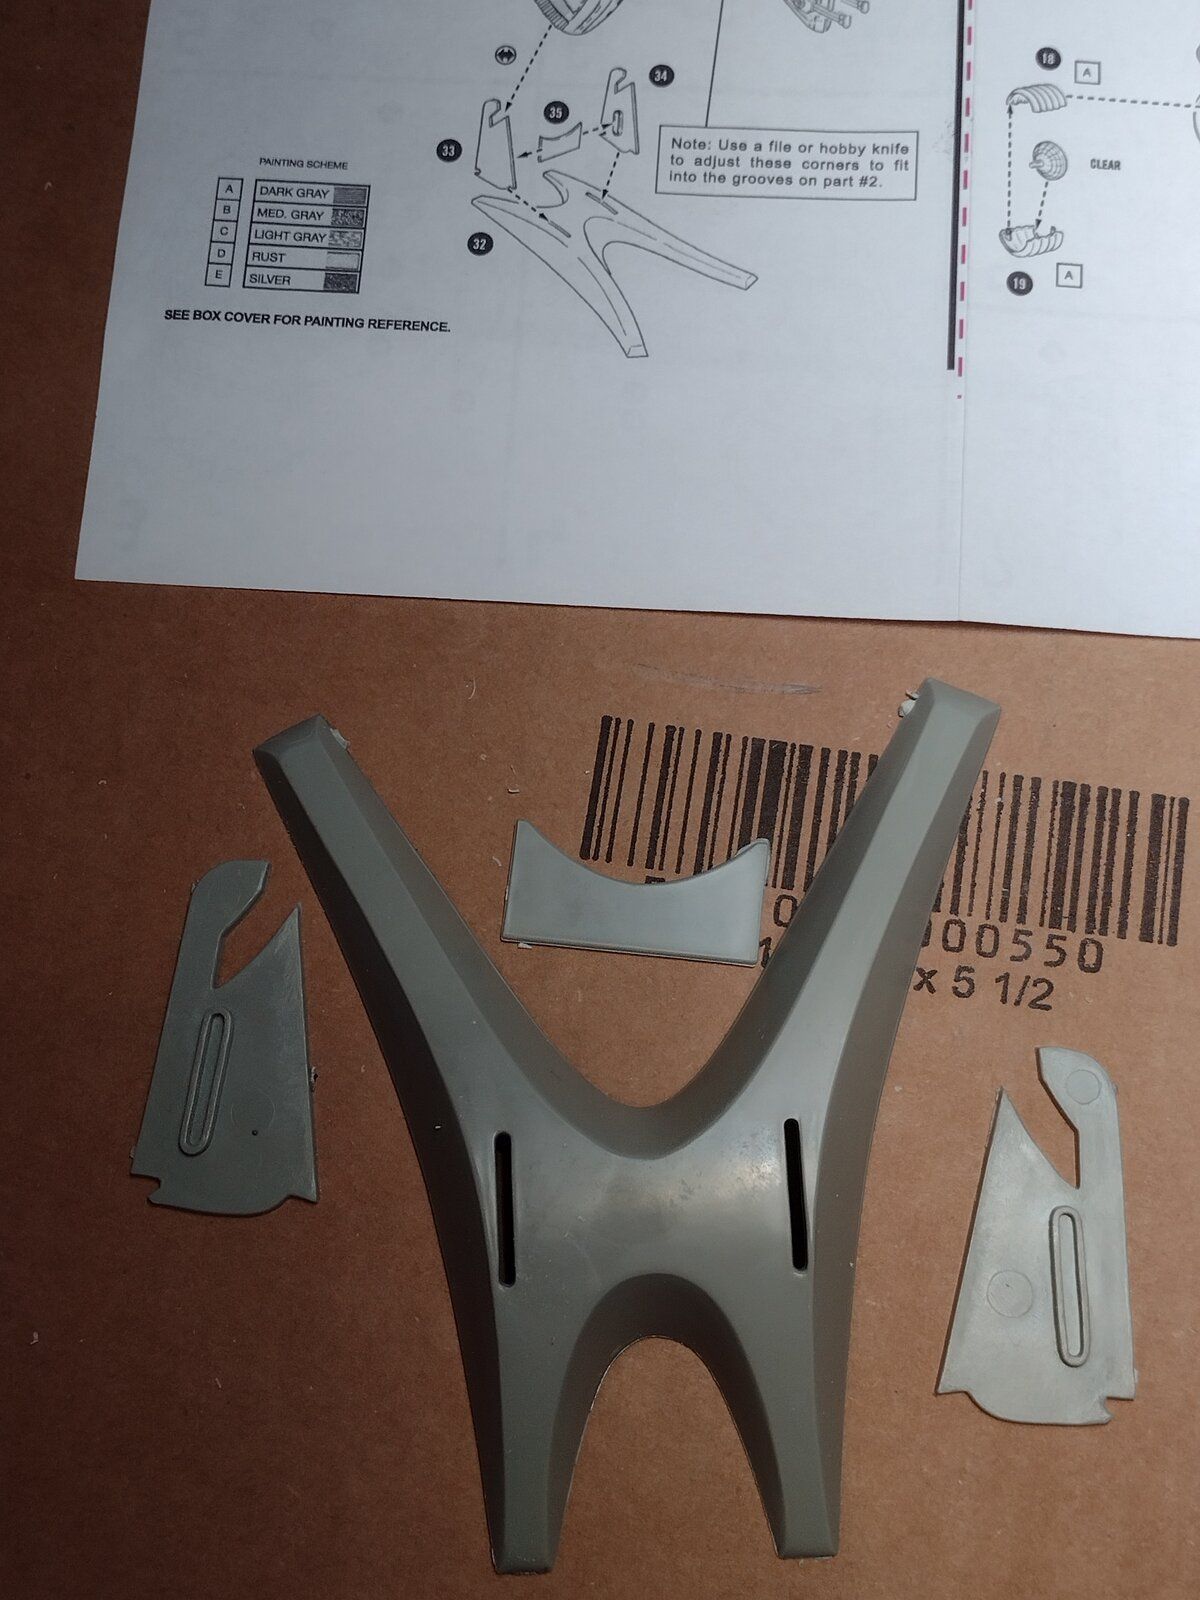
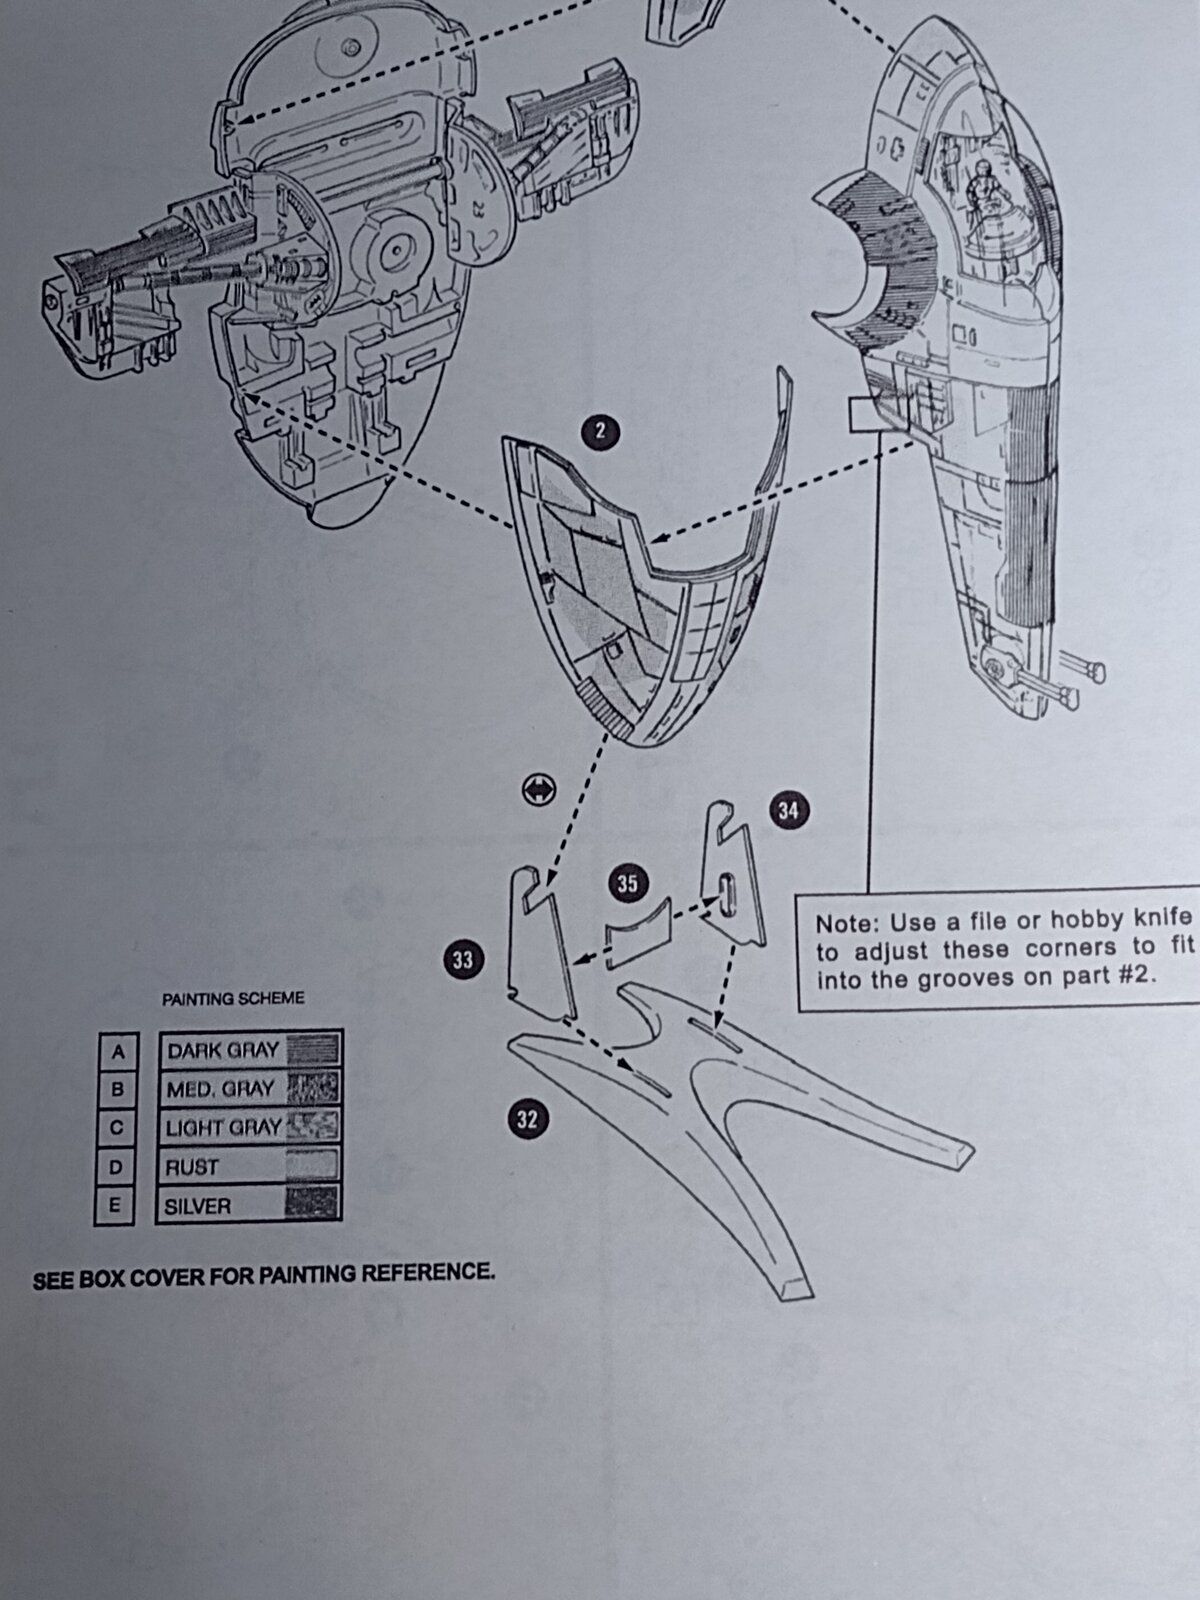
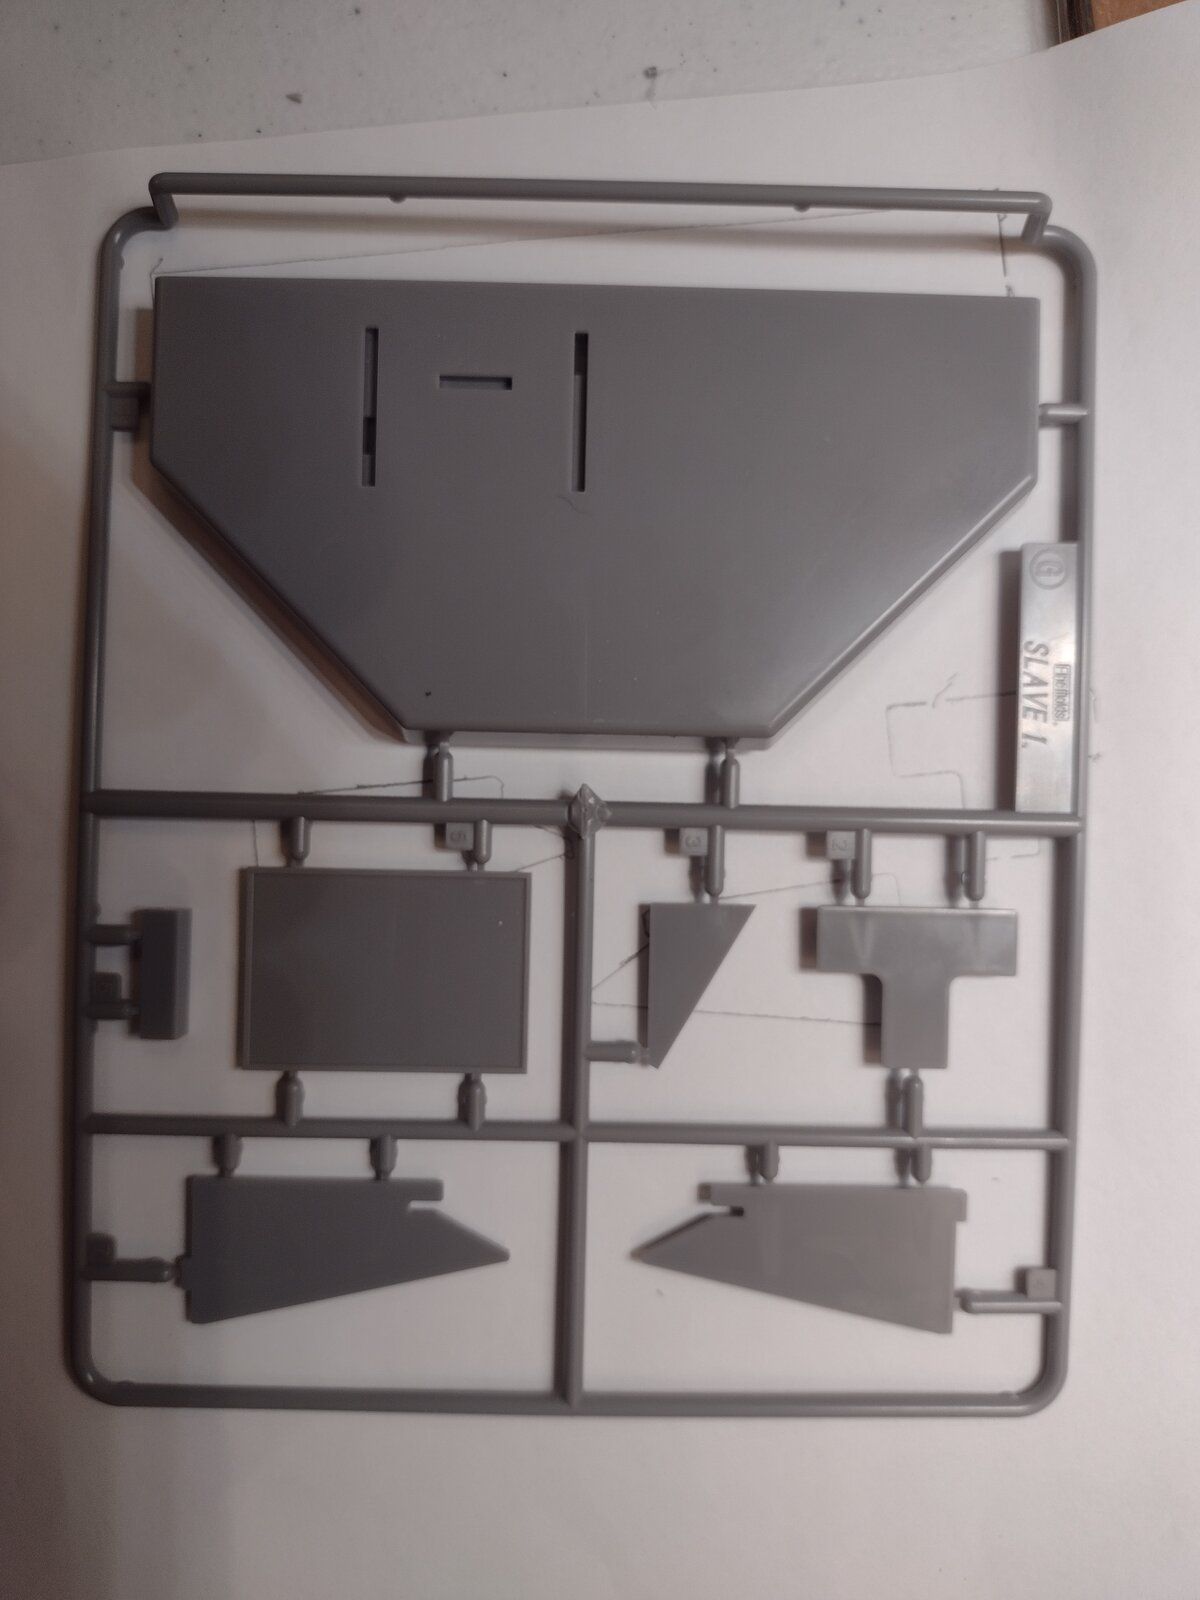
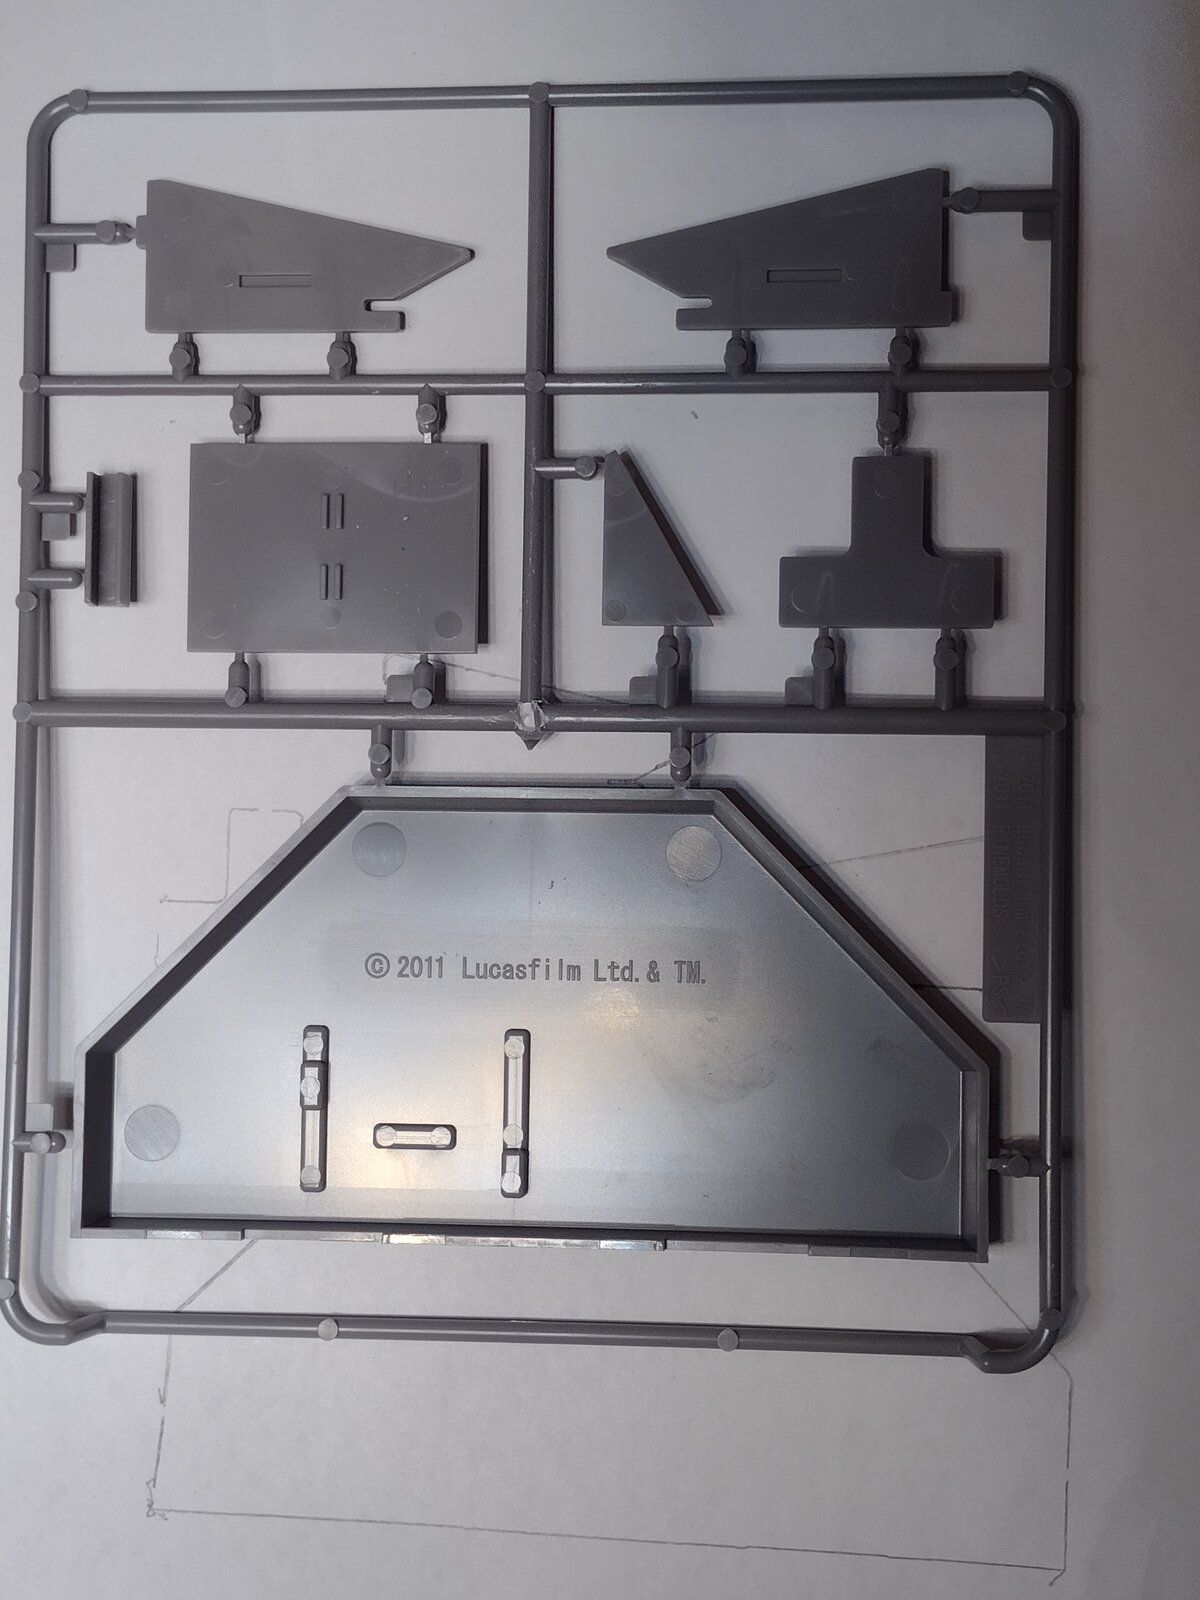
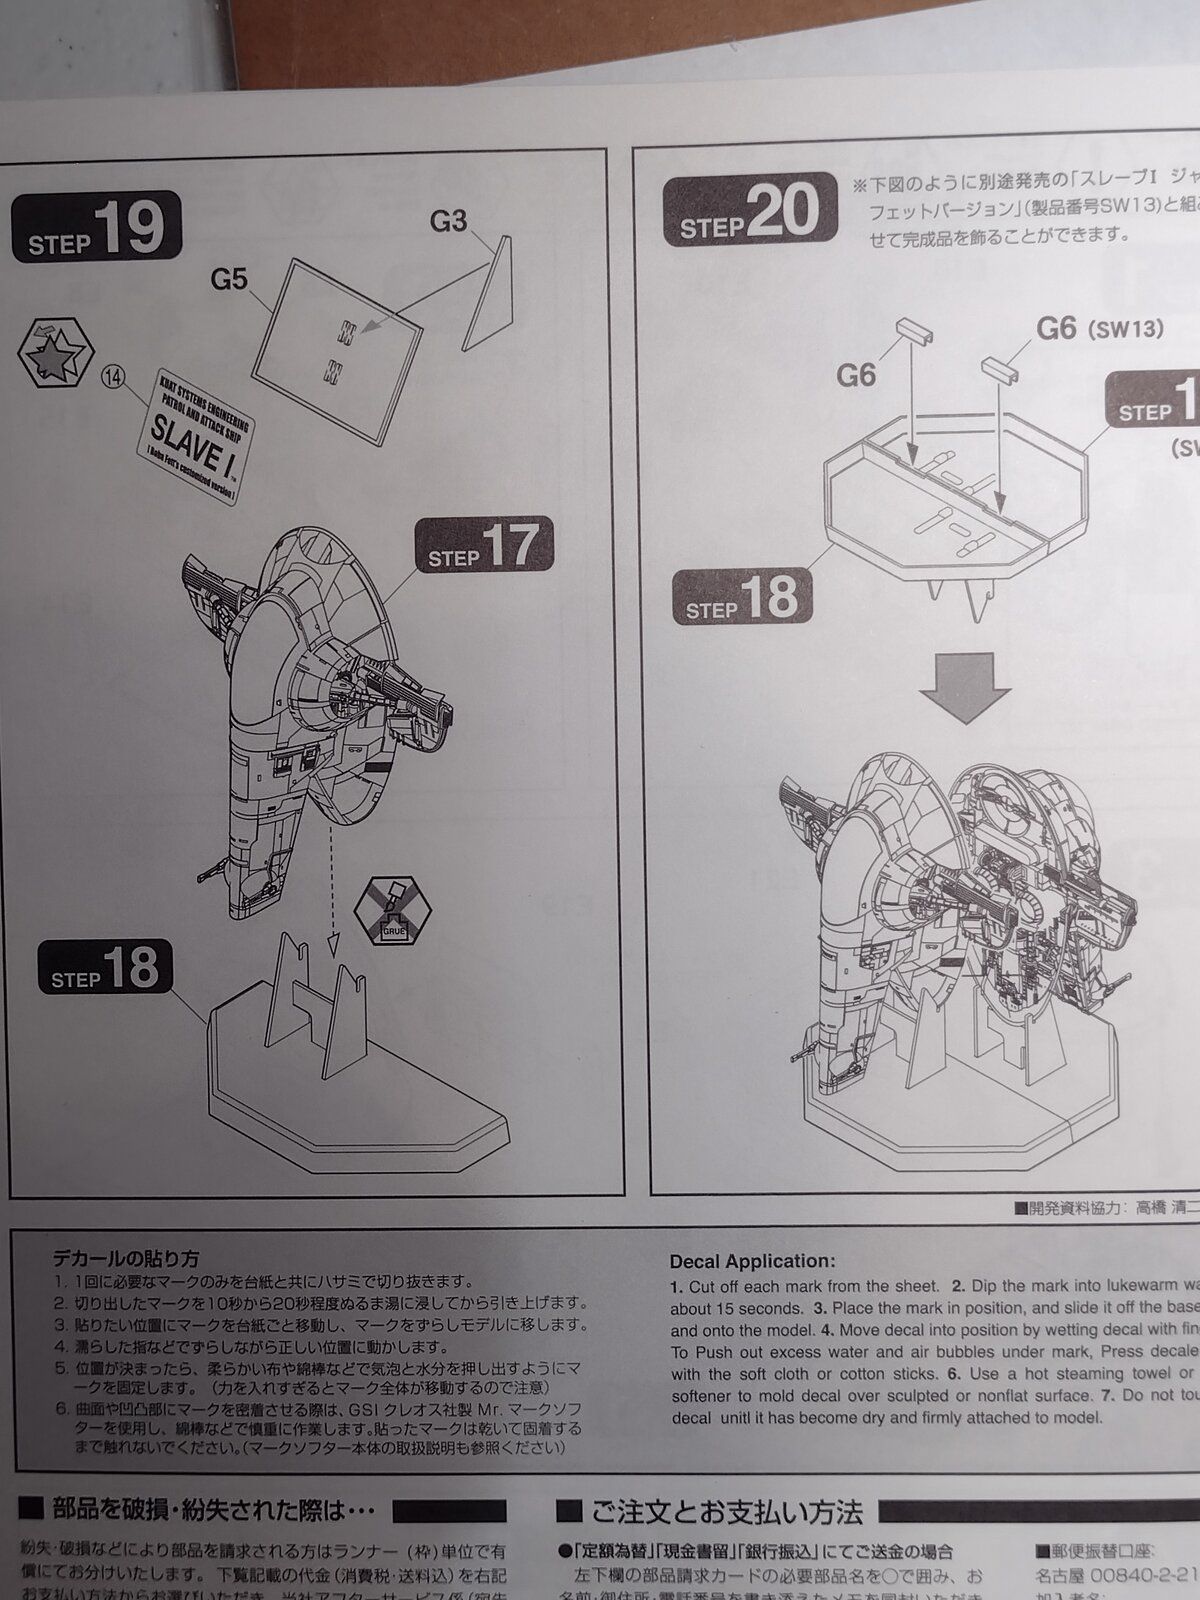
Here you got Panther, the PDF I traced the pieces and scanned it. Hopefully you can download it and print it, altho you will need to change scale. The MPC is around 1:84 scale and I think yours is 1:144, if I remember correctly. I just remembered I have a Fine Mold 1:144 that may come with a stand. If you like I can open that tonight and do the same as hopefully you wouldn't need to scale it to size then. I'm sure it would also be a different design if there is.

1000001372.jpg


1000001373.jpg
 

Attachments

Here you got Panther, the PDF I traced the pieces and scanned it. Hopefully you can download it and print it, altho you will need to change scale. The MPC is around 1:84 scale and I think yours is 1:144, if I remember correctly. I just remembered I have a Fine Mold 1:144 that may come with a stand. If you like I can open that tonight and do the same as hopefully you wouldn't need to scale it to size then. I'm sure it would also be a different design if there is.

View attachment 120725

View attachment 120726
Thanks, that's really helpful. PM
 
All of the base layers are finally on the hull. Need some touch up, detailing, weathering, and the a light mist coat of gray over everything when completed. Hoping some of the colors will come around better after the mist coat, I'm also worried the first green mist coat may be too light after that coat. First time using masking fluid which is nice for this build. Still a ton of work left, haven't even touched the engine side or the wings yet. All in all even with all of the research this has been an enjoyable build.
Slave I (16).jpg
Slave I (17).jpg
 
All of the base layers are finally on the hull. Need some touch up, detailing, weathering, and the a light mist coat of gray over everything when completed. Hoping some of the colors will come around better after the mist coat, I'm also worried the first green mist coat may be too light after that coat. First time using masking fluid which is nice for this build. Still a ton of work left, haven't even touched the engine side or the wings yet. All in all even with all of the research this has been an enjoyable build. View attachment 120732View attachment 120733
It's looking great, loving the weathering. PM
 
All of the base layers are finally on the hull. Need some touch up, detailing, weathering, and the a light mist coat of gray over everything when completed. Hoping some of the colors will come around better after the mist coat, I'm also worried the first green mist coat may be too light after that coat. First time using masking fluid which is nice for this build. Still a ton of work left, haven't even touched the engine side or the wings yet. All in all even with all of the research this has been an enjoyable build. View attachment 120732View attachment 120733

Looks great!
 
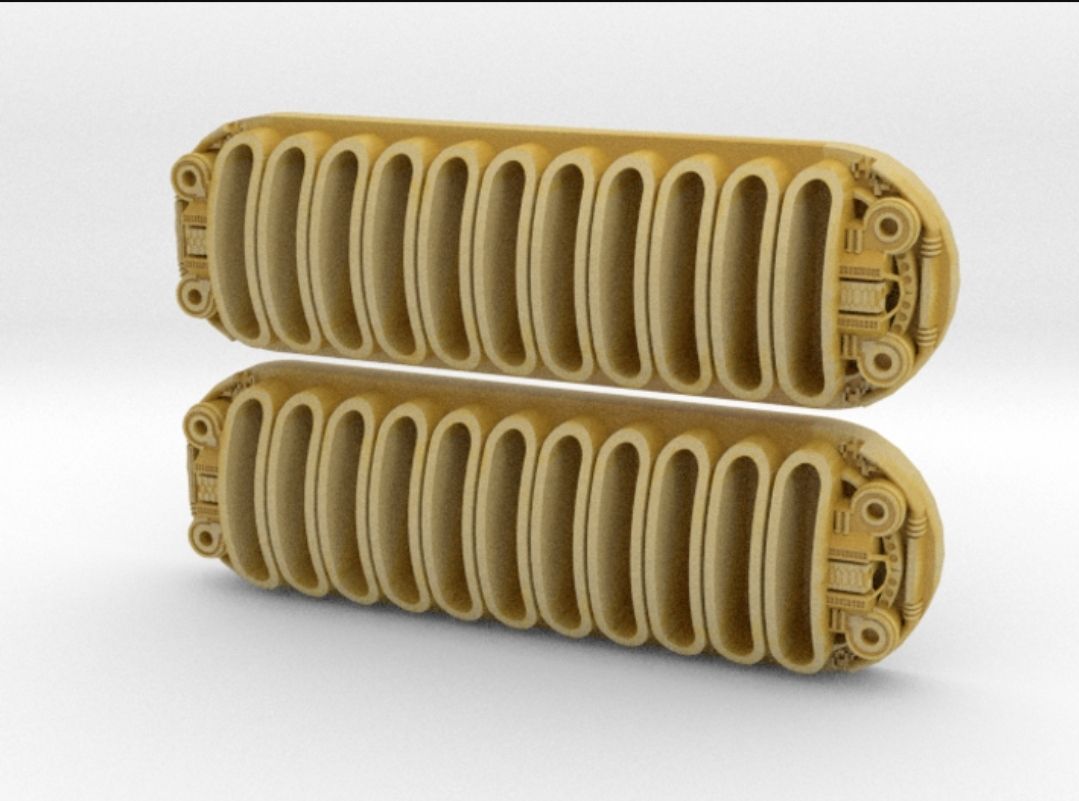
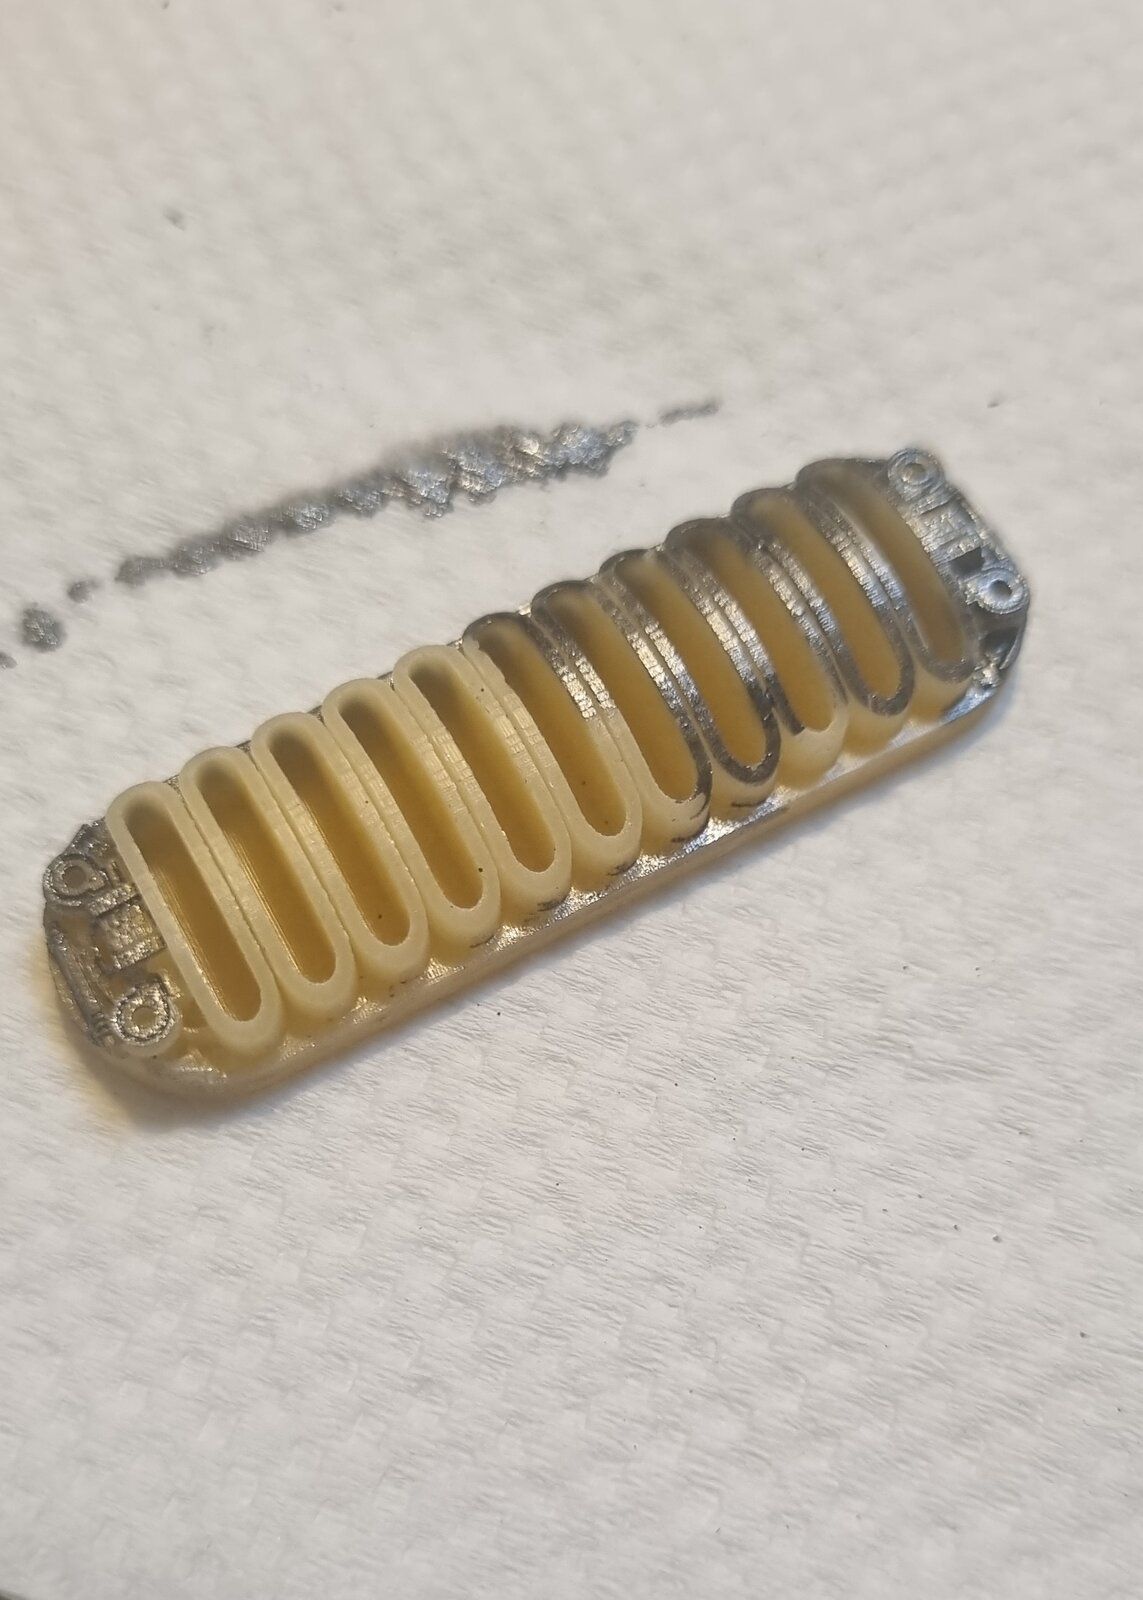
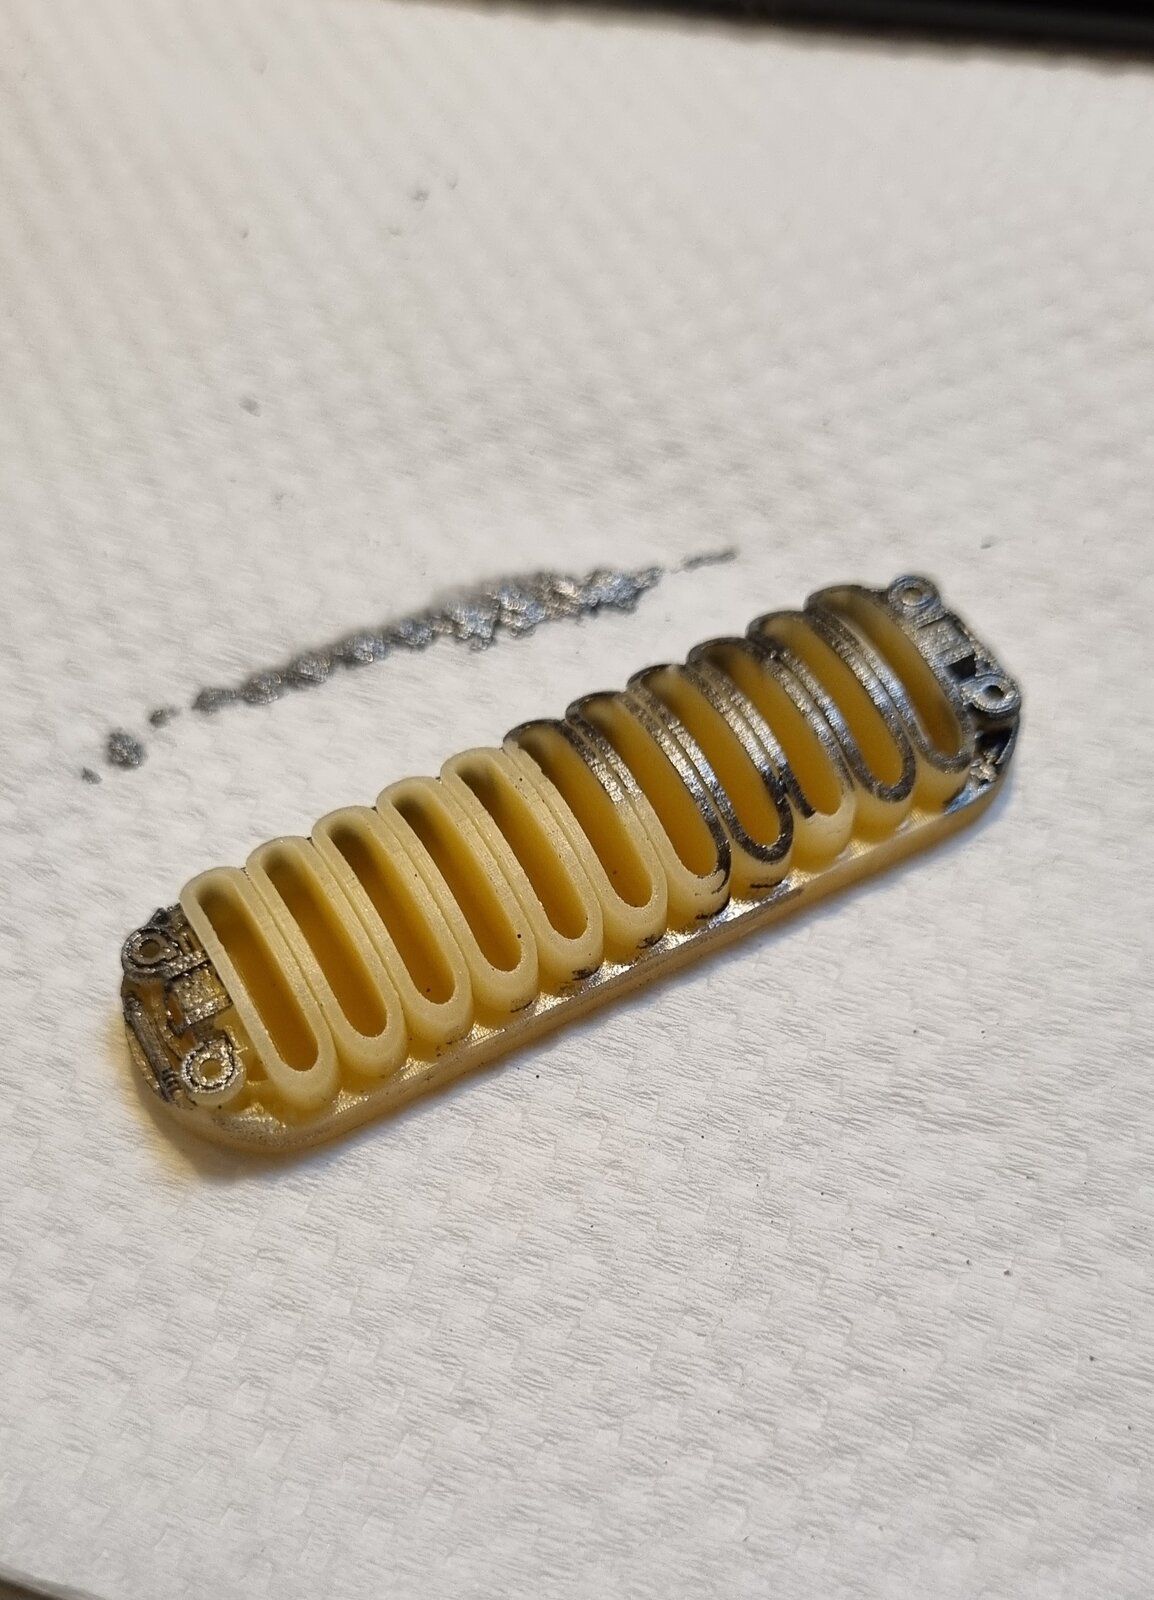
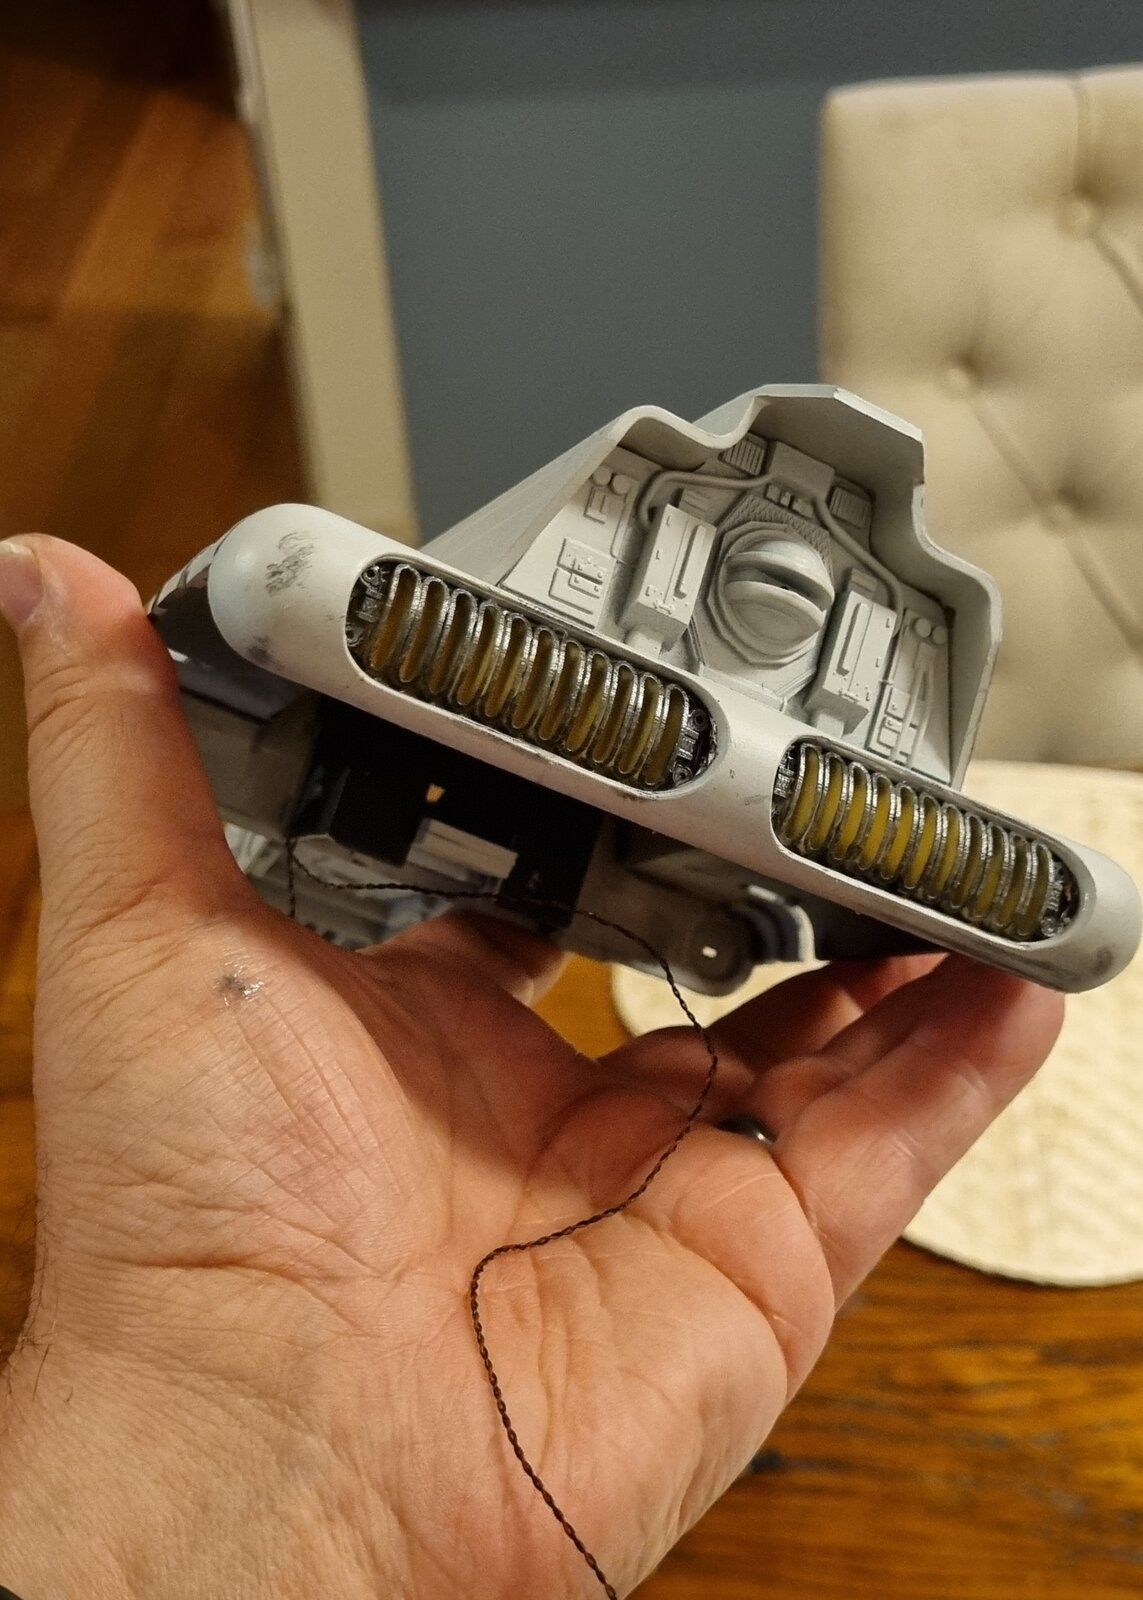
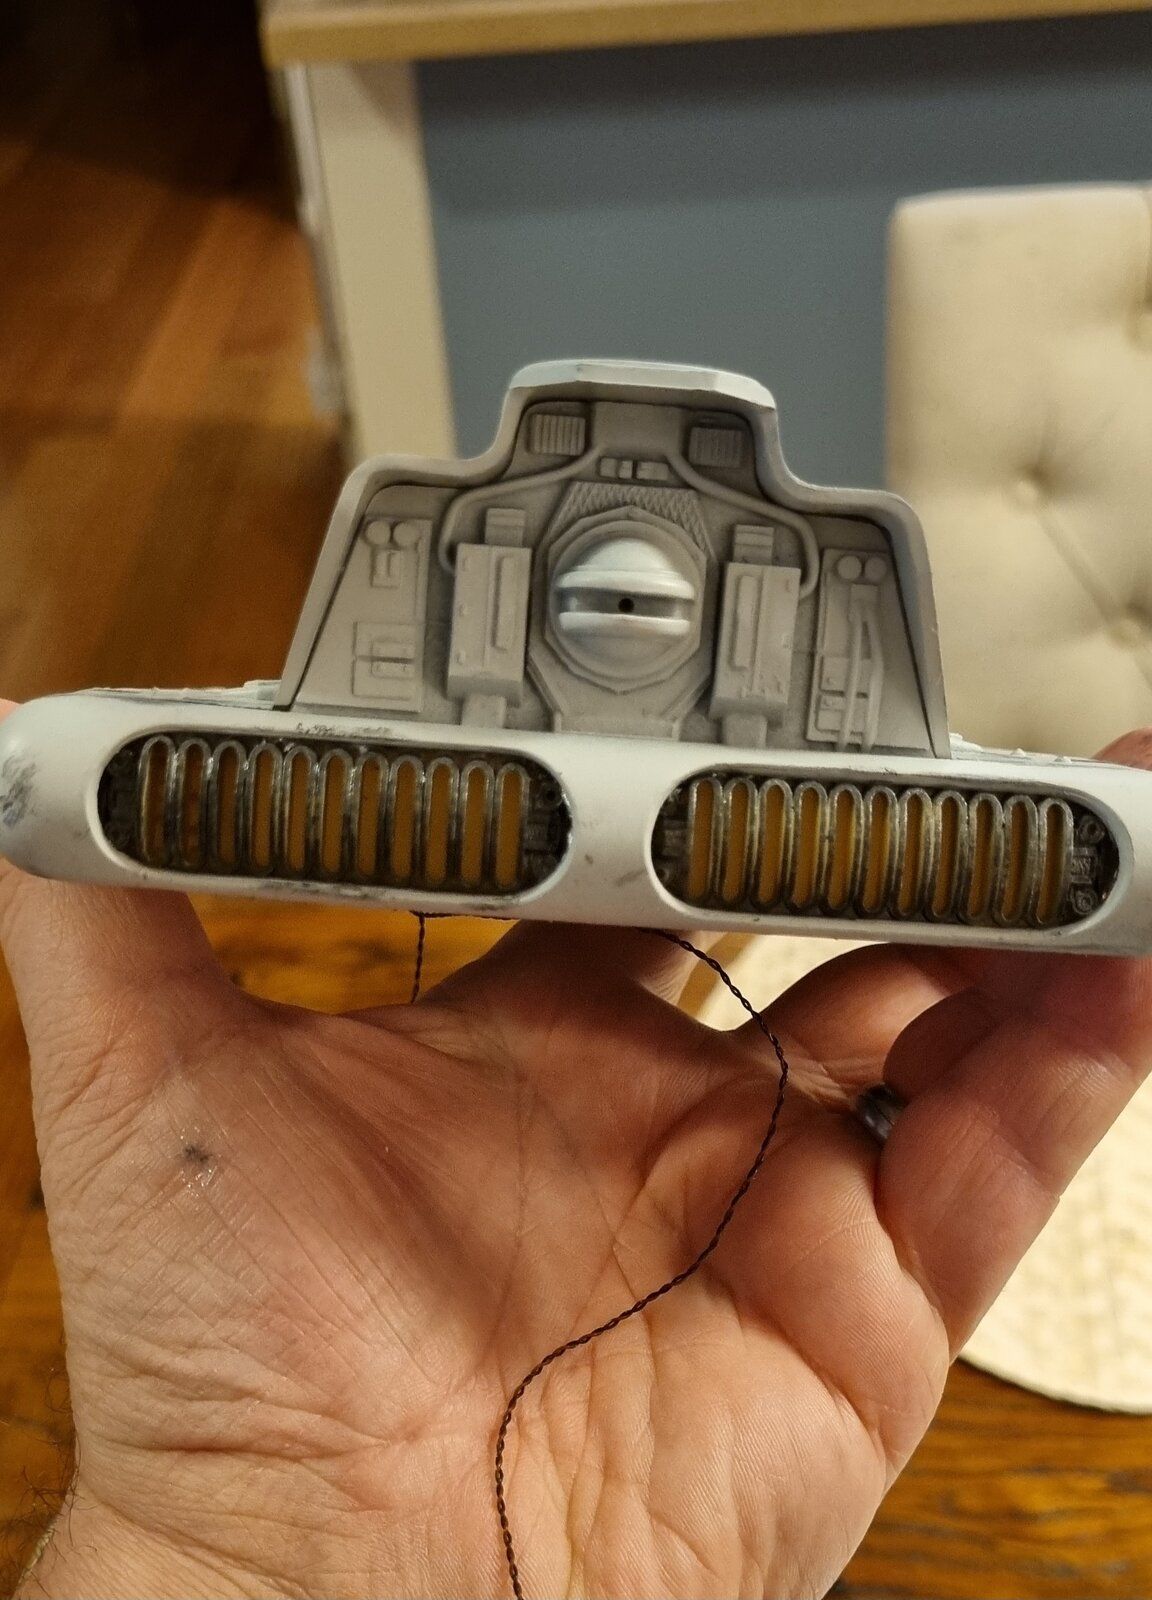
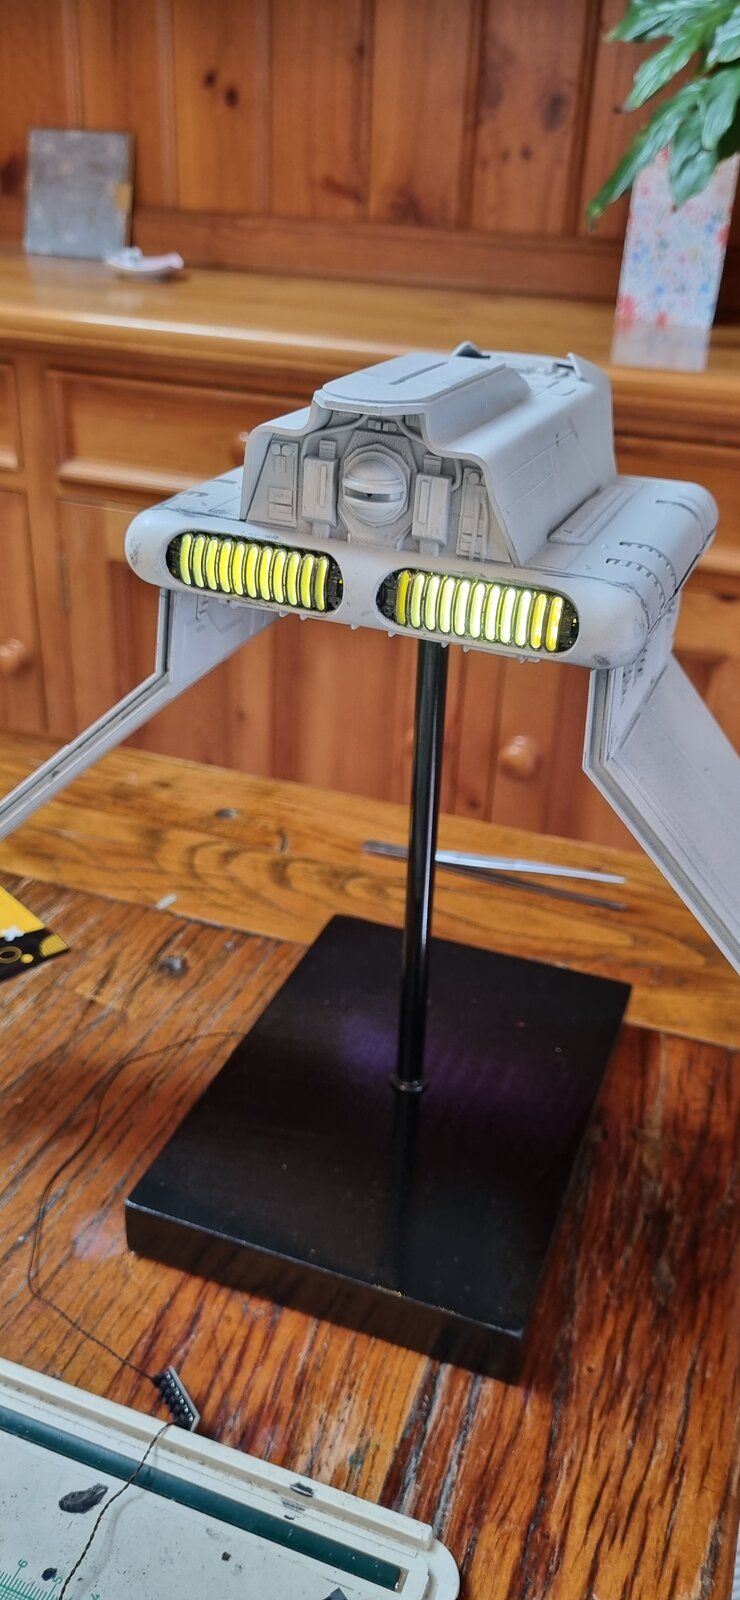
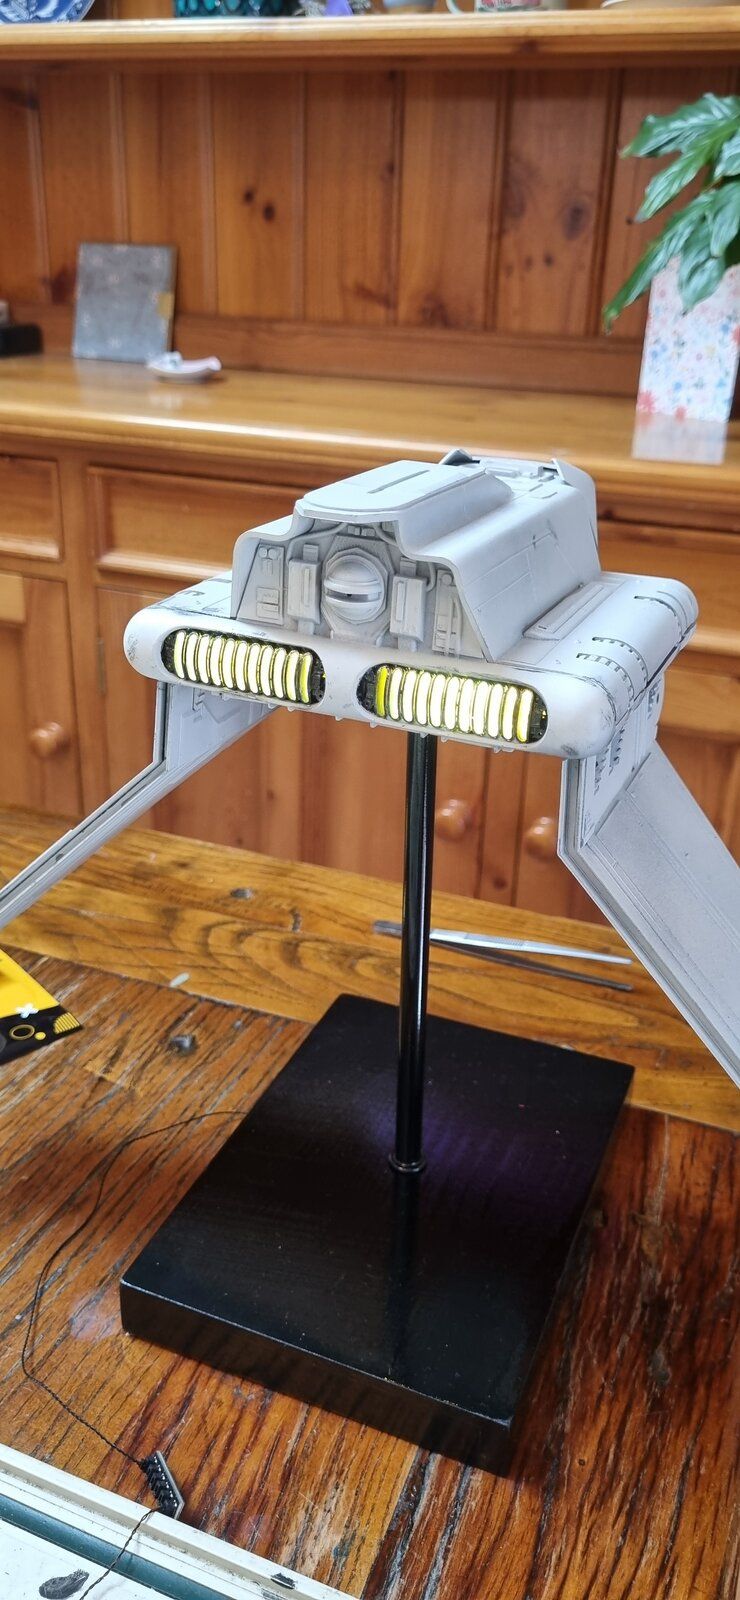
Finally got my got my Shapeways MPC shuttle engine inserts this week which I've been waiting on for a month - and I almost caused the first instance of major damage right out of the gate.

The first image doesn't show it but the vents for these aren't hollow all the way through so I thought I would have to scribe out the holes or drill them myself - which I commenced doing. However, because they are 3D printed, the plastic turns out to be a lot more delicate than I'd anticipated and the first couple of holes really caused some damage to the material. I immediately stopped and I thought I'd ruined them. As I was assessing the damage with my phone's light, I realised the plastic material itself is quite transparent and the light passed through it quite well. So I made the decision to abandon drilling out the vents and I patched up the holes with some glue, then I matched the colour of the inserts as best I could and painted the area I damaged. I actually did a reasonable job - so much so, it would take an eagle eye to spot it.

I proceeded to painting them with the gun metal grey I've used for the main guns and landing gear and then fixed them in place. They fitted in really well and I lined them out with additional aluminium foil before glueing them in place.

In the course of doing this, I decided to move the light tubes and their backing mounts back and glue them directly to the backs of the engine inserts.

The result came out better than I anticipated. I will need to touch up areas on the finials to address some of the light bleed in between each one but I'm really happy with the engine glow effect. I would definitely recommend the tan version of these inserts (as opposed to the grey version) because the resultant yellow glow looks really cool!

1000020665.jpg


1000020555.jpg


1000020556.jpg


1000020560.jpg


1000020582.jpg


1000020561.jpg


1000020562.jpg


1000020583.jpg


1000020584.jpg
 
All of the base layers are finally on the hull. Need some touch up, detailing, weathering, and the a light mist coat of gray over everything when completed. Hoping some of the colors will come around better after the mist coat, I'm also worried the first green mist coat may be too light after that coat. First time using masking fluid which is nice for this build. Still a ton of work left, haven't even touched the engine side or the wings yet. All in all even with all of the research this has been an enjoyable build. View attachment 120732View attachment 120733
Looks brilliant! I love the detail and effort you've put into this.
 
Finally got my got my Shapeways MPC shuttle engine inserts this week which I've been waiting on for a month - and I almost caused the first instance of major damage right out of the gate.

The first image doesn't show it but the vents for these aren't hollow all the way through so I thought I would have to scribe out the holes or drill them myself - which I commenced doing. However, because they are 3D printed, the plastic turns out to be a lot more delicate than I'd anticipated and the first couple of holes really caused some damage to the material. I immediately stopped and I thought I'd ruined them. As I was assessing the damage with my phone's light, I realised the plastic material itself is quite transparent and the light passed through it quite well. So I made the decision to abandon drilling out the vents and I patched up the holes with some glue, then I matched the colour of the inserts as best I could and painted the area I damaged. I actually did a reasonable job - so much so, it would take an eagle eye to spot it.

I proceeded to painting them with the gun metal grey I've used for the main guns and landing gear and then fixed them in place. They fitted in really well and I lined them out with additional aluminium foil before glueing them in place.

In the course of doing this, I decided to move the light tubes and their backing mounts back and glue them directly to the backs of the engine inserts.

The result came out better than I anticipated. I will need to touch up areas on the finials to address some of the light bleed in between each one but I'm really happy with the engine glow effect. I would definitely recommend the tan version of these inserts (as opposed to the grey version) because the resultant yellow glow looks really cool!

View attachment 120772

View attachment 120775

View attachment 120776

View attachment 120777

View attachment 120778

View attachment 120779

View attachment 120780

View attachment 120781

View attachment 120782

I love the look of the lights. The fact you can't see the LED at all makes it that much nicer. Sometimes our "mistakes" end up being blessings. It is all looking very good.
 
I love the look of the lights. The fact you can't see the LED at all makes it that much nicer. Sometimes our "mistakes" end up being blessings. It is all looking very good.
Very true re: mistakes. I'm glad I pulled back when I did. I got a bad feeling when the drill bit kinda crunched through the back of the insert. Hopefully it'll be one of those things only I will notice.

That the inserts diffuse the light turned out to be a better effect than I'd hoped for. I wasn't sure how it would have looked otherwise.
 
So another decision time that previously led me to procrastination. Use photo-etch or not around the cockpit tunnel to represent the Koolshade parts on the original model?
For any who might not know what that is, Koolshade is same material the Tie Fighters wing panels were made of. Was actually a very fine metal shade that was used as sun blocking window blinds back in the ILM days

Looking closely at the parts, I feel the molded plastic parts are actually better detail than the photo-etch

Left is the plastic parts. These are amazingly fine and crisp and even the holes behind the grilles have depth.

On the right are the alternate parts that you can use to glue the photo-etch onto

View attachment 120259
View attachment 120260

Although I feel the photo-etch while a bit finer detail when it comes to the holes behind it is actually very flat and less overall detailed looking

View attachment 120261

So the original plastic parts it is

View attachment 120262

The only downside I see is there is a noticeable seam/gap between two of the pieces. Maybe I made an error in putting together parts as I know from past experience, some other part being a hair off in some different step like the tunnel construction can cause fit issue with other parts later, but I don't see gaps elsewhere. You can see it off the the right above and then here below as well

View attachment 120266

Should not be too noticeable once paint and weathering go on in this area I am hoping. If not I will have to try filling as best I can without screwing up the details

But then again, from this angle it is hard to tell
View attachment 120265
This is looking sooo cooool!
 
Also finished the other turret. Gave it a bit more time getting the various panel colors to match the set piece

and yes, I use my thumbnail to wipe excess paint off the brush before touching the brush to the model, or test if things are too runny, or check color, or need more thinning etc... :D

Not going to stress to much over neatness/crisp straight lines, since it only needs to look good from the front angle looking back instead of side on
View attachment 120273
View attachment 120287
View attachment 120278
View attachment 120285
View attachment 120286

View attachment 120288
View attachment 120289
View attachment 120290

View attachment 120291

View attachment 120292
Fantastic detailing! Fabulous work, brother!
 
Finally got my got my Shapeways MPC shuttle engine inserts this week which I've been waiting on for a month - and I almost caused the first instance of major damage right out of the gate.

The first image doesn't show it but the vents for these aren't hollow all the way through so I thought I would have to scribe out the holes or drill them myself - which I commenced doing. However, because they are 3D printed, the plastic turns out to be a lot more delicate than I'd anticipated and the first couple of holes really caused some damage to the material. I immediately stopped and I thought I'd ruined them. As I was assessing the damage with my phone's light, I realised the plastic material itself is quite transparent and the light passed through it quite well. So I made the decision to abandon drilling out the vents and I patched up the holes with some glue, then I matched the colour of the inserts as best I could and painted the area I damaged. I actually did a reasonable job - so much so, it would take an eagle eye to spot it.

I proceeded to painting them with the gun metal grey I've used for the main guns and landing gear and then fixed them in place. They fitted in really well and I lined them out with additional aluminium foil before glueing them in place.

In the course of doing this, I decided to move the light tubes and their backing mounts back and glue them directly to the backs of the engine inserts.

The result came out better than I anticipated. I will need to touch up areas on the finials to address some of the light bleed in between each one but I'm really happy with the engine glow effect. I would definitely recommend the tan version of these inserts (as opposed to the grey version) because the resultant yellow glow looks really cool!

View attachment 120772

View attachment 120775

View attachment 120776

View attachment 120777

View attachment 120778

View attachment 120779

View attachment 120780

View attachment 120781

View attachment 120782

Excellent!

I have that same upgrade set from Shapeways (it is a shame they have gone under and declared bankruptcy)

Only difference is the set I have is that clear translucent material instead. I got mine several years ago though and I know they had changed things up in the past couple of years as far as material options

At any rate, this is another kit I have that was started, then shelved because I never got past the lighting step, plus I wanted to rework the angle of the nose/cockpit hangs at as well as shape of it as well

I think I may just skip all that now. Great to see one of these getting built
 
Excellent!

I have that same upgrade set from Shapeways (it is a shame they have gone under and declared bankruptcy)

Only difference is the set I have is that clear translucent material instead. I got mine several years ago though and I know they had changed things up in the past couple of years as far as material options

At any rate, this is another kit I have that was started, then shelved because I never got past the lighting step, plus I wanted to rework the angle of the nose/cockpit hangs at as well as shape of it as well

I think I may just skip all that now. Great to see one of these getting built

I researched a few builds online while I was waiting for my kit to arrive and the common refrain was the issues various builders had with the nose/cockpit angle.

I must say, it never really bothered me beyond wanting to do a really nice job with this kit after having done such a poor job on the original one I had.

I didn't know anything about Shapeways other than they offered the engine inserts at a price I was willing to pay.
 
I researched a few builds online while I was waiting for my kit to arrive and the common refrain was the issues various builders had with the nose/cockpit angle.

I must say, it never really bothered me beyond wanting to do a really nice job with this kit after having done such a poor job on the original one I had.

I didn't know anything about Shapeways other than they offered the engine inserts at a price I was willing to pay.
IIRC, it is not actually wrong, but really whether the angle is correct or not comes down to whether you want to copy the proportions of the studio filming model or full size set blue prints.

The MPC/AMT kit is actually based on the full size set blueprints, and I believe it accurately represents those as far as the angle and proportions as the set had a steeper angle and top fin shape.

The filming model on the other hand was different in that respect.

Maybe it was due to foreshortening for the camera since it was only seen from the front or some other limitation, or maybe since the filming model and full size set were done by separate groups in California and England and the ILM modelers took a little liberty based on their own limitation, although I do not know for sure

Revell actually used the same blue prints for the source of their kit, and it has the same angles and proportions of the MPC/AMT kit
The X-Wing game miniature and Kenner Shuttles on the other hand, follow the filming models profile

i.e. in the end, technically either way is correct, just depends on which source it represents
 
The MPC/AMT kit is actually based on the full size set blueprints, and I believe it accurately represents those as far as the angle and proportions as the set had a steeper angle and top fin shape.
It's fascinating to me how these proportions have flummoxed many a modeller and have led to a debate over which is a more accurate representation of the craft over all.

I have seen a number of modellers attempt some major modifications of their kits and I don't know whether it was wise looking at their final products. The only modification I wanted to make (and did) was with the engines. I was never a fan of the straight up blue/white engines from the film - especially when George re-did the scene where the Falcon takes off from Mos Eisley and you get to see that gorgeous detailing of its rear engines. Shapeways coming out with their engine inserts was a master stroke for those of us looking to add a little more interest to the rear of the Shuttle.

As it stands, I love the aesthetic of the MPC kit - despite its flaws - and I'm looking forward to realising my preferred iteration of the kit.

As I write this, I'm waiting on some cabling so I can complete the electronics, then I'll be glueing the two halves of the main hull together. It's a task I'm rather nervous about but I purchased a set of clamps that I think will do the task I need.
 
Back
Top