Star Wars Theme Group Build

Scale Model Addict - Model Tips, Guides, Tools & Tech, Tutorials, and Community

Help Support Scale Model Addict:

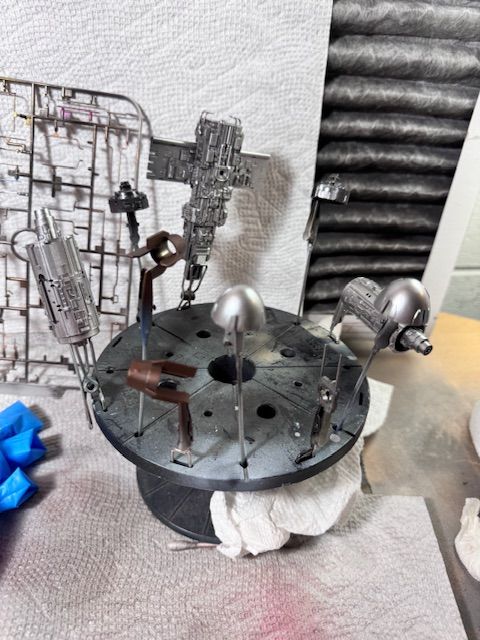
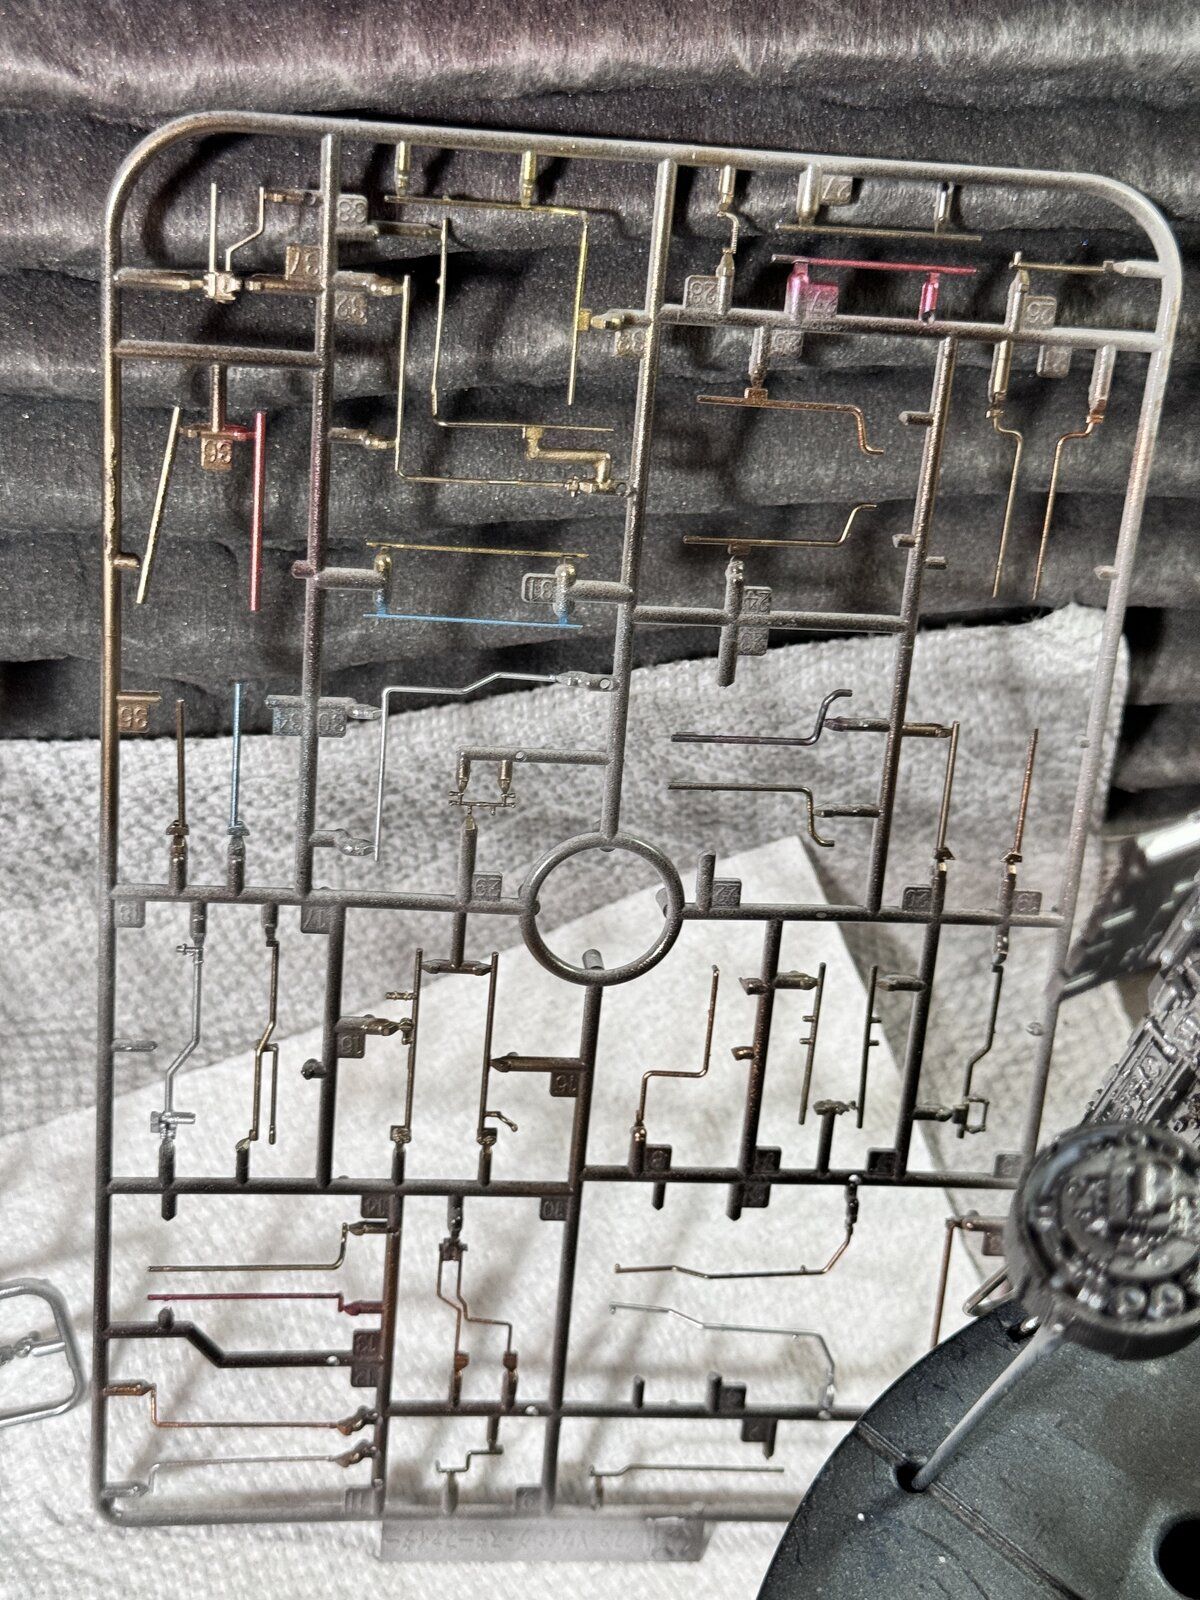
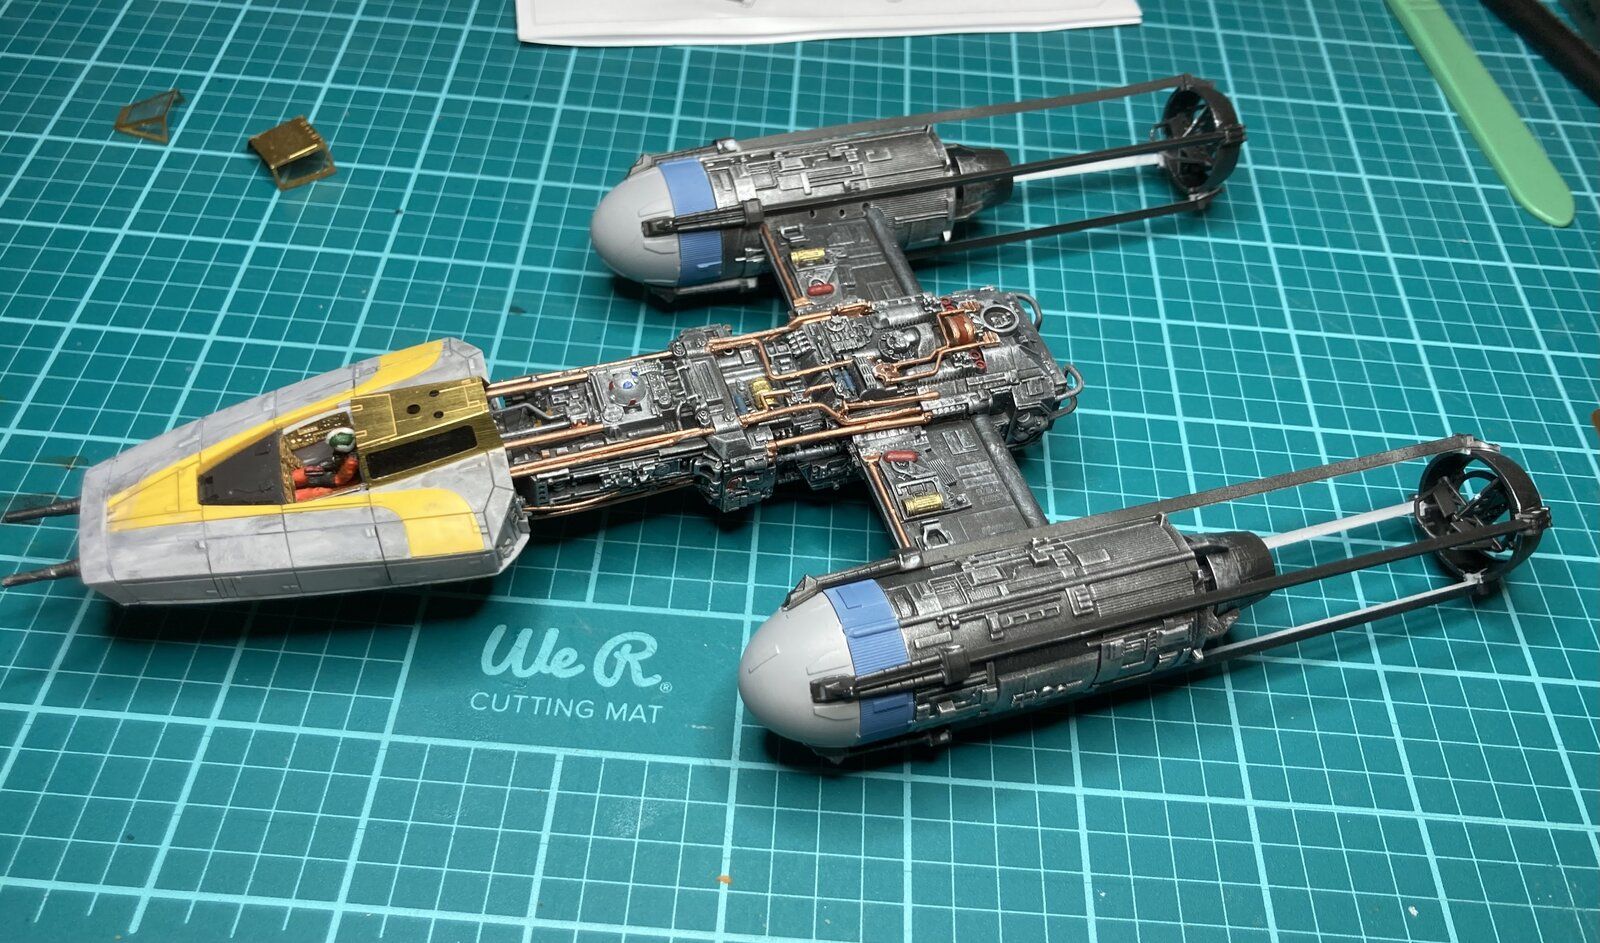
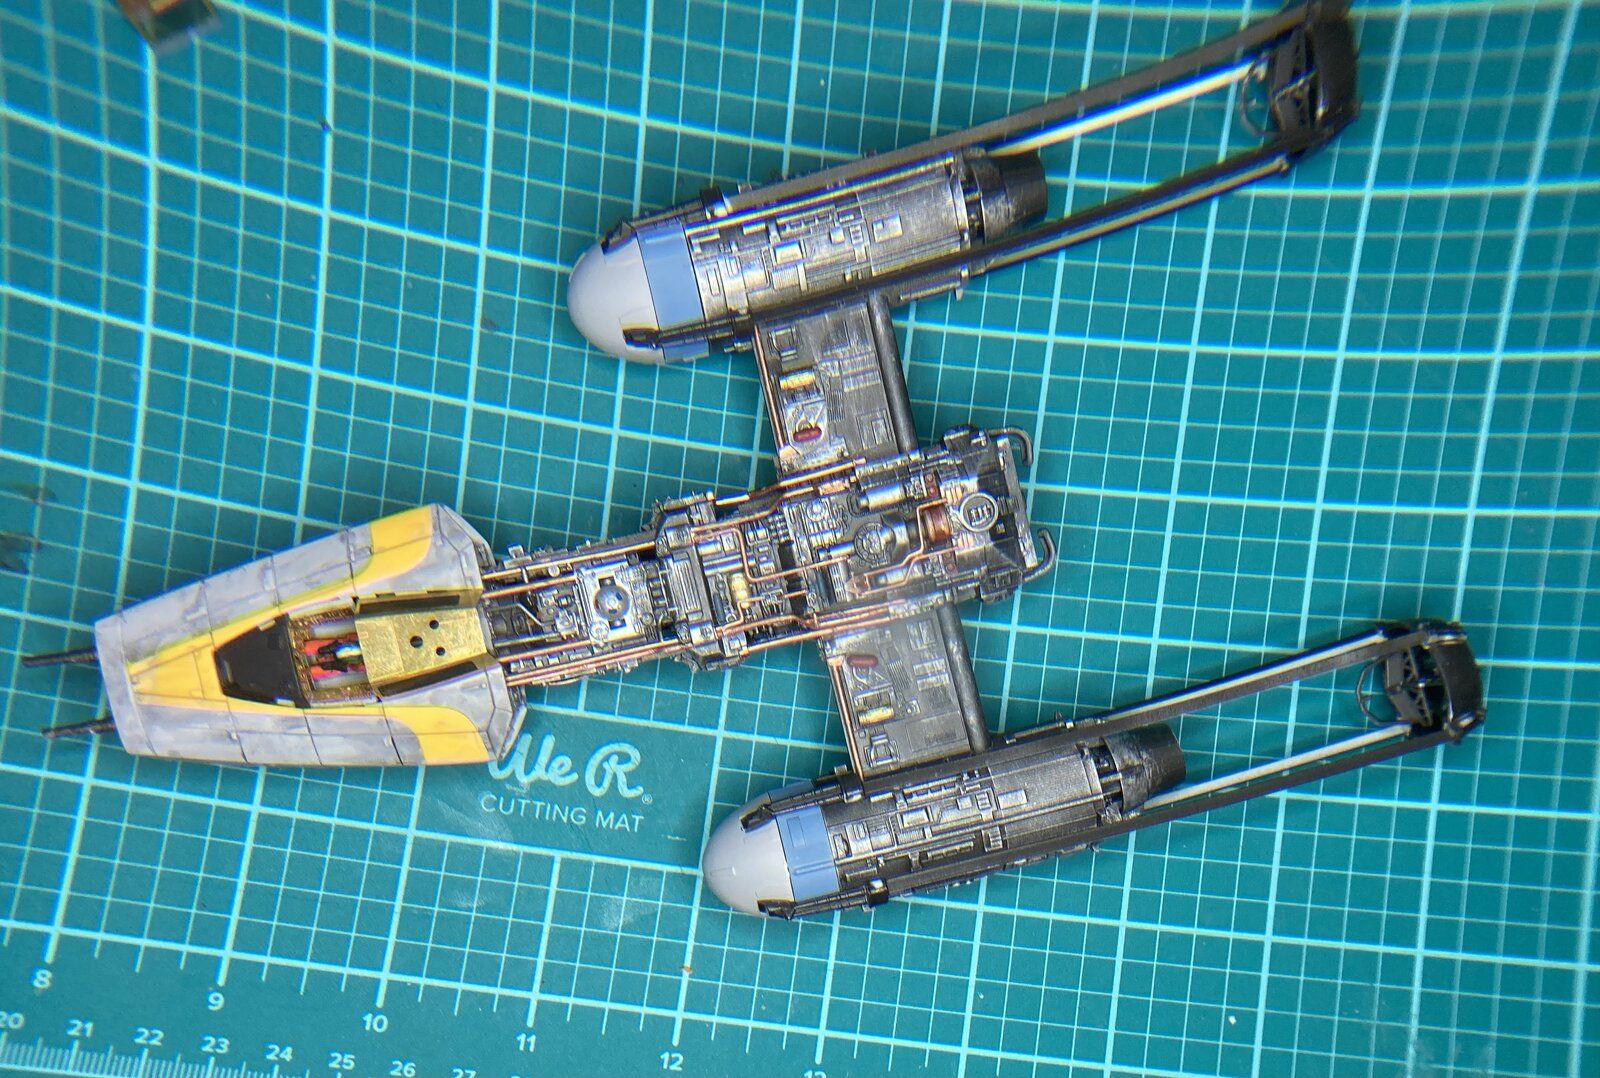
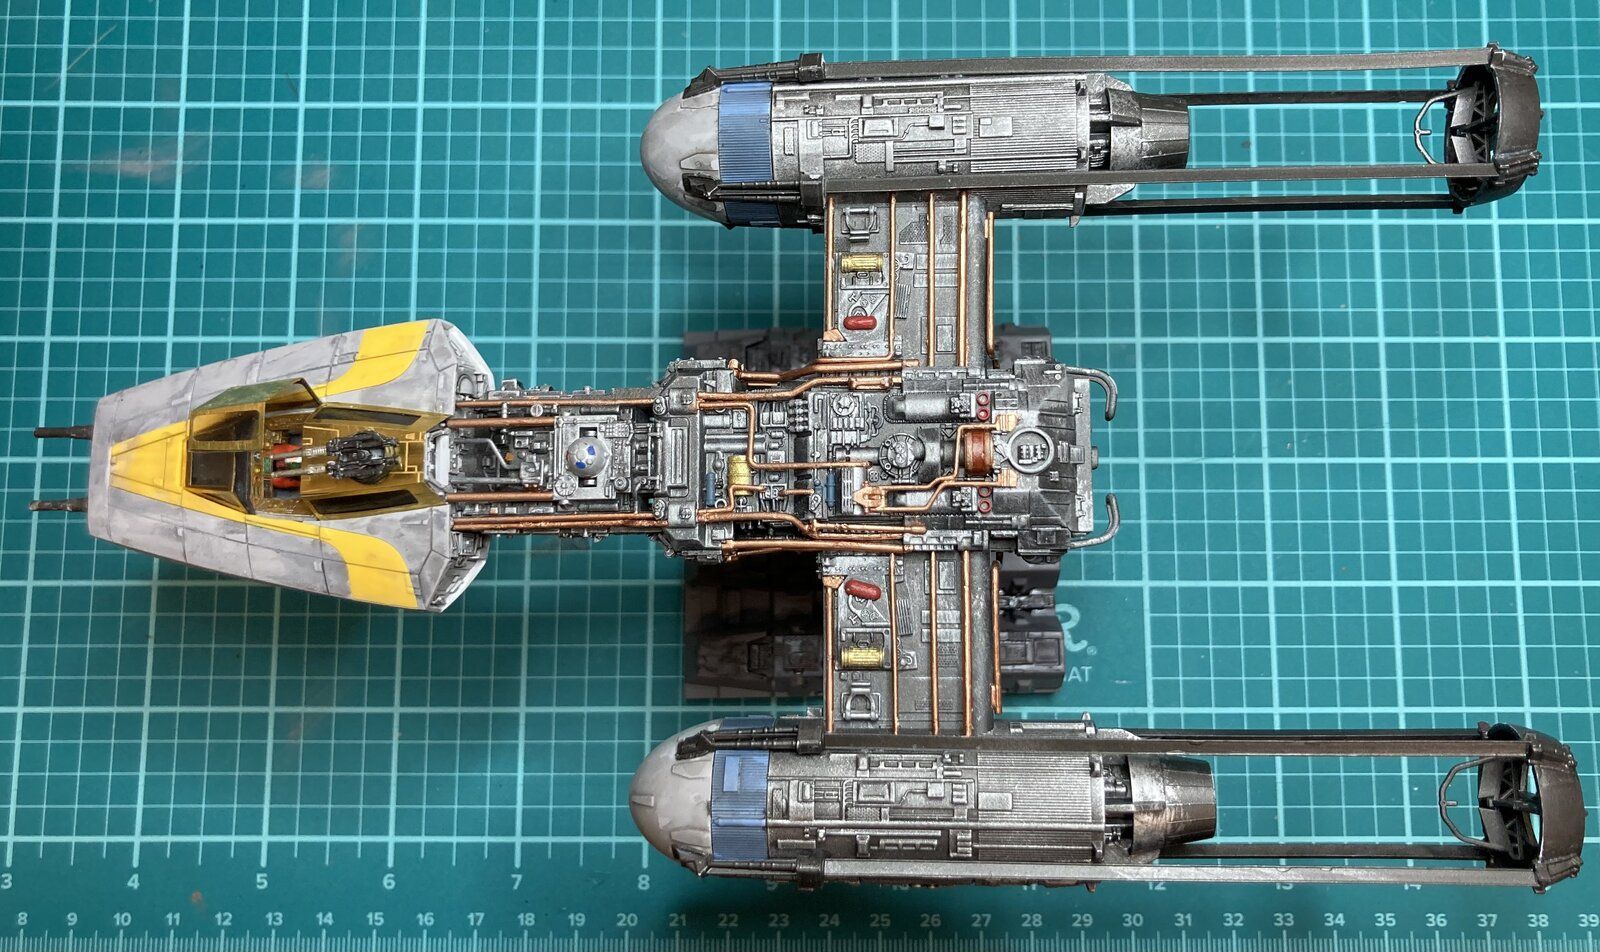
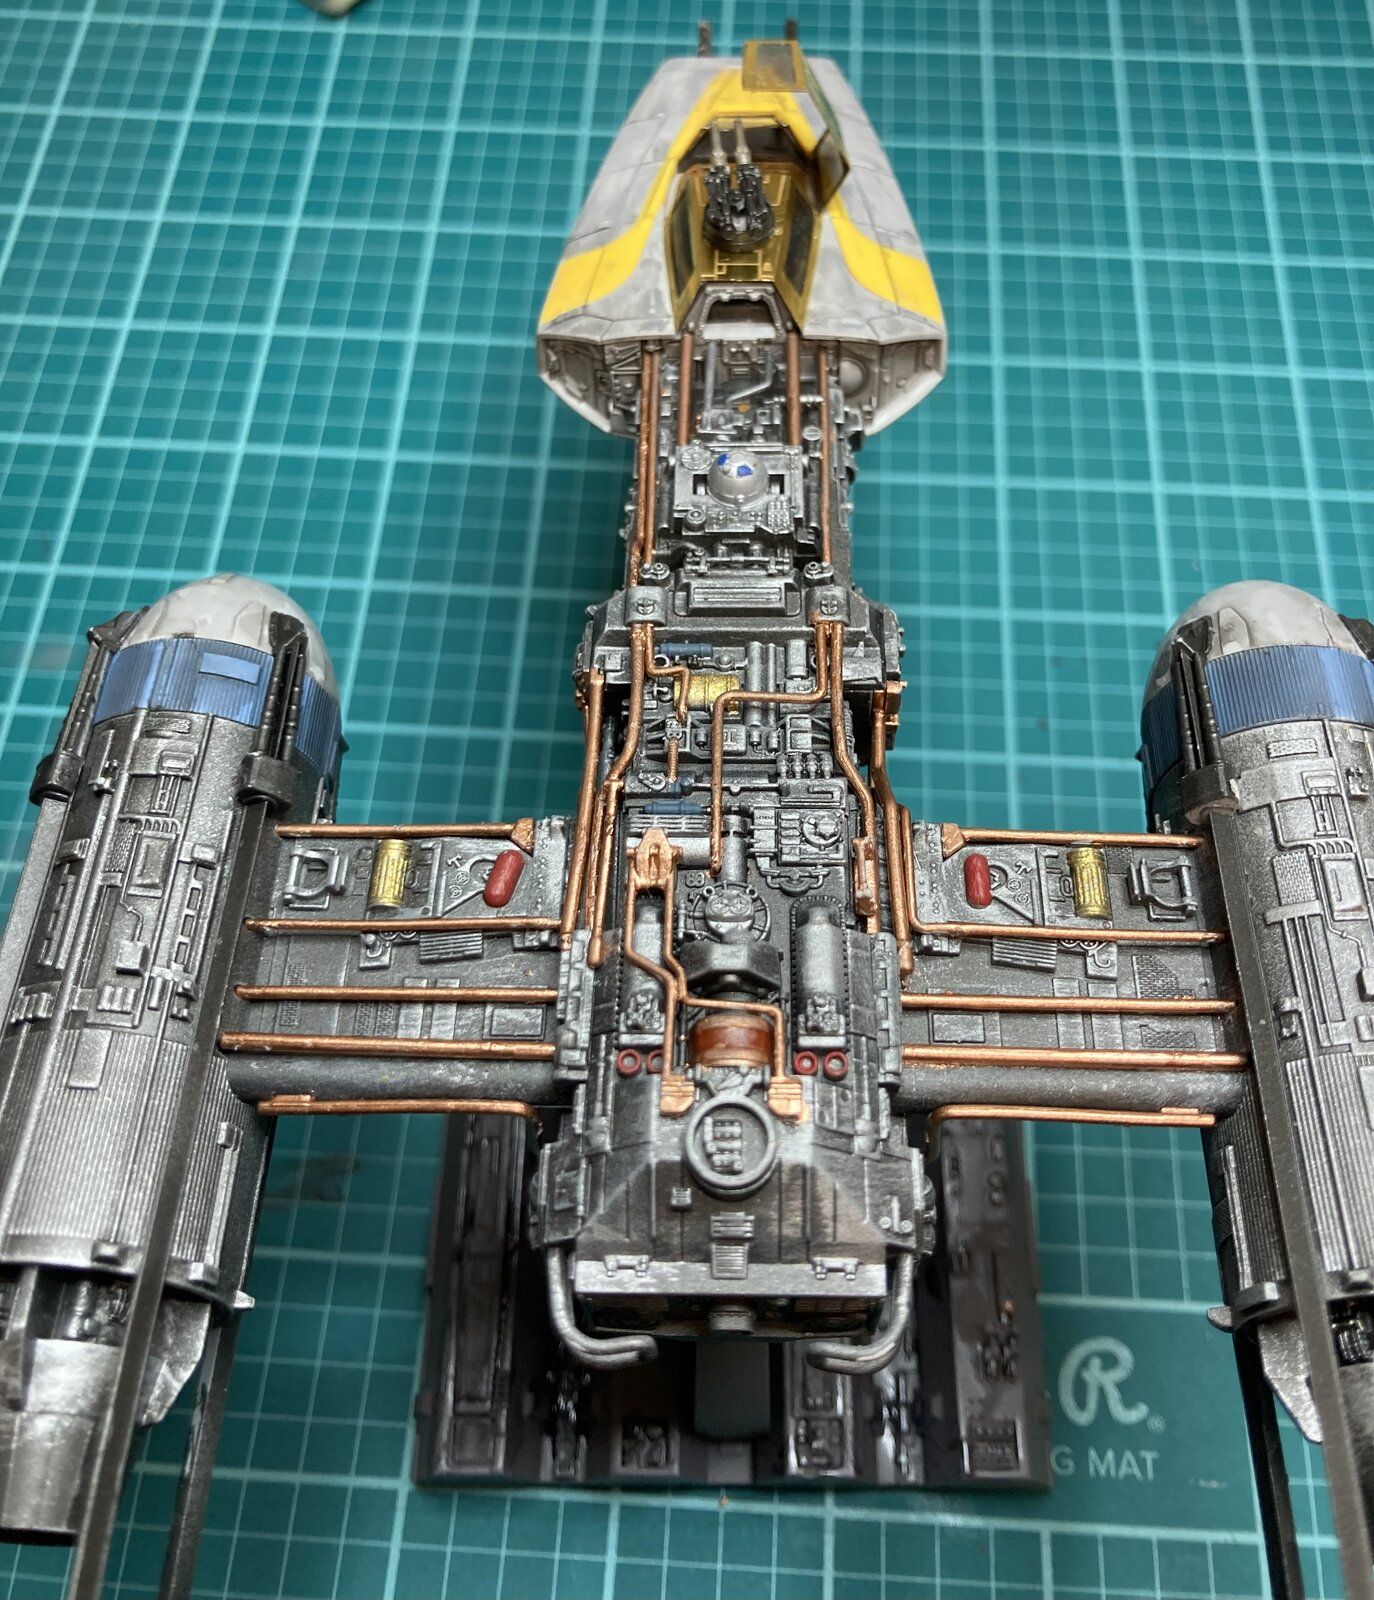
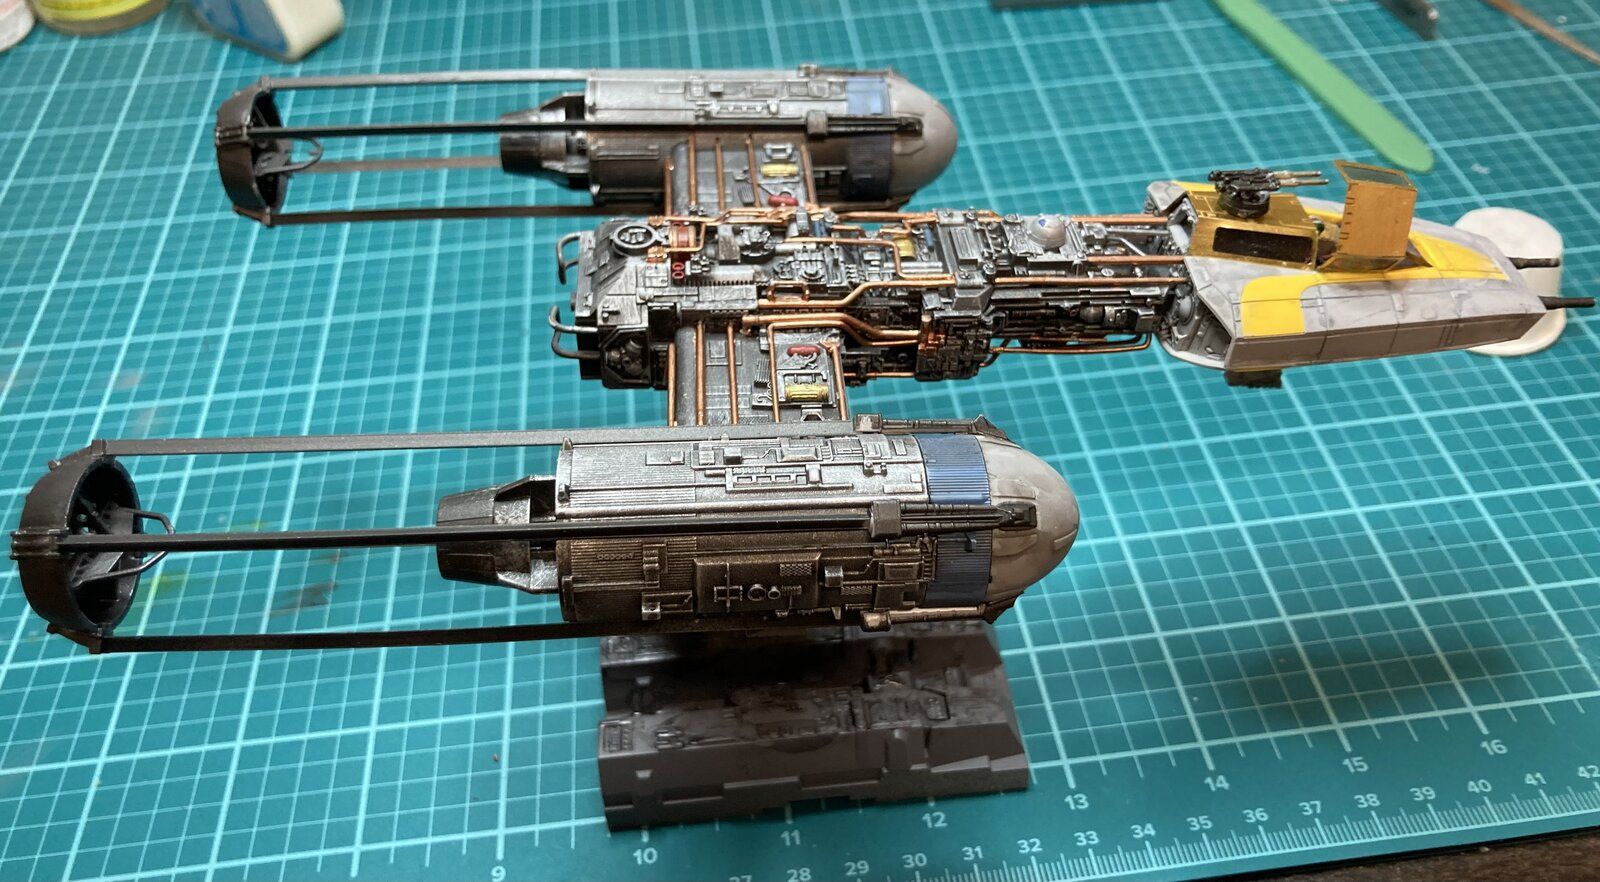
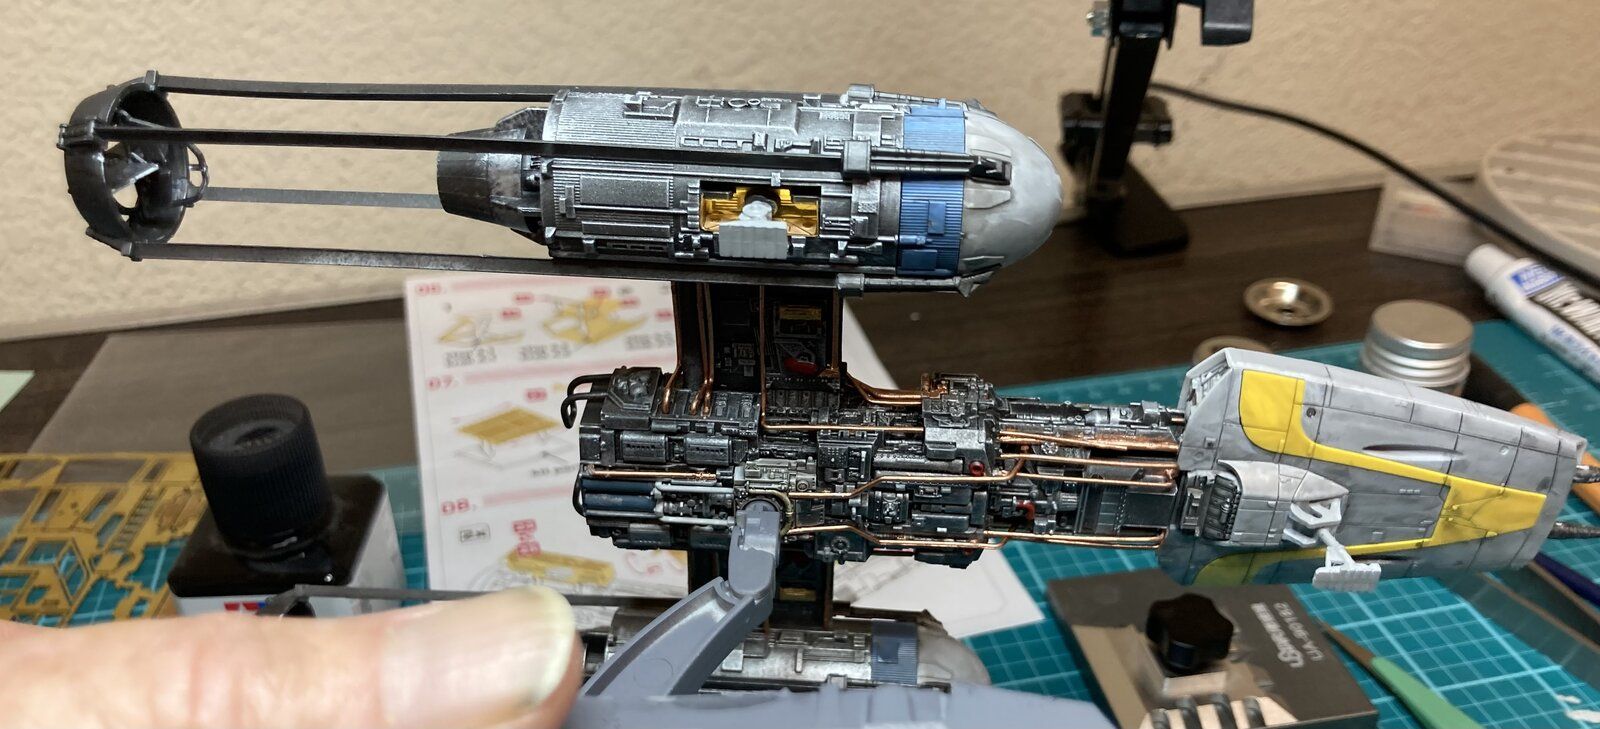
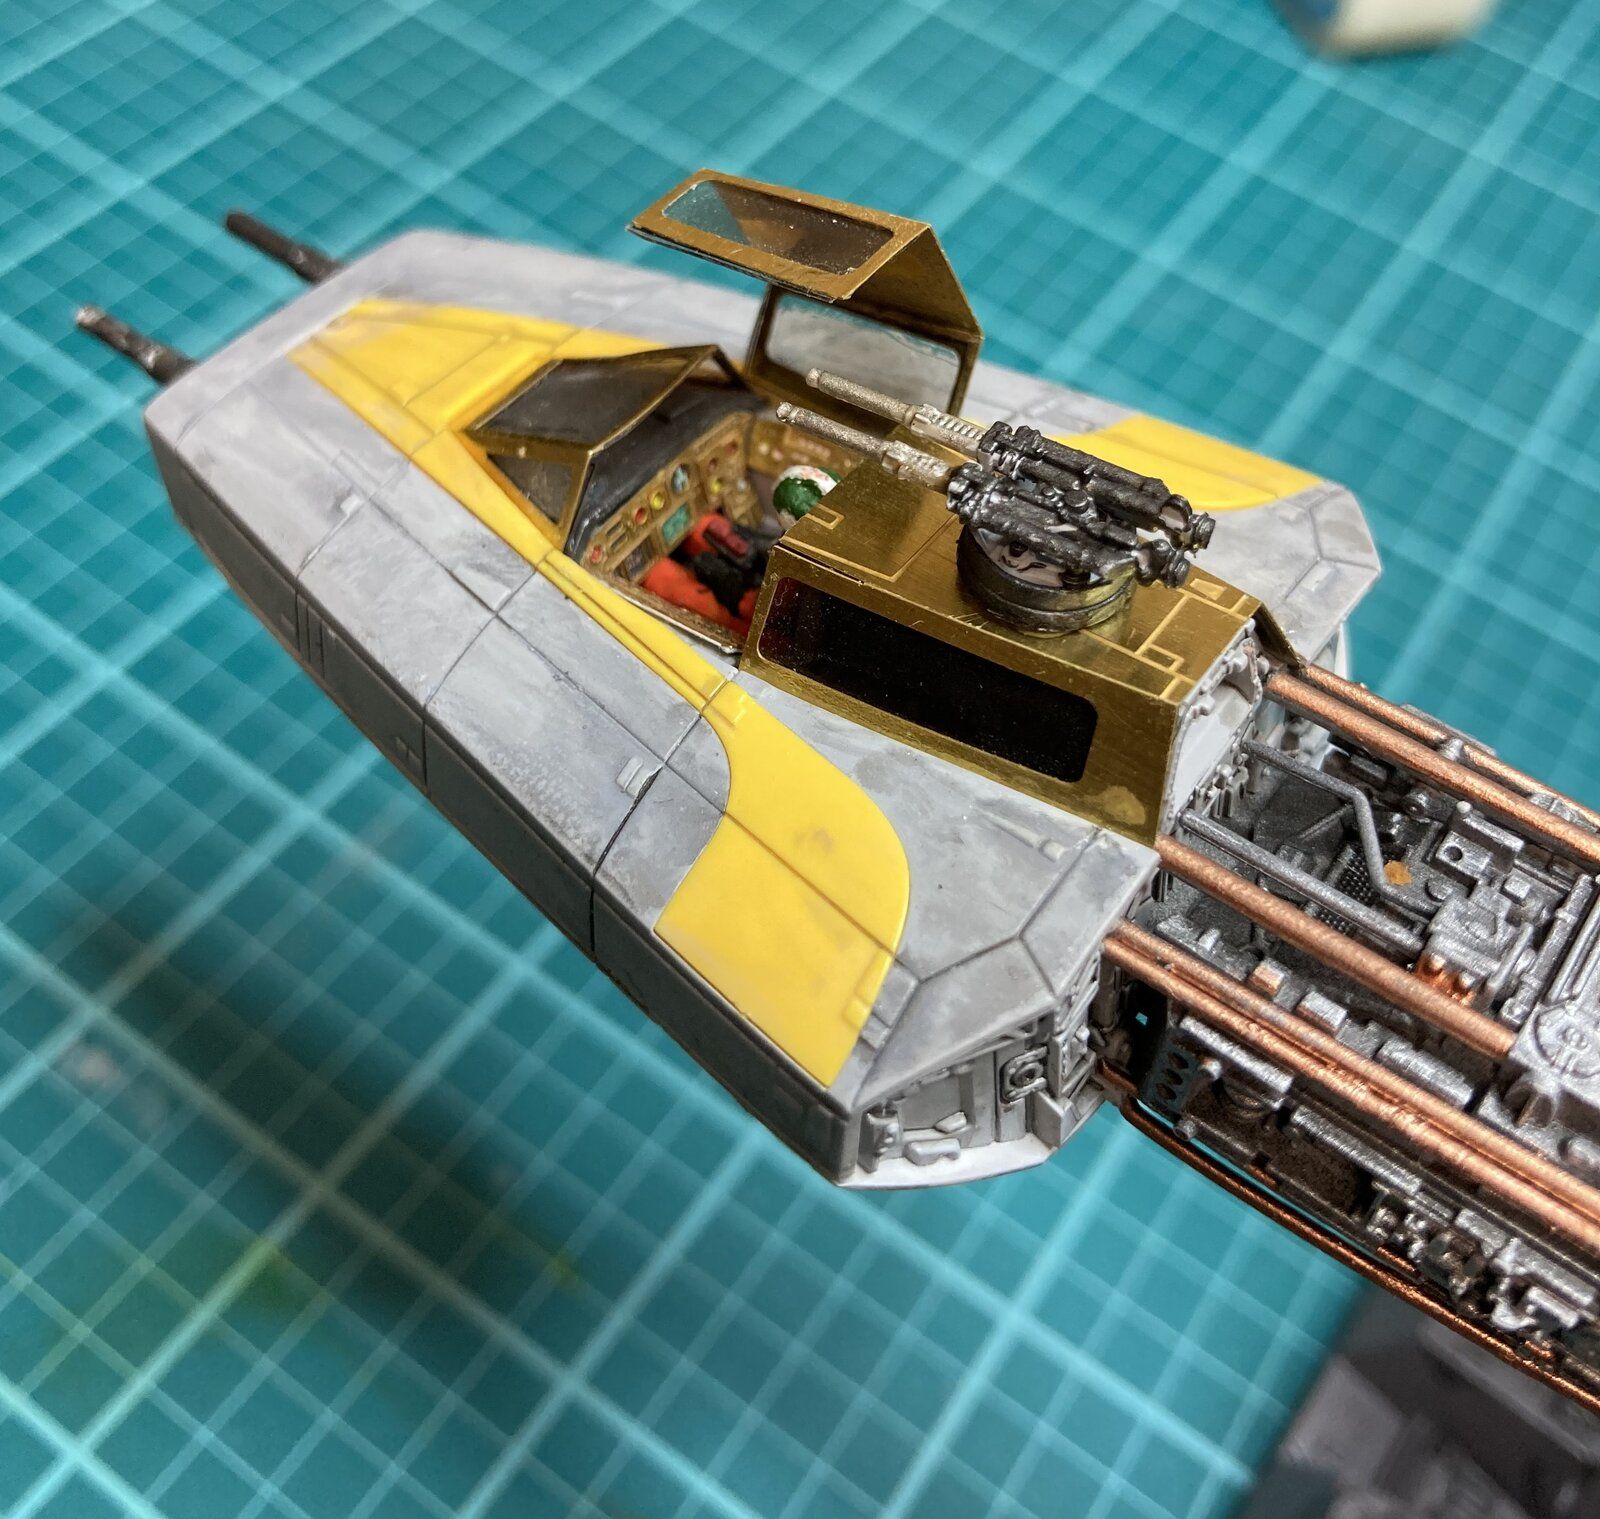
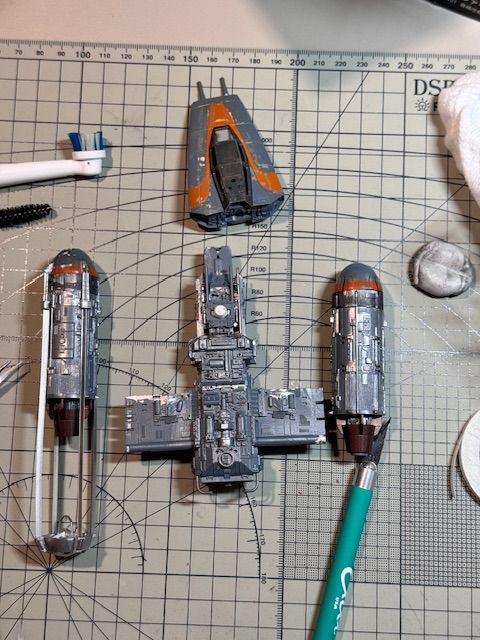
Metallic paint! I decided to go for a variety of colors on the piping on the Y-wing. It choose at random which pipe is which color. So we will see how it works out. Before I place them I have to spray the base coat and the chipping on the main body and nacelles
IMG_5186.jpeg


IMG_5184.jpeg
 
Metallic paint! I decided to go for a variety of colors on the piping on the Y-wing. It choose at random which pipe is which color. So we will see how it works out. Before I place them I have to spray the base coat and the chipping on the main body and nacelles
View attachment 120851

View attachment 120852
The metallic paint work looks really good! You could forget you are looking at a piece of plastic! Well done!
 
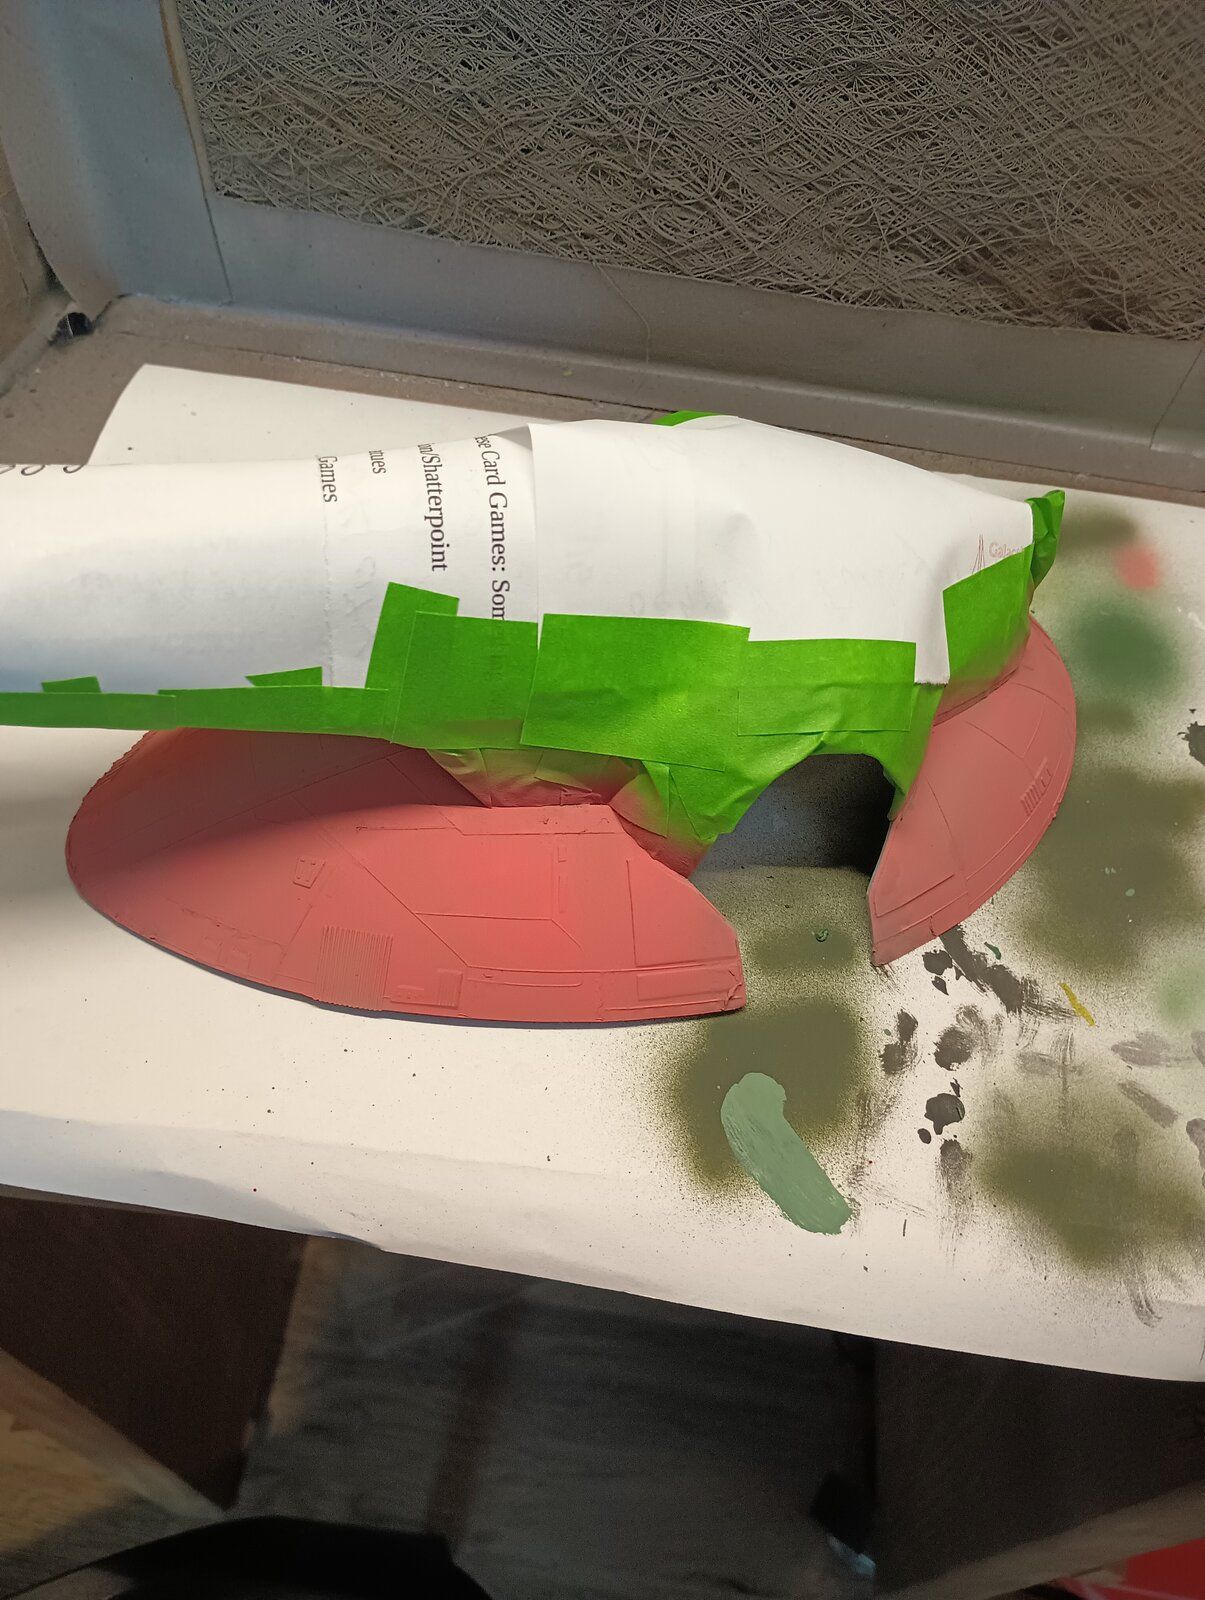
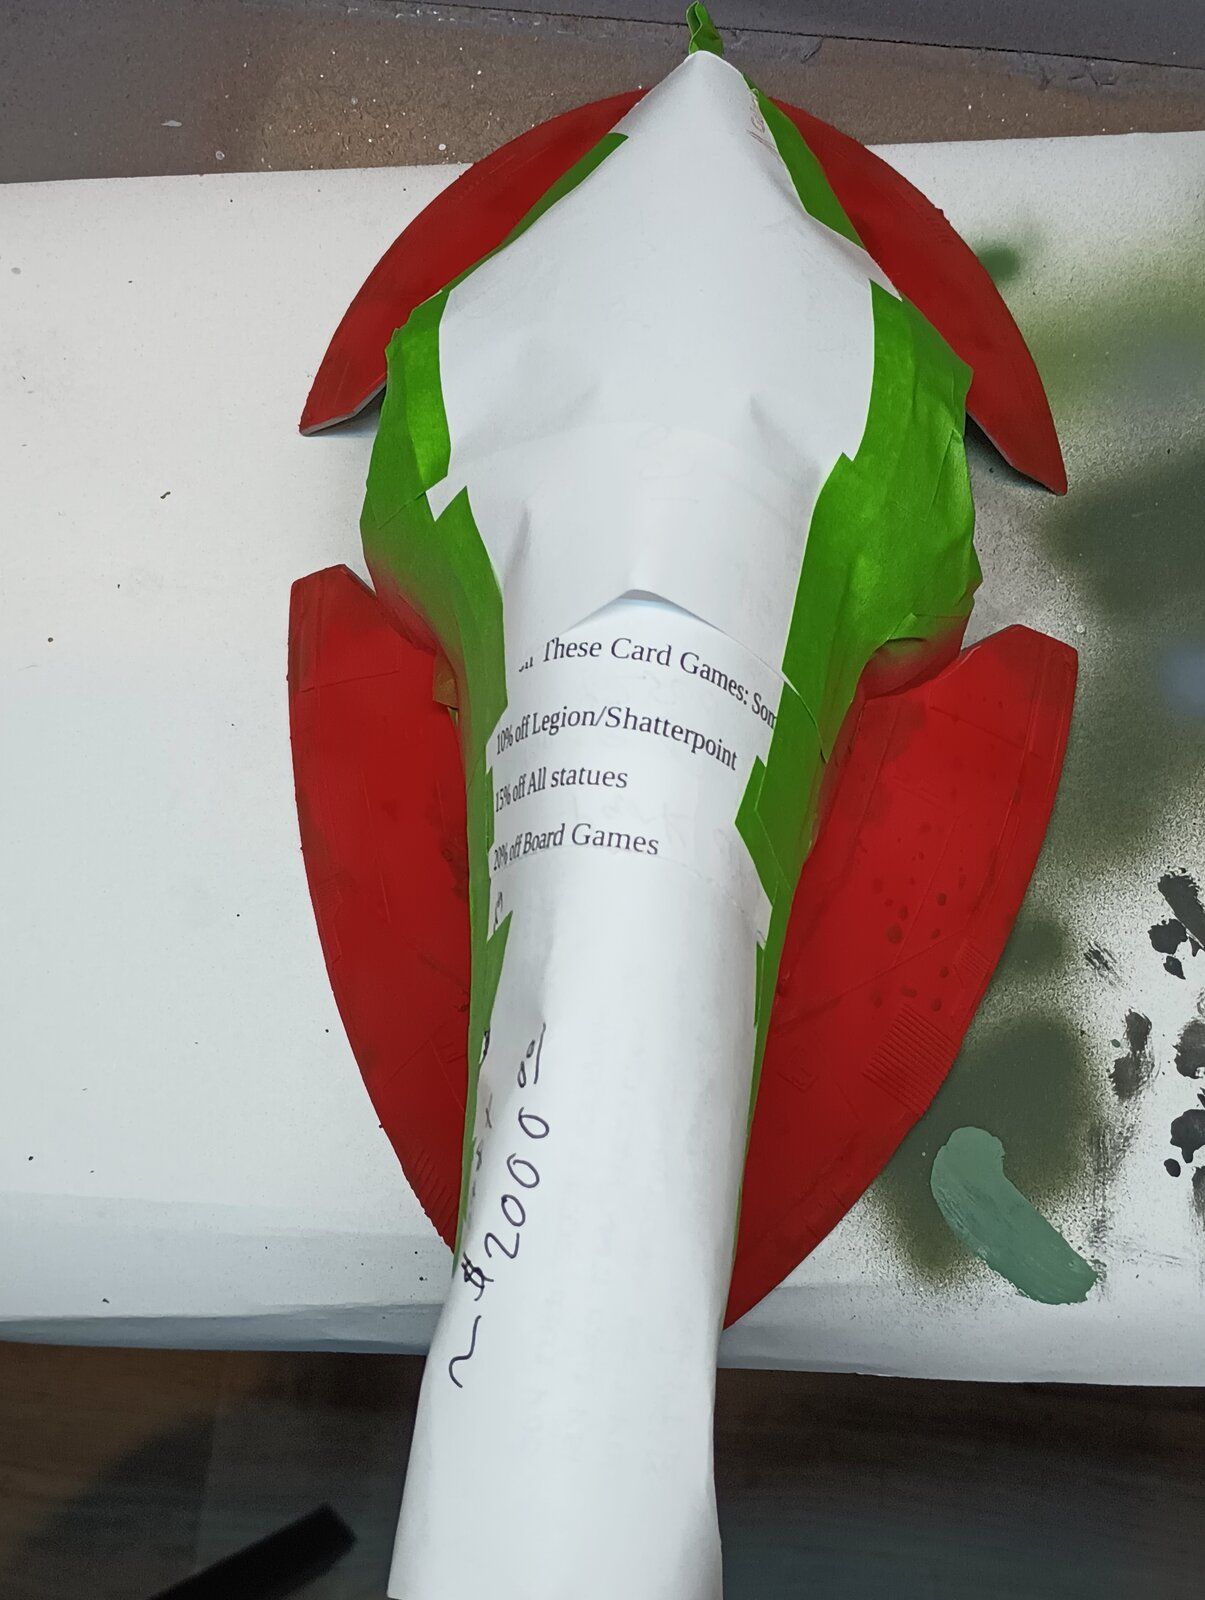
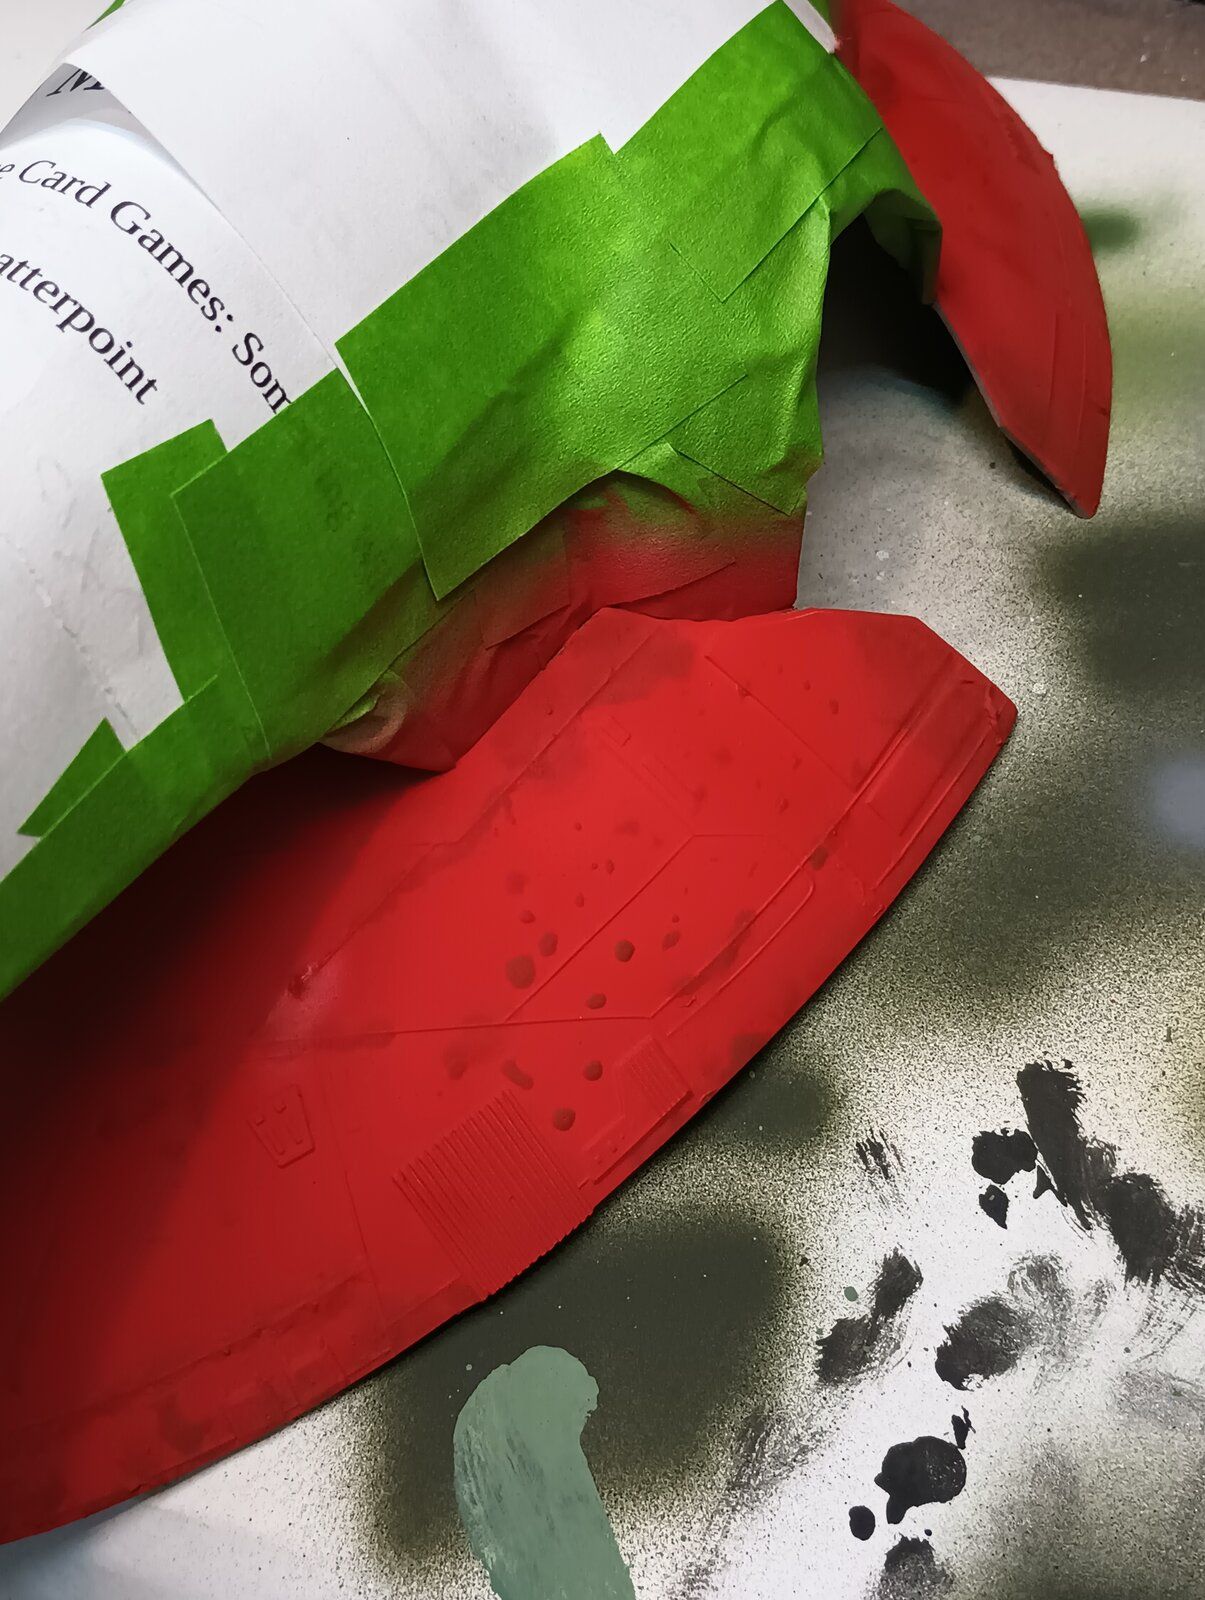
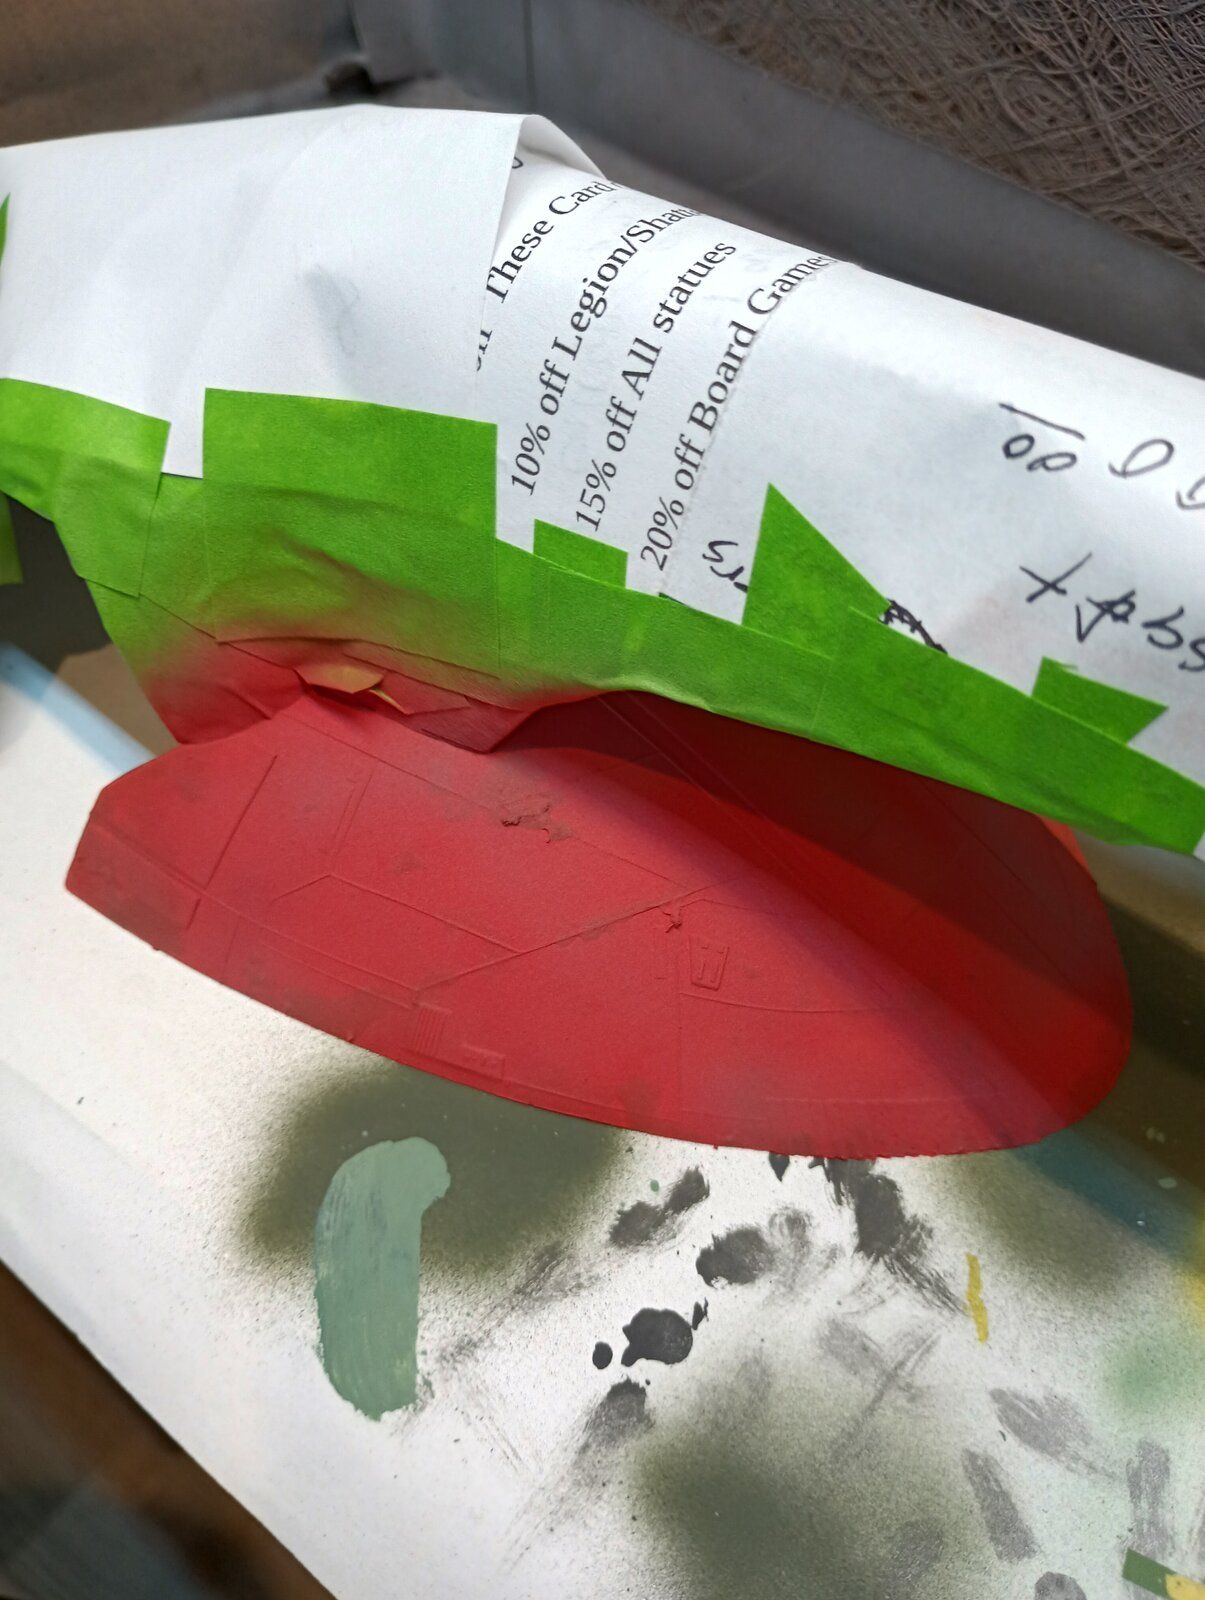
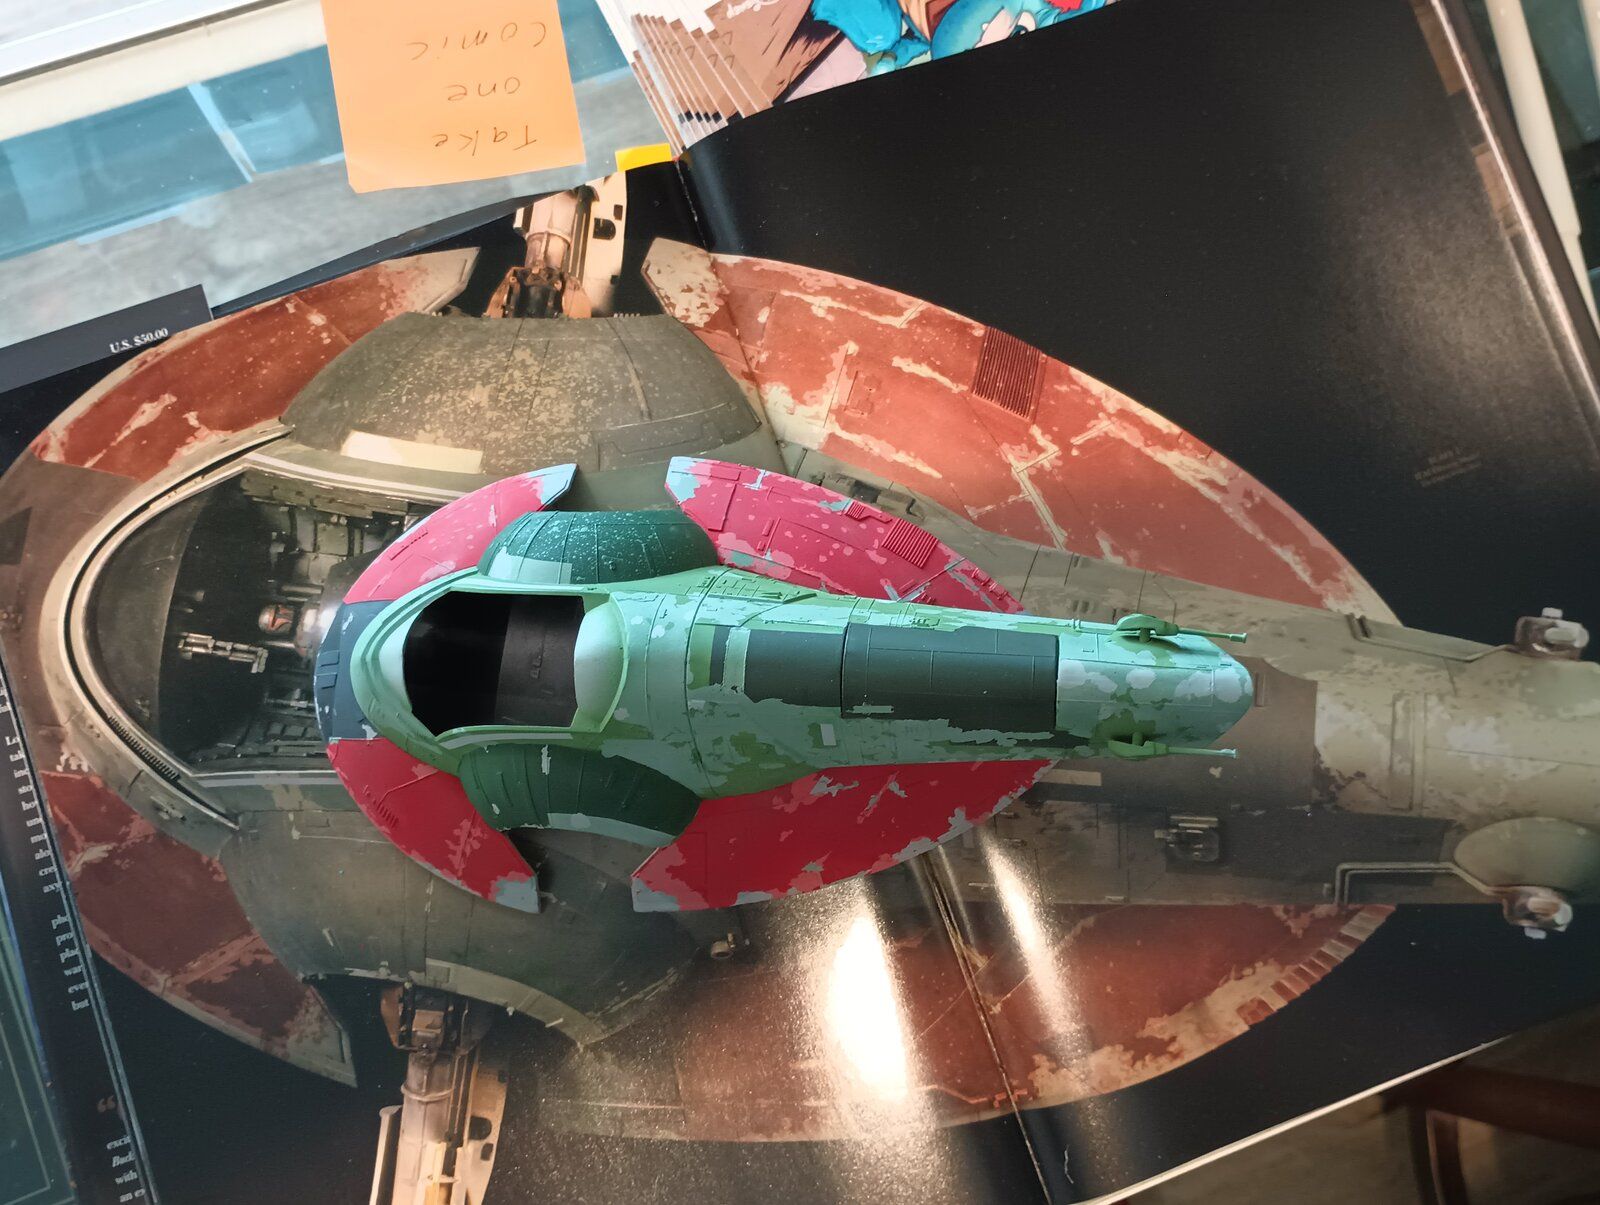
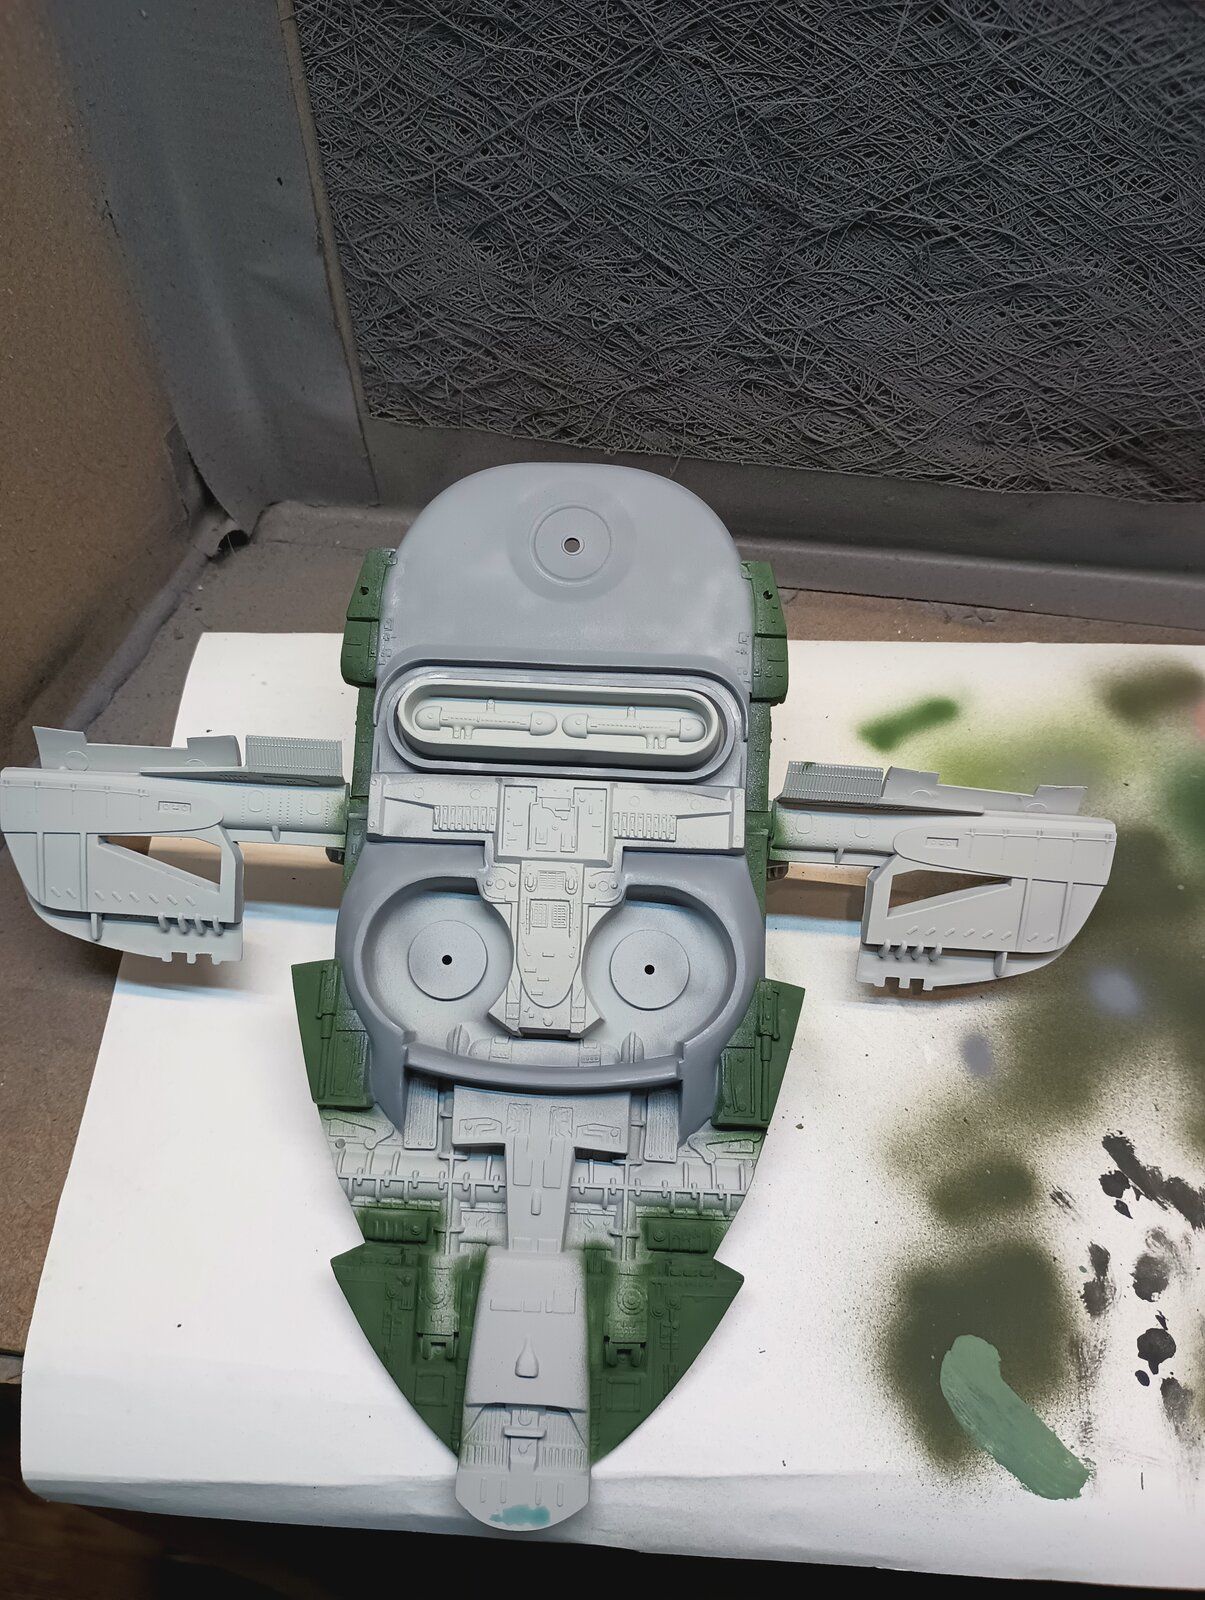
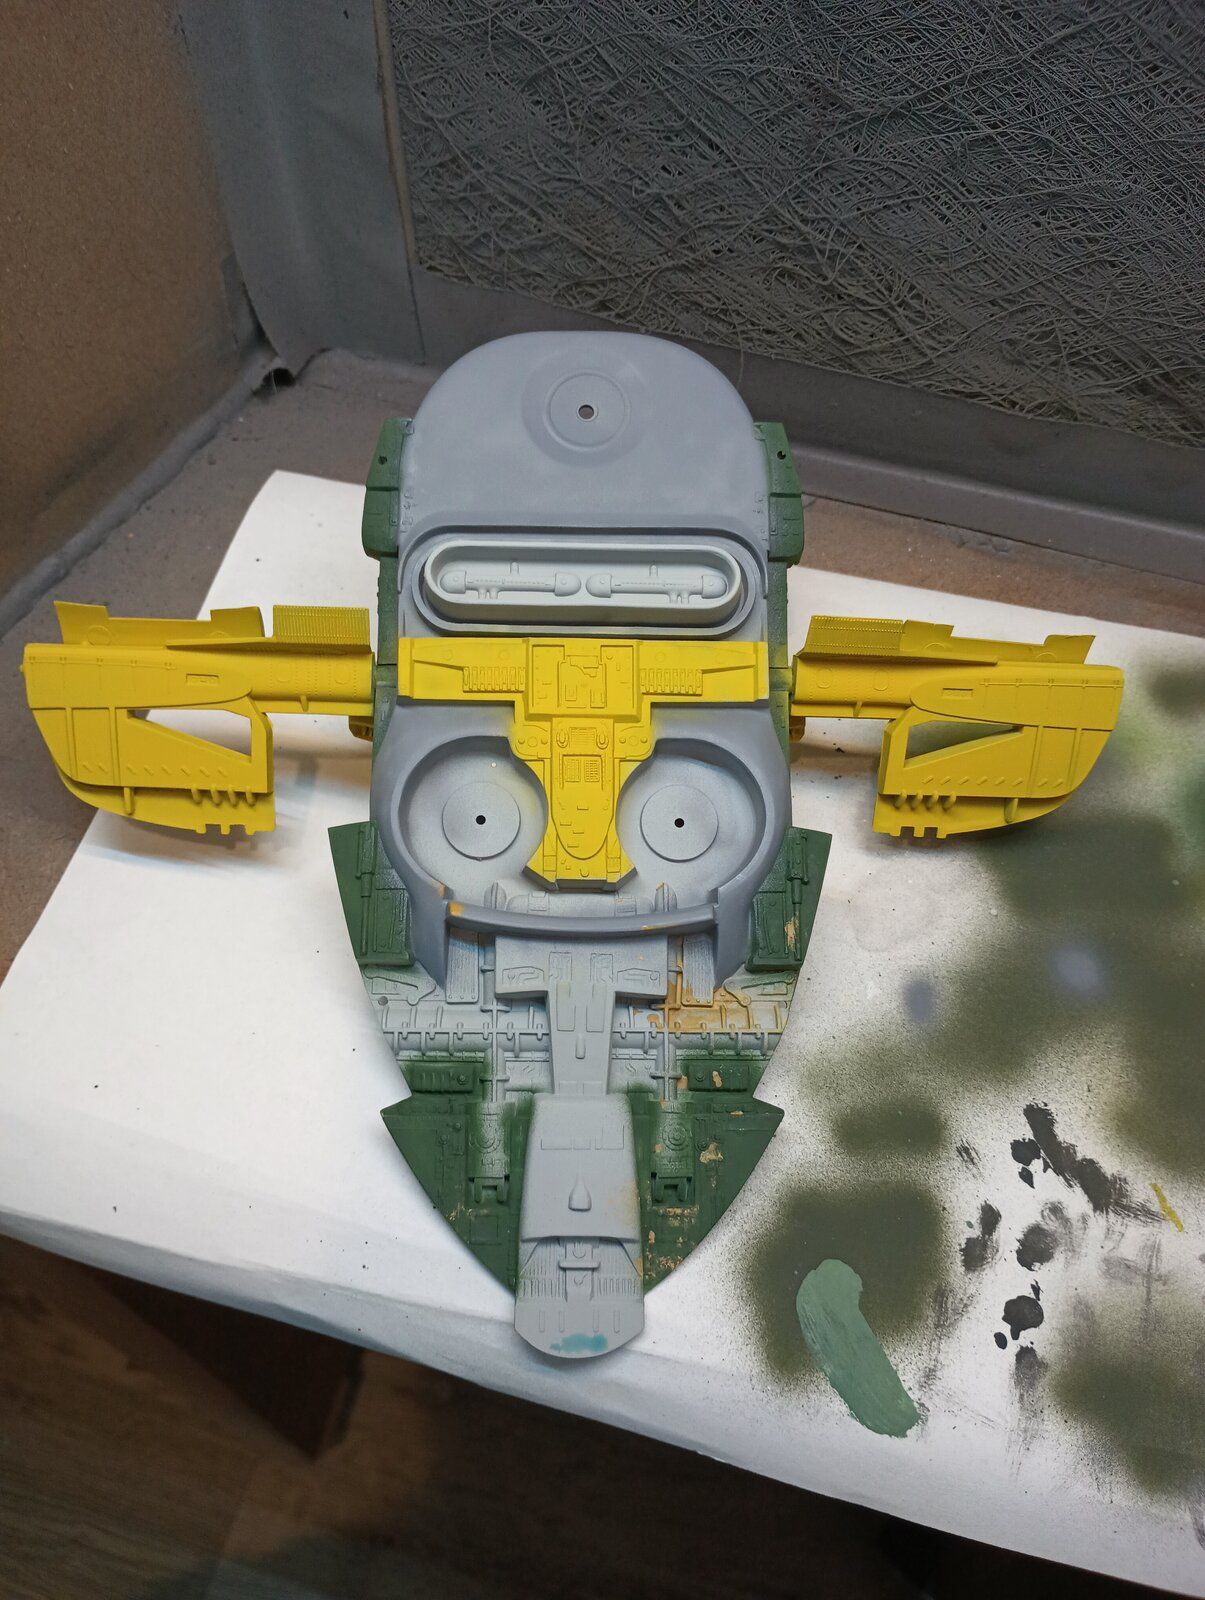
The front is mostly finished, just some detailing and a mist coat over everything. Started on the back and the wings. The liquid mask was coming off of the areas that had multiple layers of paint. It also came off easier the thicker the masking was applied. I really like the effect that you are able to get with it. I want to try chipping media at some point. The red and pink I don't believe are the correct shades, but I'm hoping the mist coat will help to at least dull them down more.

You will probably notice on the last picture the tan spots. When I was mixing the yellow I almost dropped the bottle on the floor and spilled almost half of it out. I'm going to have to touch-up the green and gray obviously. Getting more clumsy the older I get.
Slave I (18).jpg
Slave I (19).jpg
Slave I (20).jpg
Slave I (21).jpg
Slave I (22).jpg
Slave I (23).jpg
Slave I (24).jpg
 
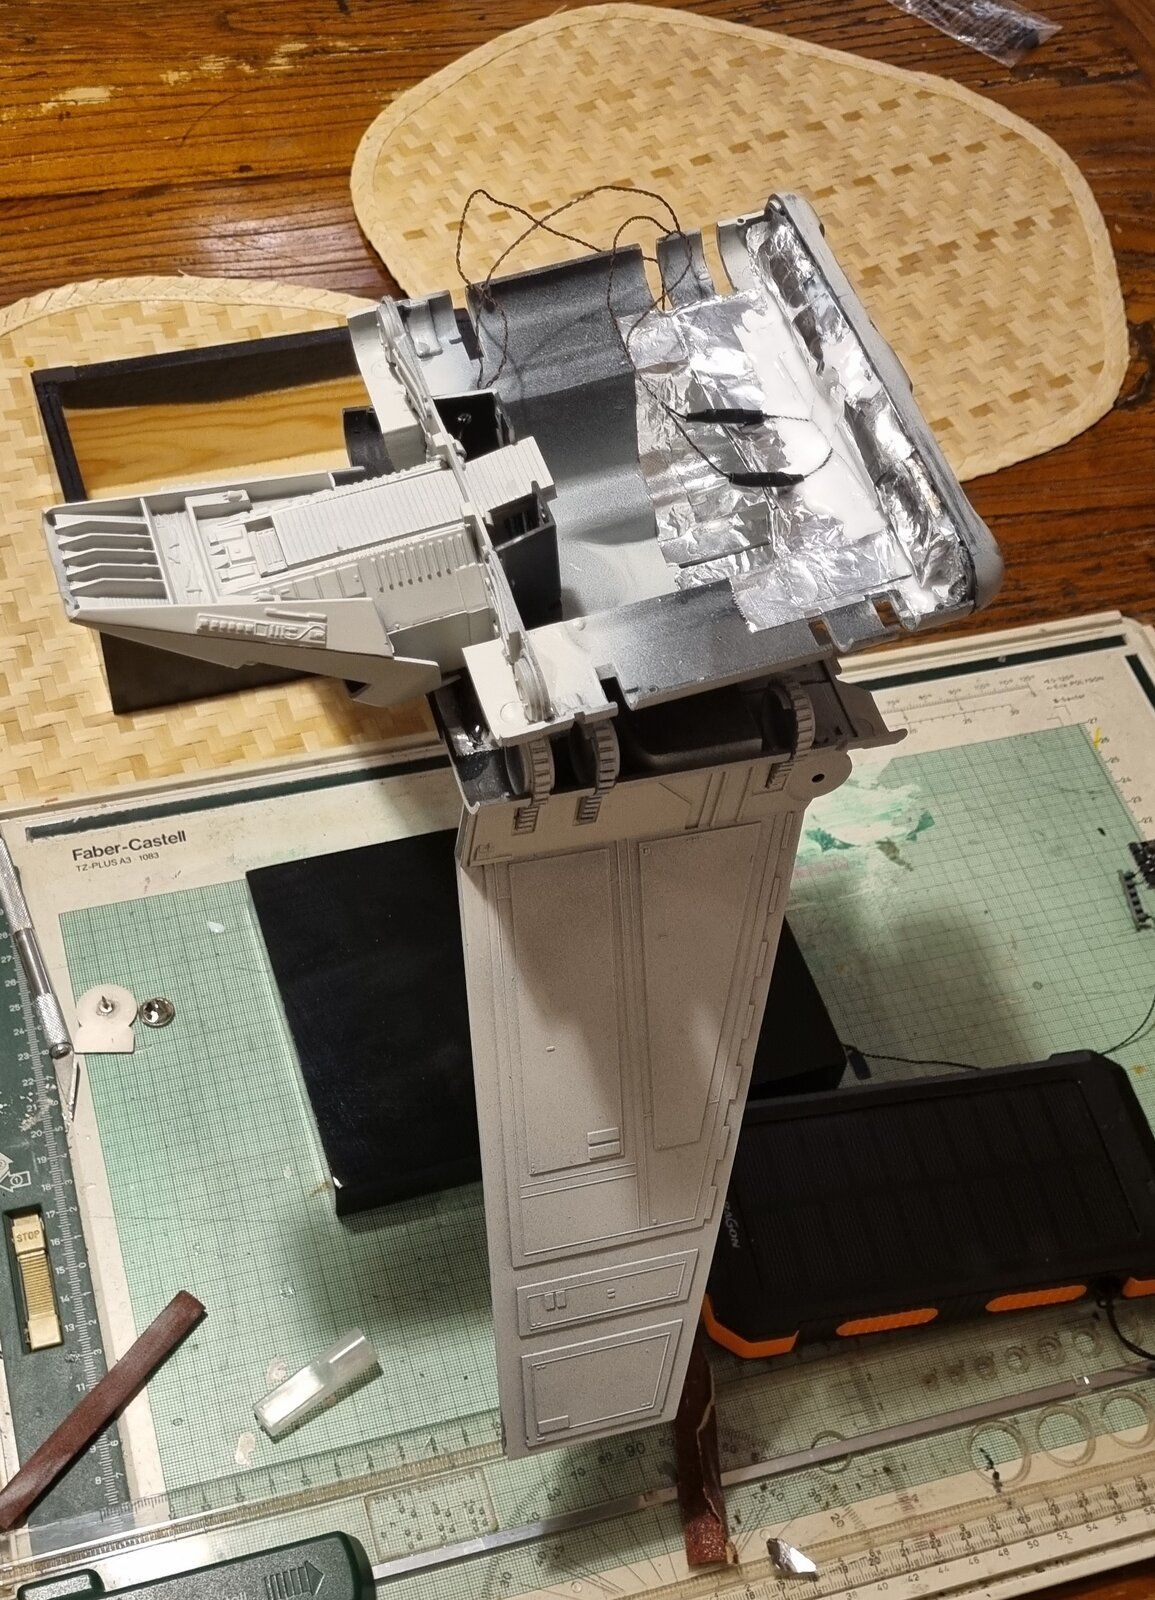
Final foil application to address some light bleed from the engines.

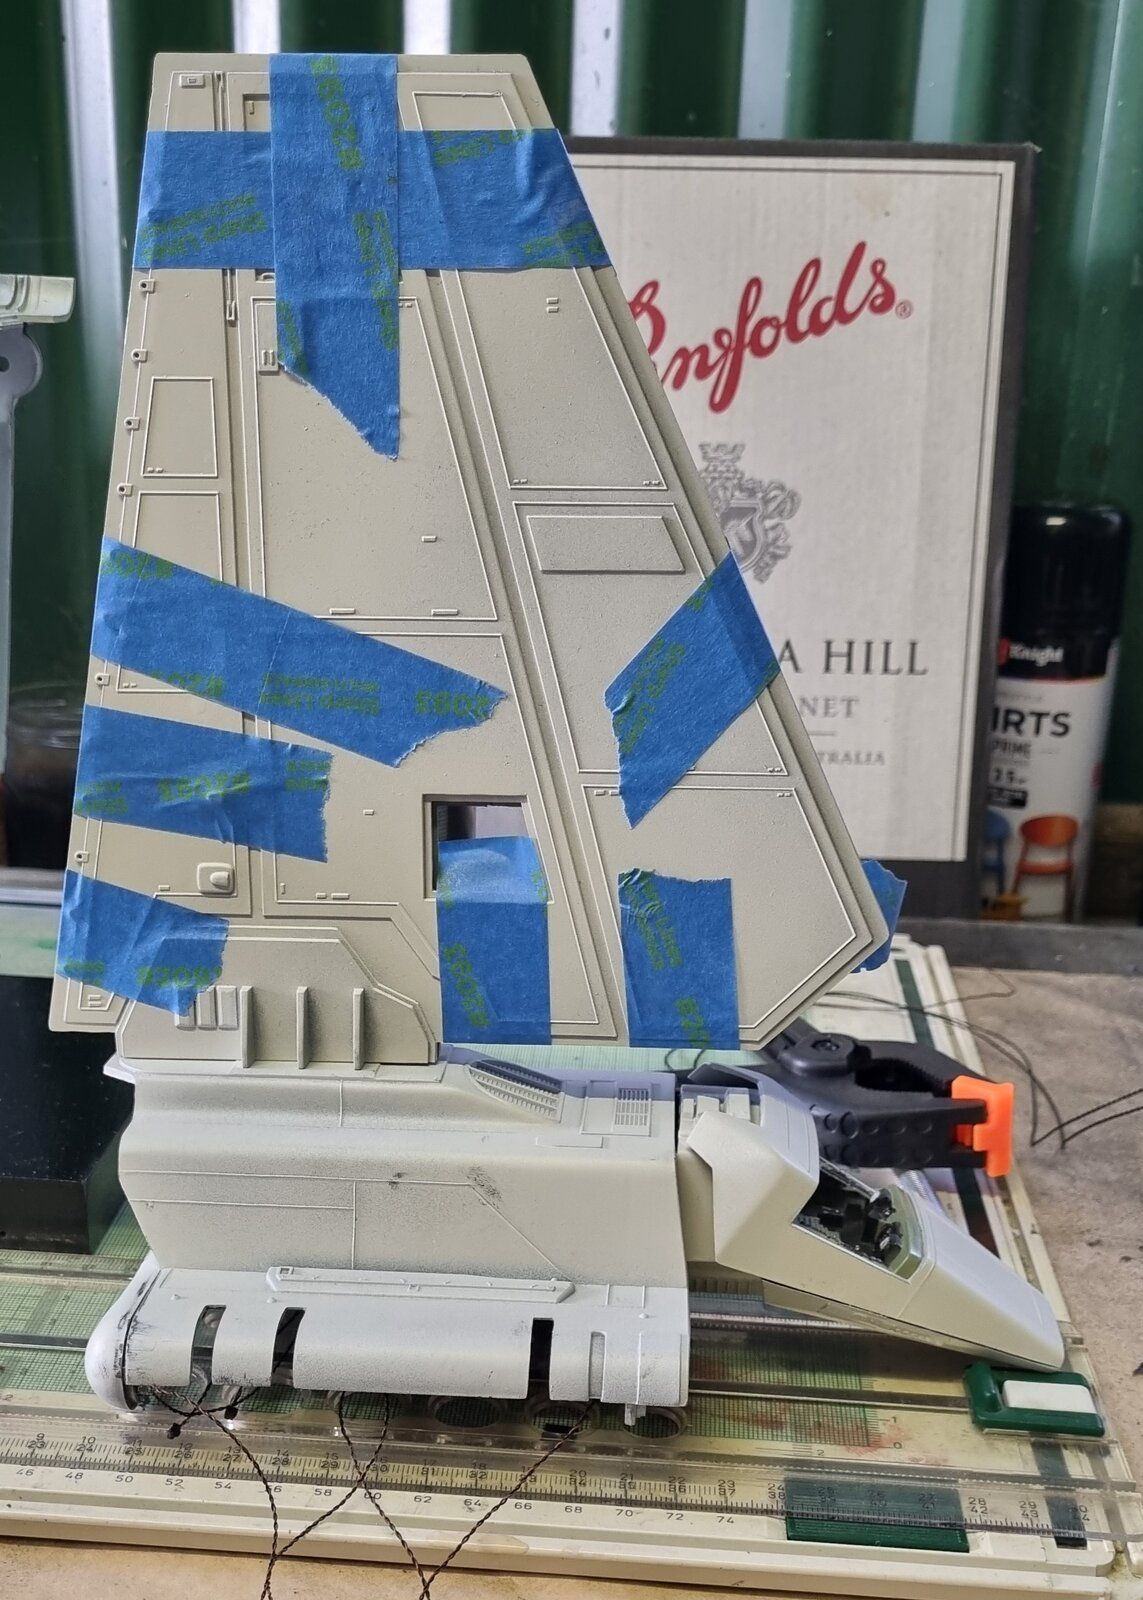
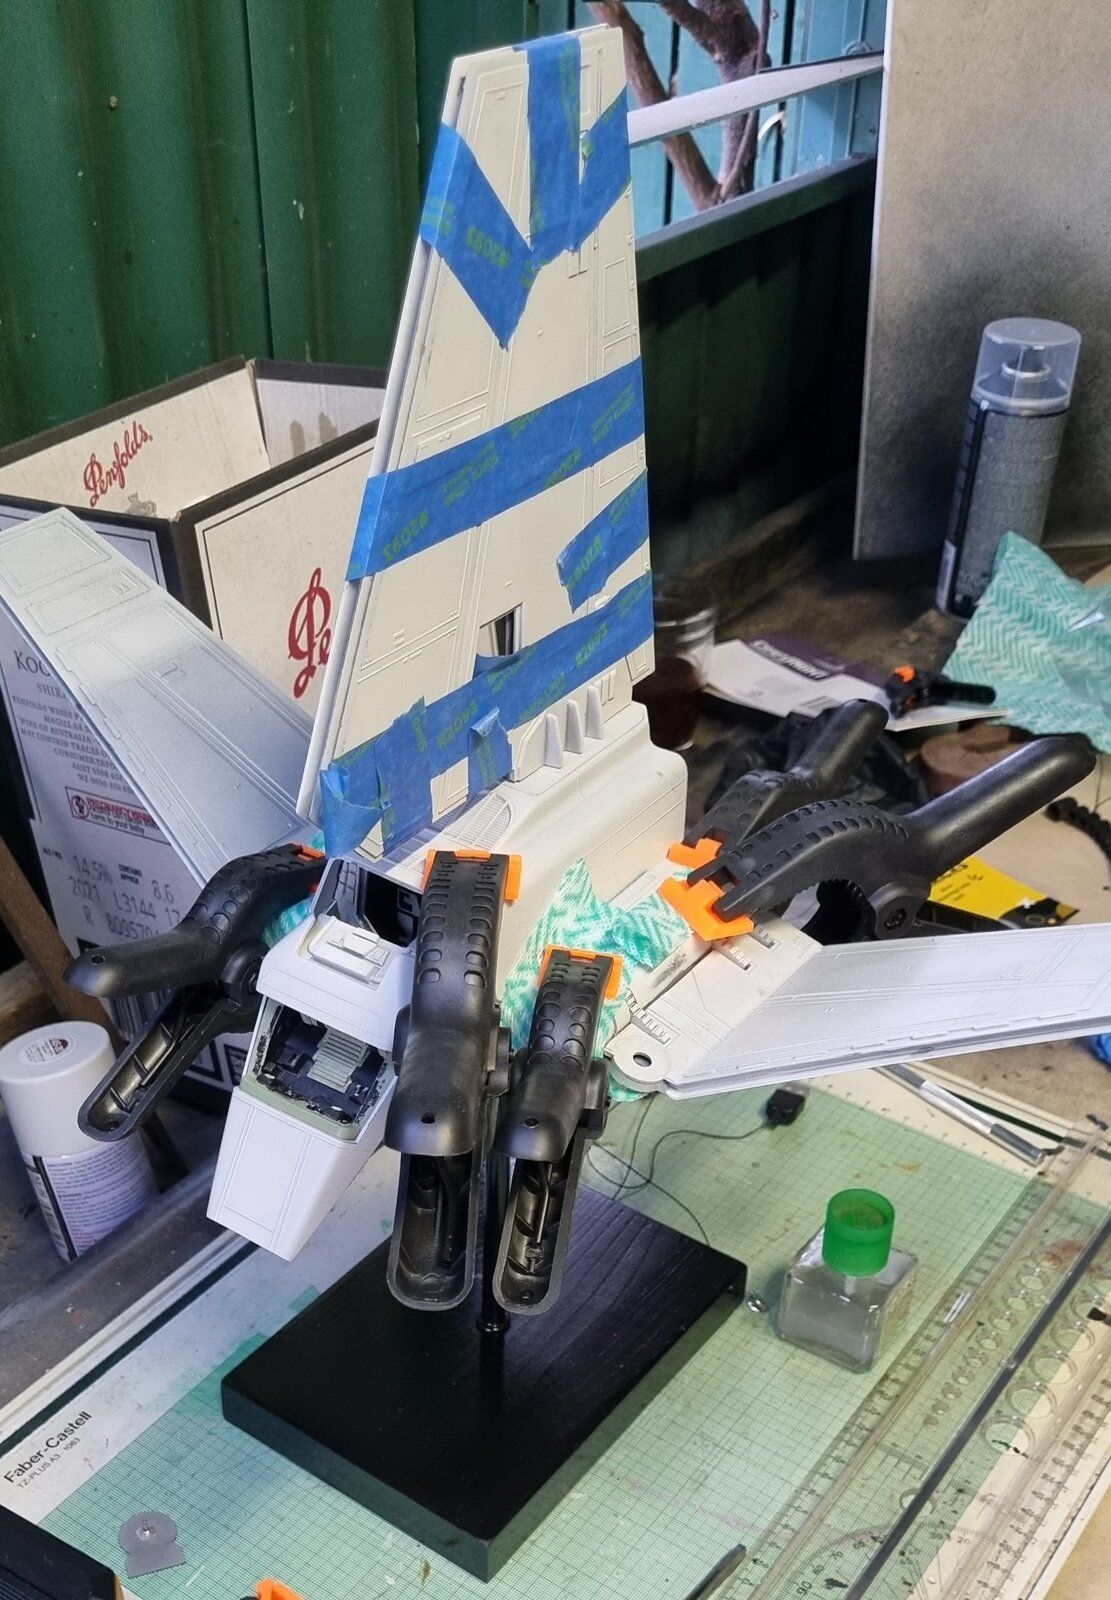
Today my final order of cabling arrived so I was able to complete the electronics and I have installed upper stabiliser. Finally, I have brought the two halves together, glued them along the seams and applied clamps all round.

This will be the moment of truth.

The cockpit popped off in the process but I think it will glue back okay.

1000020745.jpg


1000020746.jpg


1000020770.jpg


1000020771.jpg
 
The front is mostly finished, just some detailing and a mist coat over everything. Started on the back and the wings. The liquid mask was coming off of the areas that had multiple layers of paint. It also came off easier the thicker the masking was applied. I really like the effect that you are able to get with it. I want to try chipping media at some point. The red and pink I don't believe are the correct shades, but I'm hoping the mist coat will help to at least dull them down more.

You will probably notice on the last picture the tan spots. When I was mixing the yellow I almost dropped the bottle on the floor and spilled almost half of it out. I'm going to have to touch-up the green and gray obviously. Getting more clumsy the older I get.
View attachment 120855View attachment 120856View attachment 120857View attachment 120858View attachment 120859View attachment 120860View attachment 120861

Coming together nicely and chipping turned out well
 
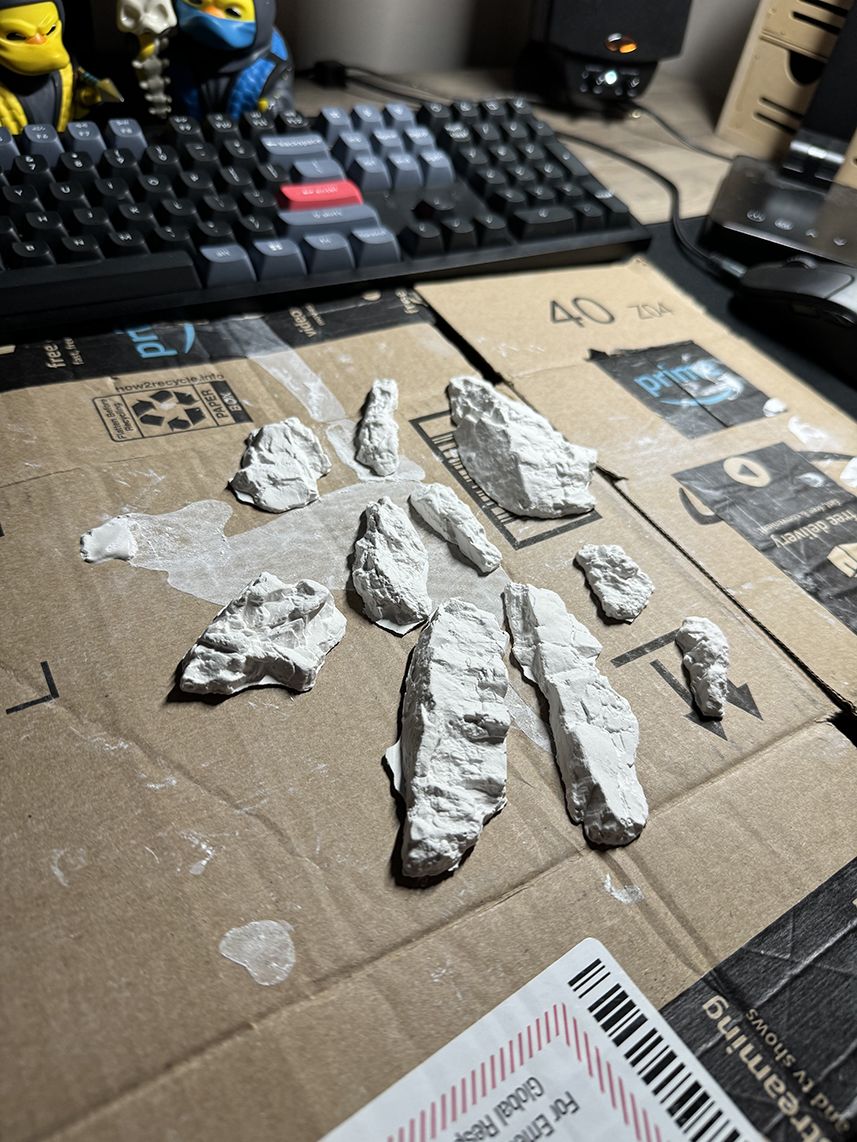
Progress pics.. it's been a bit slow because I am using some new mediums (Scenic Woodlands molds, lightweight hydrocal, and sculptamold).

View attachment 120891

View attachment 120892
Expanding your tool box is a good thing. That is one thing I enjoy the most about this hobby, pushing into new areas and knowing the next time it will be better. Looking good so far.
 
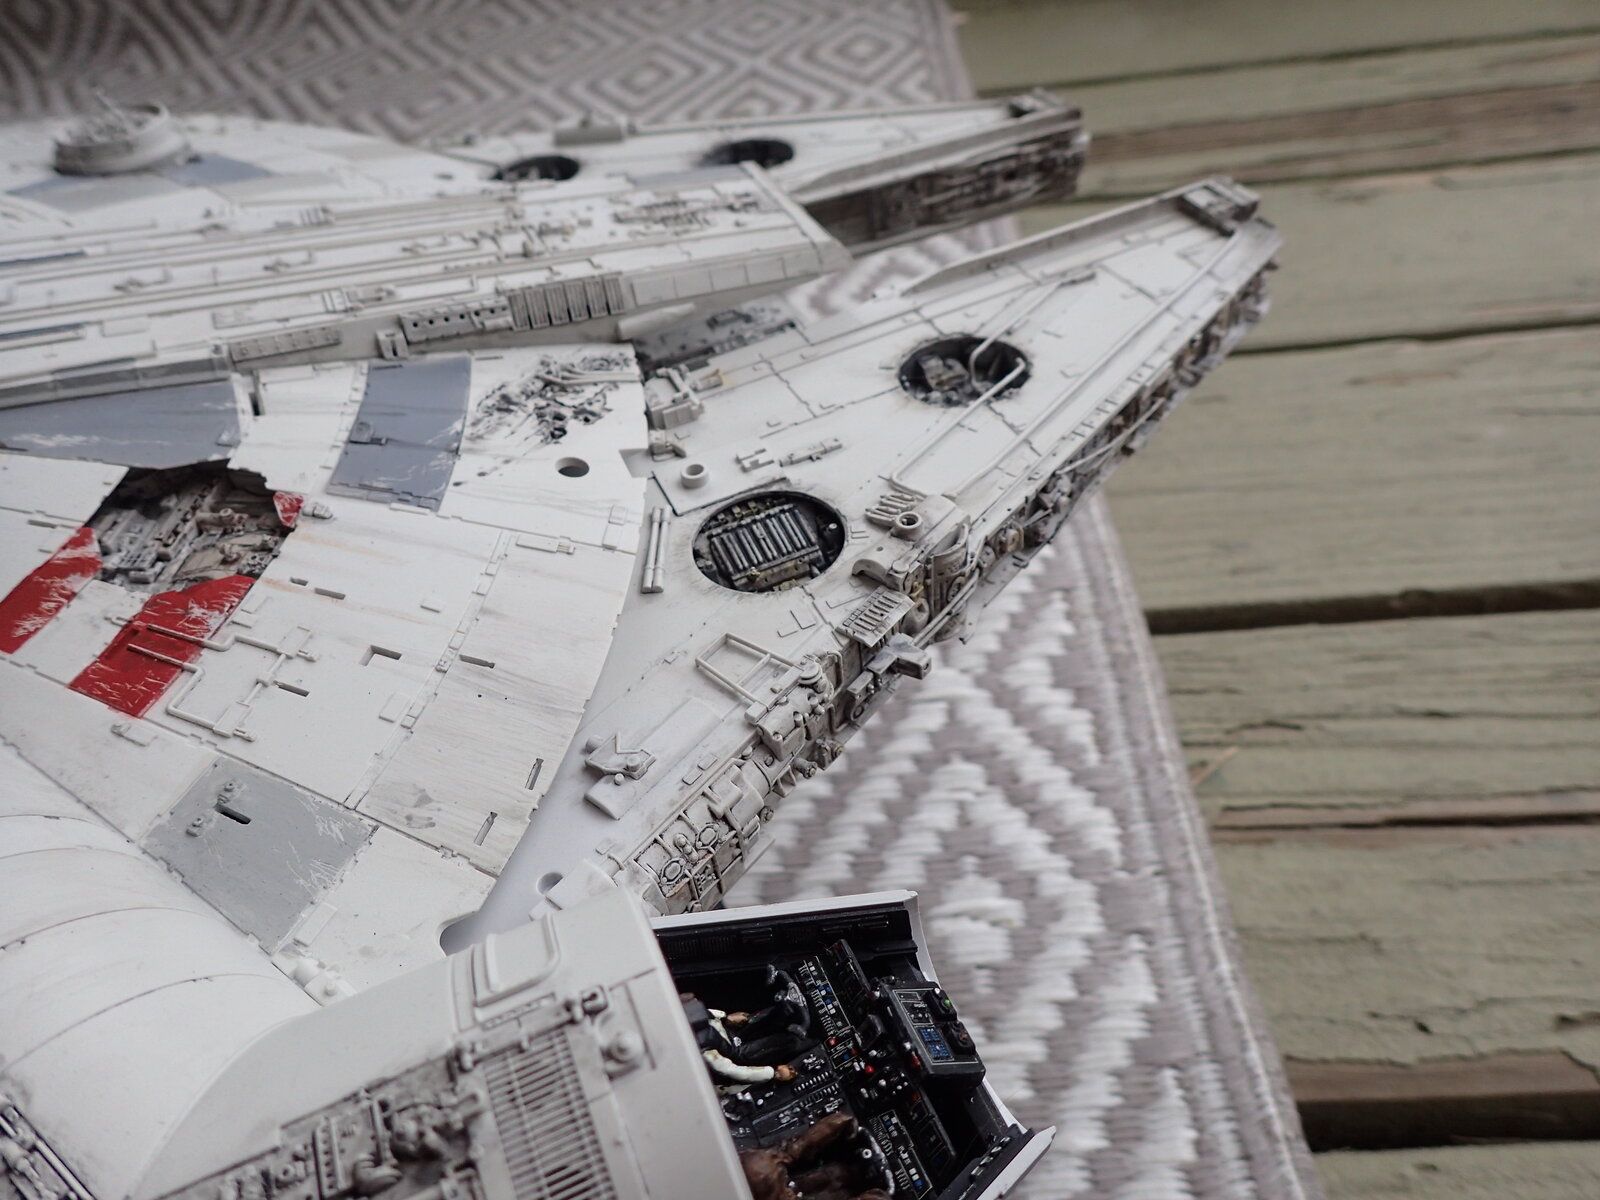
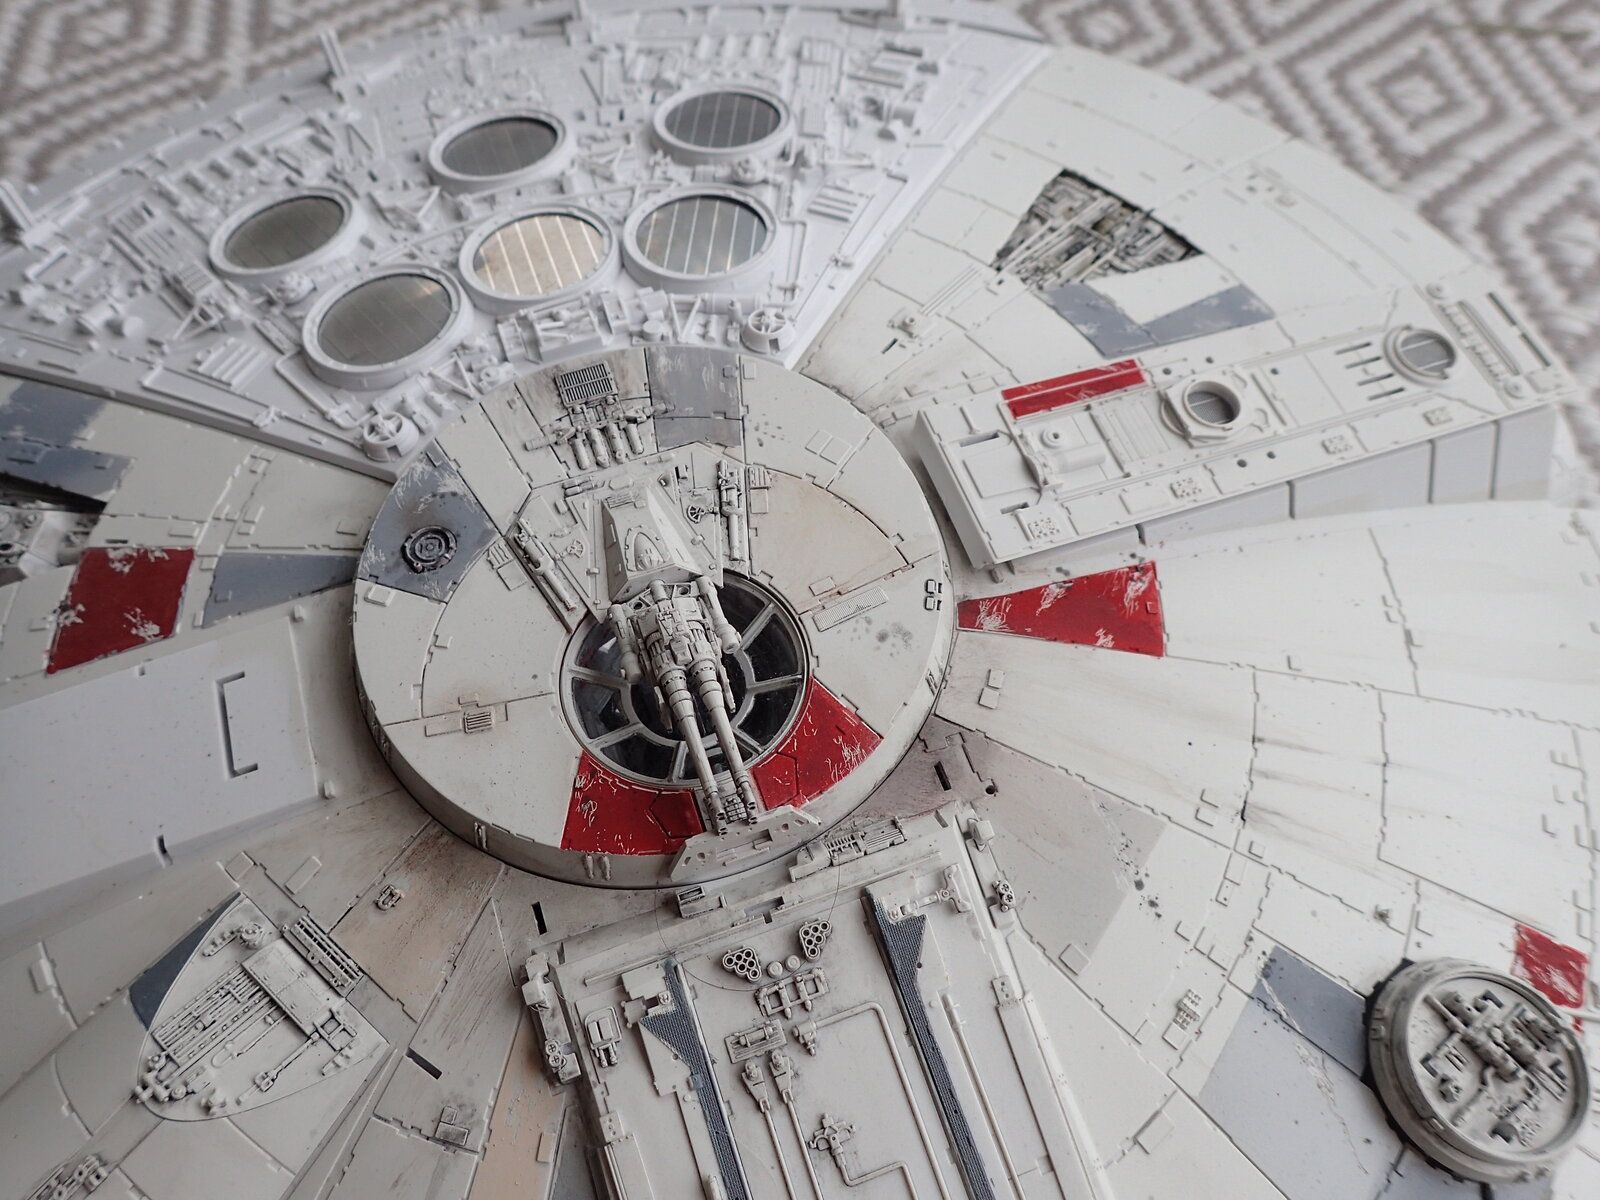
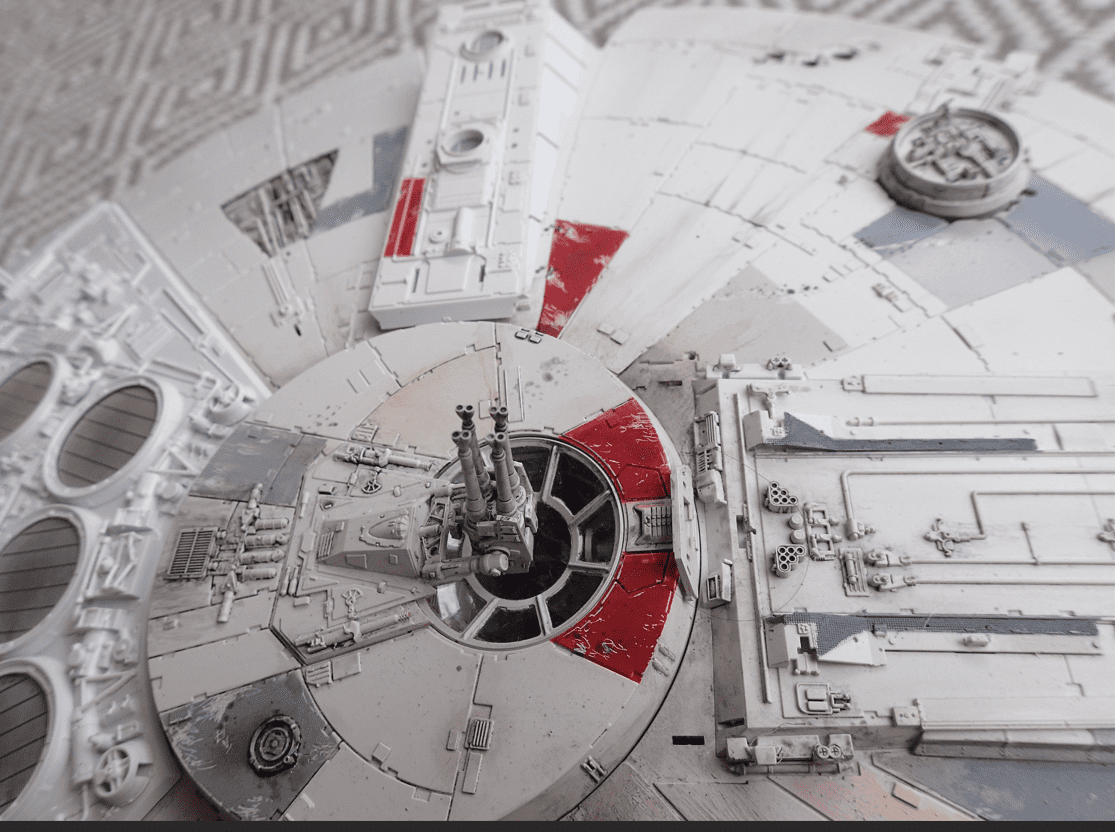
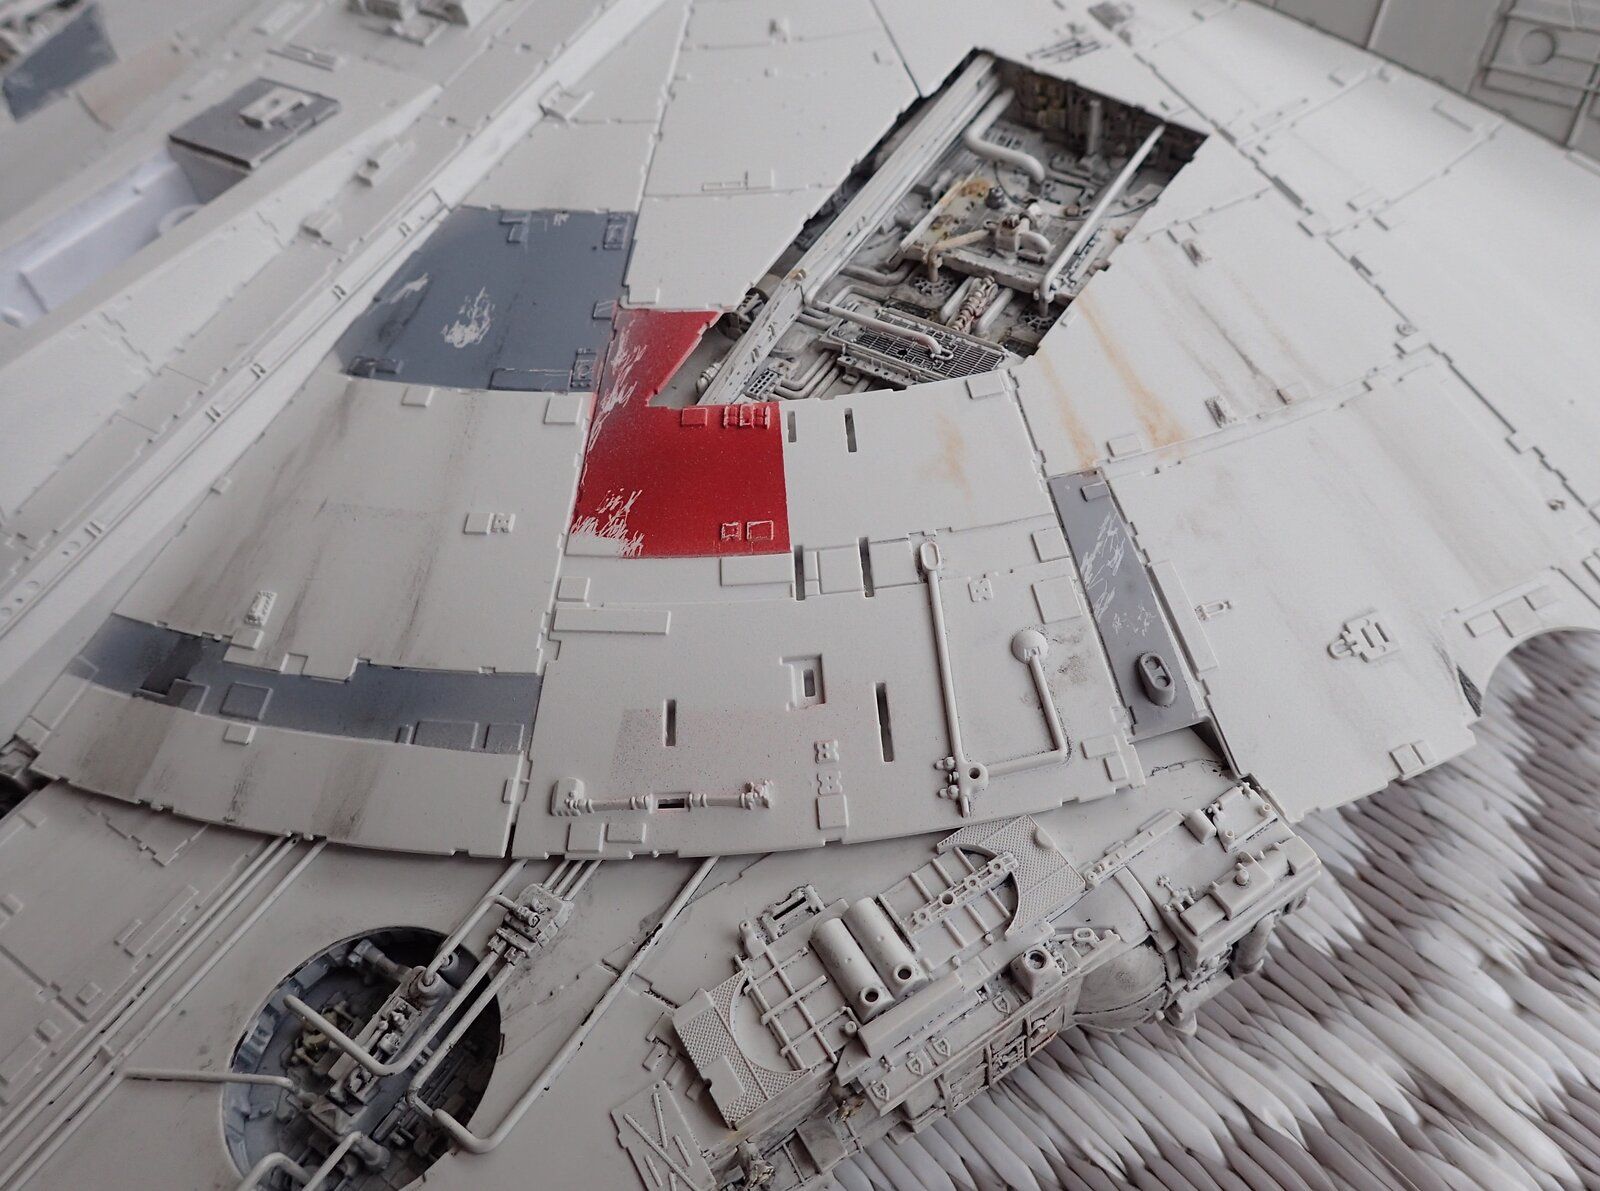
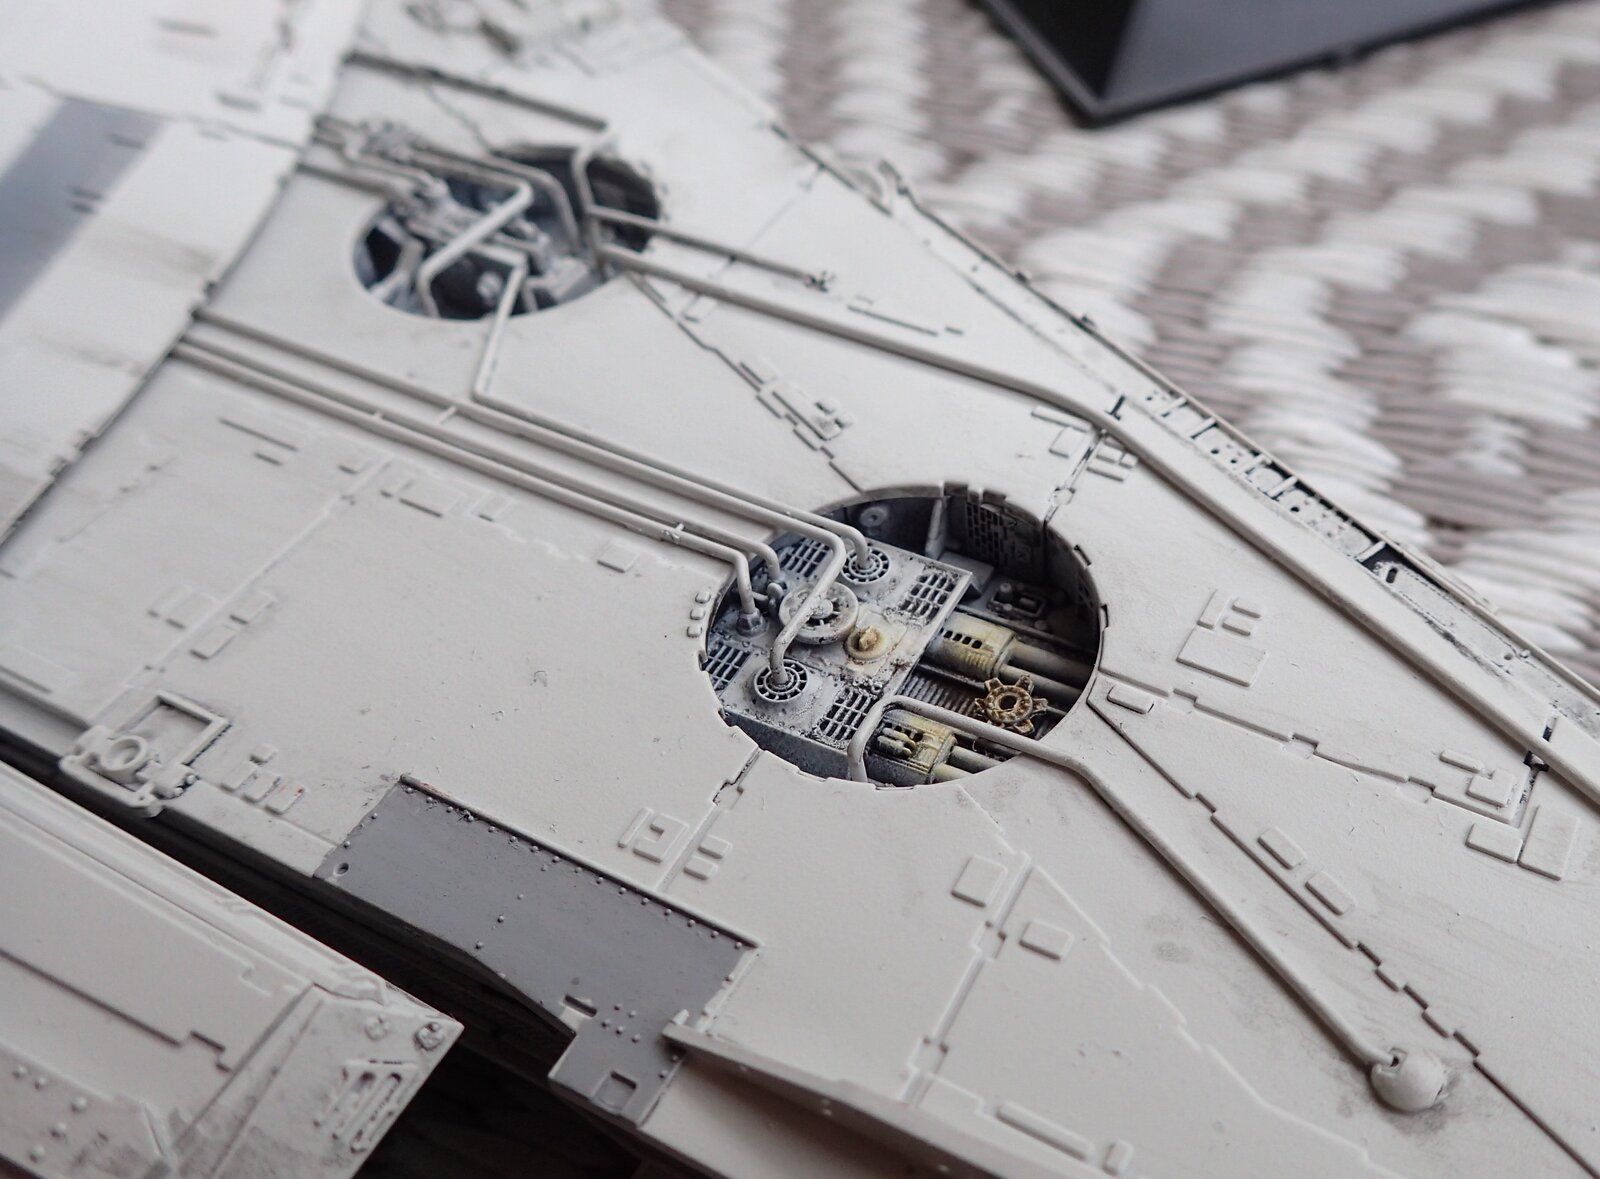
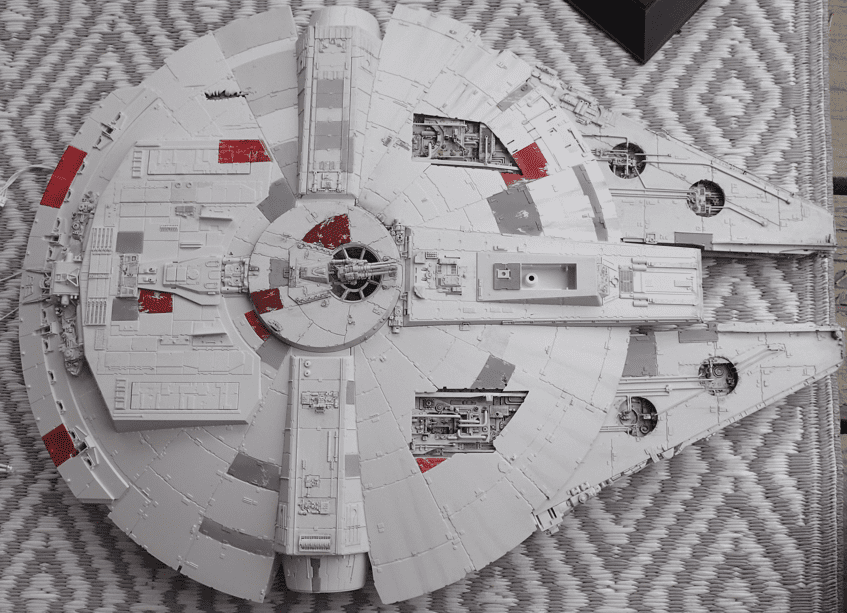
Got most of the main build done enough to be able to get the base colors laid down with all the various odd color panels. Testing a few streaking techniques here and there, but I think I need to go a bit darker with the weathering

P7282408.JPG

P7282399.JPG

here you can see the contrast between the unpainted plastic color of the engine deck and the As-20 color

1722268981461.png

1722269107305.png
1722269738894.png


P7282425a.JPG
P7282421a.JPG

1722269158483.png
 
Got most of the main build done enough to be able to get the base colors laid down with all the various odd color panels. Testing a few streaking techniques here and there, but I think I need to go a bit darker with the weathering

View attachment 120996
View attachment 120998
here you can see the contrast between the unpainted plastic color of the engine deck and the As-20 color

View attachment 120989
View attachment 120990View attachment 120997

View attachment 120995View attachment 120993
View attachment 120991
It's looking good, it's easier to add darker weathering than to take away. Which model an scale was this kit? I can't wait to see this finished.
 
The front is mostly finished, just some detailing and a mist coat over everything. Started on the back and the wings. The liquid mask was coming off of the areas that had multiple layers of paint. It also came off easier the thicker the masking was applied. I really like the effect that you are able to get with it. I want to try chipping media at some point. The red and pink I don't believe are the correct shades, but I'm hoping the mist coat will help to at least dull them down more.

You will probably notice on the last picture the tan spots. When I was mixing the yellow I almost dropped the bottle on the floor and spilled almost half of it out. I'm going to have to touch-up the green and gray obviously. Getting more clumsy the older I get.
View attachment 120855View attachment 120856View attachment 120857View attachment 120858View attachment 120859View attachment 120860View attachment 120861
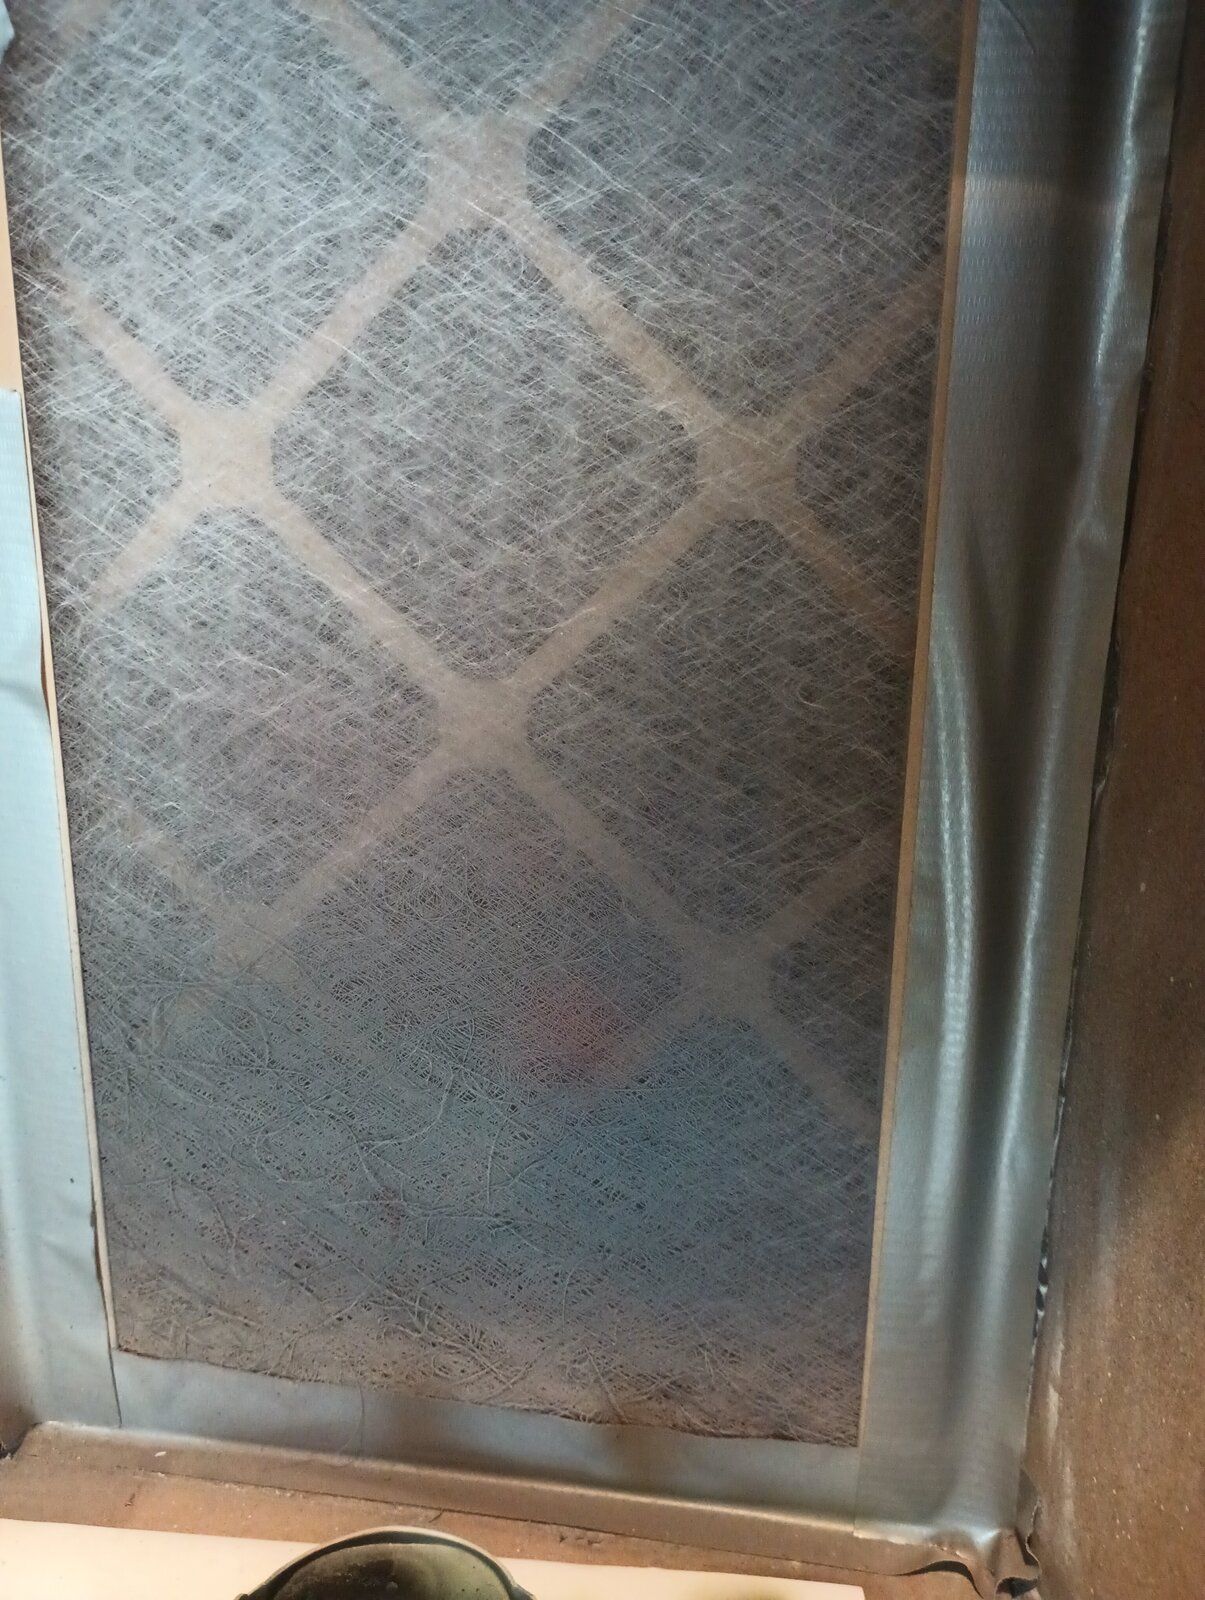
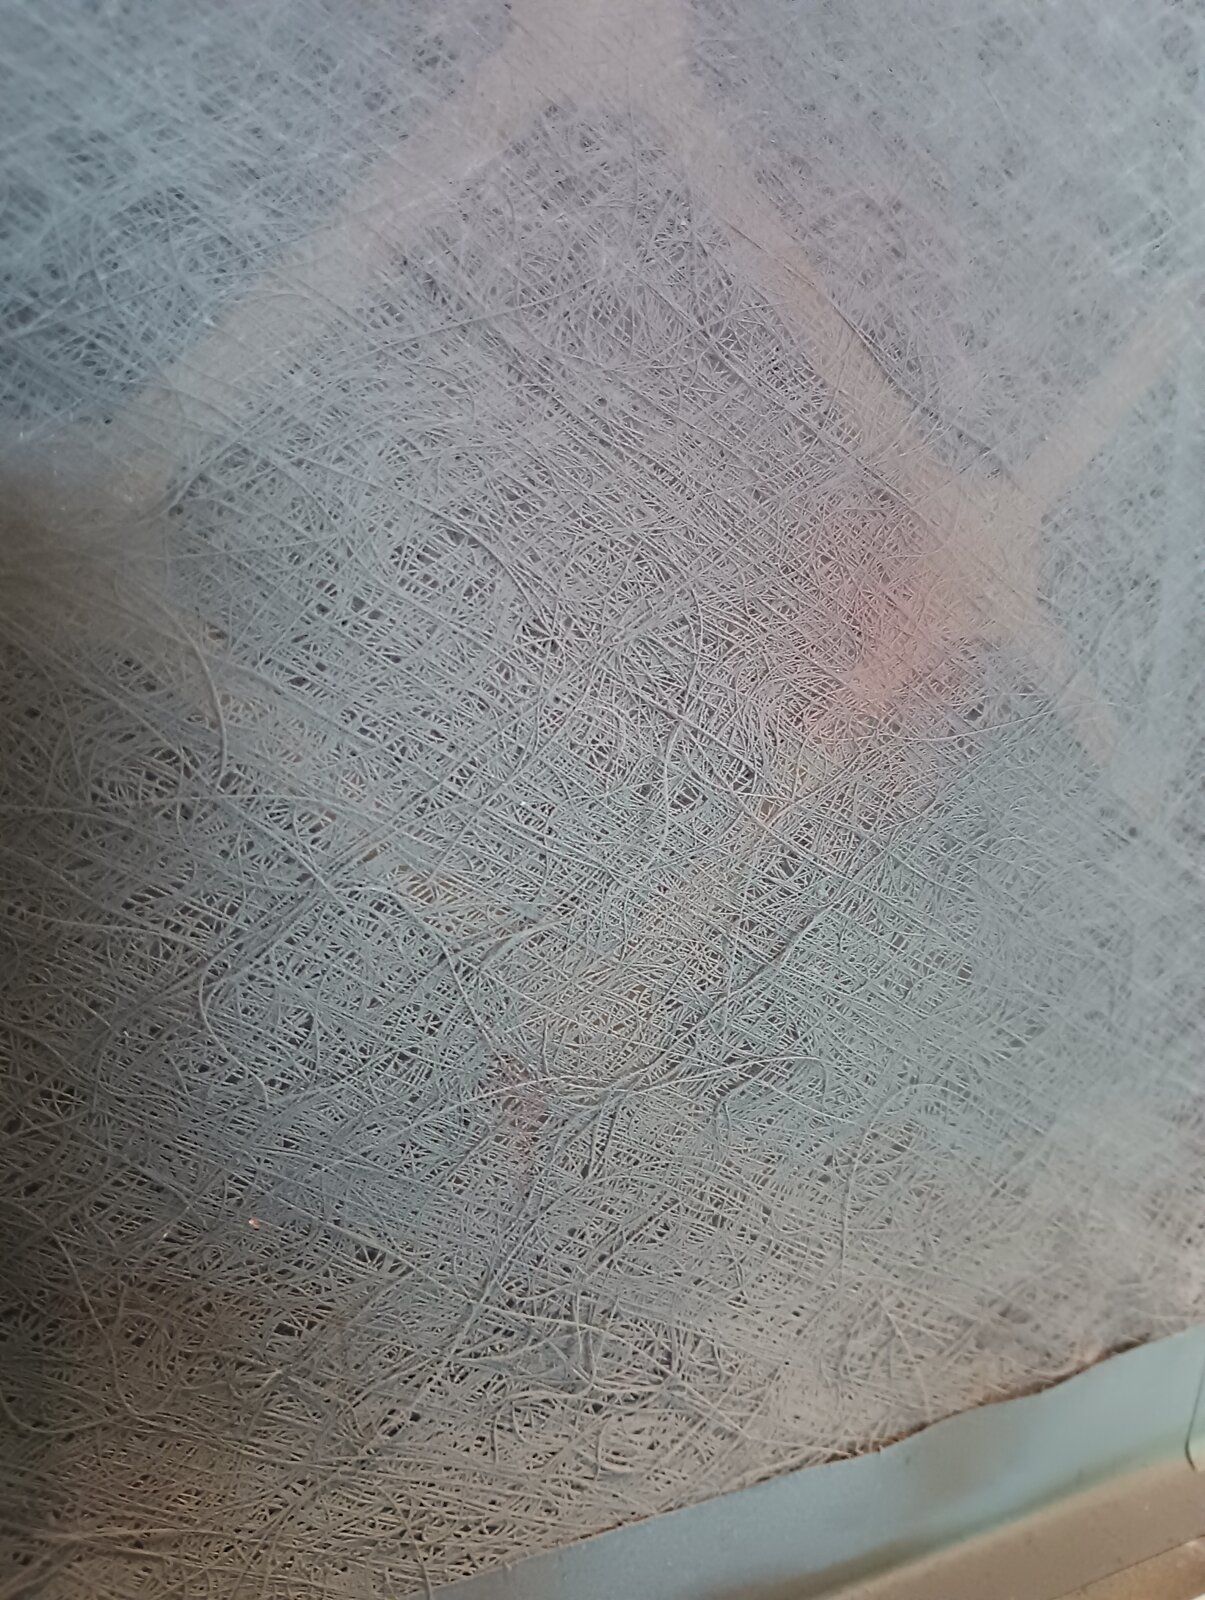
Looks like it might be time to change the filter in your spray booth. Just a thought!! ;)
 
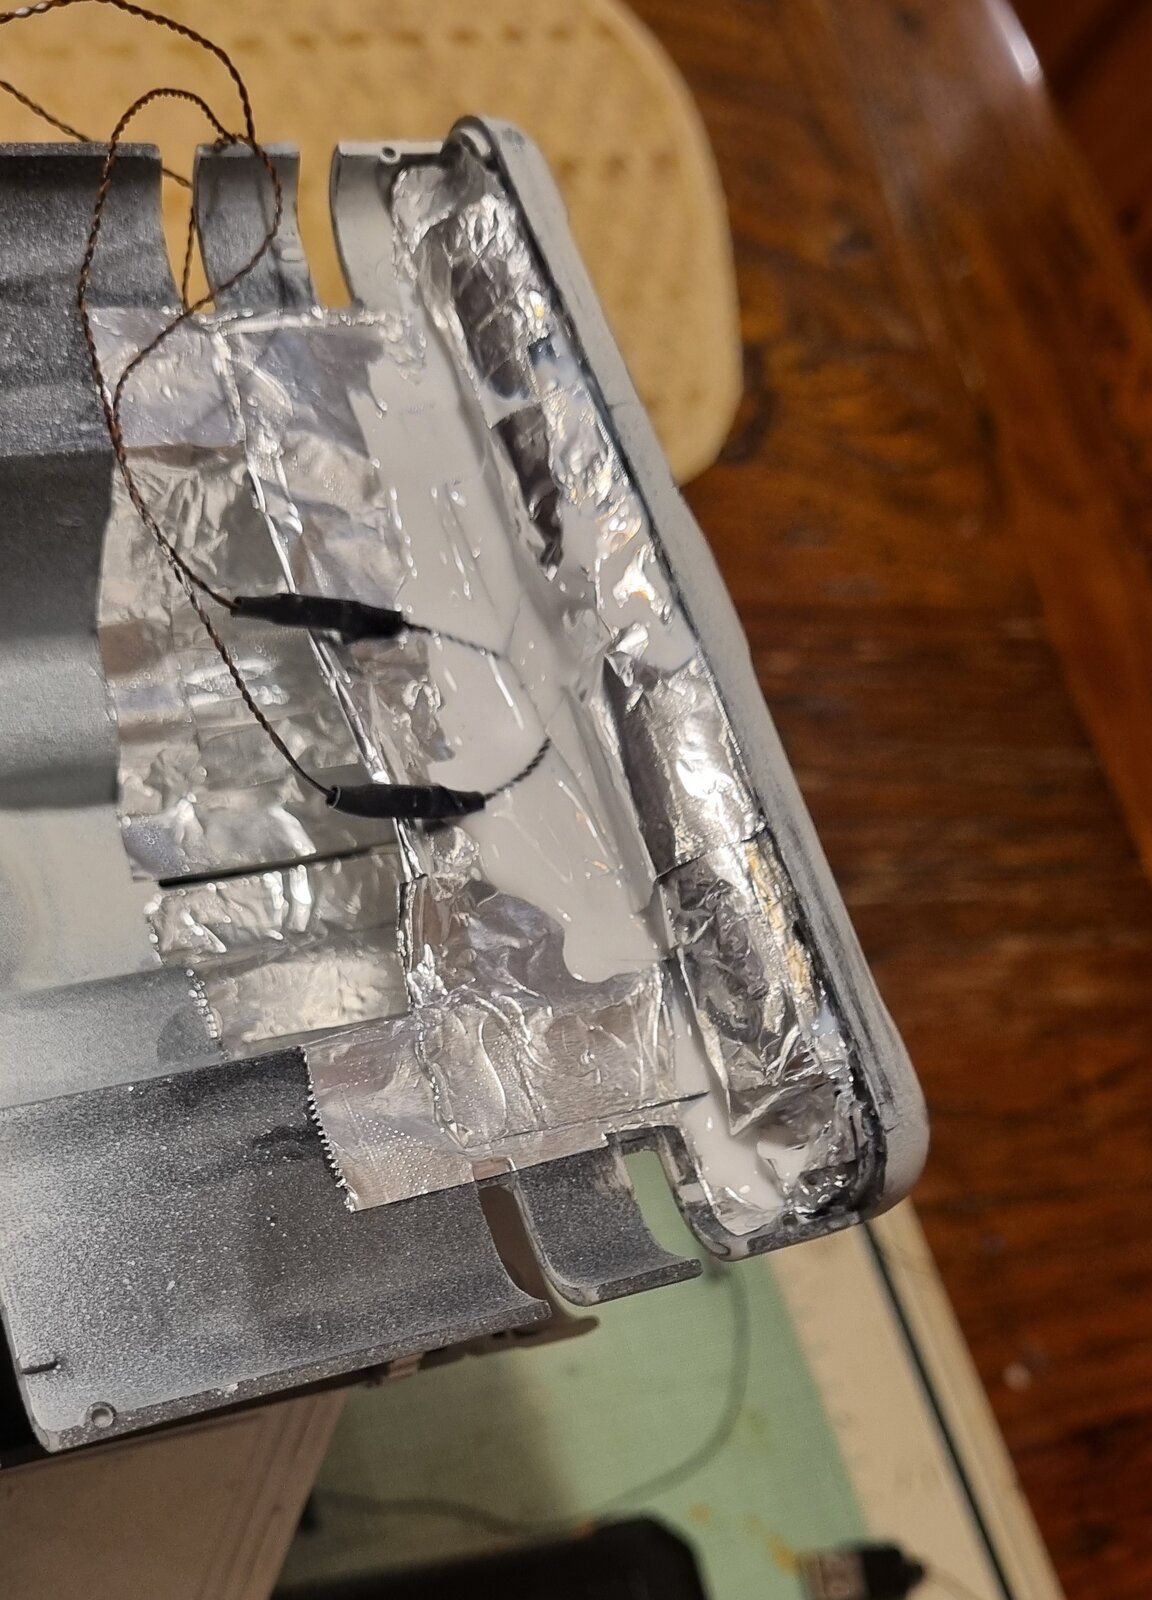
Lining the engine area with aluminium foil and building the mounts for my "engines" (courtesy of Light My Bricks). For the mounts, I cut a 5mL syringe in half, primed the halves then glued aluminium foil onto them the mounted them into the engine area - lining them up with the exhaust ports. I then glued the light bars in place and ran the wires back to the 2 expansion boards which I've glued in place. I've installed the landing lights in place and the wing lights are in place as well.

Here's a question for the group - should I have the landing lights on the flashing circuit or should I leave them static?

I'm happy with the engine test so far. Still waiting on my Shapeways engine inserts.

View attachment 120621

View attachment 120622

View attachment 120623

View attachment 120624

View attachment 120625
In my opinion, static could be a better choice.
 
Looks like it might be time to change the filter in your spray booth. Just a thought!! ;)
LOL, I actually have a two layer filter. The outer one is one of the cheapy fiber ones that is extremely porous. The inner one is a pleated one for actually filtering. The outer one I put on to catch most of the larger wet paint particles so the the pleated one would not need changed so often. It does look nasty but it actually looks much worse than it is.
1000000400.jpg
1000000401.jpg
 
It's looking good, it's easier to add darker weathering than to take away. Which model an scale was this kit? I can't wait to see this finished.
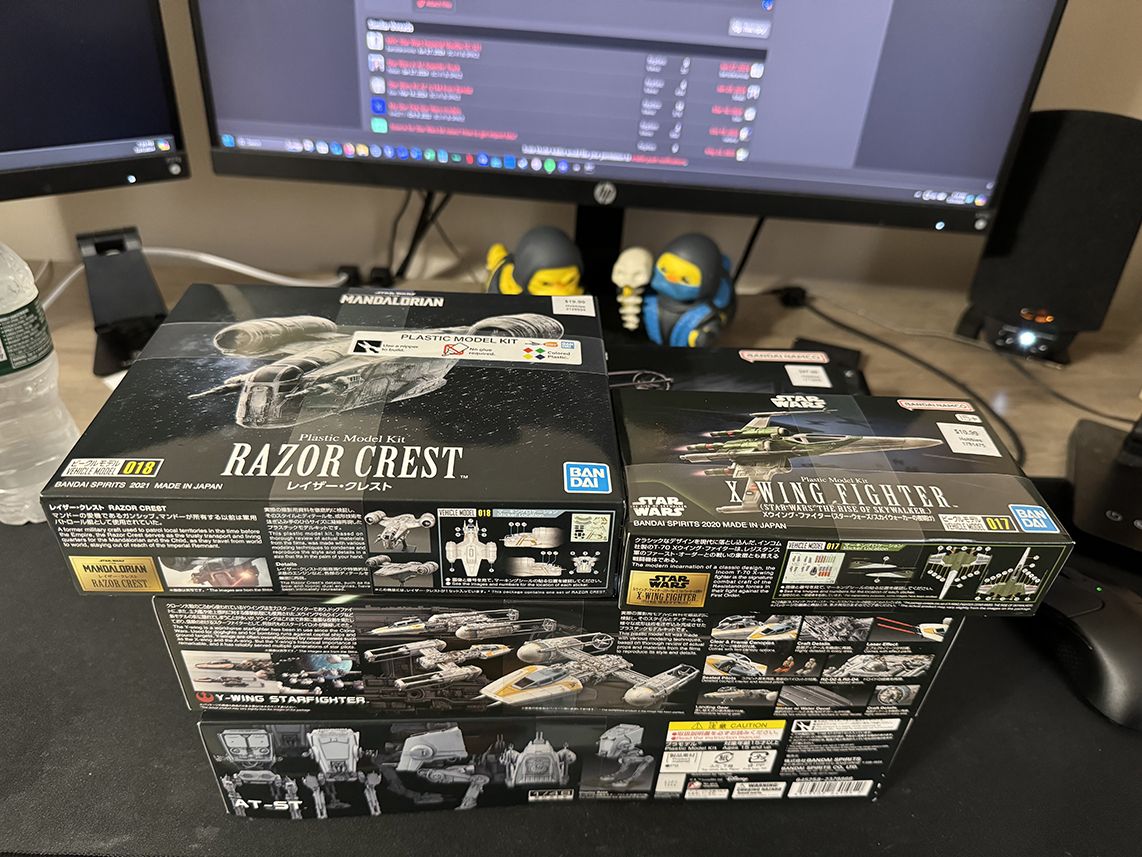
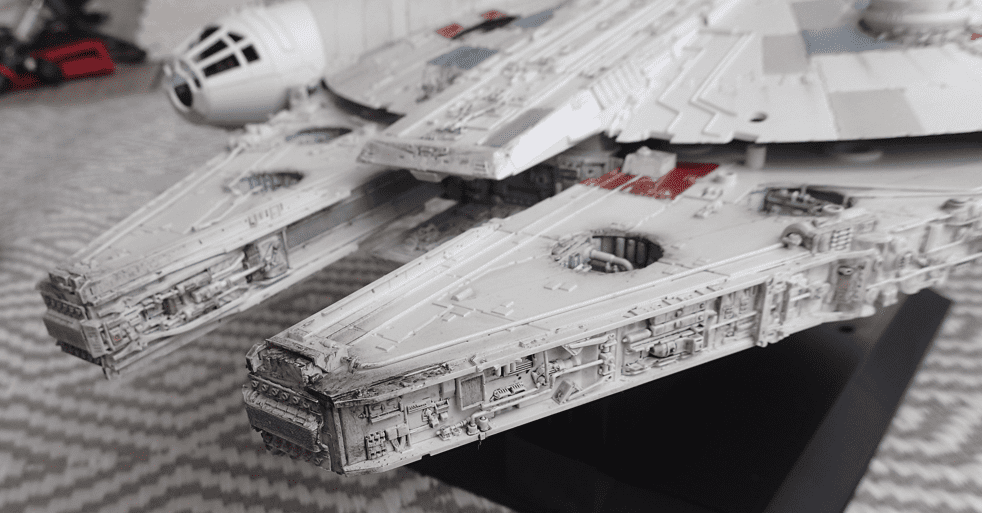
This is the Bandai 1/72 "Perfect Grade" version that comes with the light kit and photo-etch plus waterslide decals

They have a cheaper version that did not include the lighting kit or photo-etch and only had "stickers" instead of the water slide decals, but frankly, the difference in price was not really enough to get the "down graded" one, especially since it is stickers
 
Back
Top