WW2 F15A Ford w/Breda in Italian service 2025-03

Scale Model Addict - Model Tips, Guides, Tools & Tech, Tutorials, and Community

Help Support Scale Model Addict:

BarleyBop

Well-Known Member
Glue Member
Joined
Sep 4, 2022
Messages
5,416
City & State/Province
Ottawa, Canada
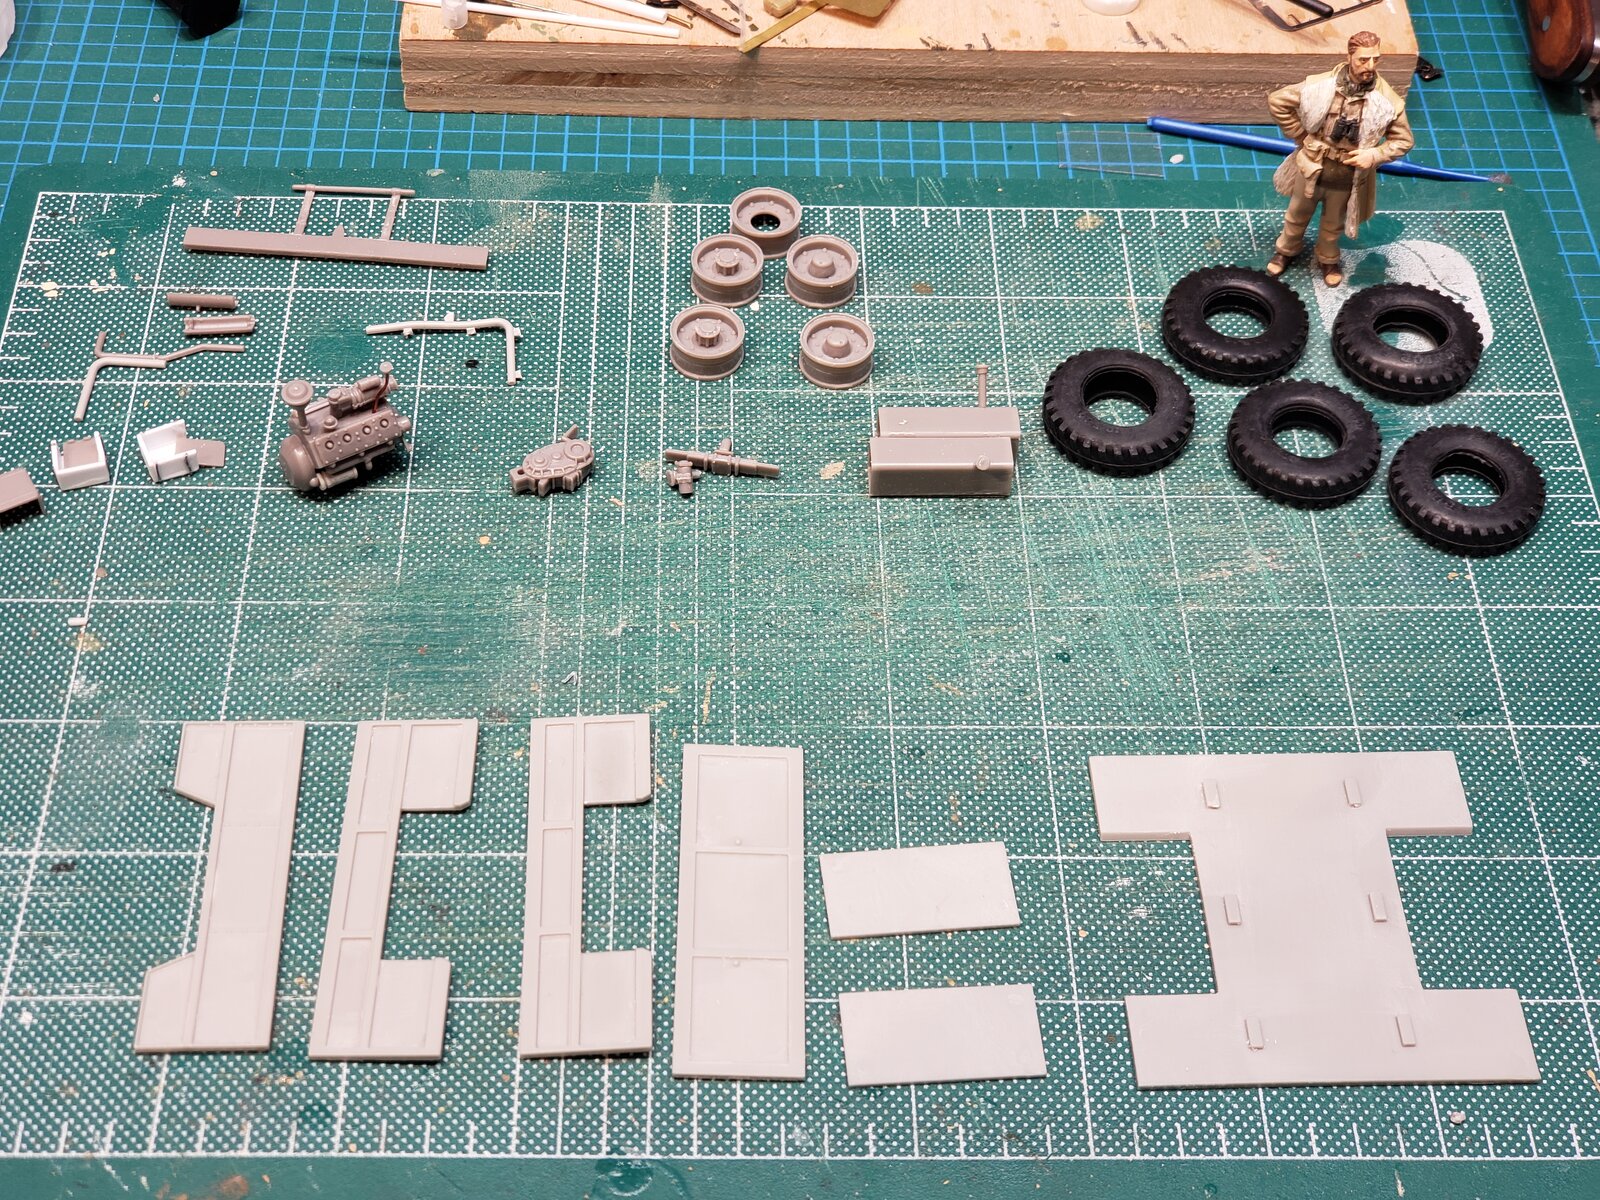
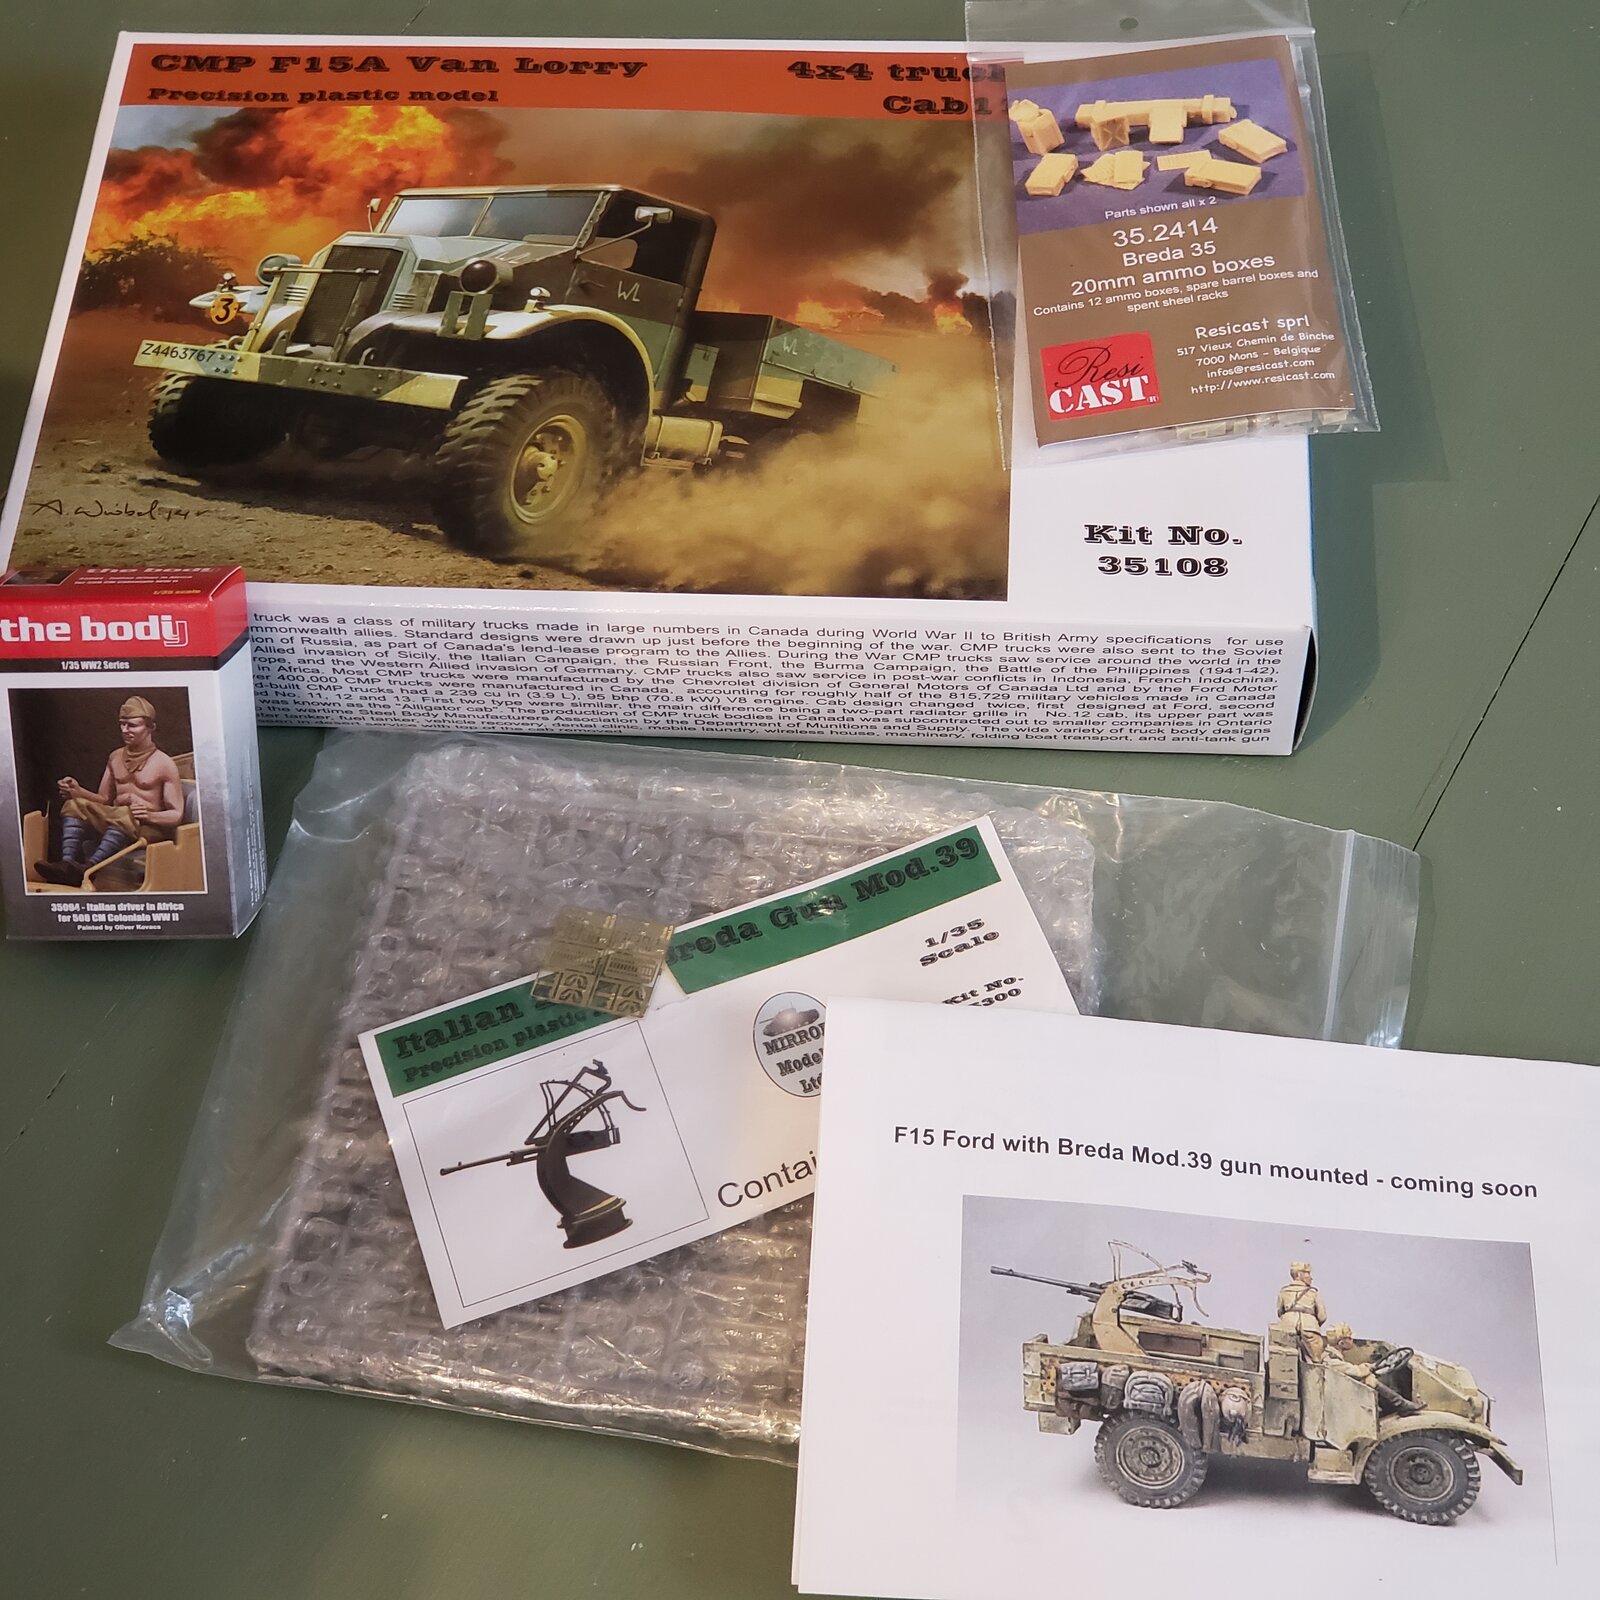
While I finish the figures for little Topolino, might be time to start on this! Collected parts over the years... one more for Il Duce!
17428453858827856997186382817230.jpg


I had hoped to build (mostly paint) the Pavesi artillery tractor (I reported 'new in my stash'), but despite the box art, my order and instructions in the box, the 3D printed kit parts are clearly 1:72. So alerted the distributor and they said they will sort it out. I hope!
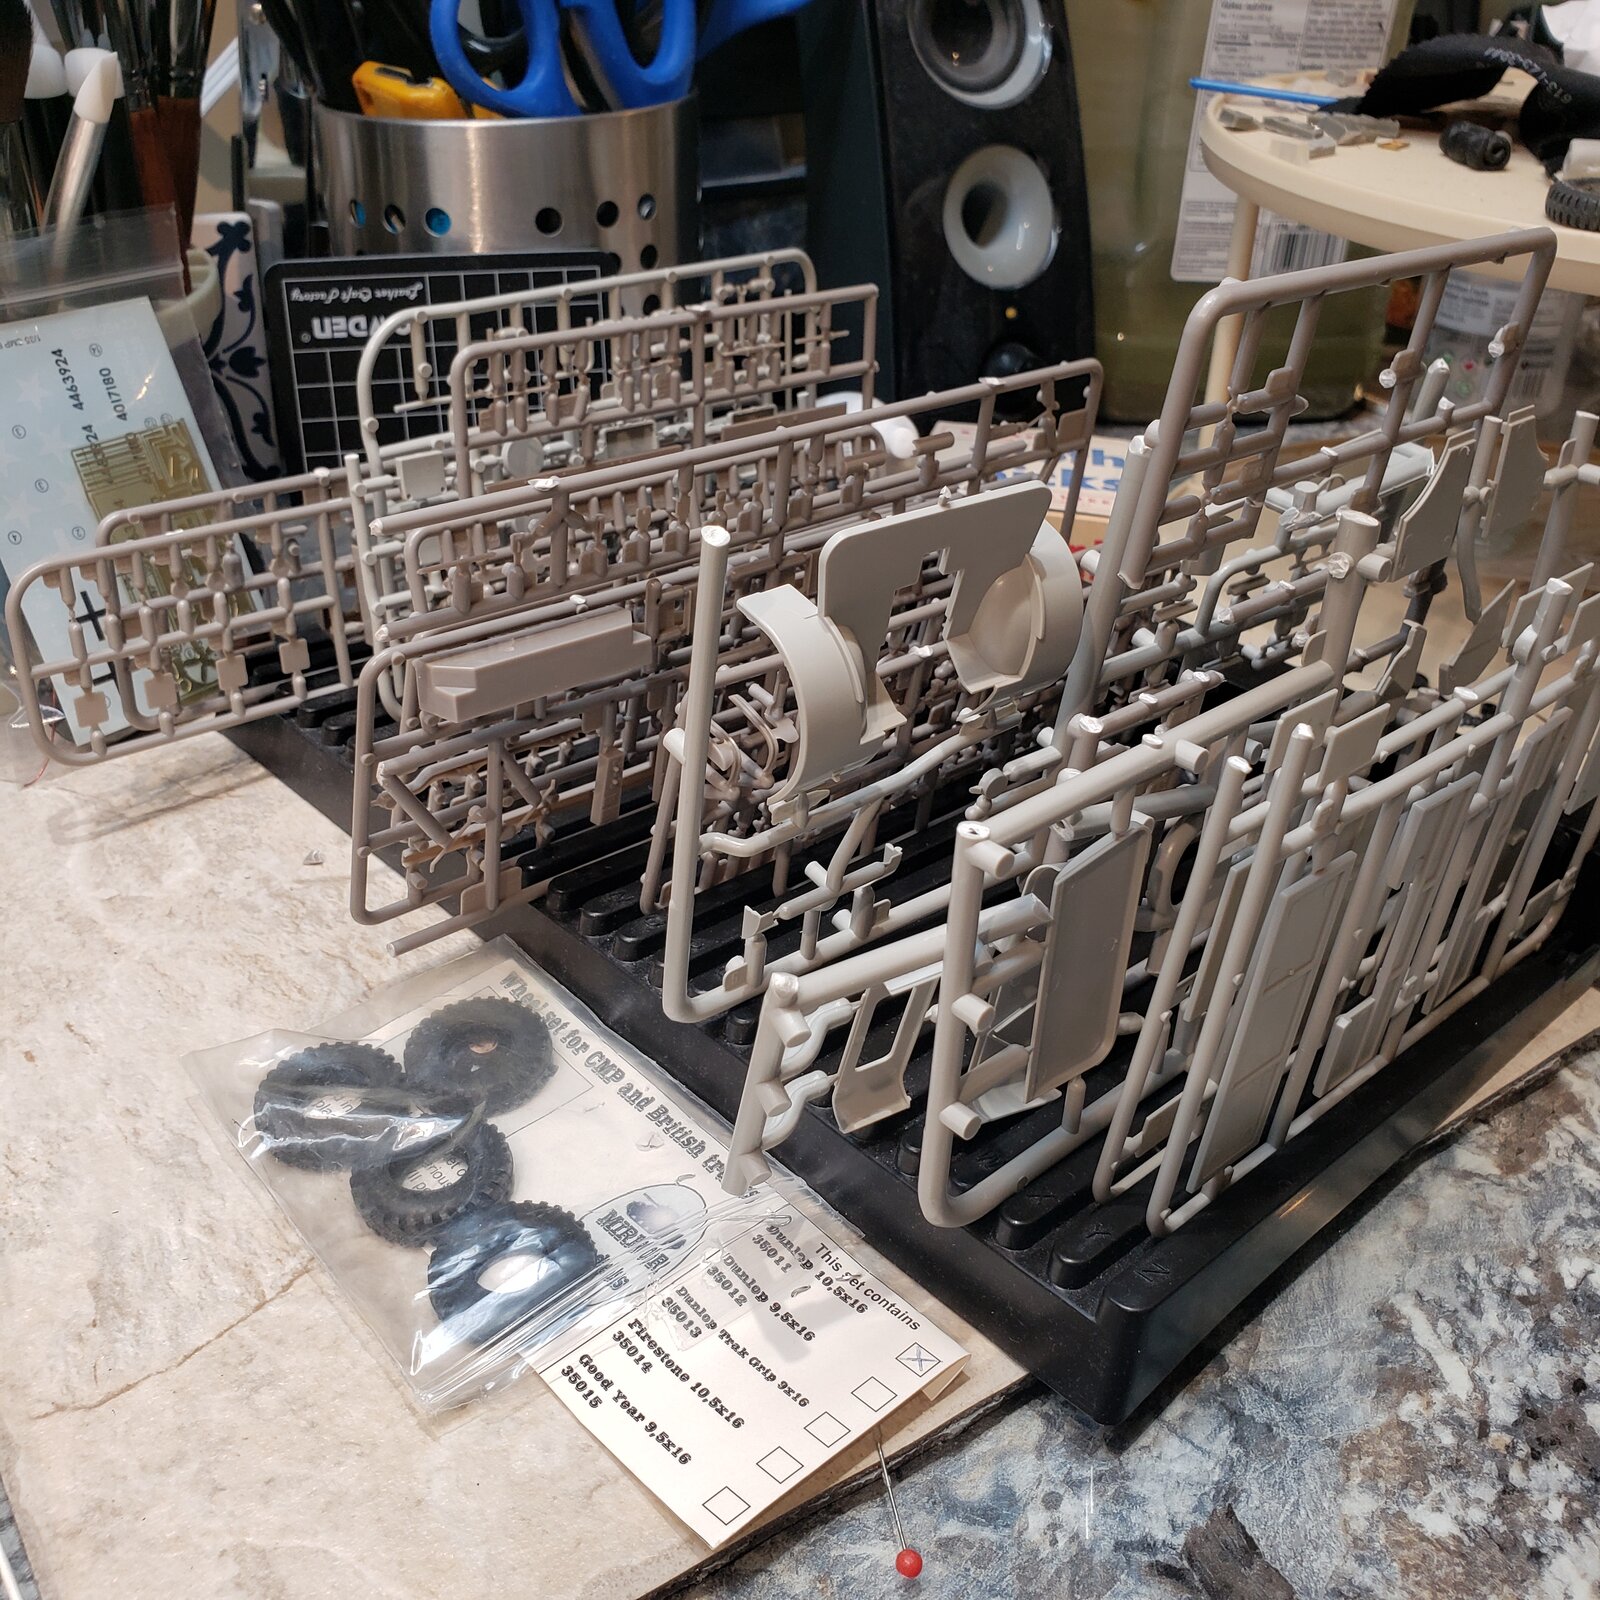
 
Sprues washed, dried. Had to cut some to fit in bath. Found a set of Dunlop tires & wheels which seem to match my collected North Africa reference photos of this vehicle better. (Tread and size, for CMP trucks).

1743204788238643715228028790946.jpg


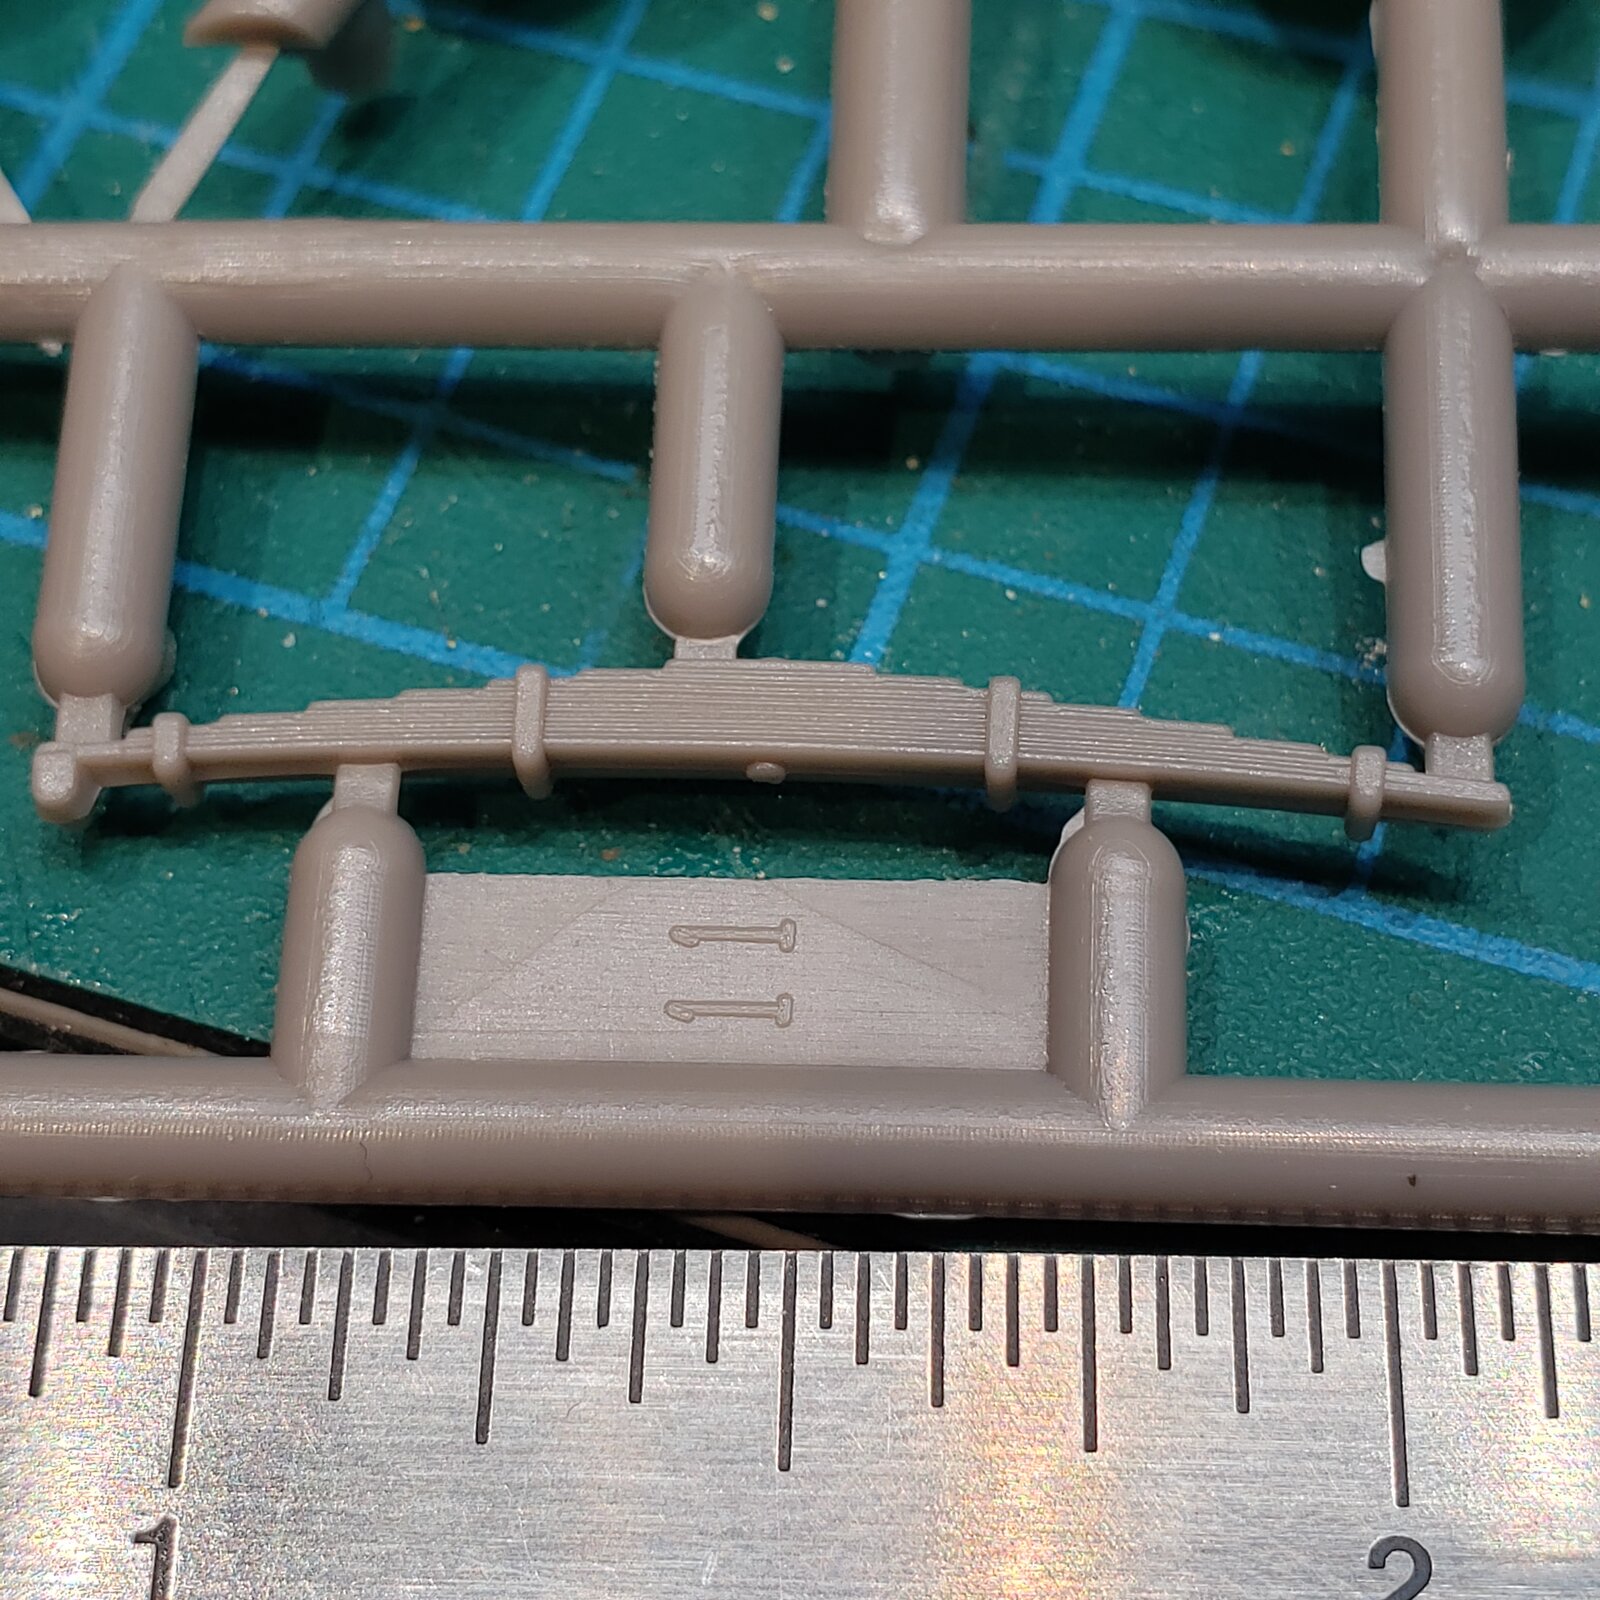
Mirror kits not as clean as Tamiya, with seams and a relatively soft plastic. Parts require care and time removing from sprues, as the manufacturer seems to favour multiple, thick attachment points. See bellow, a relatively sturdy 1" leafspring with 5 attachment points!

17432051797181881541782485259499.jpg

I like Mirror for their selection of CMP Chevy and Ford trucks. The Morris Quad beetleback was my first.

This is my second Mirror build.

So far, I've built vehicle kits from:
Tamiya
Revell
Meng
Bronco
Heller
WESPE
Accurate Armour
Dragon
ICM
ResiCast
Italeri
plusModel
IBG

In the stash, other manufacturers include:
MiniArt
Gecko
Thunder
Mirage
Smartkit
MK
AFV
SpecialArmour
Trumpeter
I♡Kit
HobbyBoss
Roden
High-Tech Model
Triglav

... and on order:
MODEL 3D INT (more cool Italian vehicles)
 
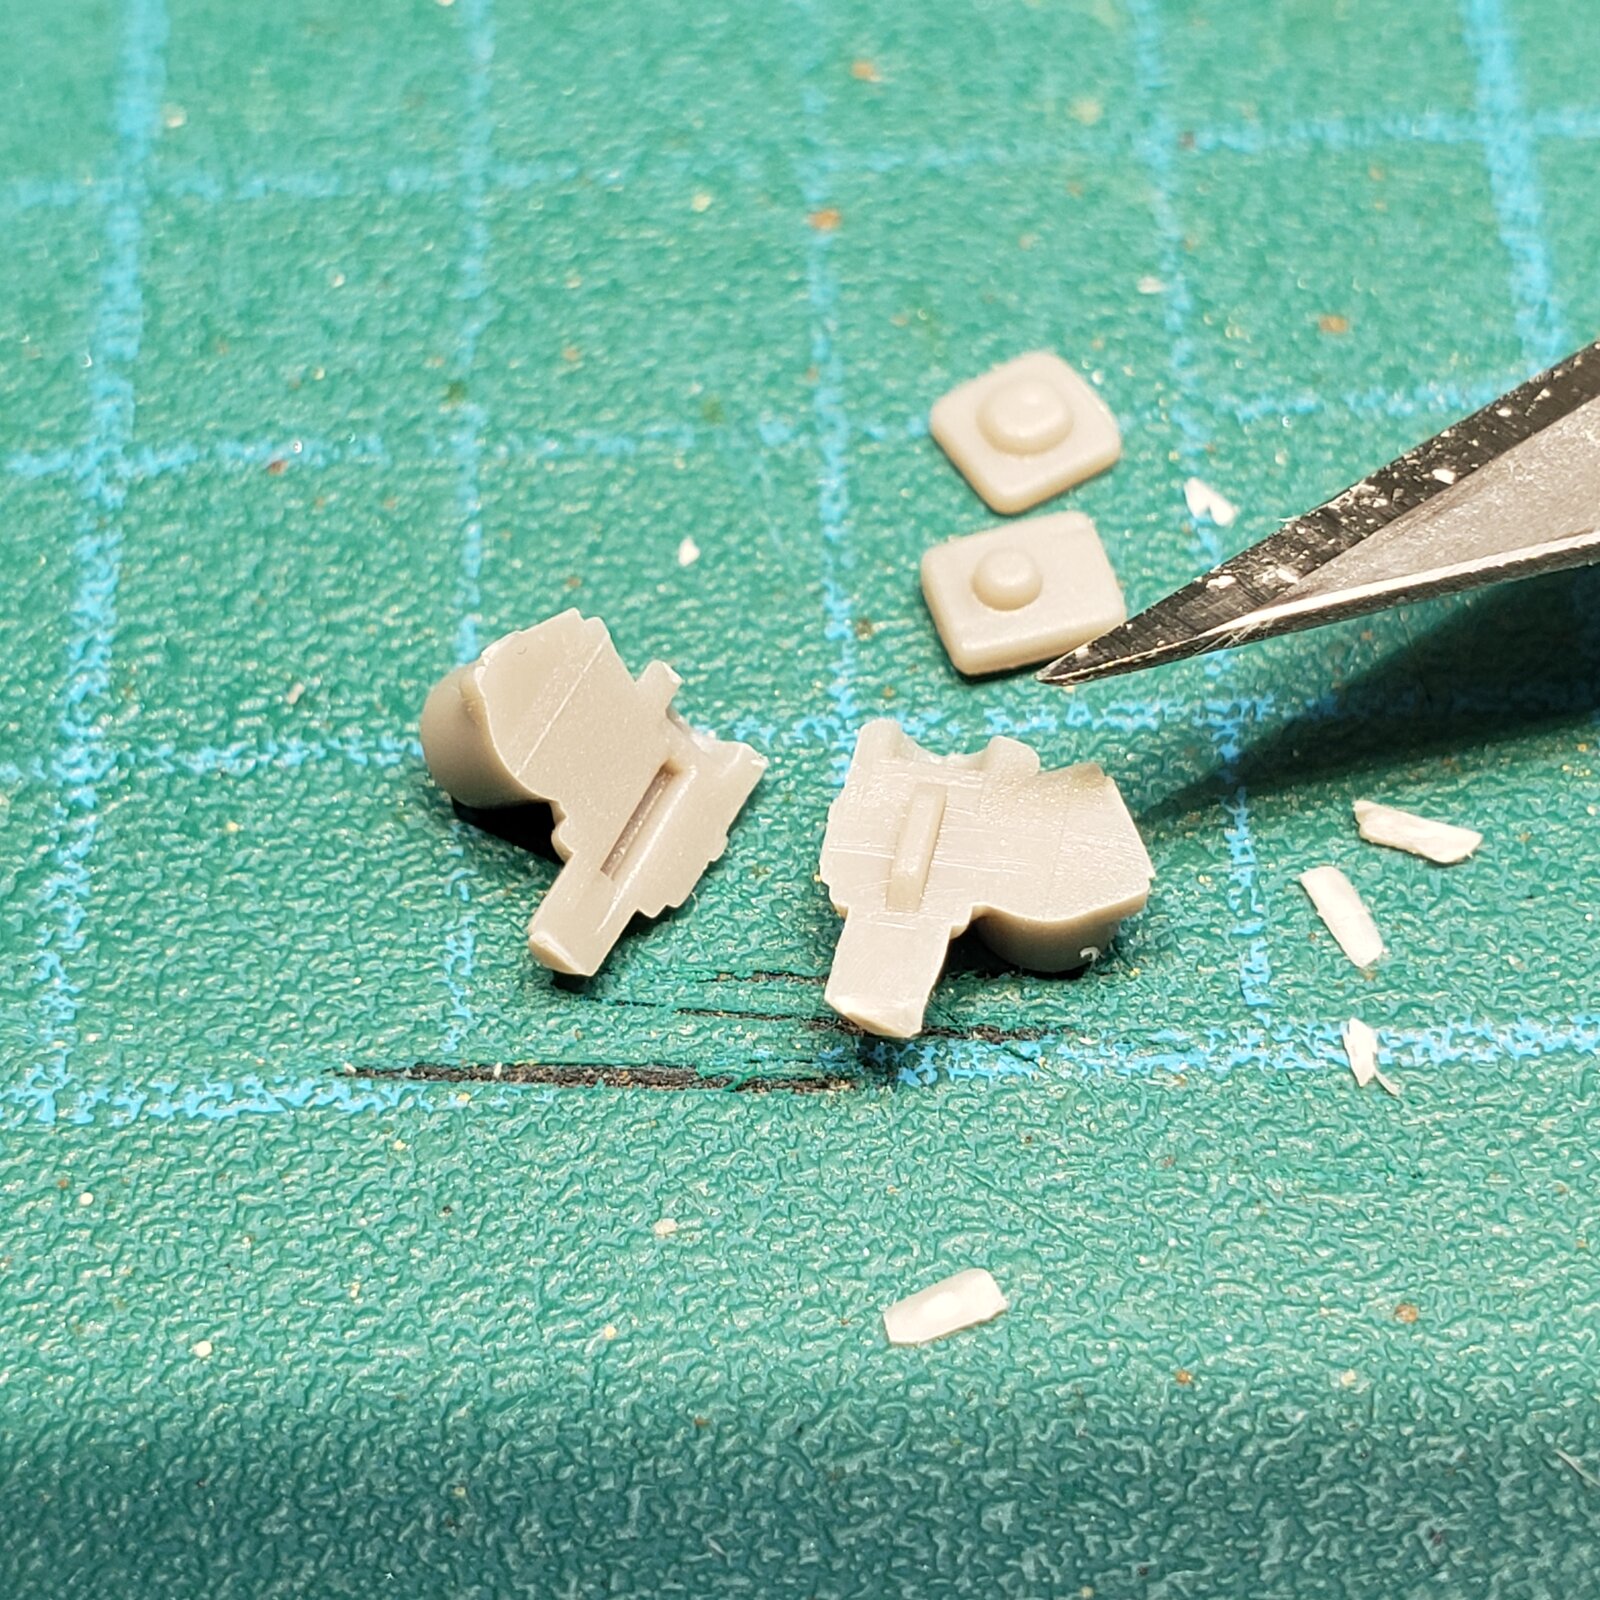
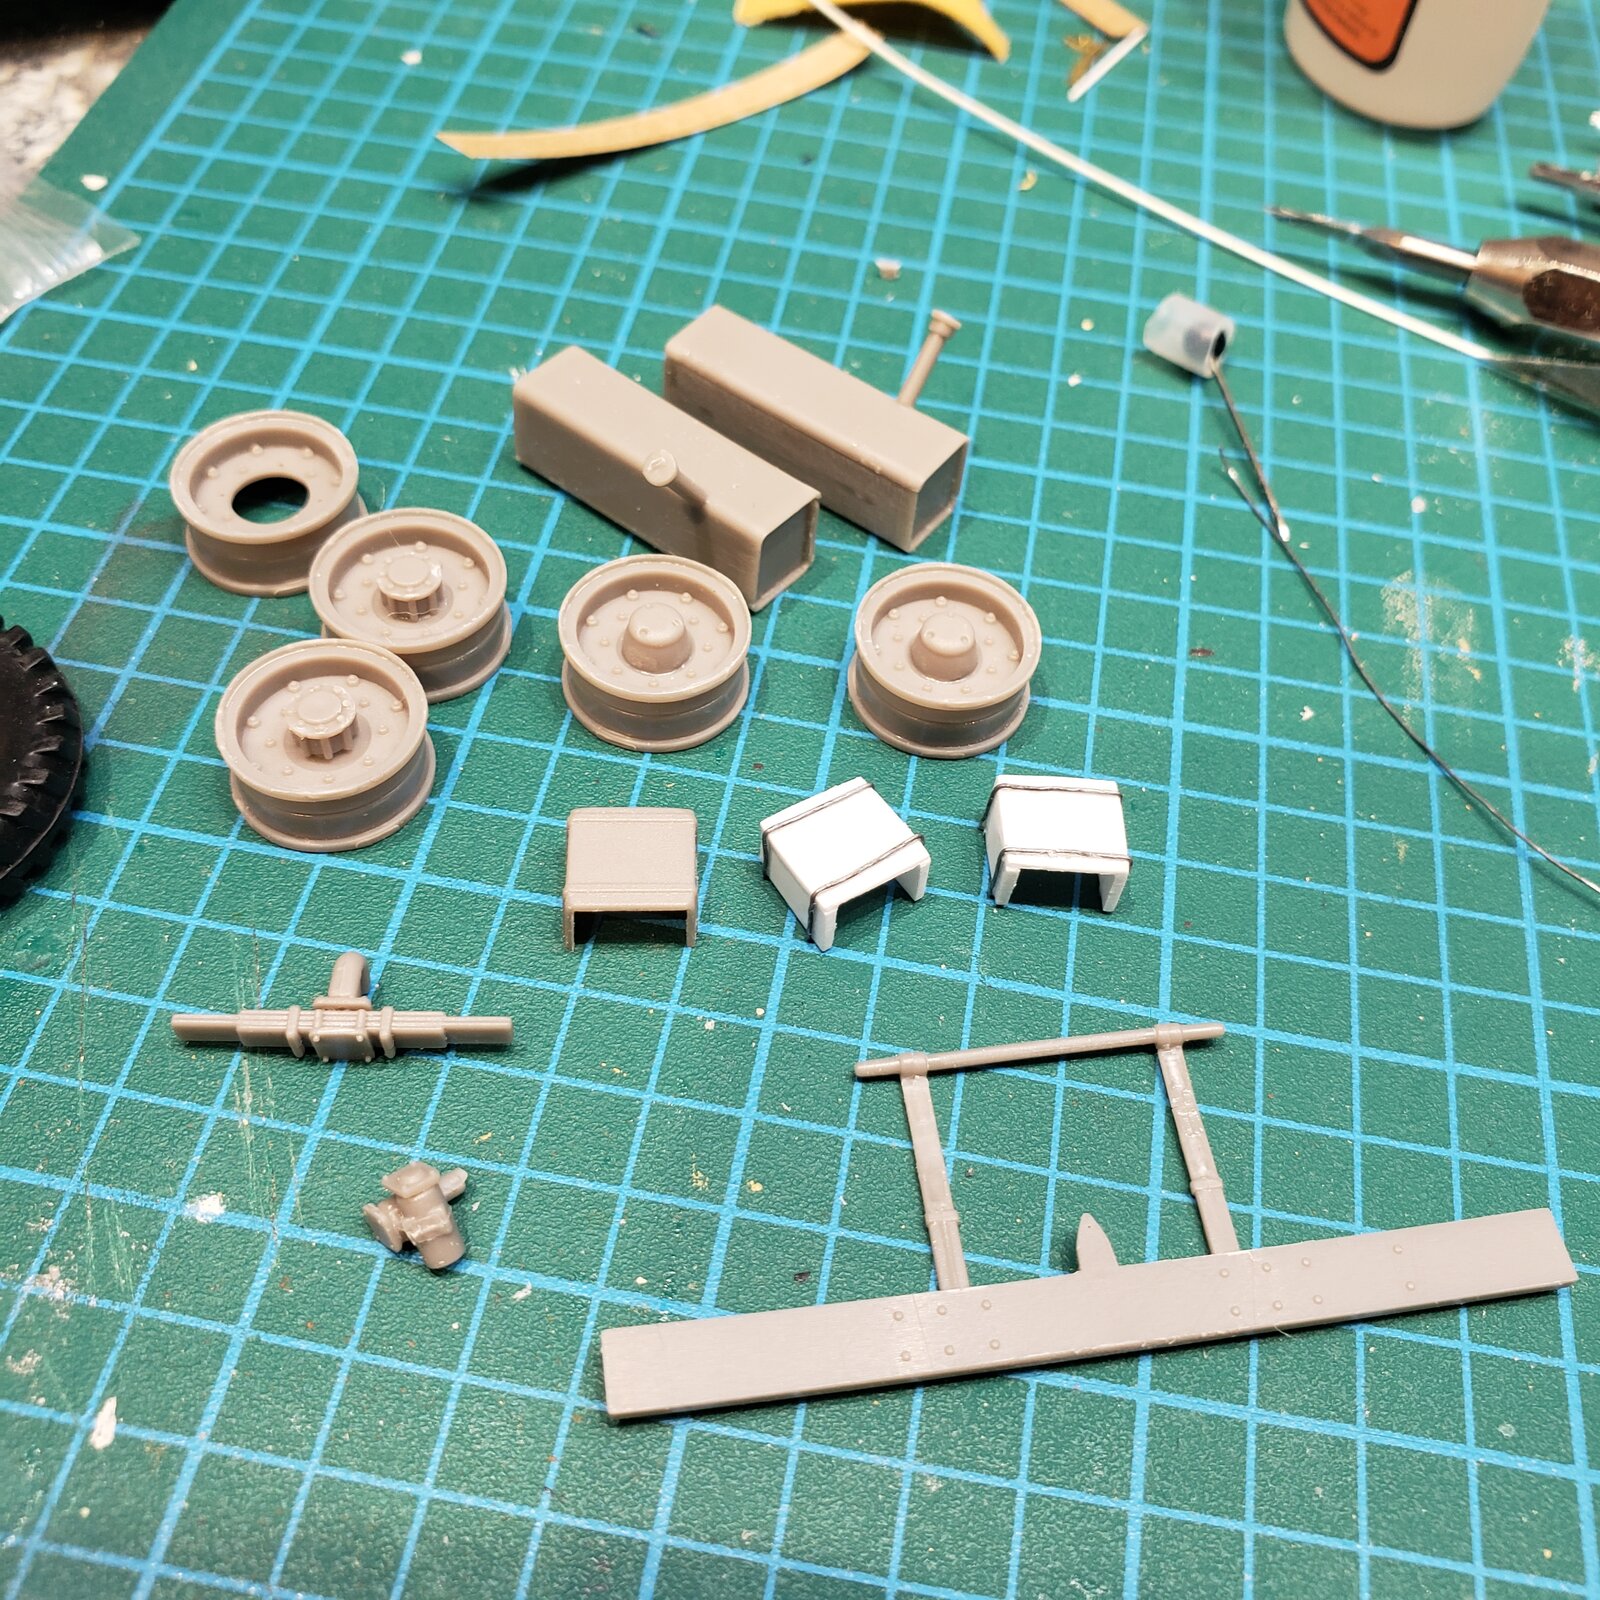
K, last (probably not) exposé: only the 6th sub-assembly, and tiny, with a male thingy that should register with the female thingy.
Only it doesn't, and I either have to sand the one down, or expand the other. This probably gives a good indication of how the rest of the build is going to go. (Sigh).

17432131954134917709536027357417.jpg

#11 blade tip for scale.
 
Looks like you're off to a good start. My fingers and hands have lost a lot of their dexterity and feeling to work on smaller assemblies like that.
 
Sprues washed, dried. Had to cut some to fit in bath. Found a set of Dunlop tires & wheels which seem to match my collected North Africa reference photos of this vehicle better. (Tread and size, for CMP trucks).

View attachment 142206

Mirror kits not as clean as Tamiya, with seams and a relatively soft plastic. Parts require care and time removing from sprues, as the manufacturer seems to favour multiple, thick attachment points. See bellow, a relatively sturdy 1" leafspring with 5 attachment points!

View attachment 142207
I like Mirror for their selection of CMP Chevy and Ford trucks. The Morris Quad beetleback was my first.

This is my second Mirror build.

So far, I've built vehicle kits from:
Tamiya
Revell
Meng
Bronco
Heller
WESPE
Accurate Armour
Dragon
ICM
ResiCast
Italeri
plusModel
IBG

In the stash, other manufacturers include:
MiniArt
Gecko
Thunder
Mirage
Smartkit
MK
AFV
SpecialArmour
Trumpeter
I♡Kit
HobbyBoss
Roden
High-Tech Model
Triglav

... and on order:
MODEL 3D INT (more cool Italian vehicles)
A Buddy and myself were pawing through the sprues of a kit someone brought in. What it was escapes me now, but, I happened to mention, there are so many manufacturers now and the amount of subjects they are releasing, I can not keep up. The armor class has just exploded.
Stuff that was a picture in a 'World At War' magazine is this years kit of the year.
It's awesome.
 
Last edited:
As an Amazon Associate we earn from qualifying purchases. Product prices and availability are accurate as of the date/time indicated and are subject to change.
a picture in a 'World At War' magazine
Ha, yup, do enough surfing on a particular subject, and every now and again you find the 'source' photo for a kit, or the box art.

3D printing and smaller resin and plastic manufacturers, along with a more demanding market audience, have really upped the ante!

But there is still something to be said for the 'classics', especially for those among us who were around when they were first released!

Cheers
 
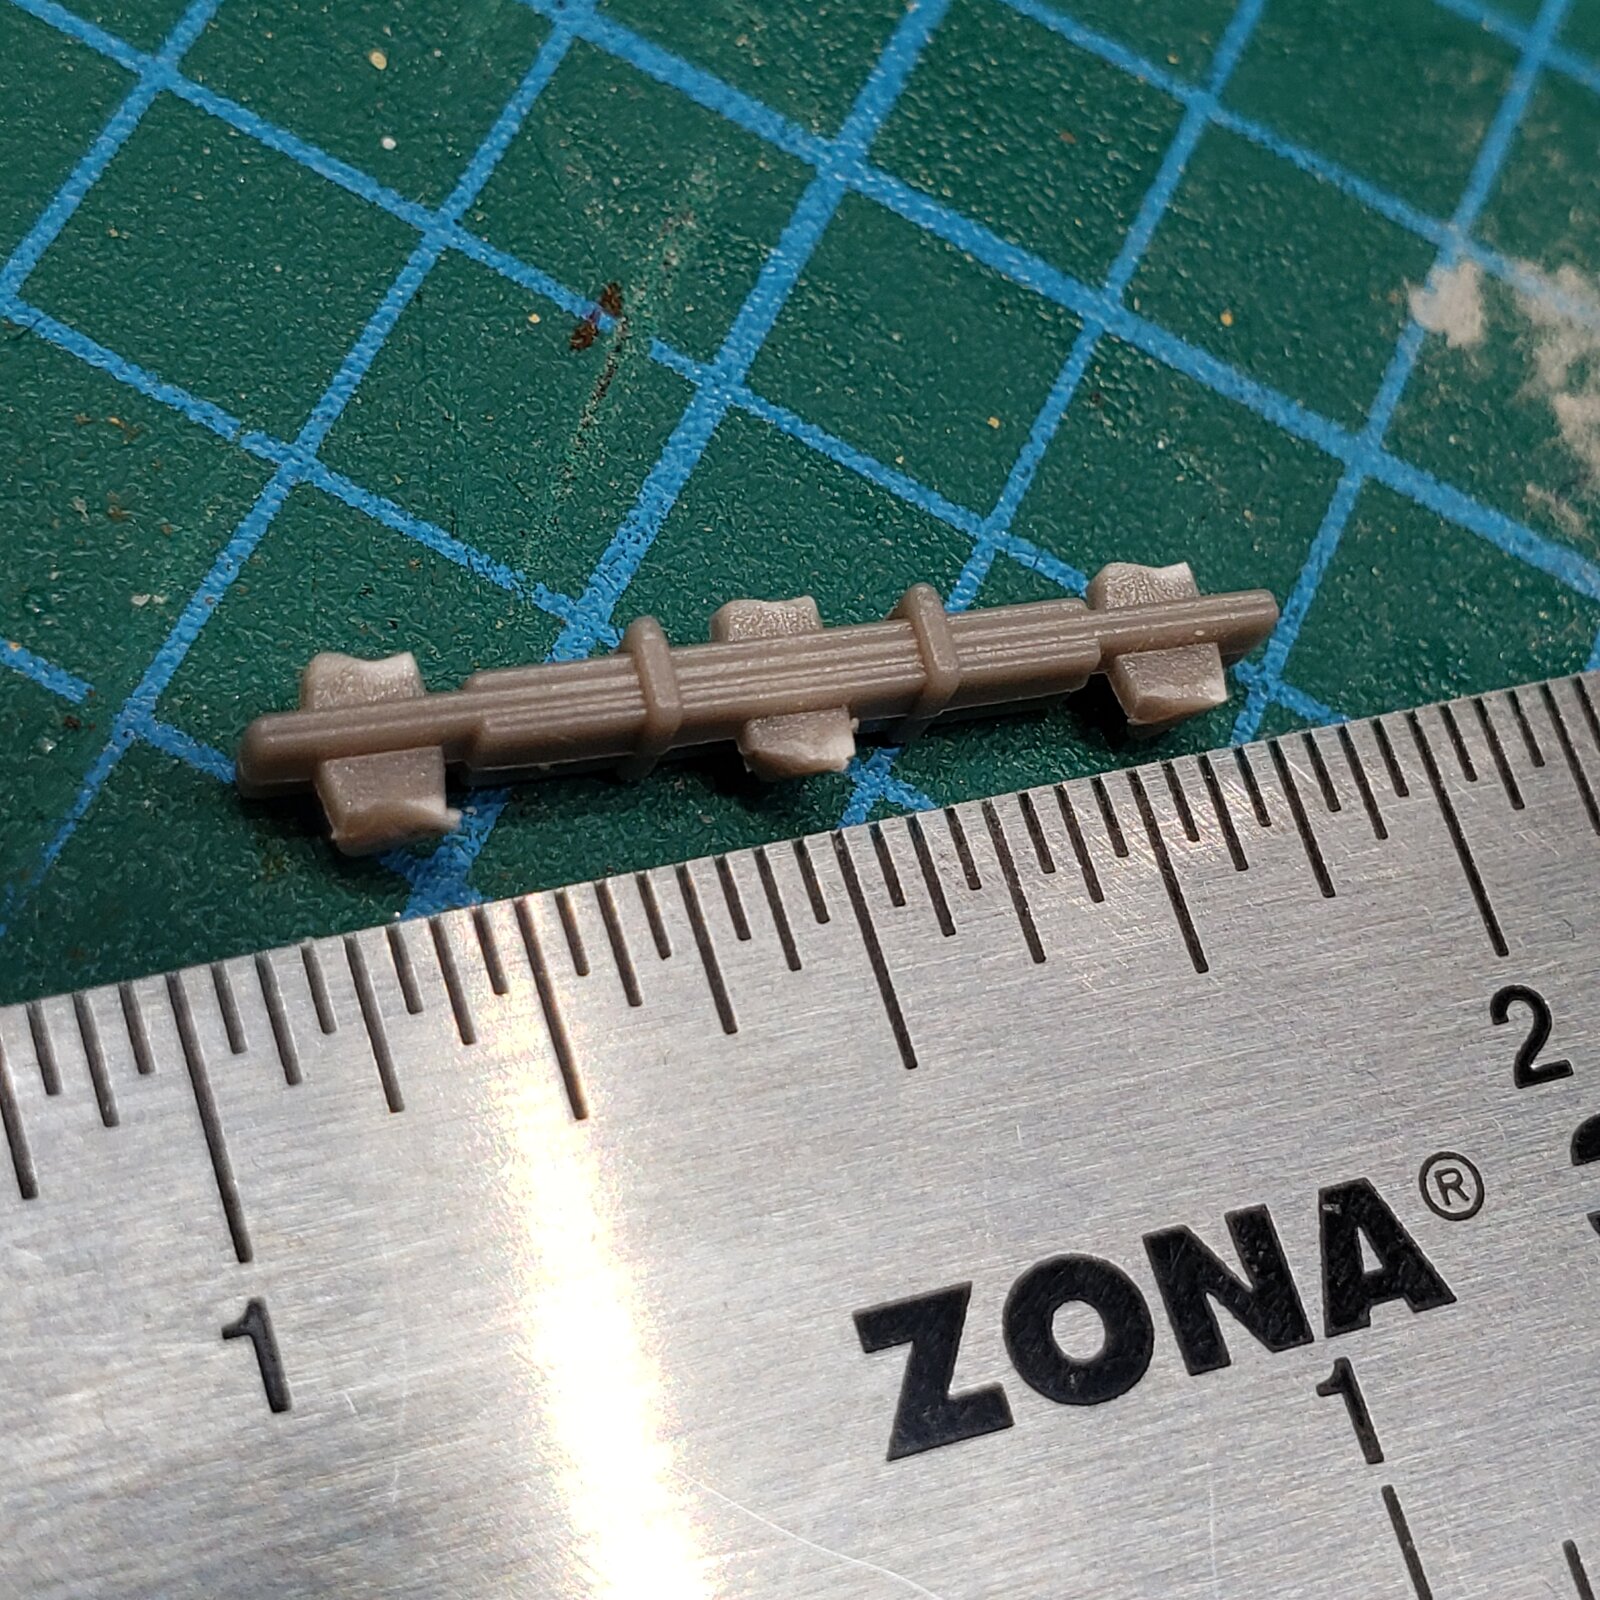
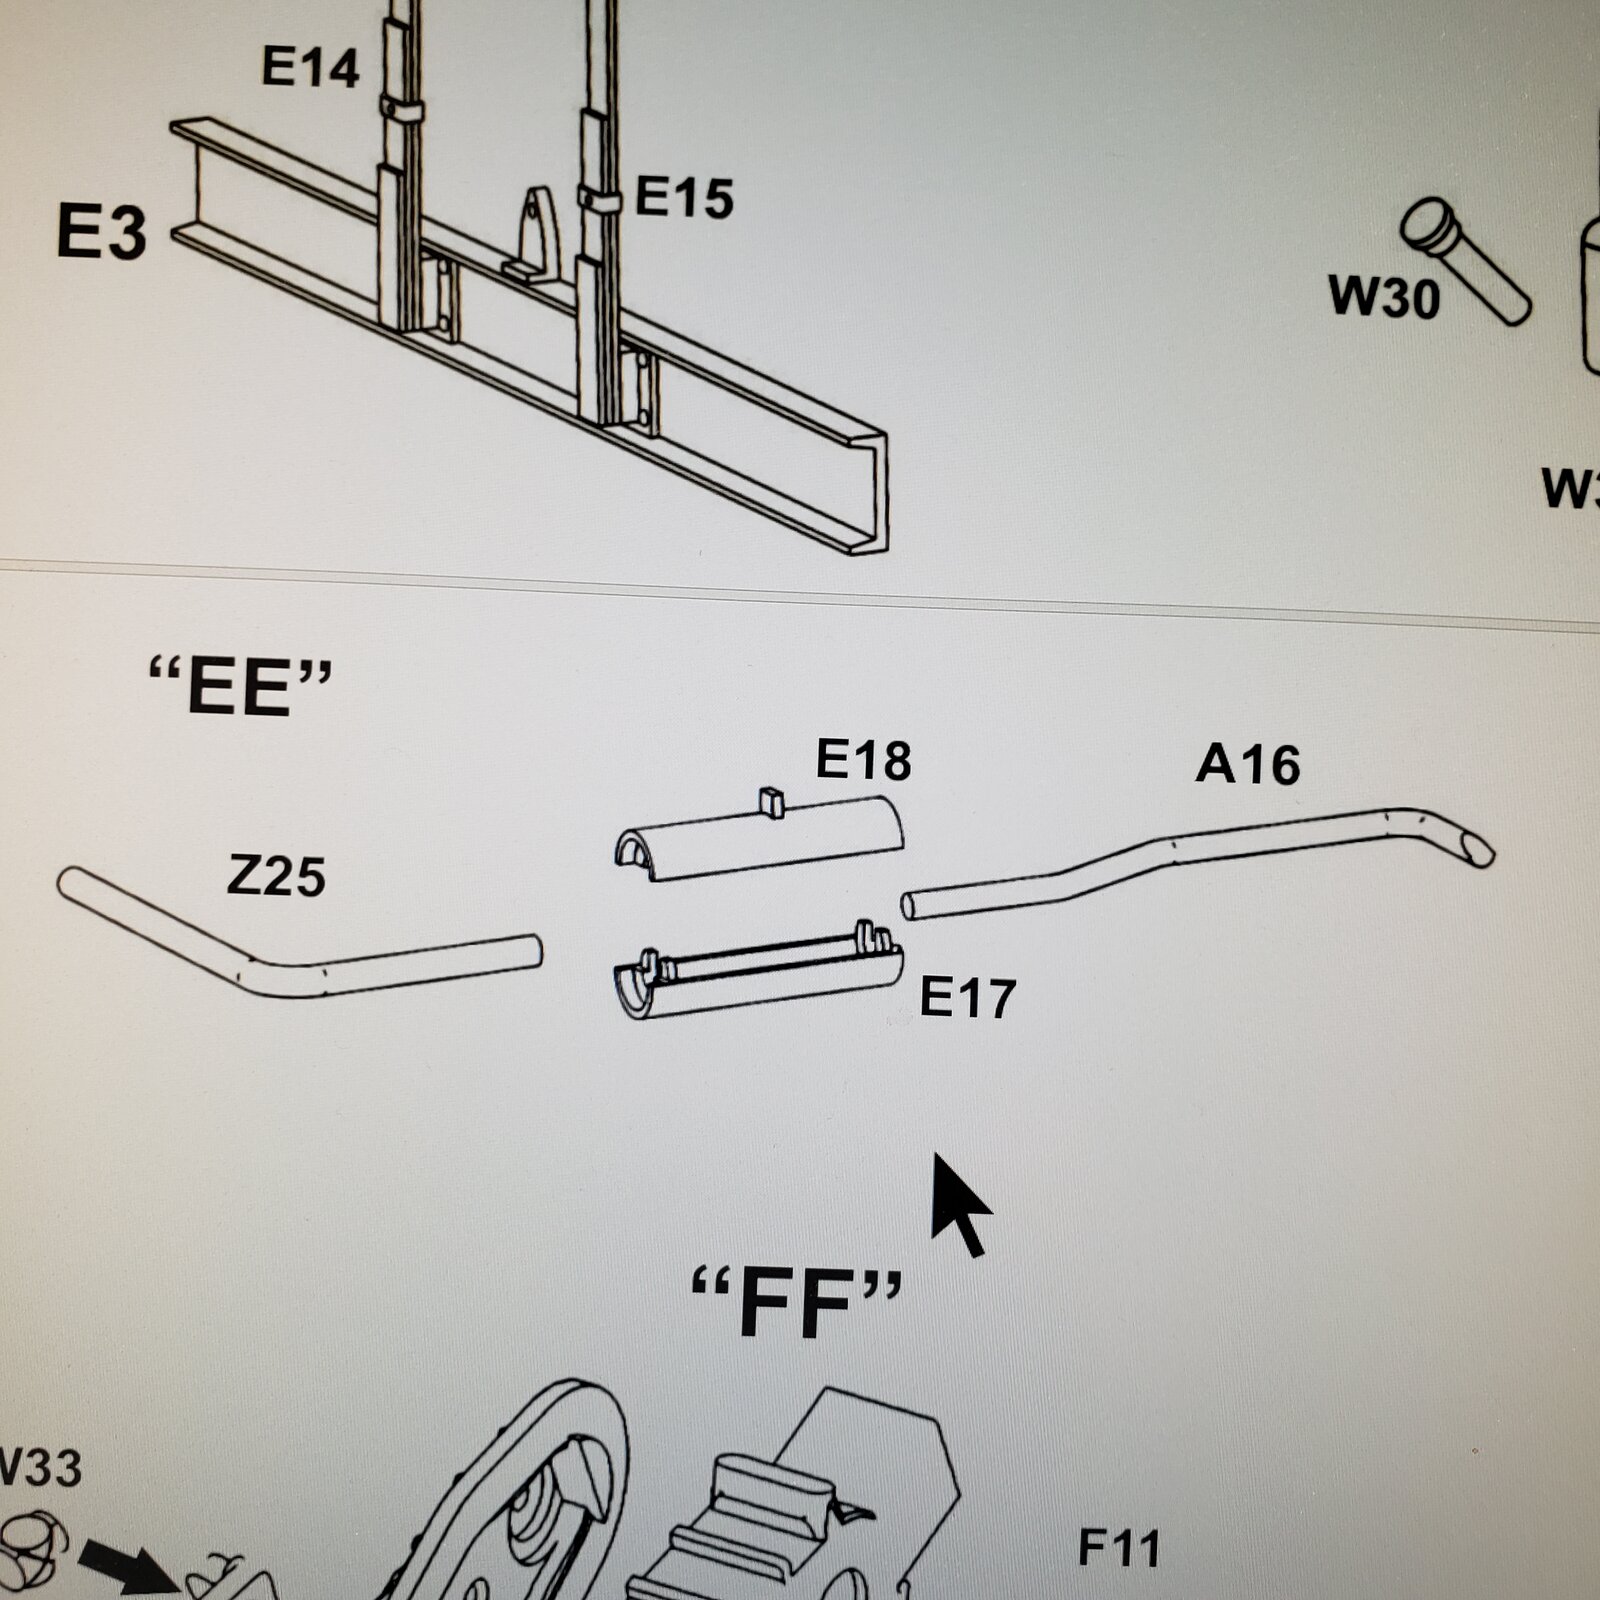
Now if this were my first rodeo, I'd happily be gluing up this muffler tail pipe assembly, along with the other subassemblies; only, with parts that have no registration marks or divots, how am I to know the exact position of the pipes relative to the muffler?
Think I'll wait until its time to actually install it. :rolleyes:
20250331_214247.jpg
 
"I got them sub-assem-blues!"

.... so, there are two F sprues. I locate a part on the first, cut it off. I pick up the second sprue, the part is Missing!
Look everywhere, floor, garbage, sprue bath, pans... no part.
So I have to build it, but so that they are similar, I'll have to build two.
Styrene, lead wire.
Done.
(I'll try flatening the wire later)

Subassemblies so far:

17434782057715055237854503017044.jpg
 
how am I to know the exact position of the pipes relative to the muffler?
I would suggest building the muffler and leaving the two pipes separate until you can put all three of them against the engine and chassis, so you can work out where each is to sit, exactly.

Dragon's Sd.Kfz. 7 has a similarly stupid exhaust: they mould half of the muffler to the front and the other half to the rear of the pipe, then want you to put them into the chassis subframe separately and then glue them together. Great for painting … not. I cut off the pipe on one side and added a pin there, so I could fit both parts after painting.
 
So, after a busy day, had time at the bench and got the engine assembled, and no, not going to wire it up. This time. It will have a belt though.

I figured I'd skip ahead a bit and do something easy, like the cargo box...

Forget that!

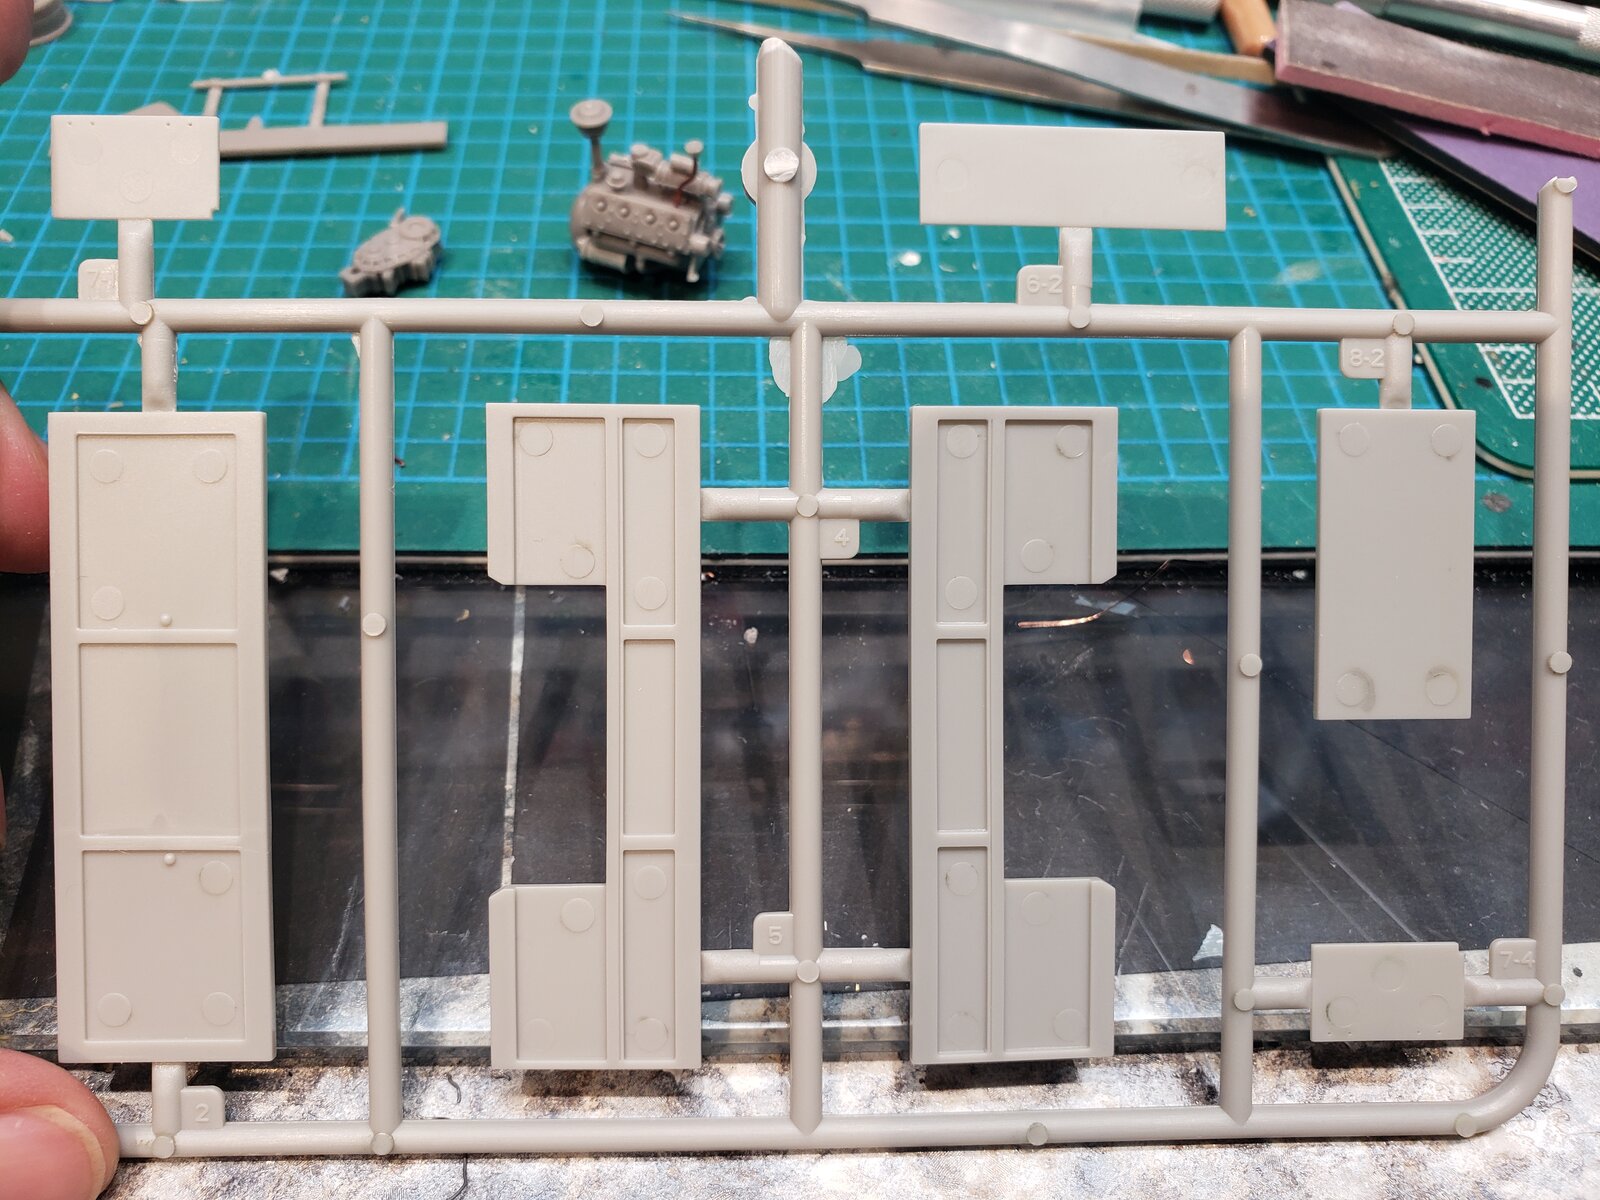
Raised ejector pin marks in recessed panels. Mostly visible. Oodles.
Right there my friends, is an hour of tedious clean up.

Tomorrow.

17436485577473446423225861726112.jpg


Now I'm afraid to look at the other body parts.
 
I use my dremel (woodworking tool) on occasion at the bench. I have to say it scares me! So easily outta control... don't even want to think about it.

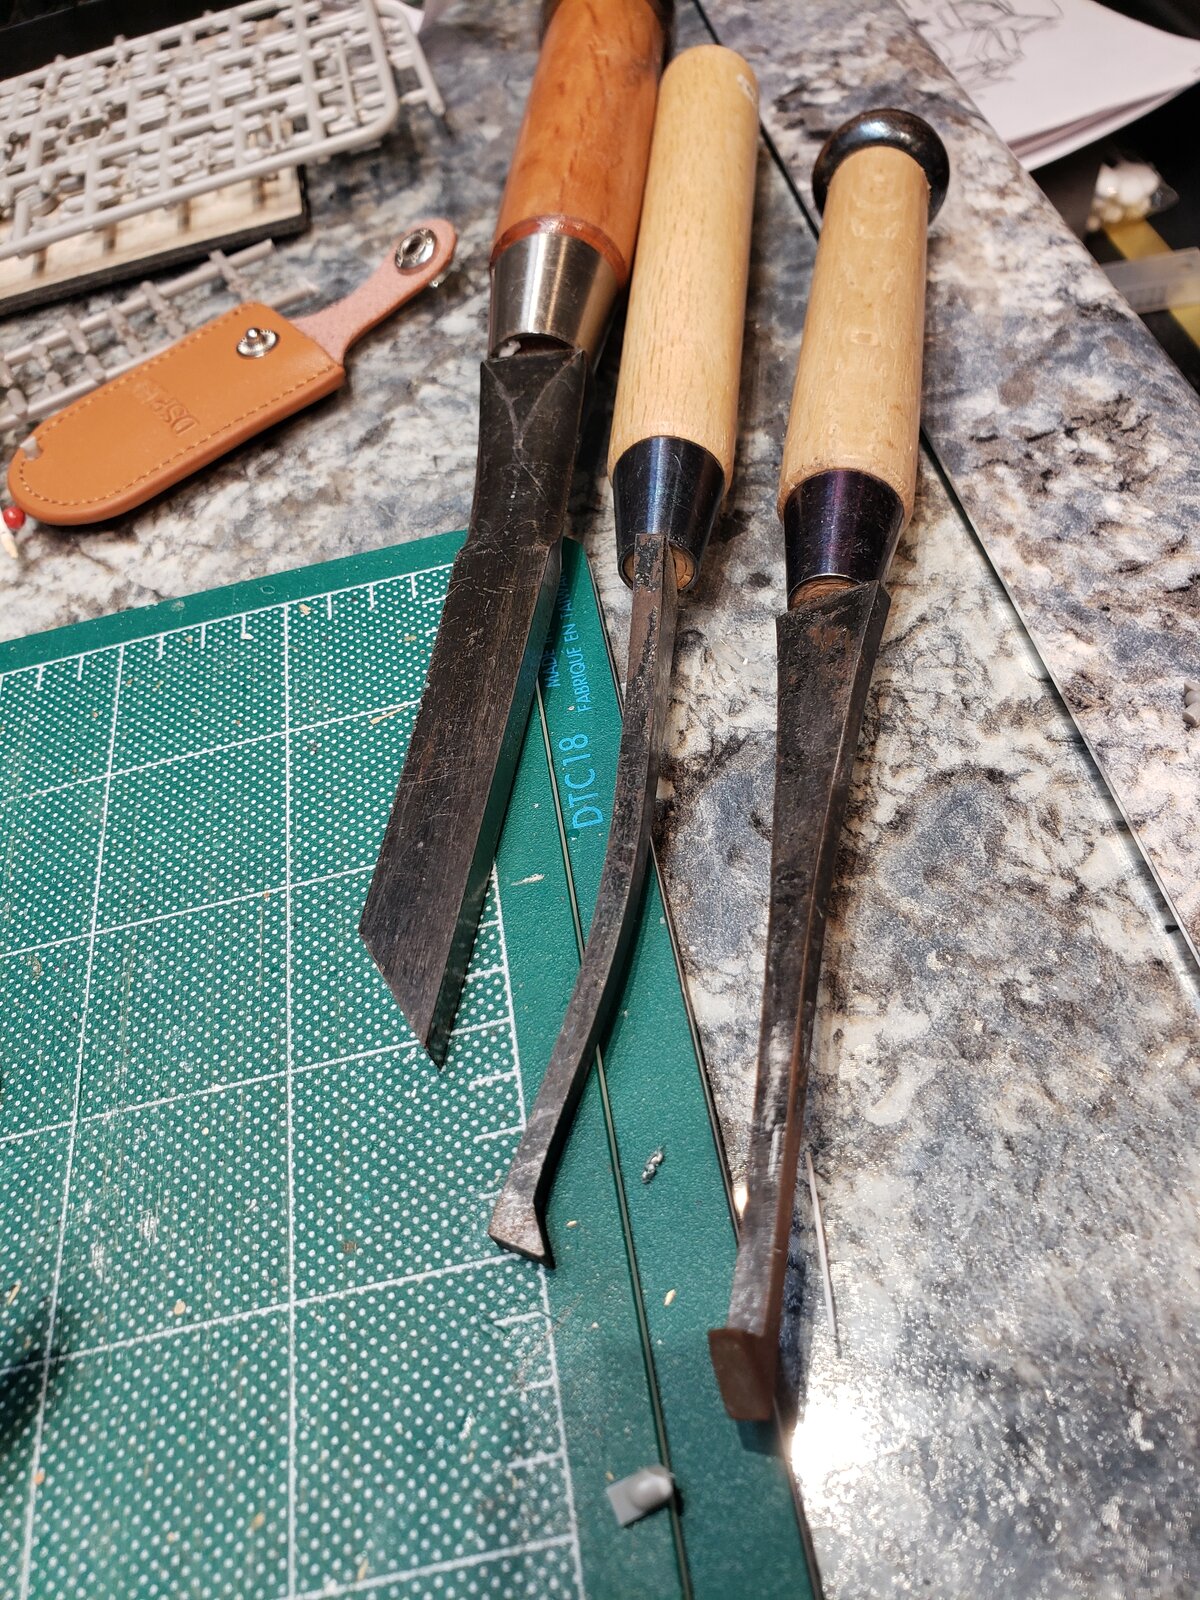
But for this job, after reading "chiseling", I thought why not!

17437319759681092745142606847139.jpg

Japanese mortise chisels and scrapers! After digging them out, realized they've been neglected, for about 25 years! Bought them in '83.
Another job for a rainy day.
Just kidding about the chisels. Won't be building rice paper shoji panels today!

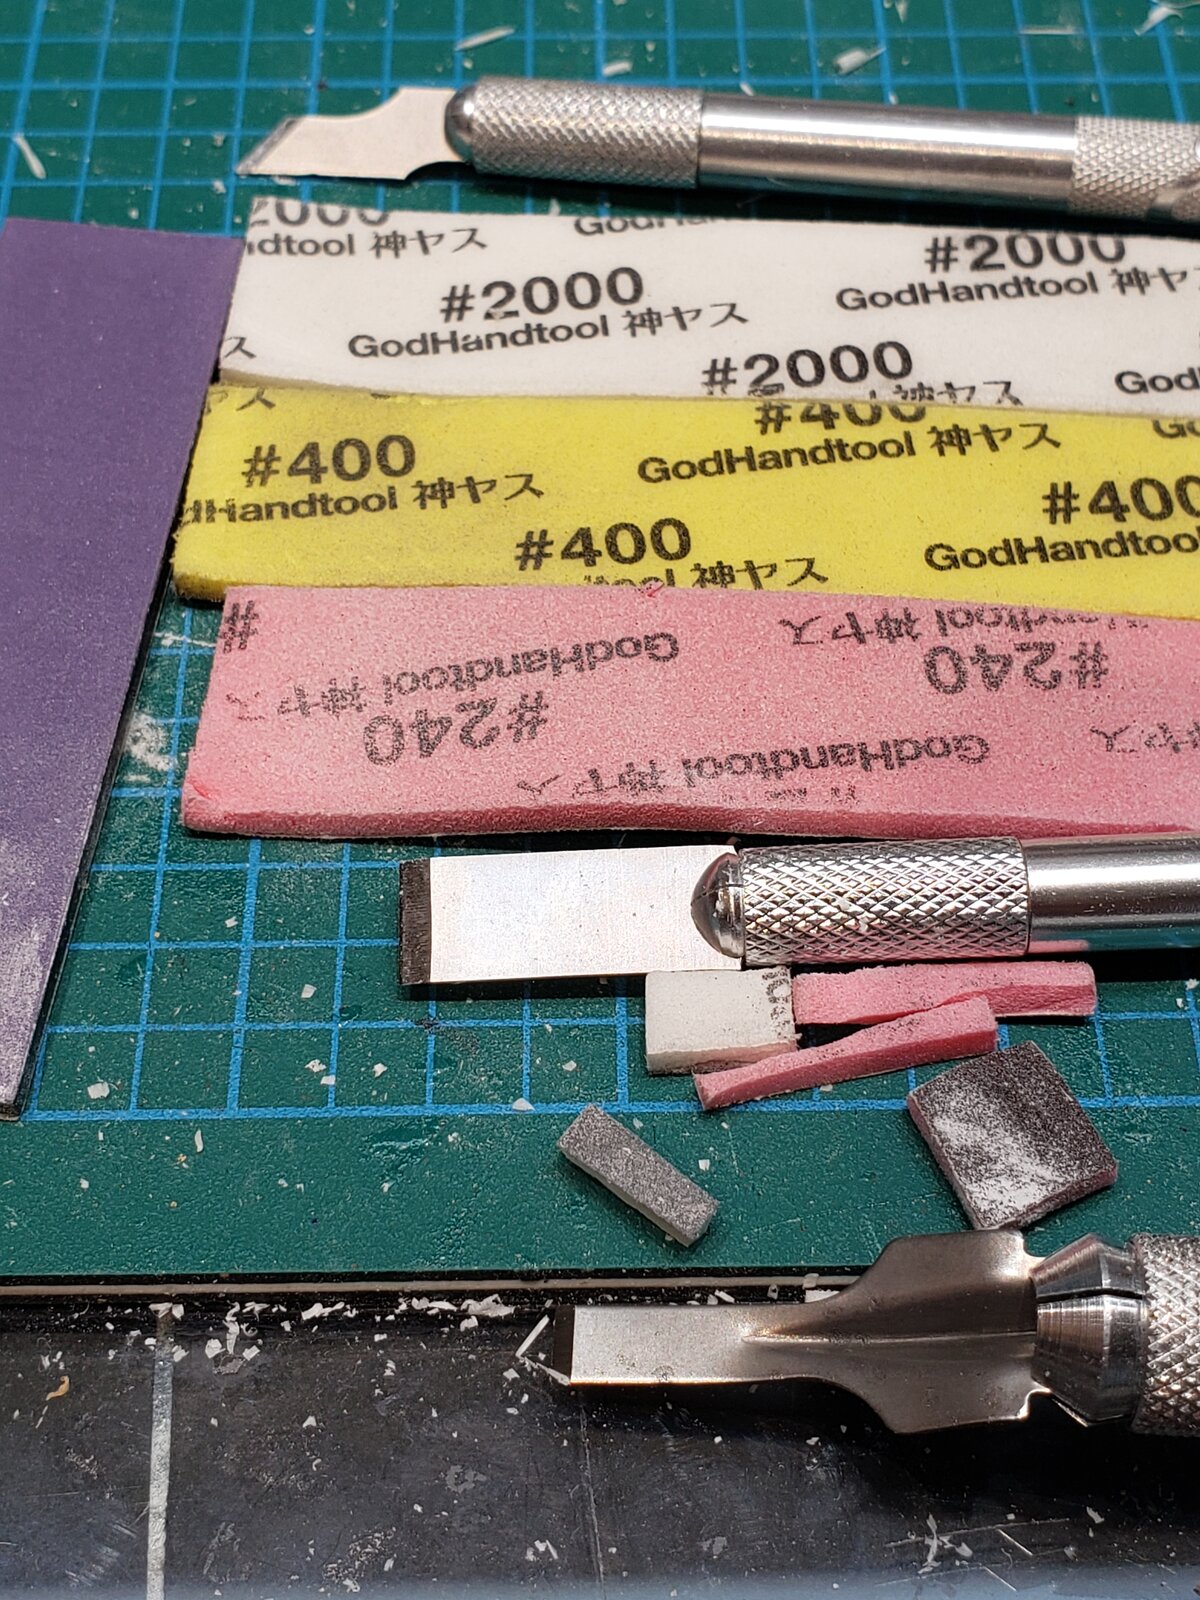
So, seeing as I like to feel the work as closely as possible, back to hobby knives and sanding sticks:

17437323774012598029526281060909.jpg
 
I use my dremel (woodworking tool) on occasion at the bench. I have to say it scares me! So easily outta control... don't even want to think about it.

But for this job, after reading "chiseling", I thought why not!

View attachment 142837
Japanese mortise chisels and scrapers! After digging them out, realized they've been neglected, for about 25 years! Bought them in '83.
Another job for a rainy day.
Just kidding about the chisels. Won't be building rice paper shoji panels today!

So, seeing as I like to feel the work as closely as possible, back to hobby knives and sanding sticks:

View attachment 142838
I love those GodHandtool sanding sticks...they're the best!
 
GodHandtool sanding sticks
...yes especially that you can cut them for purpose-fit, like in this case, or to follow a rounded or irregular contour.
But when there is room, and you want a square edge, those ultra rigid carbon fibre sticks (left of photo) are pretty awesome too... I have one set up with 400 grit on one side, 800 on the other.
 
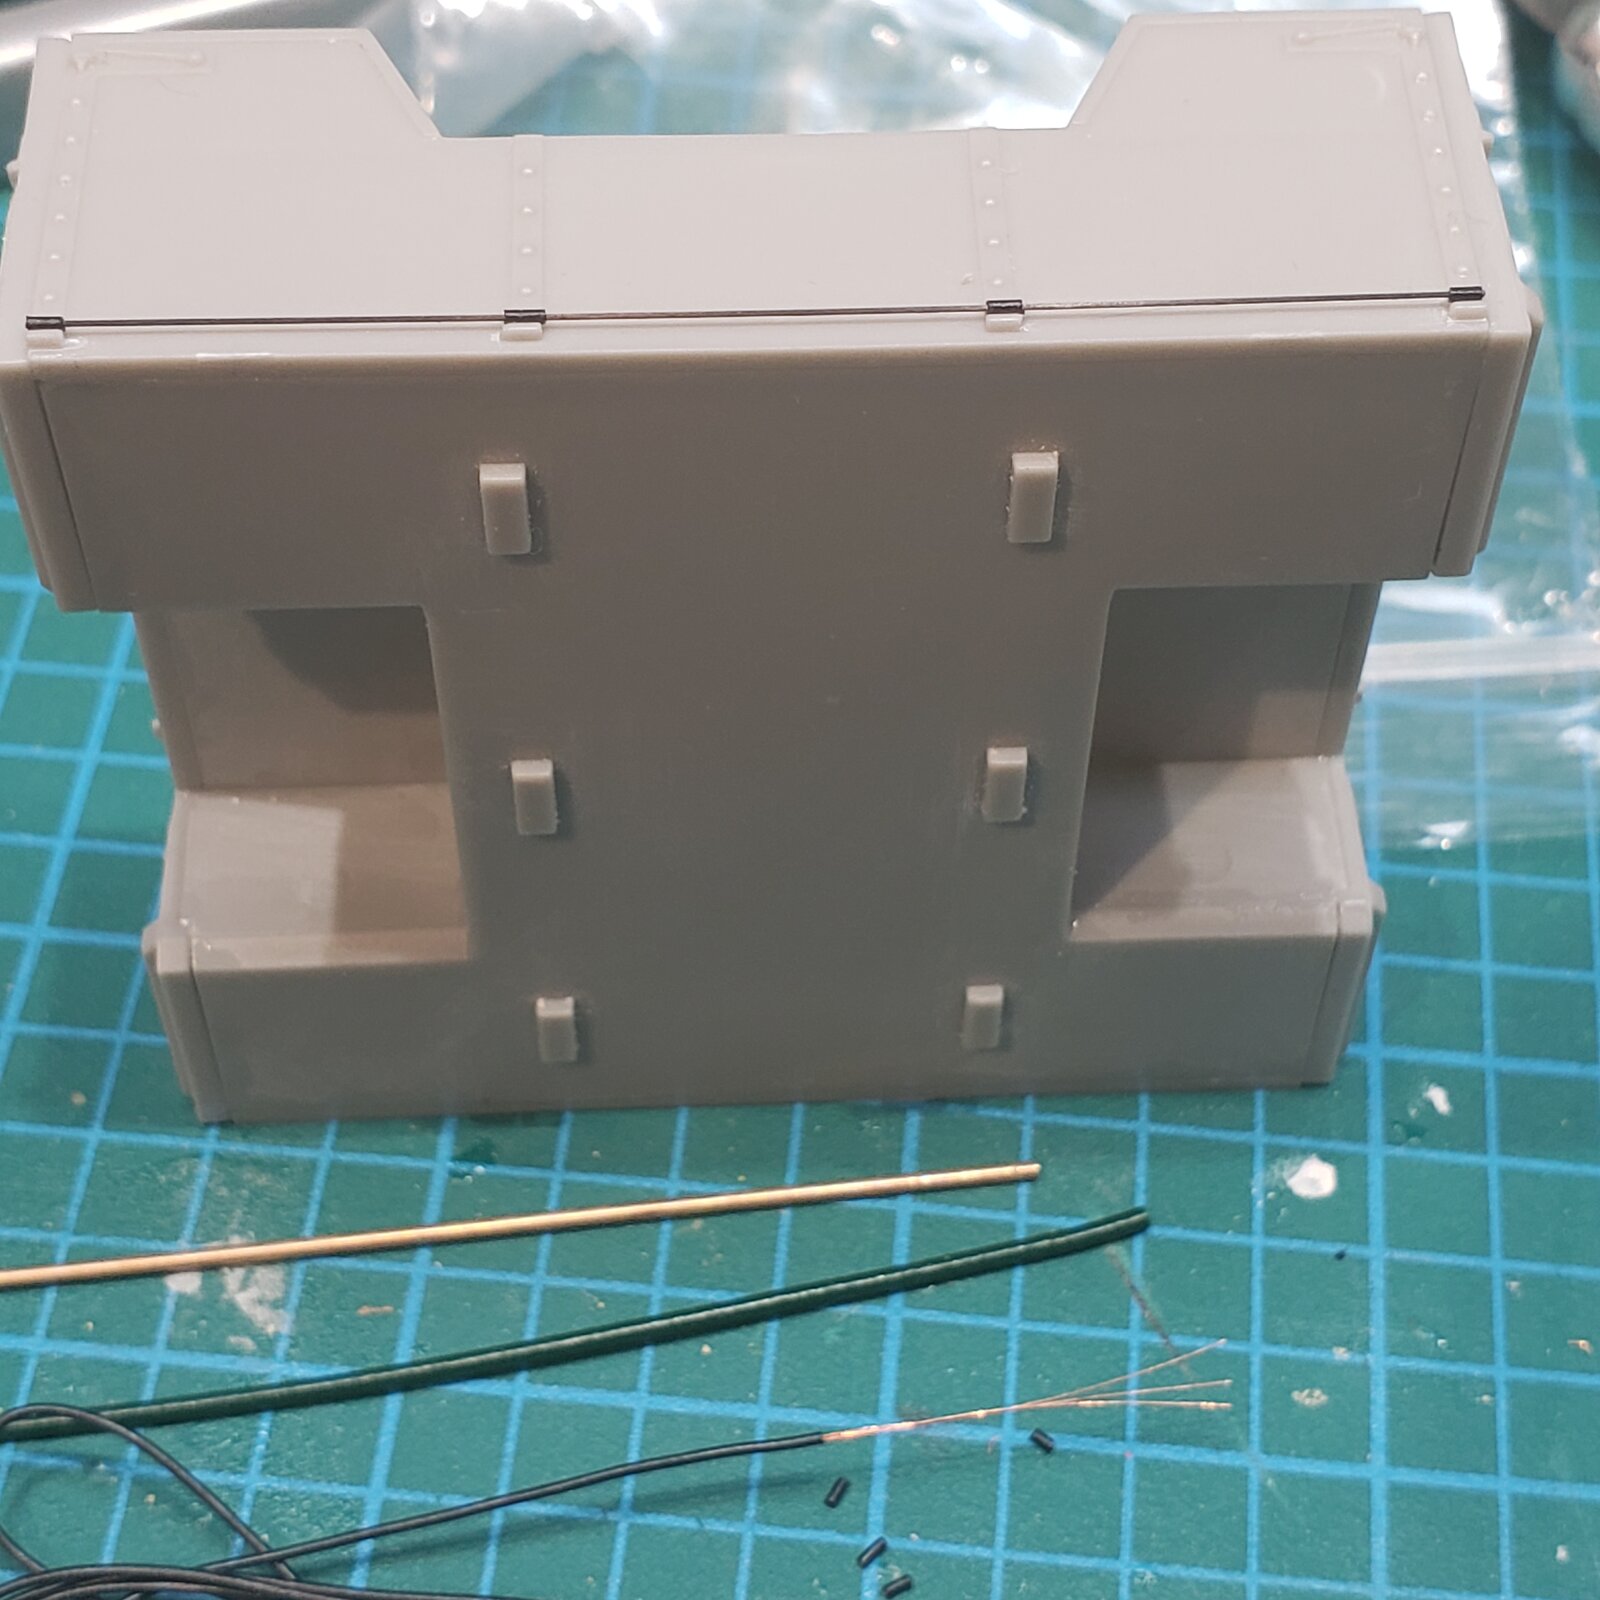
So I assembled the box. The instructions suggest gluing nine lengths of .3mm wire between the hinges to mimic the mechanism on the real truck.
That's way too fiddly for me.
How about use one length of carbon fiber antenna passed through bits of wire sheathing cut and placed in the right spots?
Easy enough to remove the existing hinges. And glue the new ones with the rod in place.

Here is the mockup, haven't removed the plastic hinges yet.

17438221069522319625953018049492.jpg

I did look at brass tubing, but cutting 12 tiny lengths would have been a royal pain and a bit big.
And also some larger sheathing with brass rods, but they looked too big.
So I think I have a plan.
 
What do you use for cutting brass rod and tube ?
Having seen your jigs, you probably have a better solution. :rolleyes:

This is how I've been doing it.
The only reliable technique for tube I've found and use, though it takes patience and a steady hand, is to roll/score the tube under a sharp, heavier, hobby blade. Preferably not on a cushiony base, as that will encourage the tube/rod to bend under pressure.

After enough turns, it'll just snap off.
Pushing too hard will indent the tube.
I sometimes use an awl to flare the tube back open.

For tiny rods, I just cut, either with PE snips, or larger ones, small pliers. Of course, I cut just a tad longer, and file/sand the end square afterwards.

I do have a mini tube cutter, similar to a plumbing pipe cutter, but the issue with that is the support points don't accommodate really small lengths, like in this project.

I should probably try heating the brass before cutting, maybe that would speed up the scoring(?).
 
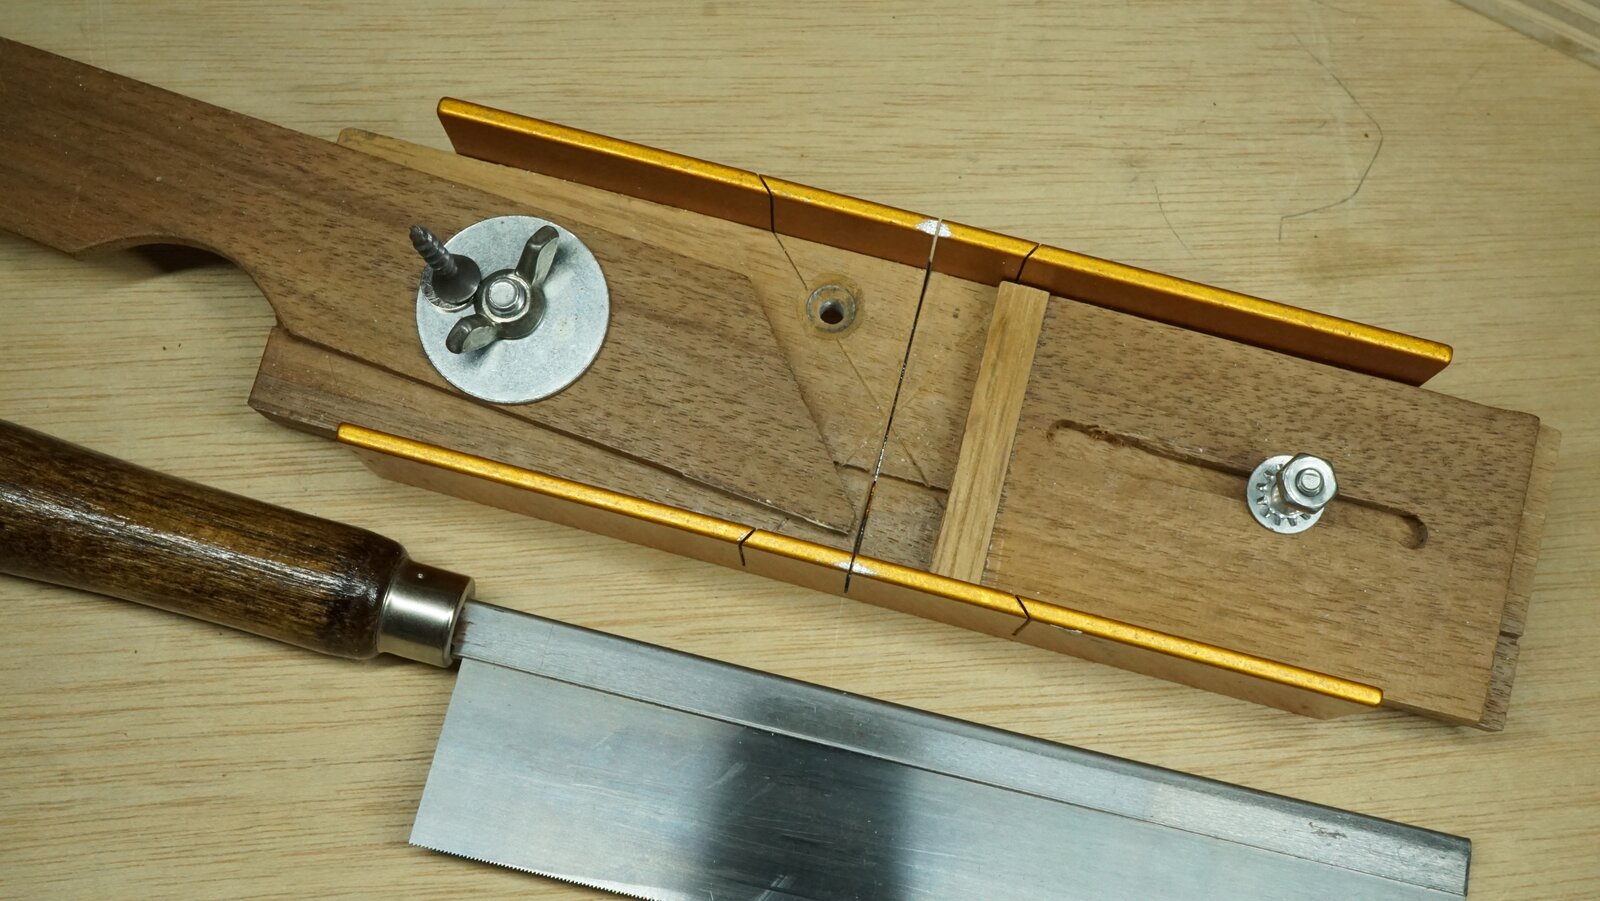
If you don't already have a back saw and miter box ,
get something like this : https://www.scalehobbyist.com/catag...saw-42tpi/ZNA00035241/product.php?s=4&t=0&u=1

I added some timber to it ,
an adjustable stop that makes cutting exact lengths , even super short lengths , really easy and accurate .
The lever is to hold the rod/tube tight to the fence -- it's removable for wider stock .
The screw on the magnet anchors it to the edge of the bench . The end of the lever has a hole for hanging it adjacent the bench .

DSC06612.JPG
 
Nice!
I have a saw that looks quite similar... but not the mini miter box.
So obvious!
Used to use one all the time for wood projects, PVC and ABS pipe. Then it fell into disuse when the radial compound miter saw moved into town...

Thanks!
Because as you may have noticed, I really do like working with brass. :p
 

Latest posts

Back
Top