NecronautDrummer
Member
- Joined
- Sep 25, 2011
- Messages
- 804
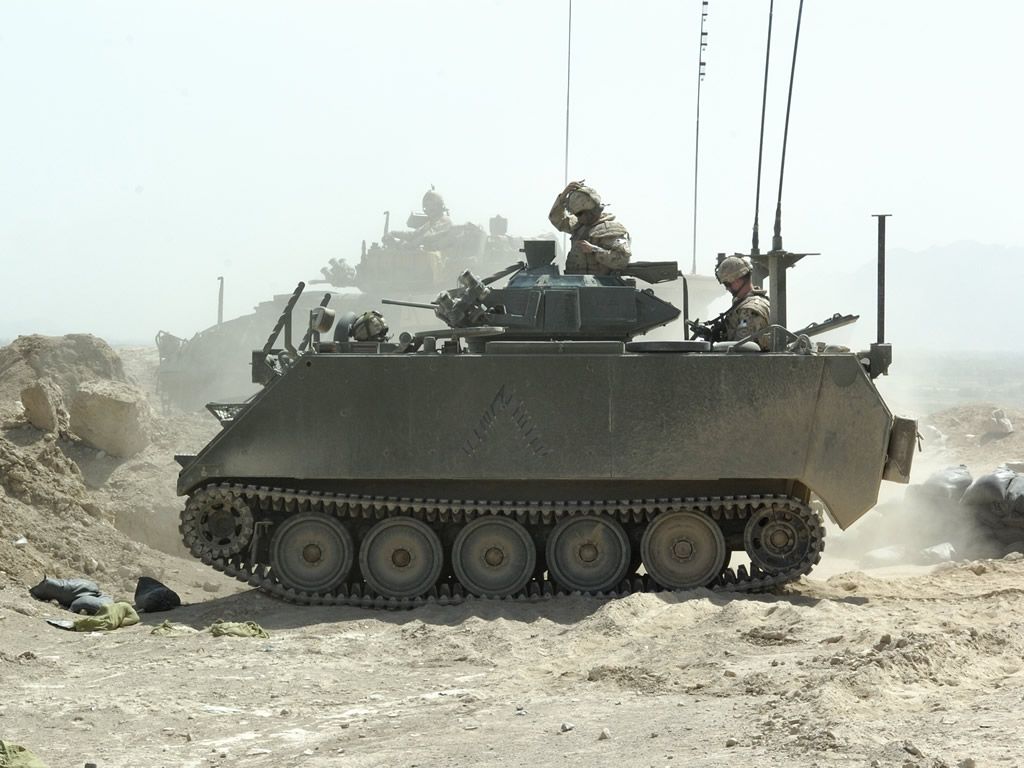
Here's a walkthrough of my chosen War Wheels kit, the Cougar AVGP from Trumpeter.

I used to drive these things in my Army Reserve days in the 90's. I'll be building a 1994 era Cougar, before they did the turret refit.
A quick shot of the parts layout...


In a moment of stupidity, I installed the brake line guard plates (the boxes beside the shock absorbers) upside down. They were stuck before I figured that one out... I'll have to scratchbuild the mounts and rivets back onto them properly. I first cut off and sanded the ridges from the box. They're supposed to be the mount points to the hull.

With some square styrene strip, I remade the mount points inbetween the guard plate and the hull, where they're supposed to be. You can see that I'm still in the process of cleaning off the ridges from the rear guard.

Brake guard extenders were soon installed on the Cougars when the brake lines were being continually torn out from driving in the field. This kit doesn't have that, so I'm off into my very first time scratch-building a part from styrene. These are the fronts of those brake guard plate extensions.

...and here is the first finished guard extension. I added a styrene strip to the front because that's the way the guard wrapped around the exposed brake lines. Besides, it'd be a little flimsy without it. It needs to be sanded down flush and puttied up smooth still, but I'll let it cure completely before I do that.
I've also added the rivet detail back onto the brake guard with some cut-down styrene rod, sanded down a little after curing. Still need to install the rear wheel brake guard mod (but I want to check some reference pics first; it might be a square box on the rear wheel?)

Starting the work on the other side. The brake guard on the middle wheel is how it was supposed to be installed.
Like I've said in several other posts, I'm somewhat of a noob at this, having taken a 13+ year break from the hobby. Any and all feedback would be appreciated!

Happy modelling!
I used to drive these things in my Army Reserve days in the 90's. I'll be building a 1994 era Cougar, before they did the turret refit.
A quick shot of the parts layout...
In a moment of stupidity, I installed the brake line guard plates (the boxes beside the shock absorbers) upside down. They were stuck before I figured that one out... I'll have to scratchbuild the mounts and rivets back onto them properly. I first cut off and sanded the ridges from the box. They're supposed to be the mount points to the hull.
With some square styrene strip, I remade the mount points inbetween the guard plate and the hull, where they're supposed to be. You can see that I'm still in the process of cleaning off the ridges from the rear guard.
Brake guard extenders were soon installed on the Cougars when the brake lines were being continually torn out from driving in the field. This kit doesn't have that, so I'm off into my very first time scratch-building a part from styrene. These are the fronts of those brake guard plate extensions.
...and here is the first finished guard extension. I added a styrene strip to the front because that's the way the guard wrapped around the exposed brake lines. Besides, it'd be a little flimsy without it. It needs to be sanded down flush and puttied up smooth still, but I'll let it cure completely before I do that.
I've also added the rivet detail back onto the brake guard with some cut-down styrene rod, sanded down a little after curing. Still need to install the rear wheel brake guard mod (but I want to check some reference pics first; it might be a square box on the rear wheel?)
Starting the work on the other side. The brake guard on the middle wheel is how it was supposed to be installed.
Like I've said in several other posts, I'm somewhat of a noob at this, having taken a 13+ year break from the hobby. Any and all feedback would be appreciated!
Happy modelling!
") , looks like a nice kit !
, looks like a nice kit !