The Nylon Gag MK.2 F1 Magneto Skimmer

eh up dude,lovin ya update mym8,and i like the drunked monkey typin!!lolcheers peza ;D
 
Good Evening Chumlies,

Thanks for all the support, great to have you along for the ride.

Gunna make this fast because tonight I'm not drunk enough ;D and i want to be,

Sooooooooo,

8 hours of bench time today and a few evenings during the week and here's what we got so far,

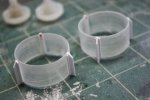
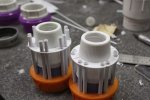
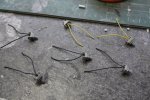
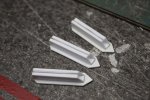
Prep'd some pieces to hold the engine vanes

Picture%2520051.jpg


Added some tube to add interest


Picture%2520053.jpg


Picture%2520054.jpg


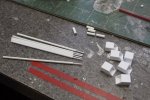
More small part prep,


Picture%2520055.jpg


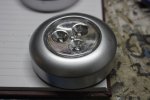
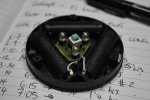
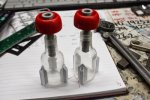
Was given two of these by my buddy G at work,


Picture%2520056.jpg


Wanted them mainly for the switch,


Picture%2520057.jpg


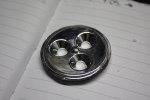
But after I had dismantled them I found that this....


Picture%2520058.jpg


Fit perfectly in here,


Picture%2520059.jpg


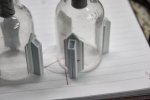
Glued some clear domes over the holes in the back


Picture%2520060.jpg


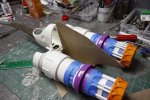
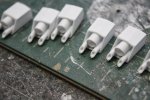
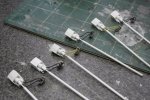
Then i moved on to the afterburner injectors which I cut to length,


Picture%2520061.jpg


Drilled a small hole for the actuator rods for the vector mechanism,


Picture%2520063.jpg


Cut the bits for the actuator assemblies,


Picture%2520064.jpg


Made the main drive unit,


Picture%2520067.jpg


Used ship turrets with a hole drilled in them and some wire for the control unit


Picture%2520070.jpg


Then everything was dry fit, later it will be cut to length and installed,


Picture%2520075.jpg


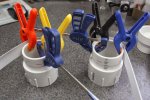
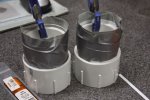
Wrapped one of the main body tubes to overlap a join,


Picture%2520076.jpg


Picture%2520077.jpg


Slotted and trimmed the vane supports and cut some more details,


Picture%2520078.jpg


Picture%2520079.jpg


These were then assembled,


Picture%2520082.jpg


Picture%2520081.jpg


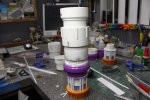
This is the outer profile so far, a little different, a bit shorter than before because I think this is going to be about 1/12th scale so it would of been to large relative to the pilot, I don't want the ship to be to big, I want it at least a little relatable to current Formula 1 cars, scale wise


Picture%2520083.jpg


That's about it so far, I've ordered some more rod and other assorted styrene, my lights for the engines and some Alclad chrome and Magnesium paints which should arrive this week, I hope.

Well, I'm going to get a refill now and watch the first episode of the new season of Face Off.

Stay tuned my friends and thanks for stopping by,

Take care,

Gagsterman
 
eh up gagster,
wow buddy love ya progress keep`um comin mym8...
top marks again dude!!cheers peza ;D
 
I never saw so scifictionnable plumbing parts and everyday items. just marvelous !
Thank you for sharing that !
 
I love that all the parts your adding on have names and functions, not just a piece of plastic here and detail there.
Always love watching your free-stylin'.
 
Awesome Work again. I am amazed how you can take random bits and pieces and create something great. Where is the Primer though?
 
Evening my friends,

Thank you so much for the kind words, it really means a lot to me to have my friends along for the ride.

Well, this week I had some good news and some bad news
Good news is that after two years of working only four days a week we are now back on five days ;D
Bad news is that I have lost my Friday modelling day, 8 hours of solid bench time ???

But at least I have a job, which in this area at the moment is a very good thing.

Enough waffel, mmmmmmm waffels, on with the update,

Lots of head scratching and thinking, not so much build progress, this really is one piece after another,
my lights still haven't arrived yet ??? so it is a bit of a hold up as far as the engines are concerned but anyhoo's your daddy,

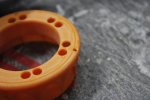
Used these MotoGP front disc brakes for more internal details that you won't be able to see, obviously,
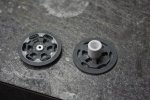

Picture%2520084.jpg


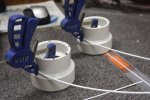
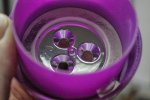
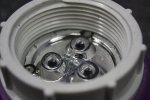
Decided i didn't like the baby bottle caps because they hid to much of the insides and looked to out of scale, had a quick rethink and came up with this.


'T' shaped styrene with a taper on one end
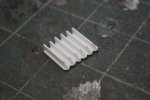

Picture%2520085.jpg


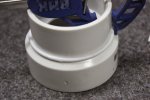
Cleaned up the bottom of the bottles that I cut off and found two wochesteshire sauce pouring spouts
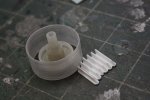


Picture%2520086.jpg


Added the 'T' stock


Picture%2520087.jpg


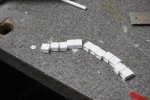
Cut and shaped six thruster vanes and noched them to take the ring,
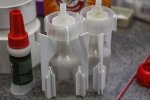


Picture%2520088.jpg


Moved on to the internal frame structure, cut two holes in 3.5mm sheet styrene, the distance between the centers has since changed, plus iI broke my Olfa hole cutter in the process so i had to use the dremel instead, not as accurate but way more fun.
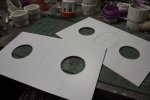

Picture%2520092.jpg


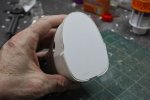
Then I had a mega find, this is one of those desk top air freshener thingy's, where you insert a bottle of cented oil and it heats up and stinks the room out.
Well, after I had cut out all the innards I thought the outer body shape makes a perfect cockpit saftey module
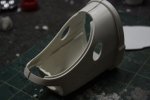

Picture%2520093.jpg


Made a back for it


Picture%2520095.jpg


Punched holes for support rods in the internal structure sheets and the back plate
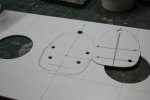


Picture%2520097.jpg


Very very very basic assembly, this is when I decided that the engines were too far apart,
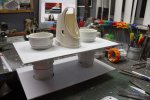


Picture%2520098.jpg


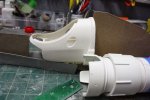
Re-thought the side intakes and did a bit of sanding
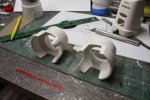


Picture%2520102.jpg


This is the start of the underside structure, a ship hull and a tank hull, perfect
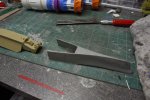

Picture%2520104.jpg


Card board inserts to help me visualize the profile and overall lay out so far
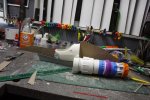

Picture%2520105.jpg


Picture%2520106.jpg


Picture%2520107.jpg


That's all for now

Until next time, stay tuned

Take care

Gagsterman McGee


[attachment deleted by admin]
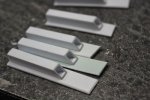
 
eh up dude,nice work on the progress.i love the runnin round the house lookin for things to use!that air freshener is a sweet shape!!good find!!!!top marks again gagster!!! ;D
 

Latest posts

Back
Top