Tasca M4A3E2 Jumbo Cobra King build

Big-John

New Member
Joined
Sep 17, 2011
Messages
1,052
Hello all.

This is my very first post on this forum, I found this site while browsing youtube and ran across some scalemodeladdict videos.

I’m a member on Armorama and see several familiar faces from there.

I’m a 41 year old farm boy that lives in south western Ohio out in the middle of a bunch of corn fields.


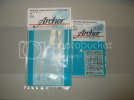
Ok, so enough of the intro, I did the research work for Archer Fine Transfers for the Cobra King markings, and decided I better get started on my build.

I have this posted over on Armorama as well and thought I would share it here.

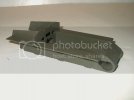
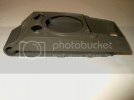
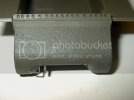
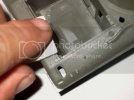
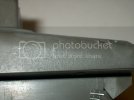
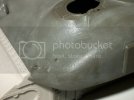
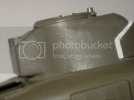
Not much done yet, but keep checking in as I am a VERY slow builder. I mainly have the lower hull assembled and upper hull fitted. I Gave the final drive housing some extra texturing to accent it a little more.
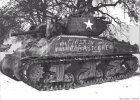
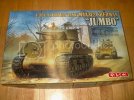
cobraking.jpg


IM005597.jpg


IM005599.jpg

IM005603.jpg

IM005607.jpg

IM005604.jpg

So stay tuned and keep an eye on this build.

And here is one for panzerace007, my most favorite song of all time.


Metallica - One (Video)
 
oh sweet ive been wondering what that sherman was like, and welcome :)
 
Welcome aboard!!! ;D Off and running BJ!!! Looking forward to watching your progress!! ;) ;)
 
Now this looks promising and very interesting :) Will be watching closely :)
Cheers
Lukasz
 
Thanks all!

I am trying to finish a model for a campaign on another site, so as soon as I get that one done, I will be back on this one.

@Eric, Thanks dude. I already have a pile of Tasca kits in the stash. ;D
 
hay big john, didn't the jumbo Sherman come with extra armor? looks like it, it looks a little fatter and thicker.
 
hay big john, didn't the jumbo Sherman come with extra armor? looks like it, it looks a little fatter and thicker.

Yes, They had additional armor plates welded to the hull. I don't have the plates attached yet.
 
AWESOME and Welcome to the Herd Big-John.

I'm really looking forward to seeing this Jumbo build :D

And like I said before I really like that casting effect you have come up with, I'll be giving it a try for sure! ;D
 
Thanks for checking in Eric,

Some notes on making the cast texture.

I wish I had a video camera to make a video on how to do it, but I’ll just have to explain it best I can.

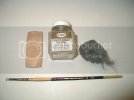
I use Testers liquid cement and the Tasca plastic responds very well to this. Tamiya and Dragon plastic is a little harder, and does not respond as well as Tasca plastic. Also, the only cement I have tried is the Testers cement. There may be some other cements that are a little hotter that will work with the Tamiya and Dragon plastics.

Work in small areas, it is real easy to blend areas into each other, so no advantage of trying to do too much at once.

Apply a generous pool of cement to the area you are working on with an old flat brush. You can work the area with the brush to get an idea when the plastic is getting soft. Once soft, take a small peice of cardboard, (cut from a model box) and float it randomly over the soft plastic. You don’t want to go in straight lines, but small movements, twisting the cardboard as you go. This pushes the soft plastic around on the surface and creates high and low spots.

Keep doing this until you have your area completed. Once dry, take some fine steel wool and buff out the area, this kind of polishes down the high spots, and gets rid of any strings and other blemishes from the process.

Practice on an old model until you get the feel of how the cement will flow around you work area and the texture you are after.

This is really fast, the hull on this M4A1 you see below took me about a half hour to 45 minutes to do.

IM005146.jpg

IM005147.jpg

IM005149.jpg

IM005148.jpg

IM005143.jpg
 
Here’s a small update on Cobra King,

Took a small break from the M5 while I wait on some of the weathering to dry.

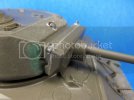
Continuing on with the turret, I detailed the Gun Mantle. It was constructed in two pieces with the inner part being cast. Tasca render both halves smooth with a straight square molding as the weld bead. I gave the inner part a cast texture, and reworked the molding to represent the weld bead.

100_0230.jpg

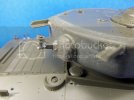
To the rear of the turret, I have added some weld beads and refined some parts.

100_0229.jpg

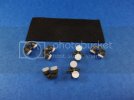
Tasca supplies a foam rubber pad that needs to be cut into squares for a workable suspension. I’m not real crazy on the workable suspension, so I cut my own spaces from sheet stock using a punch and die. All this will be trapped inside the bogie housing and will not be seen.

100_0235.jpg
 

Latest posts

Back
Top