Tamiya 1/35 Sherman M4A3

Scale Model Addict - Model Tips, Guides, Tools & Tech, Tutorials, and Community

Help Support Scale Model Addict:

Jantk14

Well-Known Member
Joined
Aug 13, 2025
Messages
412
City & State/Province
New Jersey USA
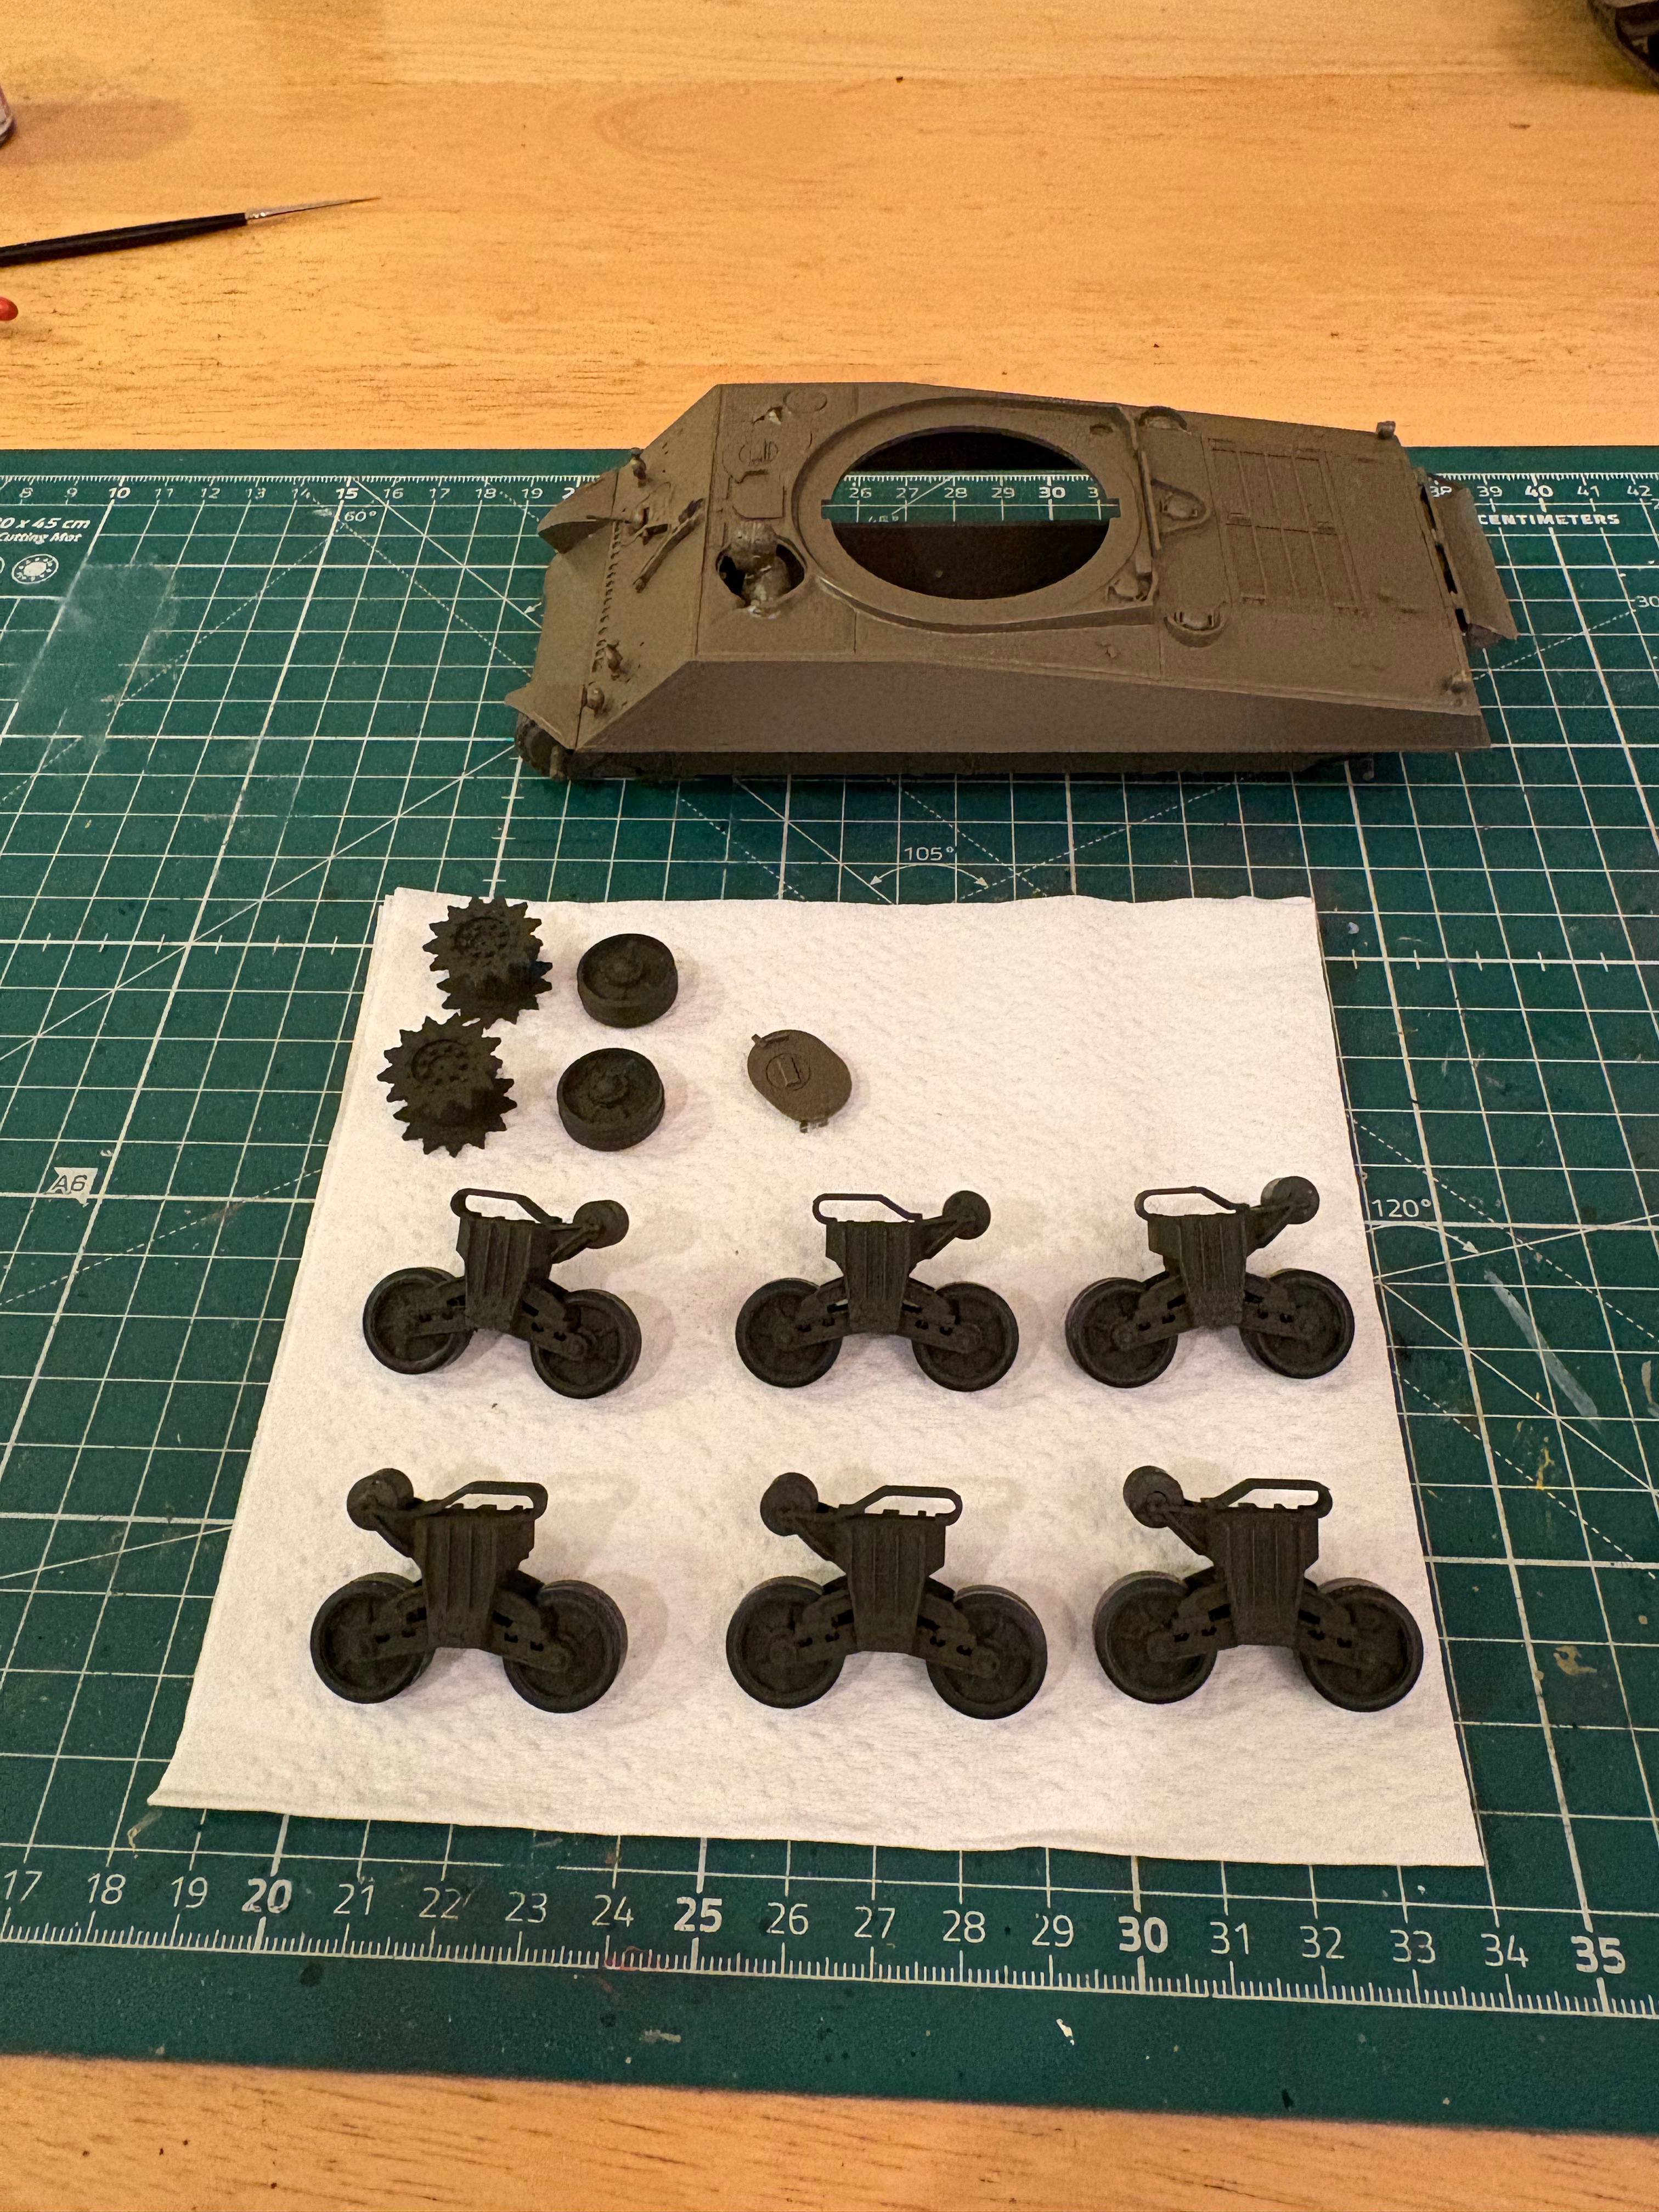
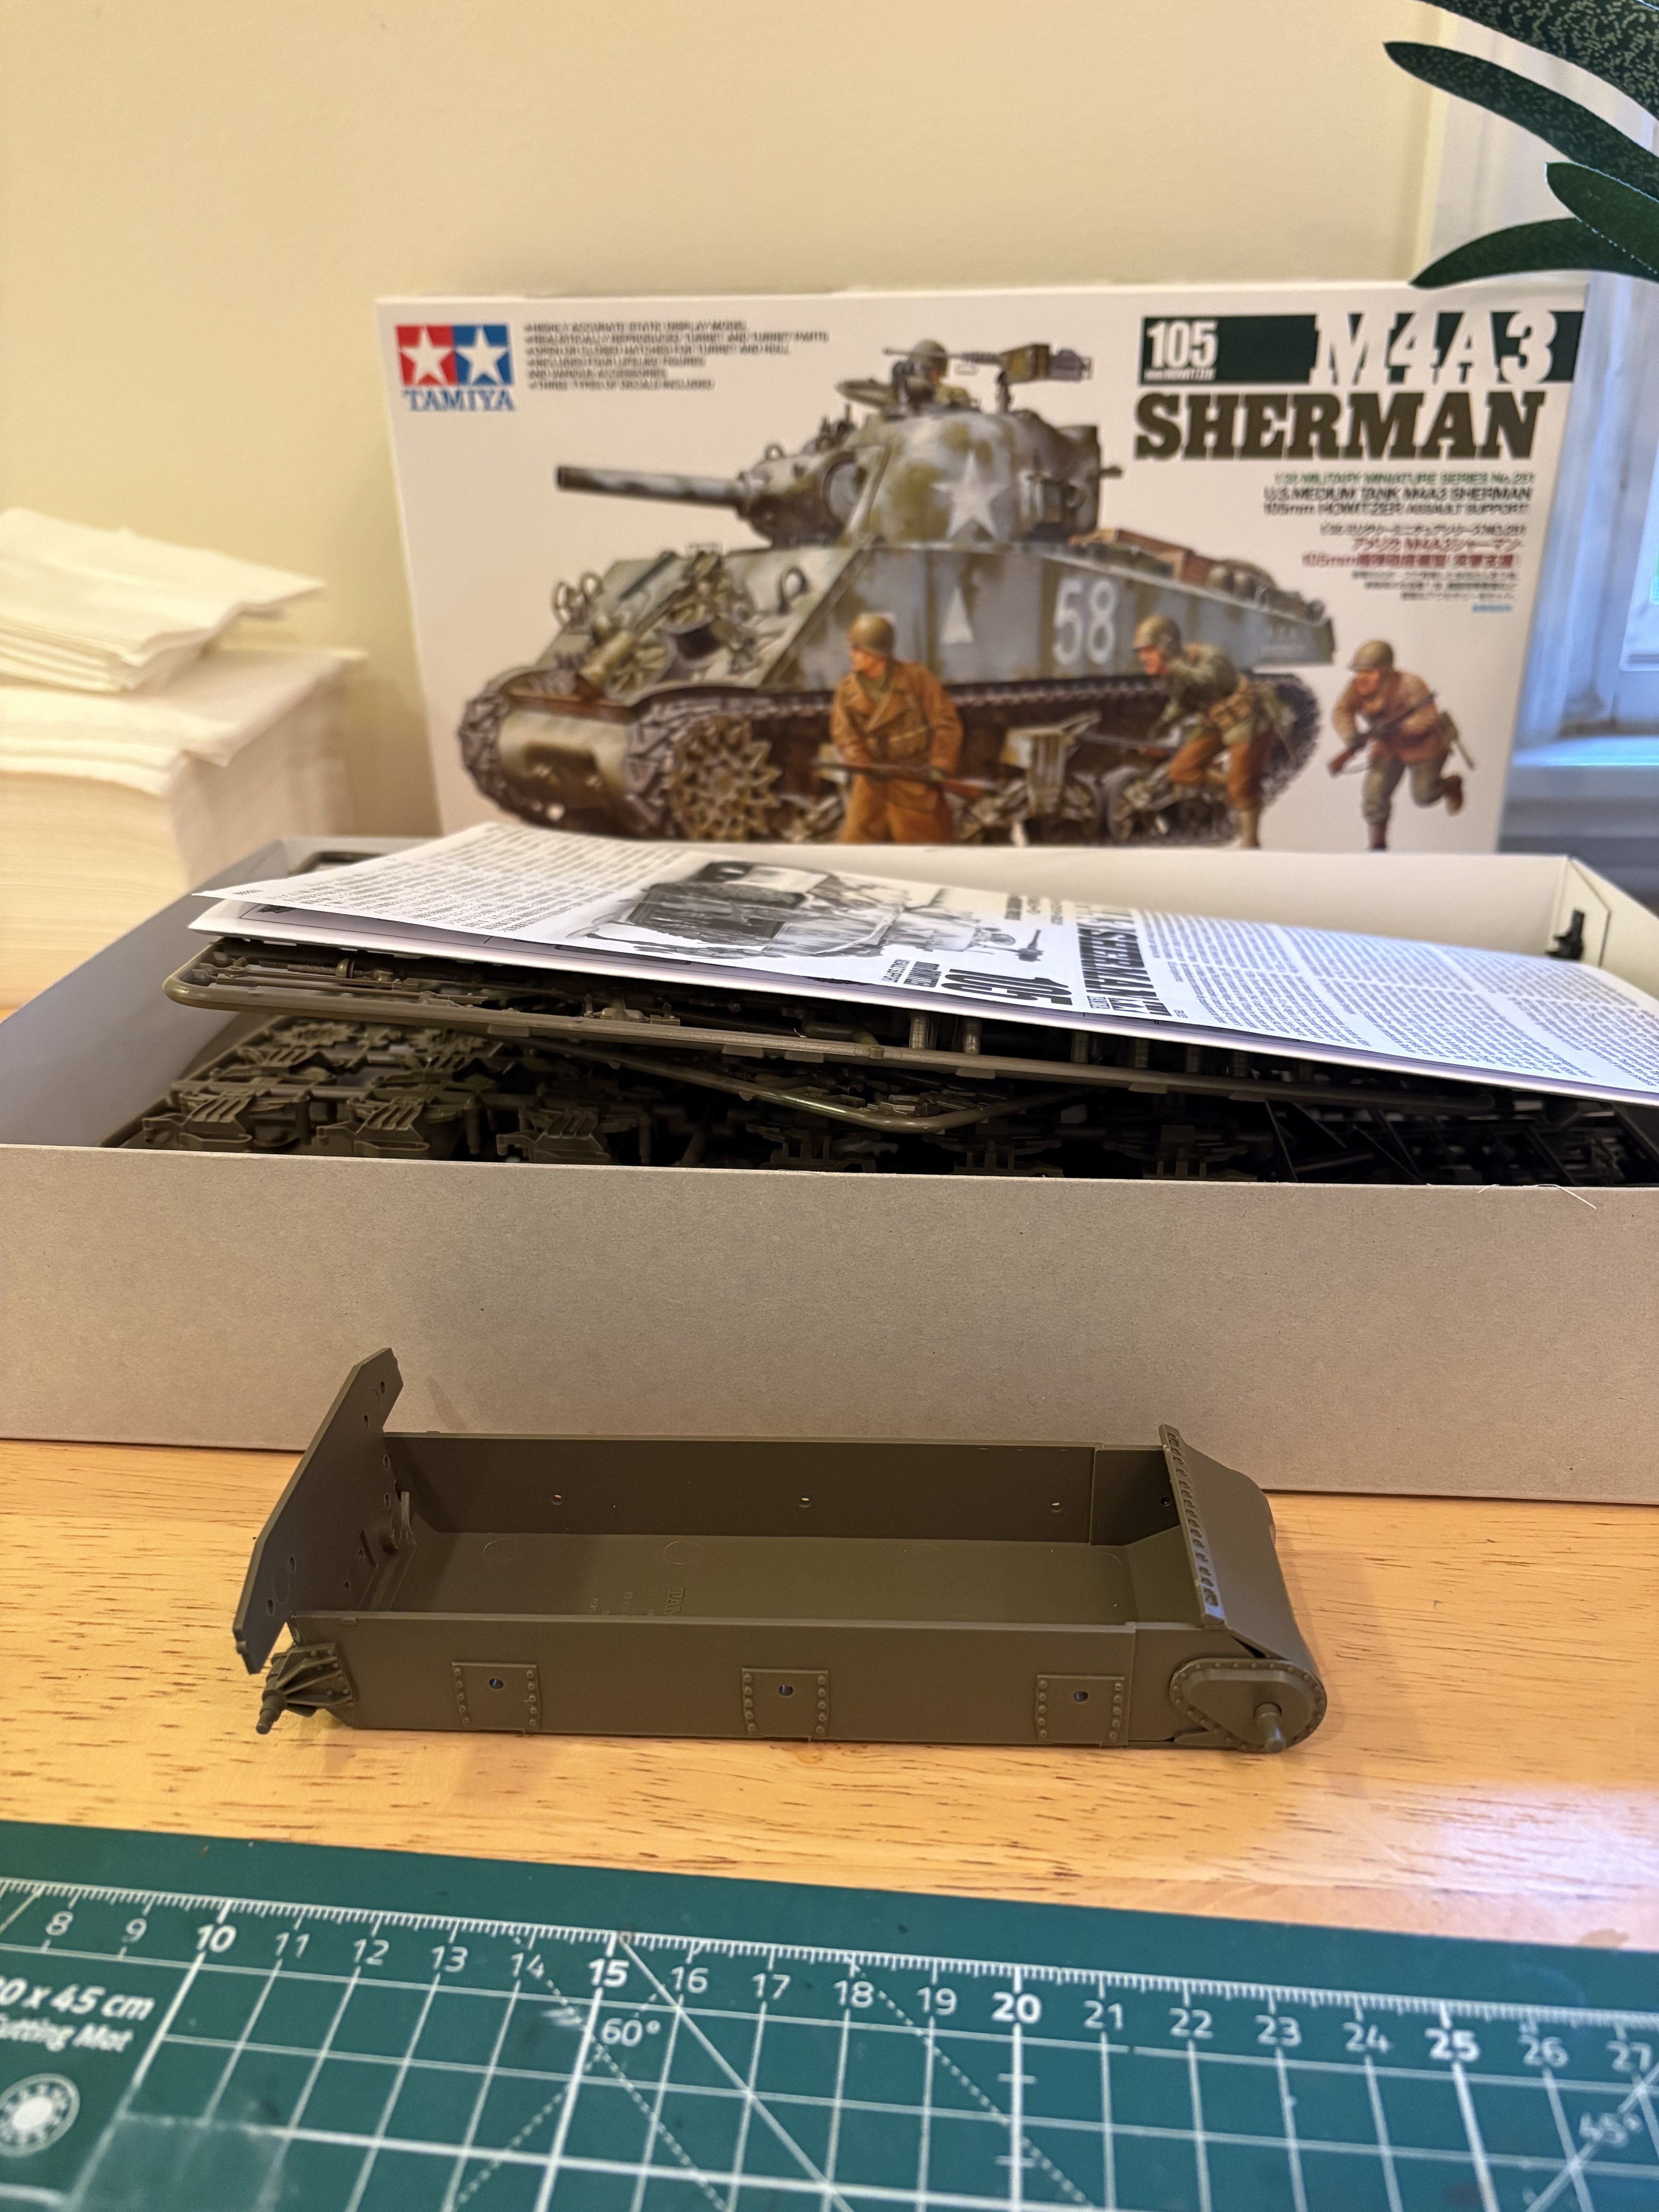
I jumped this to the top of my stash and started it today. And does anybody know what the tracks on this version are made of? I'm pretty sure the outside is rubber pads but what is the inside made of? I'm trying to figure out if I want to dry brush the inside a bare metal color.
IMG_5043.jpeg
 
Last edited:
The tracks are T48 rubber chevrons — see here, scroll down about a third of the page to get to the T48. The blocks were entirely rubber, inside and out, while the end connectors (the teeth on the ends that link the blocks) were steel.
 
The tracks are T48 rubber chevrons — see here, scroll down about a third of the page to get to the T48. The blocks were entirely rubber, inside and out, while the end connectors (the teeth on the ends that link the blocks) were steel.
How do you find these resources? I search all the time and can't ever find info like this.
 
I jumped this to the top of my stash and started it today. And does anybody know what the tracks on this version are made of? I'm pretty sure the outside is rubber pads but what is the inside made of? I'm trying to figure out if I want to dry brush the inside a bare metal color.View attachment 188923
That's a good kit. I enjoyed it. Typical Tamiya!
 
How do you find these resources?
Part of it is really just stumbling across them, another is that — in this particular case — it's fairly well-known as pretty much the main reference web site for Shermans. Kind of a poor man's Son of Sherman ;) (Which, I see, is available again just now due to a small restock. If Shermans are your thing, that US$199.99 is not an extravagance if you can afford it.)
 
As an Amazon Associate we earn from qualifying purchases. Product prices and availability are accurate as of the date/time indicated and are subject to change.
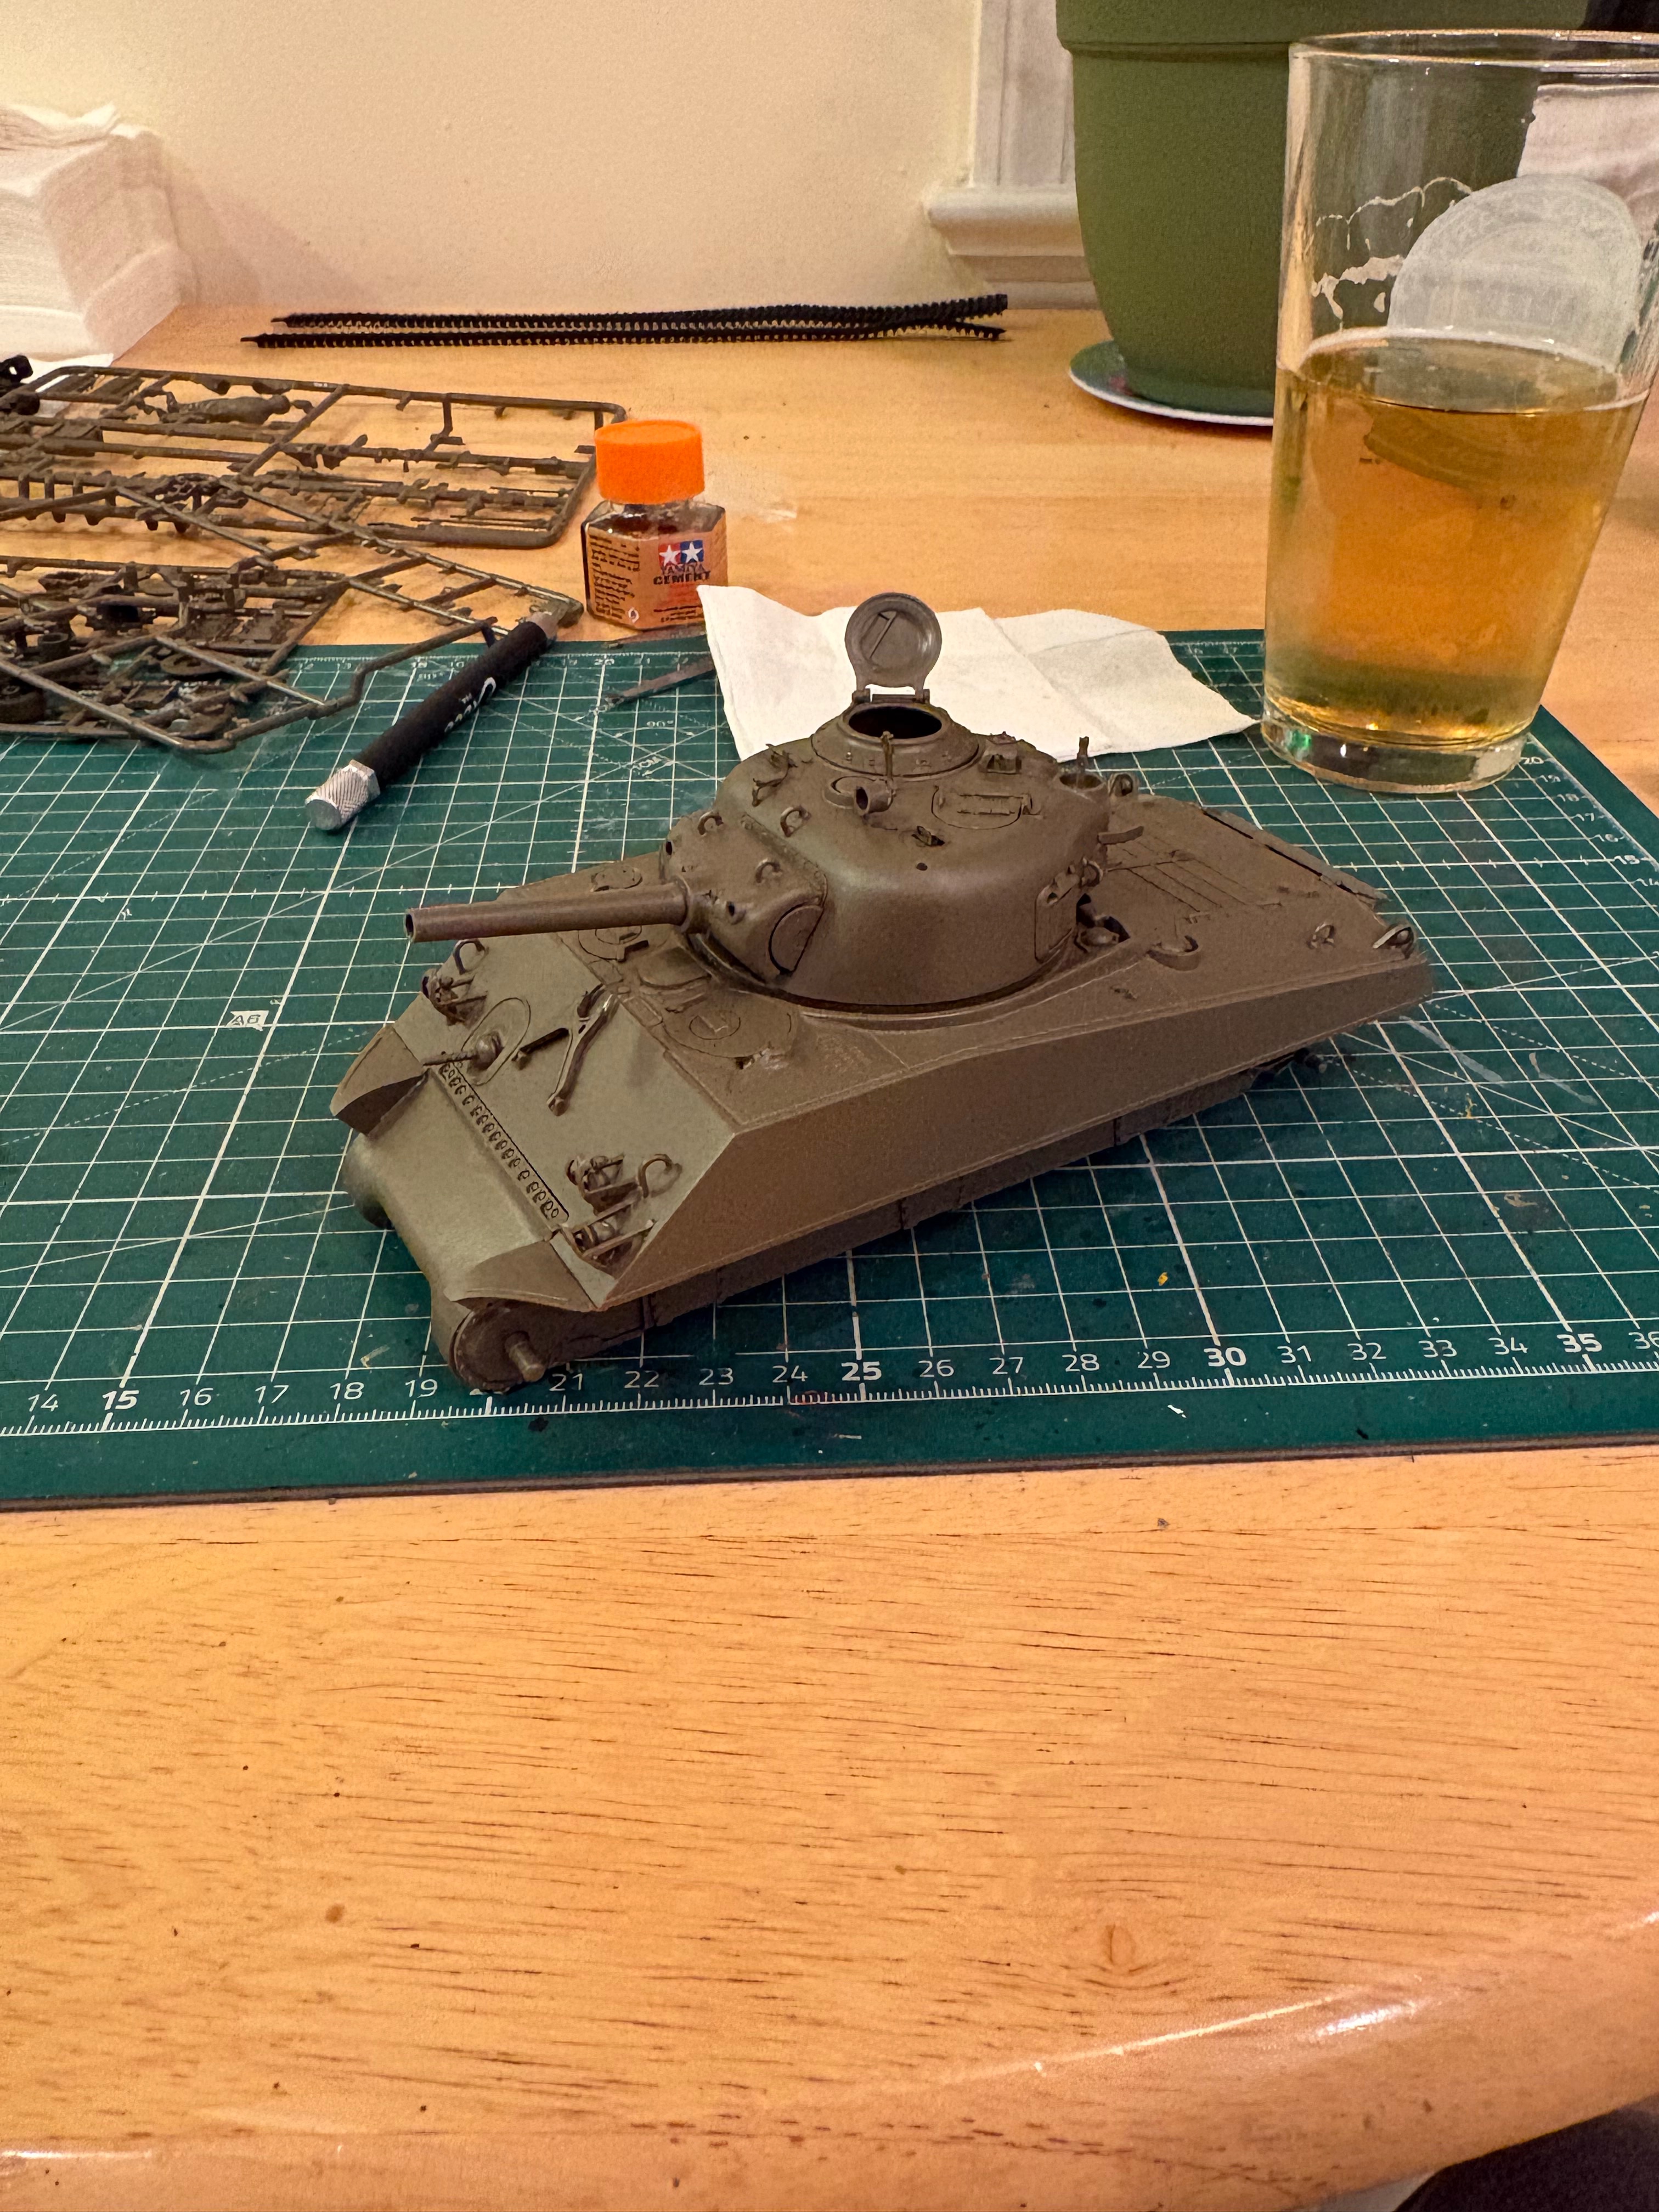
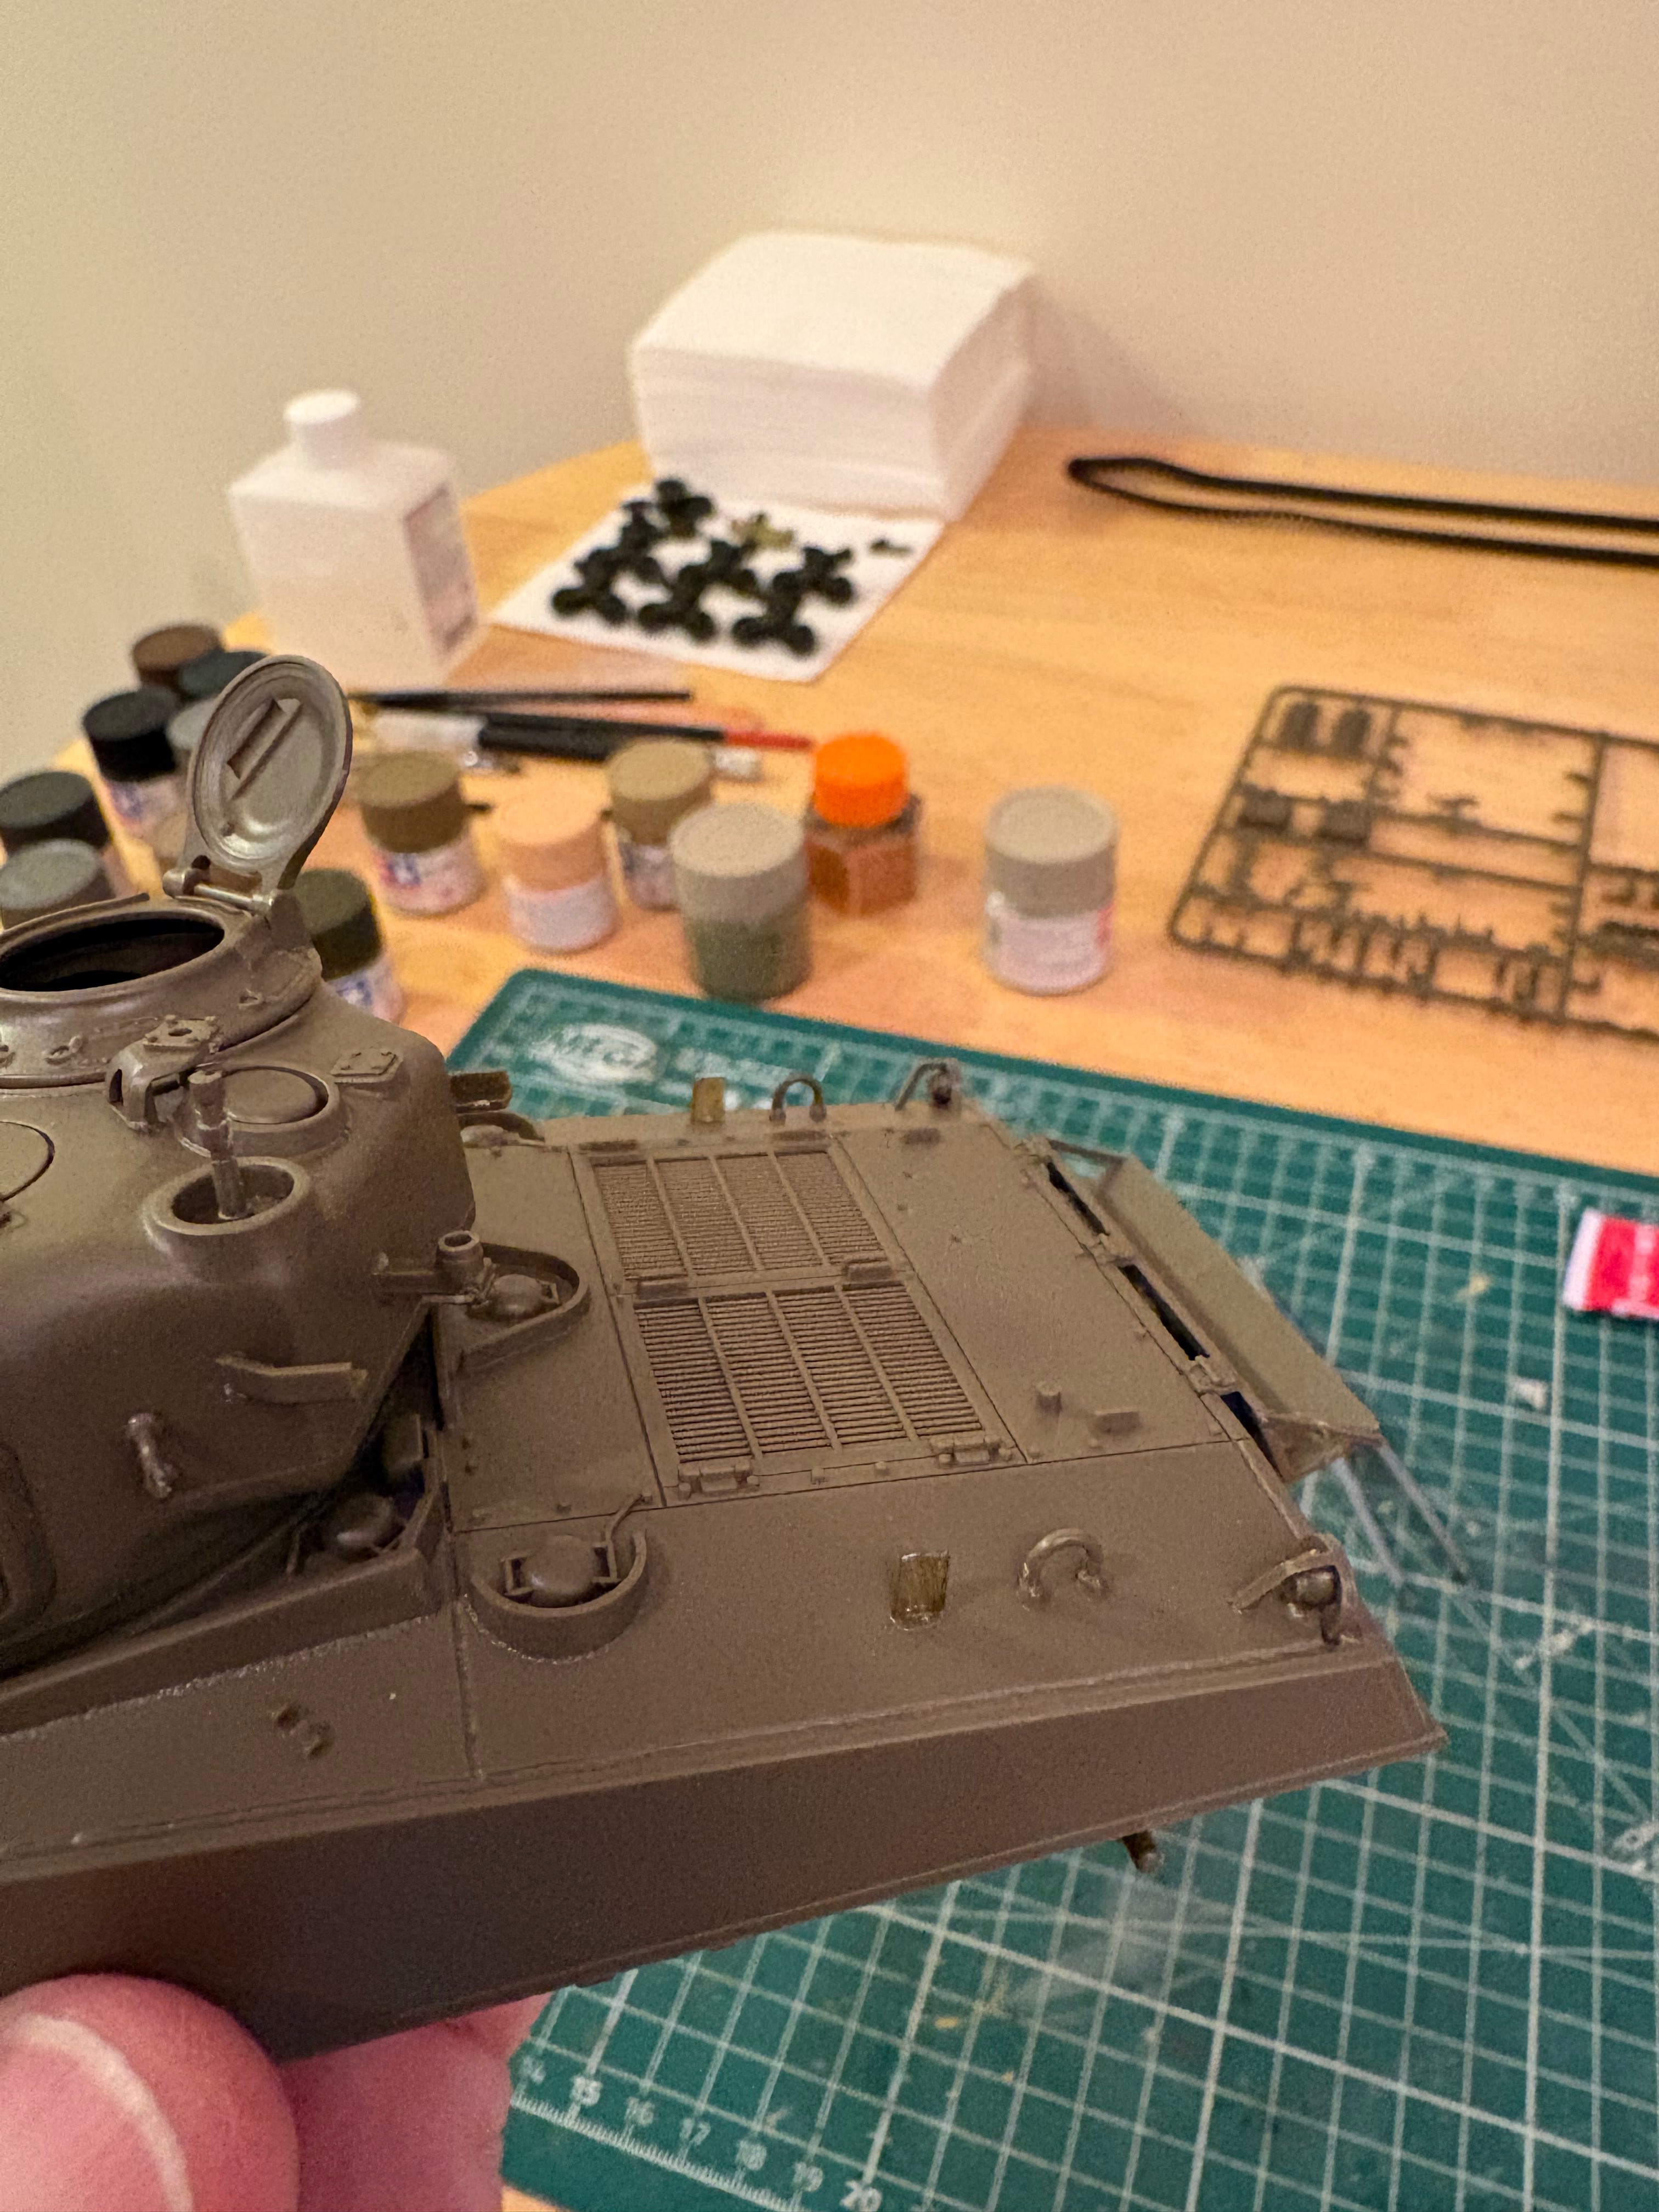
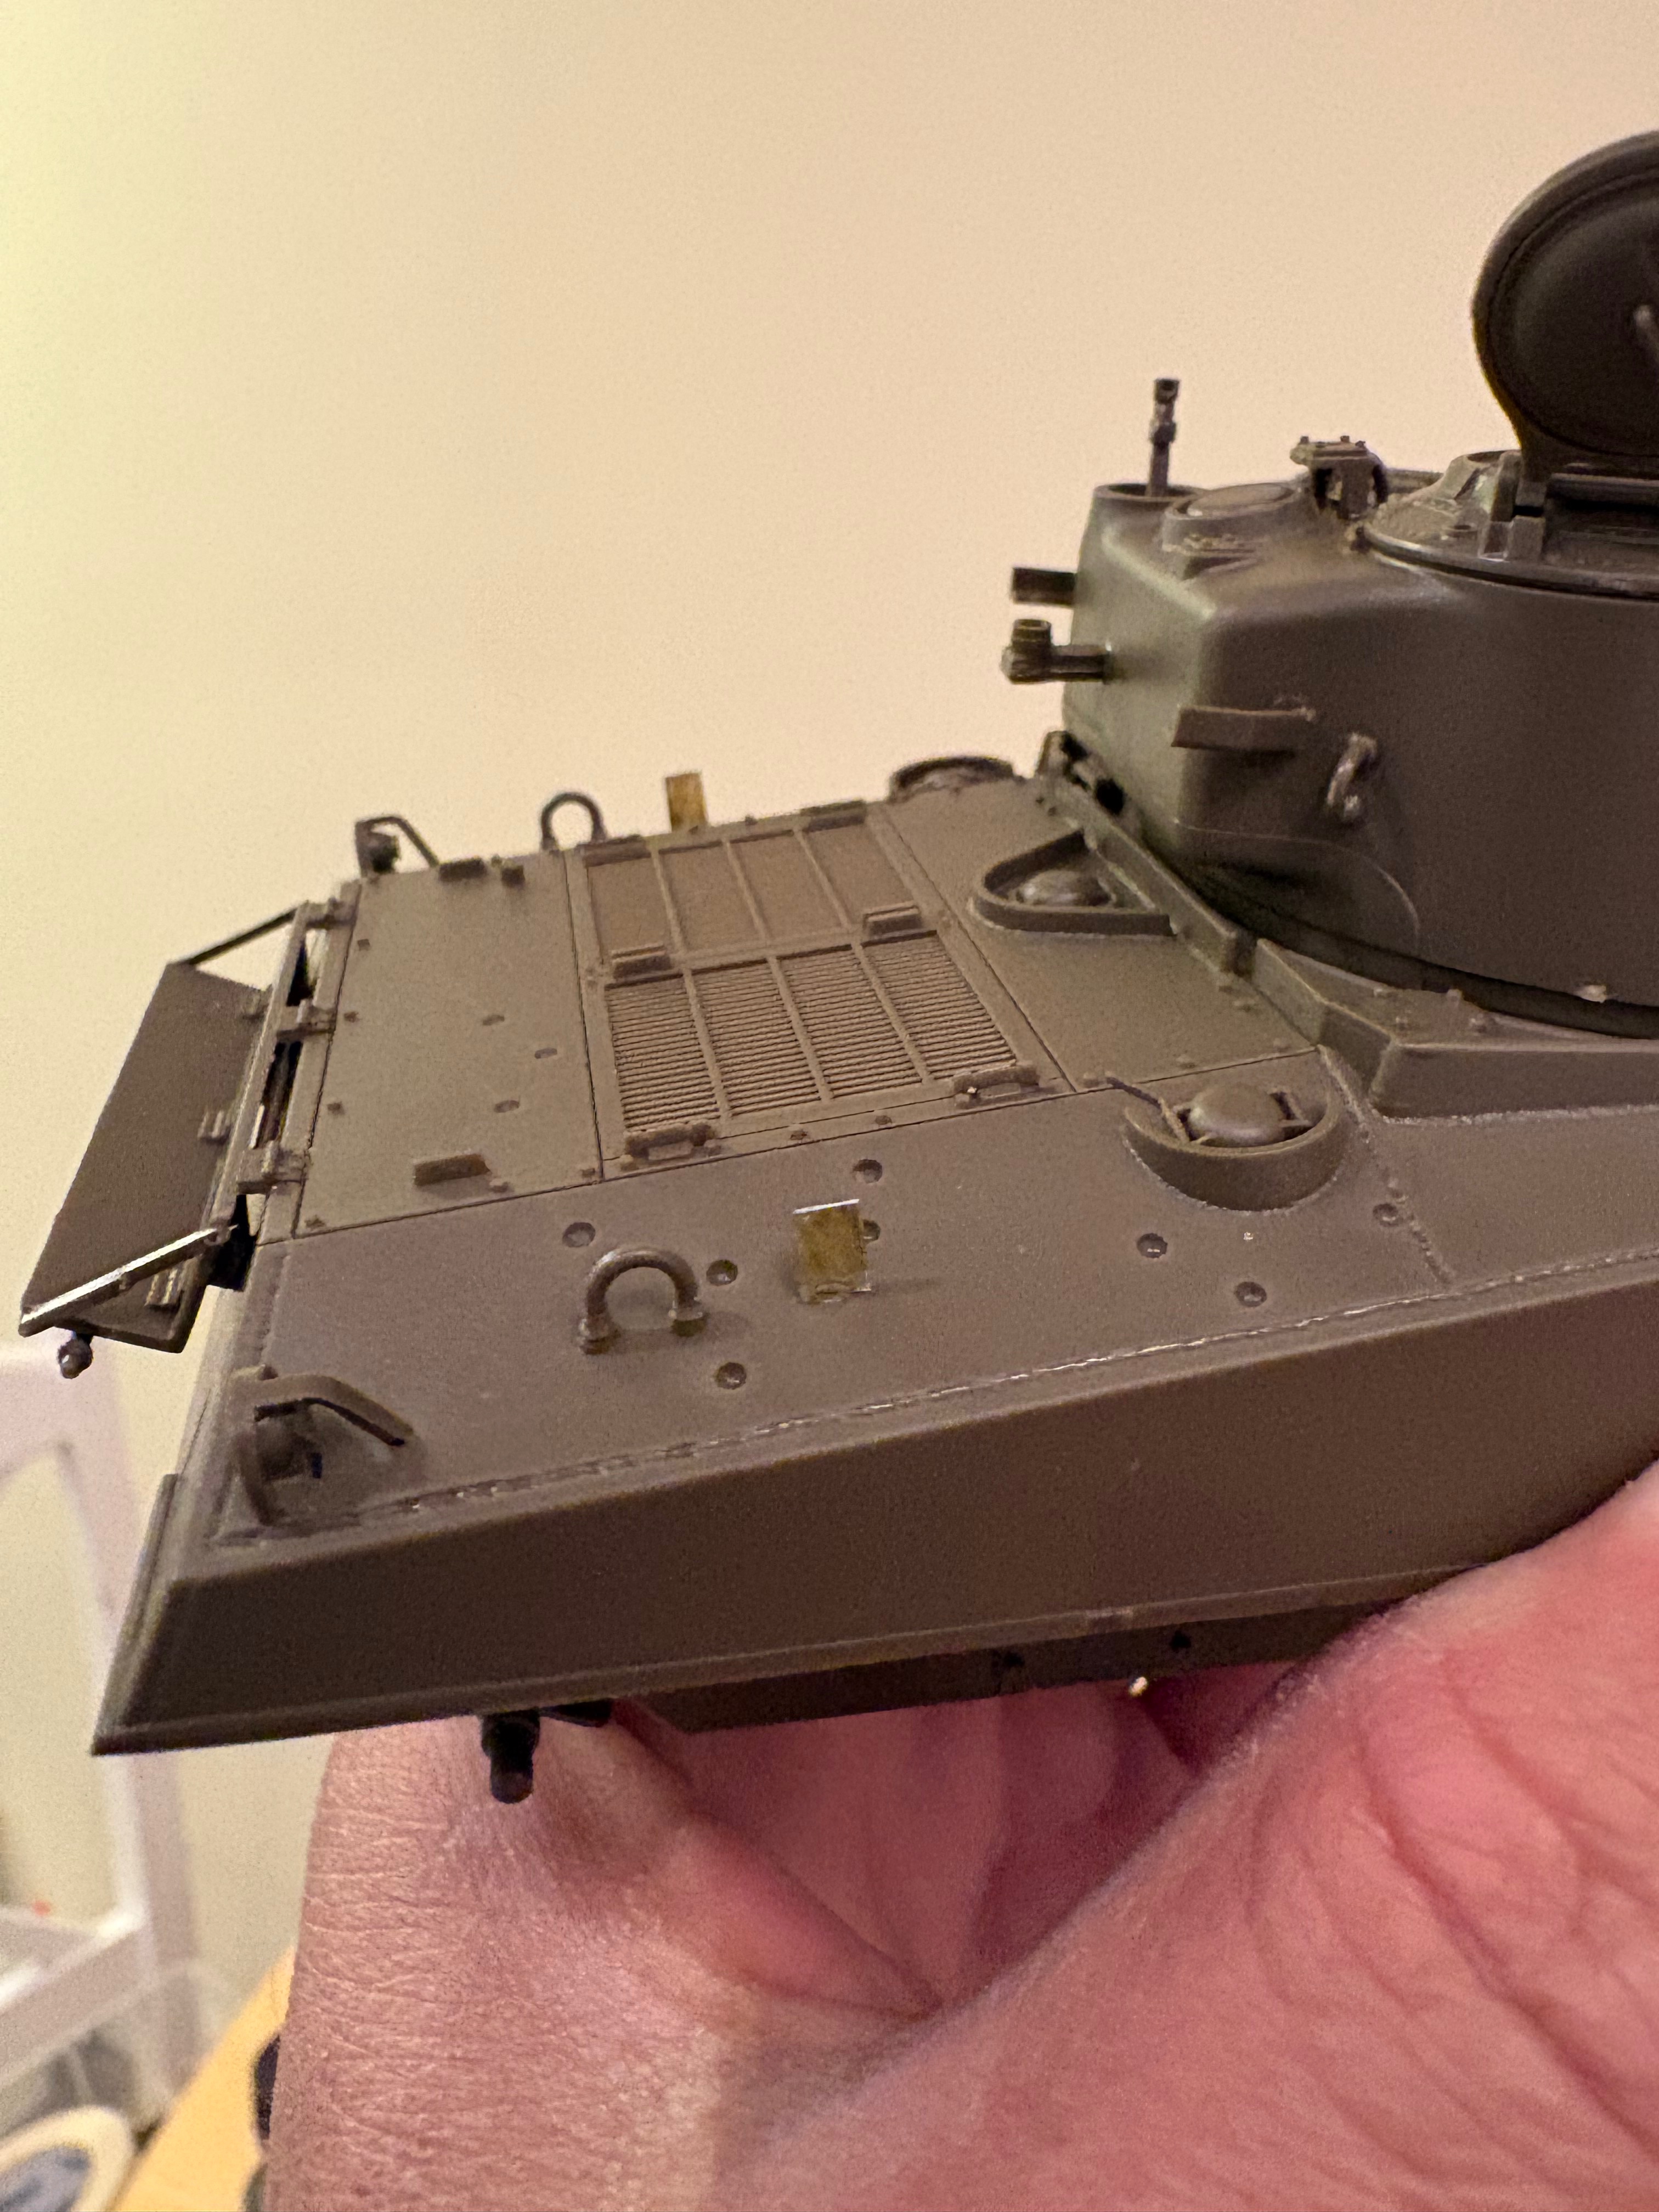
Got the road wheels and suspension done. I'm at the point now where I have decide if I want the drivers hatch open and have the driver popping his head out, or closed and no driver. Any opinions on it? I'm definitely going to have the commander out of the turret hatch.
IMG_5044.jpeg
 
Got the road wheels and suspension done. I'm at the point now where I have decide if I want the drivers hatch open and have the driver popping his head out, or closed and no driver. Any opinions on it? I'm definitely going to have the commander out of the turret hatch.View attachment 189050
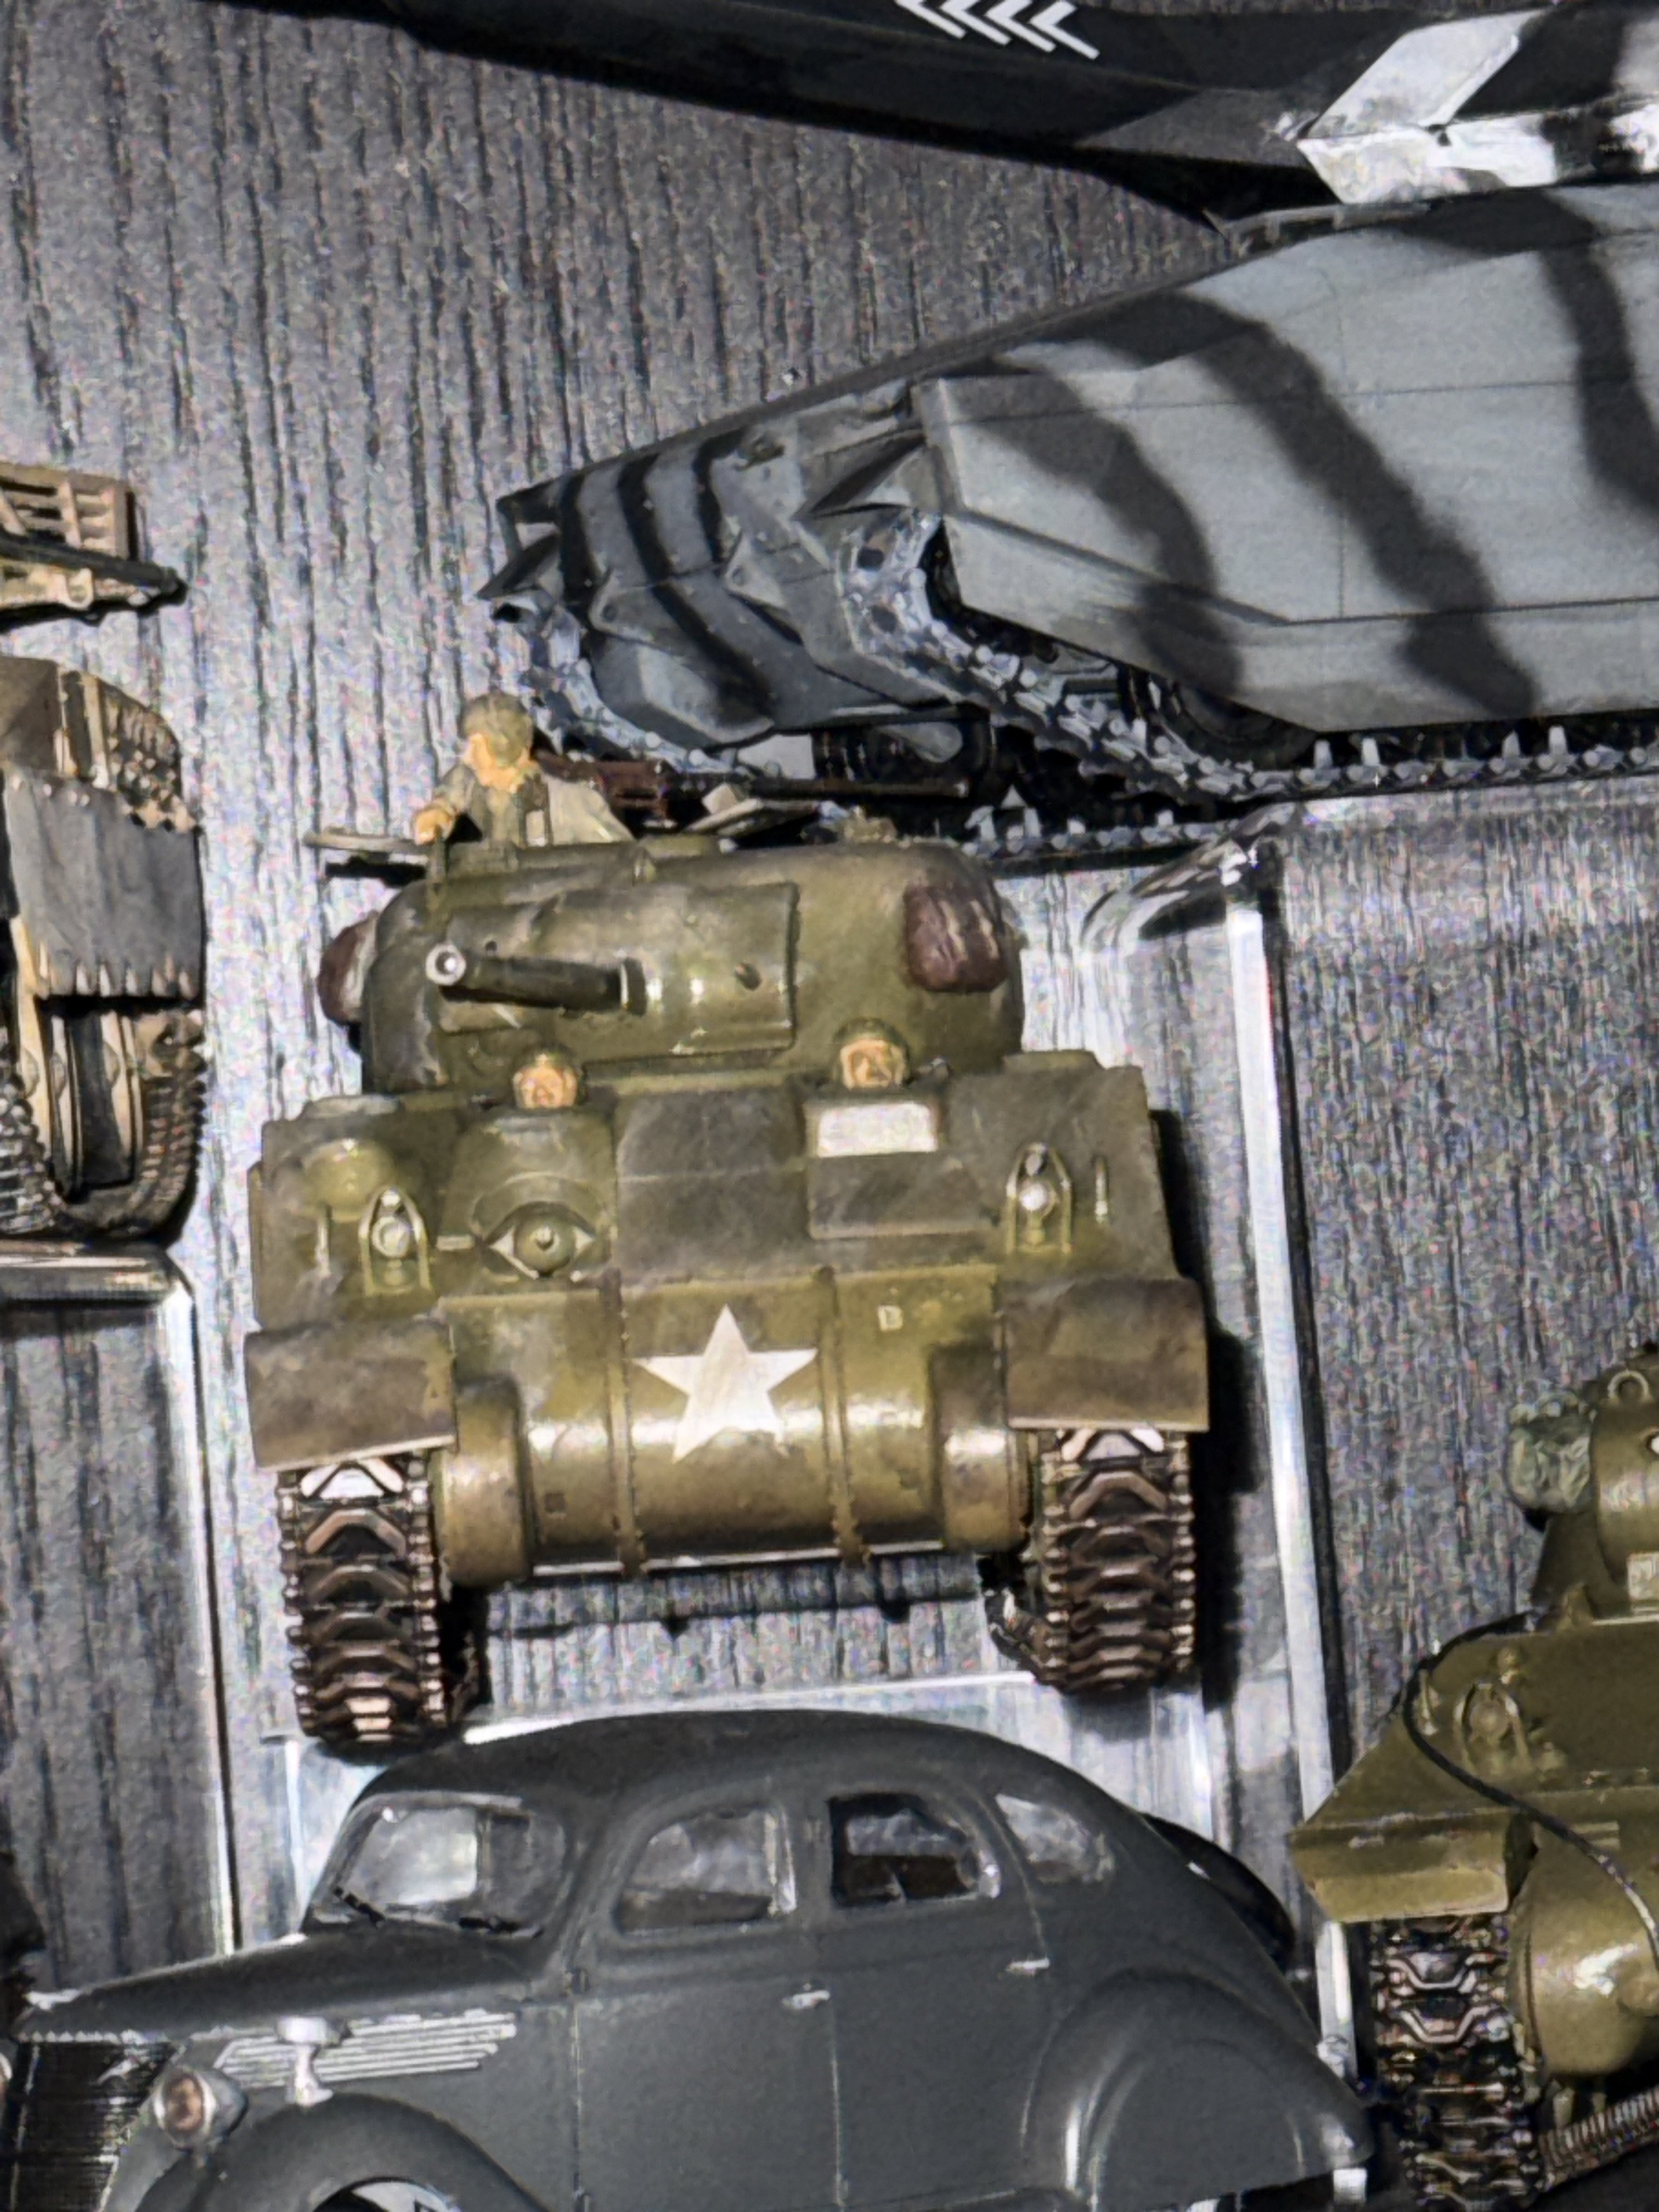
I did both. That shot looks way shinier than it is.
 

Attachments

  • image.jpg
    image.jpg
    1.4 MB
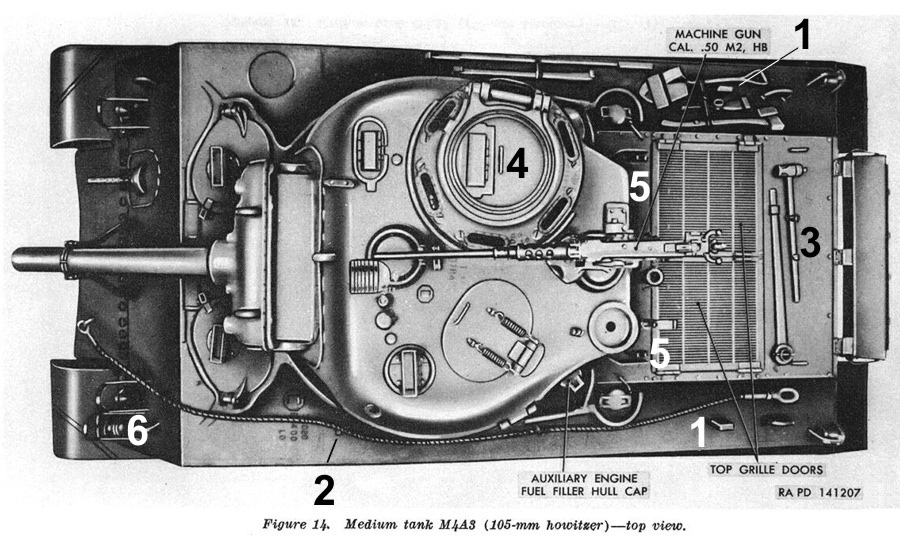
BTW, an obvious thing missing from this kit are the supports for the engine grille doors when they're opened, which Tamiya omitted entirely for some reason. They're the items numbered 1 in this illustration:

m4_105mm14.jpg

(source)

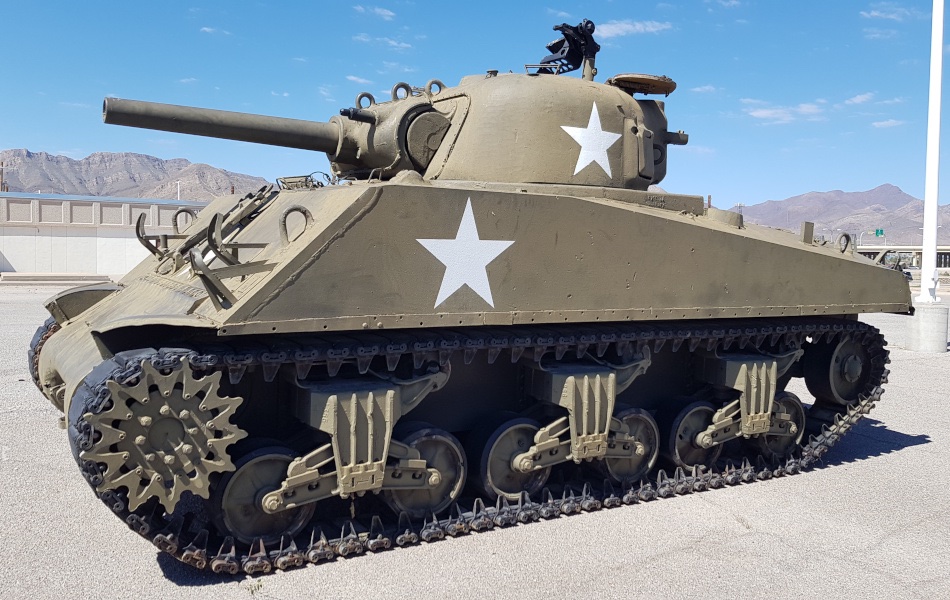
You can see one prominently in this photo of a restored M4A3 (105 mm) VVSS tank:

m4_105mm15.jpg

(source)

If you have some plastic card, they're easy to make. Just cut two little rectangles, about 3 × 4 mm and glue them to the model per the illustration above.

Another small detail that's easy to fix is that on 105 mm tanks, the rack with gun cleaning rods under the stowage shelf (part B39 in step 6 of the instructions) was normally empty, because it was for 75 mm and 76 mm rods, and the longer 105 mm rods didn't fit. Just cut all the rods out and remove the bit sticking out one side, and it will look OK.
 
I don't have plastic card. Where would someone get it? Also too late for the rods. That piece is already glued in place. Thanks for the tips.
 
I don't have plastic card. Where would someone get it? Also too late for the rods. That piece is already glued in place. Thanks for the tips.
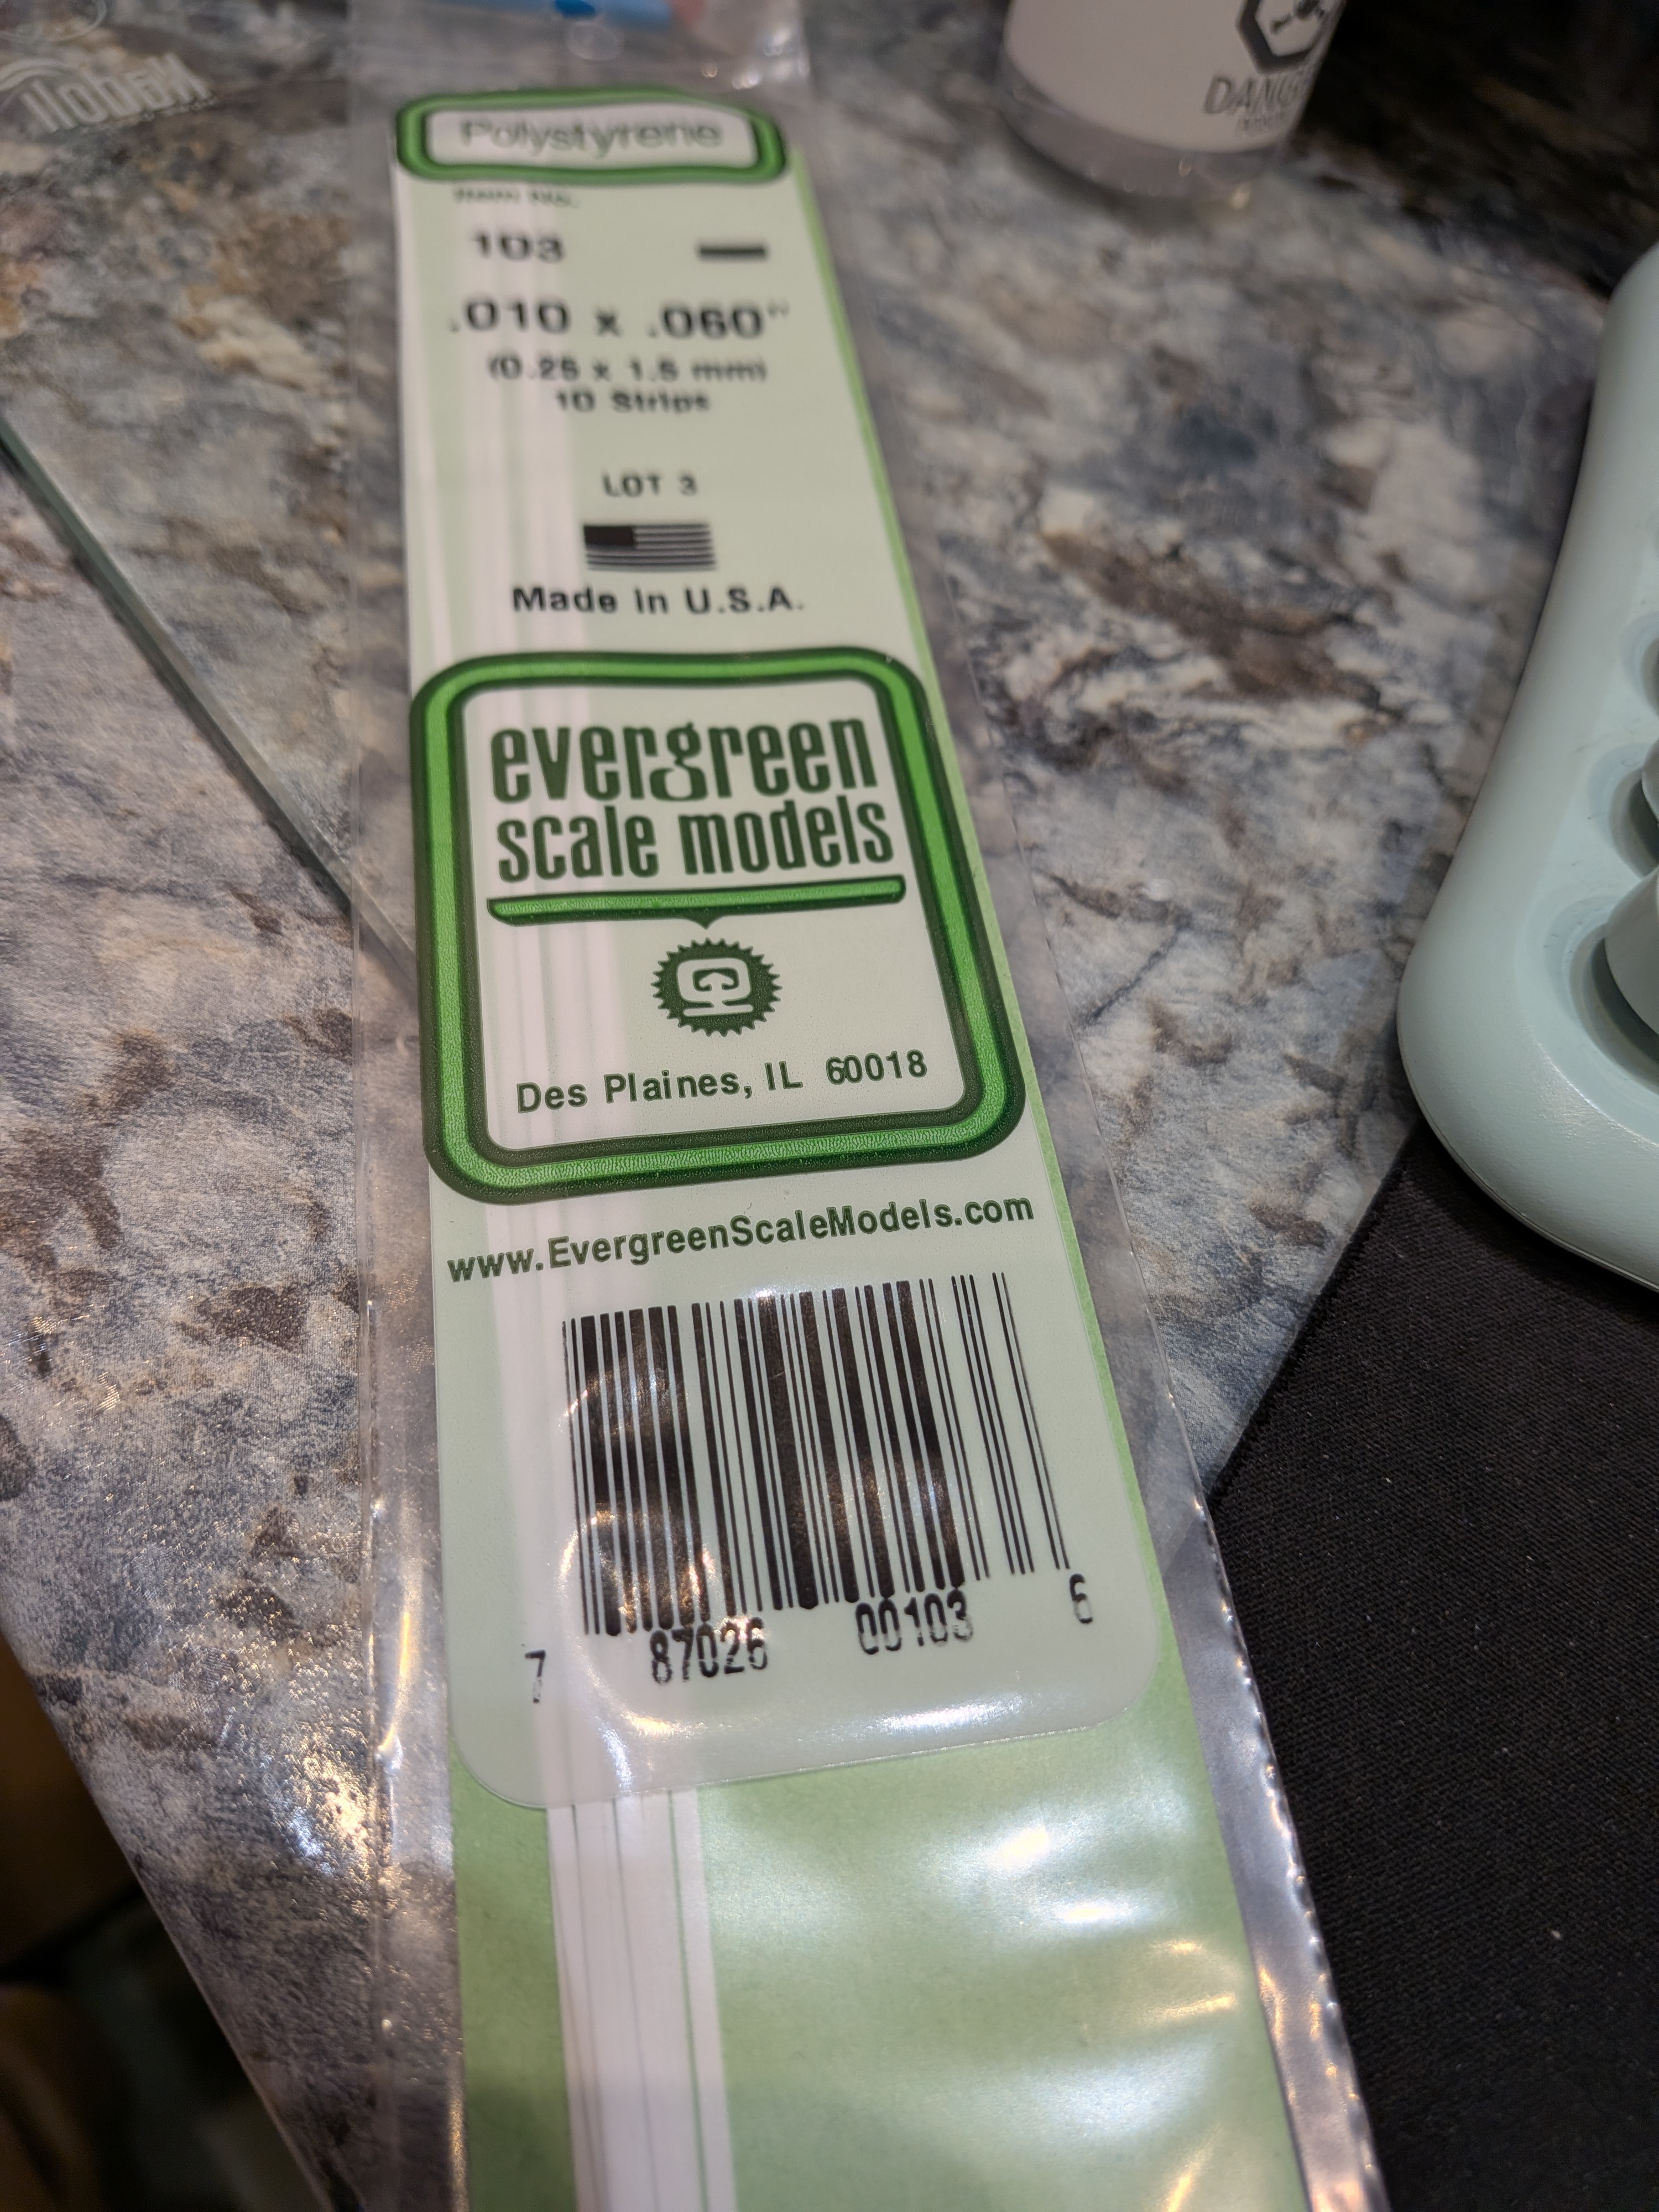
Evergreen is probably available at your local hobby store... Comes in all shapes, thicknesses and sizes.
A cheaper alternative is to raid your recycling bin for plastic packaging, even if it is clear, you are going to paint it!

2594.jpg
 
How about an old credit card? I have one that needs to be cut up and tossed.
That probably has about the right thickness, so sure, go ahead and try. The main thing is whether you can get it to stick with either plastic cement (probably not) or superglue. But that's easy to test by trying to glue a bit of sprue from the kit to the card — somewhere the card has bare plastic, else you would be trying to glue it to the ink :)
 
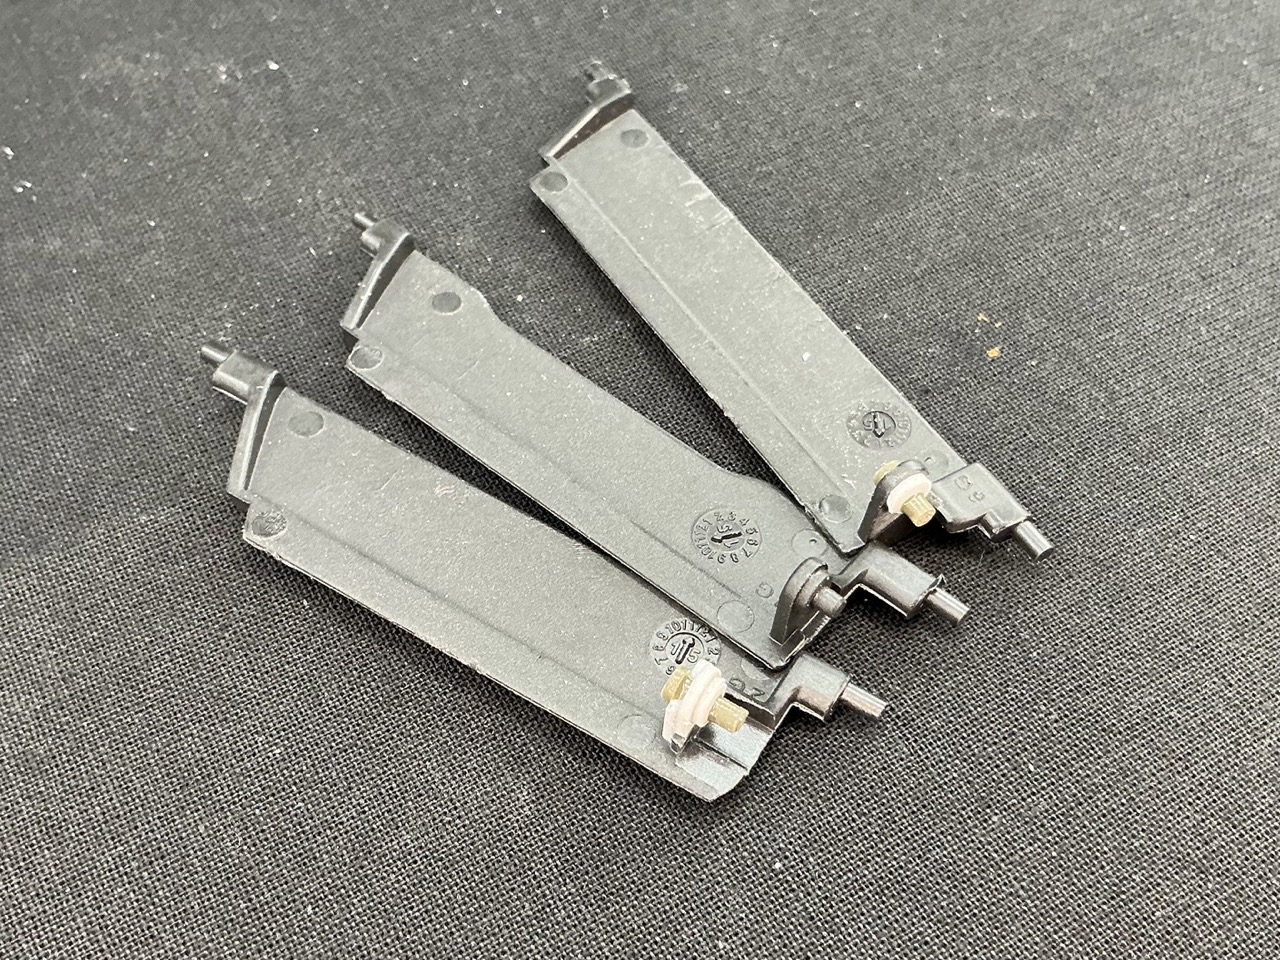
I fixed our garbage can with [plastic card]!
IMG_1367.jpeg


These are louvres from the dashboard of my parents' previous car, that I repaired a few years ago after some pivots had broken off (the middle one is intact and served as the template for what to make). The white is 1 mm (IIRC) plastic card, the green is sprue from a kit that my father turned down to the correct diameter on his lathe. All glued with Tamiya extra thin, as that also works on the ABS that the louvres were moulded from.
 
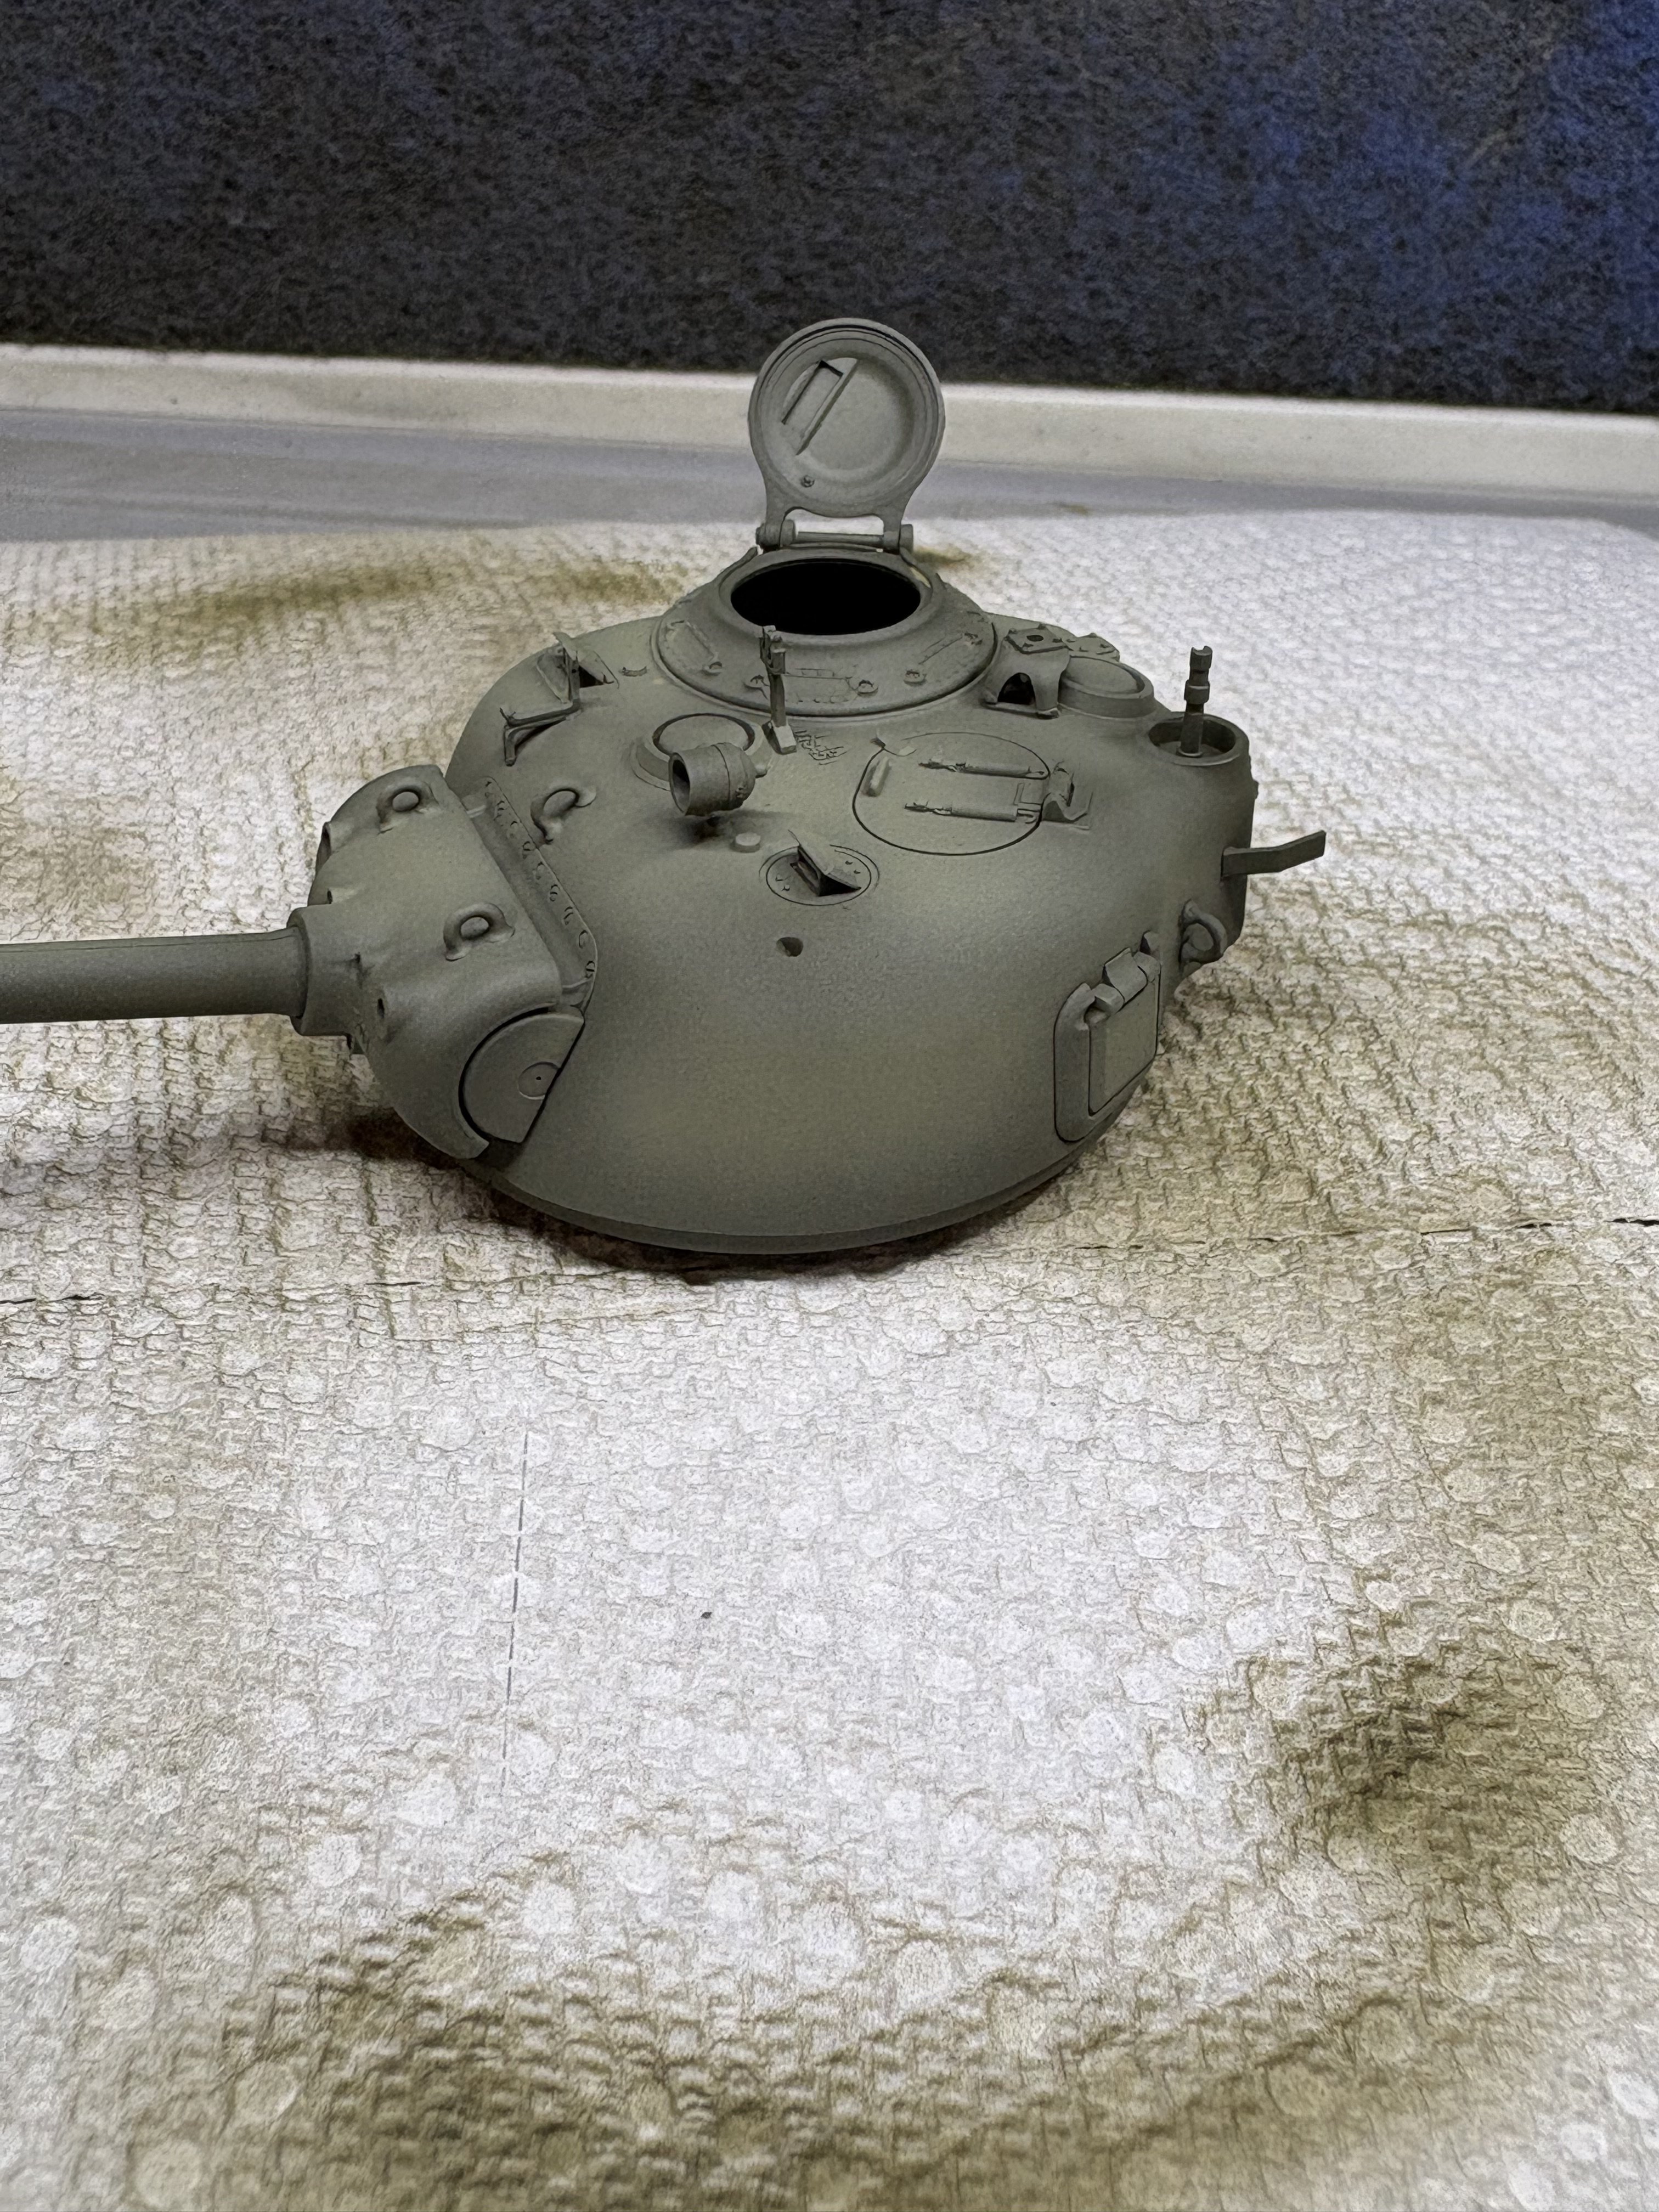
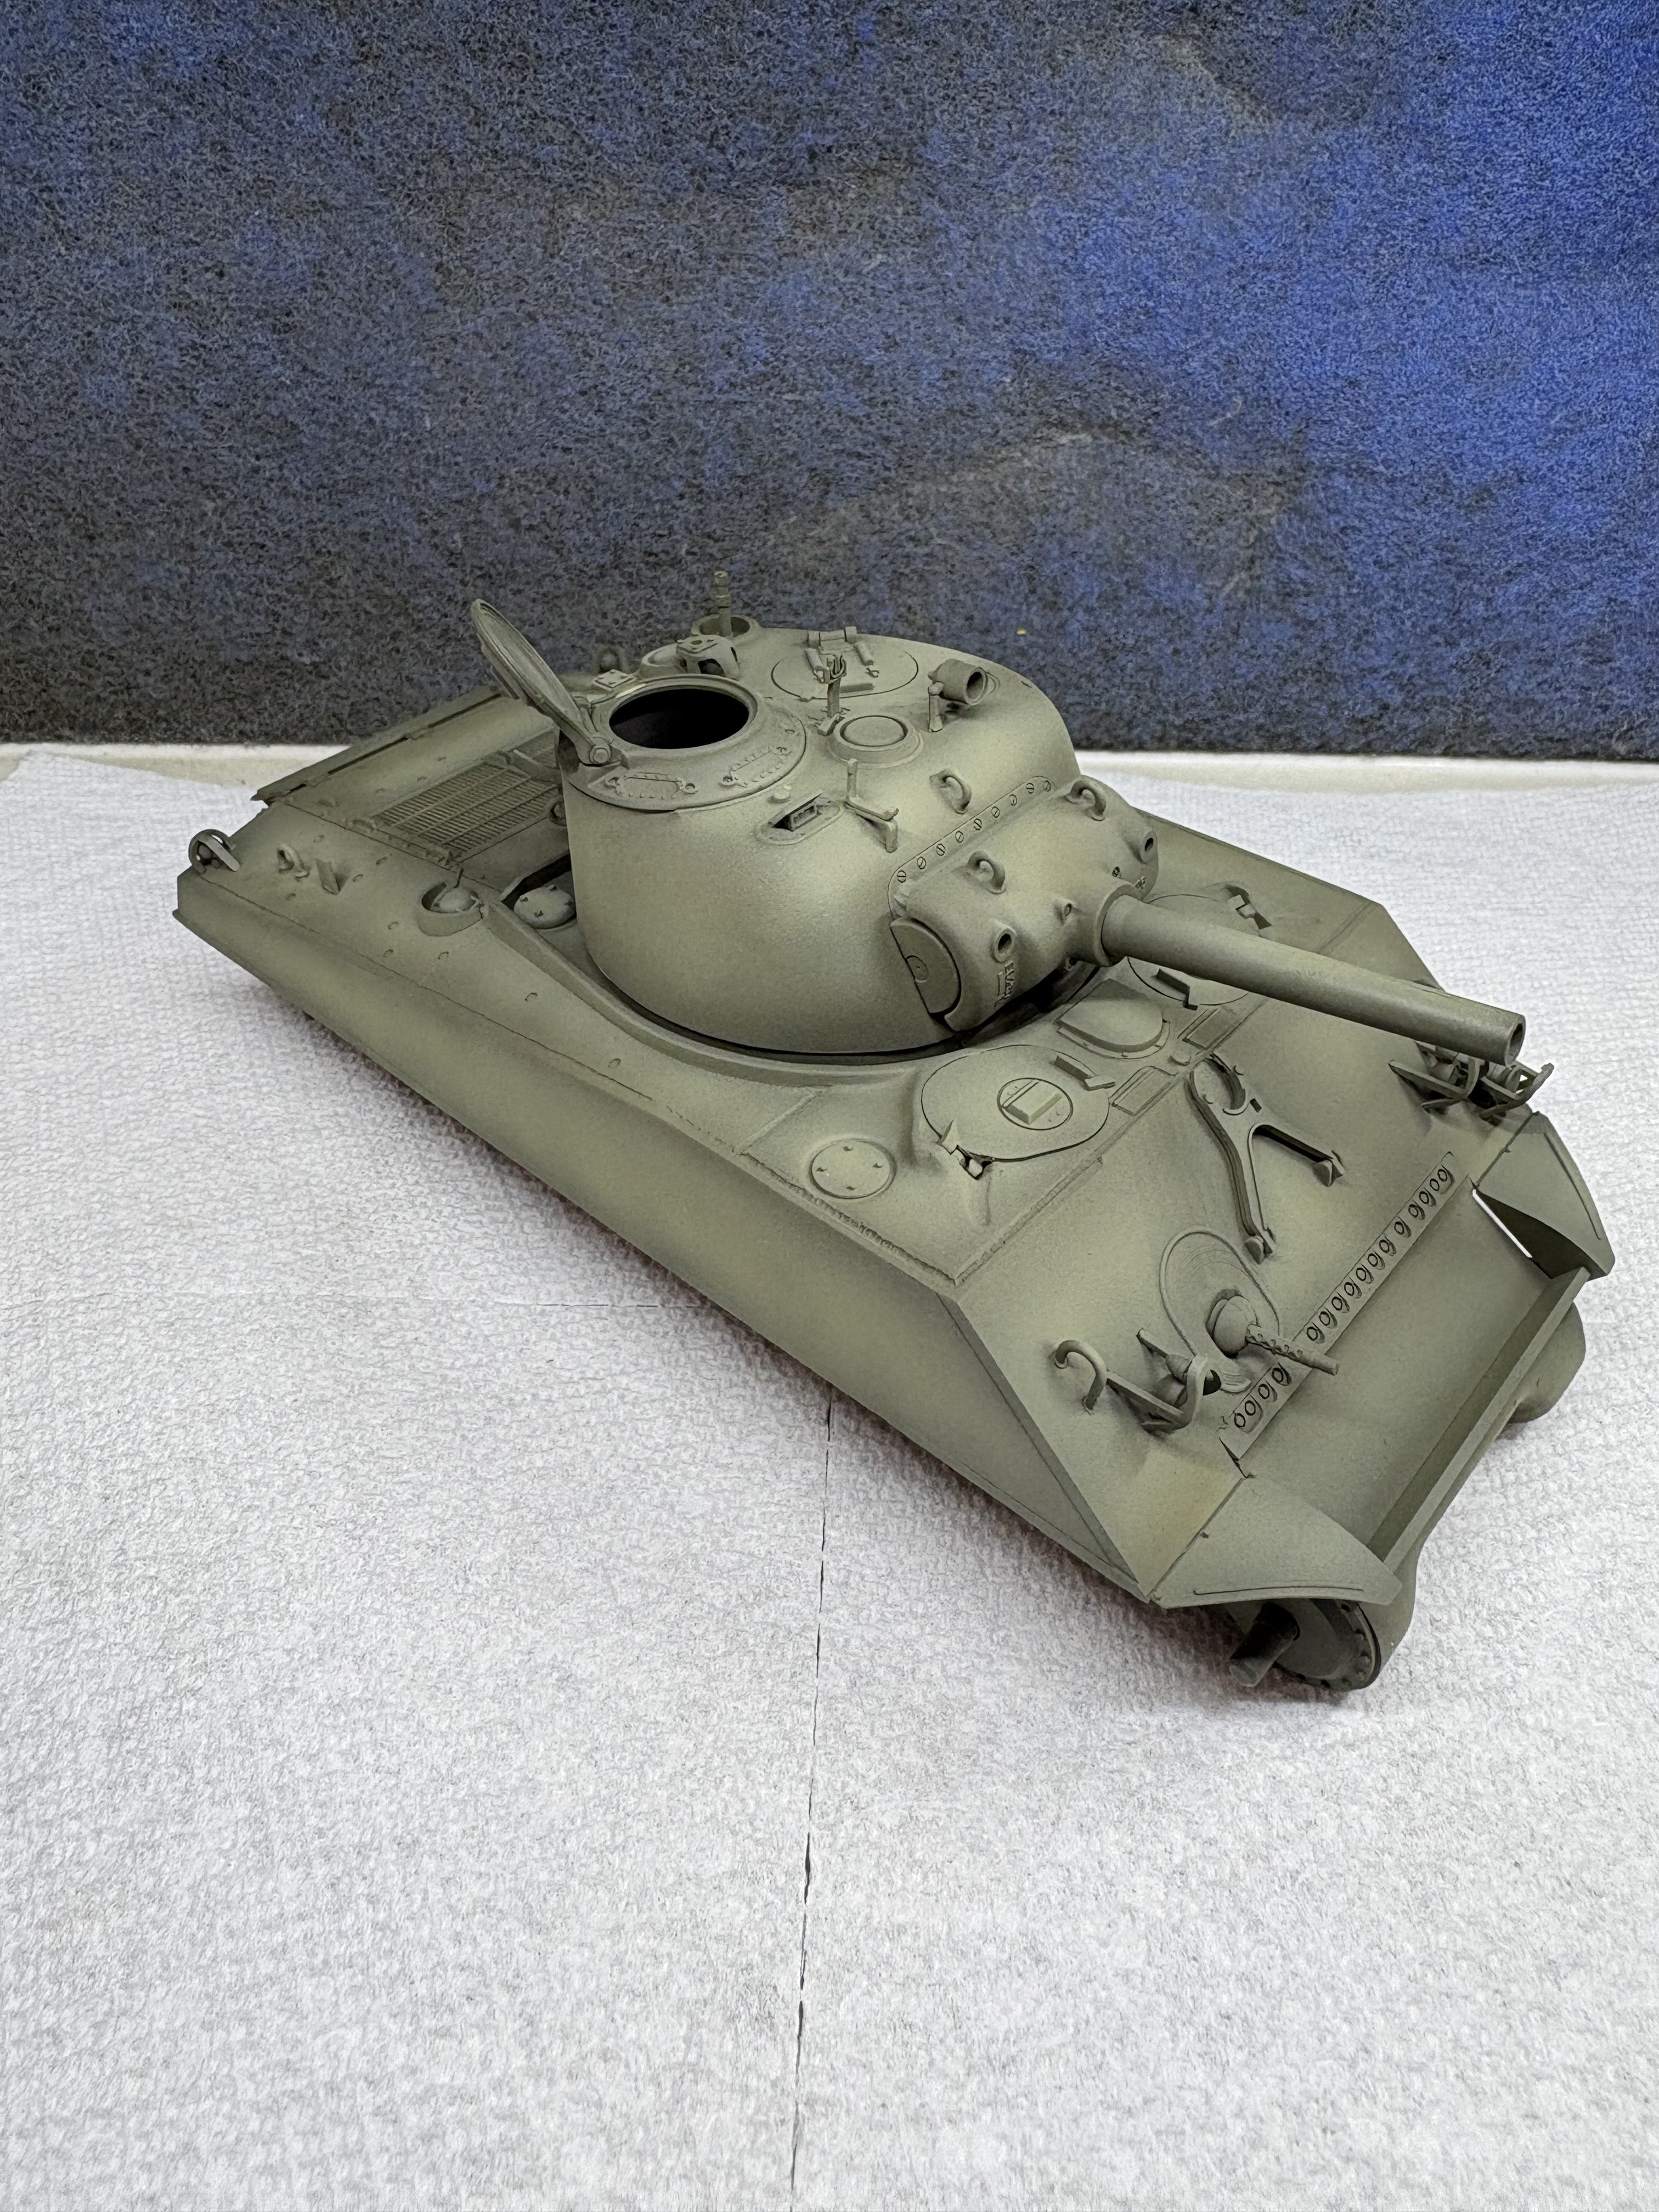
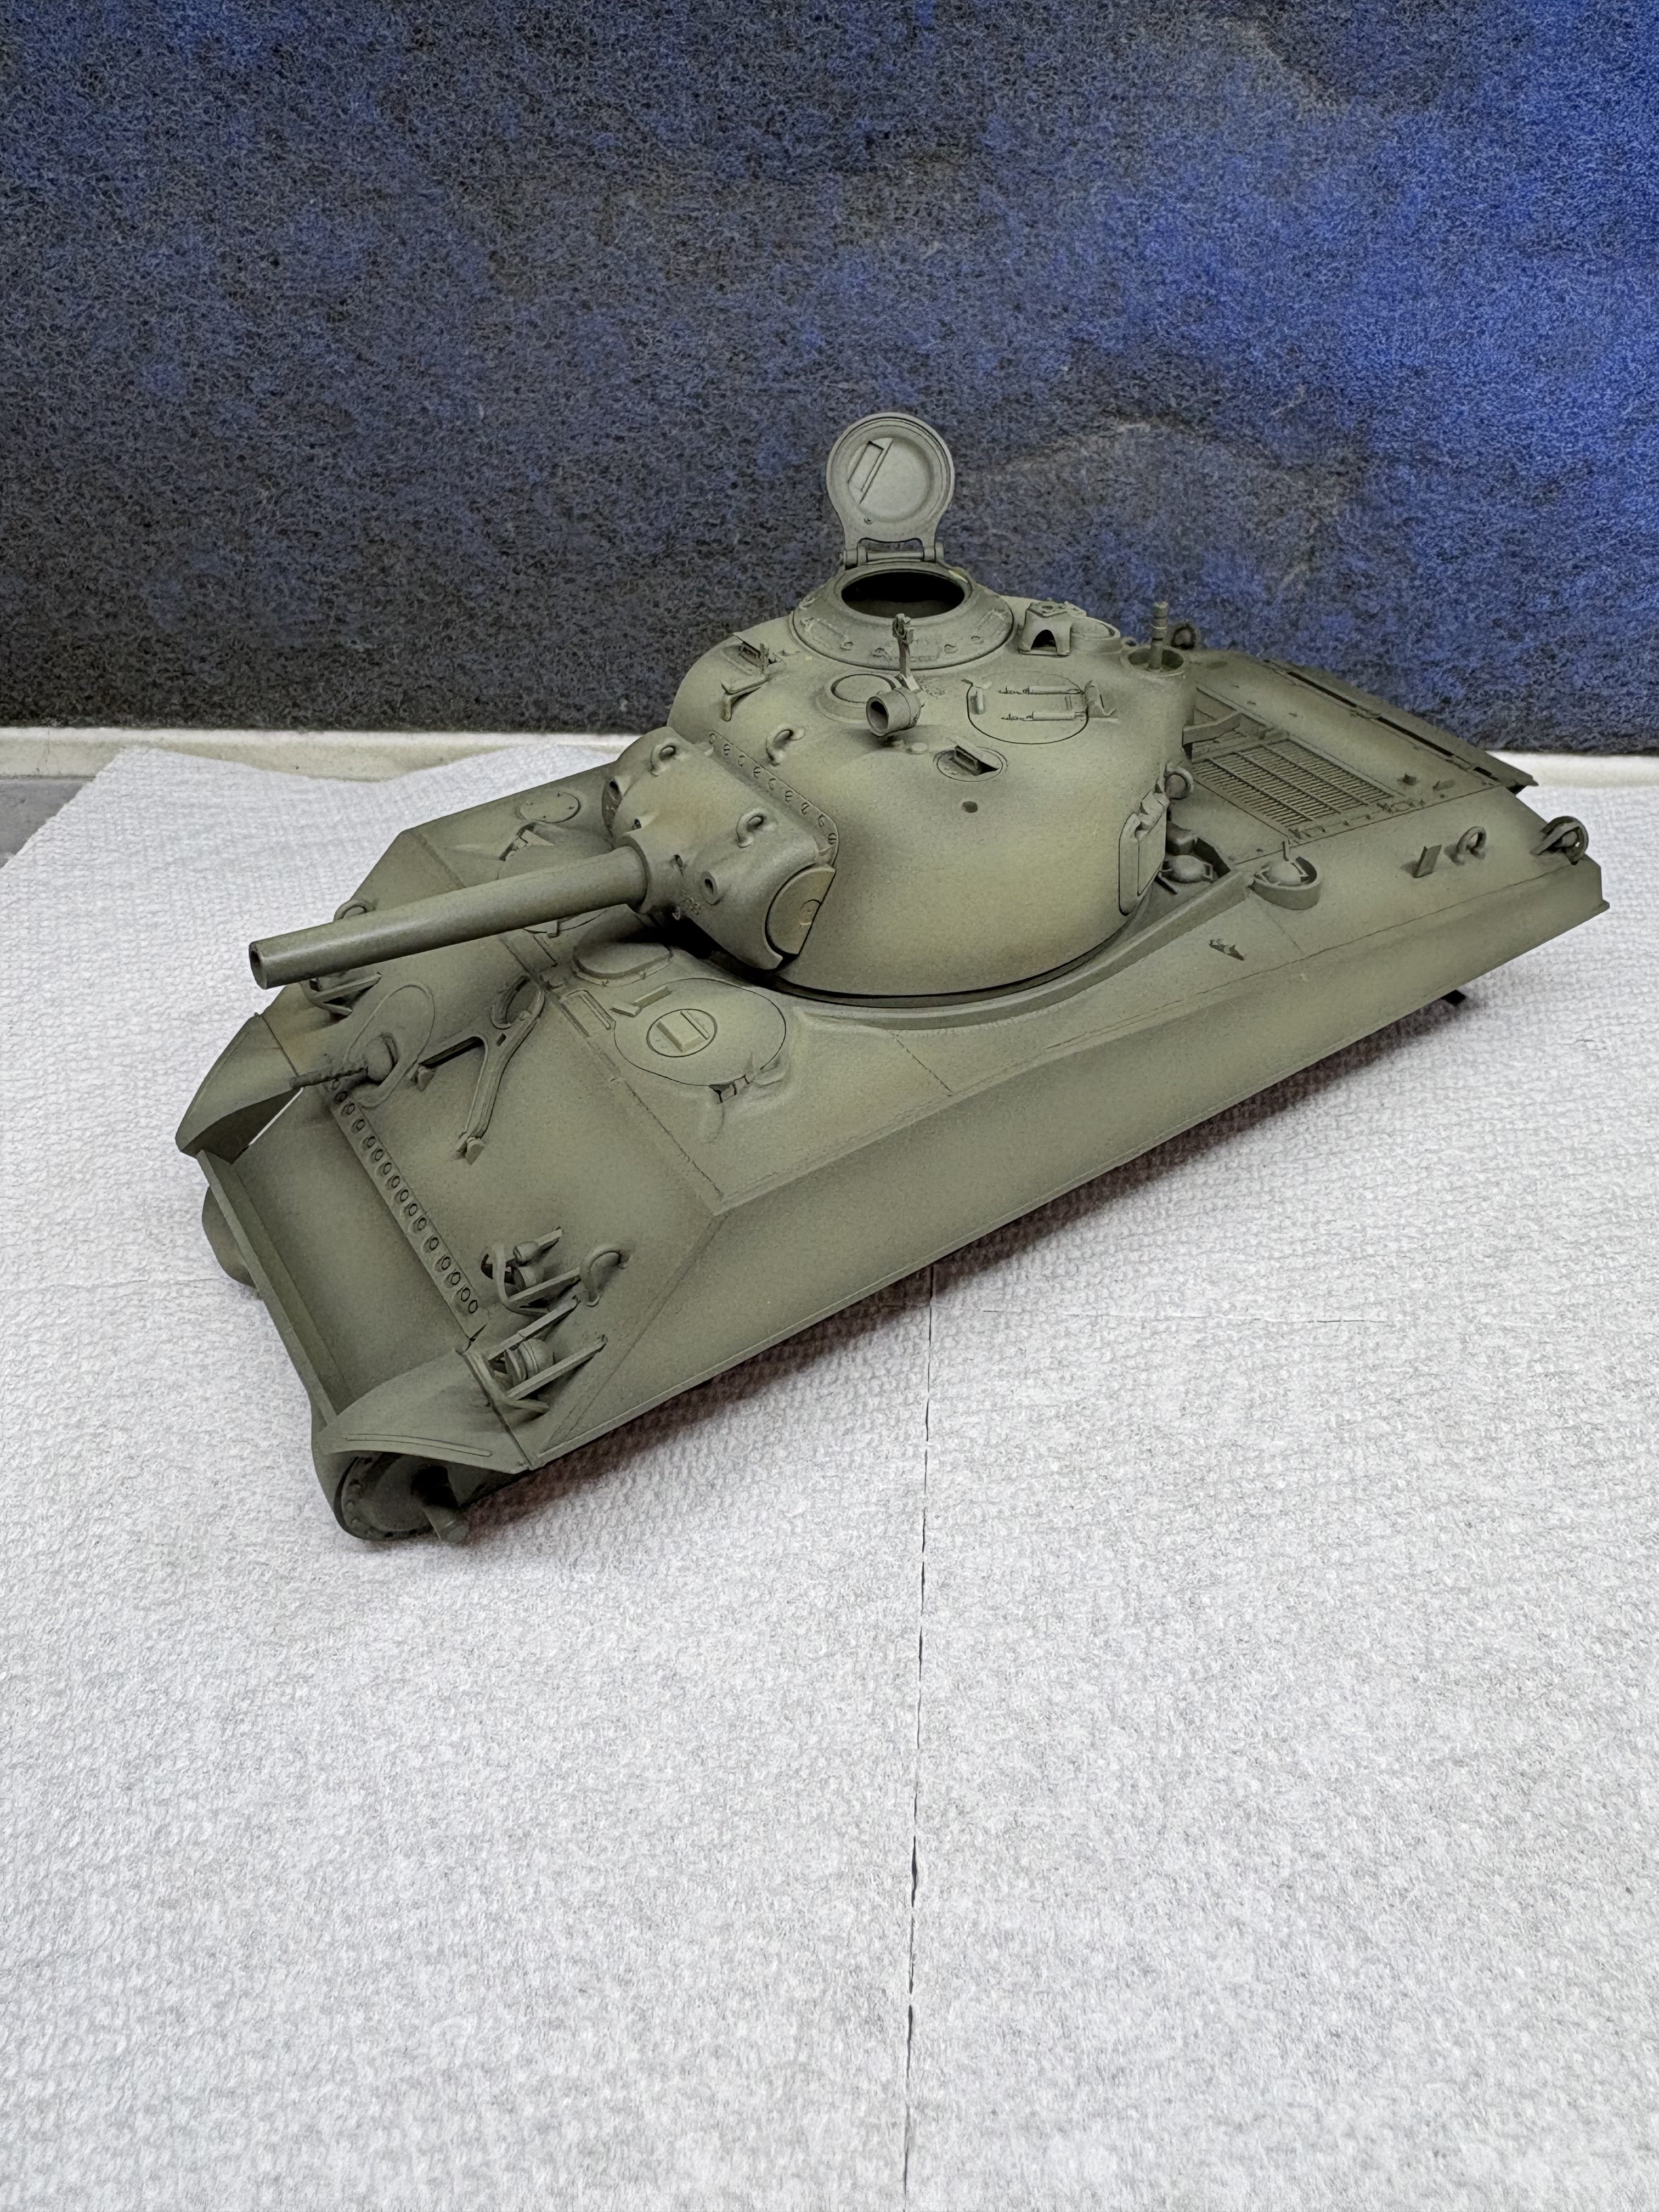
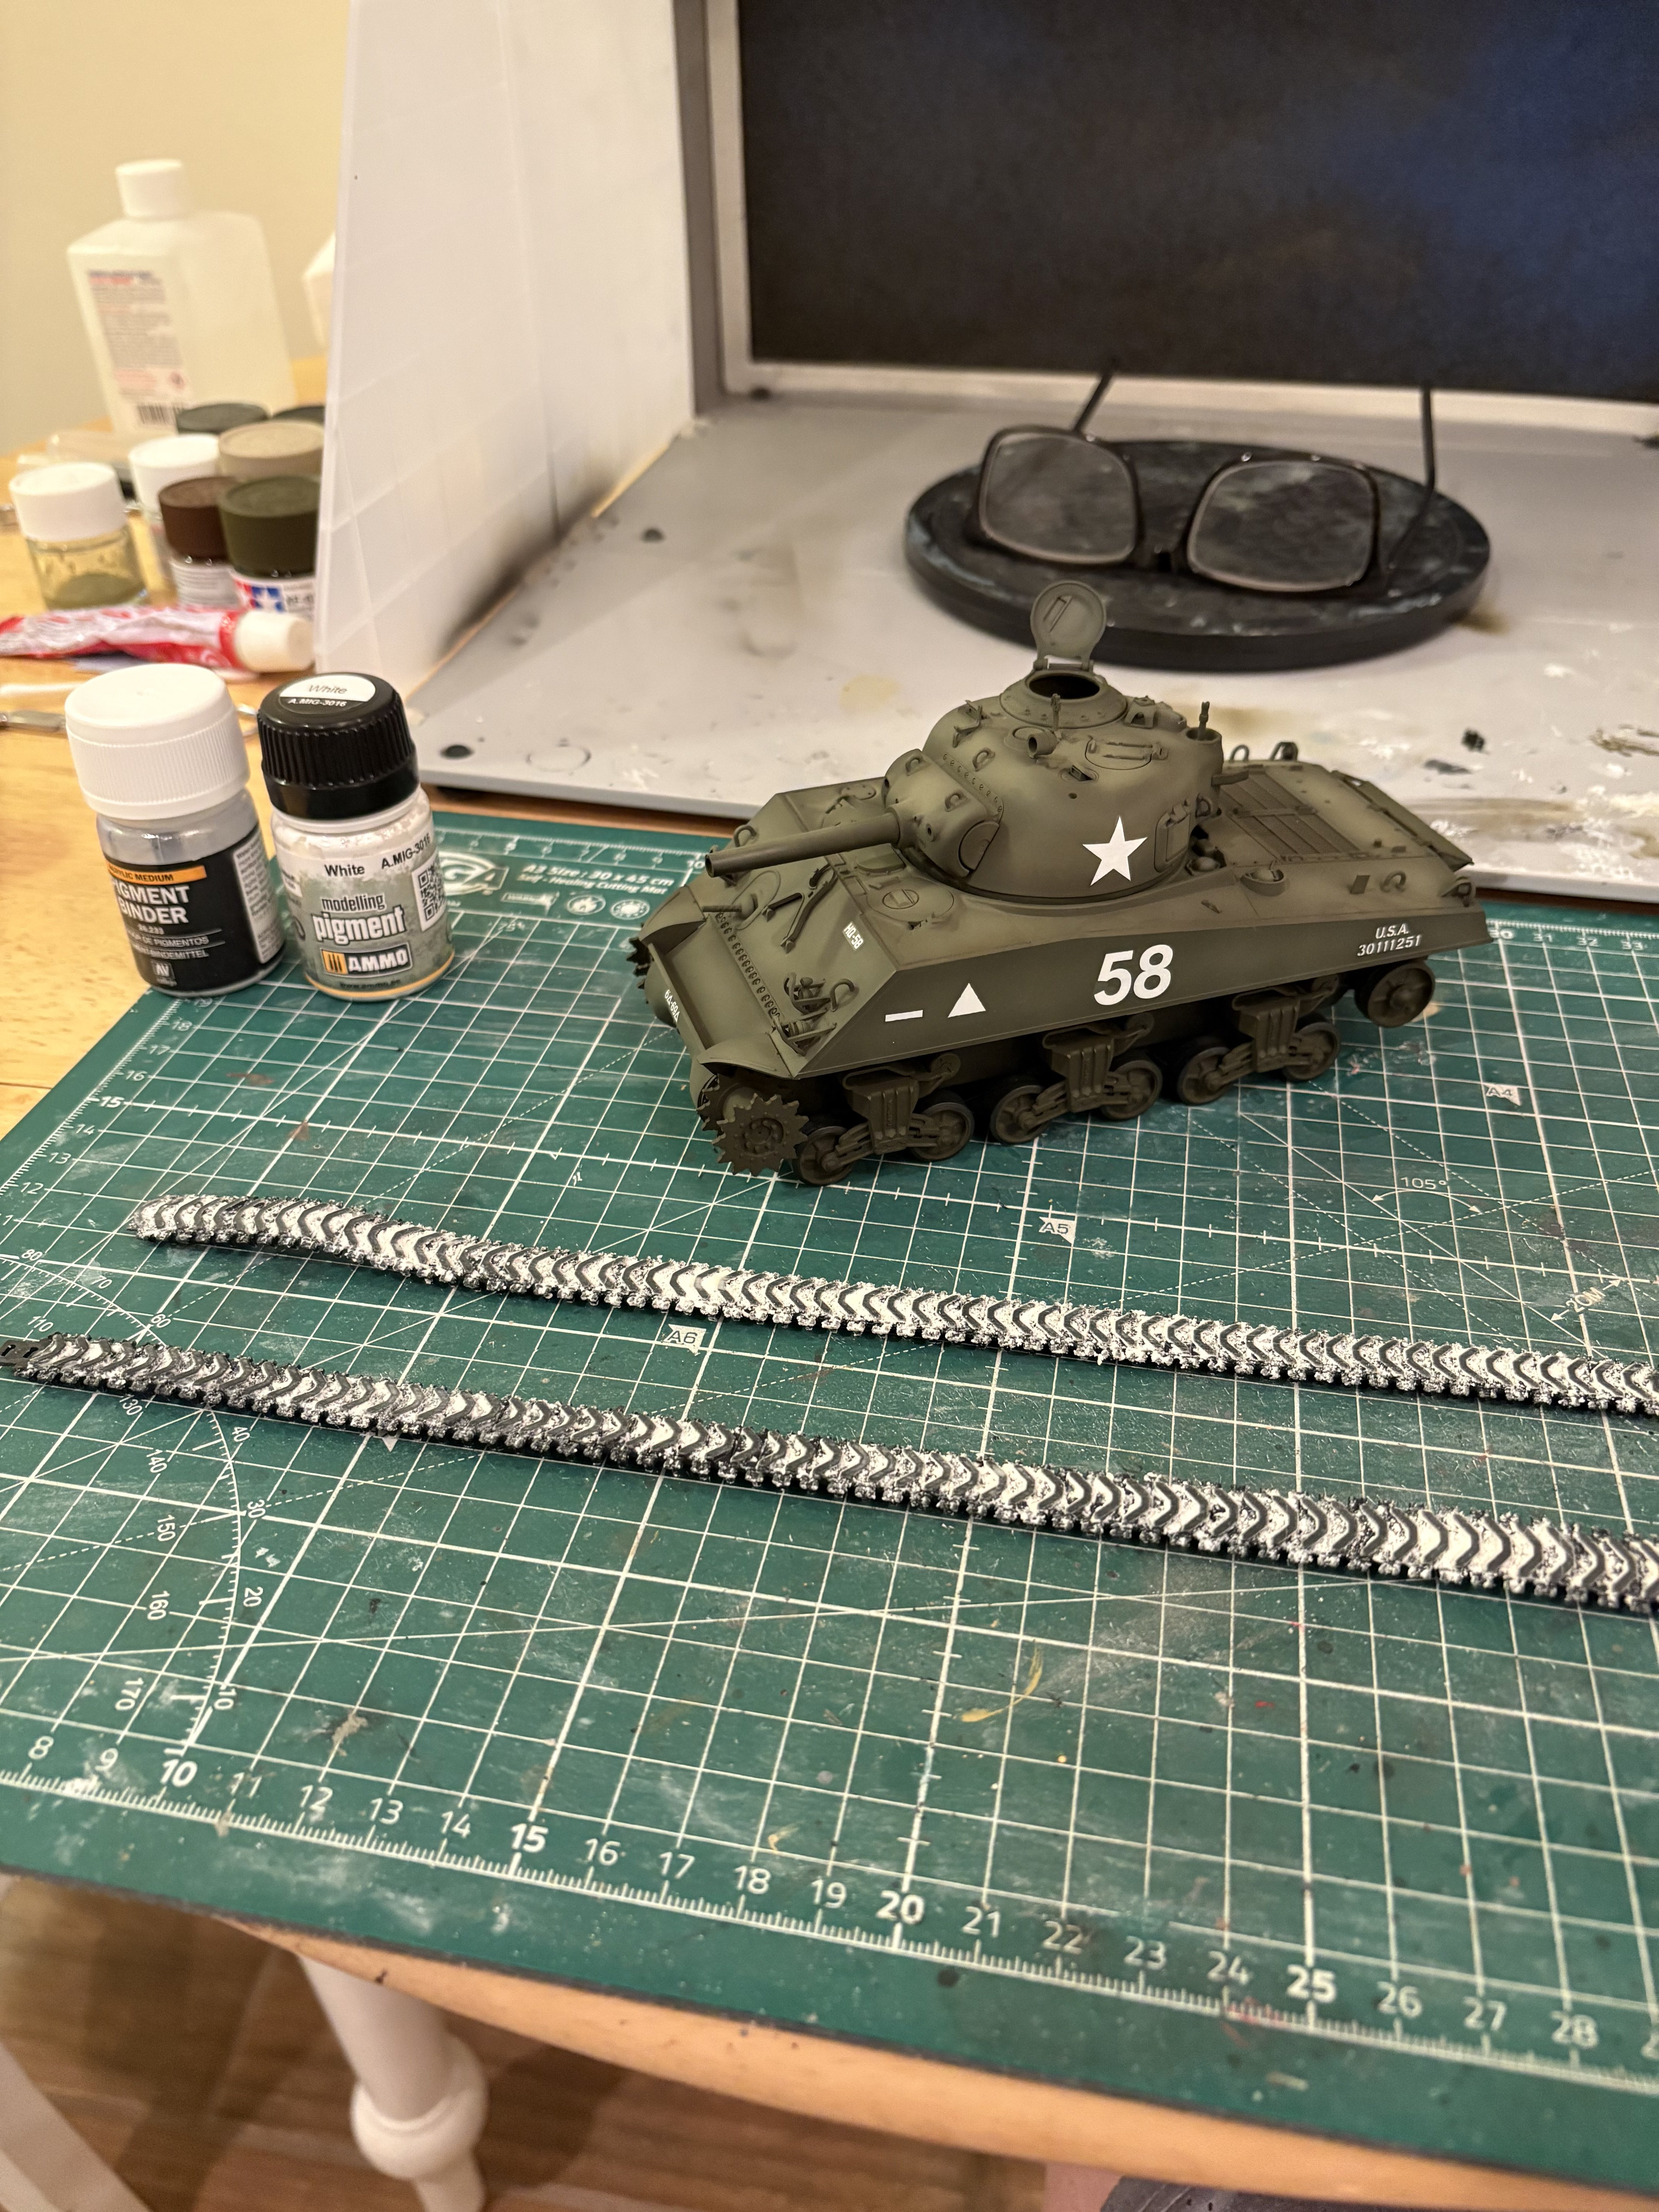
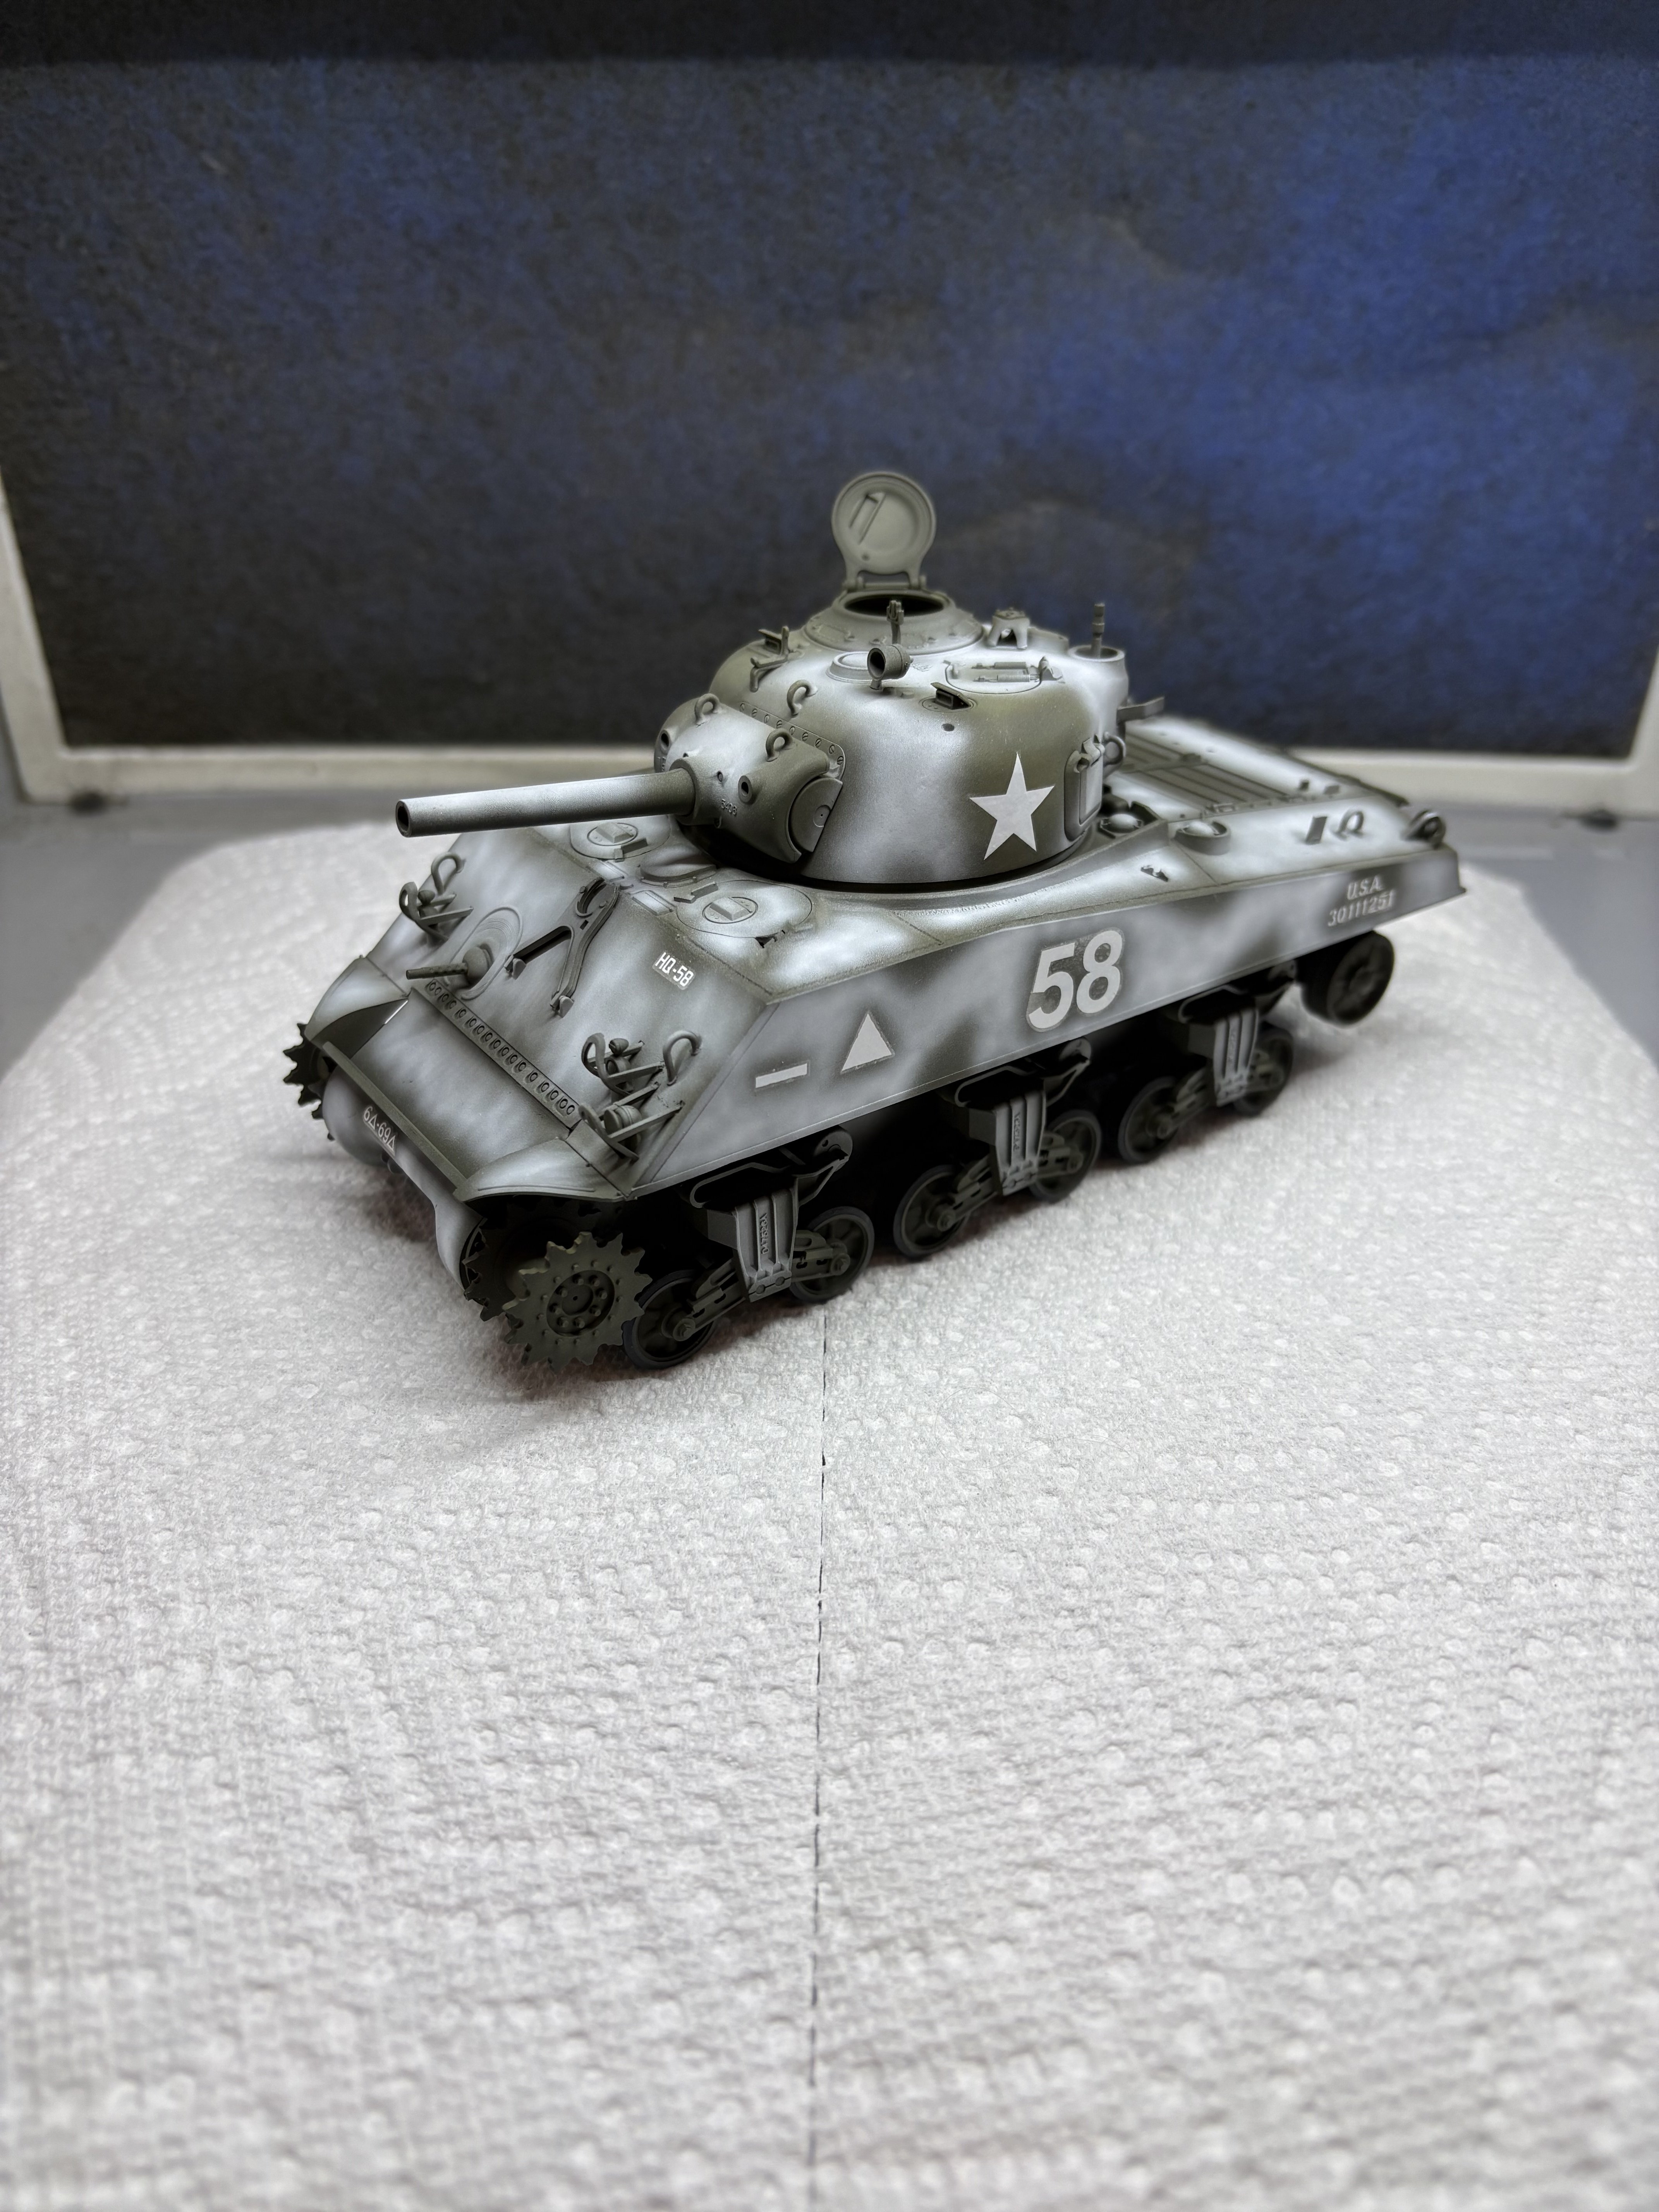
So yes I am going to cover most of this green with white, but after being a little disappointed in my color variation on my Pershing, I tested myself with this one. Base olive drab, then shaded with equal parts olive drab, white, and then a few drops of yellow. After I very lightly hit some of the dark areas with olive drab mixed with a few drops of red brown. I'm very pleased with how it came out. I almost want to skip the white and not clear coat because I don't want to lose my detail.
IMG_5049.jpeg
IMG_5054.jpeg
IMG_5055.jpeg
 
So yes I am going to cover most of this green with white, but after being a little disappointed in my color variation on my Pershing, I tested myself with this one. Base olive drab, then shaded with equal parts olive drab, white, and then a few drops of yellow. After I very lightly hit some of the dark areas with olive drab mixed with a few drops of red brown. I'm very pleased with how it came out. I almost want to skip the white and not clear coat because I don't want to lose my detail.View attachment 189372View attachment 189373View attachment 189374
That's excellent shading!
 

Latest posts

Back
Top