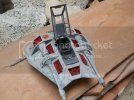
Super detailing a snow speeder from mpc

modelsinc1967

New Member
Joined
Feb 2, 2011
Messages
511
Been working on and off of this one for about 2 years now. Im down to the last assembly and weathering, but the weathering is daunting for me so ill have to practice to get it right before i finish it. You can see all the pics here from start to finish: http://s916.photobucket.com/albums/ad8/modelsinc1967/Snow%20Speeder%20Build/
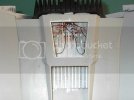
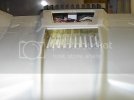
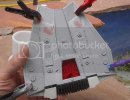
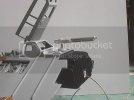
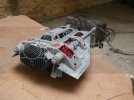
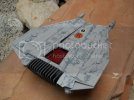
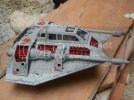
Biggest modification was opening up the 5 panels on the speeder and installing old electronic parts, watch parts, and other things, added hinges to the air brakes and in that opening under the air brakes installed even more diodes, wires, misc. parts....


[attachment deleted by admin]
 
I agree with the others, going to look good.

My advice on weathering is to start small and slowly build it up. You can easily over do it. In my opinion, weathering should be subtle, and not slap you in the face.
 
Thanks everyone. Yeah I dont want anything looking odd on it. I kinda went over board with the chipped paint effect. I used the salt technique and now hoping the weathering will tone it down a bit.
 
That's great work.

As for weathering, yes build it up. I am guilty of slapping it on thick, but I"m learning that subtle layers are best.

As for the chipped paint, if you're not happy you can always paint over the chips again, not completely but a vit here and there to unchip them. Weather will tone it down too.
 
IM007429-1.jpg
IM007430-1.jpg
update5.jpg
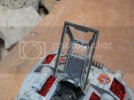
Also added engines to it. But will have to come up with some kind of display stand that will make it visible from the top viewing done.
 
Quaralane said:
Excellent work on this. Those details are definitely making it pop
Thank you, now i just need a lot of inspiration to finish it. Its almost done. Just need to add the glass to the lid, attach the bottom to the top and weather, Im so close but everytime I sit down to work on it, I freeze up and work on something else........ :(
 
Thanks everyone for your comments, i got some more time on this baby and got it glued together, all i need to do is attach the gun and do some weathering, and maybe a display stand to show off the engine compartment.
DSCN3446.jpg
DSCN3444.jpg
DSCN3443.jpg
DSCN3441.jpg
DSCN3440.jpg
 
Gosh, this looks so cool! Love the detail. So much hard work has clearly gone into it. Great job.
 
This pure Nuts!

I luv it! Oh I like those exposed panels..


Wicked job on this throughout

Keep up the good work my friend!

Norm.

Out
 

Latest posts

Back
Top