Studio Scale Y-wing with panels
- Thread starter Jamaicanmodels69
- Start date
Jamaicanmodels69
New Member
- Joined
- Apr 17, 2011
- Messages
- 604
peza said:eh up buddy.loving ya scratching mym8.
and the answer to glorfindel,i just jumped in on my build not knowing if i could do it,but in all fairness it was`nt until i was comfortable with what i made i started posting!if you never try you never know!.....
what do you say jamaicanmodels69..no guts no glory
cheers peza
Thanks guys .......Peza your right you have to break a few eggs to
make a cake! LOL
Jamaicanmodels69
New Member
- Joined
- Apr 17, 2011
- Messages
- 604
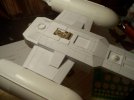
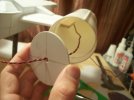
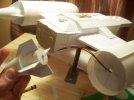
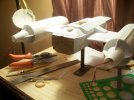
Well I got the wires run through the engine bodies and into
the main hull, and the panel lines drawn out on the top hull.
I will probably scribe them tomorrow and work on the wiring
over the weekend, I need to make a trip to radio shack for
a 9 volt battery enclosure and a few other things. Once I see
the lights work I will probably have to start thinking about the
base.
Some Panel Lines drawn out.....
Wiring routing mock up....
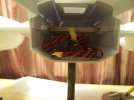
the main hull, and the panel lines drawn out on the top hull.
I will probably scribe them tomorrow and work on the wiring
over the weekend, I need to make a trip to radio shack for
a 9 volt battery enclosure and a few other things. Once I see
the lights work I will probably have to start thinking about the
base.
Some Panel Lines drawn out.....

Wiring routing mock up....


Glorfindel
Active Member
- Joined
- May 2, 2011
- Messages
- 1,504
Dang that looks so good.
ModelMakerMike
"It's Slobberin' time""
- Joined
- May 28, 2011
- Messages
- 1,838
Sooo.... I just thought of something....Where are you going to put this big ol' bird once it's finished?
It's gonna be kinda big.
It's gonna be kinda big.
Dark Kyp
Active Member
- Joined
- Nov 27, 2011
- Messages
- 714
ModelMakerMike said:Sooo.... I just thought of something....Where are you going to put this big ol' bird once it's finished?
It's gonna be kinda big.
May I suggest... my living room? ;D
Ok I'm out! ;D
Really impressiv job done so far!
Jamaicanmodels69
New Member
- Joined
- Apr 17, 2011
- Messages
- 604
;D Guys thanks for the kind words it's most
appreciated! As I have said before you guys
help make this fun! ;D
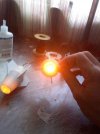
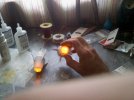
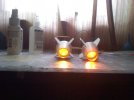
I worked on building the circuit for the engine
lights. I have 2 amber 5 volt LEDs I am running
them off a 9 volt power source. I figured let me
build it and test it so I have faith in it before I
shove it all in there. I started out using a a 220 Ohm
resistor but I didn't like the heat coming off the resistor.
So I moved up to a 330 ohm resistor the light is still bright
and the heat is less so I feel better about the circuit. I have
had the circuit running for 5 hours straight so I m sure it passes
the test by now. I still have to get in there and paint the insides
of the bell housings and the PVC parts the light shows through
at this point.


ModelMakerMike
"It's Slobberin' time""
- Joined
- May 28, 2011
- Messages
- 1,838
Those engine nozzles look great!
Of course, I am in favor of having space craft model engines lit.
Of course, I am in favor of having space craft model engines lit.
JohnSimmons
For Spud: I was once Merseajohn
- Joined
- Jan 4, 2011
- Messages
- 5,645
Hit the lights!! \m/ awesome 8)
Jamaicanmodels69
New Member
- Joined
- Apr 17, 2011
- Messages
- 604
Thanks guys made some good progress today.......
I got the circuit for the engine lights run so that's
finished I just have to wire in a switch, but I can do
that at any time. Having this done allows me to finish
the neck off so I can mount the cockpit module. I also
scribed the panel lines on the top hull.
Wires routed through the opening at the top of
the mount.
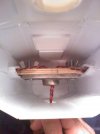
Running wires through vertical mount......
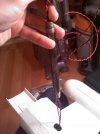
At the bottom of the mount I had to file an opening to allow the
wires to come out.
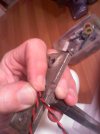
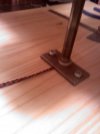
Some shots of the wiring and lighting....
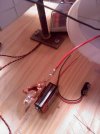
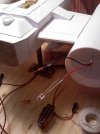
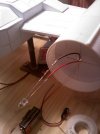
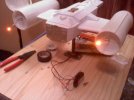
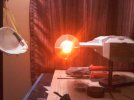
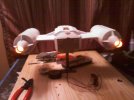
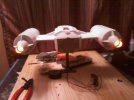
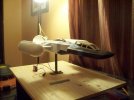
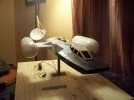
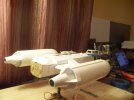
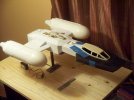
I got the circuit for the engine lights run so that's
finished I just have to wire in a switch, but I can do
that at any time. Having this done allows me to finish
the neck off so I can mount the cockpit module. I also
scribed the panel lines on the top hull.
Wires routed through the opening at the top of
the mount.

Running wires through vertical mount......

At the bottom of the mount I had to file an opening to allow the
wires to come out.


Some shots of the wiring and lighting....


JohnSimmons
For Spud: I was once Merseajohn
- Joined
- Jan 4, 2011
- Messages
- 5,645
Fantastic!
Glorfindel
Active Member
- Joined
- May 2, 2011
- Messages
- 1,504
Just excellent. Don't know what else to say.
The Nylon Gag
New Member
- Joined
- Nov 14, 2011
- Messages
- 829
I want one so bad 
Fantastic mate
Gag
Fantastic mate
Gag
Jamaicanmodels69
New Member
- Joined
- Apr 17, 2011
- Messages
- 604
Hey guys thanks again.....Gag you should make one
would be great to see you do it! ;D
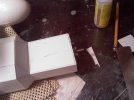
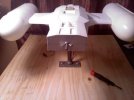
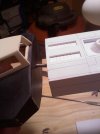
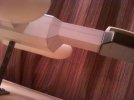
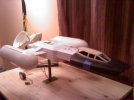
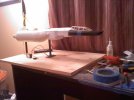
I got the neck closed up, and the cockpit module
at least to a way it can be mounted, it can
come on and off with a wing nut now. I just have
to build the gizmo that sits behind the launcher
in the crook of the neck.
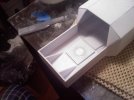
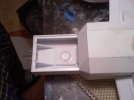
I made this part so it can pop in and out, that's why I put
the evergreen strip down in there so it had a ledge to sit on.
As this is where the bolt slides in and out to enter into the cockpit.
would be great to see you do it! ;D
I got the neck closed up, and the cockpit module
at least to a way it can be mounted, it can
come on and off with a wing nut now. I just have
to build the gizmo that sits behind the launcher
in the crook of the neck.


I made this part so it can pop in and out, that's why I put
the evergreen strip down in there so it had a ledge to sit on.
As this is where the bolt slides in and out to enter into the cockpit.


Papermodder
Modeller in both Plastic and Paper Card
- Joined
- Jan 2, 2013
- Messages
- 1,224
Coming along real nice.
Jim
Jim
