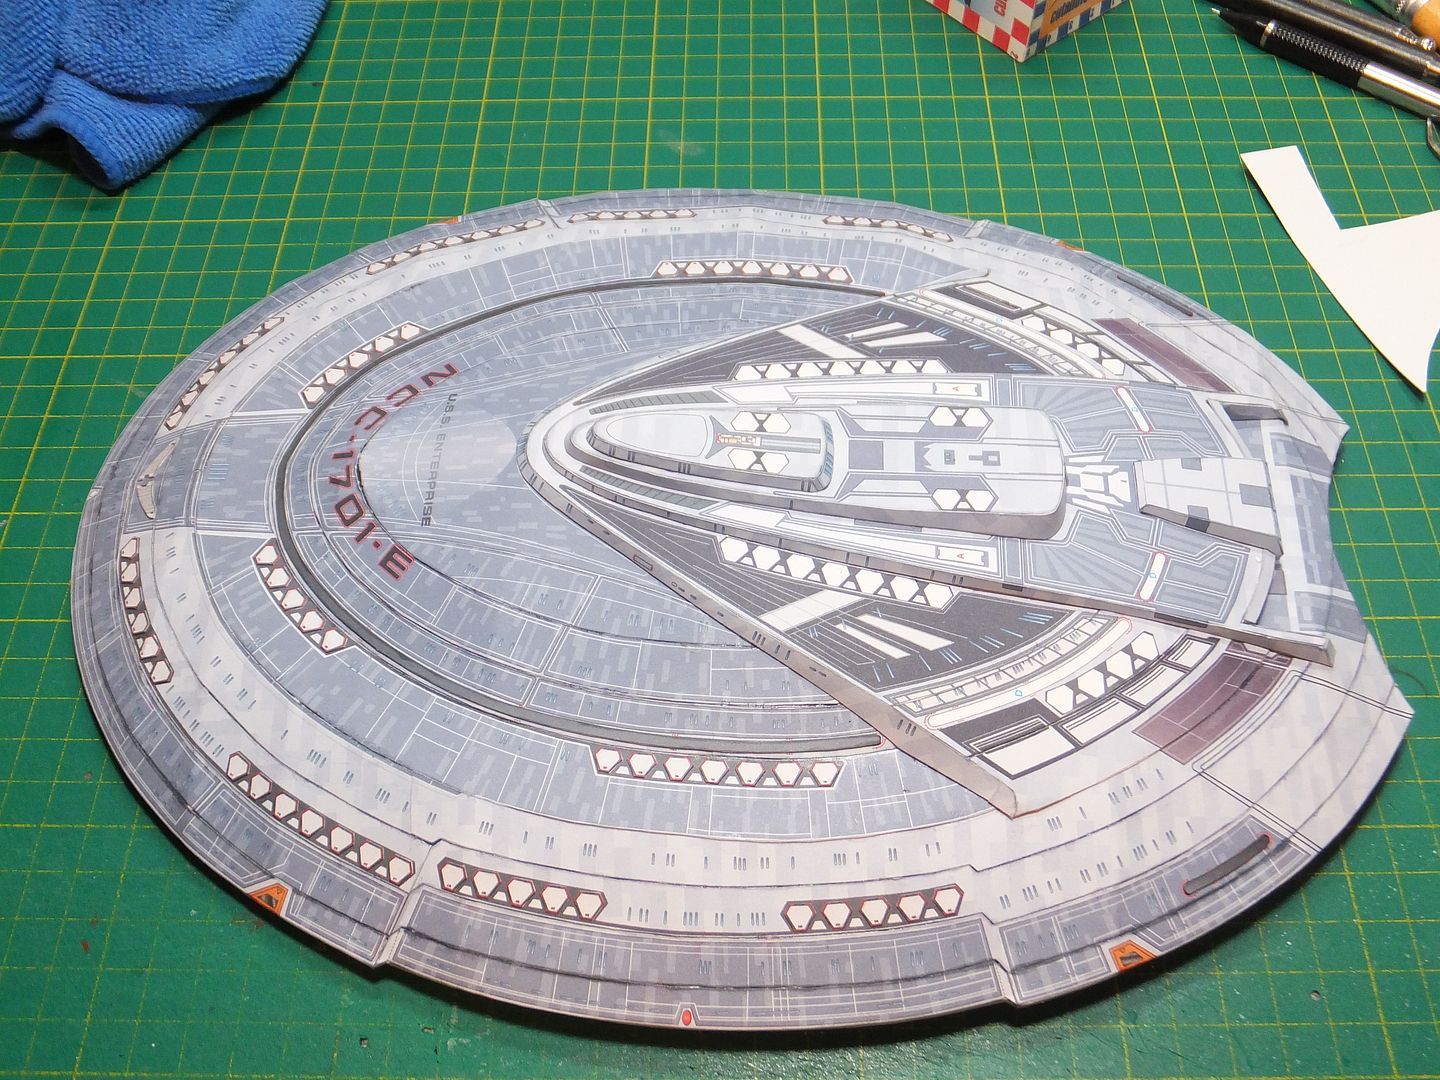
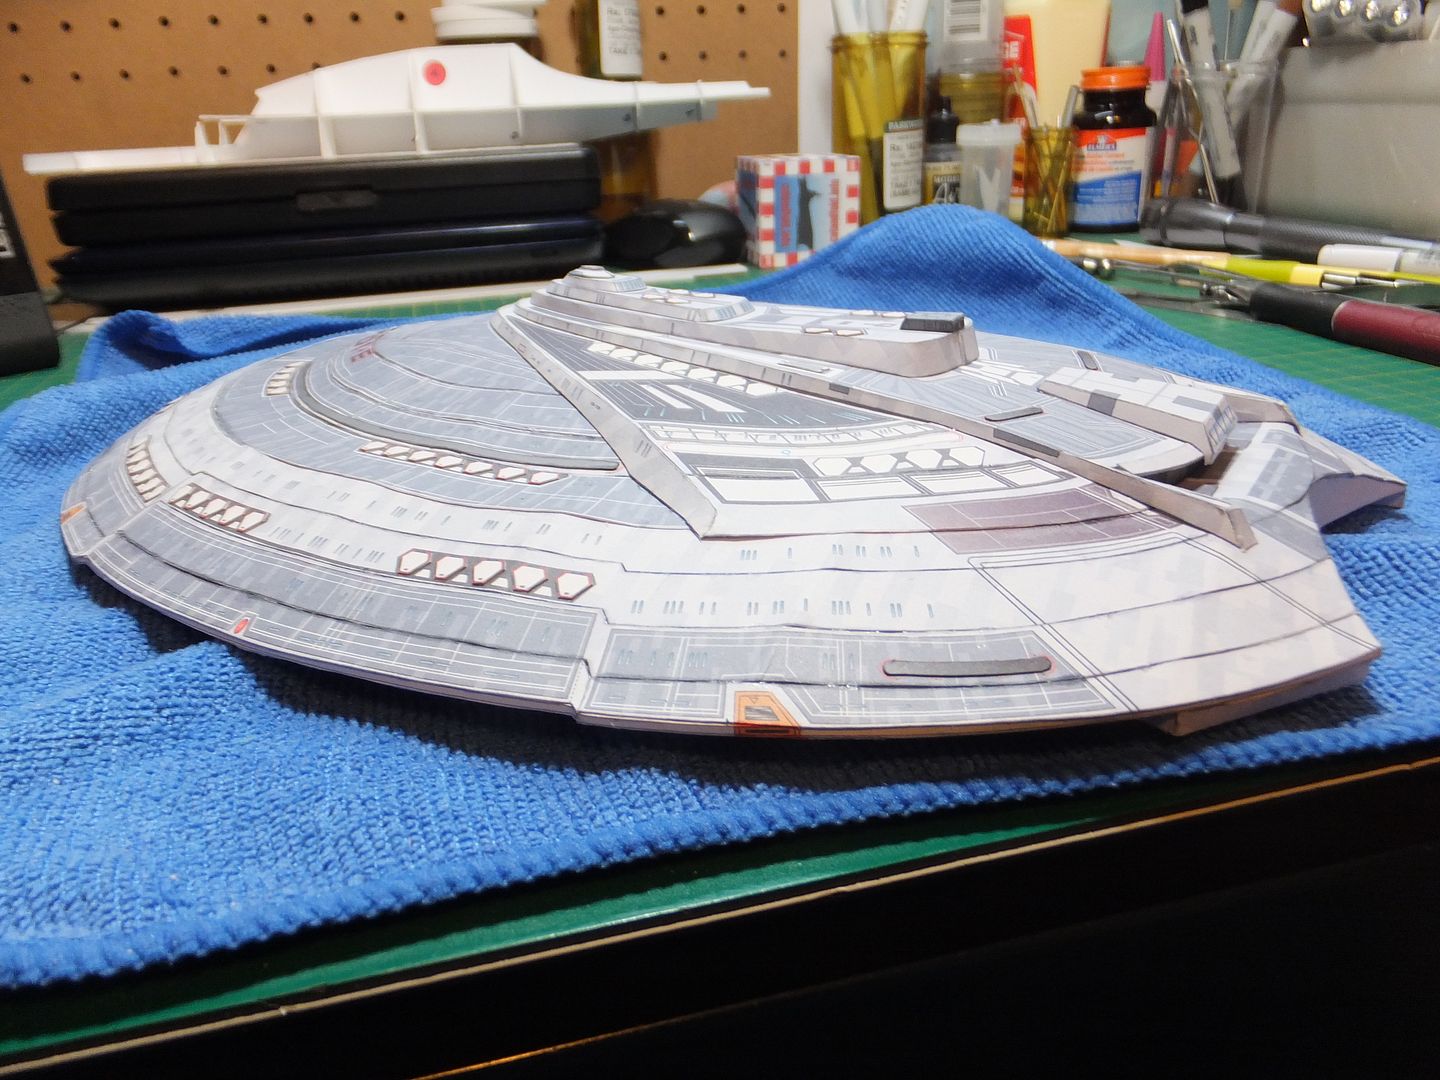
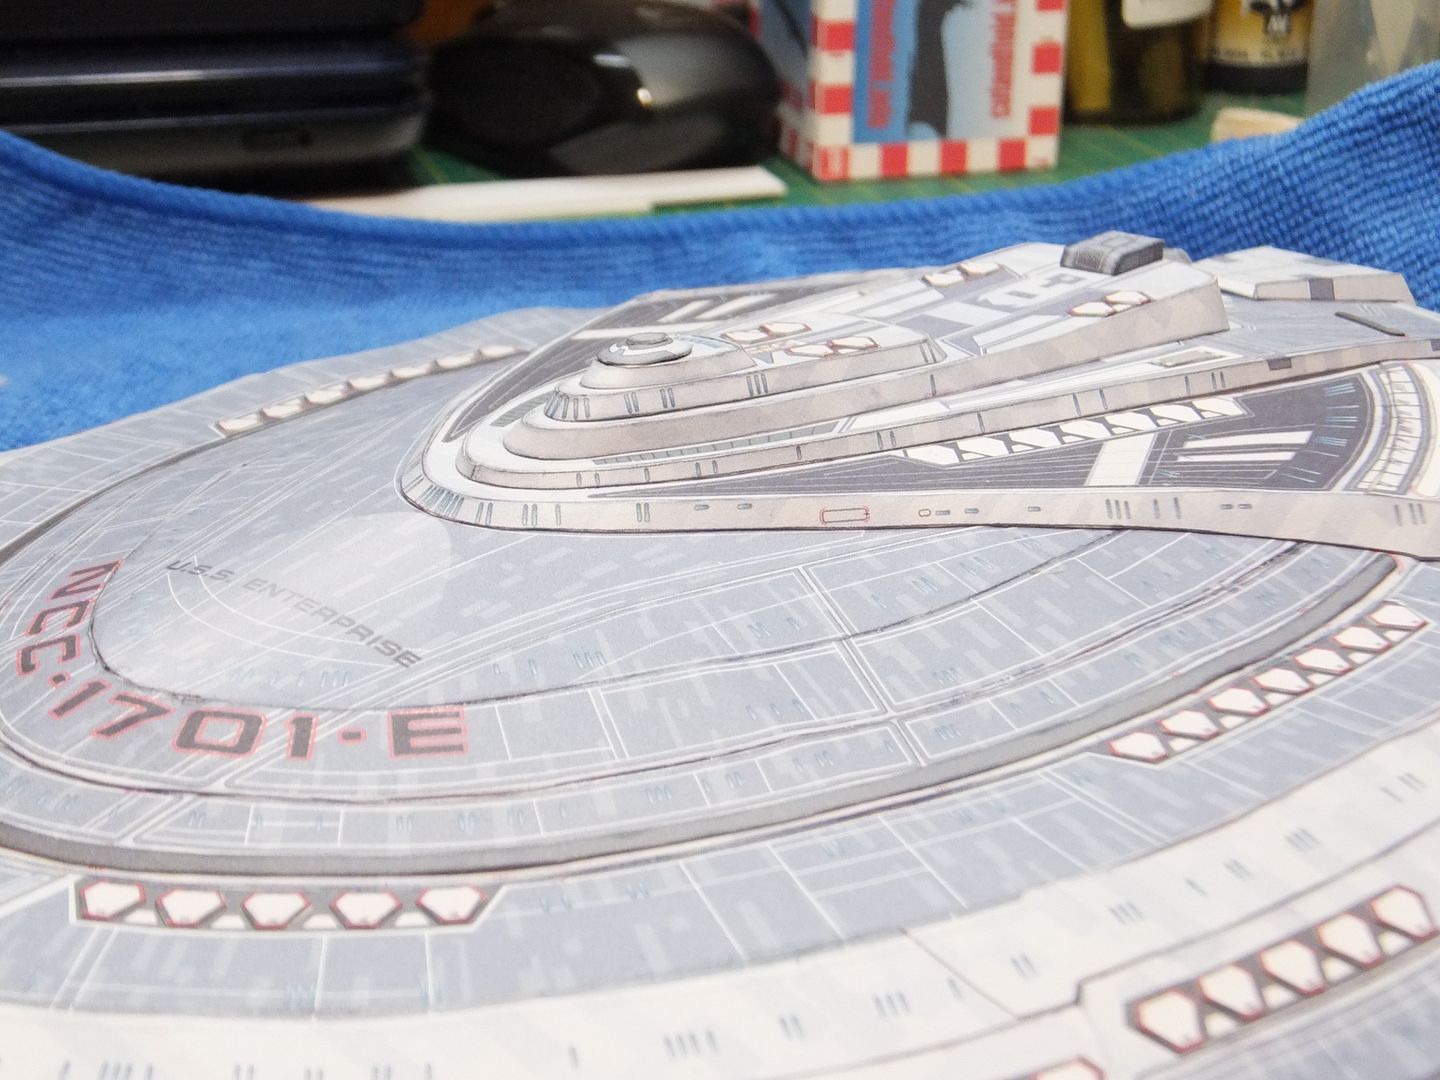
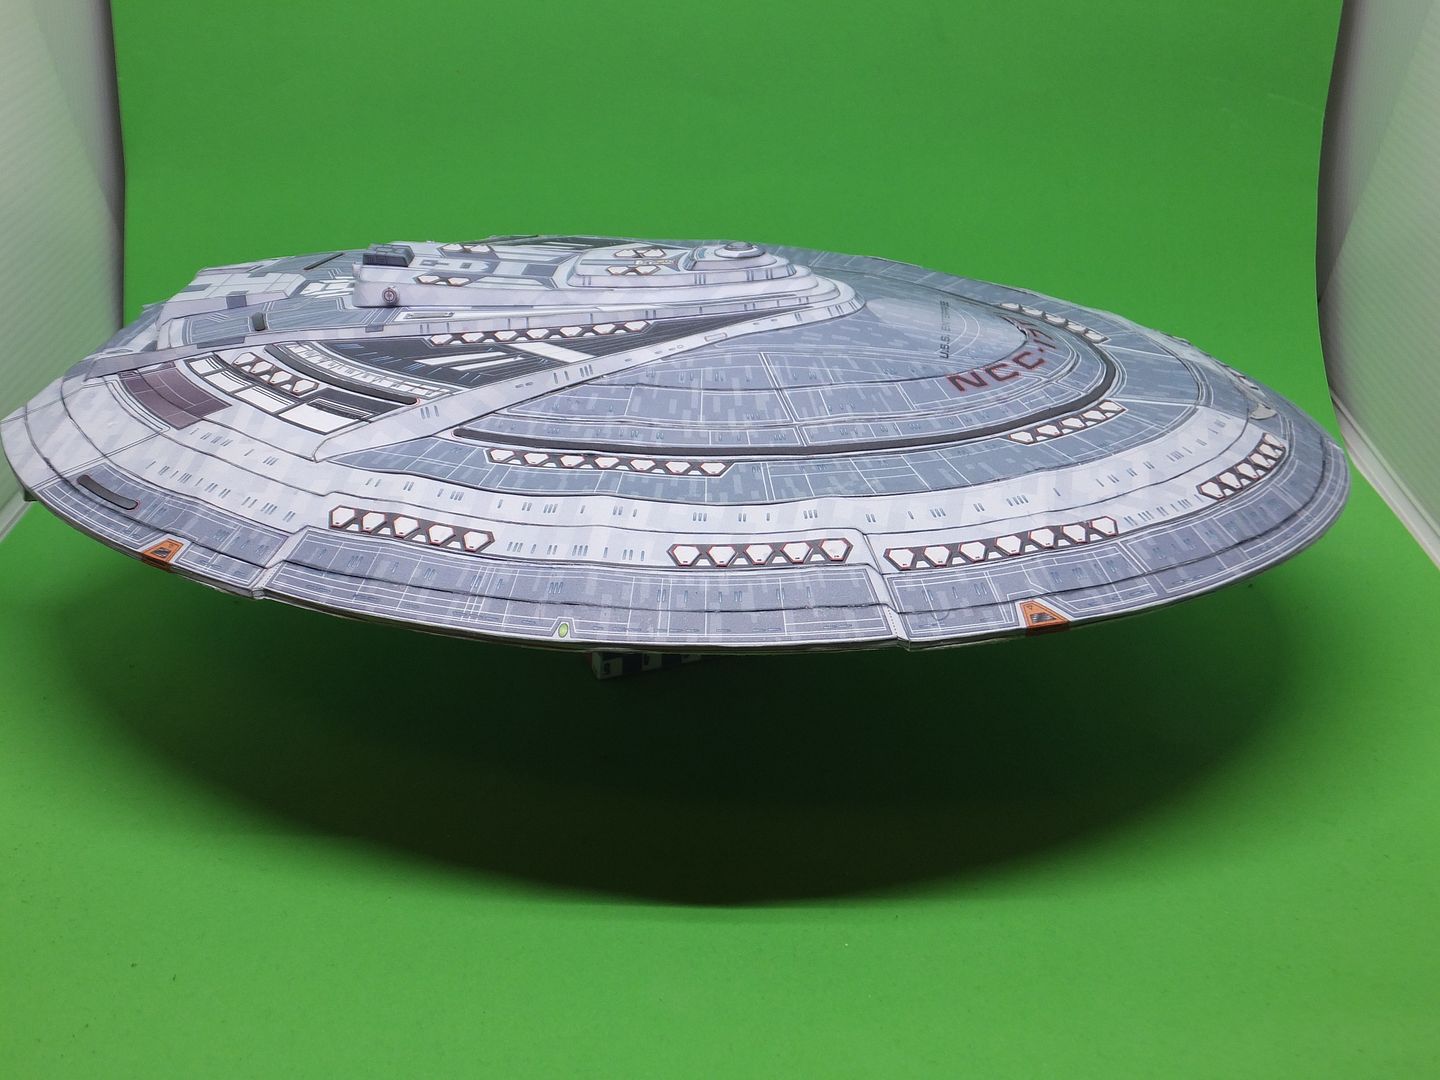
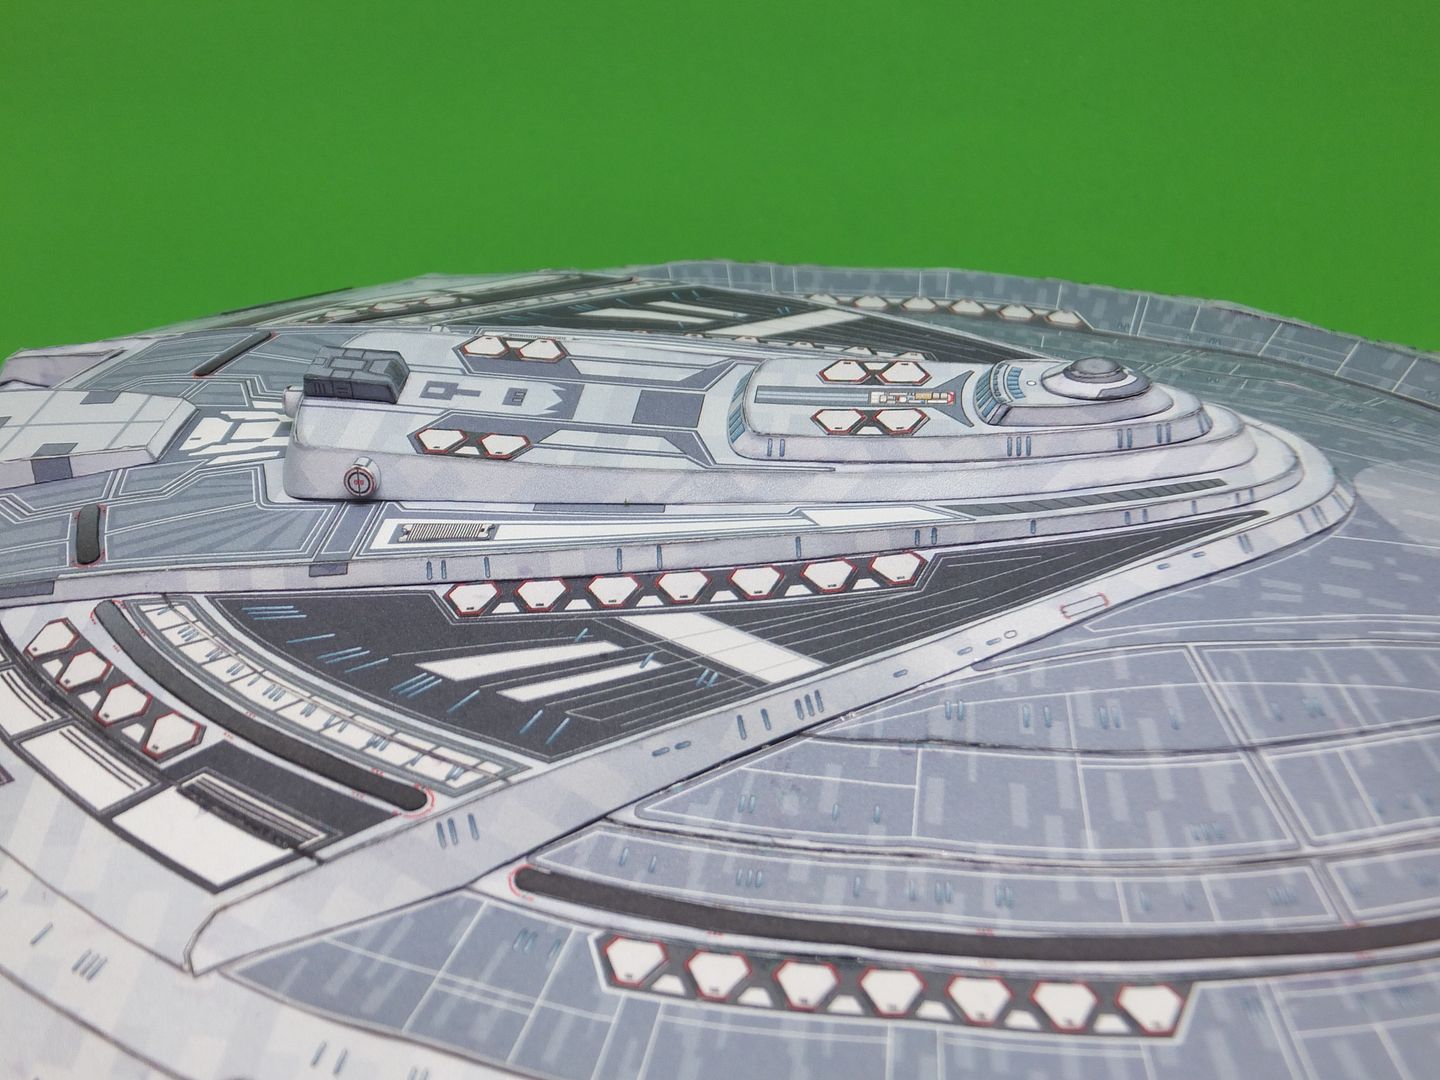
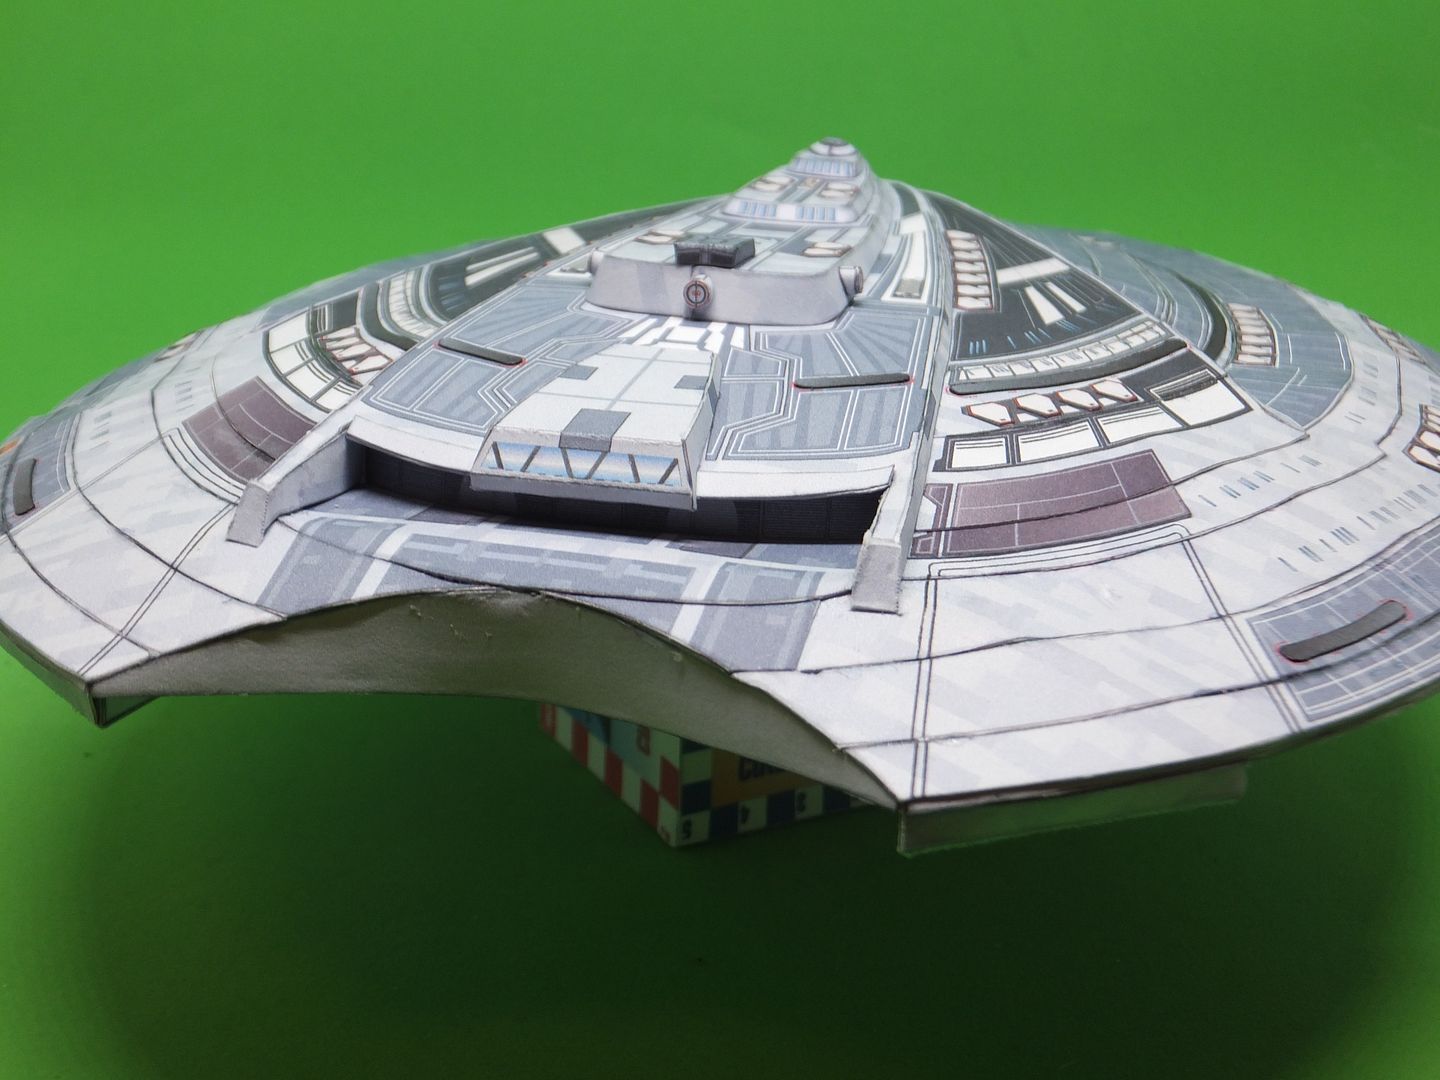
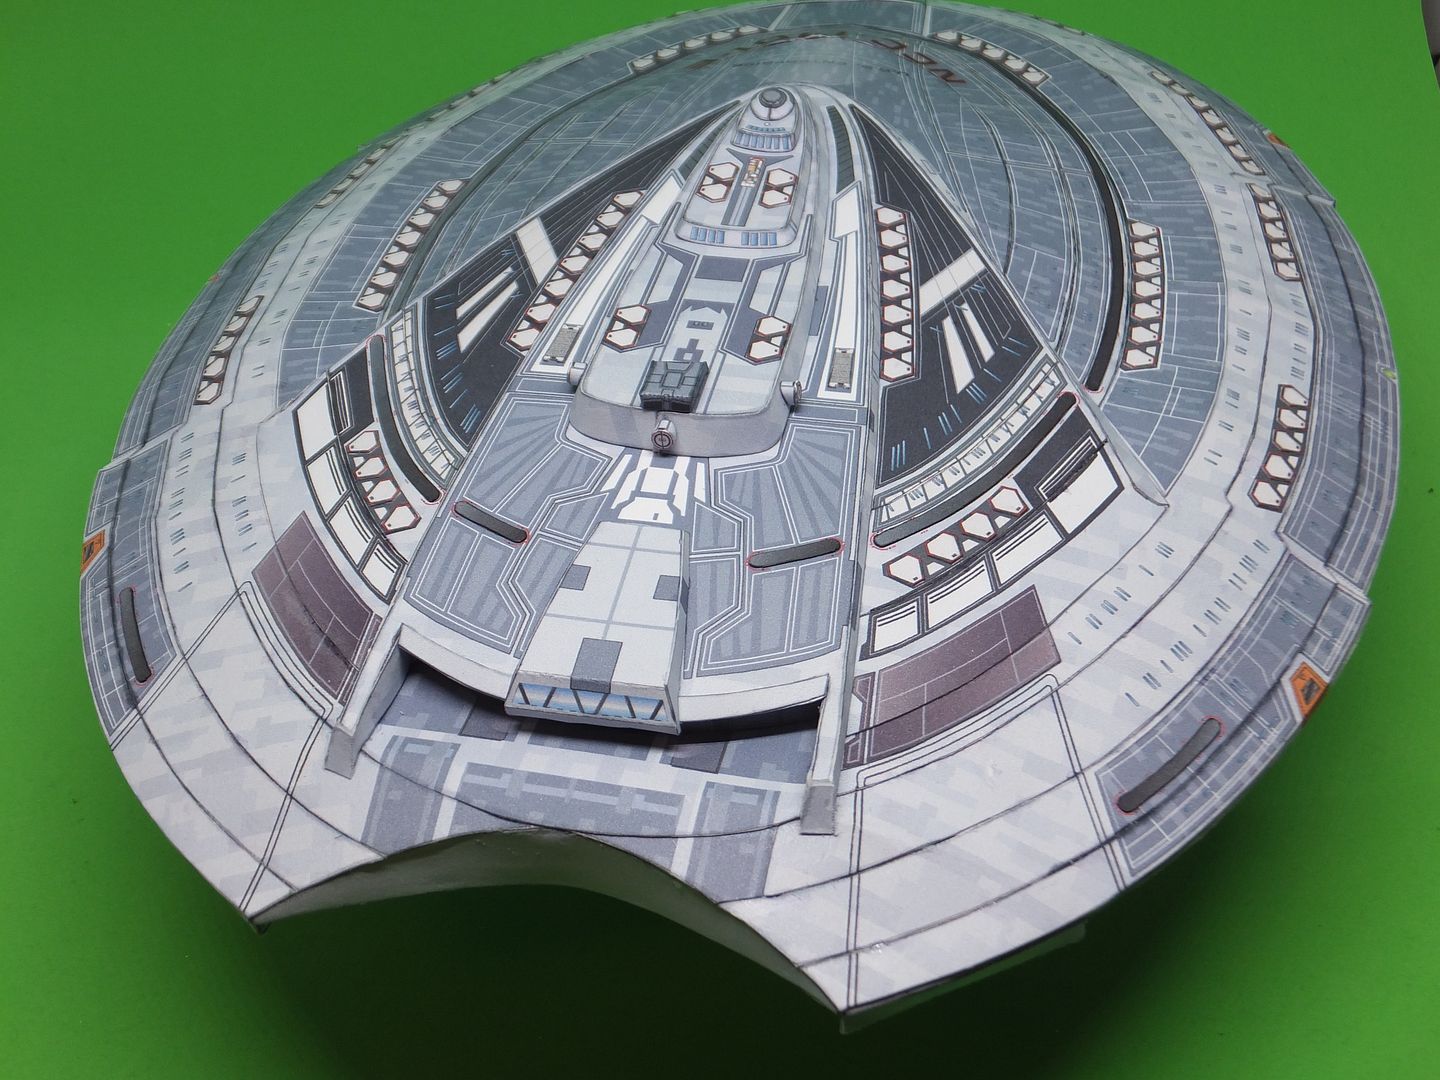
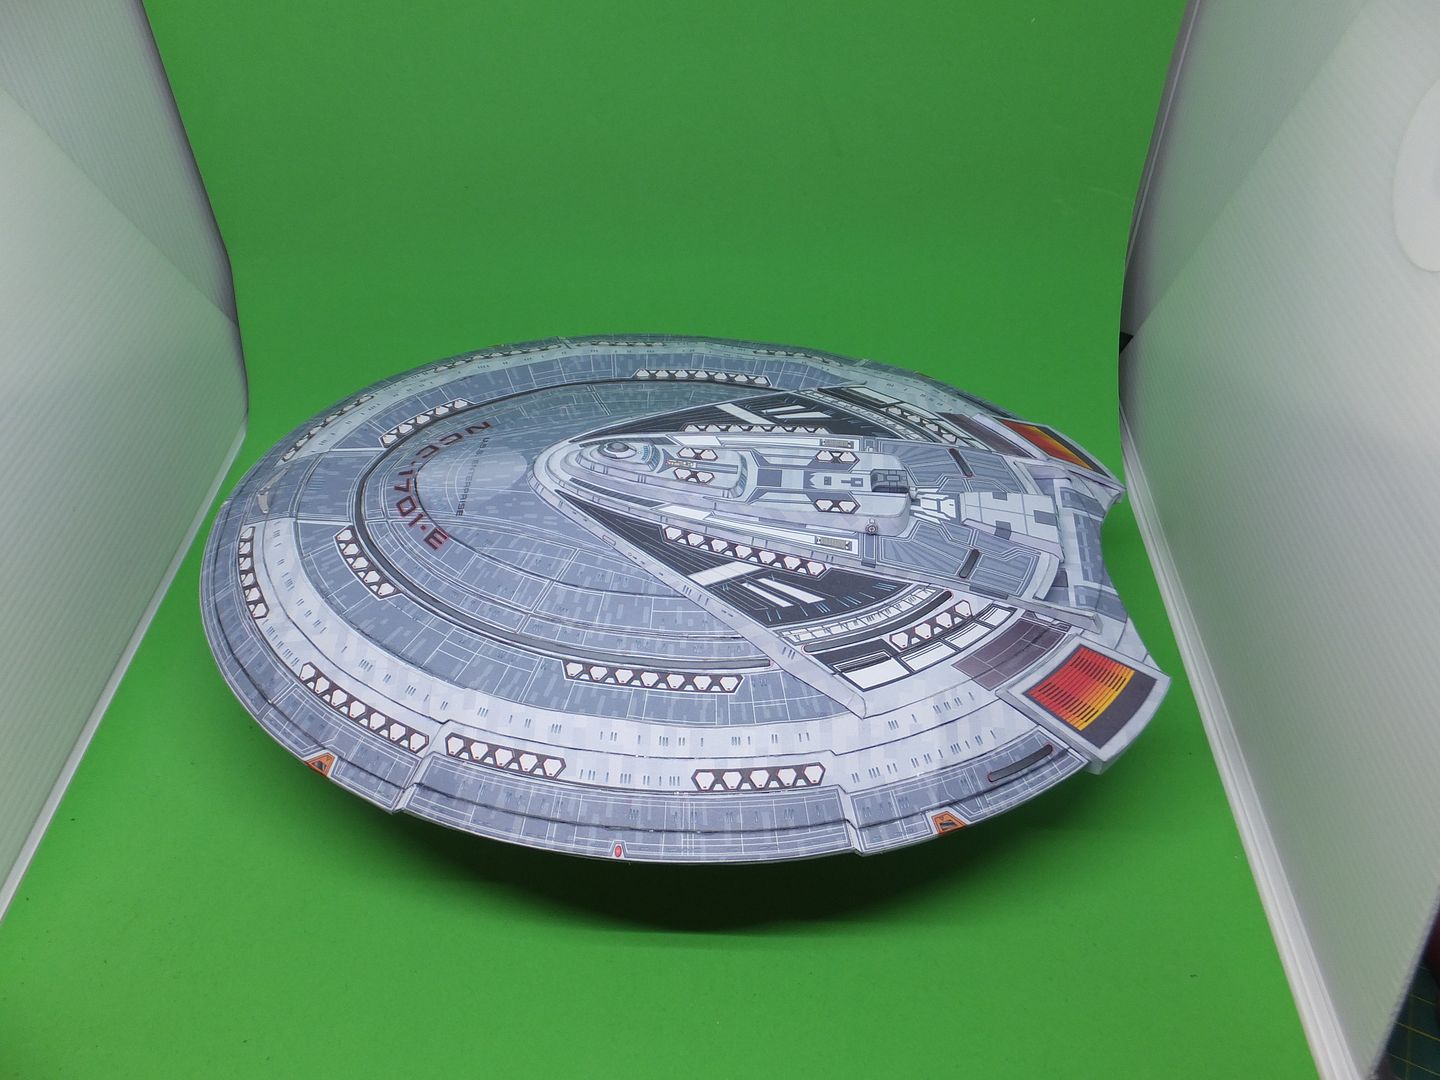
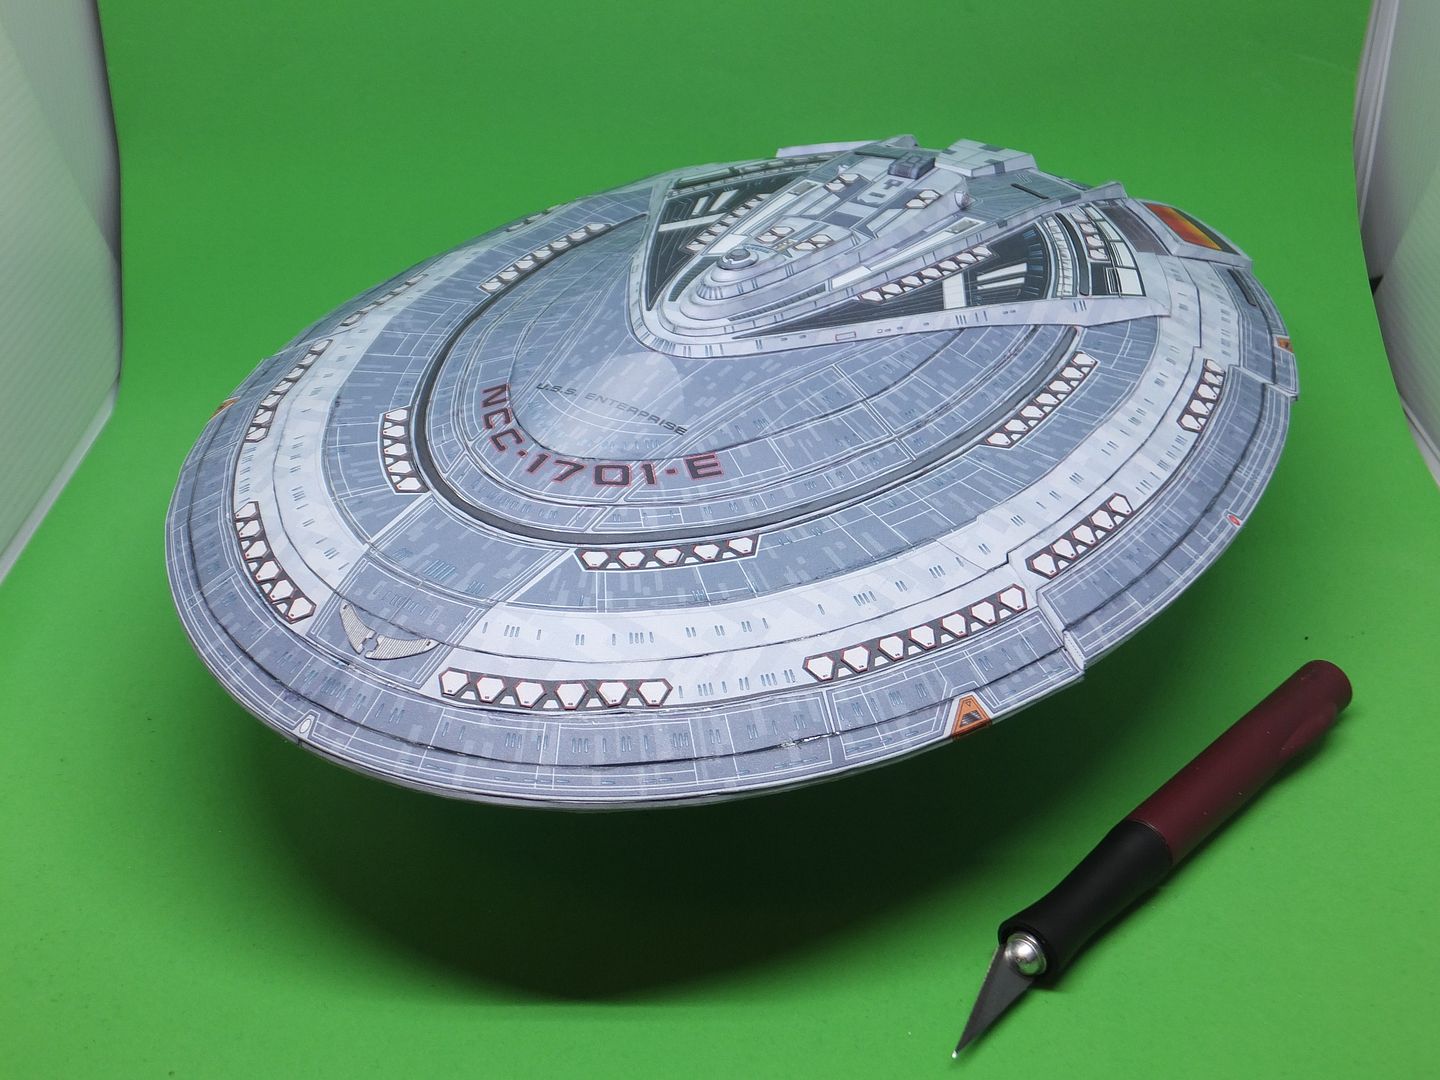
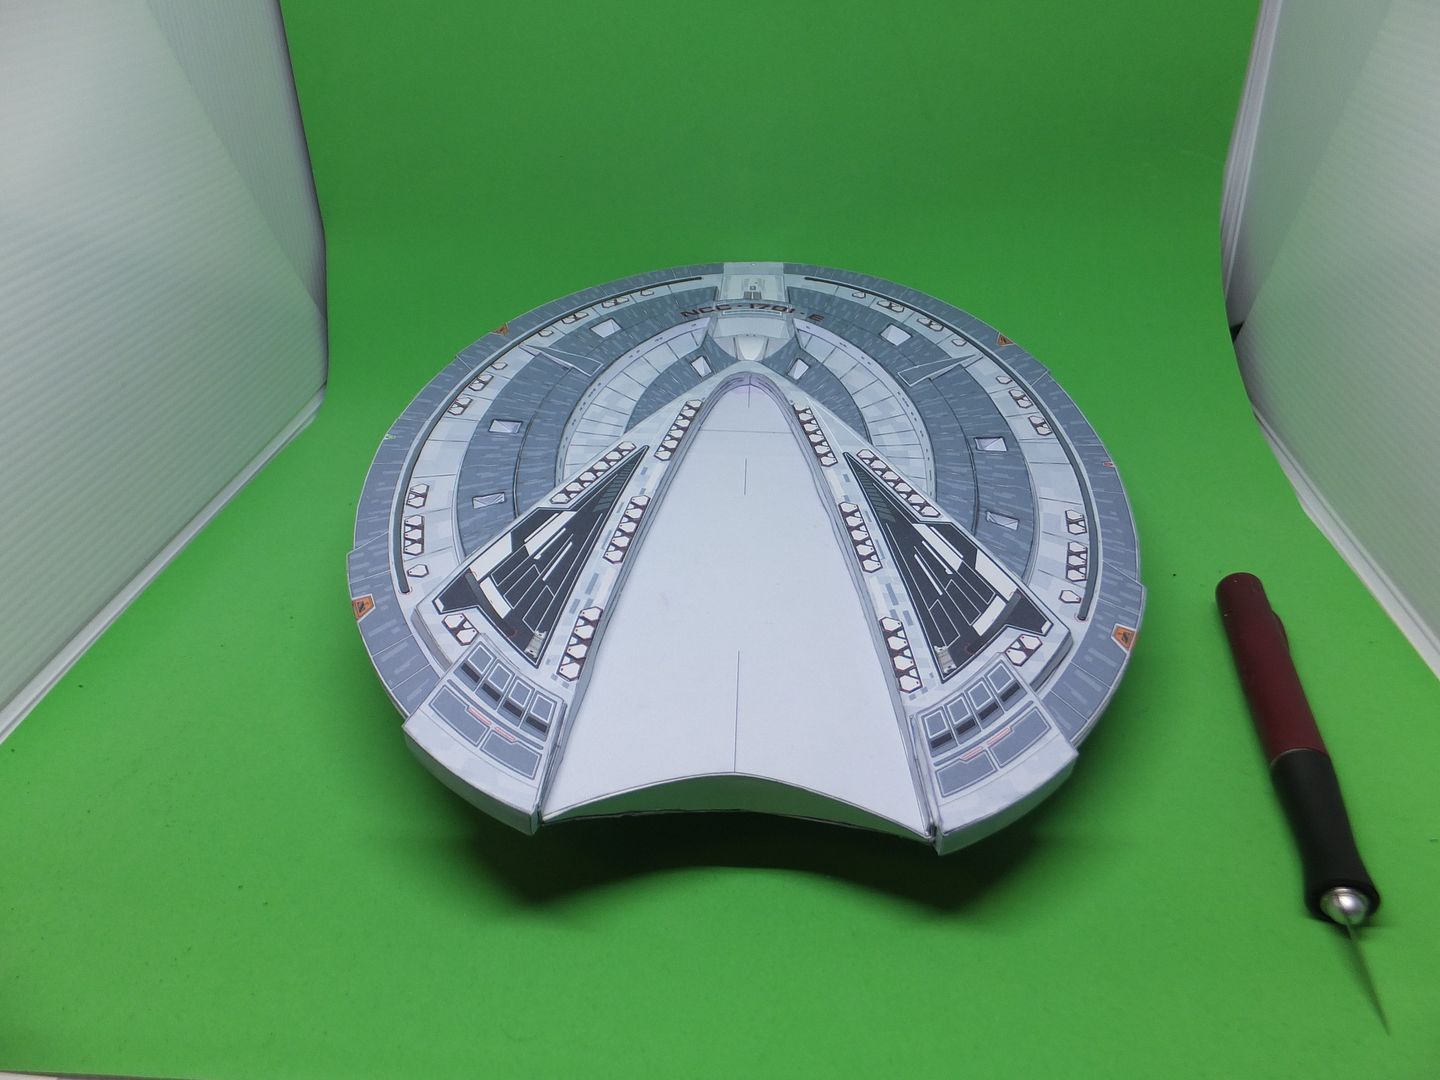
Star Trek 1/1000 Enterprise - E Paper model

Scale Model Addict - Model Tips, Guides, Tools & Tech, Tutorials, and Community

Help Support Scale Model Addict:

I'm definitely seeing this as a well designed kit more and more
interesting to see how the saucer is coming together
 
Good evening.
Update.
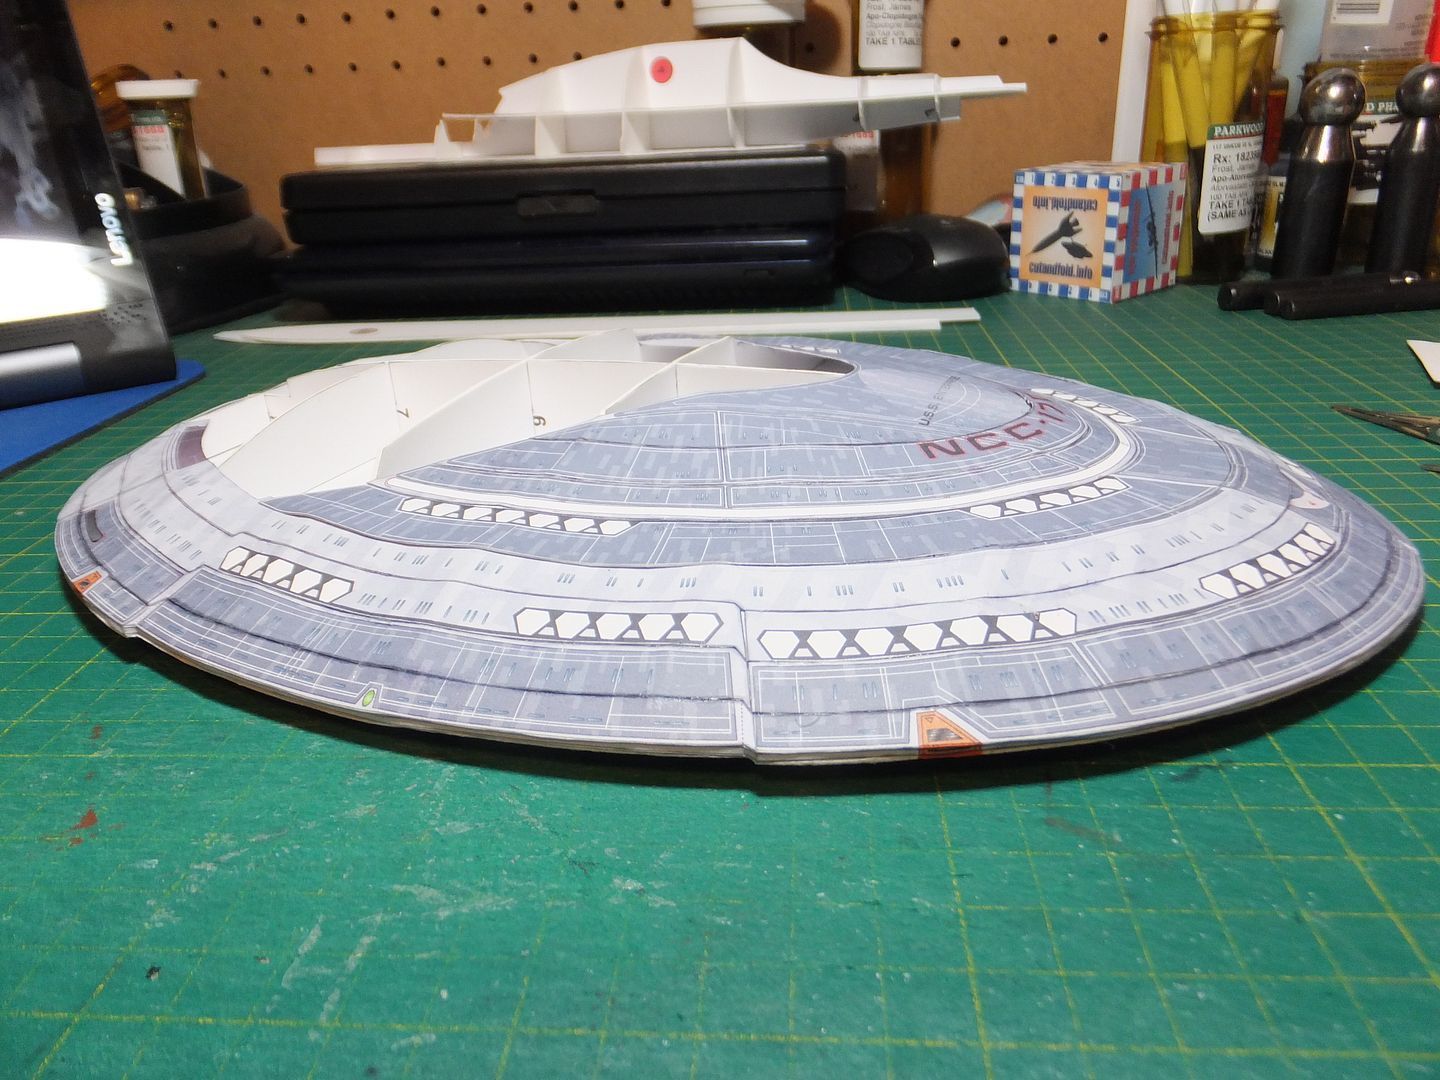
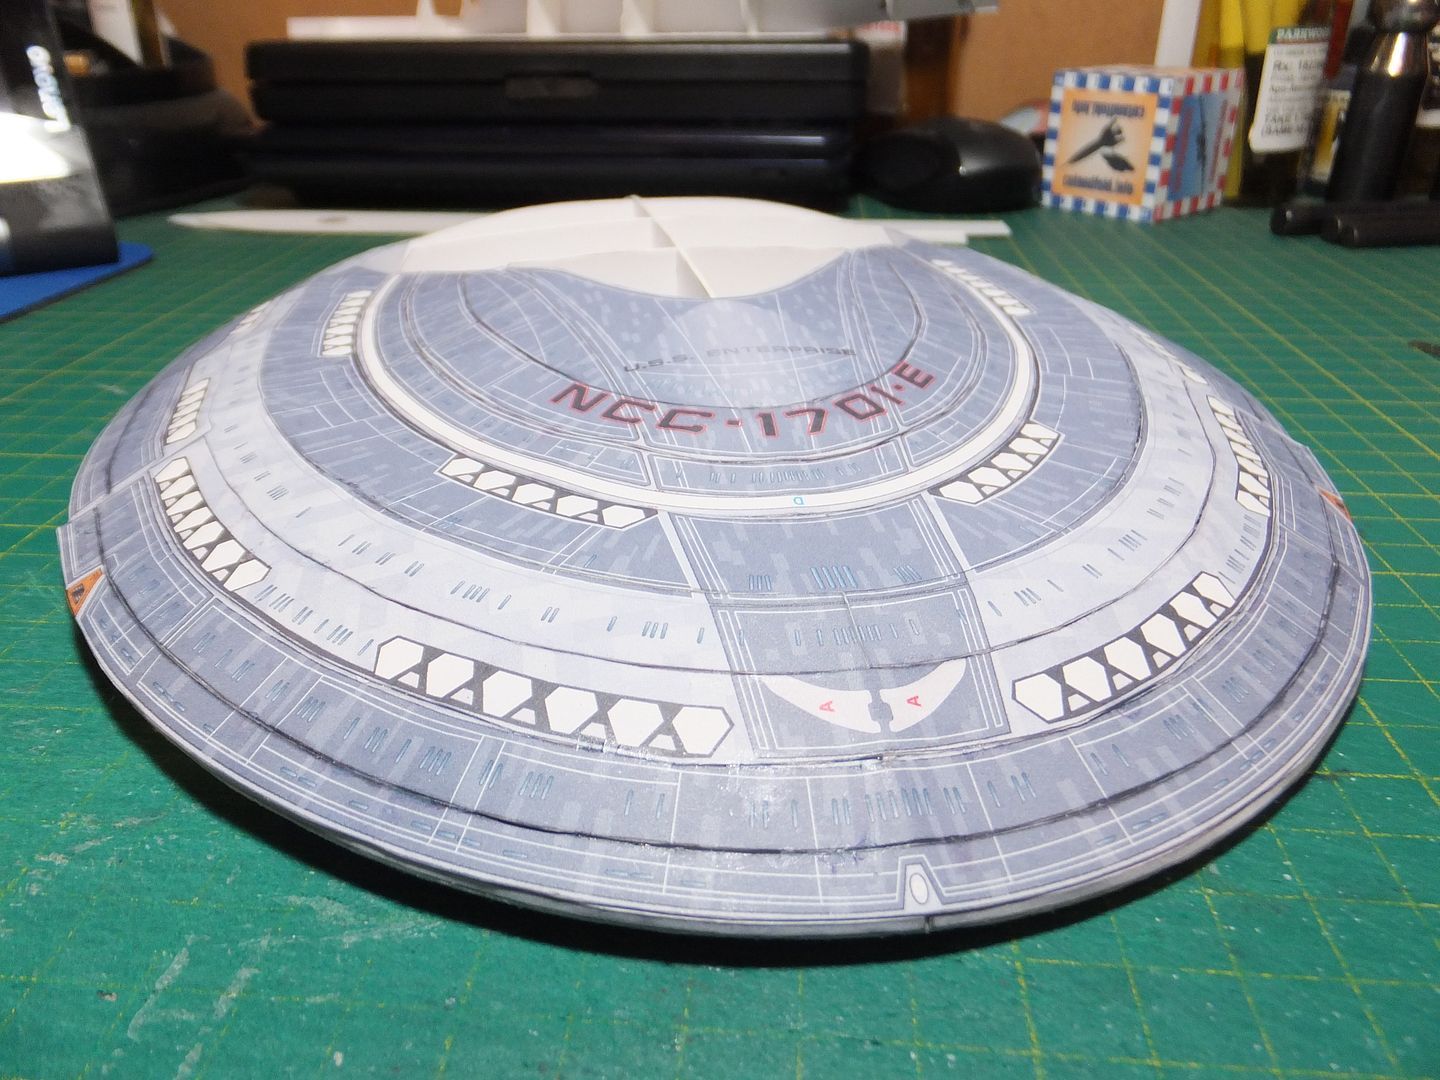
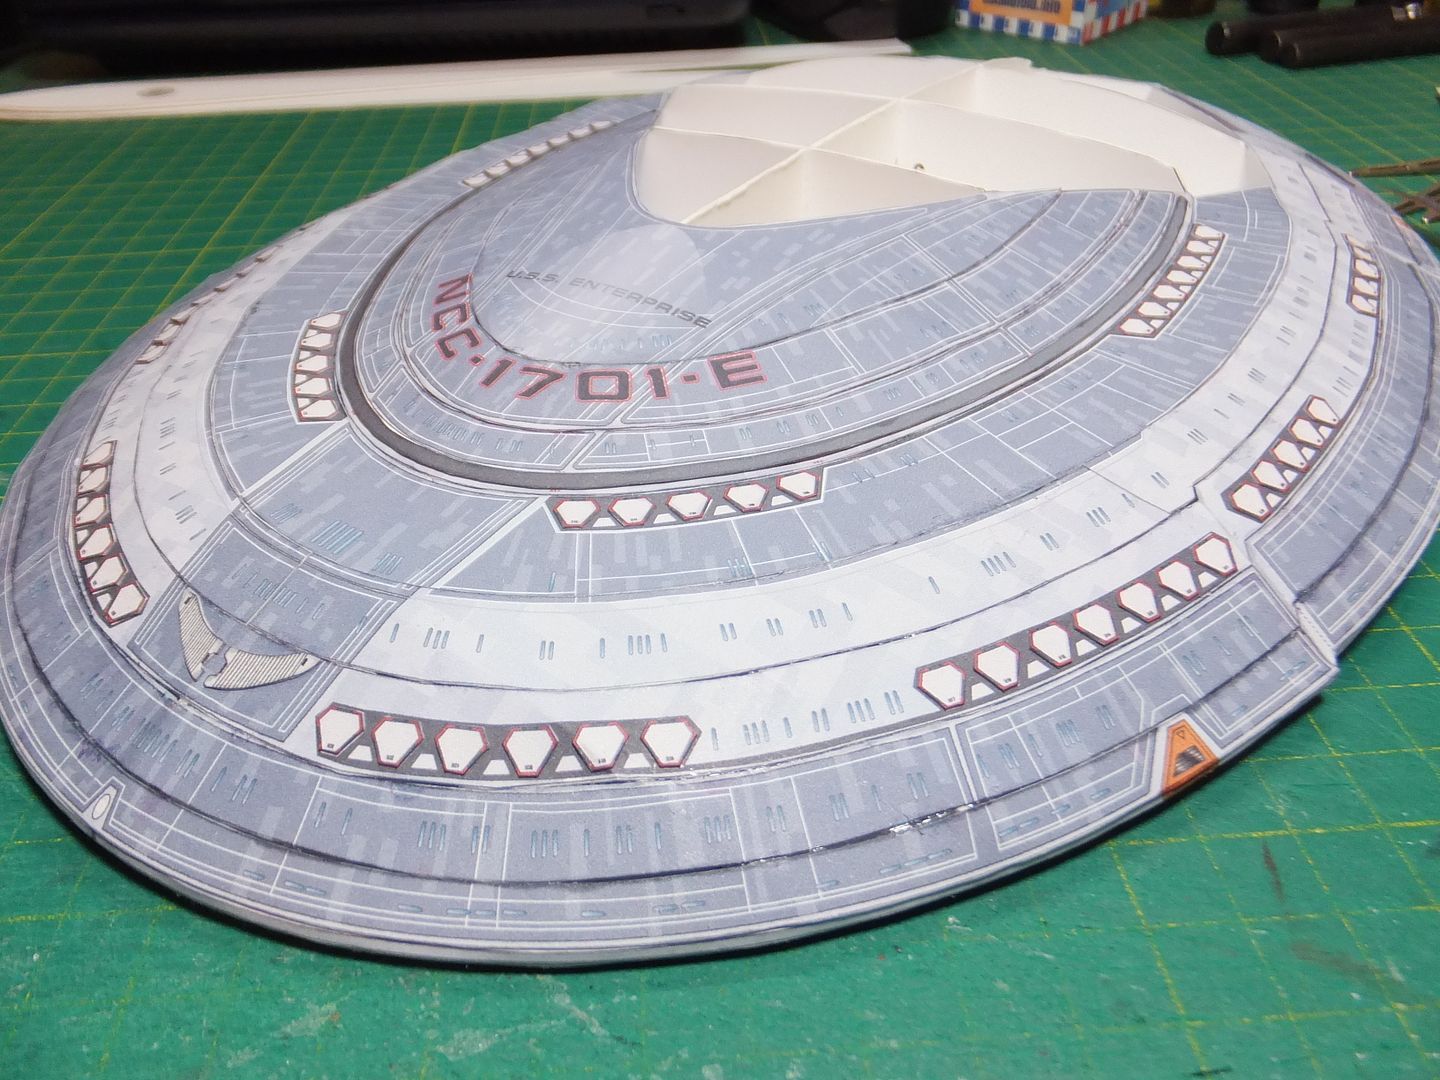
Working on more of the skins for the top of the saucer.
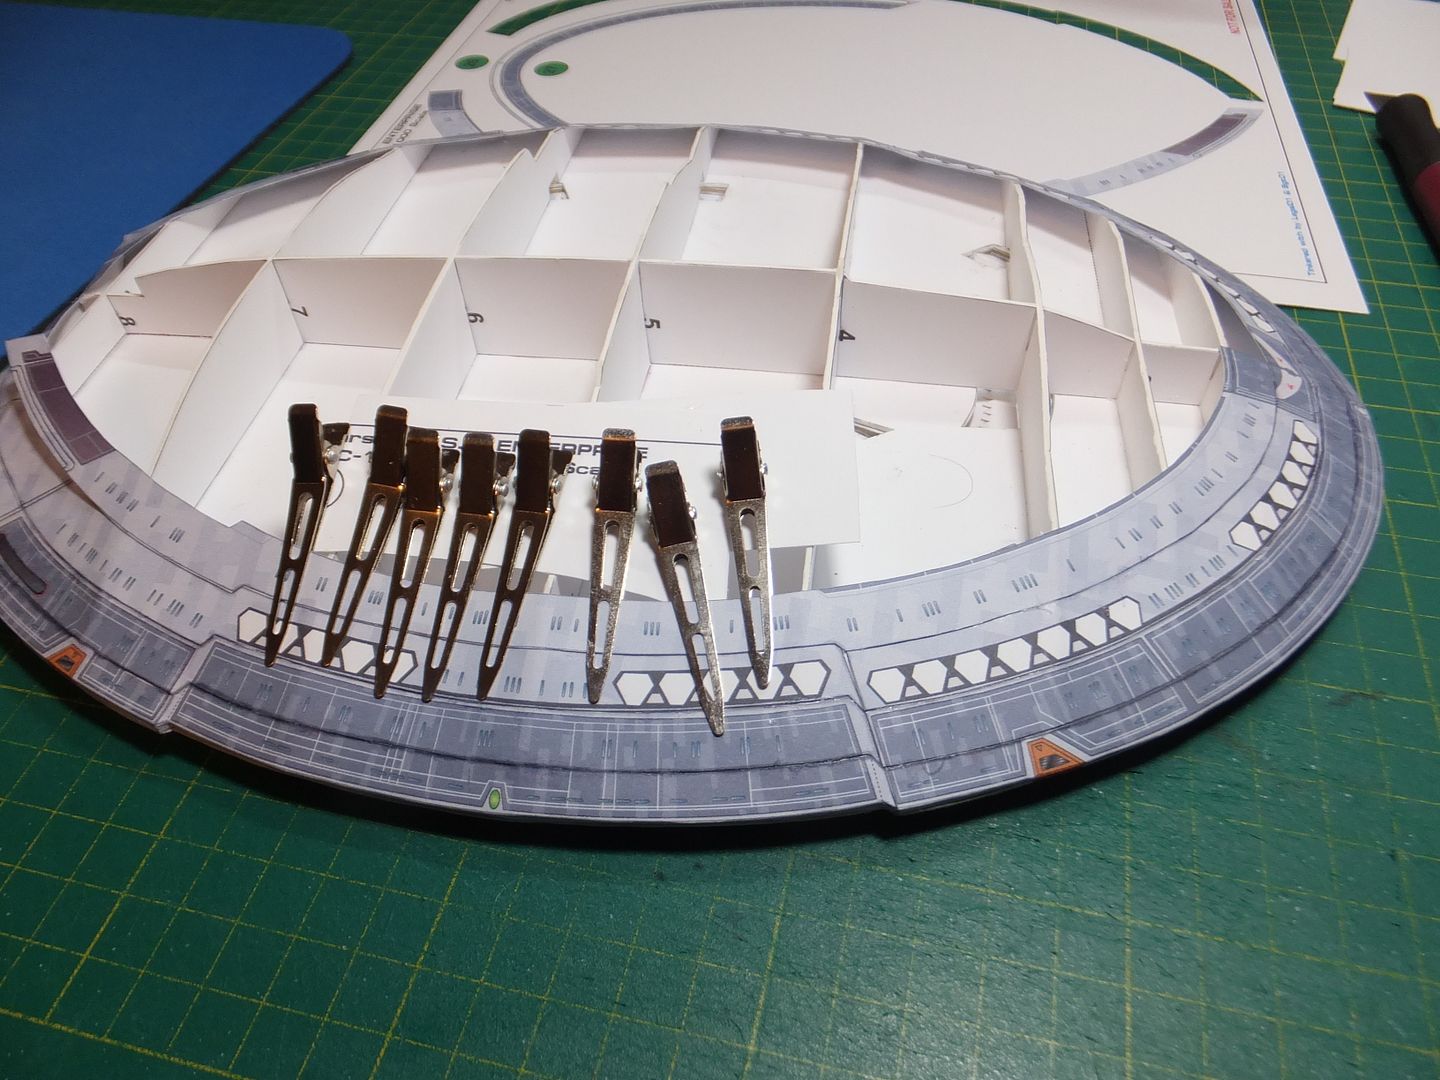
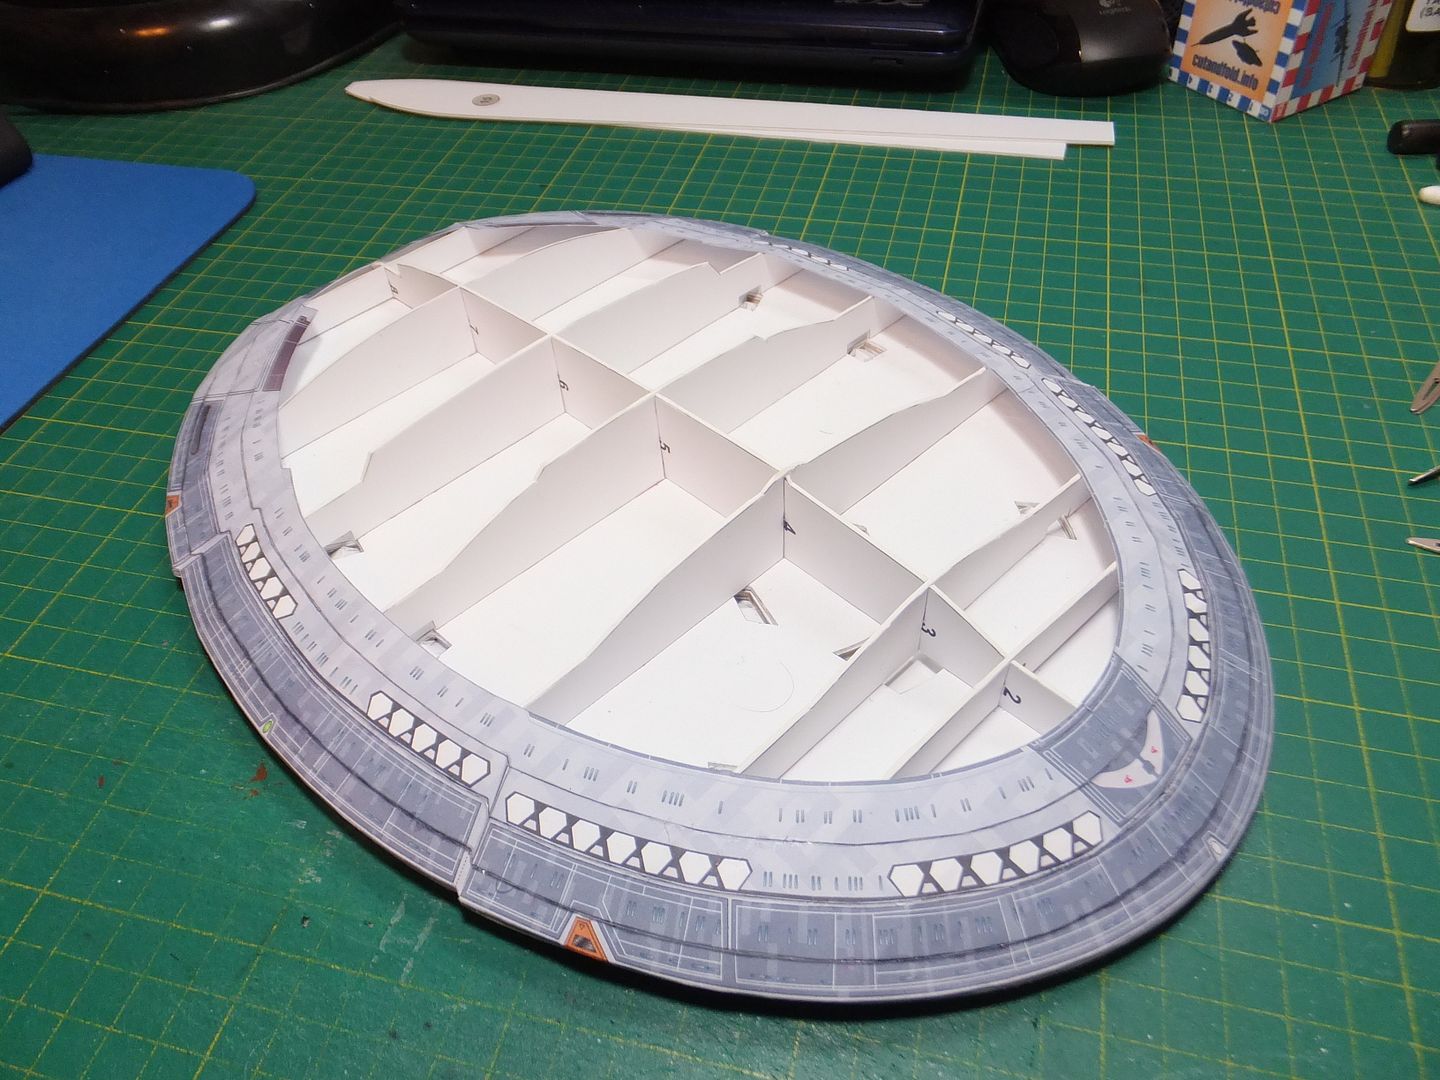
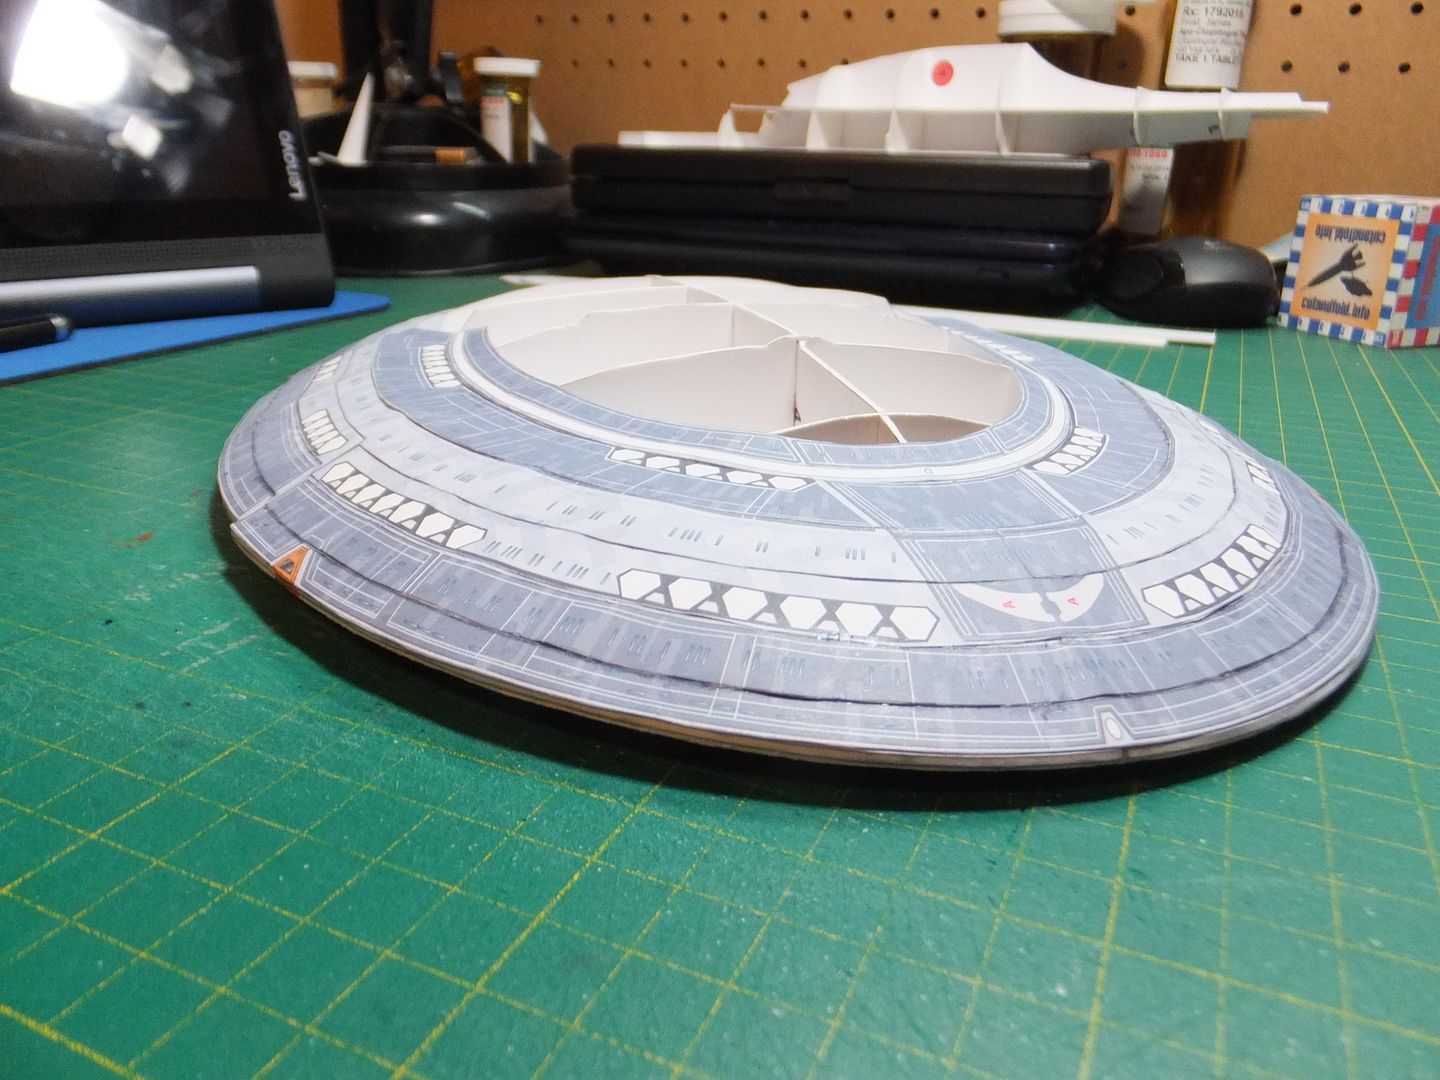
Finished installing the 4th ring.

Saucer%20Top%209_zpsqw5wksxw.jpg


Saucer%20Top%2010_zpszewhn75t.jpg


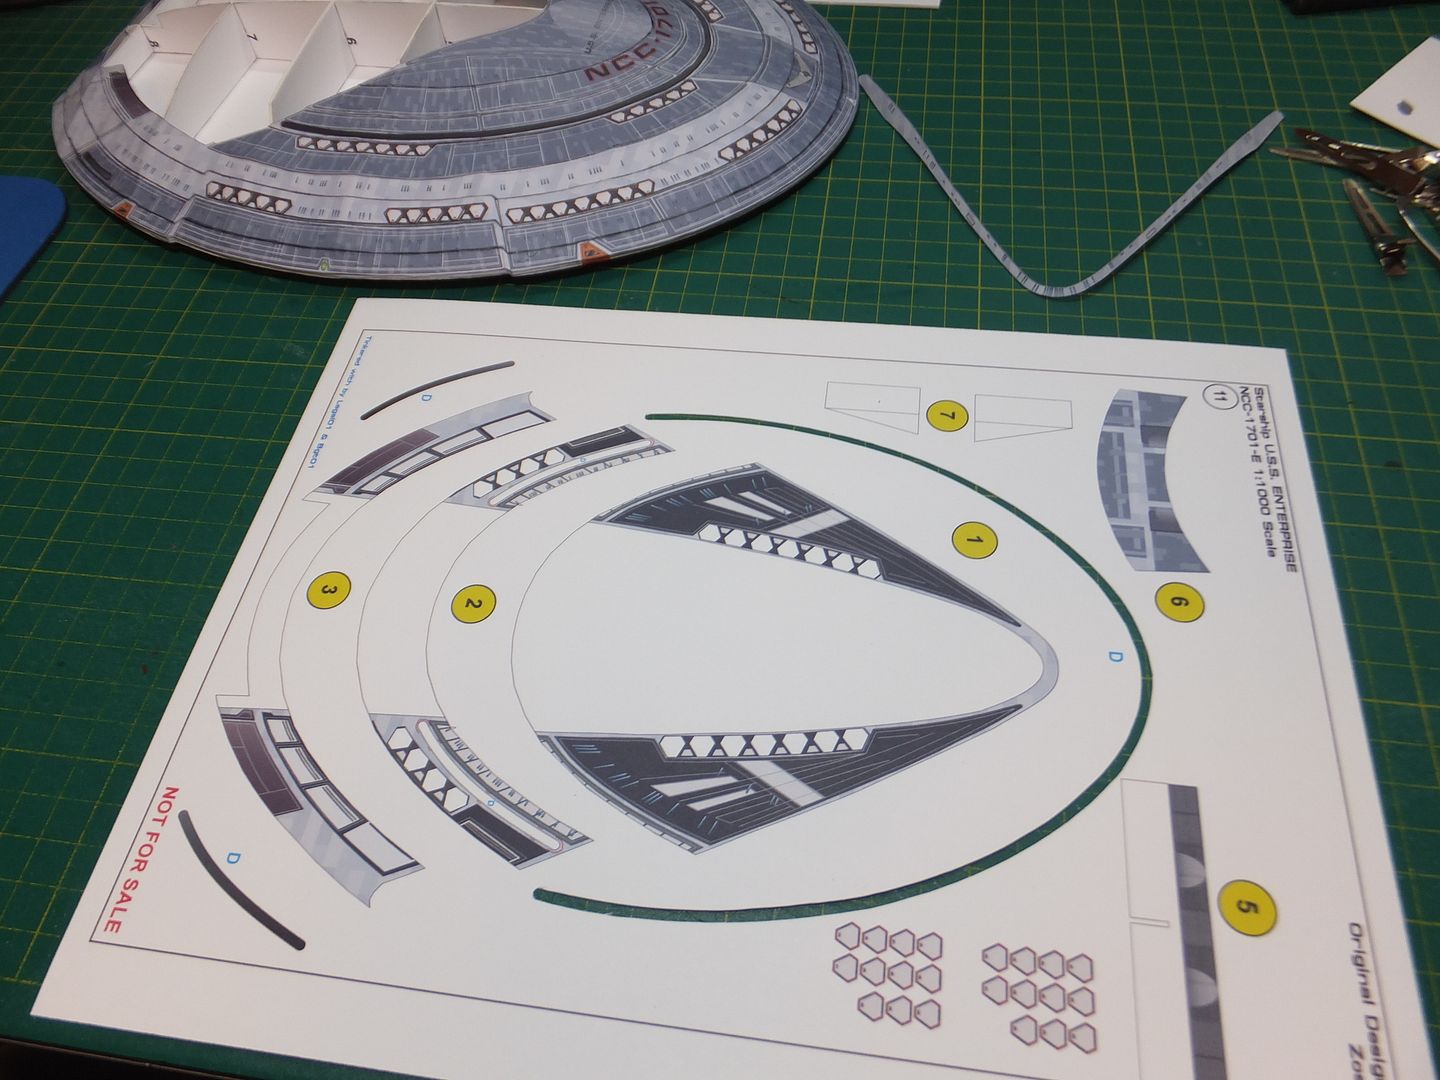
The next pieces do not circumnavigate the saucer, so I will be using mostly their part numbers going forward.
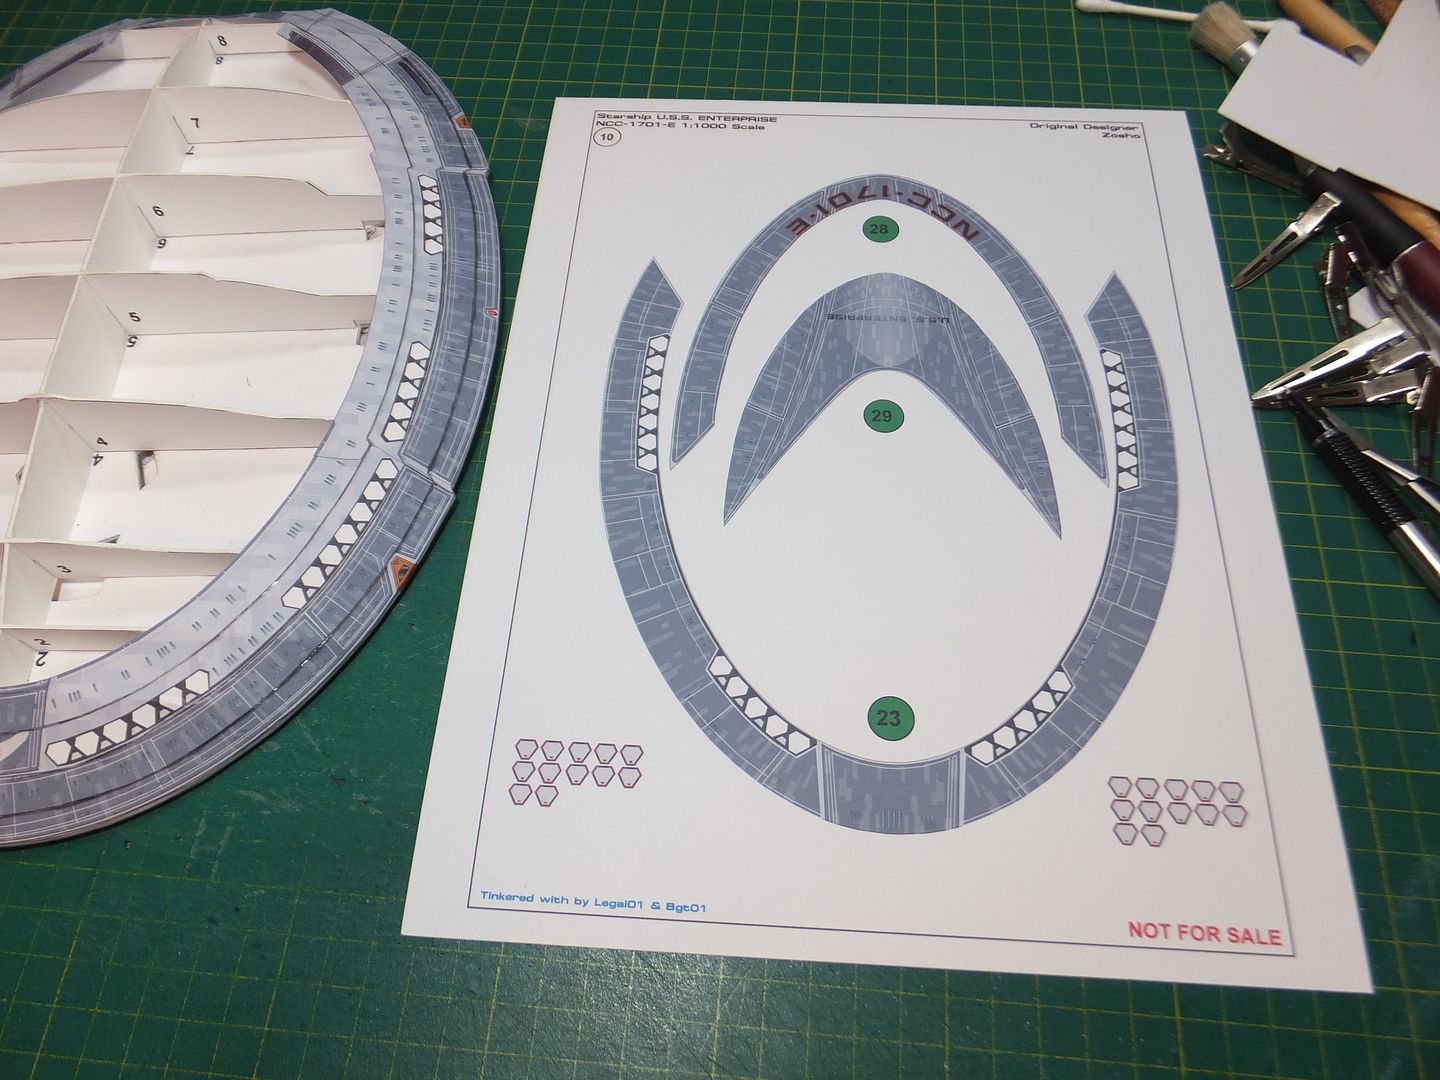
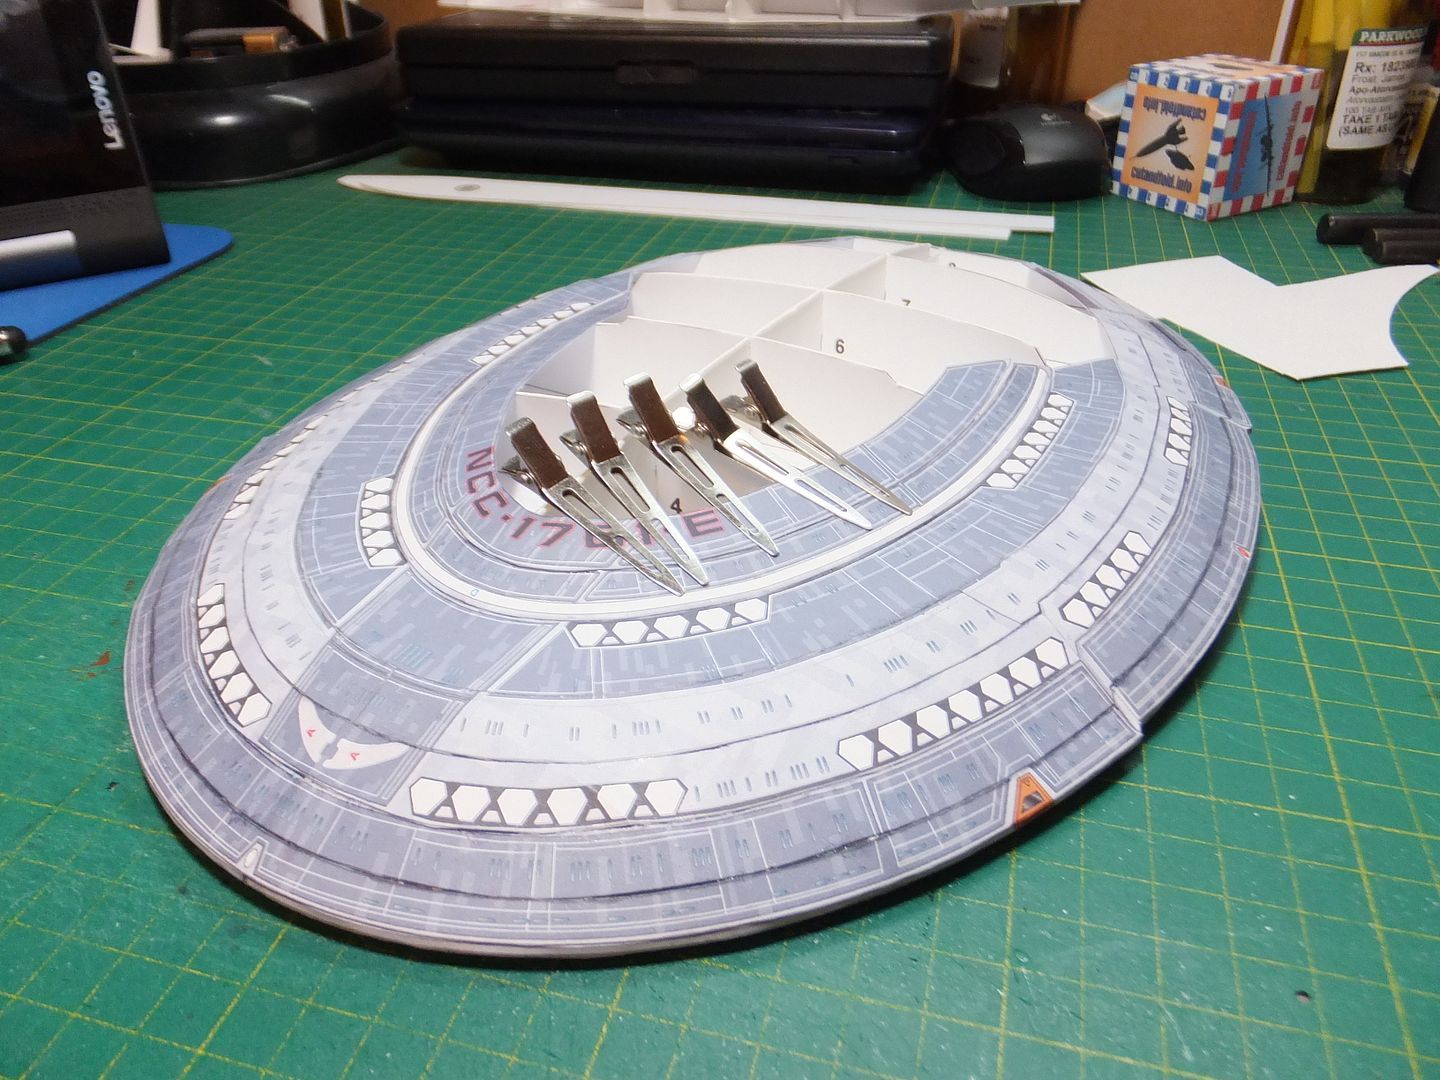
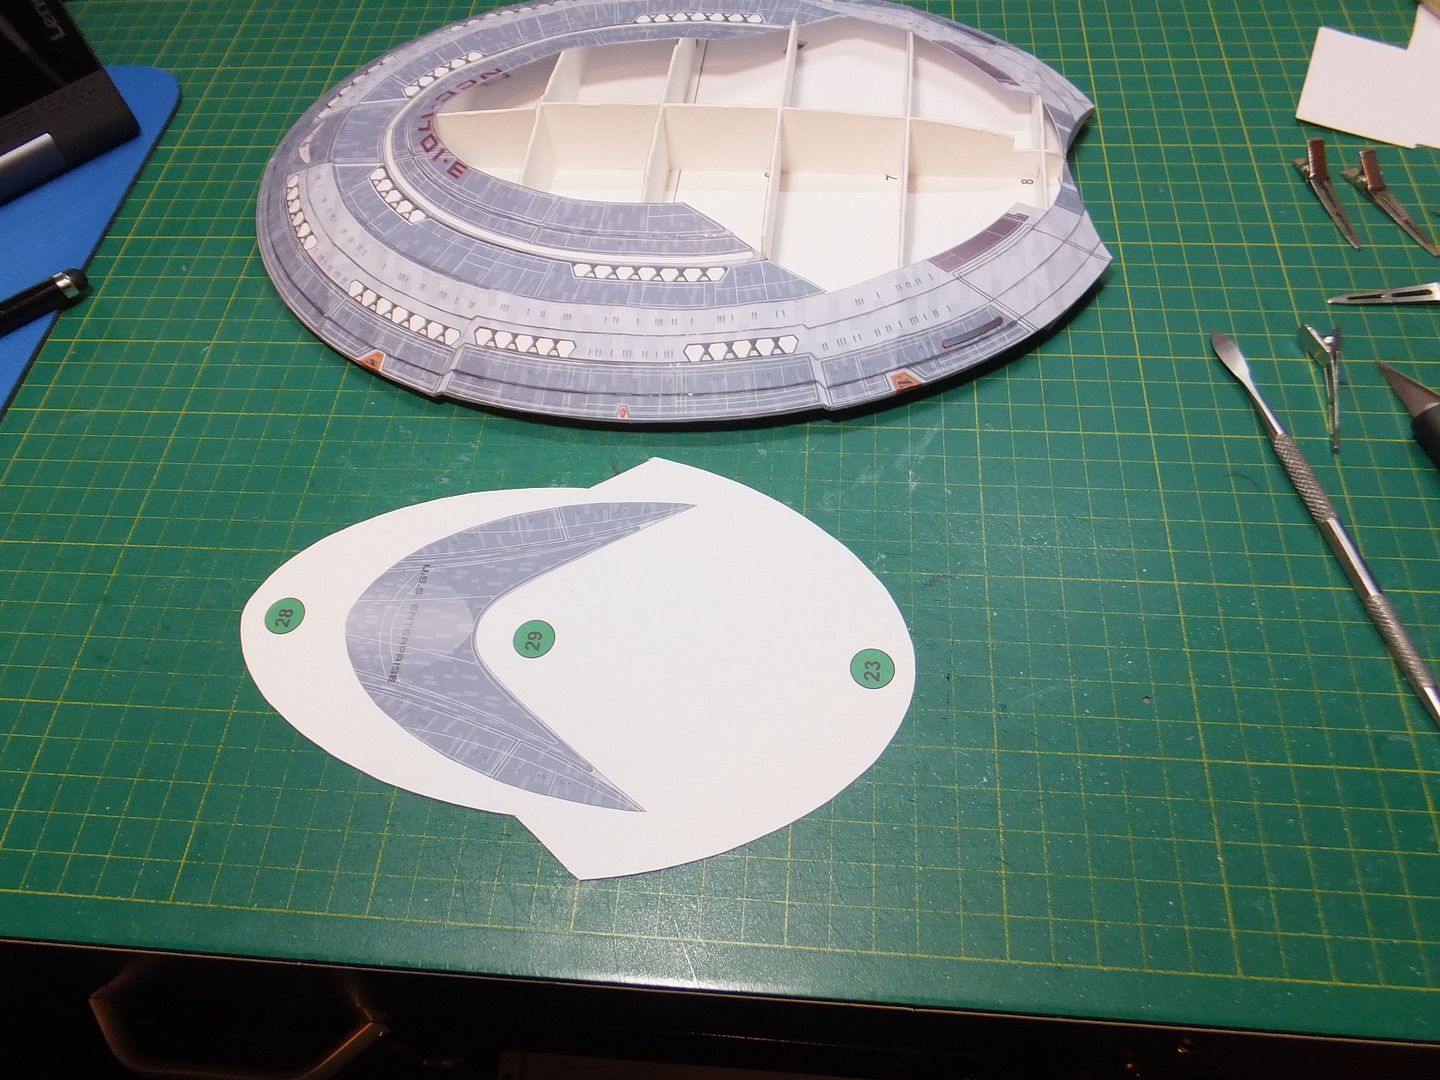
The next part will be skin 23. Since this part is at a different angle than the previous ring, and to keep it aligned with the ribs toward the centre. I used a lap joint here, rather than an edge joint. I think it looks better, since it is a more defined edge.

Saucer%20Top%2011_zpsgossxvrf.jpg


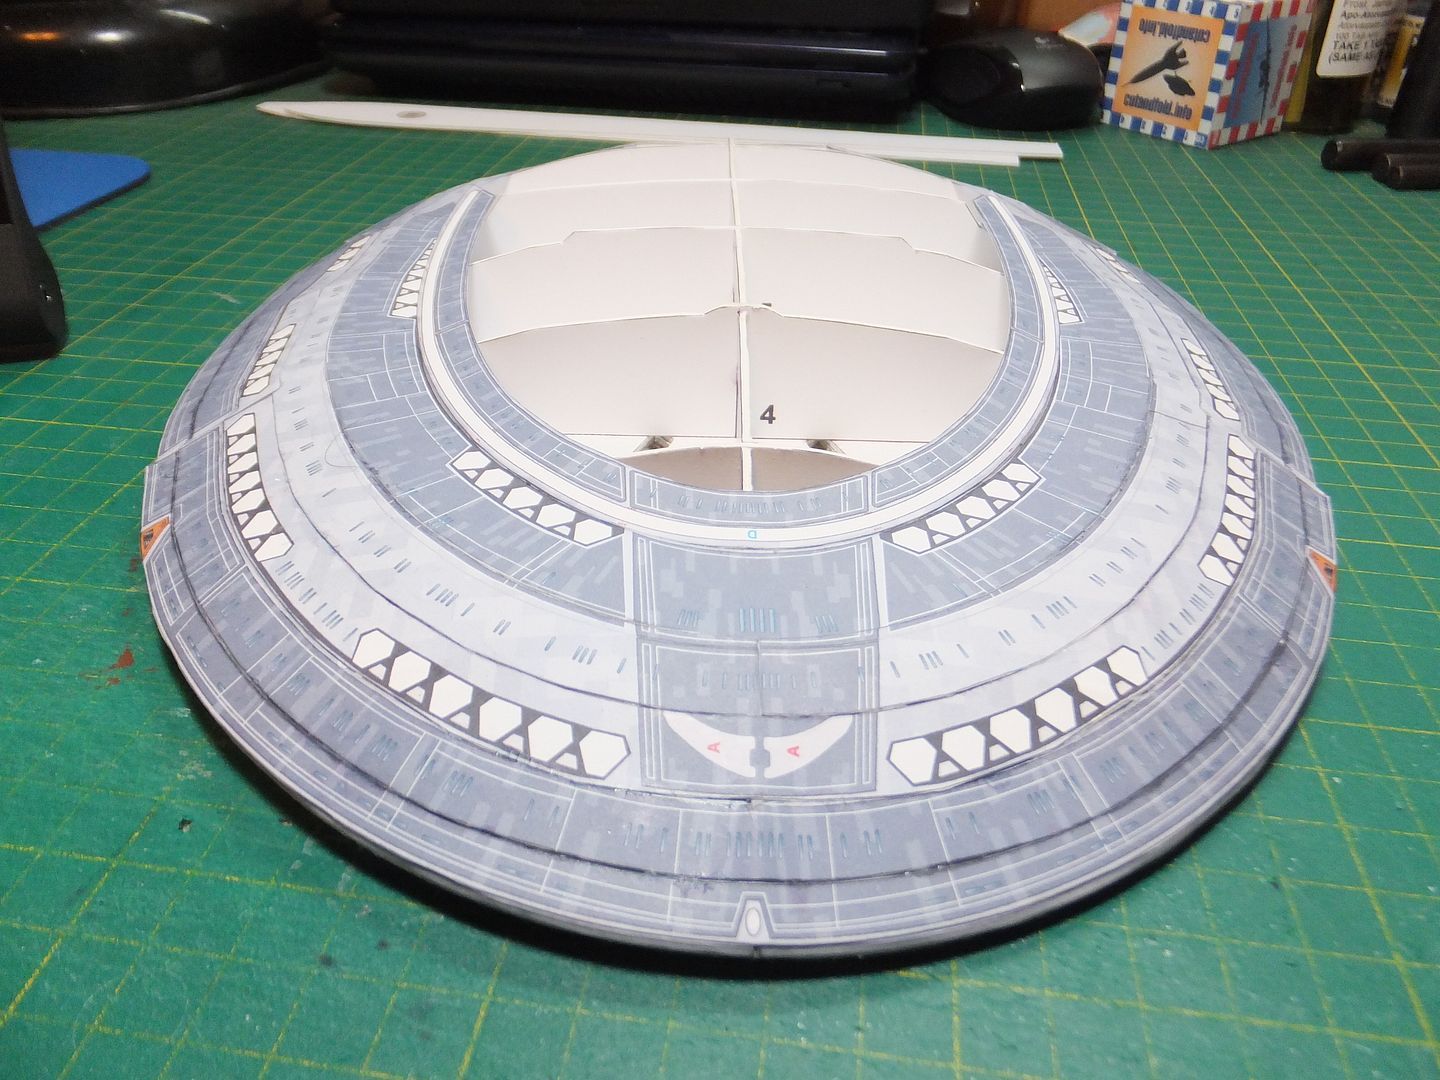
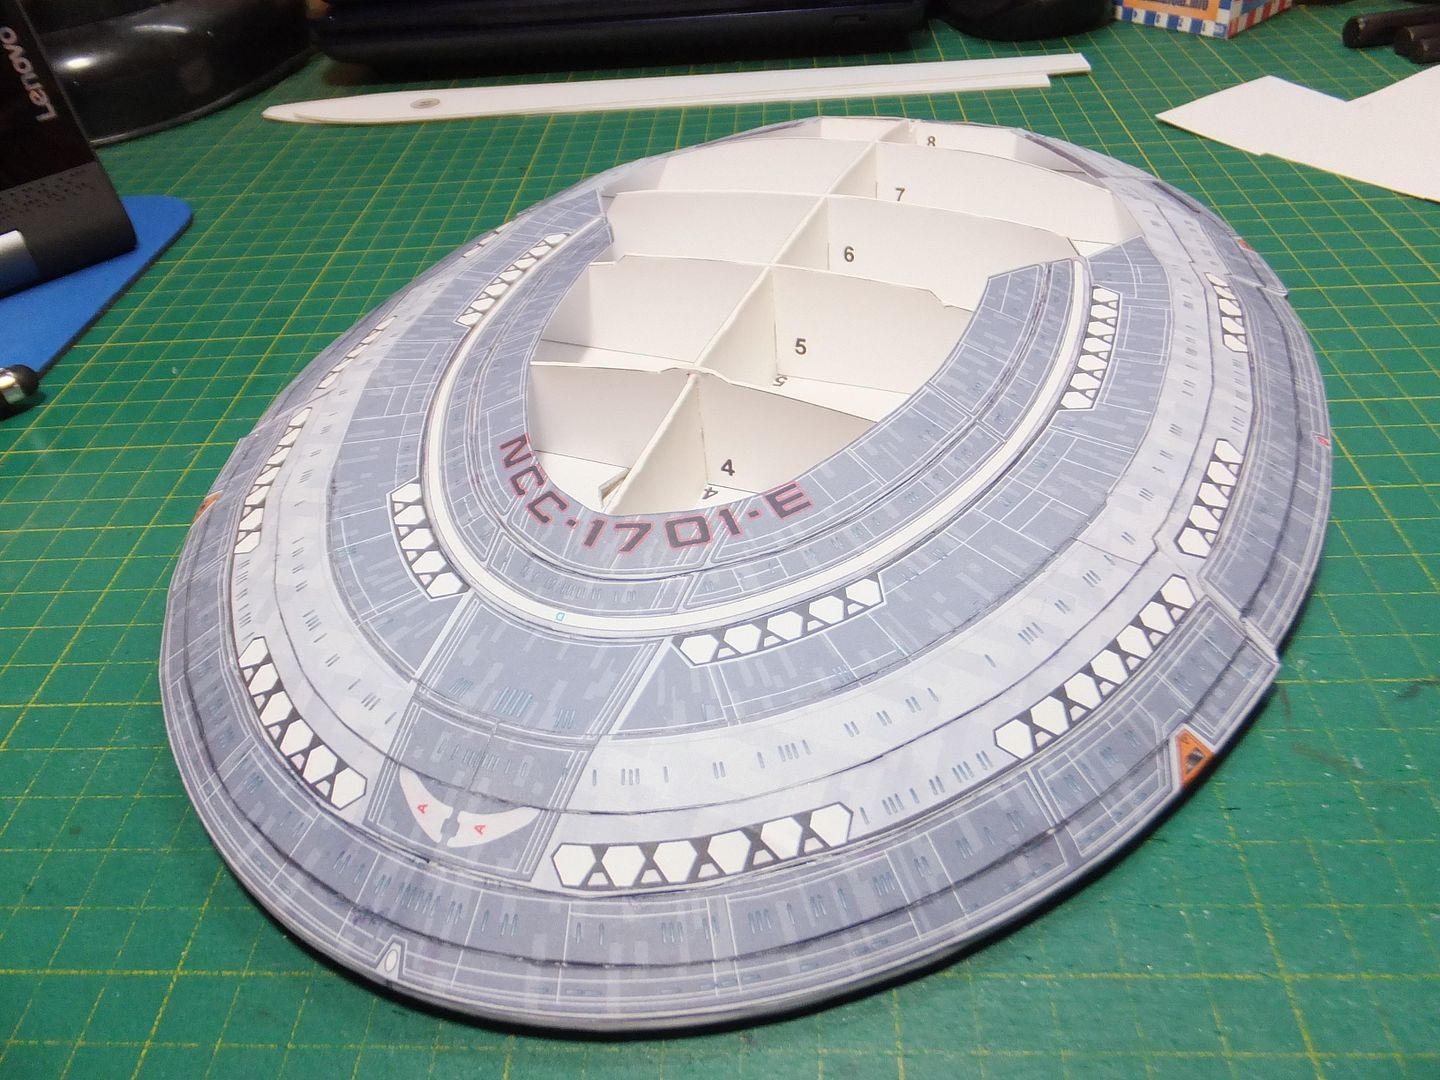
After skin 23 dried, skin 27 was then installed. Again another change in angle, but did allow for an edge glue.
Because of this angle could not use any clamps and had to manually level the edges between the ribs, till the glue set.

Saucer%20Top%2012_zpsroitf8de.jpg


Saucer%20Top%2013_zpstyukjfbx.jpg


After another upper skin is attached, I should be able to install some of the other details.

Thank you for following.
Questions and comments welcome.

Jim
 
Good evening.
Time for an update.
I've been slowly working to the point where we can close in the upper saucer.

Saucer%20Top%2014_zpskww7cka6.jpg


Saucer%20Top%2015_zpsd5h129m6.jpg


Saucer%20Top%2016_zpsm1tblocq.jpg


Saucer%20Top%2017_zpsldkxr02c.jpg


Saucer%20Top%2018_zpsnaj5ydde.jpg


At this point I thought it would be a good idea to add more of the surface details.

Saucer%20Top%2019_zps8zm86qox.jpg


With those out of the way, it was time to start on the first command deck.

Saucer%20Top%2020_zps1qzkw4uz.jpg


Saucer%20Top%2021_zpsb6bmnamf.jpg


Saucer%20Top%2022_zpsmaqzez3q.jpg


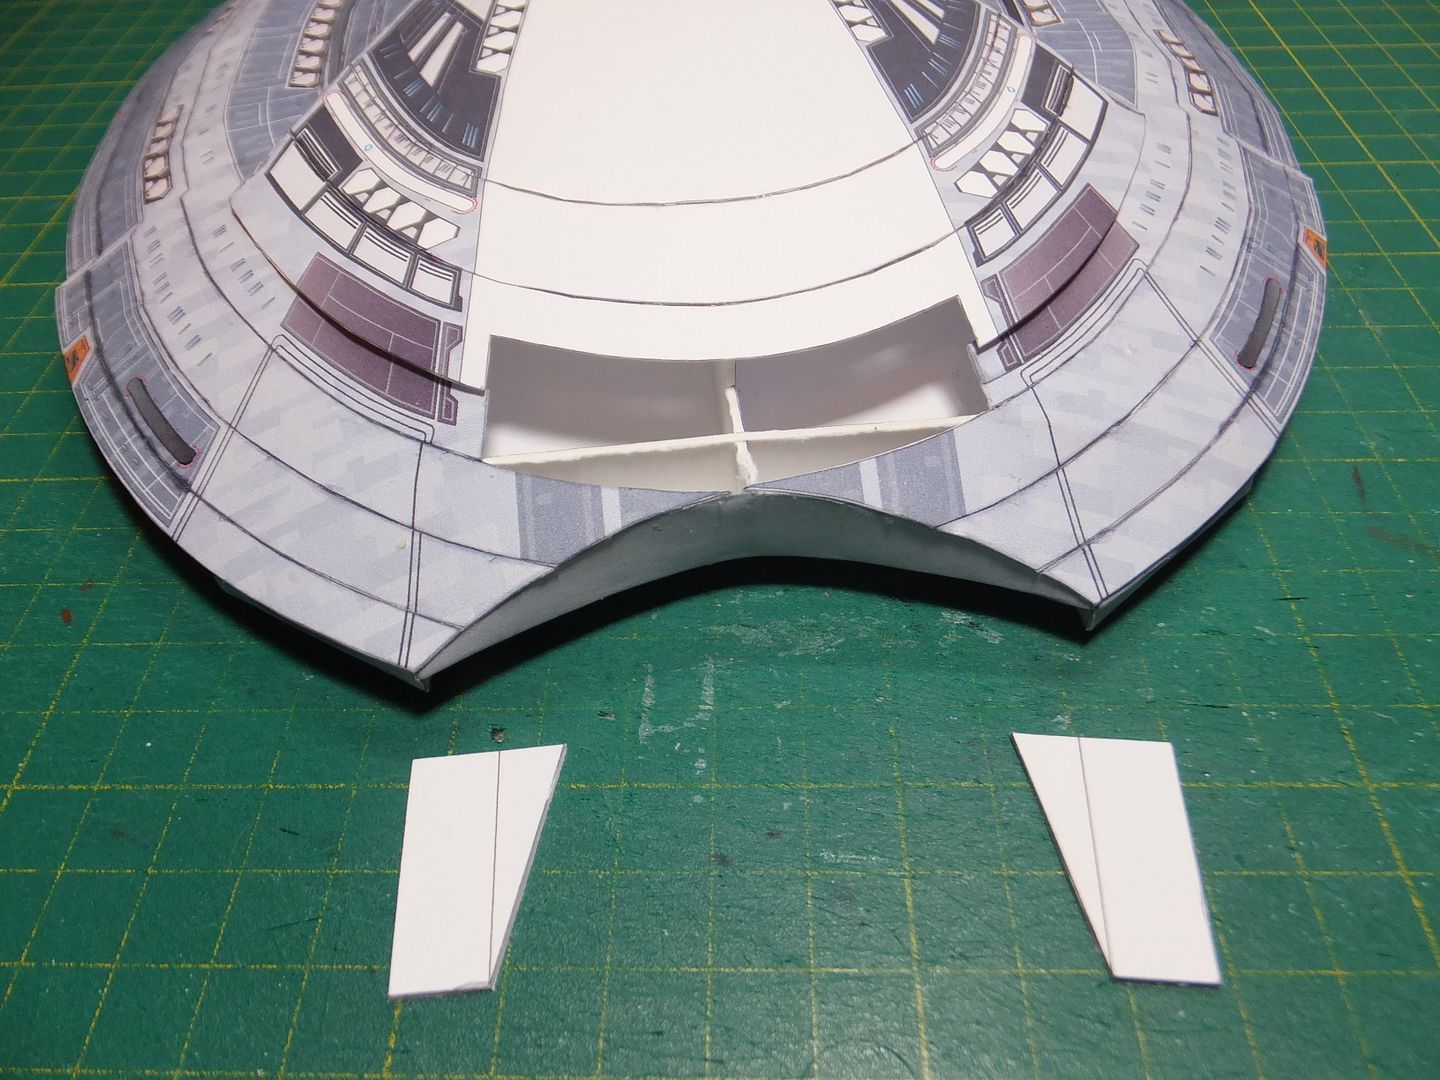
Before the back of this deck can be sealed down. Two supports, which were layered onto thicker card had to be installed along the edge of the opening for the hanger bay.

Saucer%20Top%2023_zpsct8rxsyv.jpg


The back could now be glued down.
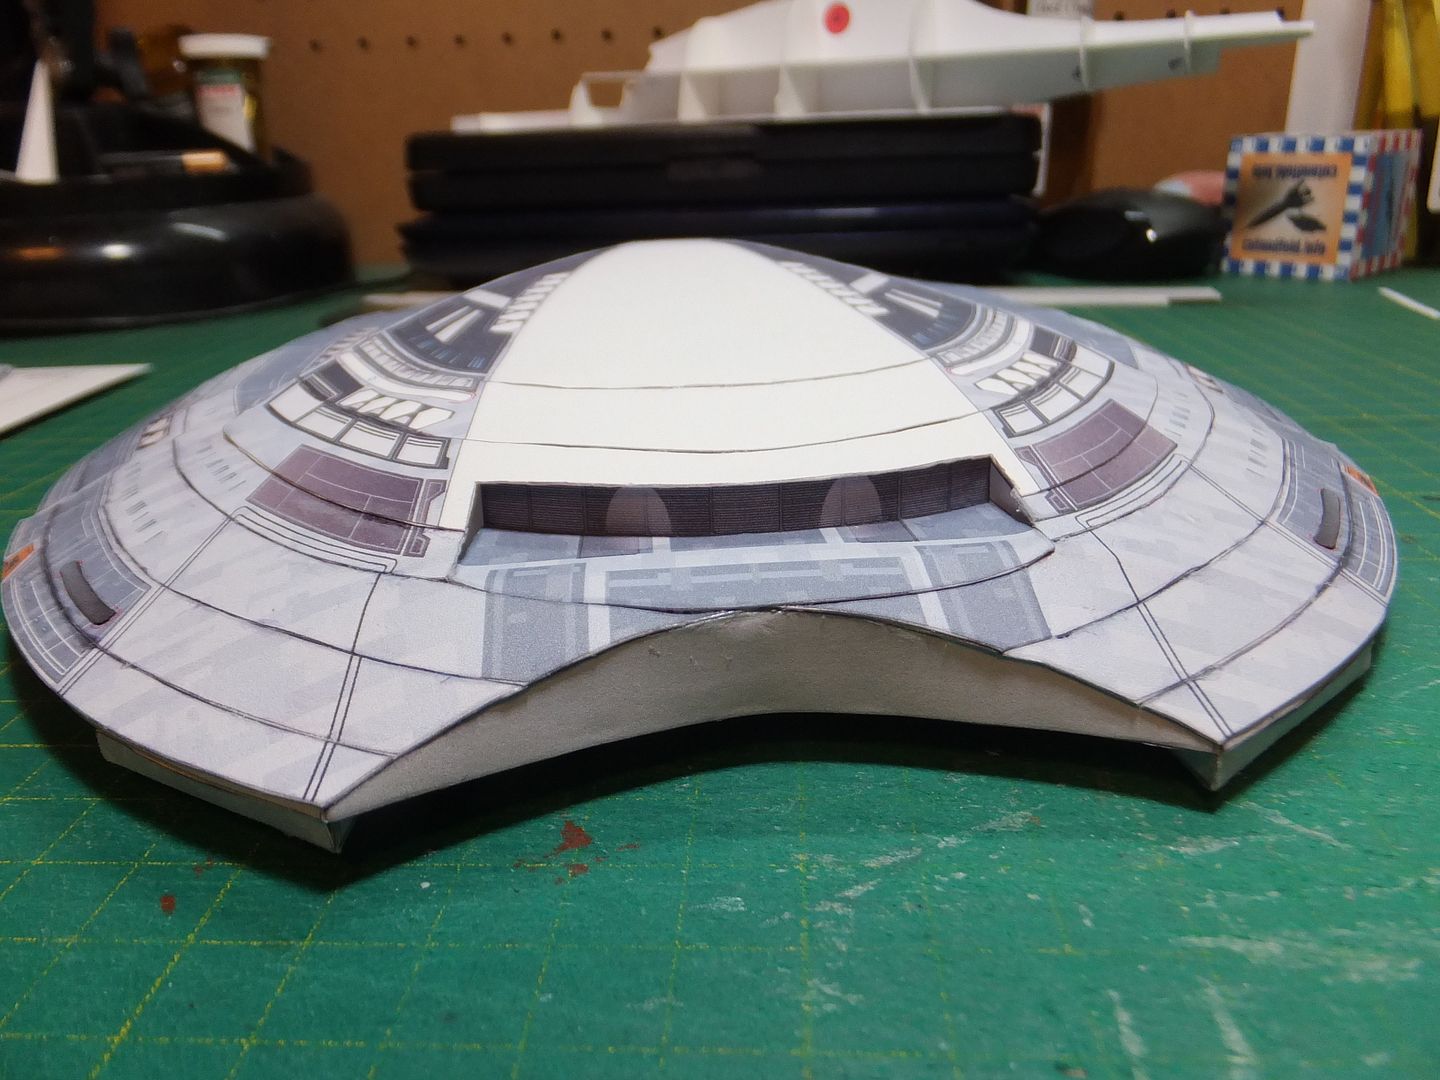
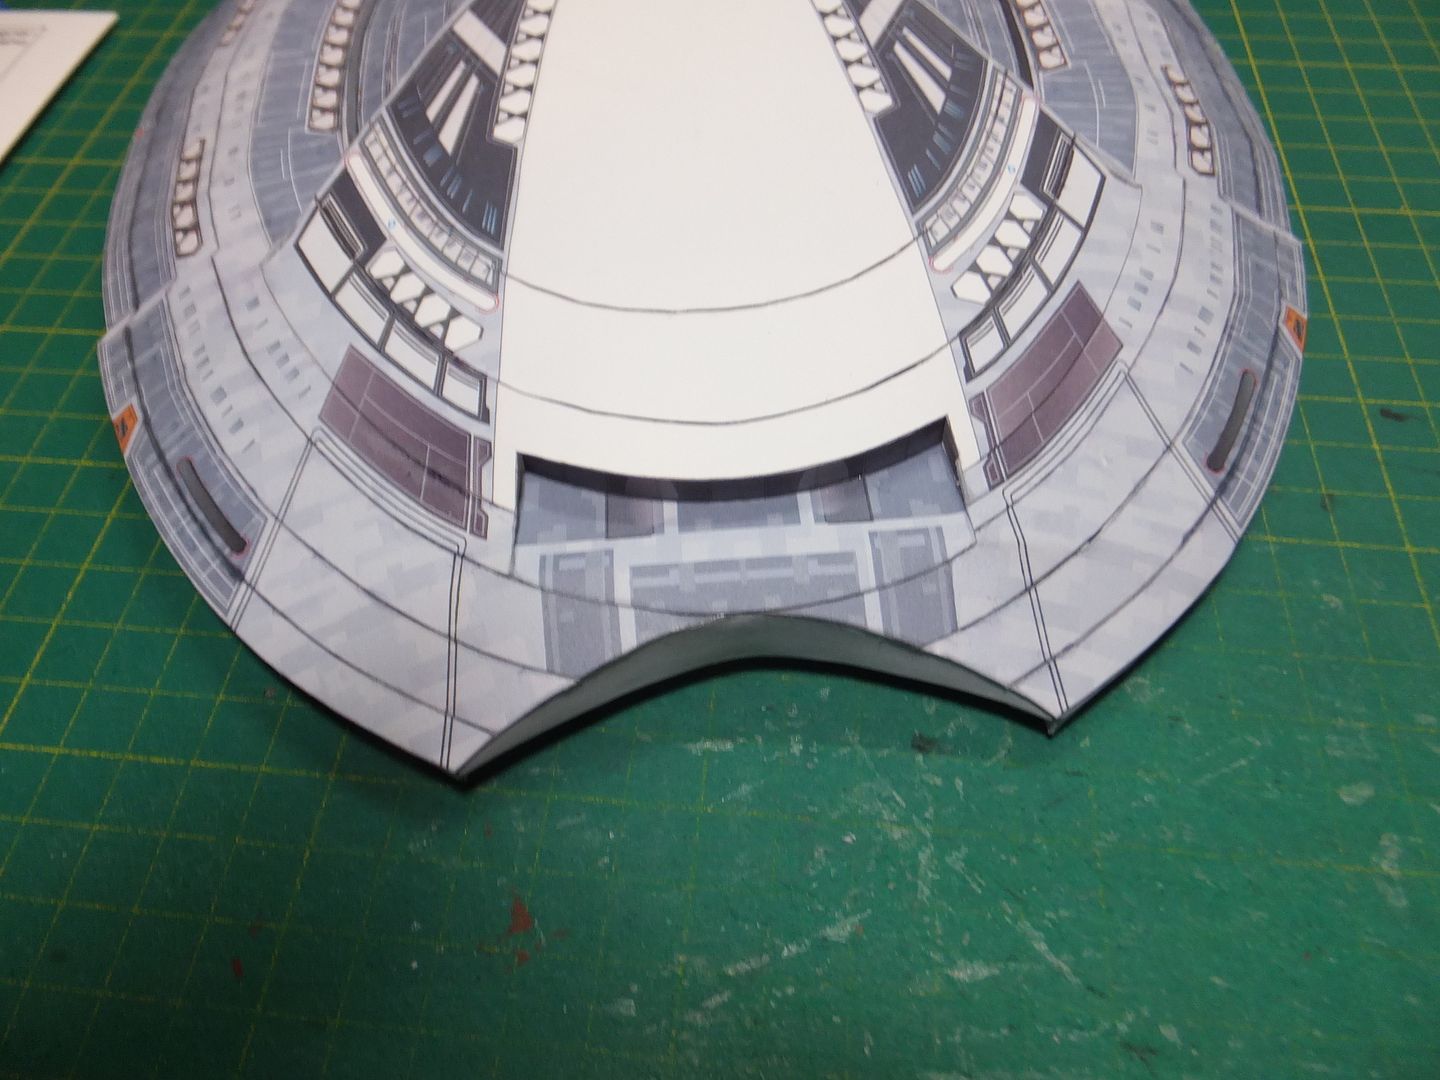
This next bit became a bit of a puzzle, the hanger bay and it's associated pieces around it. I spent 2 days working out the logistics.
The graphic for the back of the bay had to have the slot lengthened up to the graphic, inorder for it to fit in.
Next applied a thin strip of card along the bottom of the graphic to support the hanger deck. The back piece was then shaped and the hanger deck glued to the back piece.
When dry this assembly was then inserted into the hanger bay opening, only gluing the deck itself down.

Saucer%20Top%2024_zps28l5igpu.jpg


Saucer%20Top%2025_zpsy69hx3xo.jpg


The other thing I did was to draw in the missing lines where the engines go.

Saucer%20Top%2026_zpsdxugxvxi.jpg


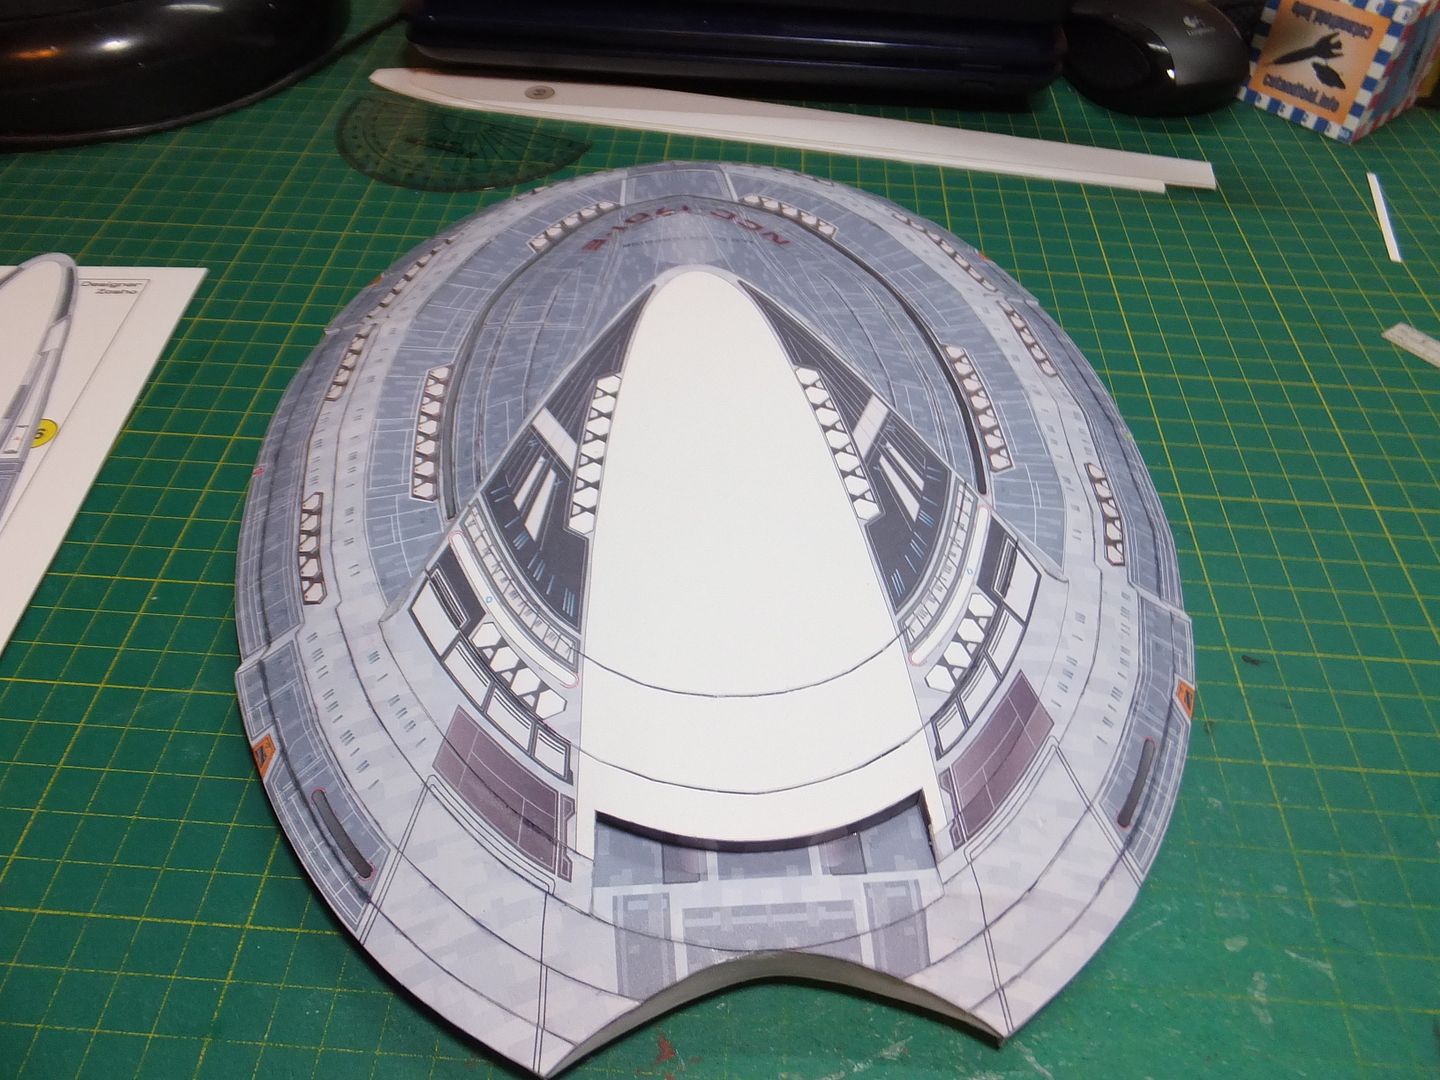
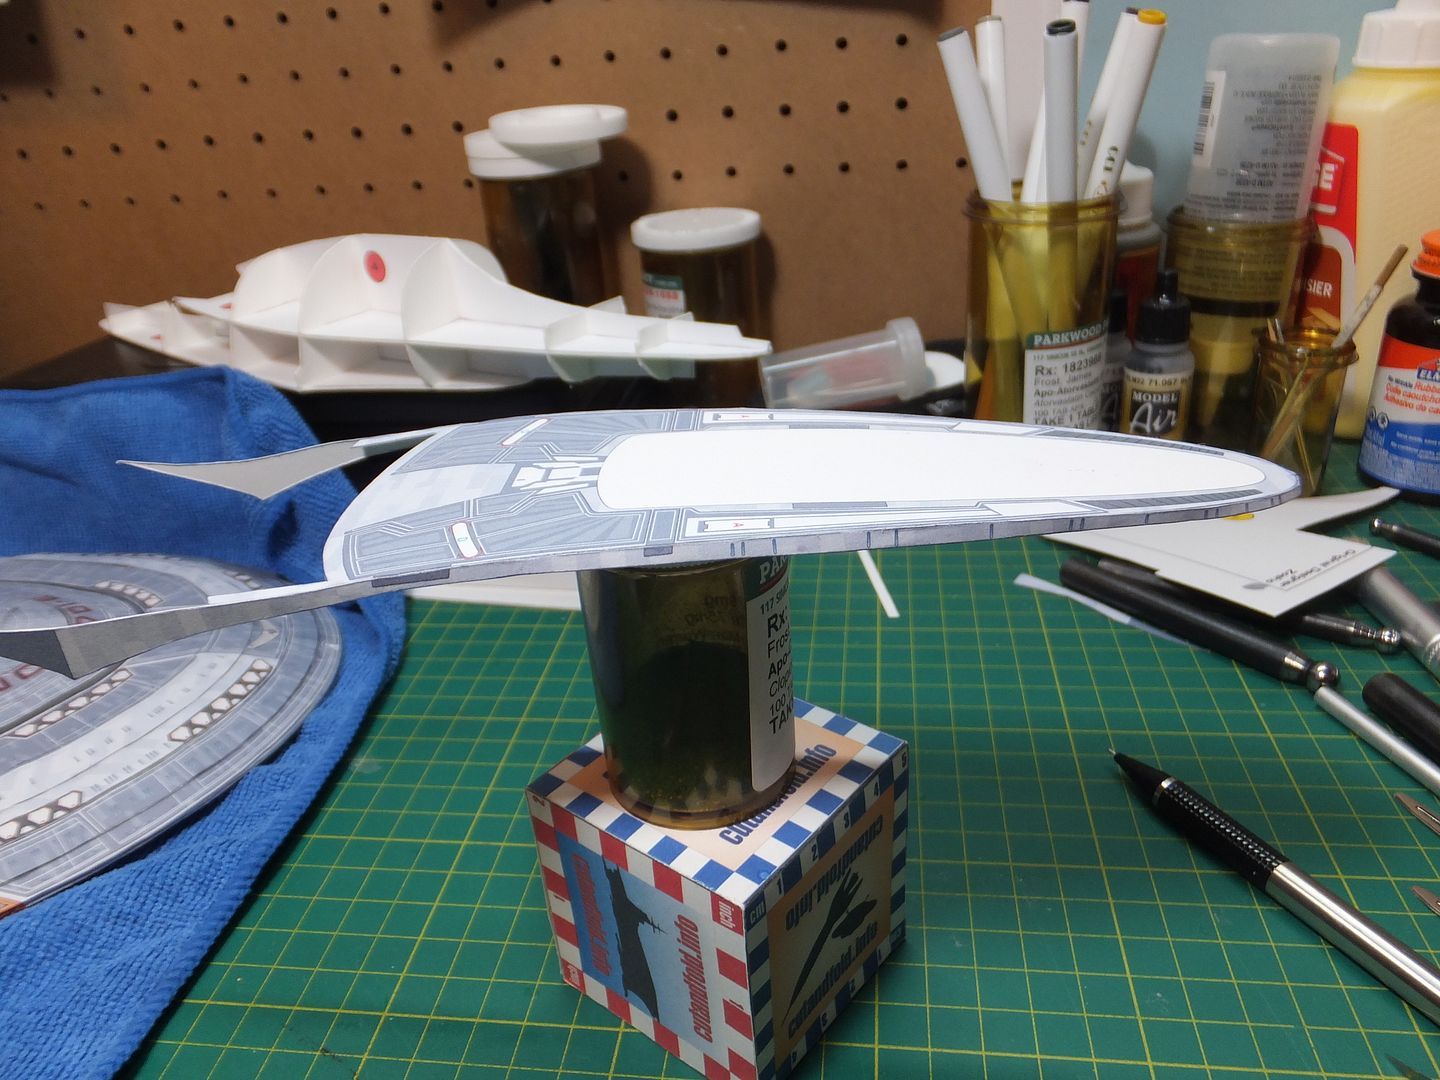
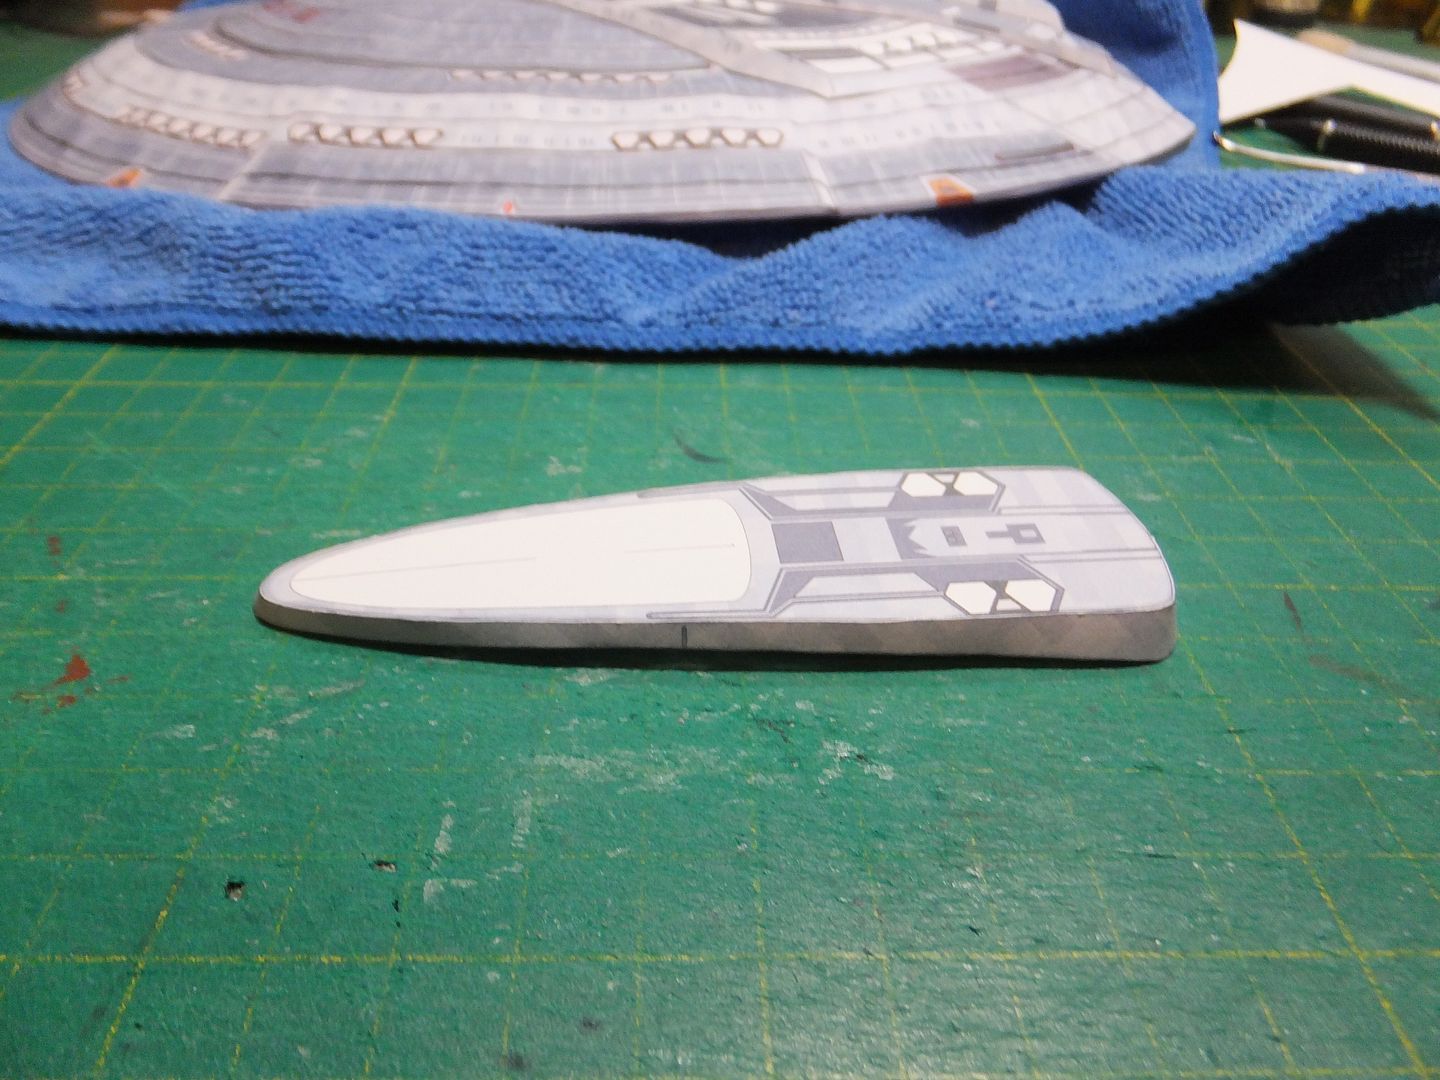
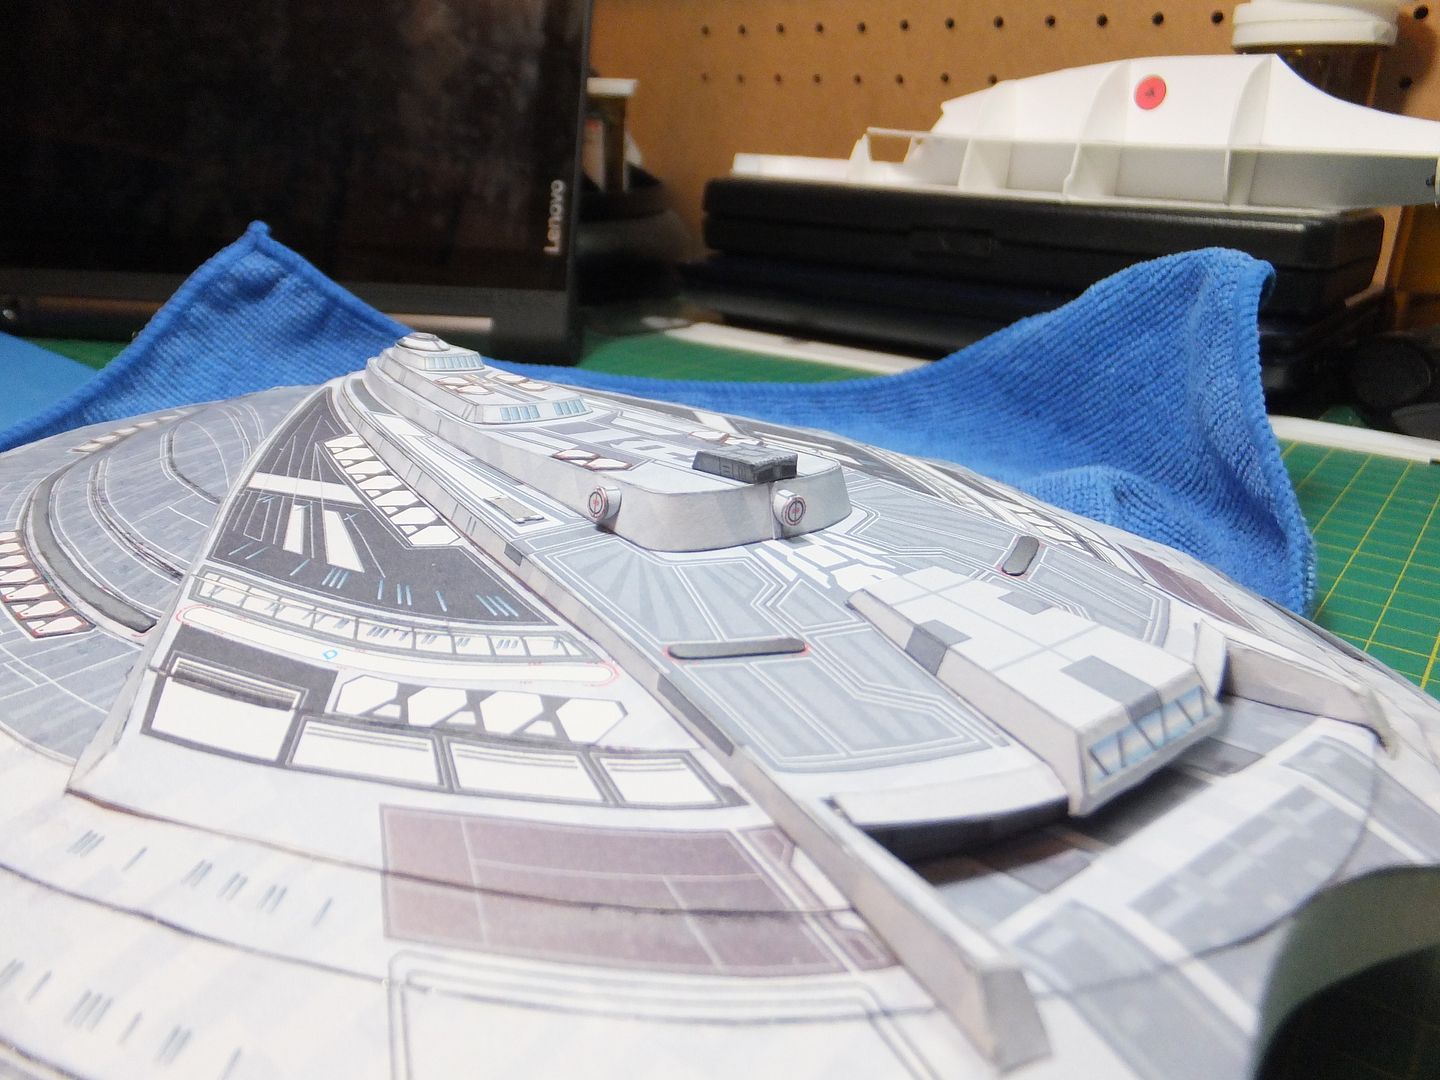
On to the 2nd command deck. Some thing here bothered me. Upon looking at the studio model, the side wall over hang was too long. It should end just past the hanger. So it was cut back.

Saucer%20Top%2027_zpscxeh0eqx.jpg


Then proceeded to install the side walls. I will cut these back after they dry.

Saucer%20Top%2028_zpsaysevfhy.jpg


Saucer%20Top%2029_zpsui5hh1hc.jpg


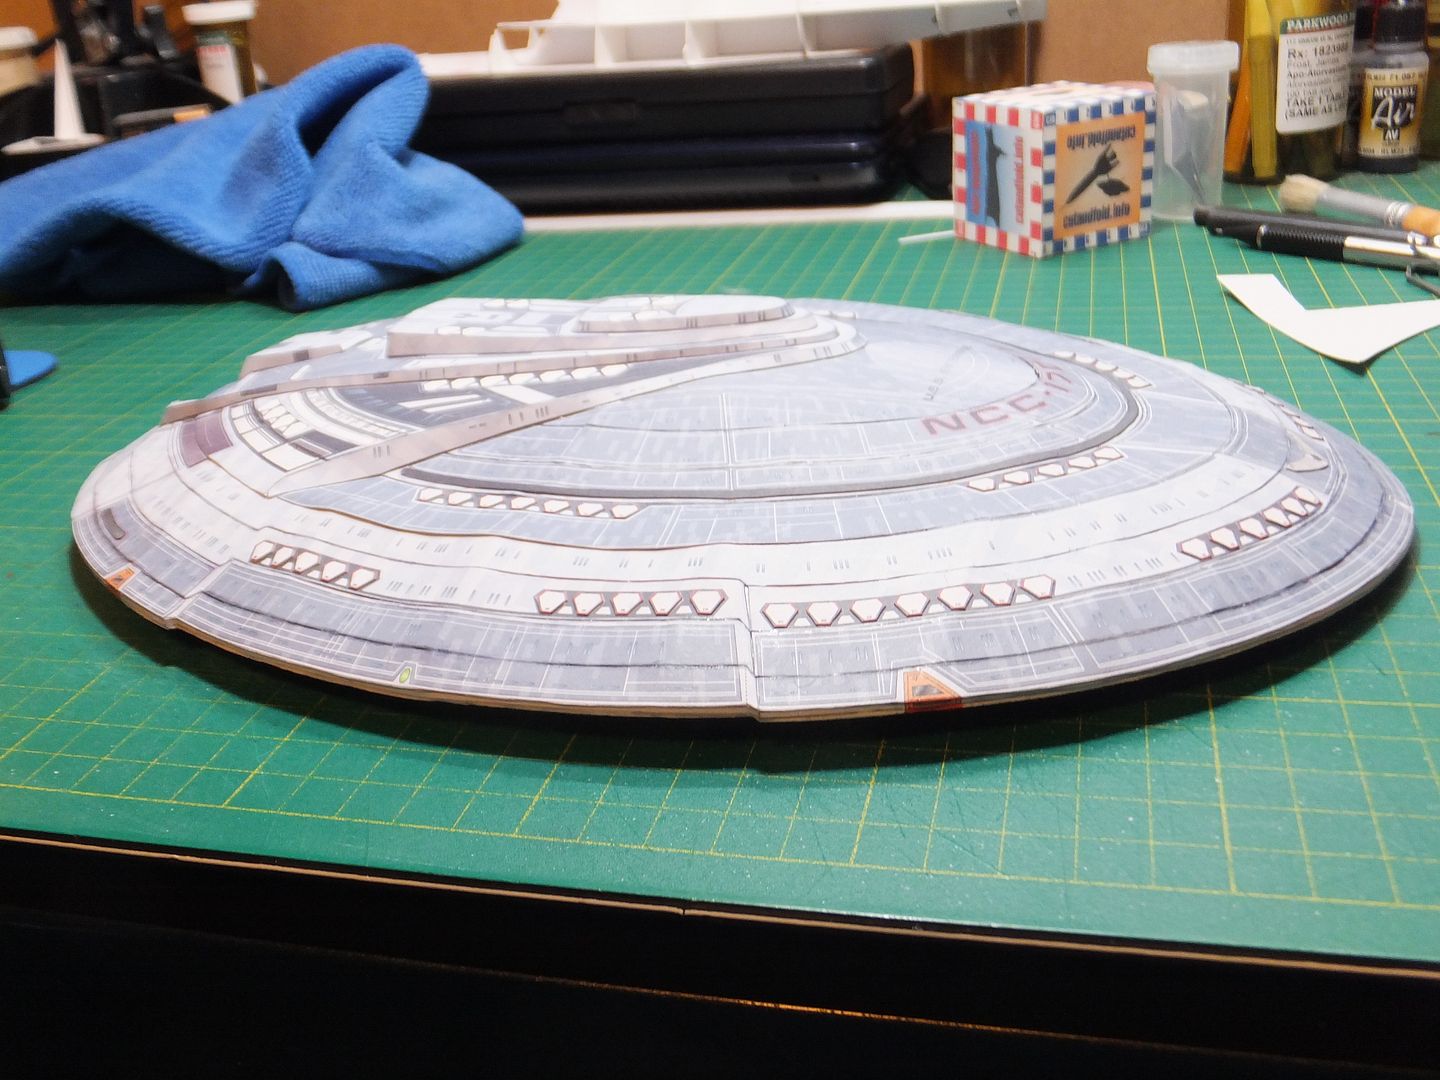
This is where I am at tonight.

Thank you for following.
Questions and comments welcome.

Jim
 
Good evening.
It's time for another update.

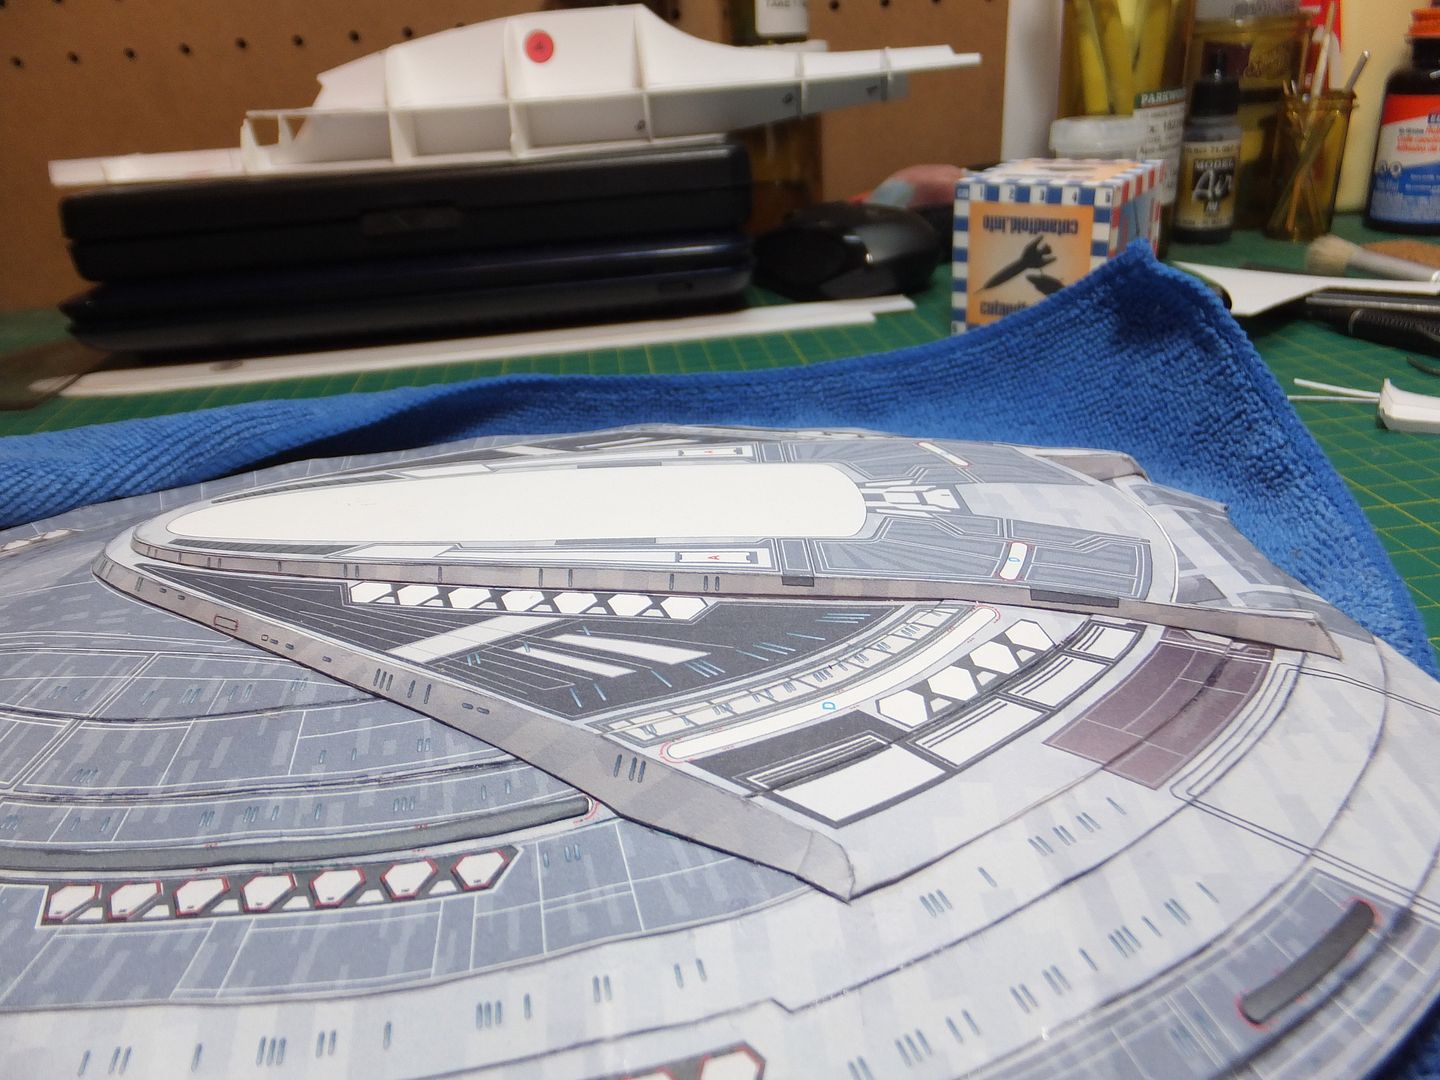
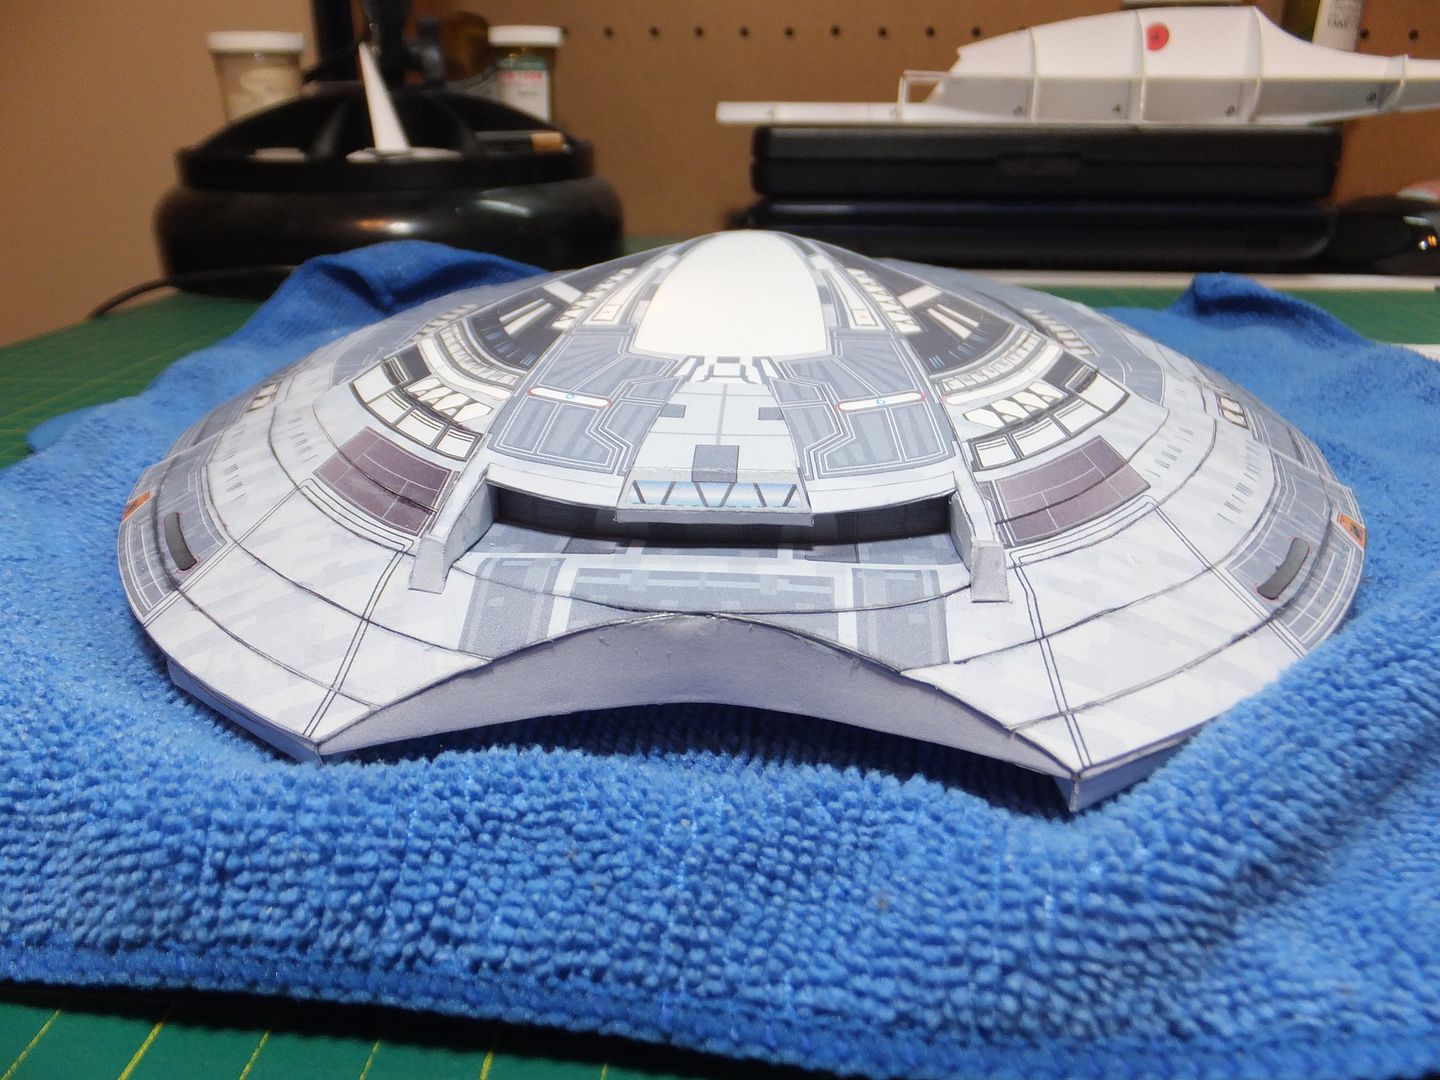
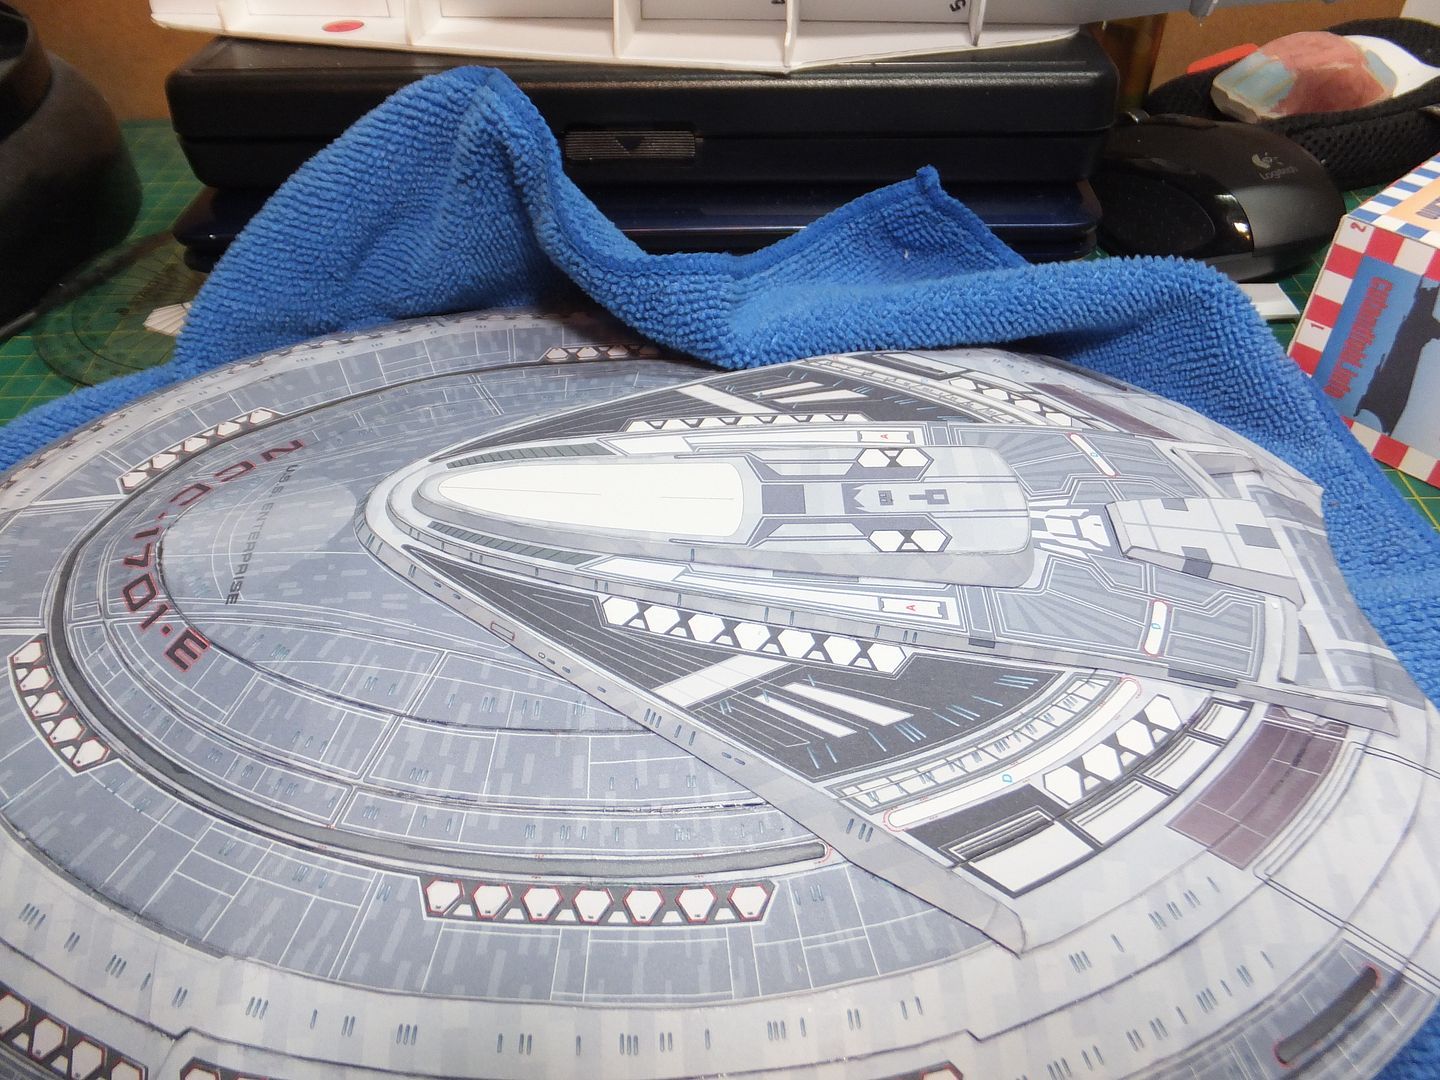
Cut back the ends of the 2nd command deck and installed it in place. When dry the side walls of Shuttle Bay 1 were installed and the ends finished off.

Saucer%20Top%2030_zpsollaqmkg.jpg


Saucer%20Top%2031_zpszvnxphbt.jpg


The overhang for the shuttle bay and the observation deck for the shuttle bay were constructed and installed.
The obs. deck needs to be installed before the overhang dries, to get the fit and angle right.

Saucer%20Top%2034_zpsfajt9ywd.jpg


Saucer%20Top%2035_zpsohdeqdiq.jpg


Saucer%20Top%2036_zpsjeyvhhuj.jpg


Next up was the construction and installation of the 3rd command deck. No major issues here.

Saucer%20Top%2037_zpsew6nprmn.jpg


Saucer%20Top%2038_zpsuspguo5s.jpg


Saucer%20Top%2039_zpsbubtxwy7.jpg


Saucer%20Top%2040_zpseipm7p9v.jpg


We repeat the process with the 4th command deck.

Saucer%20Top%2041_zpswe9fws5v.jpg


Saucer%20Top%2042_zpsaagipuyo.jpg


Saucer%20Top%2043_zpshotp2tf9.jpg


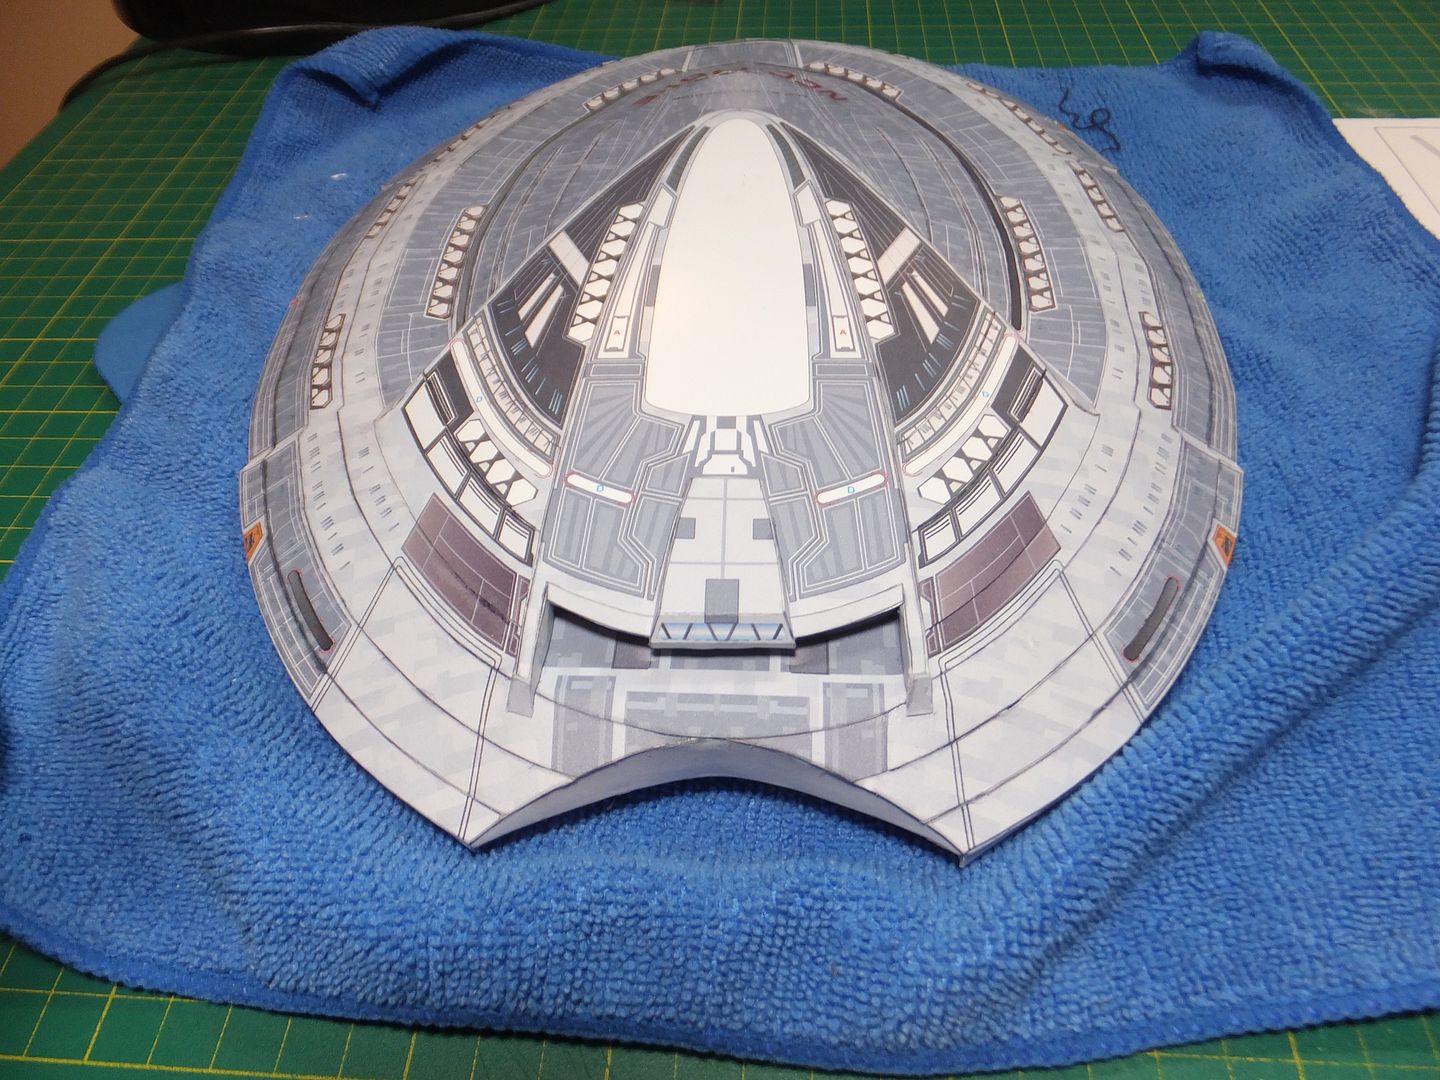
The last deck components to be assembled and go on, were the Bridge and the Aft Torpedo Bay to the 4th & 3rd Cmd decks.
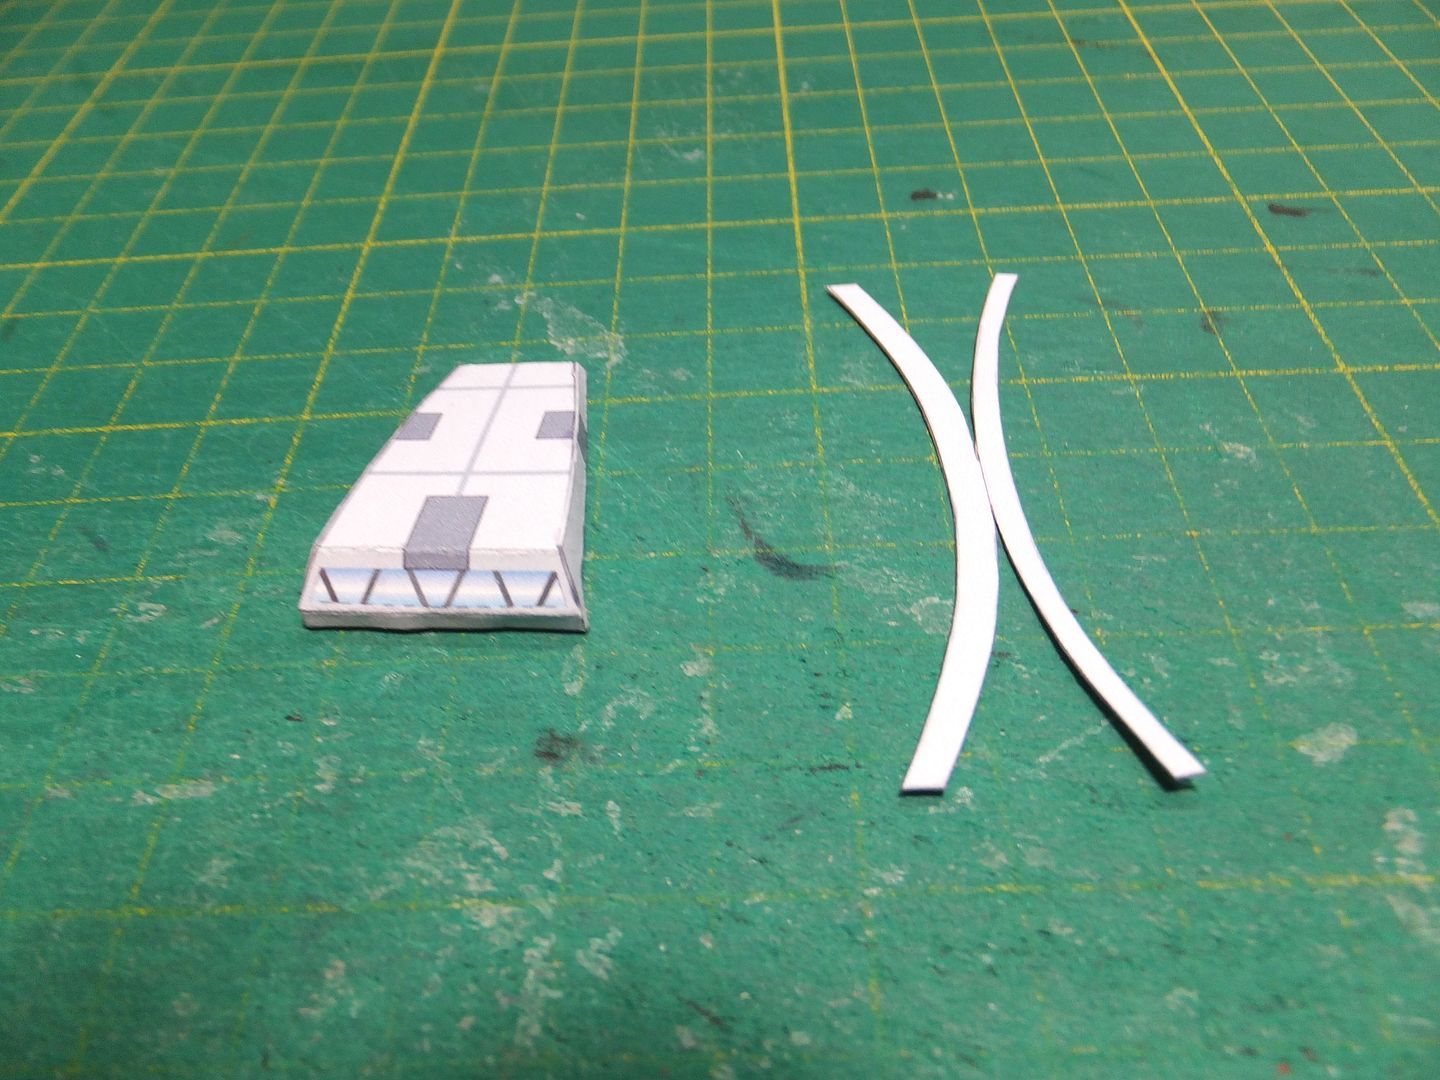
One error on the torpedo bay was a missing fold line. Actually it was there but in the wrong location. Easy fix.

Saucer%20Top%2045_zps1rhynezk.jpg


Saucer%20Top%2047_zps1ssu3mbe.jpg


Now on to some of the extra details.
First up are the docking ports for the 3rd Cmd deck.

Saucer%20Top%2048_zpsxxqysglq.jpg


Saucer%20Top%2049_zpspauwe44i.jpg


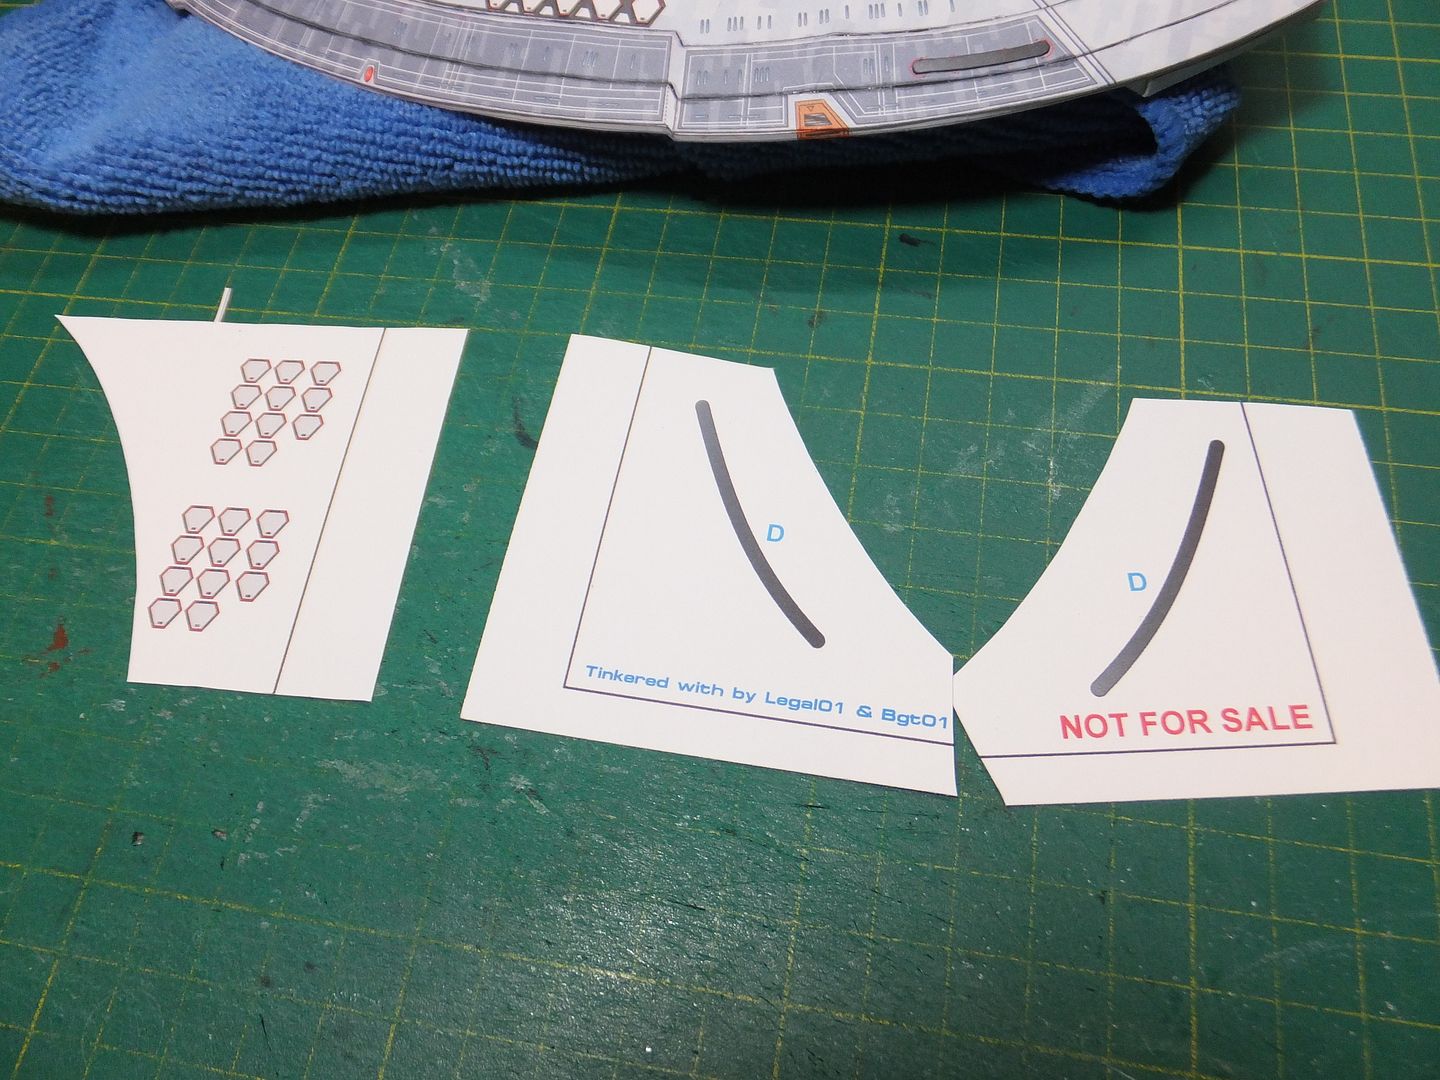
Then to install the rest of the Phaser arrays, some Hatches and the Escape Pods.

Saucer%20Top%2050_zpslfcl6hy6.jpg


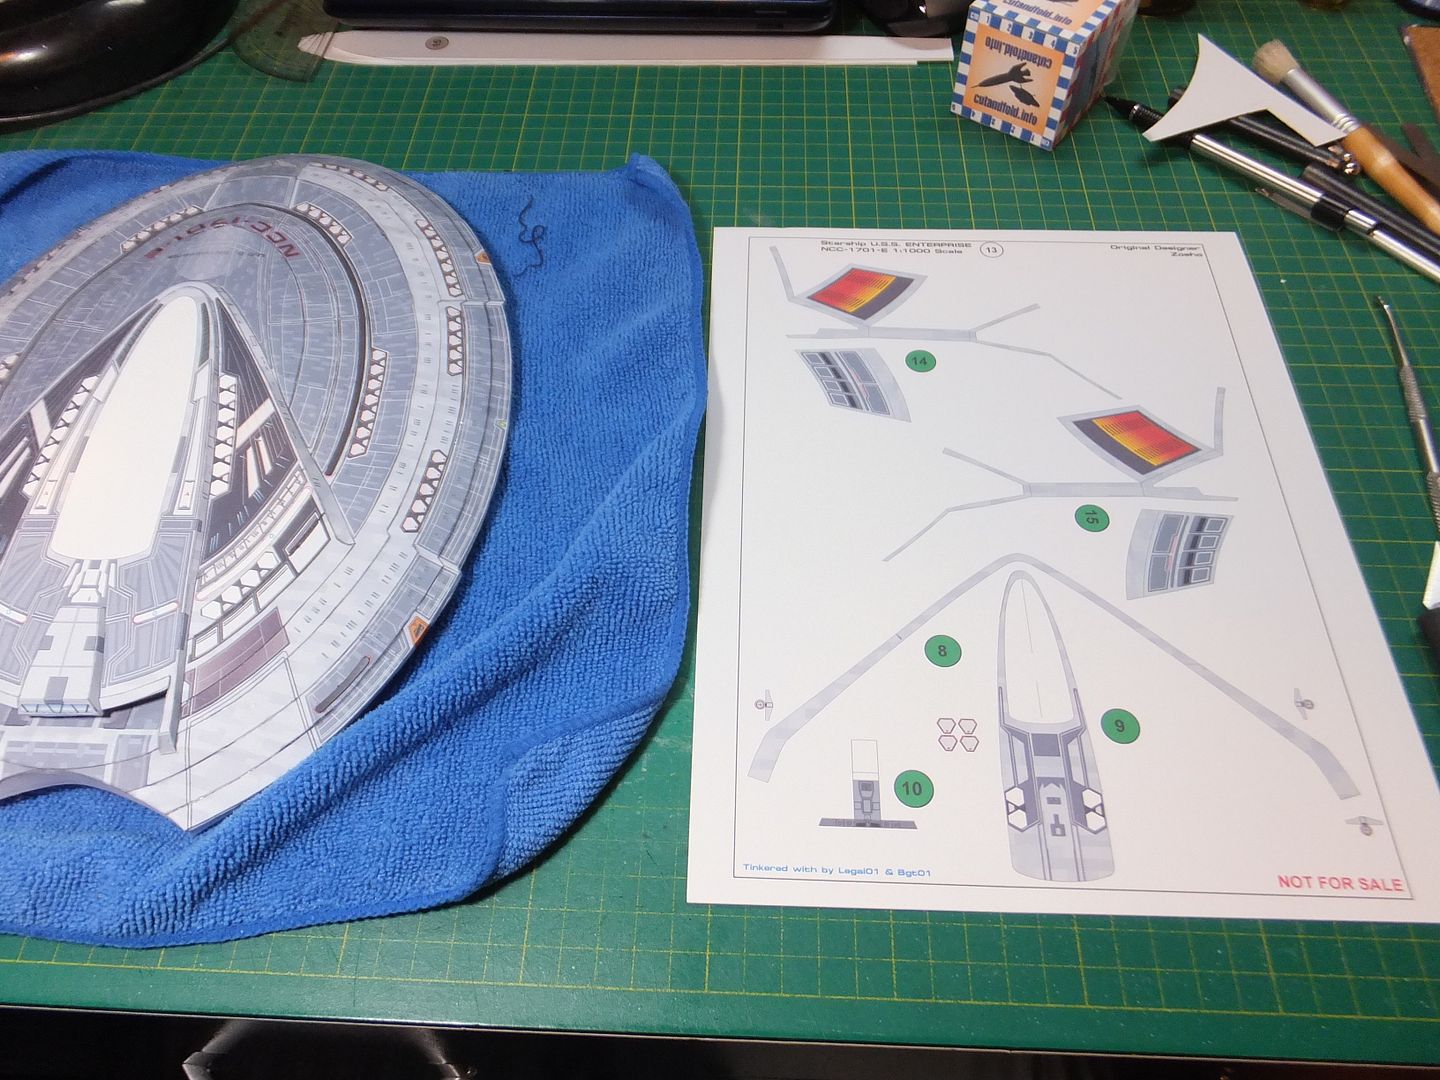
With those all installed, all that is left are the two Engines and the saucer section will be finished.

Saucer%20Top%2051_zpsyxlppyjw.jpg


Saucer%20Top%2052_zpstj1fcsqj.jpg


Saucer%20Top%2053_zpsdy6146rl.jpg


Saucer%20Top%2054_zpsmqgh0lw9.jpg


Saucer%20Top%2055_zpsancl8dfs.jpg


Saucer%20Top%2056_zpsmkbupdiw.jpg


I've started work on the engines and should have them up in a couple of days. Then we can move on to the Secondary Hull.

Thank you for following.
Questions and comments welcome.

Jim
 
We're getting there Patrick.
With this build, I think the saucer is the most complicated and will soon have it out of the way.

Jim
 
Good evening.
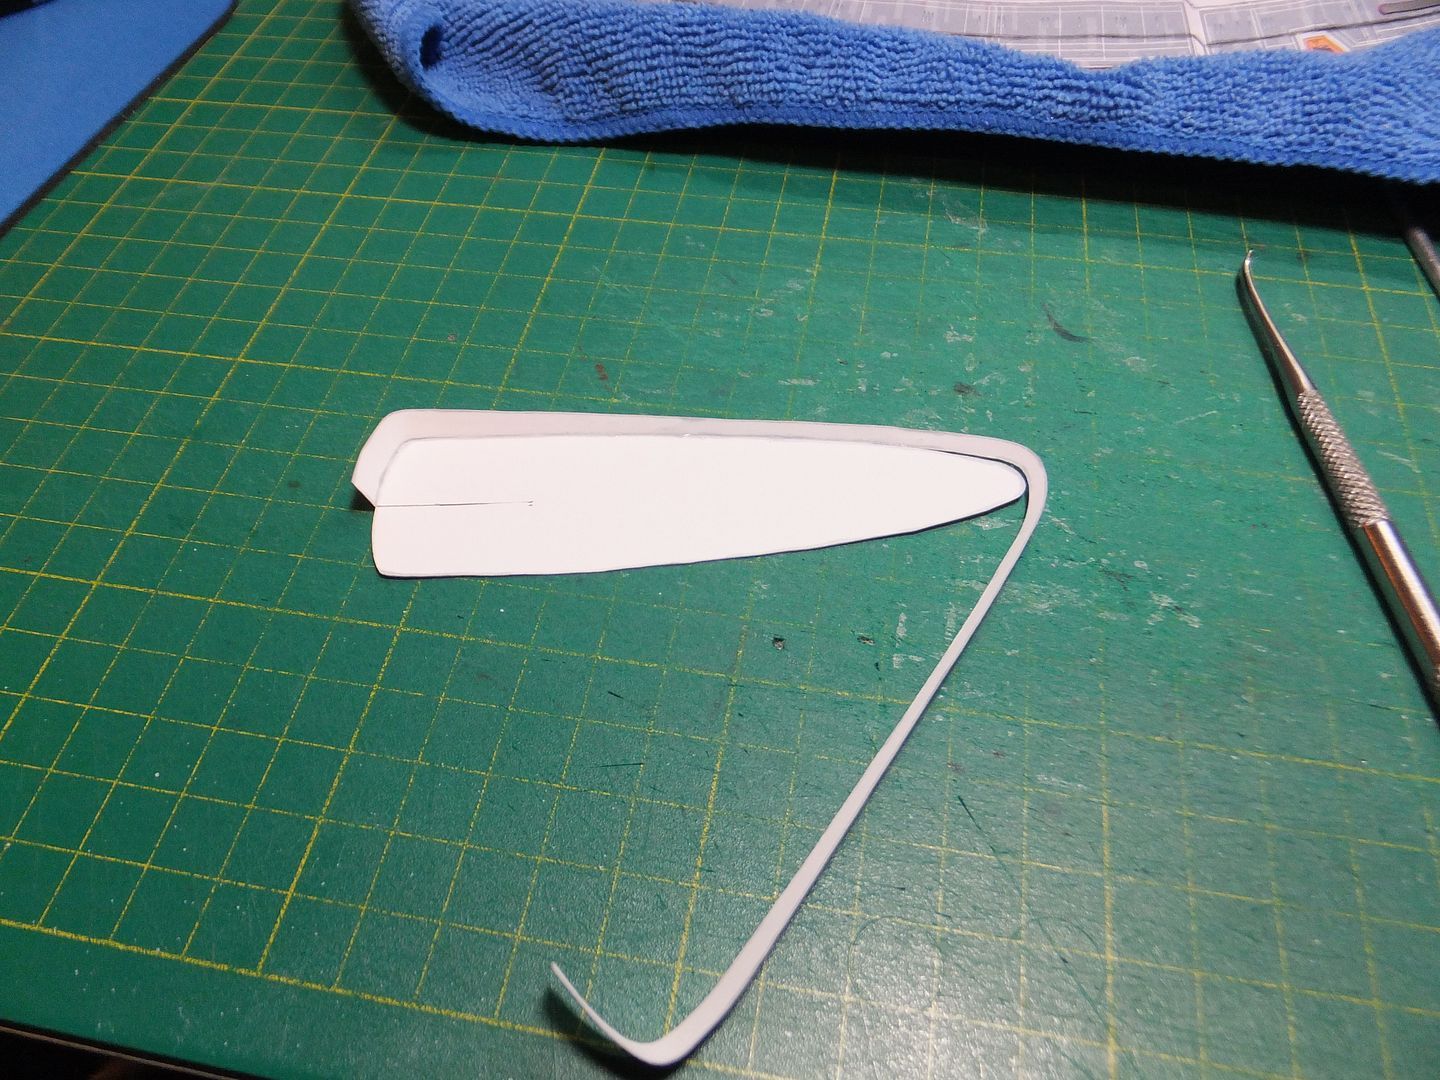
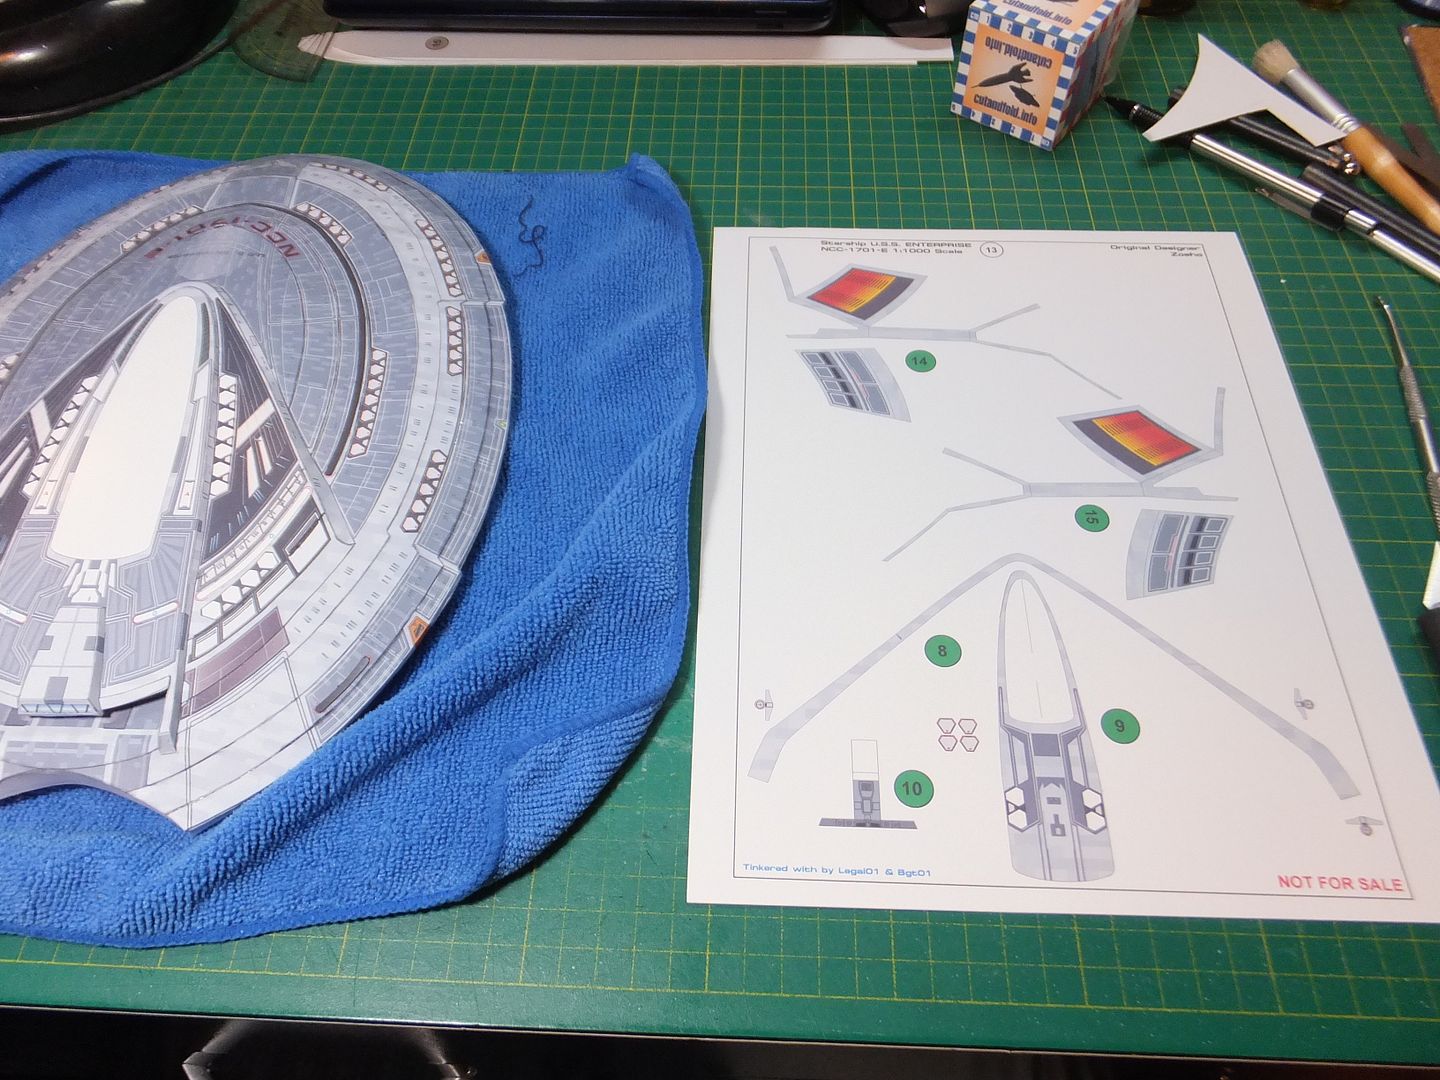
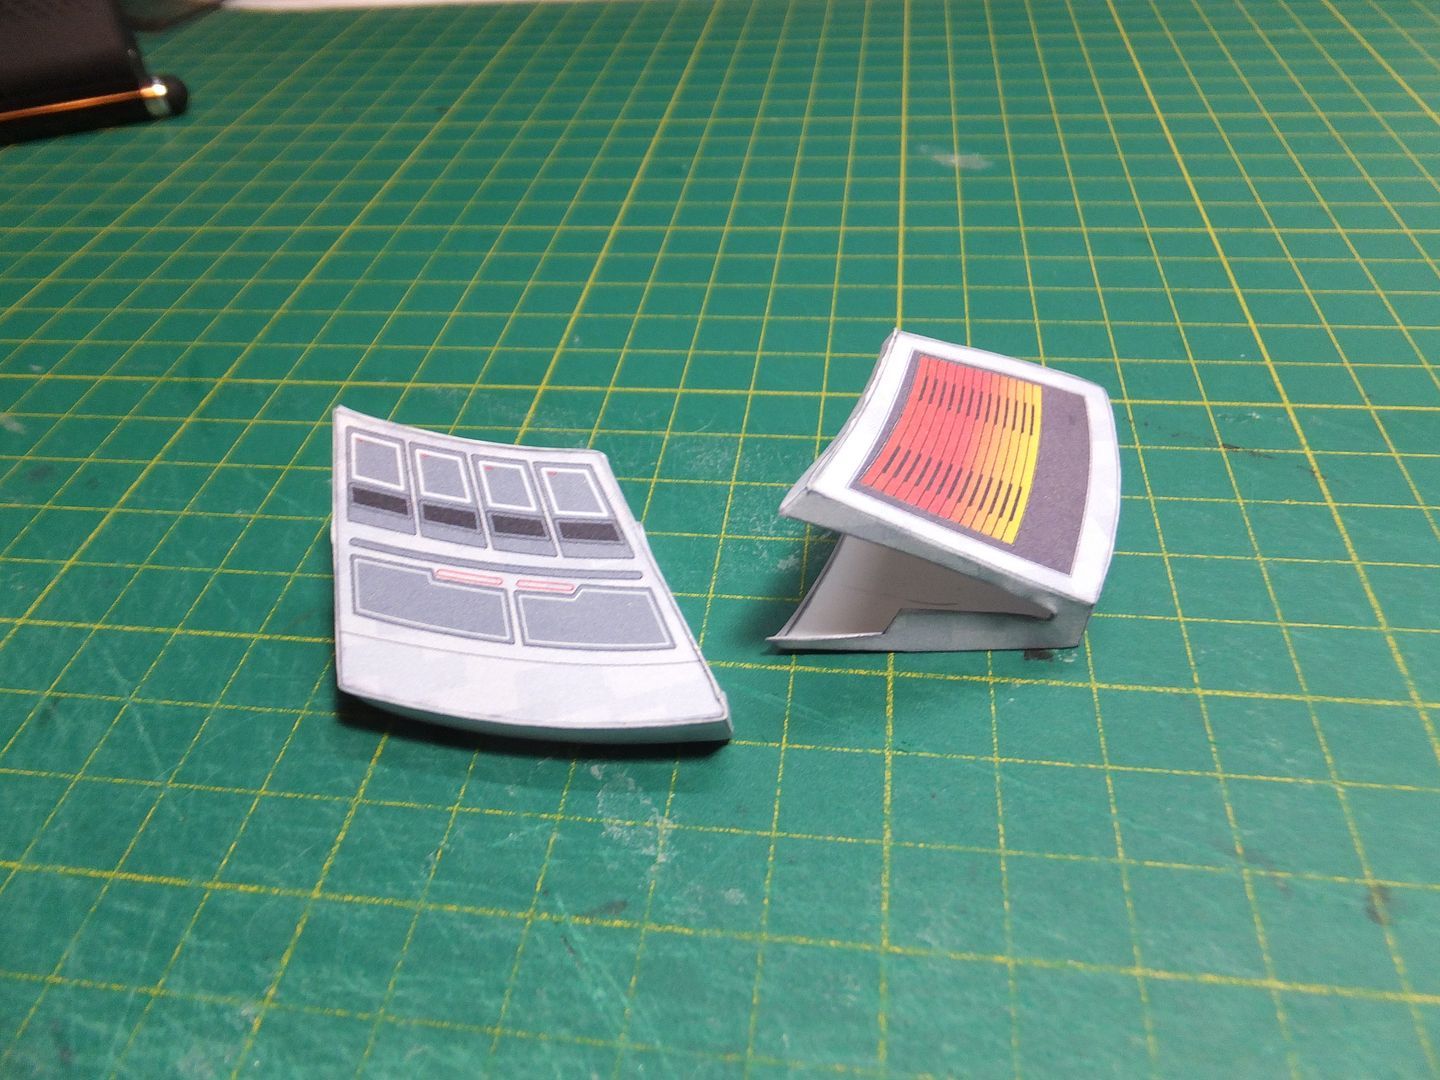
Today finished assembling the engines for the saucer. No issues, they were a straight forward build.

Saucer%20Top%2037_zpsew6nprmn.jpg


Saucer%20Top%2057_zpsxagdm2xq.jpg


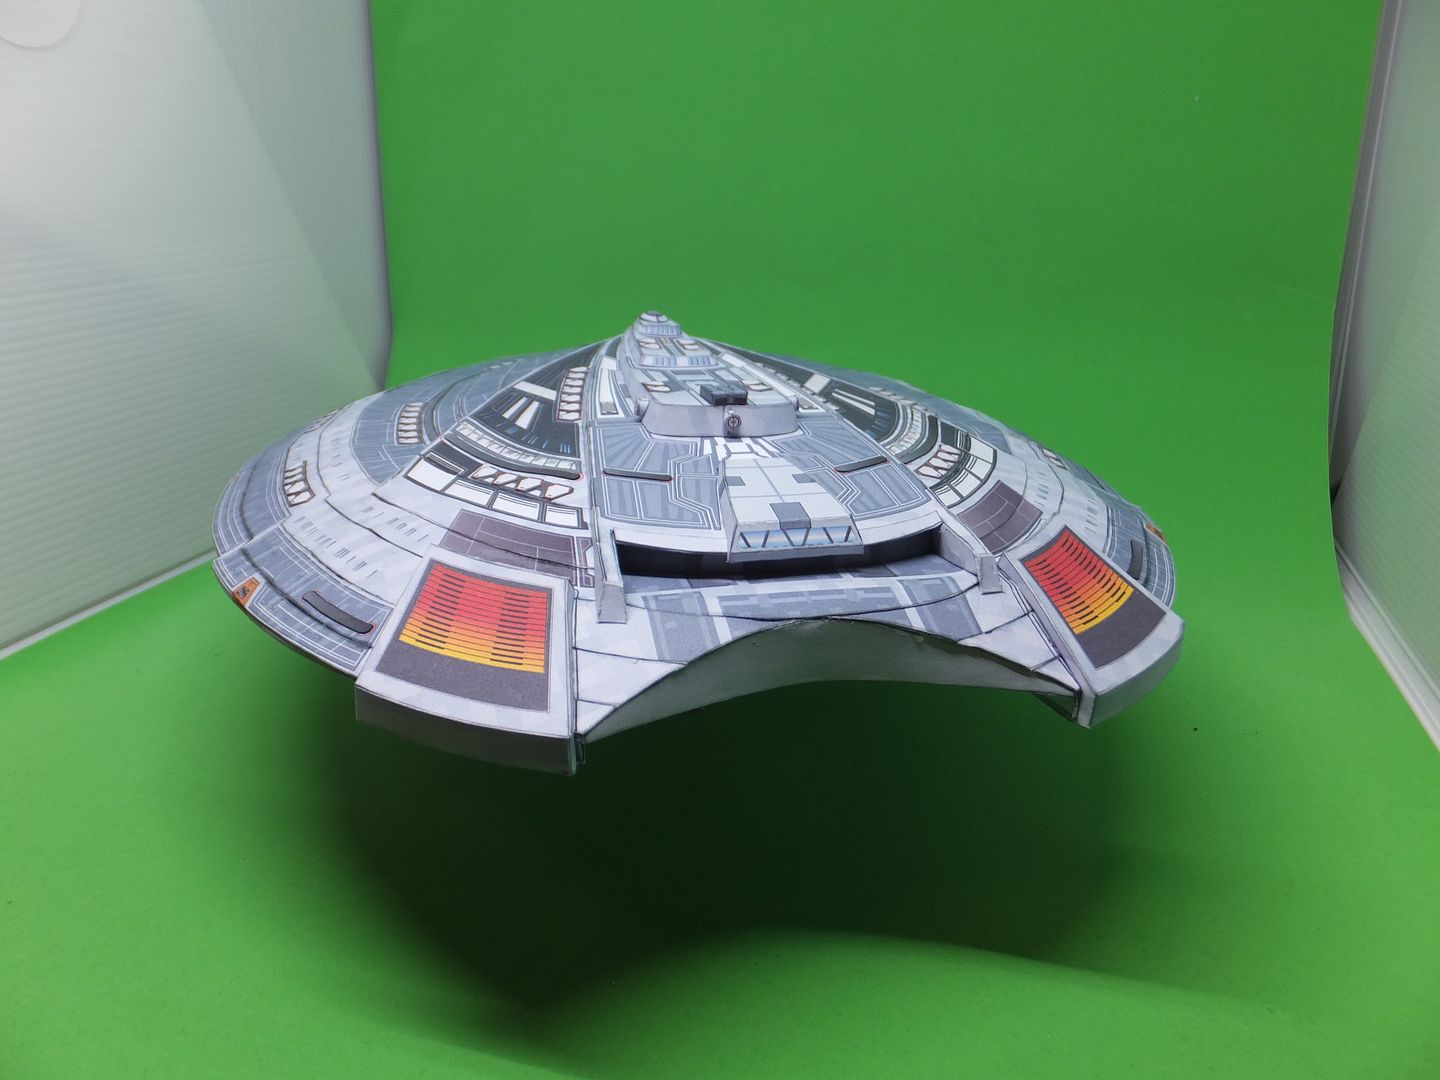
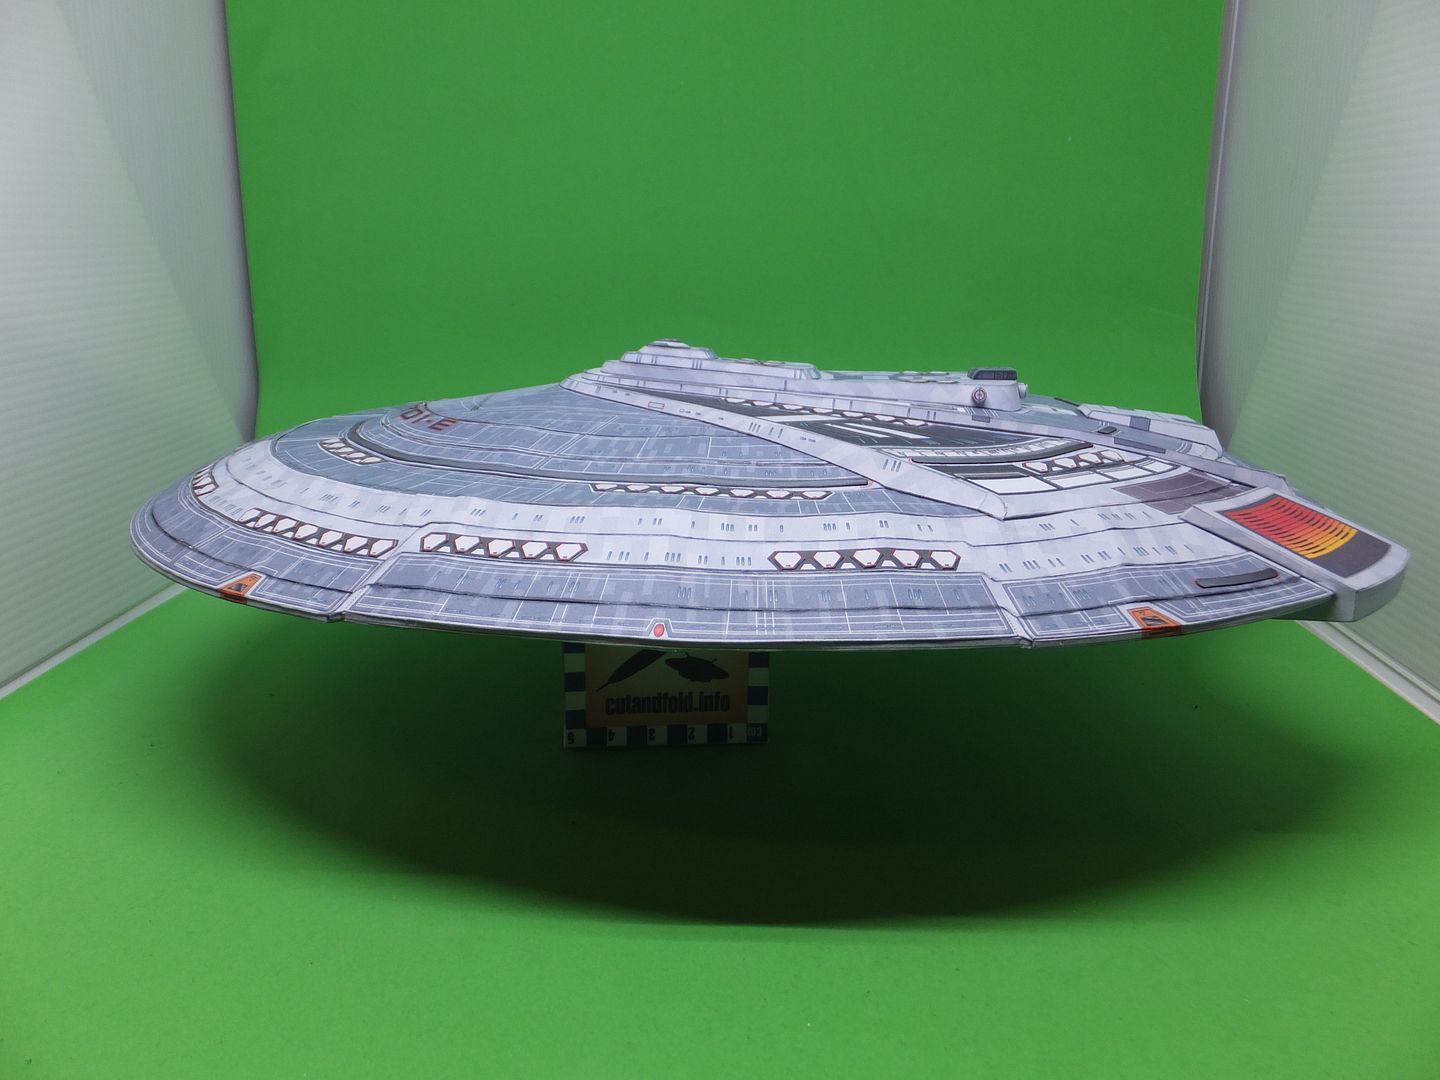
With the engines built, test fitted and no issues. I then went forward and glued them into position.

Saucer%20Top%2058_zpss3yhlheg.jpg


Saucer%20Top%2059_zpsisrkf5jg.jpg


Saucer%20Top%2060_zpsthyp0wq3.jpg


Saucer%20Top%2061_zpsj2yppziy.jpg


Saucer%20Top%2062_zpsdoyblrn5.jpg


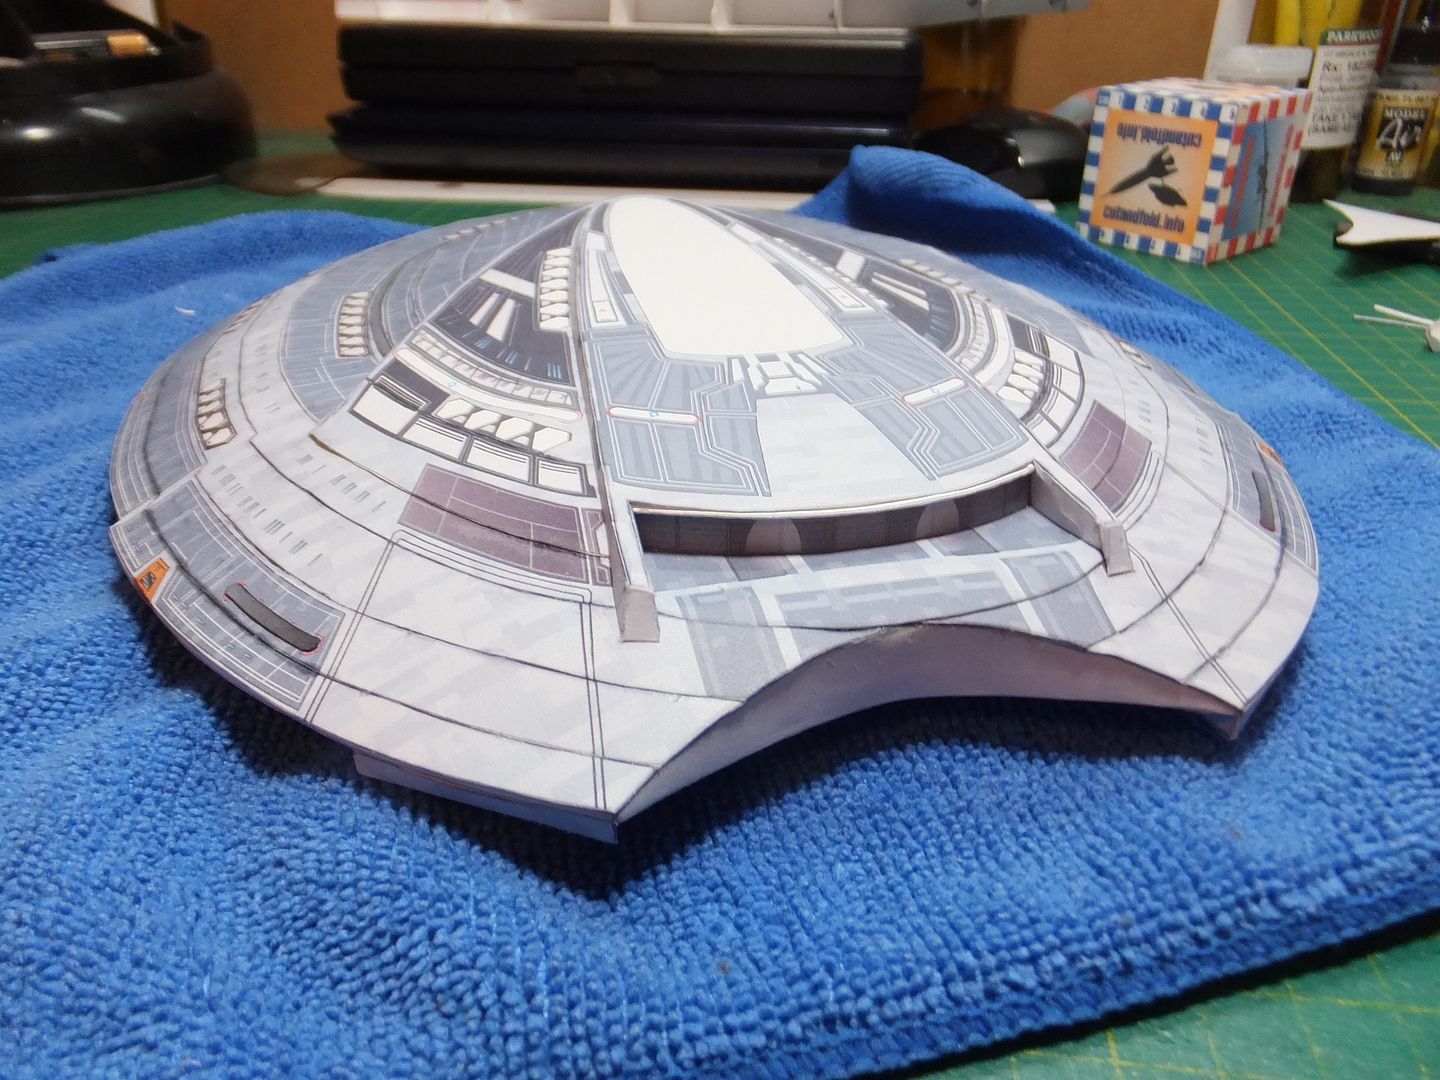
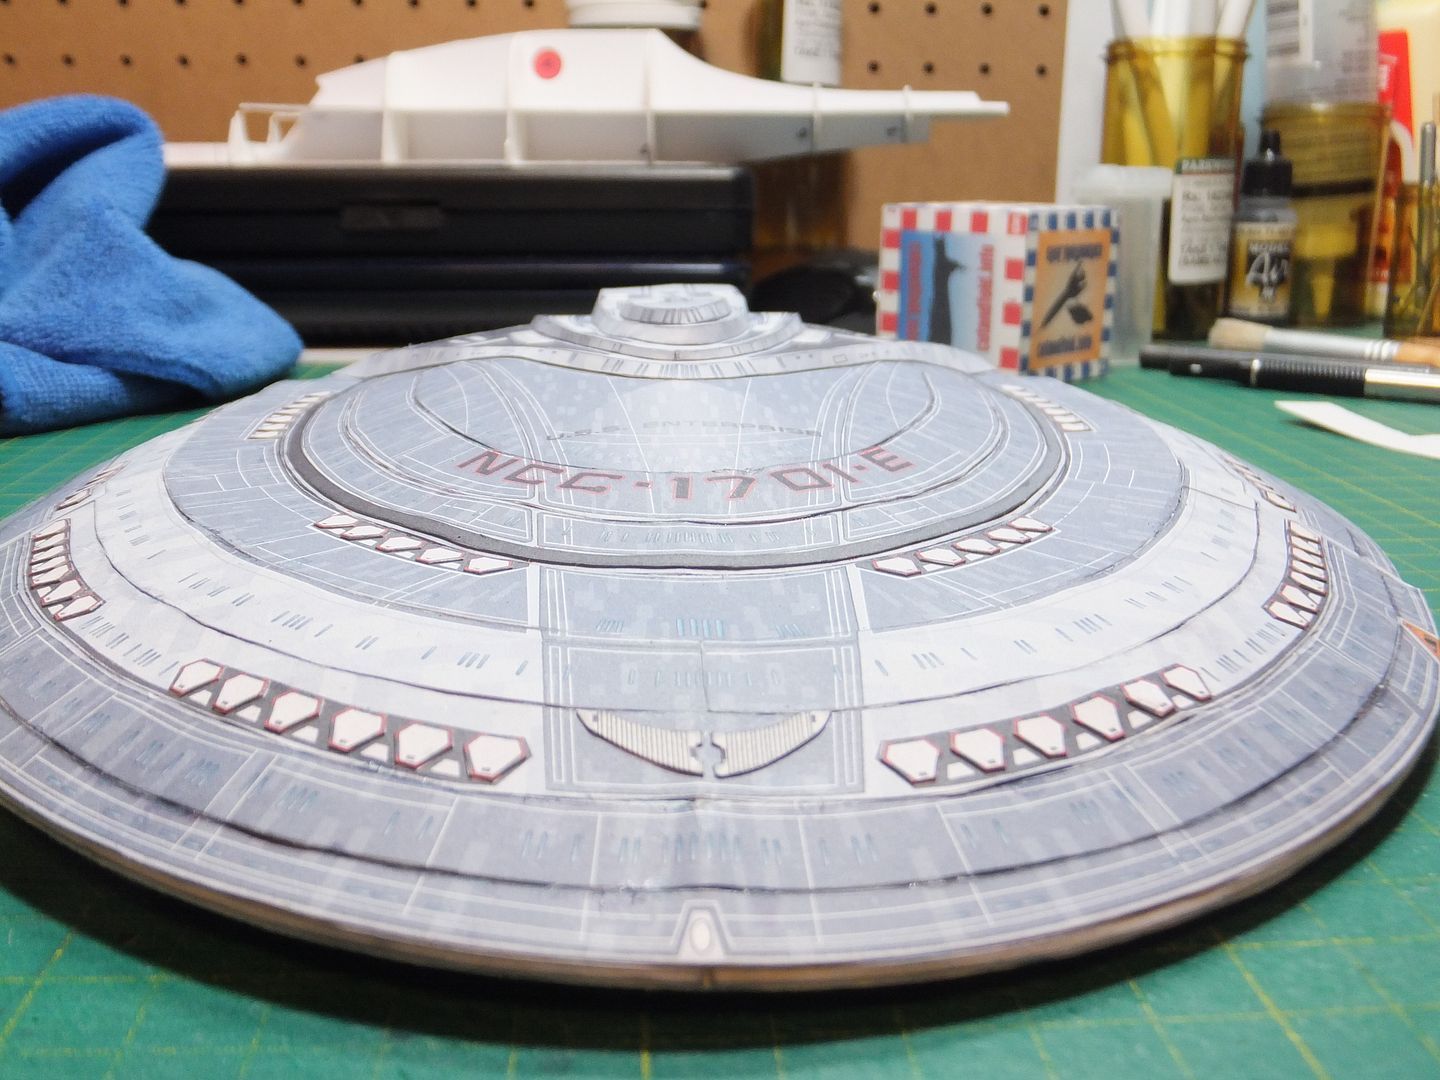
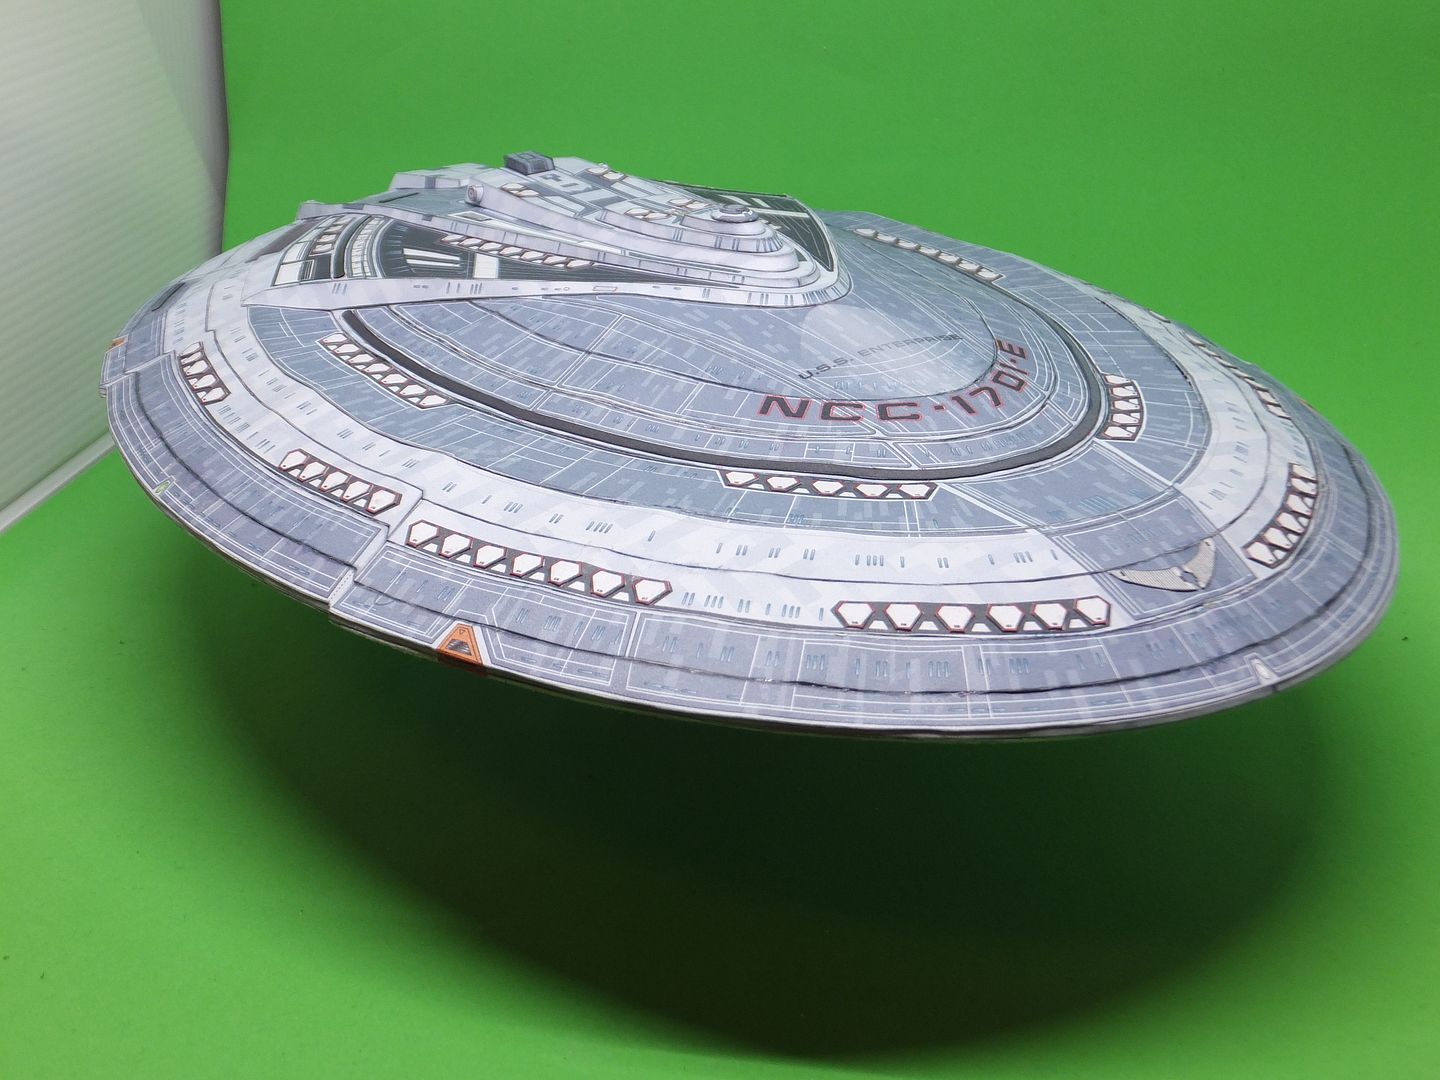
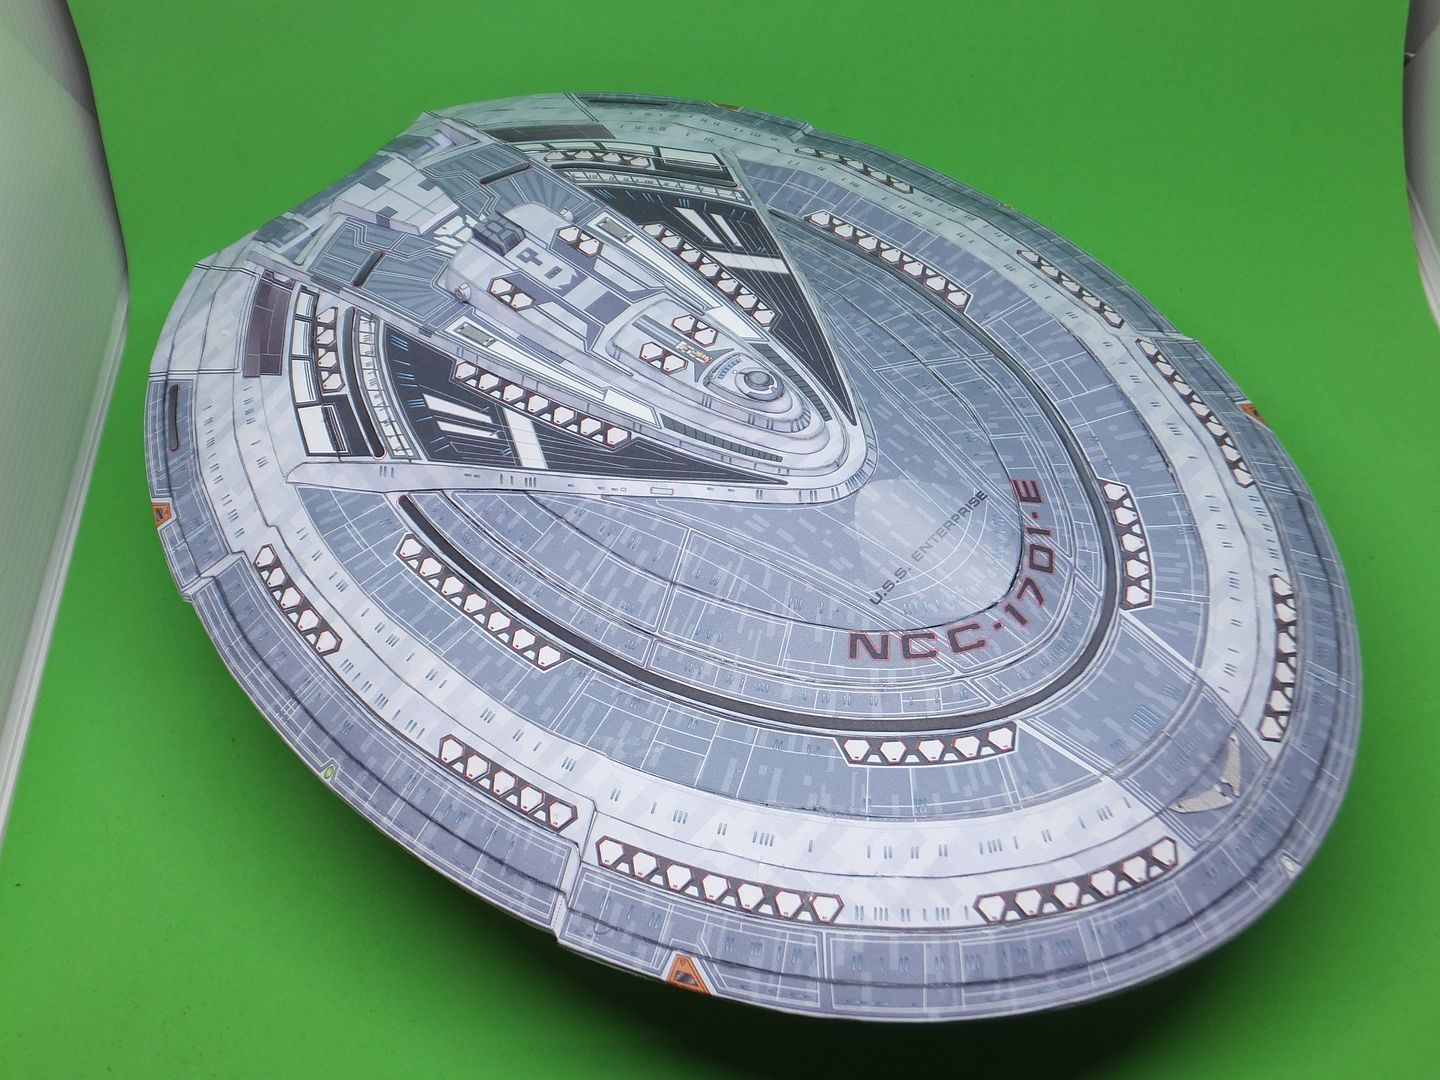
This completes the saucer section. It is now time to start onto the secondary hull.

Thank you for following.
Questions and comments welcome.

Jim
 
Back
Top