scratch building a 1/50 shuttlecraft

Kryptosdaddy

New Member
Joined
Oct 26, 2011
Messages
142
And I need some help !!!!

I have already checked Federation models, they don't have what I'm looking for- did anyone make a PE set for the AMT 1/50 shuttle?


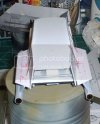
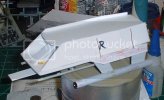
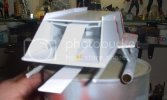
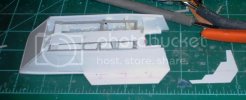
Started the panels, but here is the latest picture...
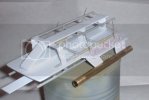
shuttlescrapframe2.jpg

made a list of all the details last night, and looking through my extra PE stuff I found i could maybe fabricate most of the details, but not all.

Also, if anyone reading has a decal sheet for the AMT kit, I'm interested if they want to part with it.

Thanks CR
 
Wow, that looks like a great start!

Is there any way you could make your own decals? All you need is some clear decal paper, microscale liquid decal film and access to a decent ink jet or laser jet printer.

EDIT: Oops forgot to mention, there are various places on the internet where you can get art for the decals. I'd be happy to search for some for you. :)
 
Thanks guys- I have some leftover from my 1/650 Enterprise that may work. any help is greatly appreciated!

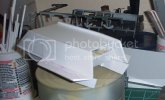
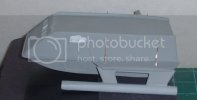
Here it is at the end of today...

shuttlescrappanels11.jpg

shuttlescrappanels1.jpg

shuttlescrappanels12.jpg

Kinda crawling, this wont be movie quality! lol
 
Coming along nicely!

I've PM'd you with some info for the writing on the hull. :)
 
and i thank you again for that! I'm scratching through my PE leftovers for details, this will be interesting.
 
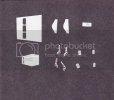
Thanks , here's my 'detail' set- this is all of it except for the detailing of the rear deck, that will come after the back is built since my scaling of the hulls angles is a LITTLE bit off! lol

shuttlepatterns001.jpg

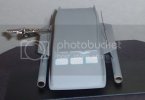
clockwise left to right, windows, nacelle exhaust, front panel, front grills, side access panels, nacelle pylon braces and the door. The window panel is over sized on its top and bottom for adjustment the angles are right (almost). I think I'm getting better at this...
 
Got a little further, the piece on the right is a depth guage for the rear end- I'm building this according to the lines in the technical manual...

shuttlerearandanglefixed1.jpg

here it is a little closer...sorry about the wrinkle up near the front, another thing to fix!

shuttlerearandanglefixed2.jpg
 
Thanks guys- a slow work week keeps me at the bench, no devil's work for my hands this week!

How to scrap a starfleet impulse engine if you have never done it before..

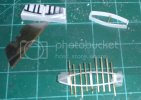
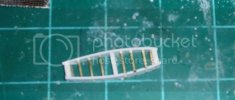
part one - make a form out of stacked .80 sheet and destroy it (bottom right), then use it for a jig and make a second one that you dont trust and think "wait, I'll make a ladder" (middle)

shuttlescrapengine4.jpg

then tie the ends together and glue everything...oh and add more styrene strips to bulk the frame up a bit...

shuttlescrapengine3.jpg

Sand, file re glue and repeat and pray it stays together...

shuttlescrapengine5.jpg

Paint and temporarily stick it on to show your friends...

shuttlescrapalmost.jpg

Still alot of work to do, but it's coming along... when i finish the bottom then I can concentrate on some more sanding and filling ect before the trim! :D
 
Great progress! Interesting what you did with that 'ladder', it worked really well.
 
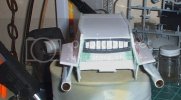
a little closer- she got her first prime last night, here it is before i start fixing issues..

shuttlescrapprime.jpg

Sorry about the clip, this thing is front heavy- when the nacelles become permanent, that will fix it self.

shuttlescrapprime2.jpg

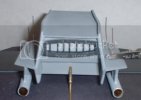
The slot at the top front is for the windows, that will be sealed after the final coat and the windows are slid DOWN into their little slots. I'm thinking this will help add dimension to the front.

shuttlescrapprime3.jpg


I'm getting into this immensely, this is becoming a joy ride! :D
 
Thanks!

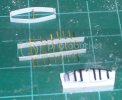
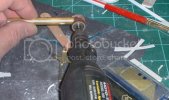
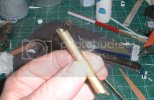
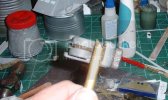
This thing.. I originally planned to make the nacelle exhausts out of thin grooved sheet and wrap them around the ends of the nacelles, well they worked fine in a dry run, but split into little pieces once glue was applied. Well thankfully i used brass tube! here's the plumber's solution...

shuttlenachelhell1.jpg

shuttlenachelhell2.jpg

The grove from the tubing cutters will give me a guide for when i etch the detail, I'll cut then at this point when they are ready...

shuttlenachelhell.jpg

I am SOOO glad i dint plan to do the interior on this build! lol :D
 
And here they are! Sorry you can't see the 'lines', but trust me they are there- my old camera.... :mad:


nachellehelldone.jpg

Hard part is getting the parts i CANT make! Finding the little balls i need for the ends- the front will be some sort of glass bead and the rear will be something I can paint! lol Crazy. :D
 
This looks fantastic Krypto-pops,

Isn't scratch building sooooo satiflying?

To see something so complex emerge out of flat sheet and tube is something i find very rewarding. Its also interesting to watch to see how you will overcome and achieve some of the more specific details, like the narcelle exhausts for example. Very motivational. Plus with a trusty Swiss Army Knife in you tool box, in my opinion you can't go wrong.

Keep up the good work.

Your scratch buddy

The Nylon Gag
 

Latest posts

Back
Top