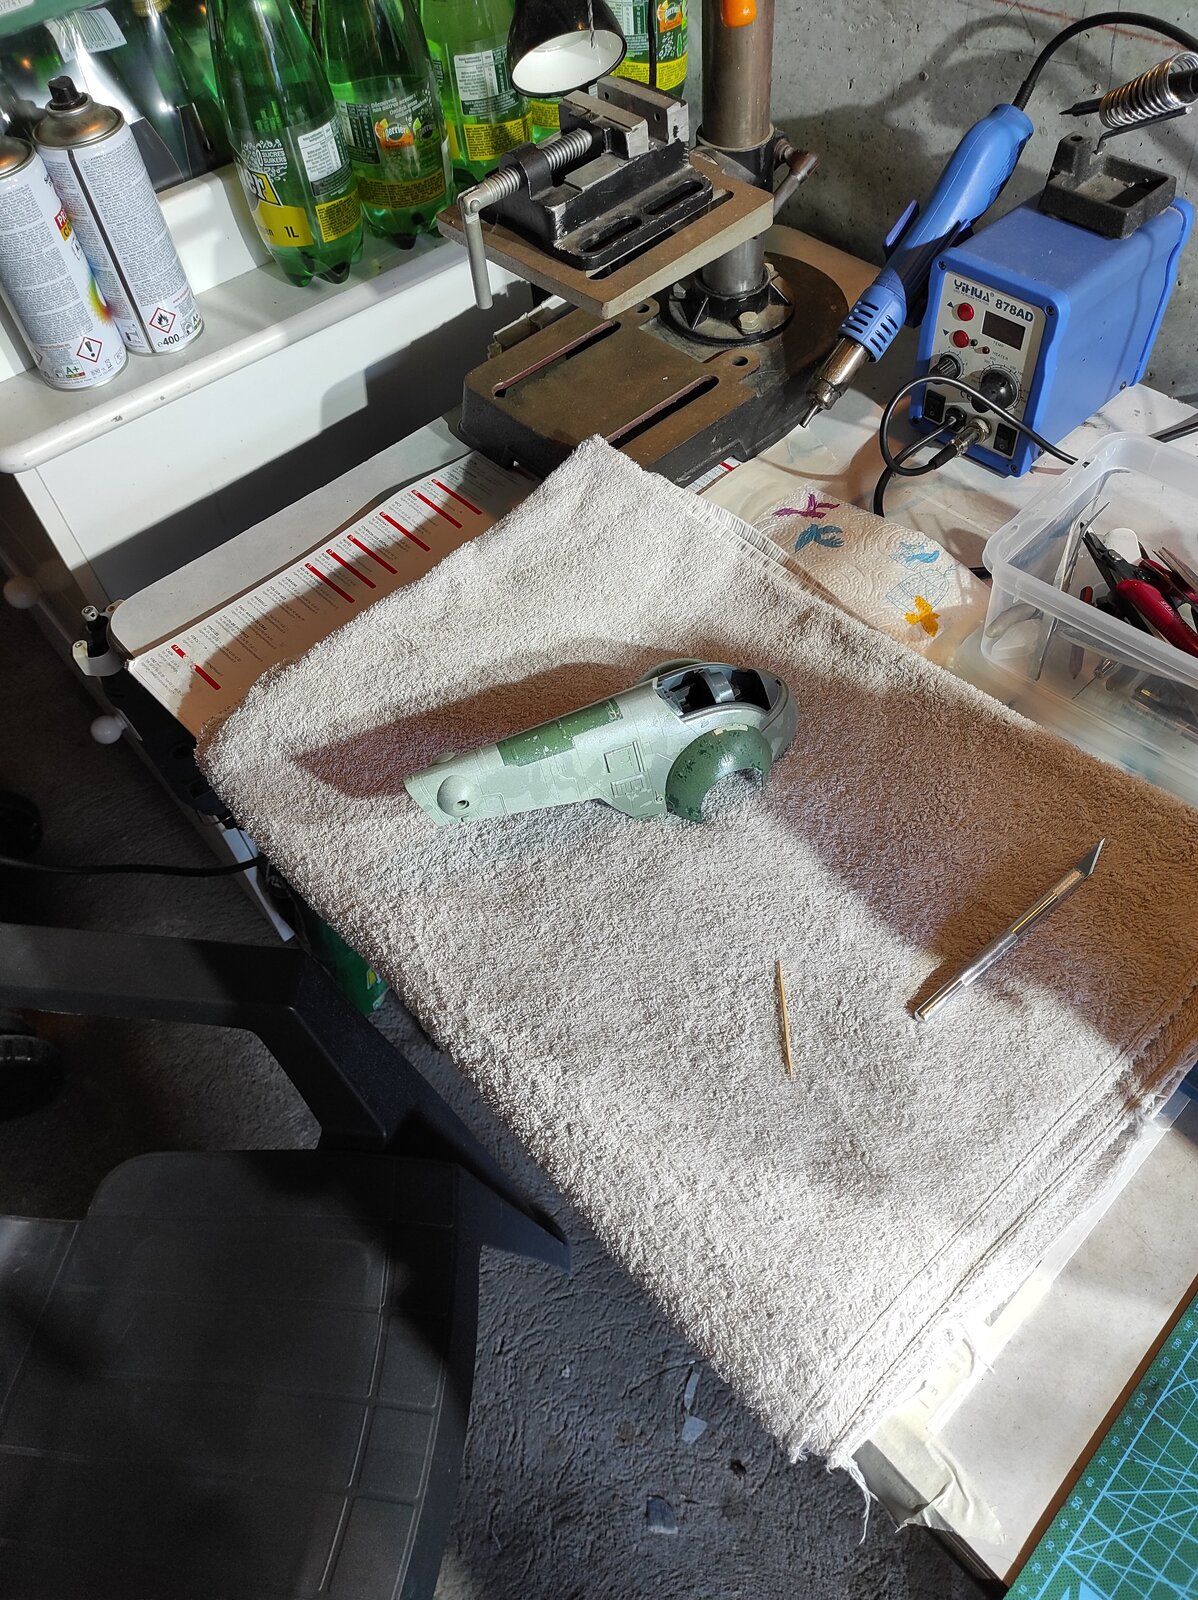
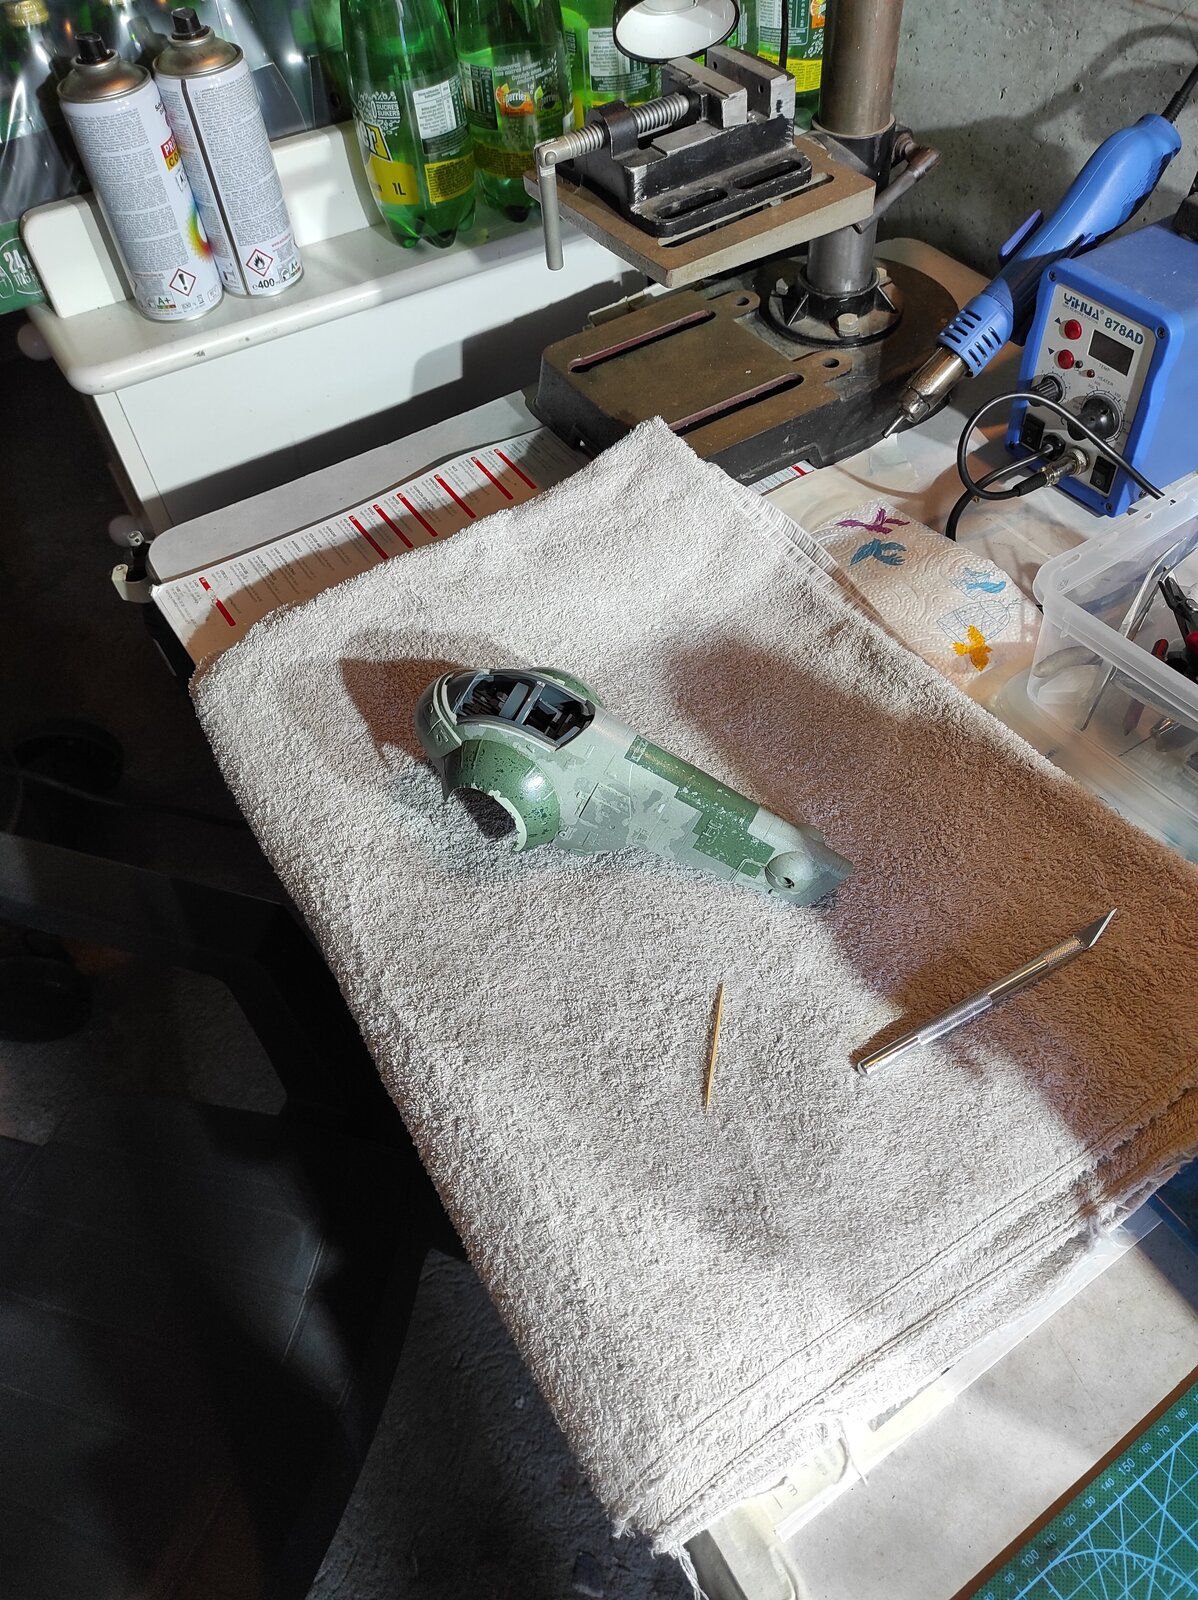
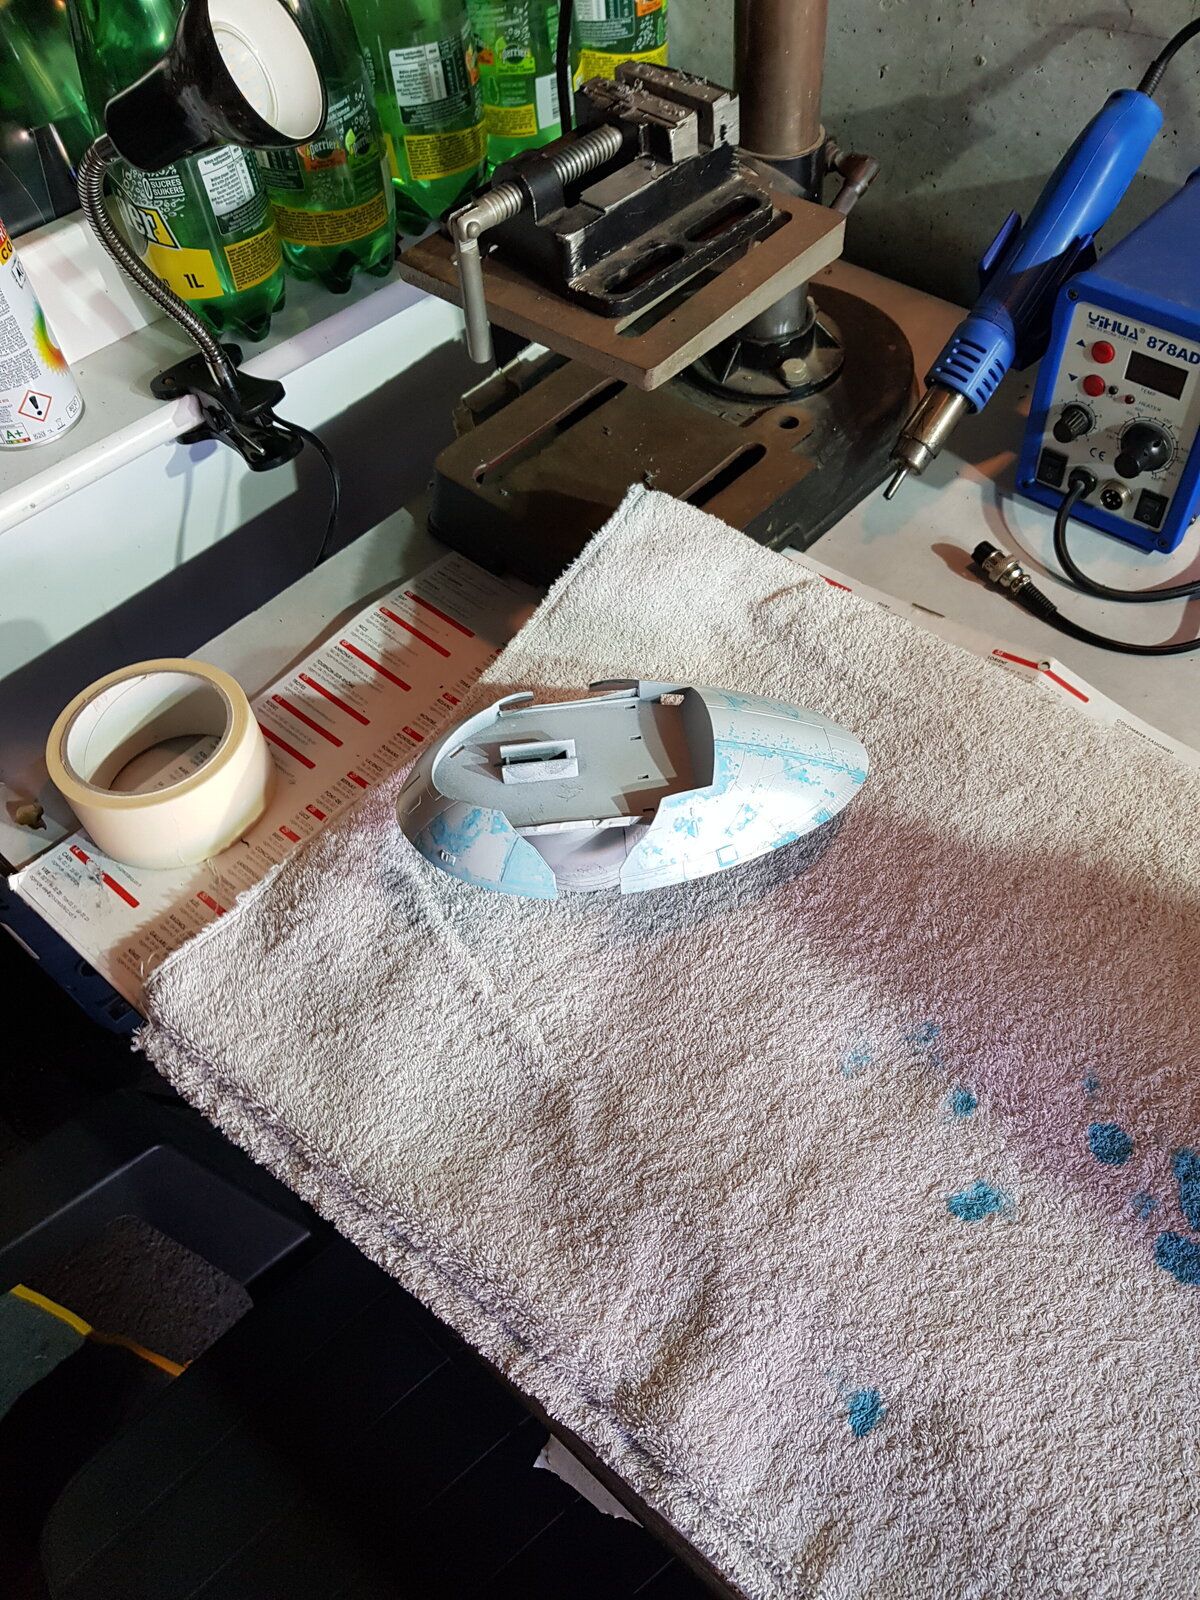
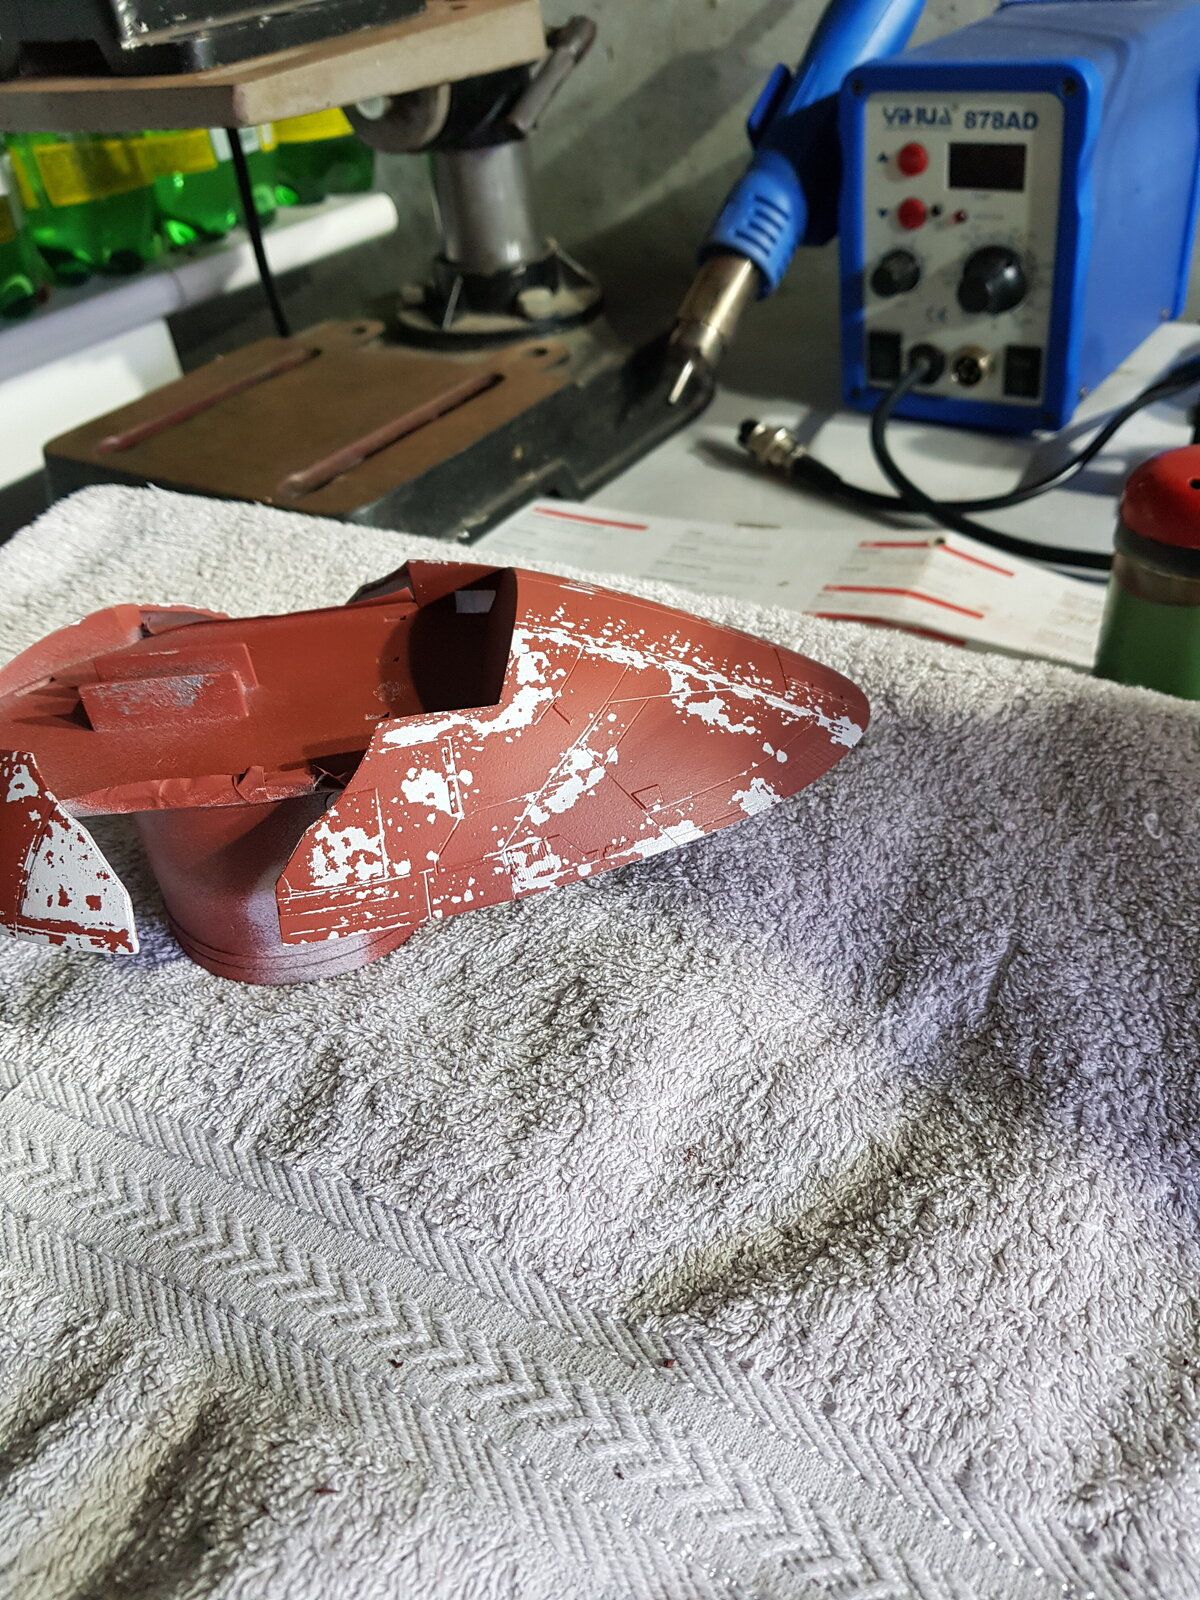
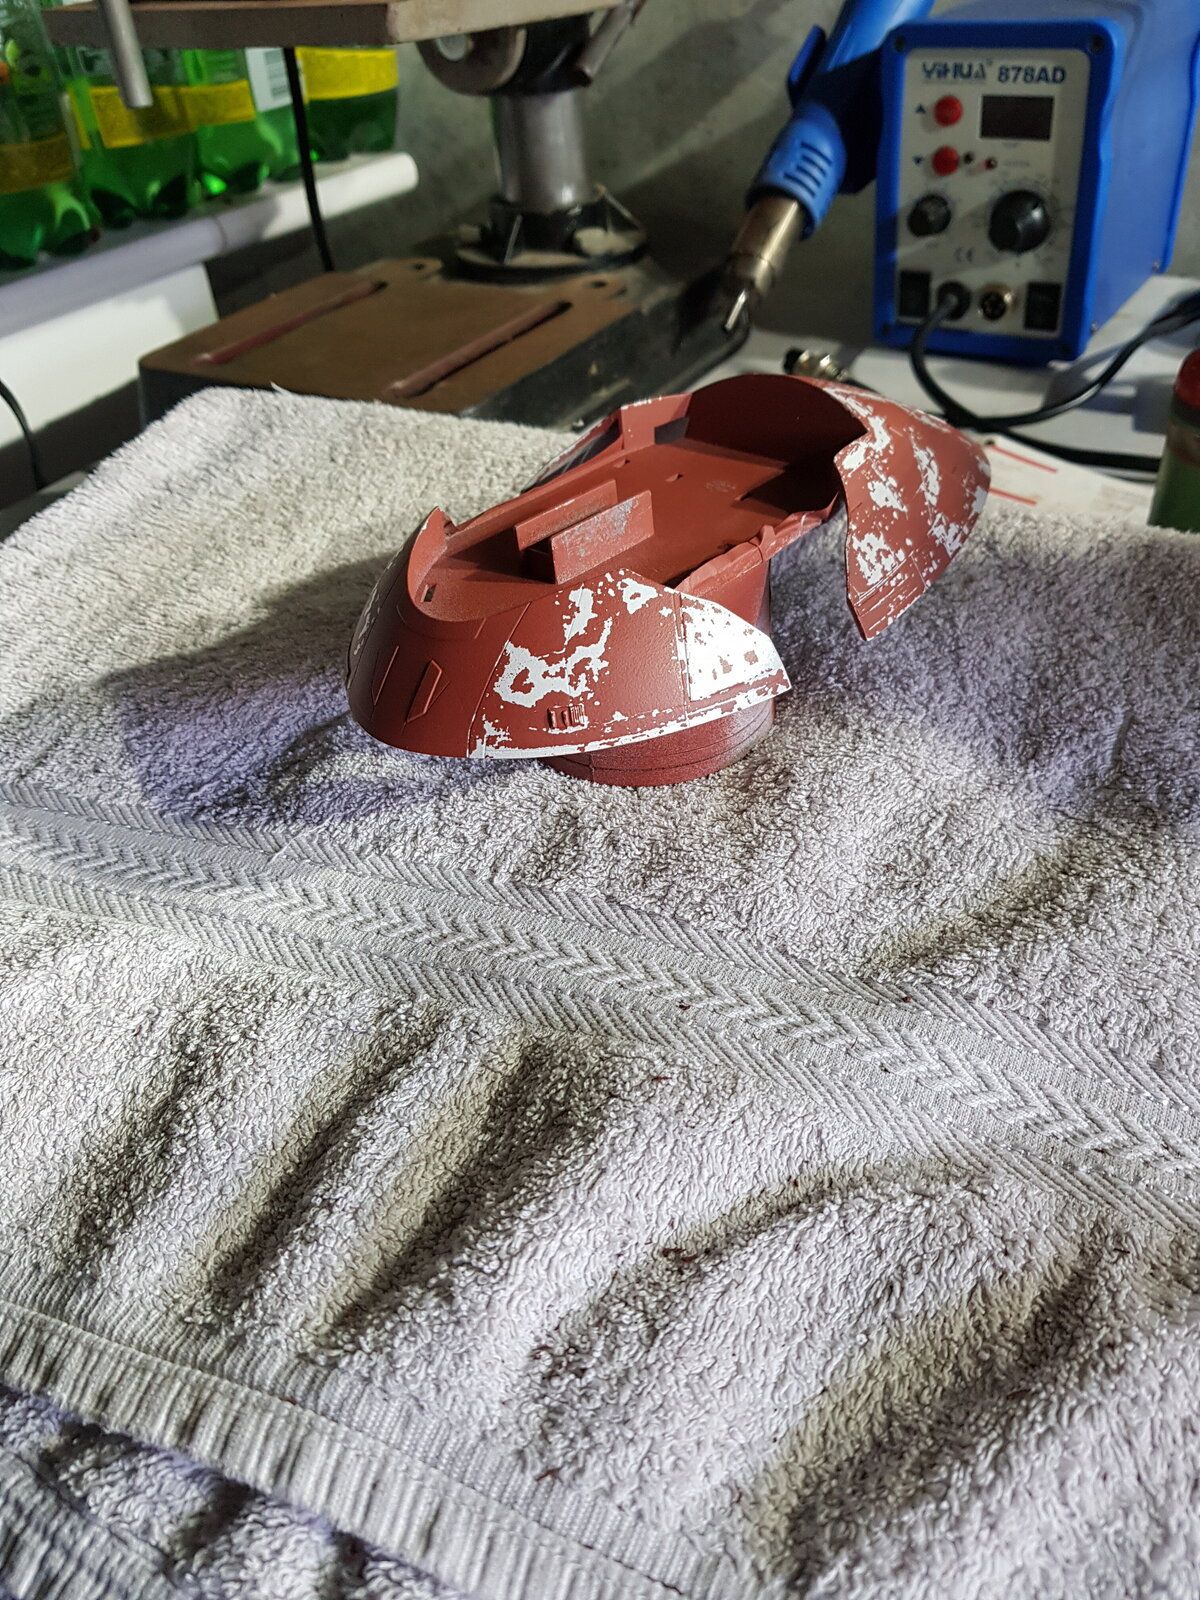
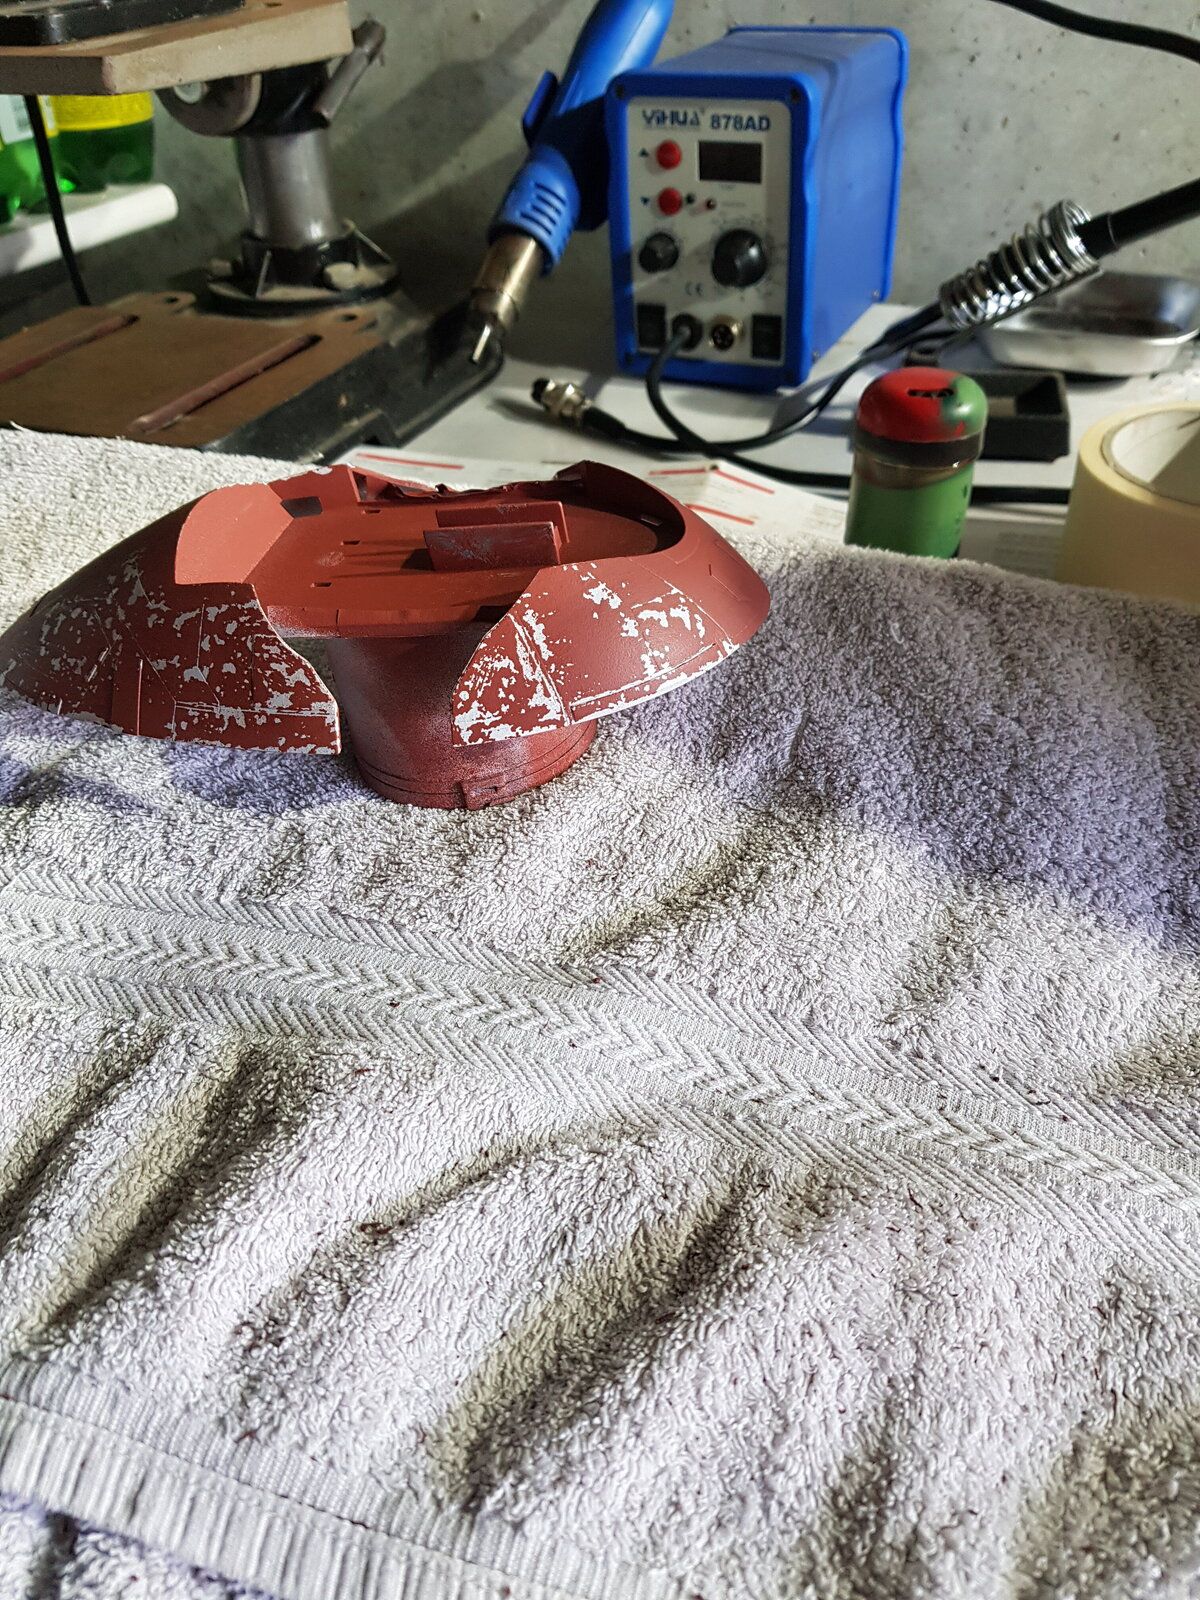
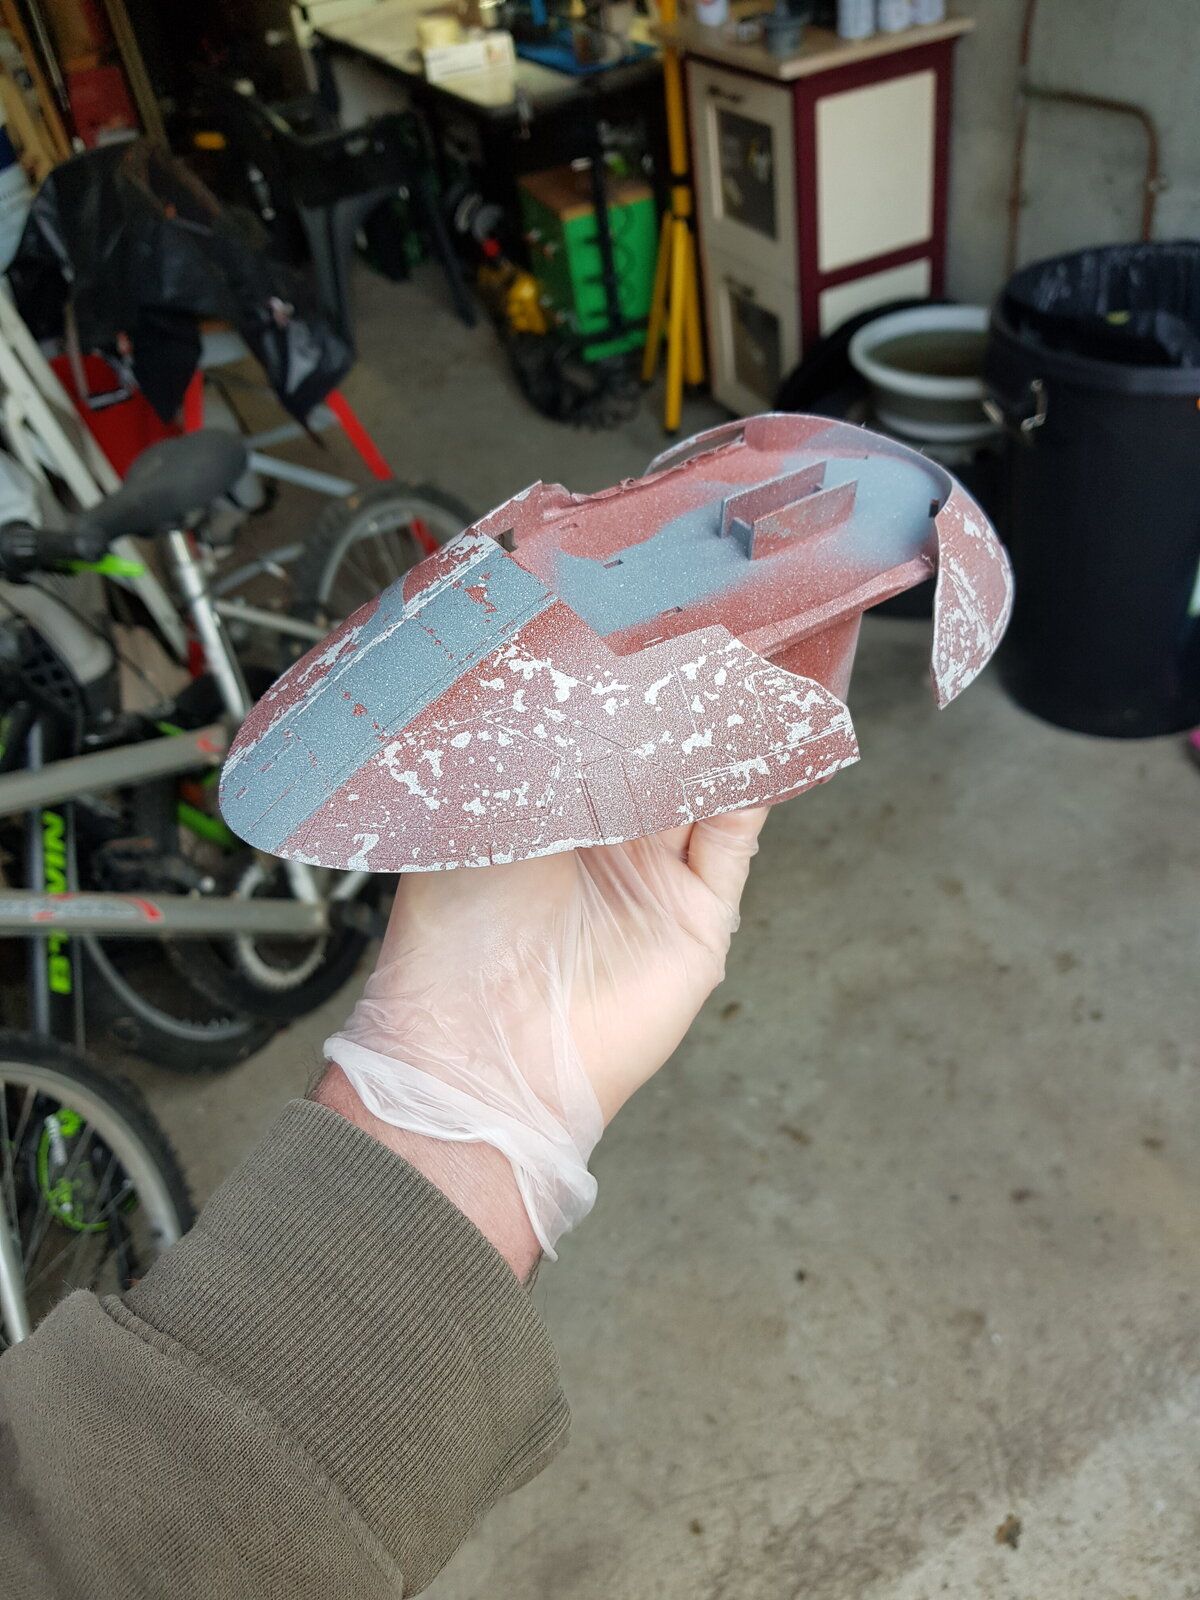
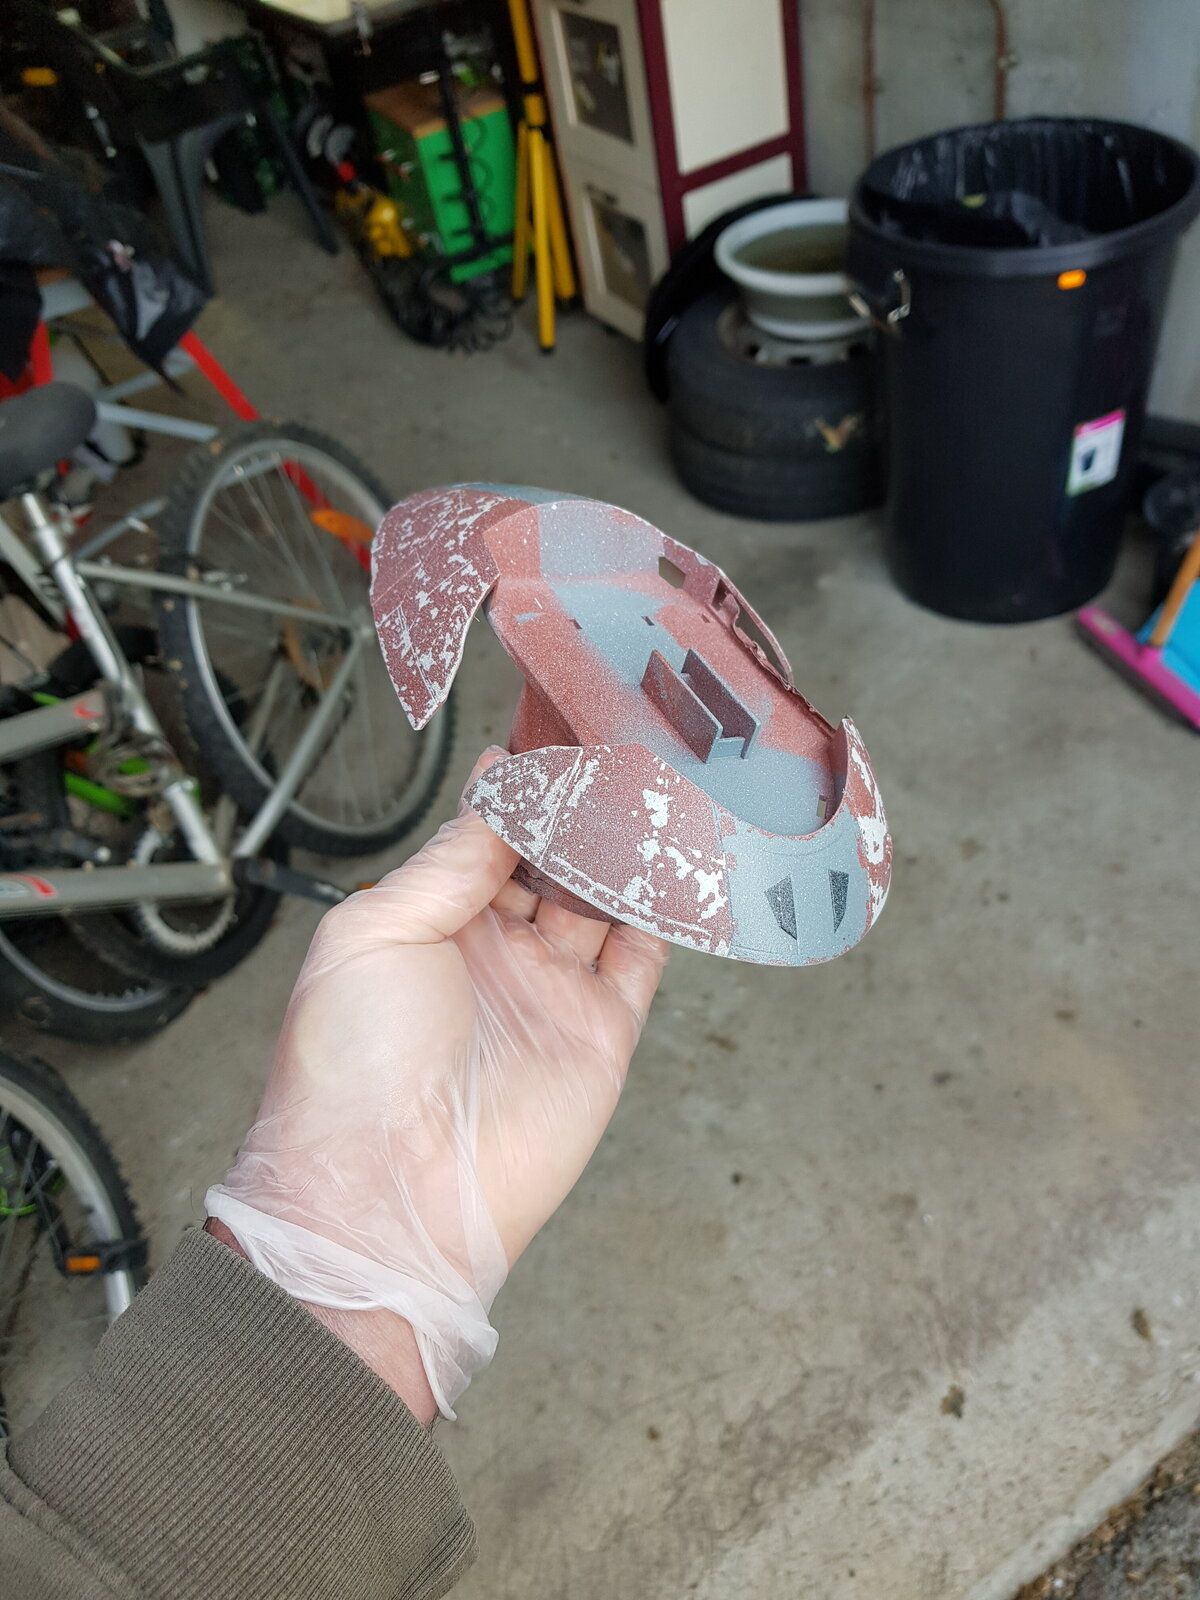
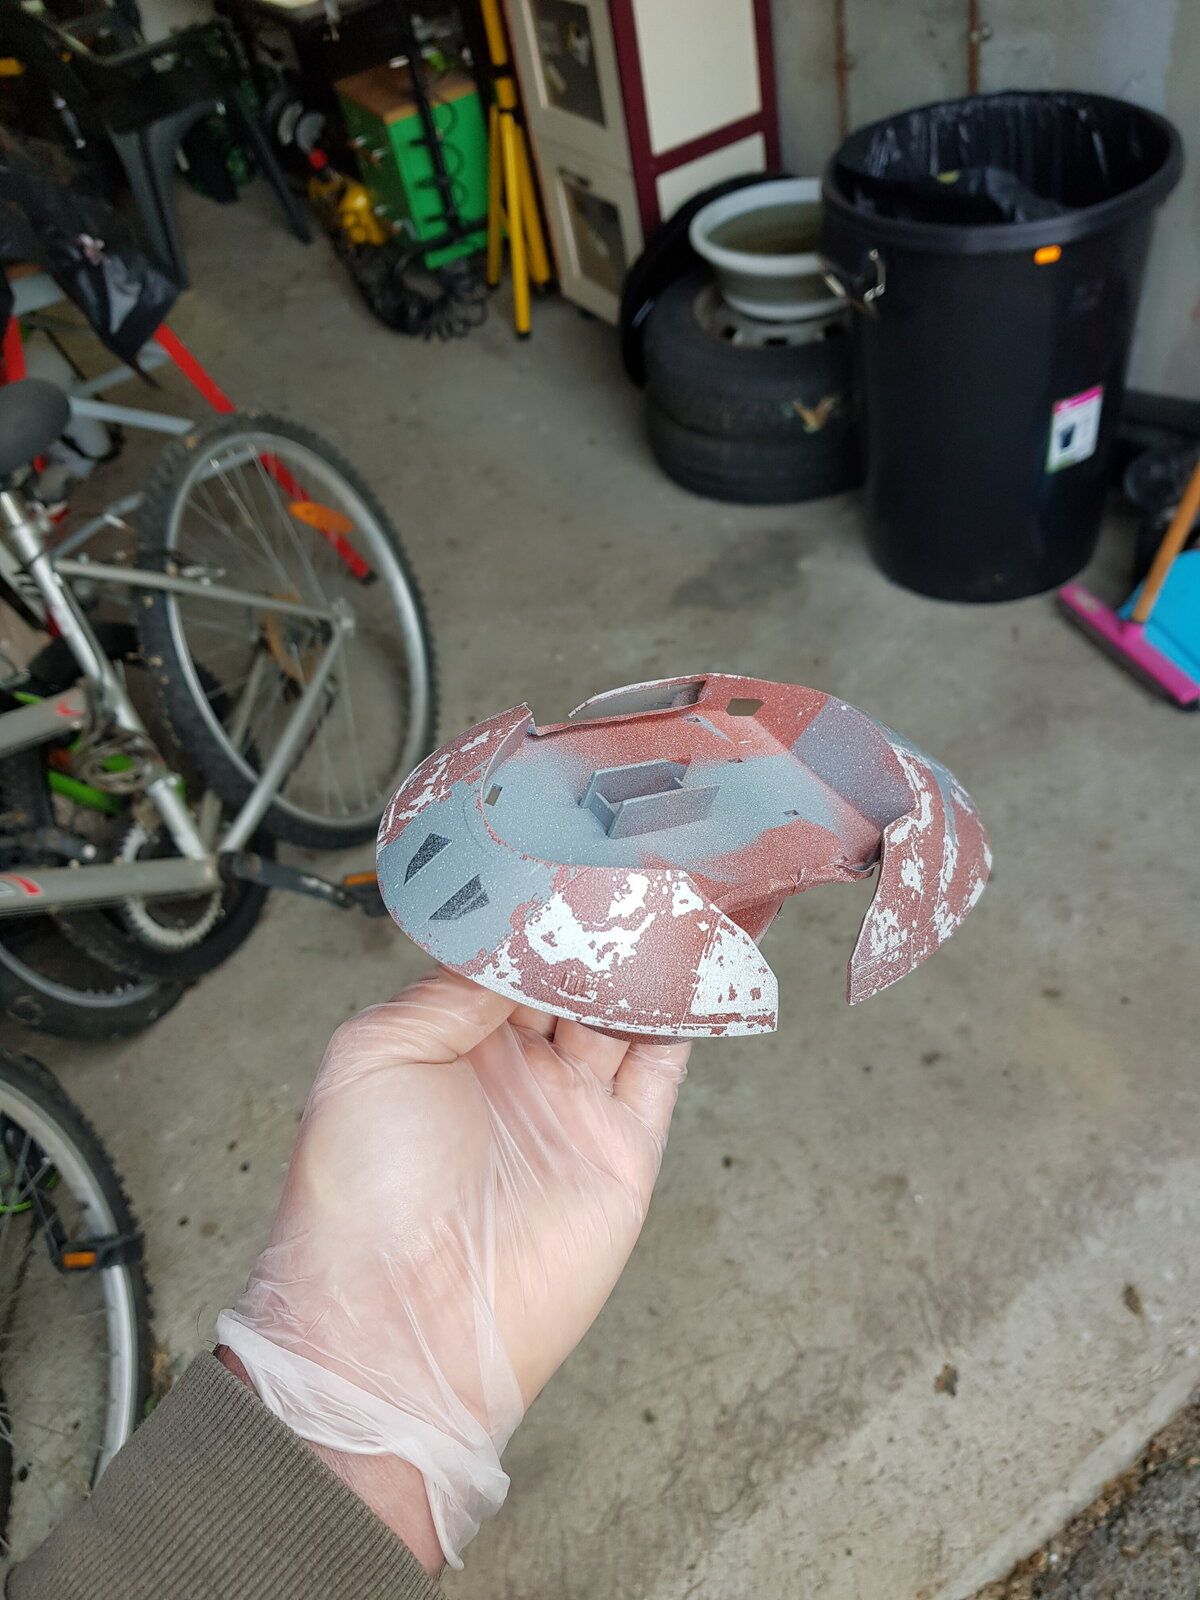
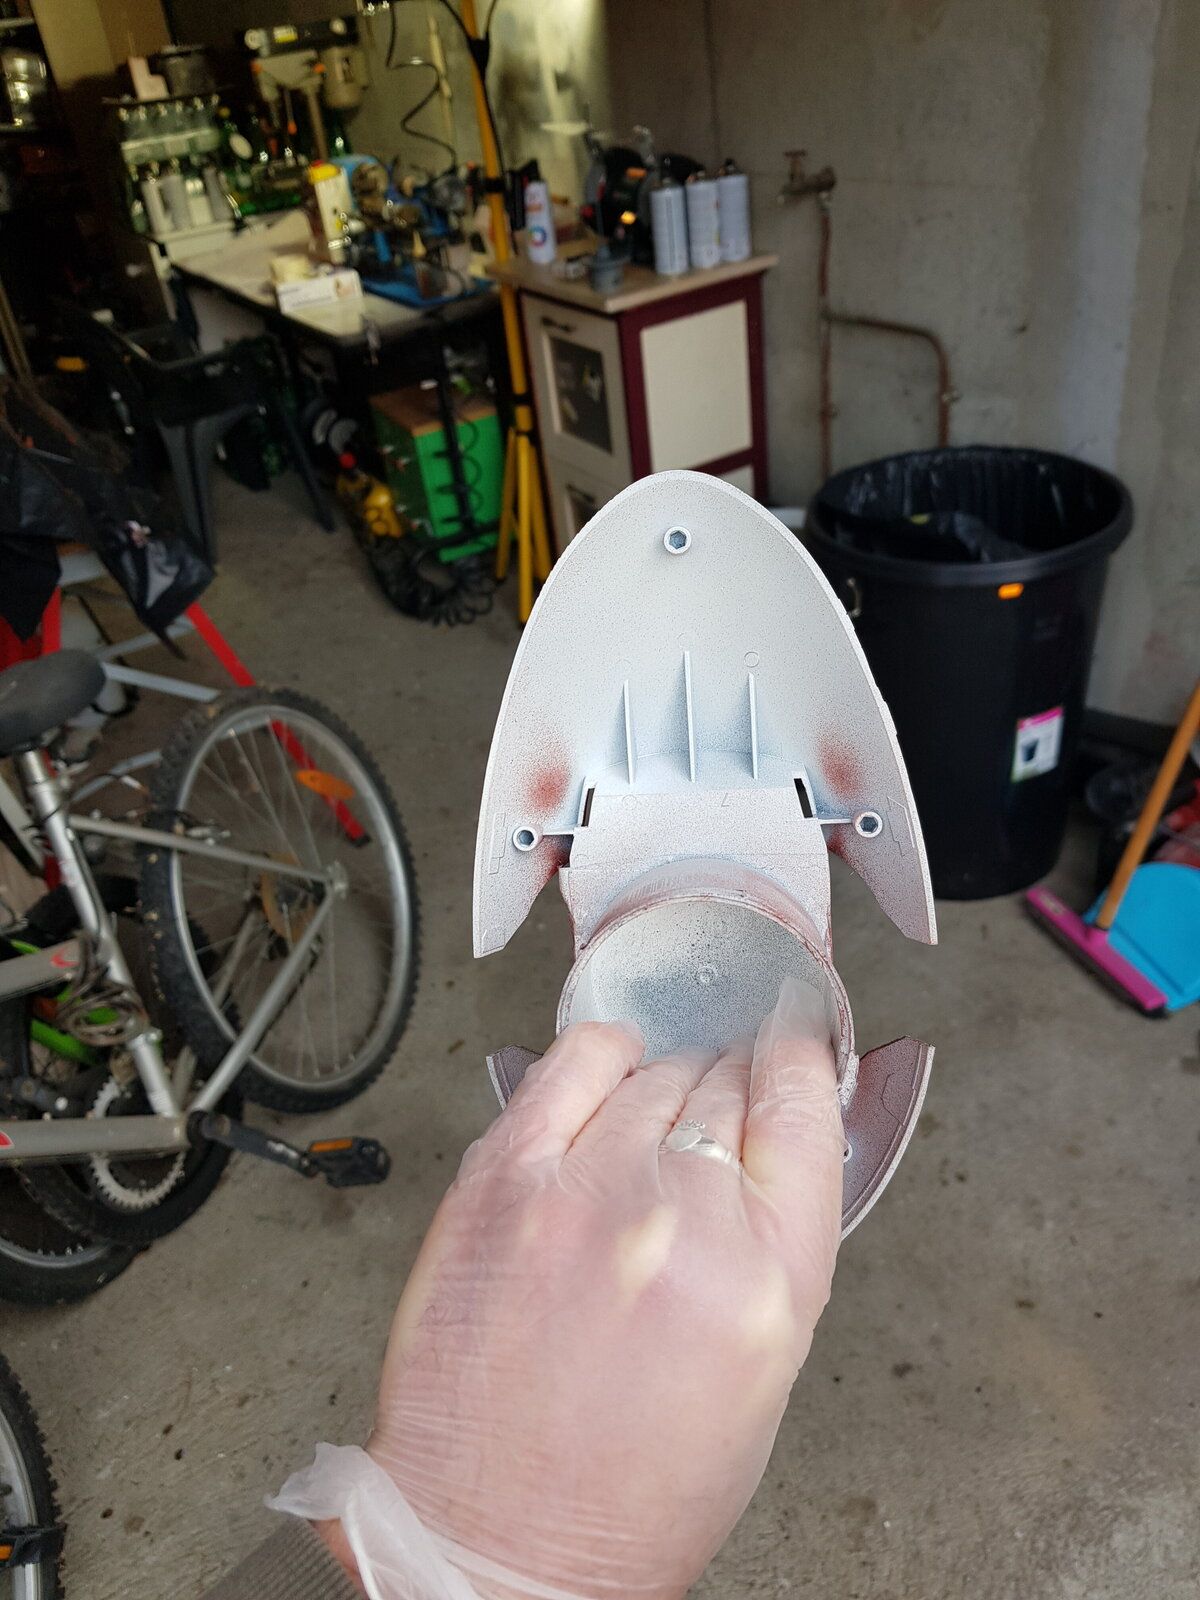
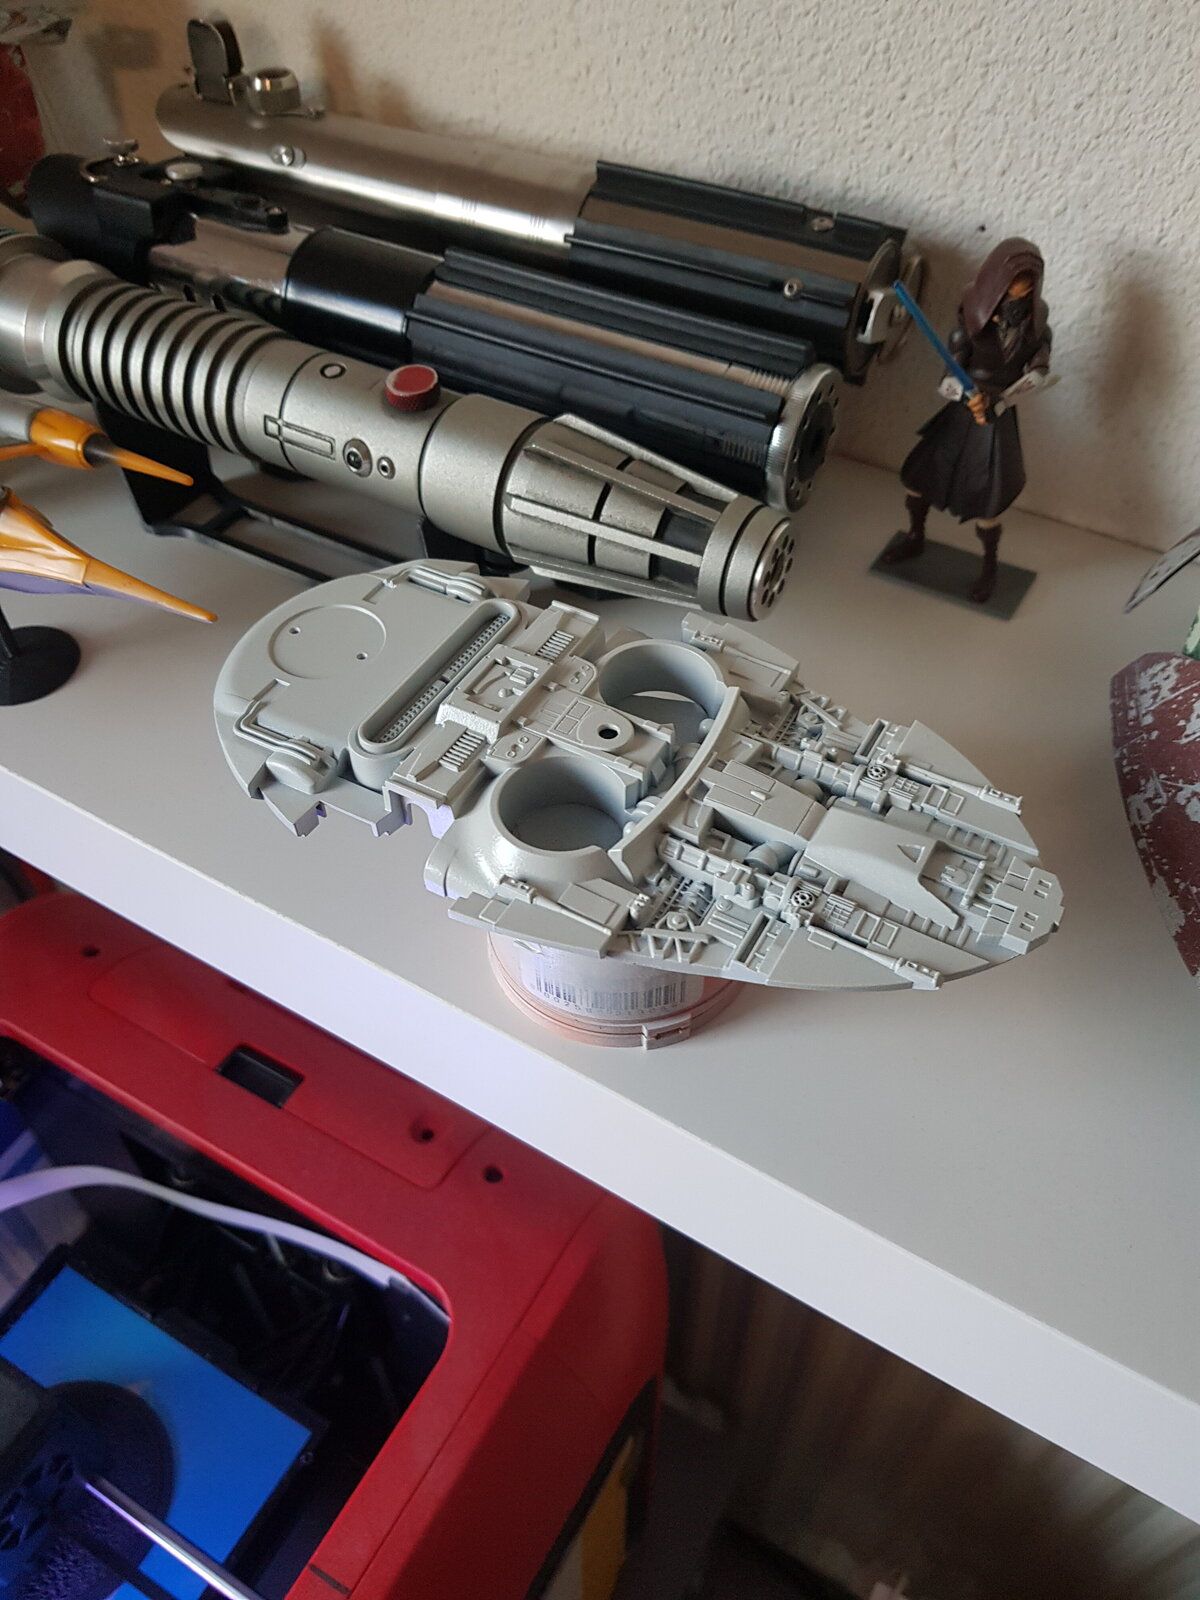
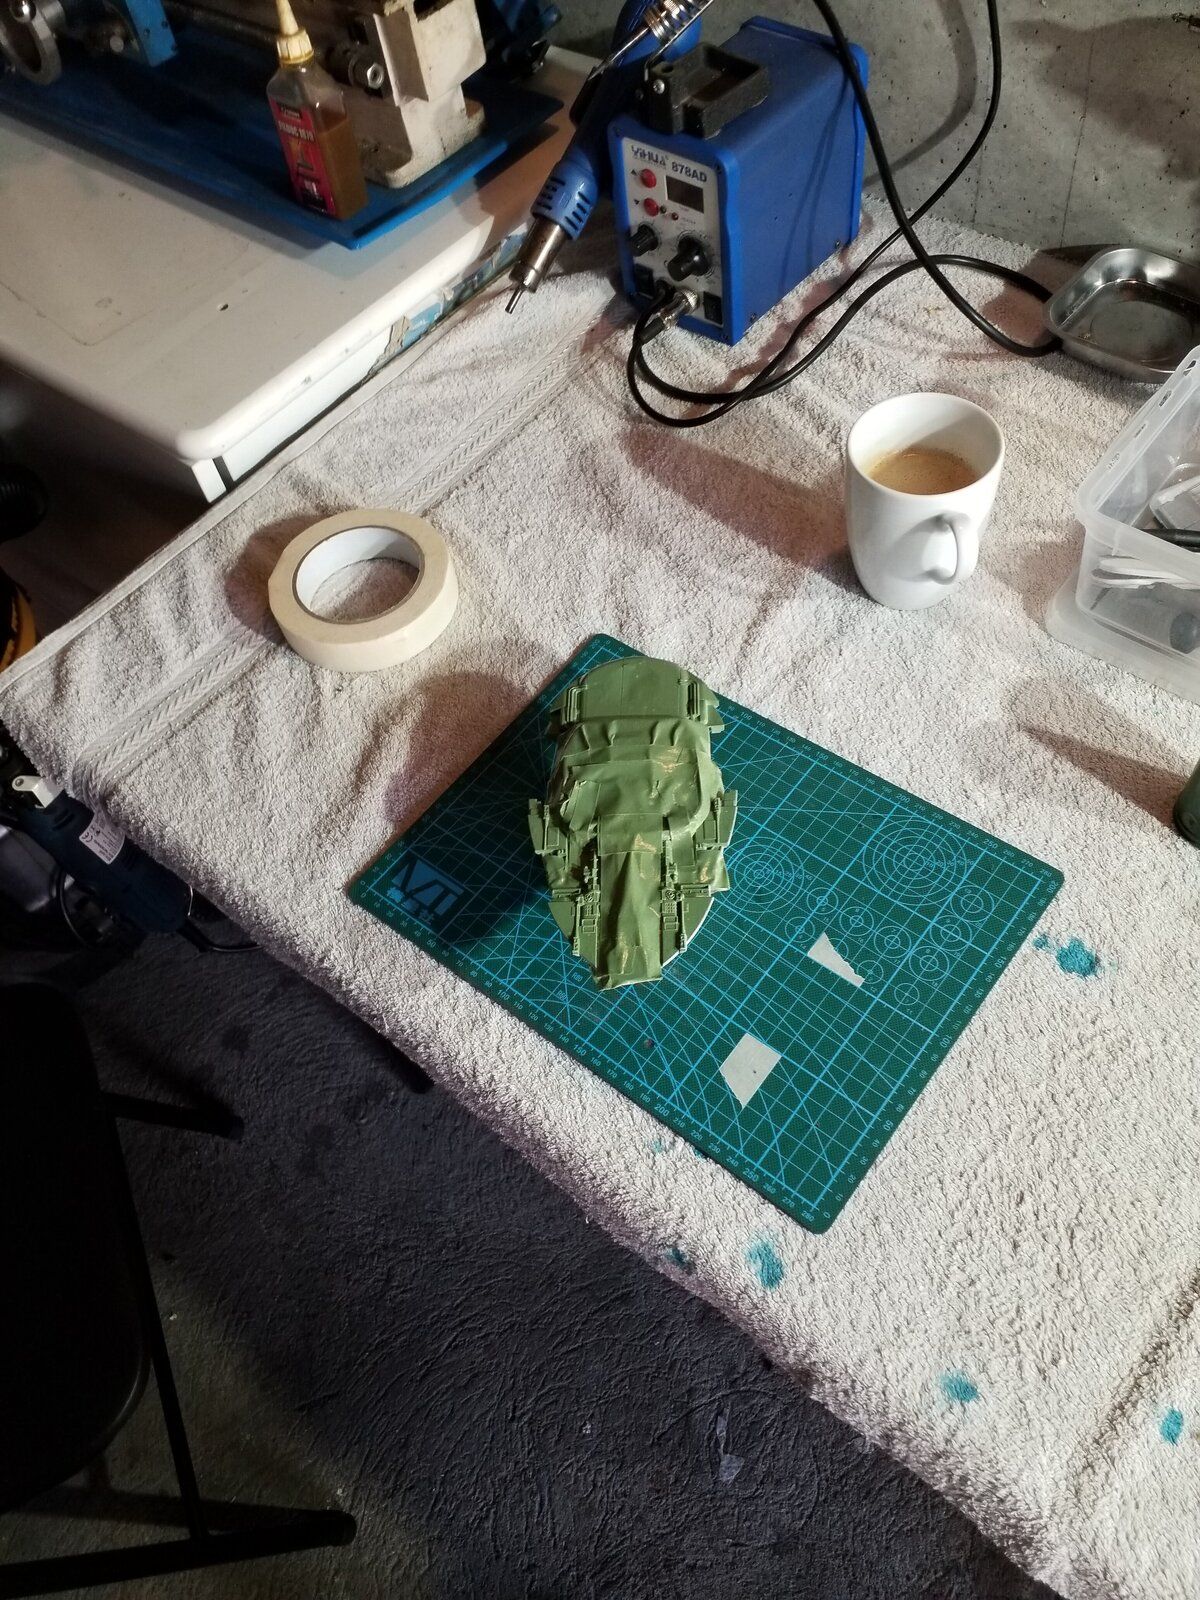
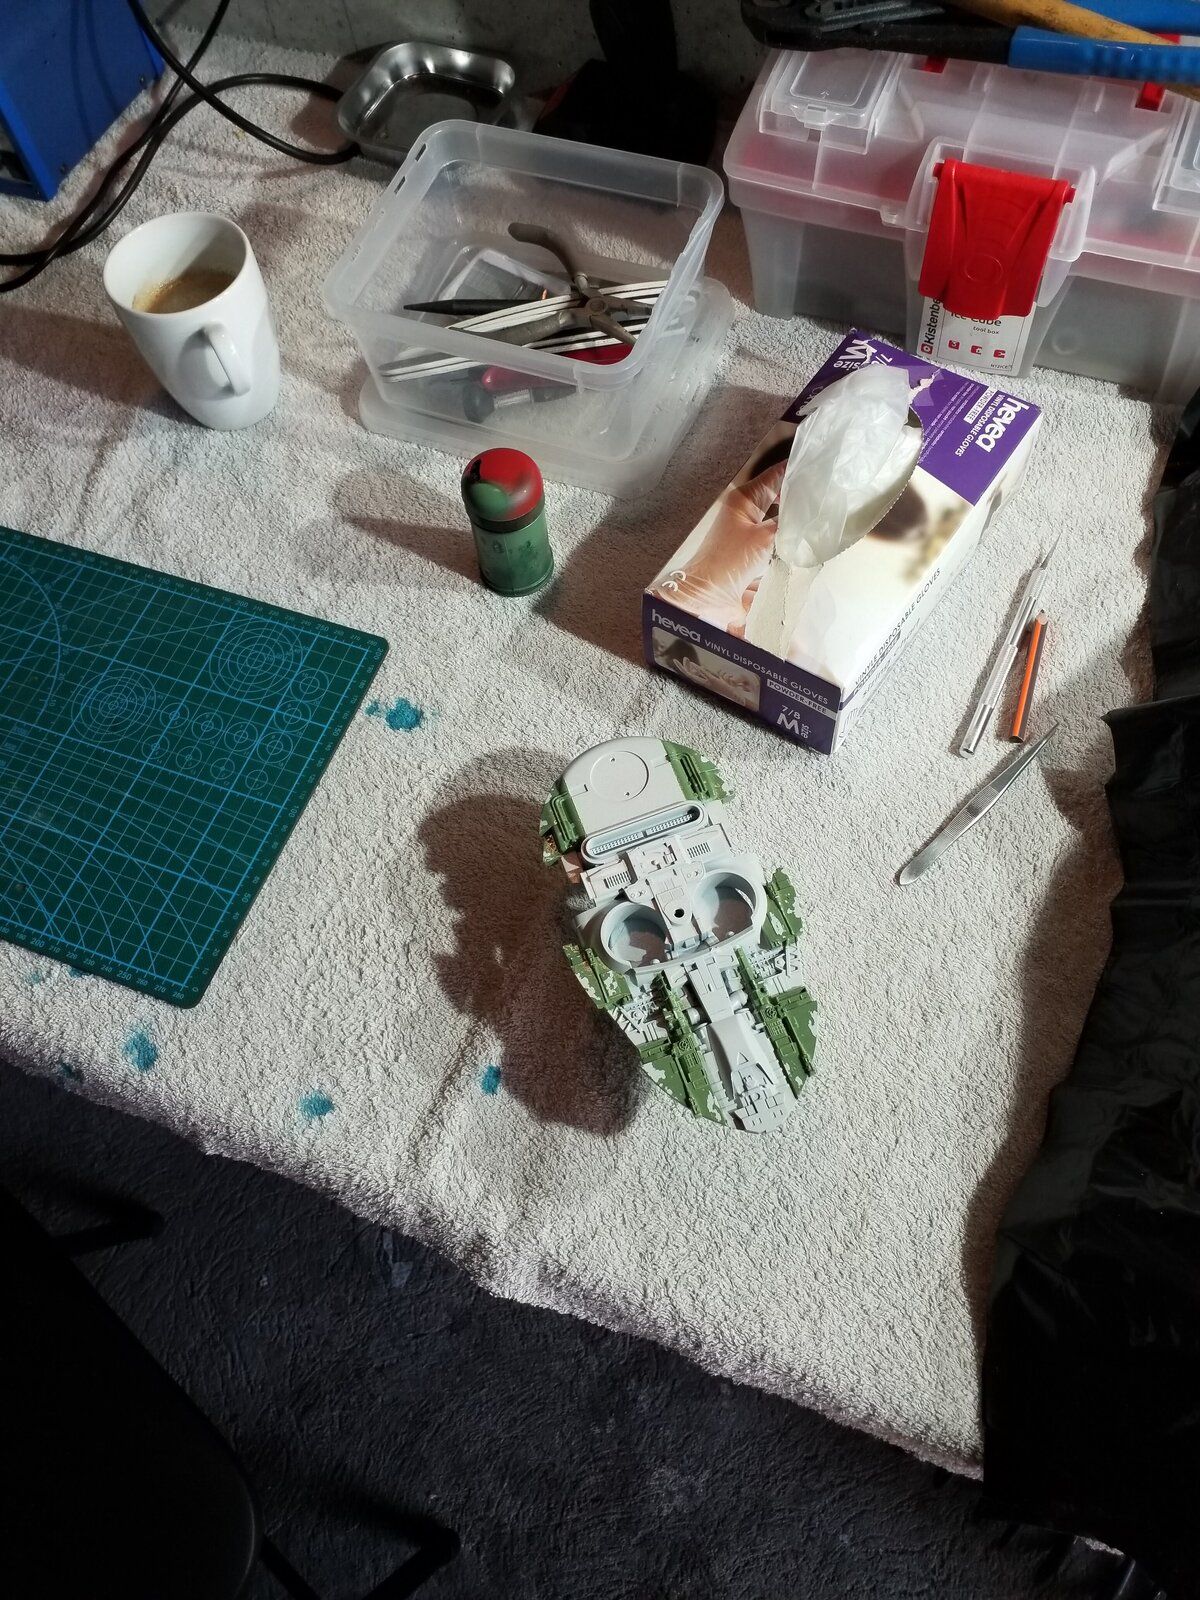
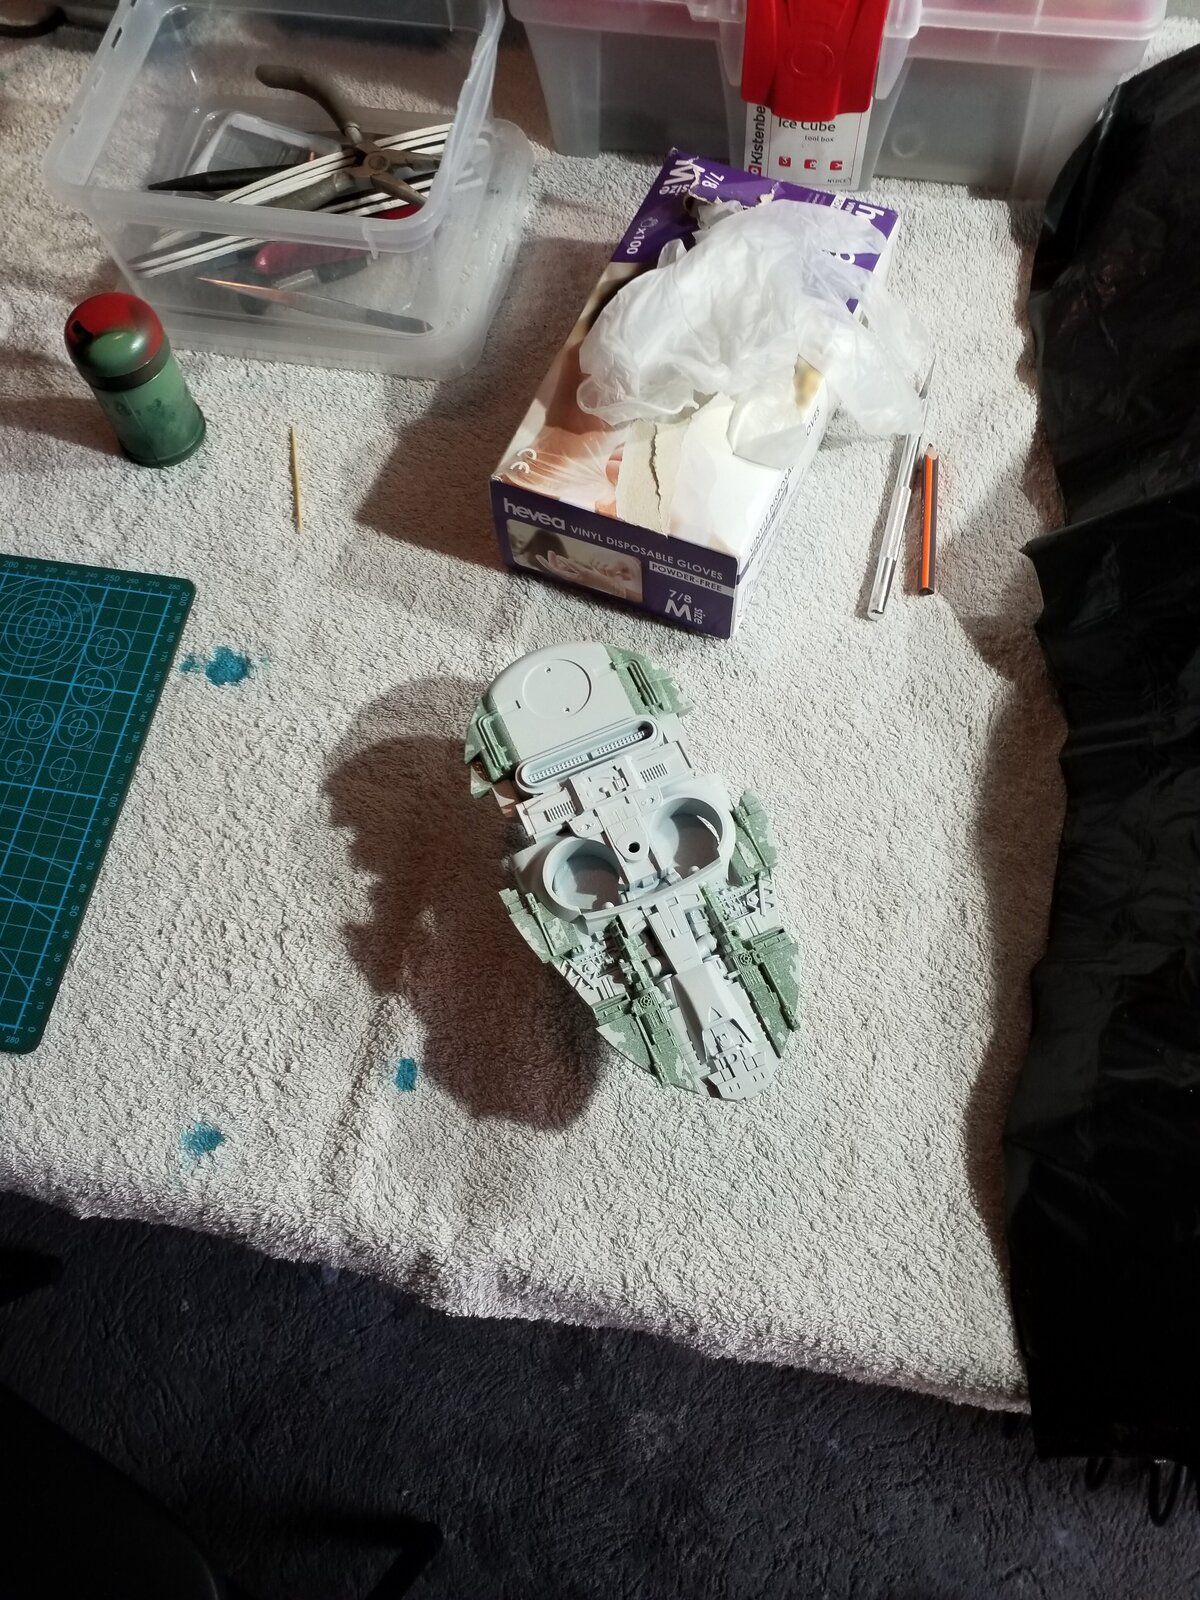
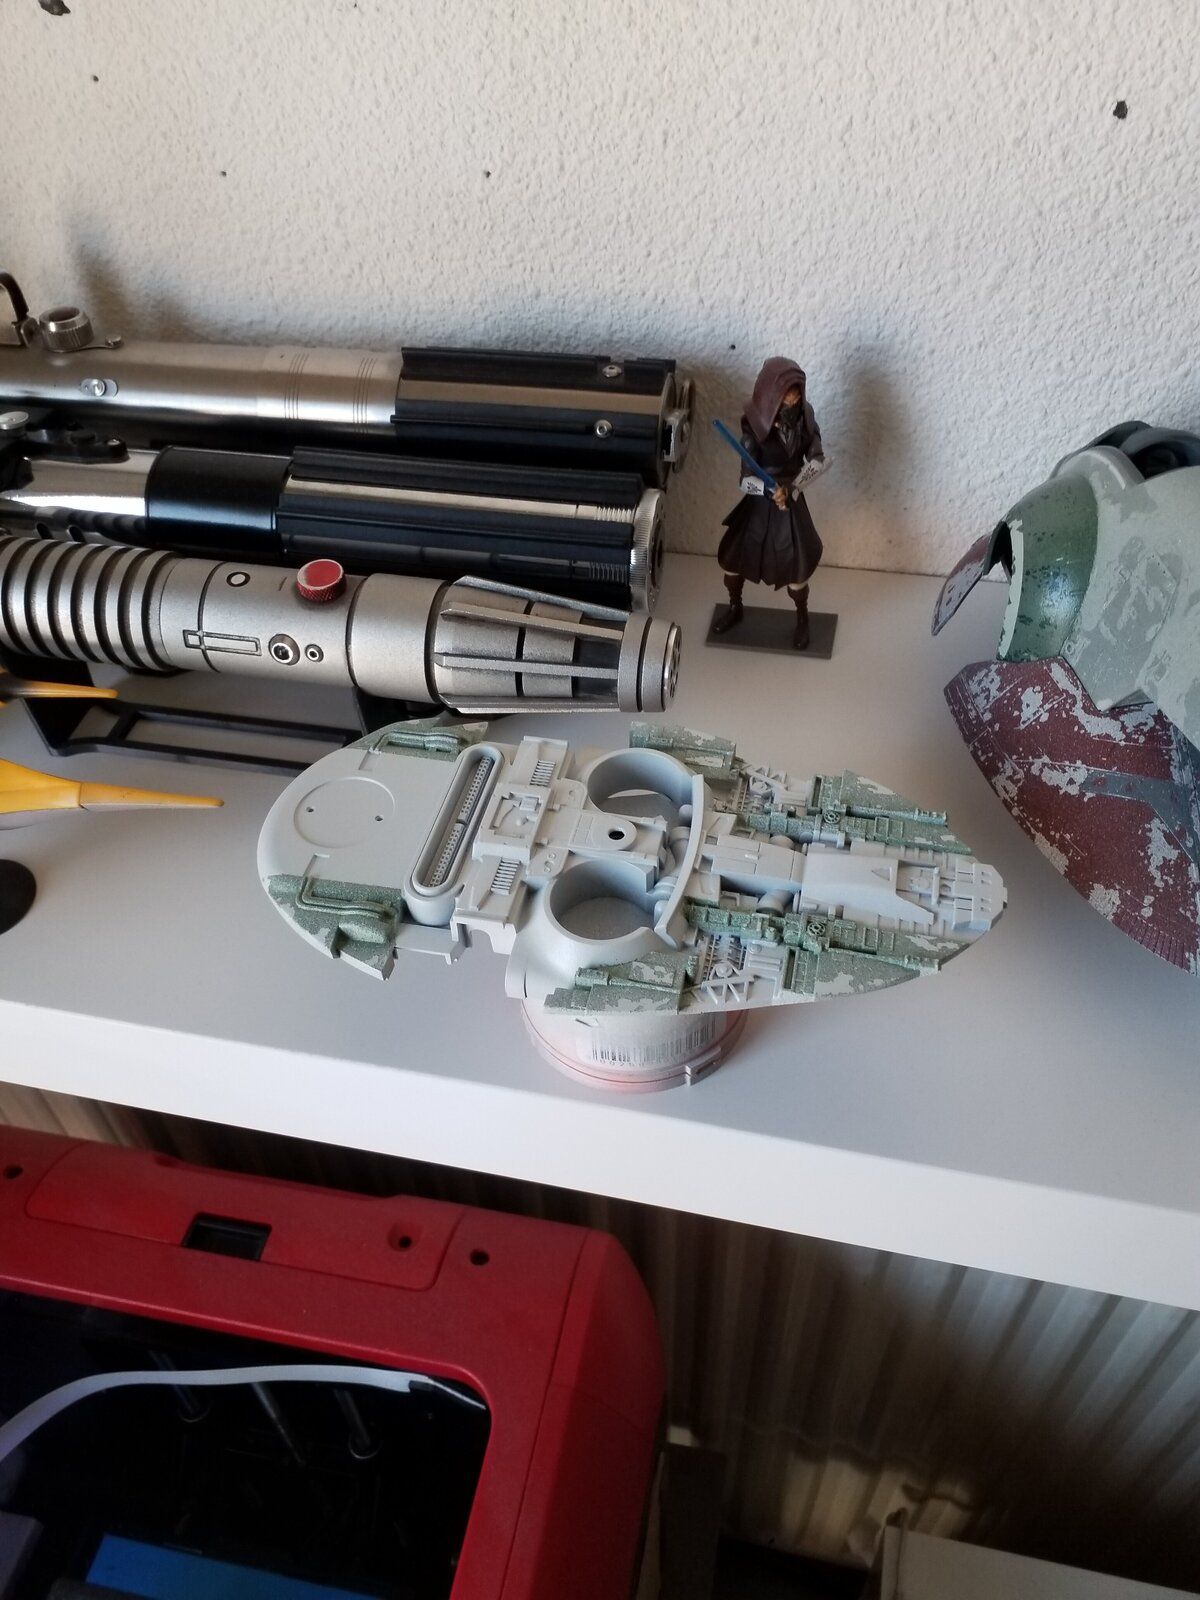
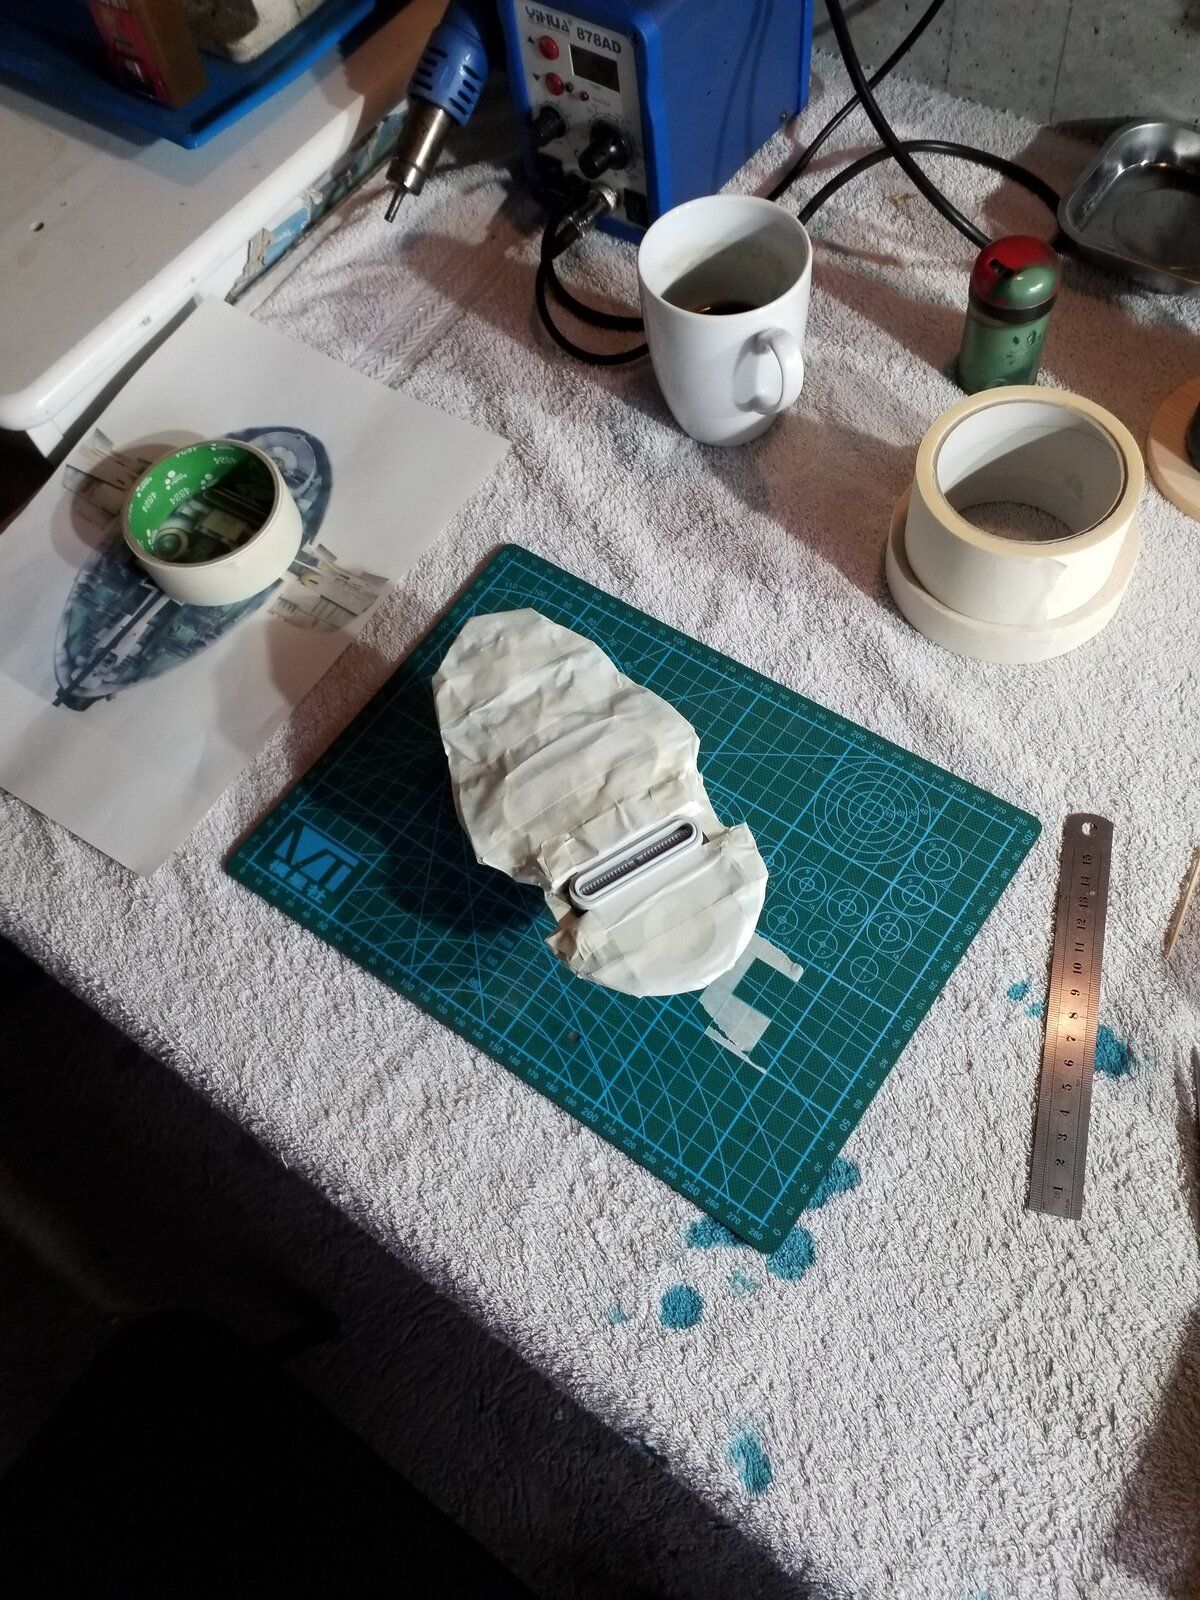
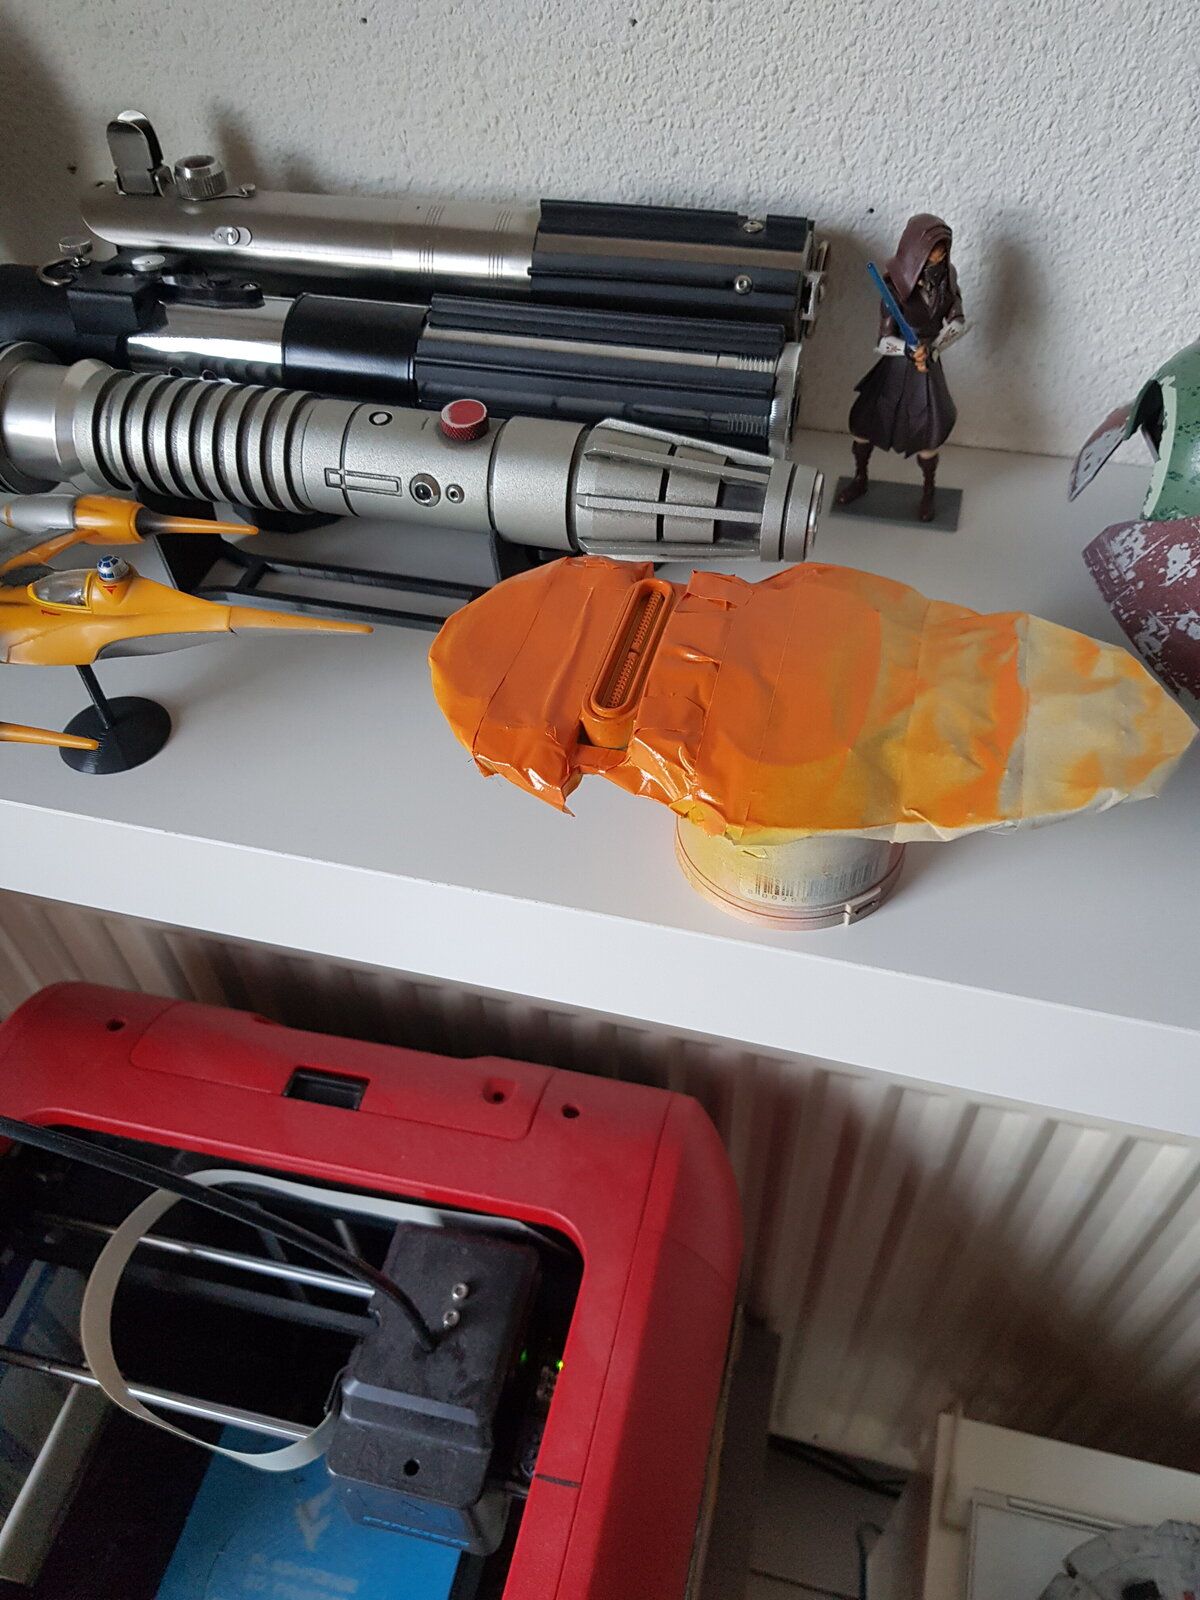
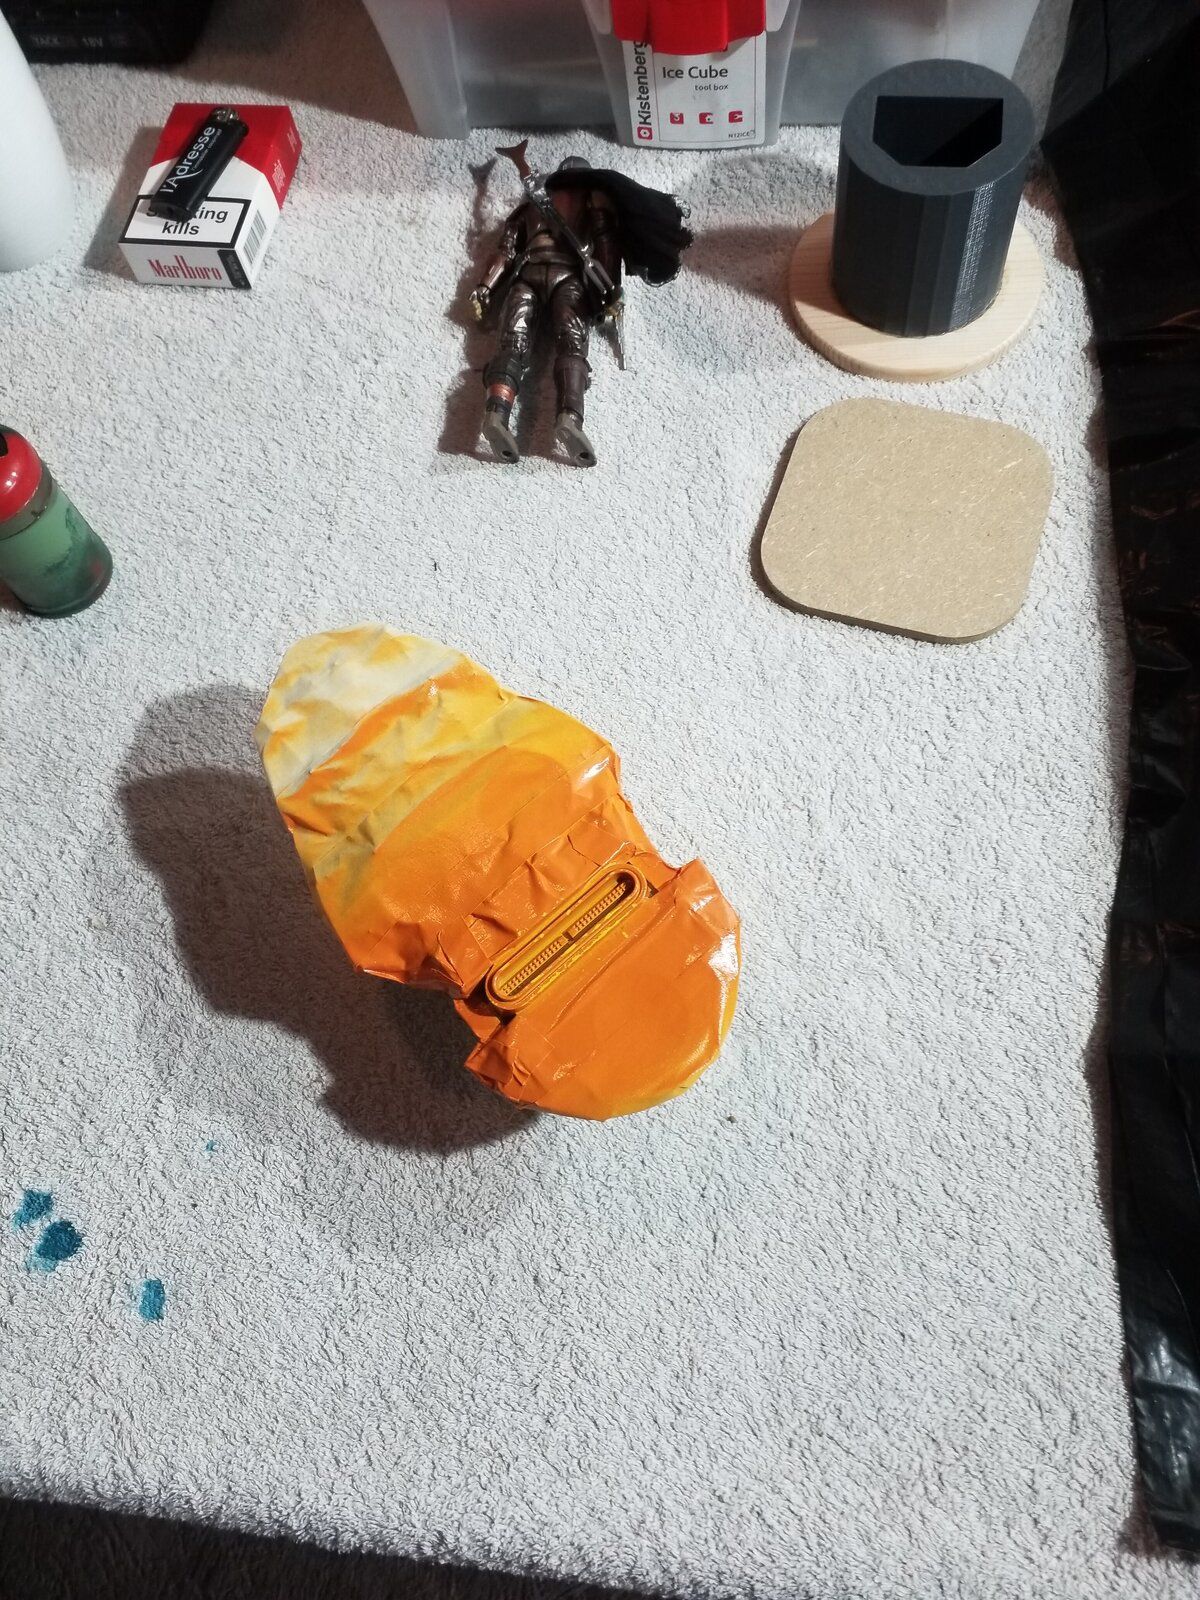
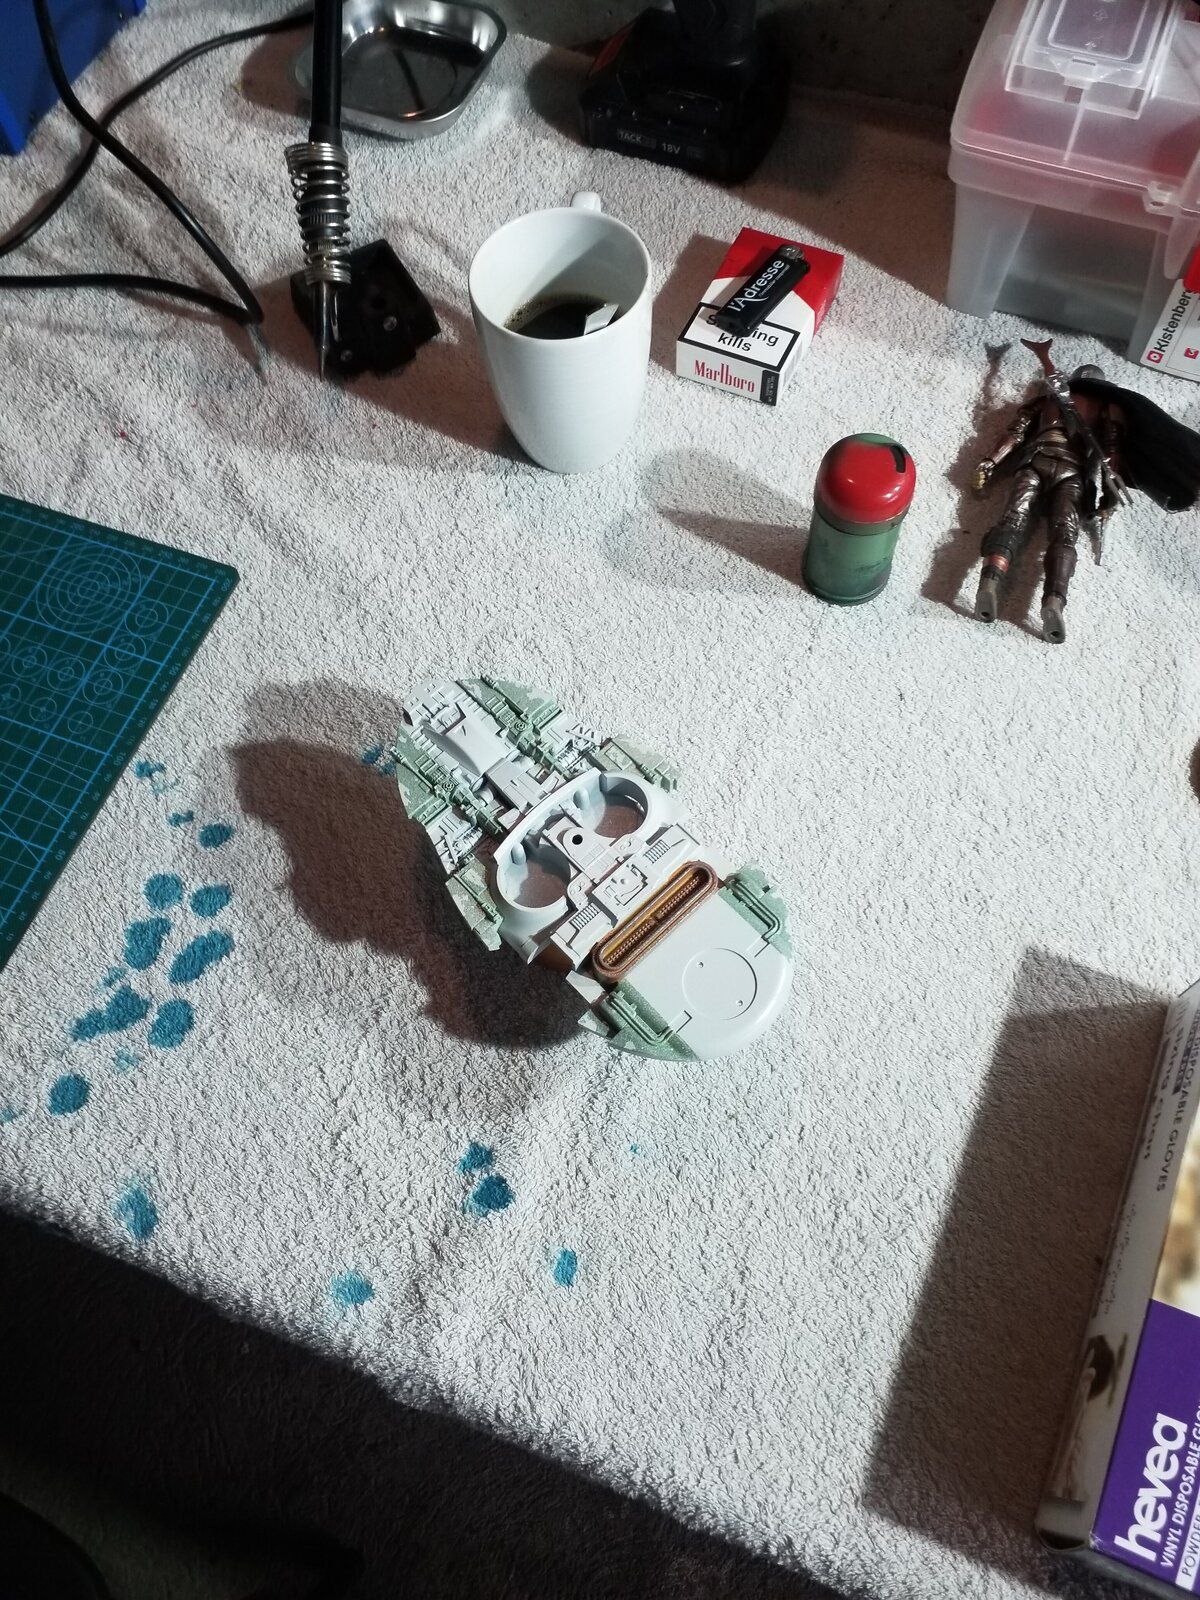
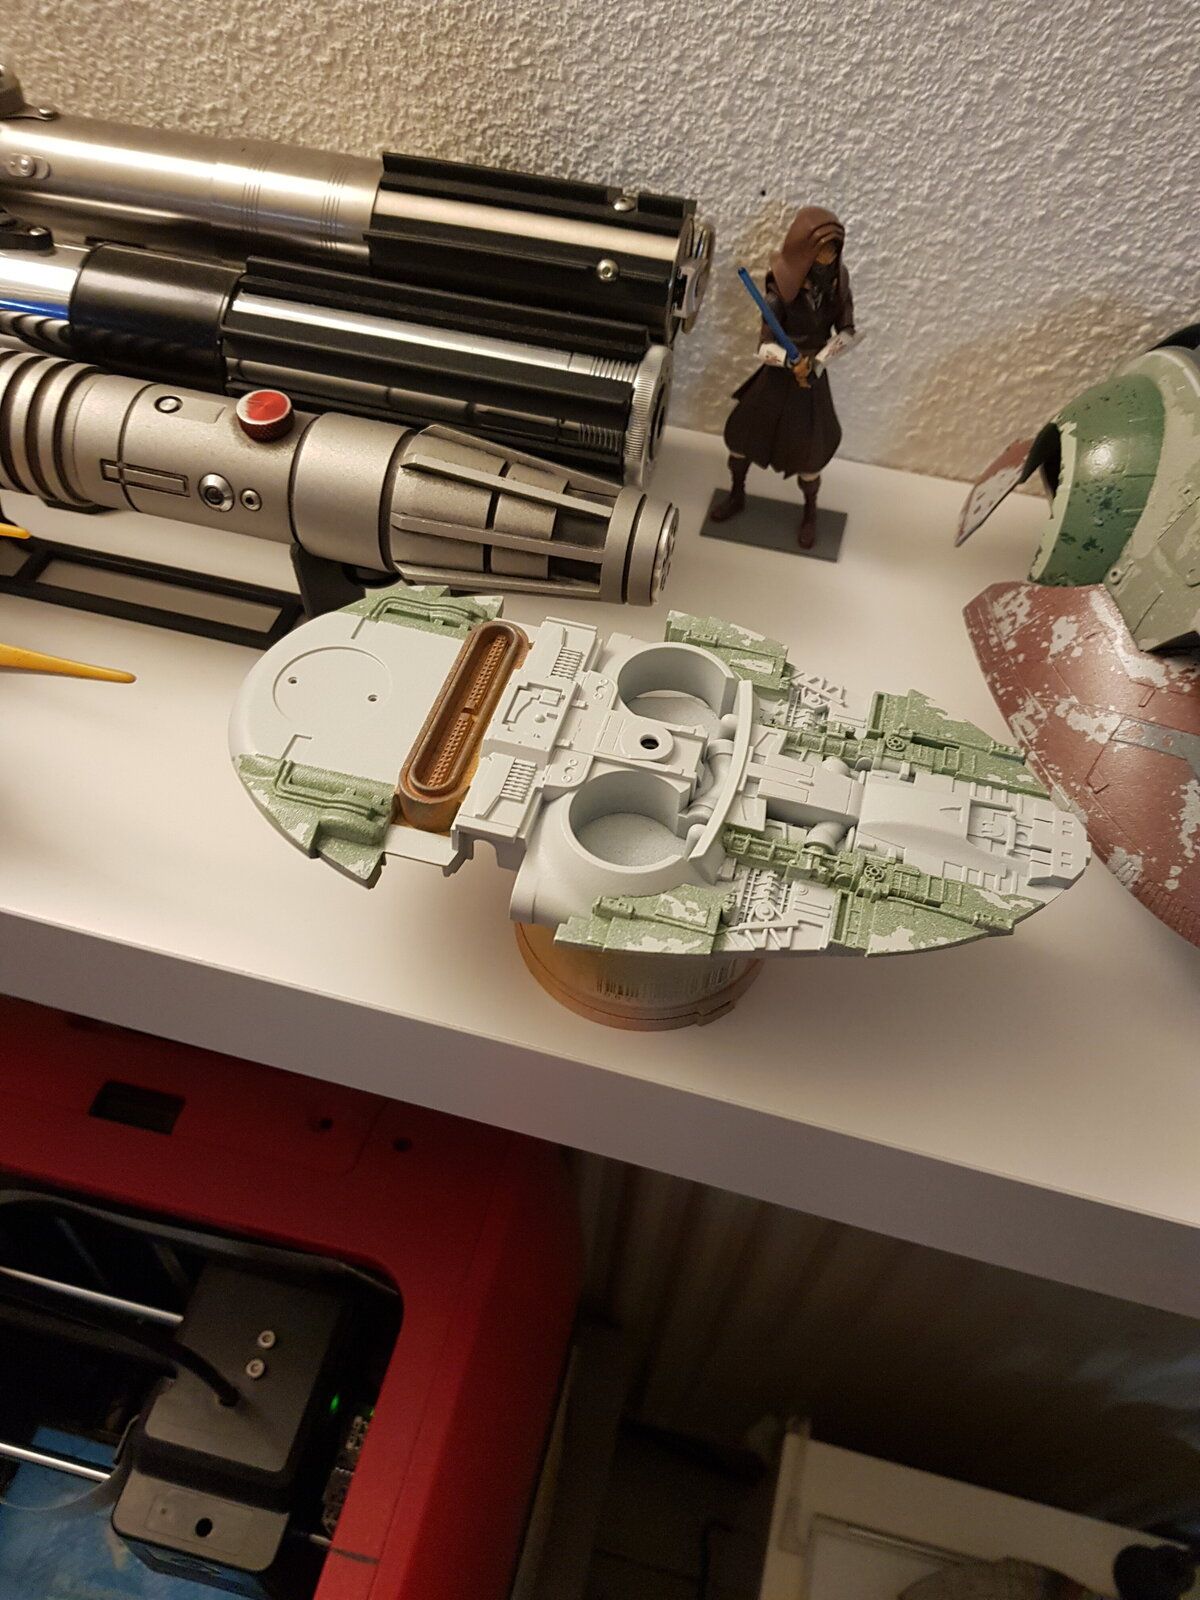
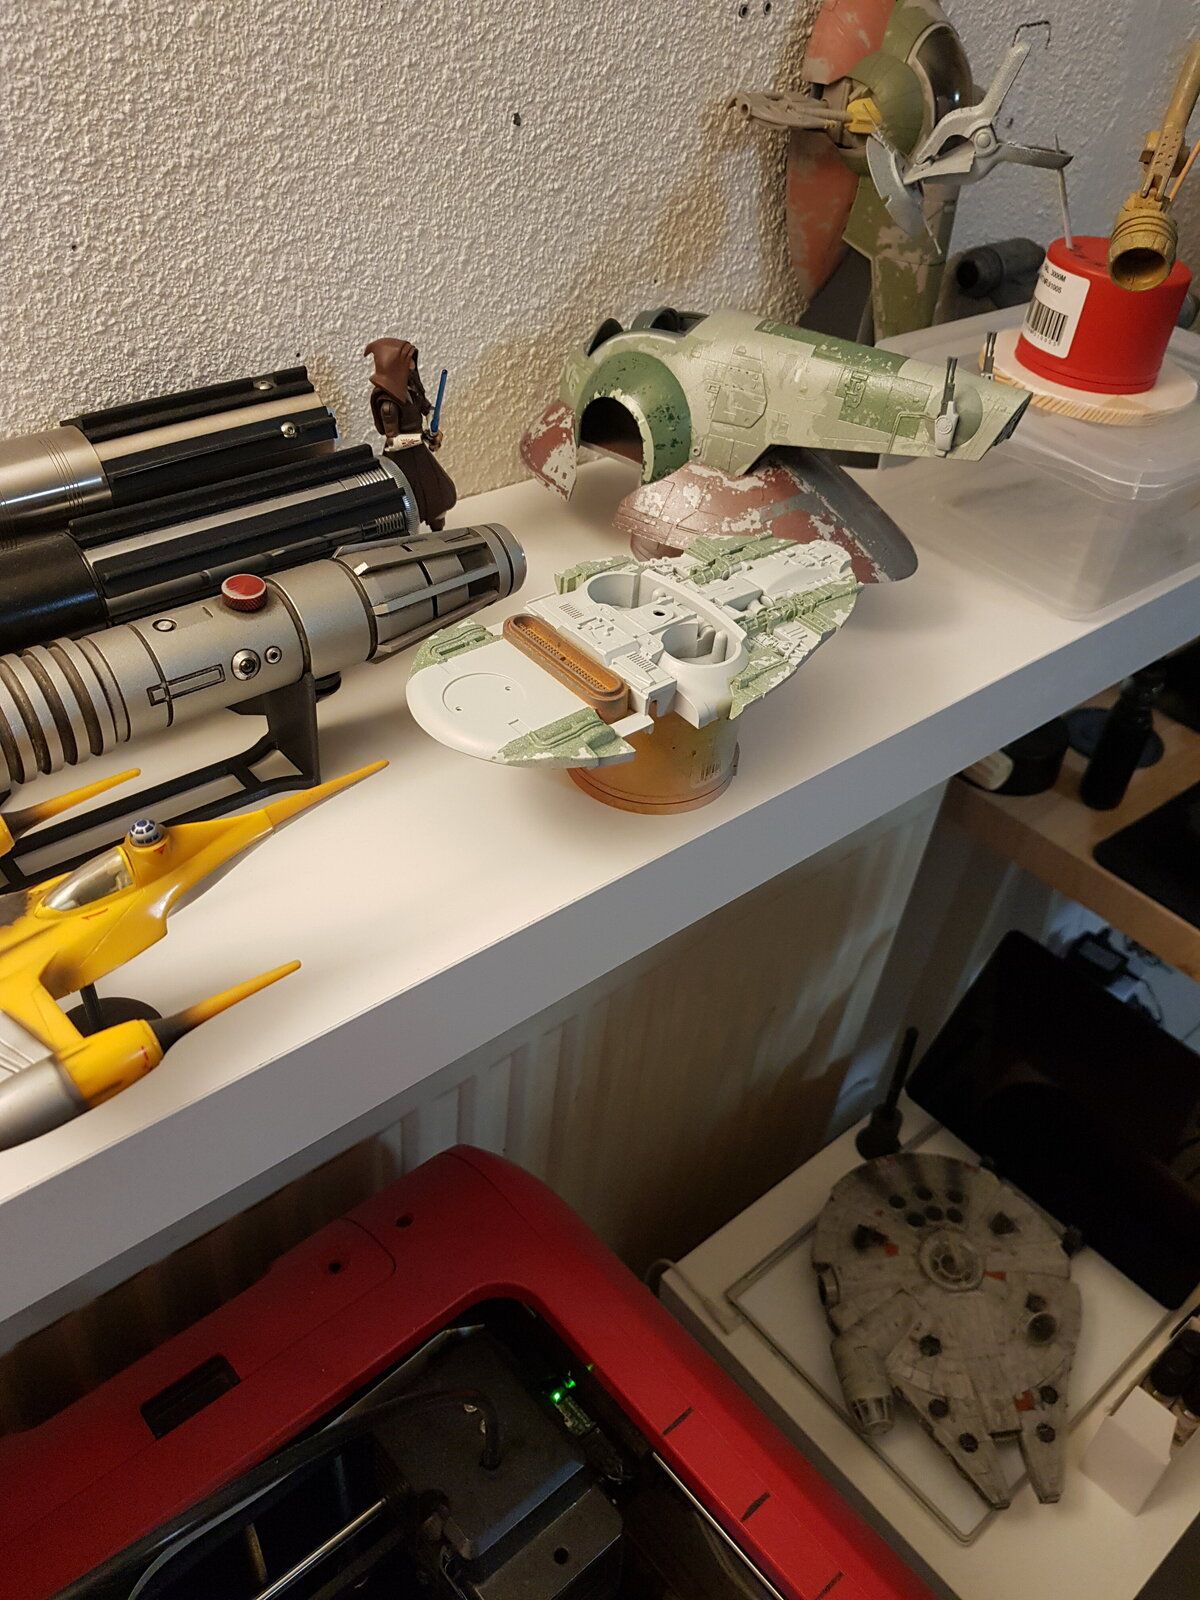
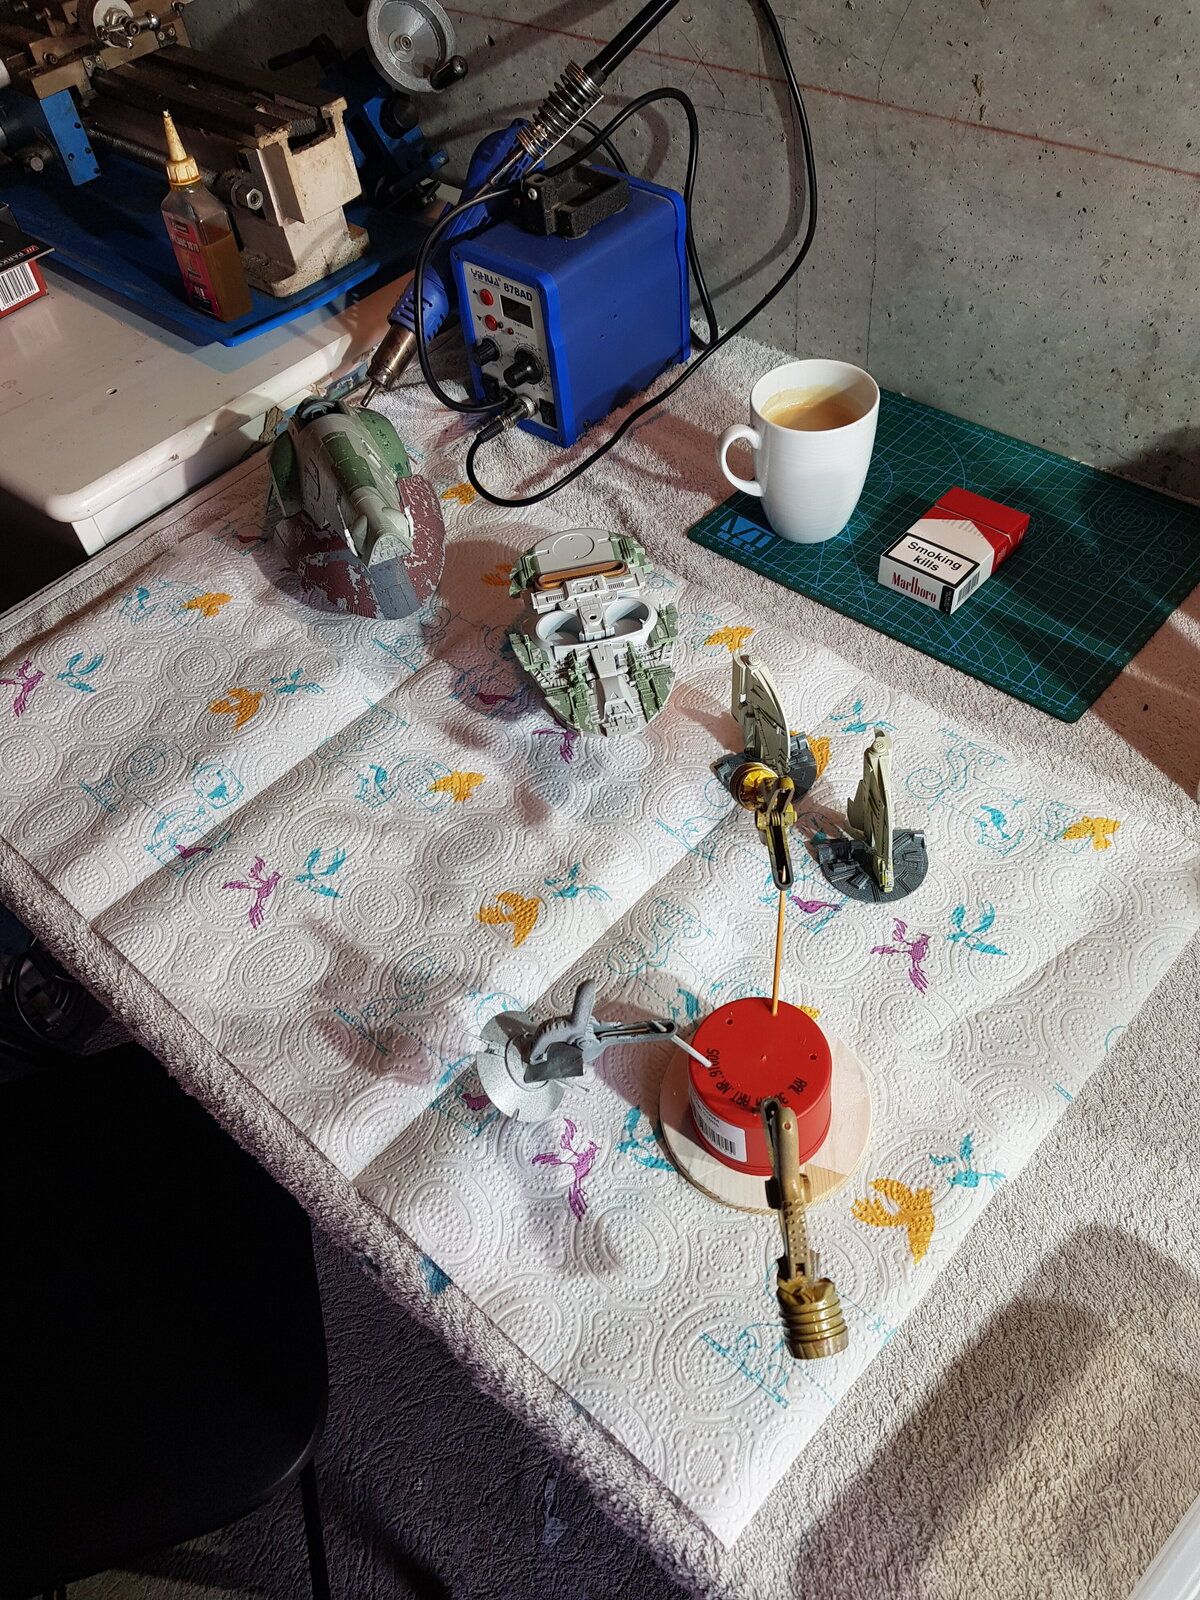
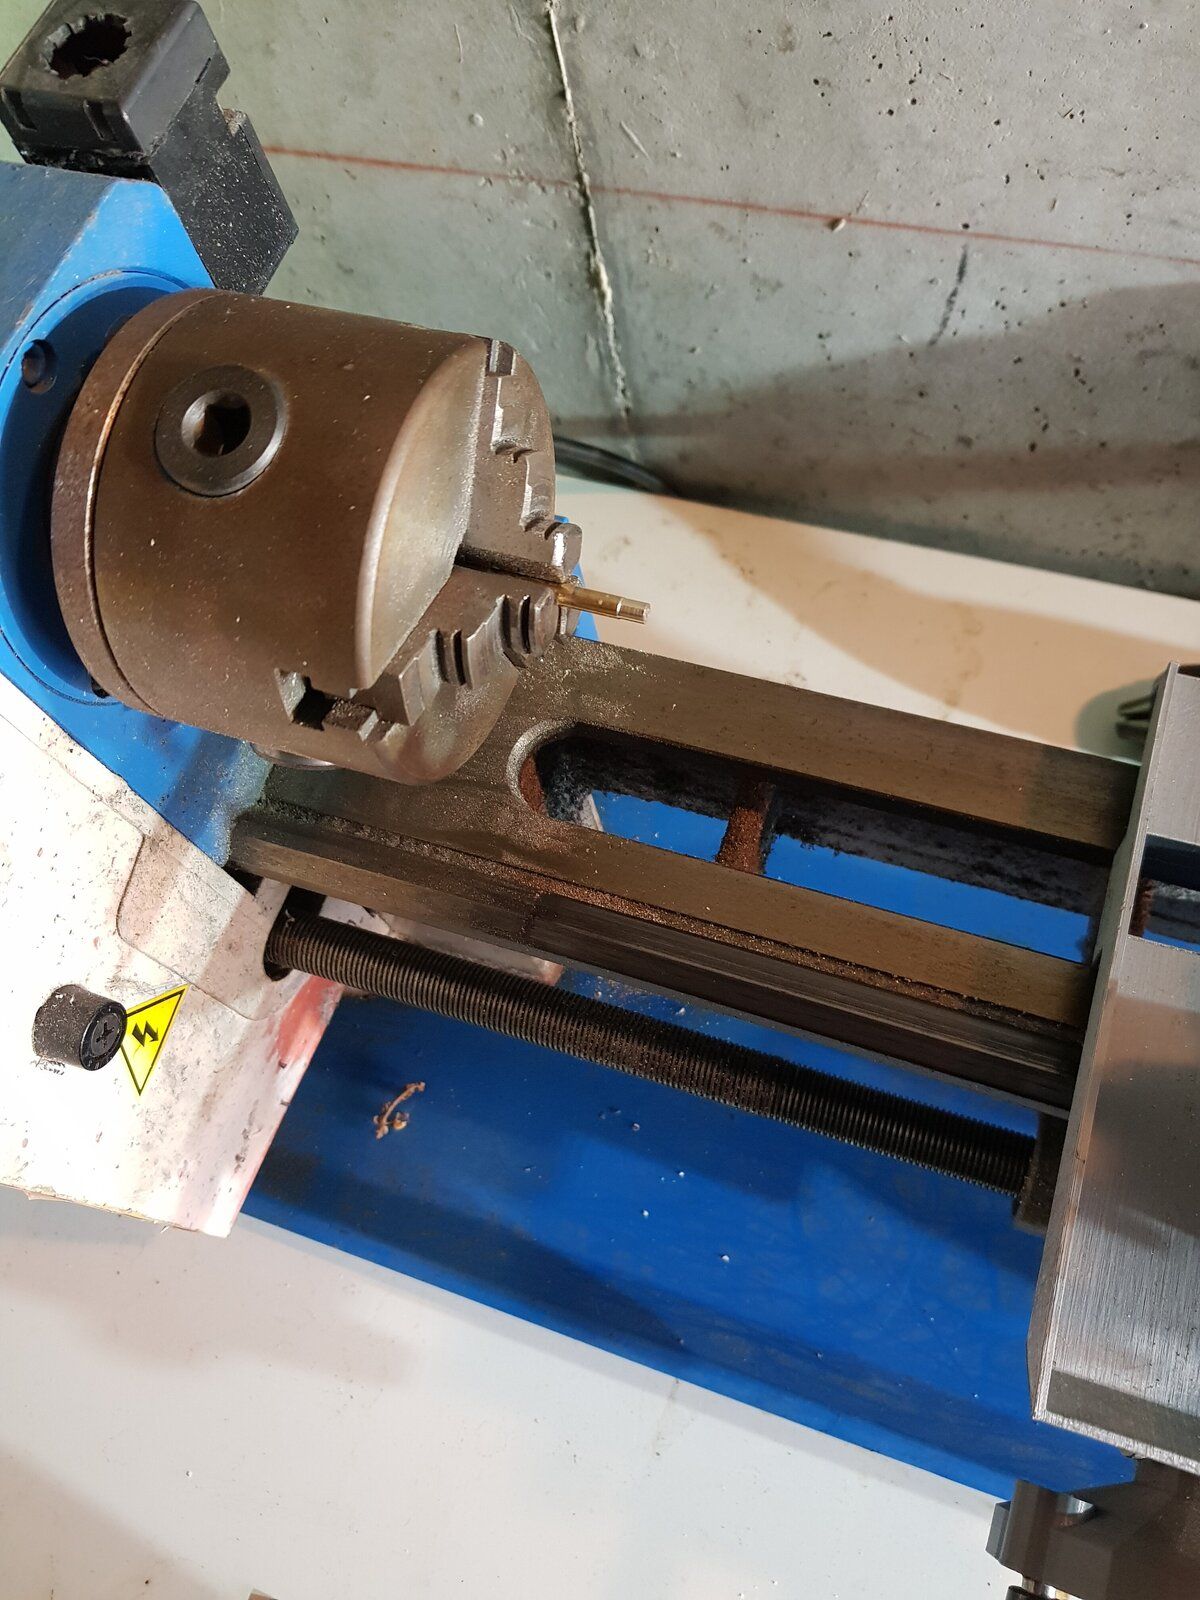
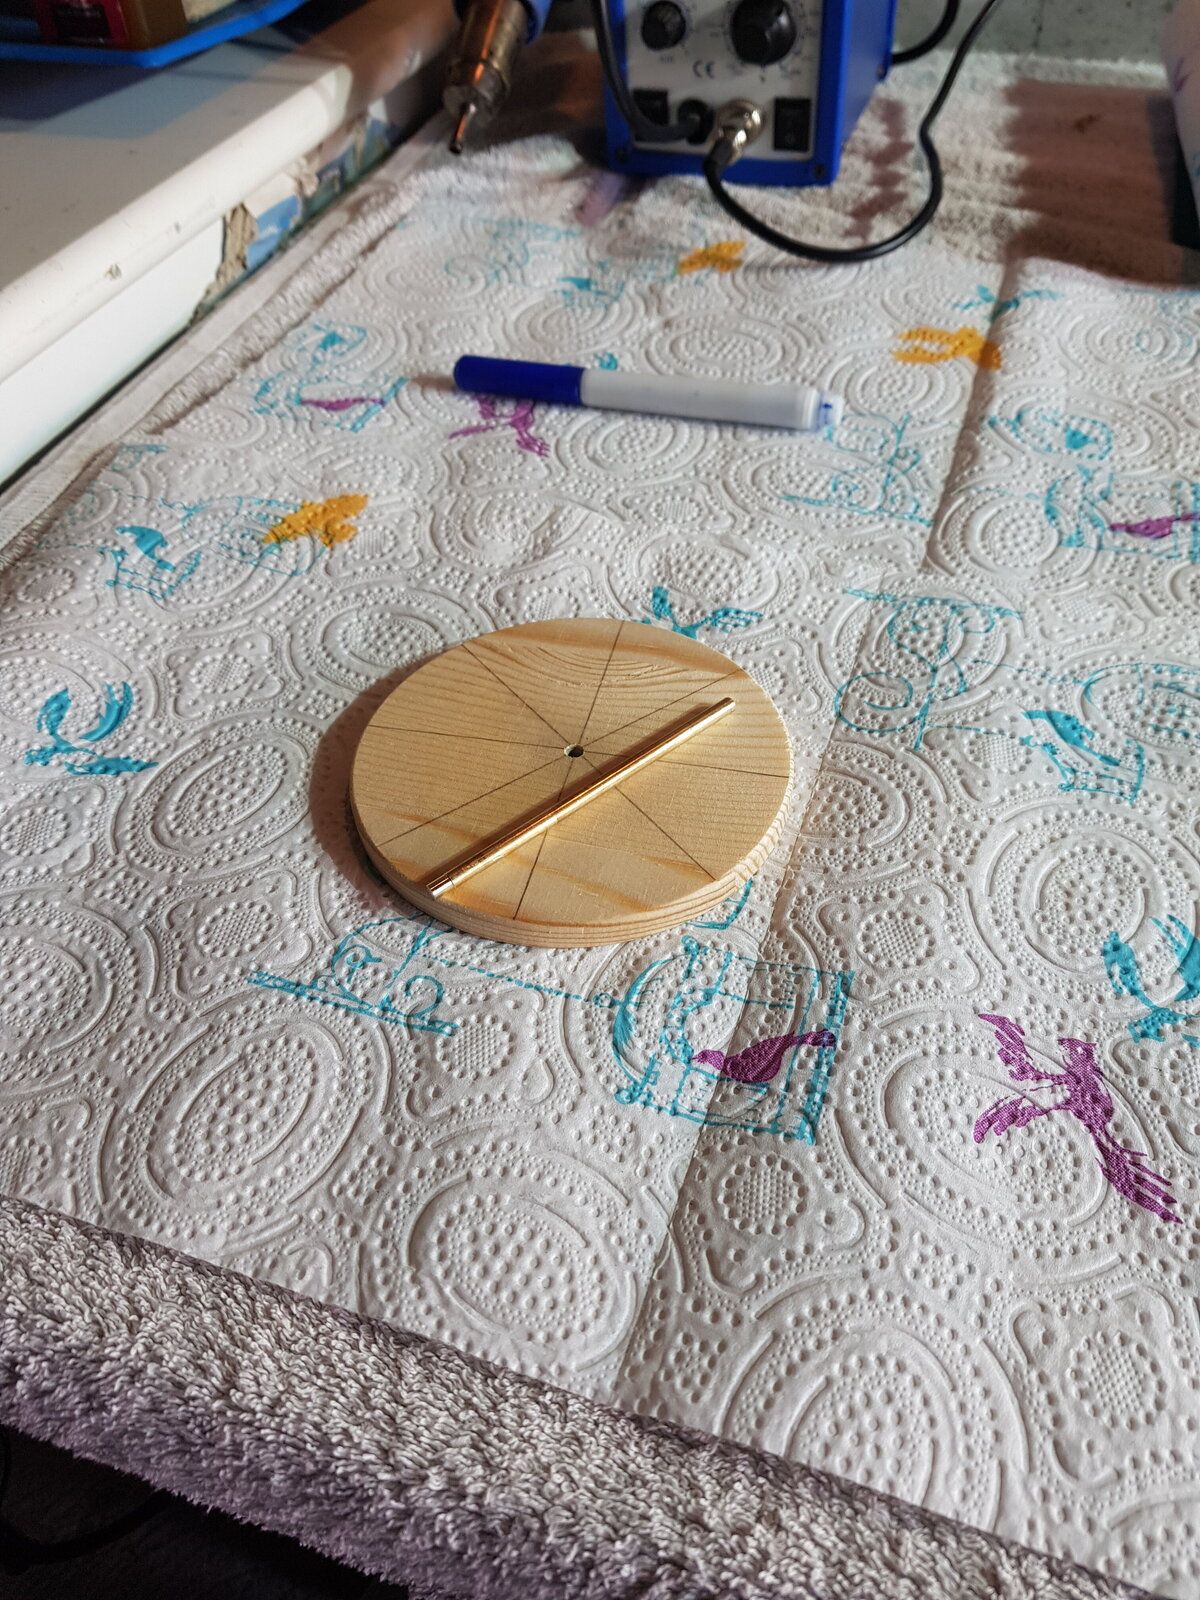
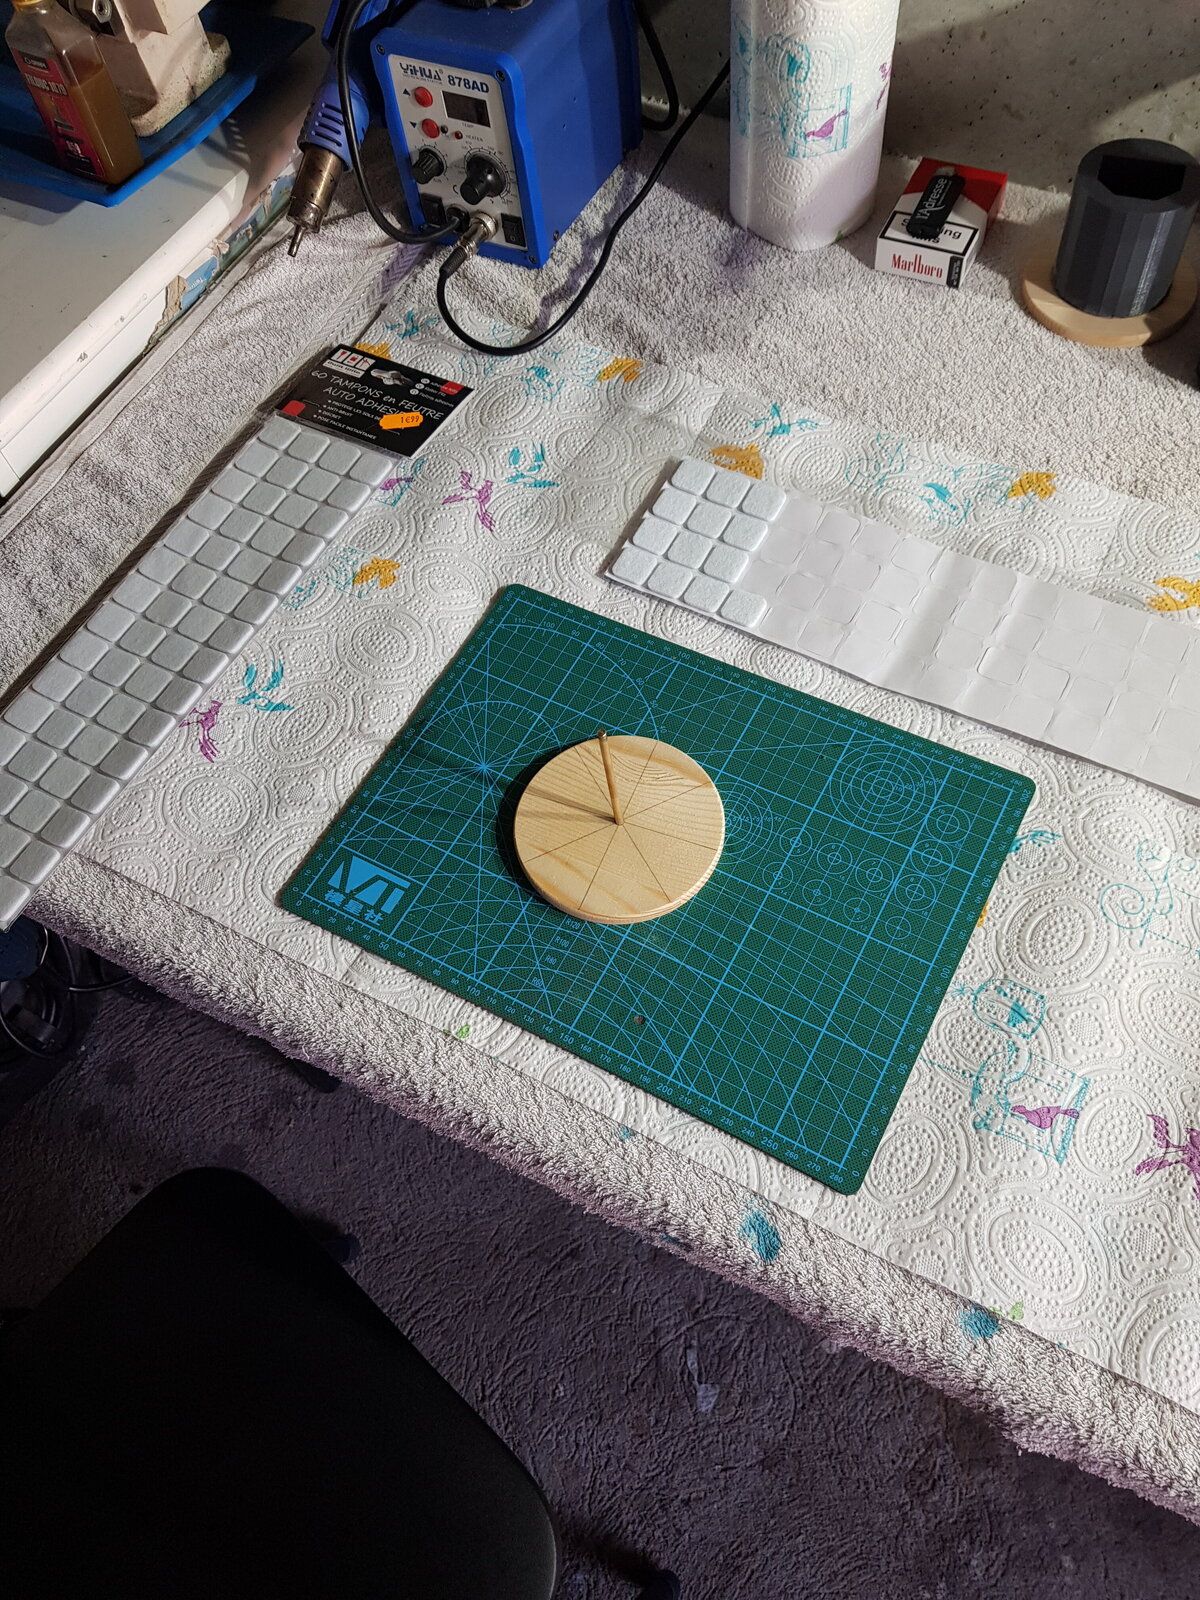
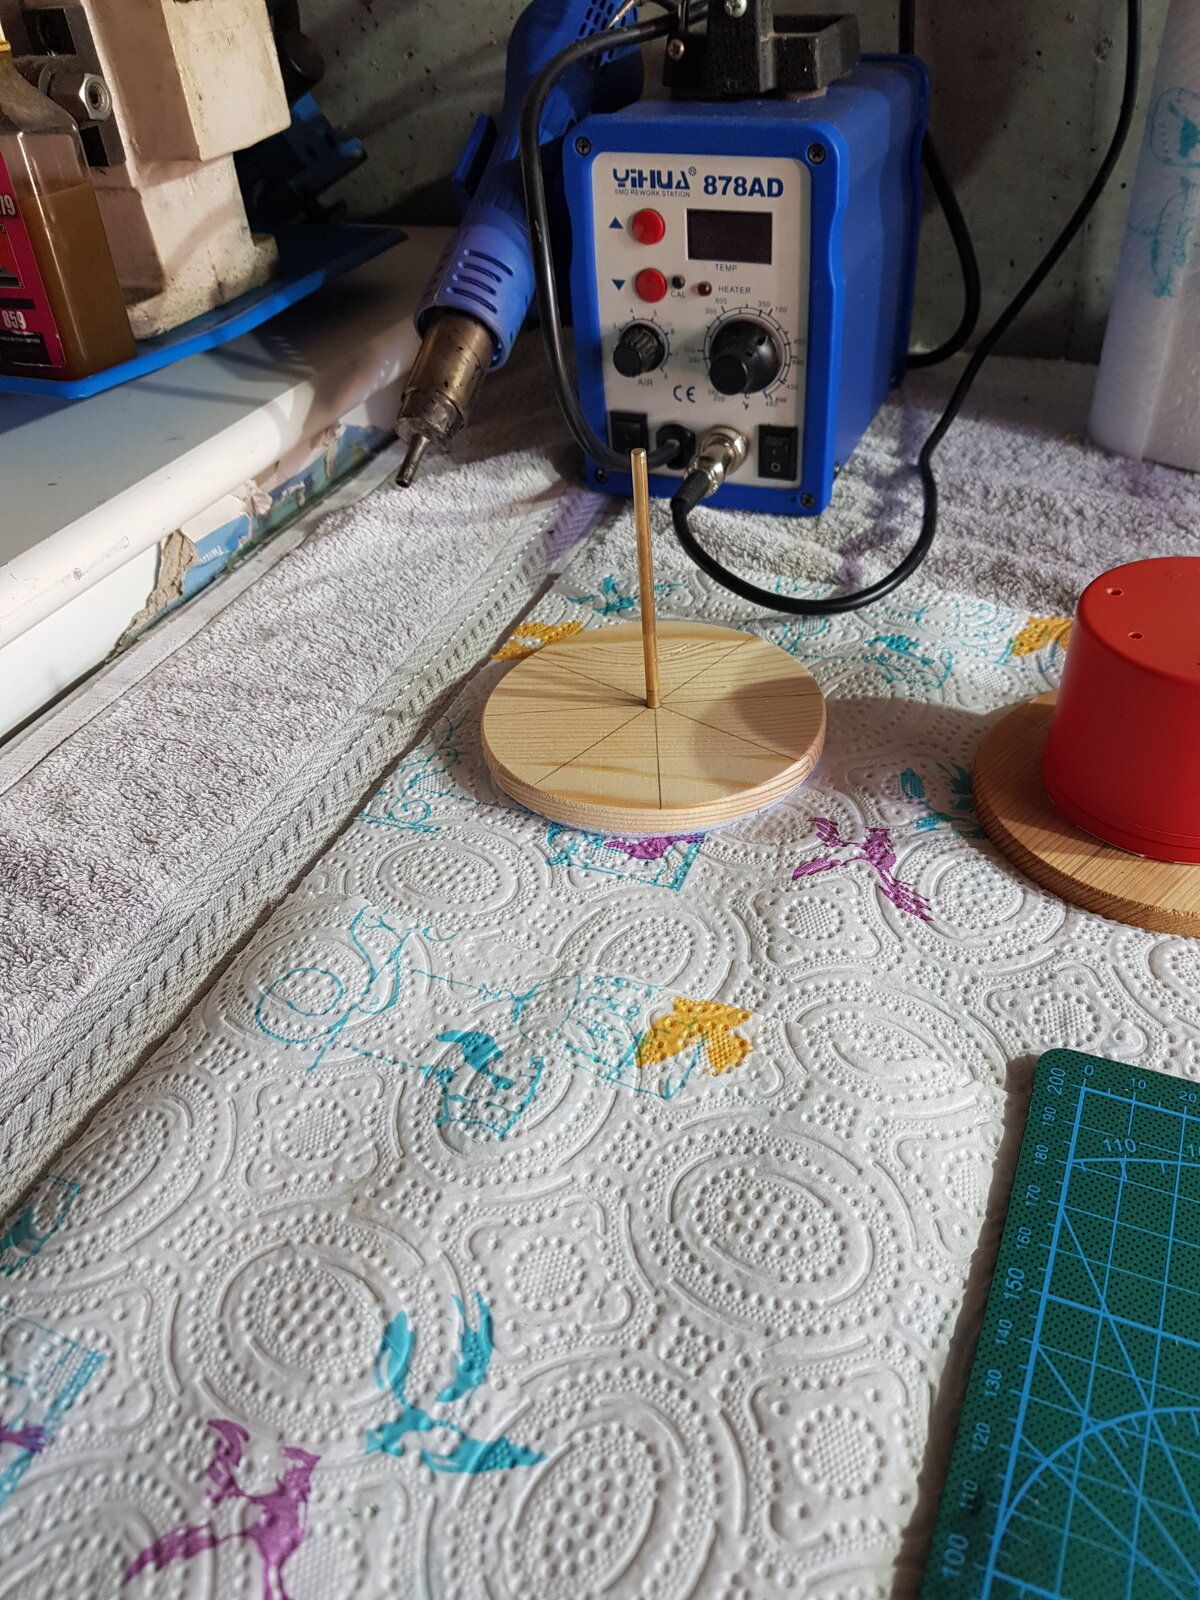
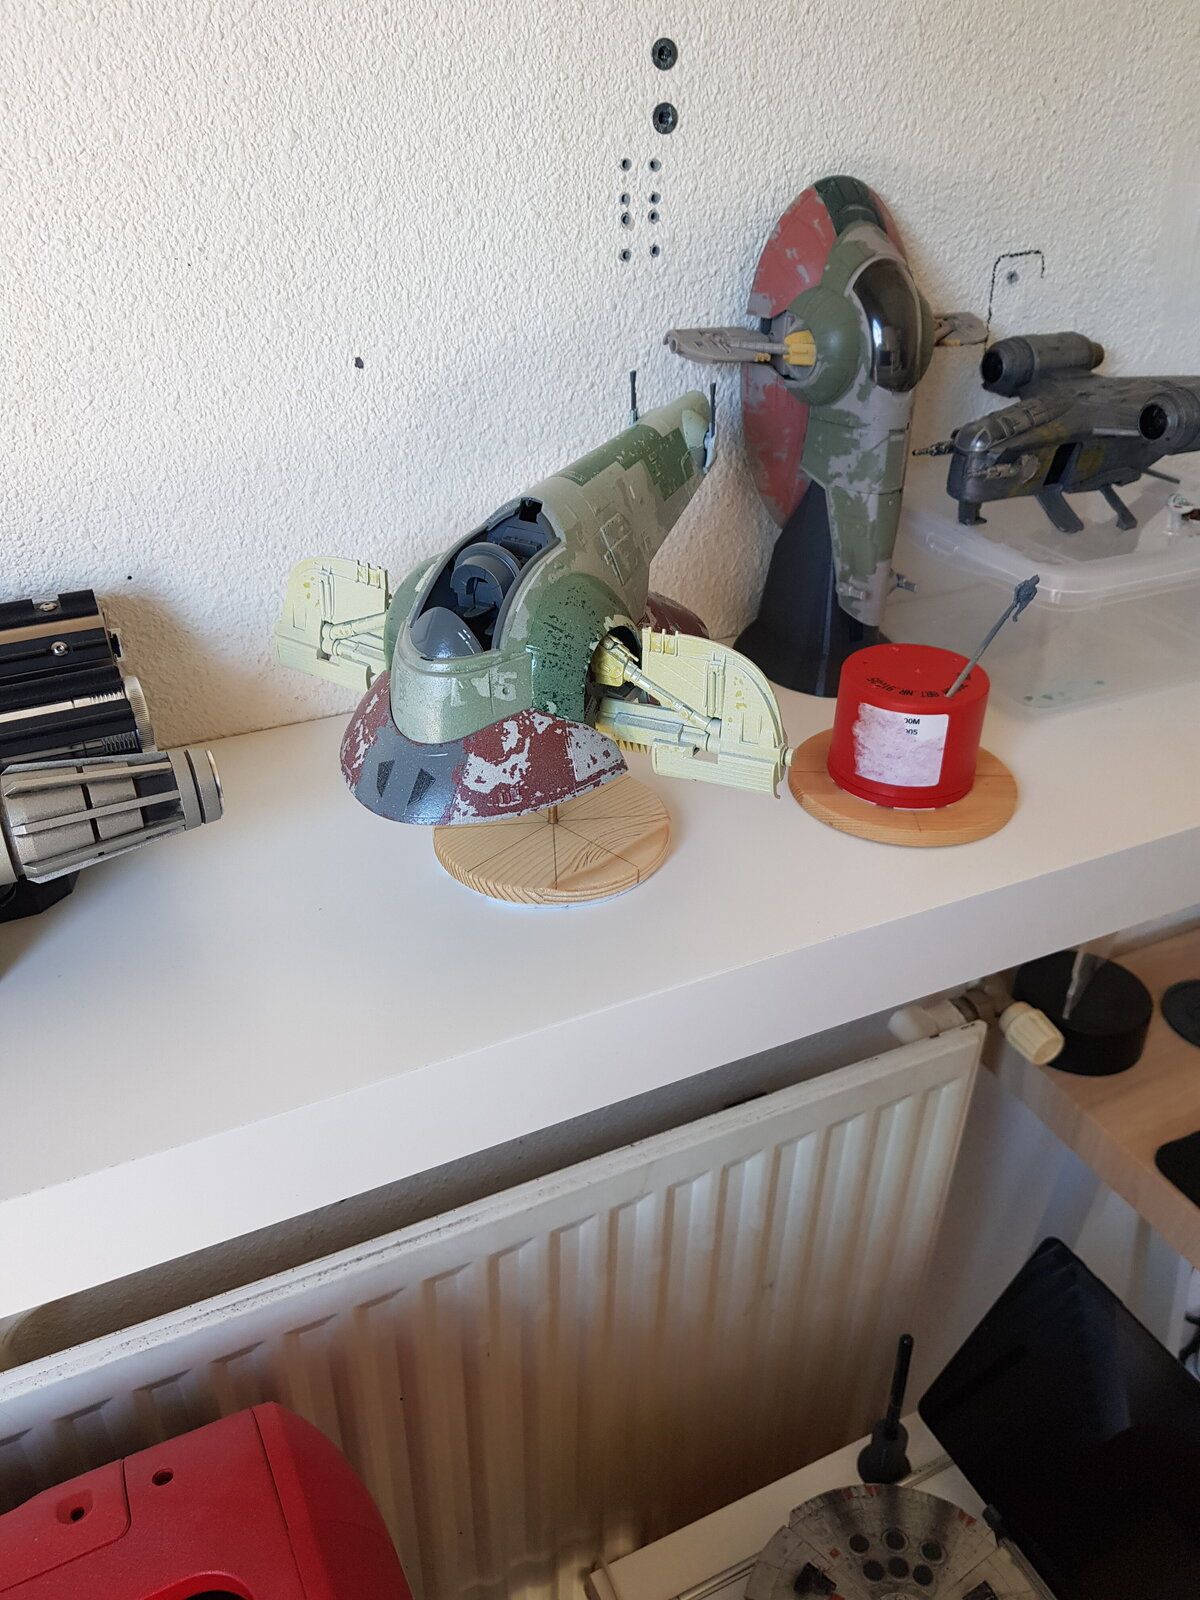
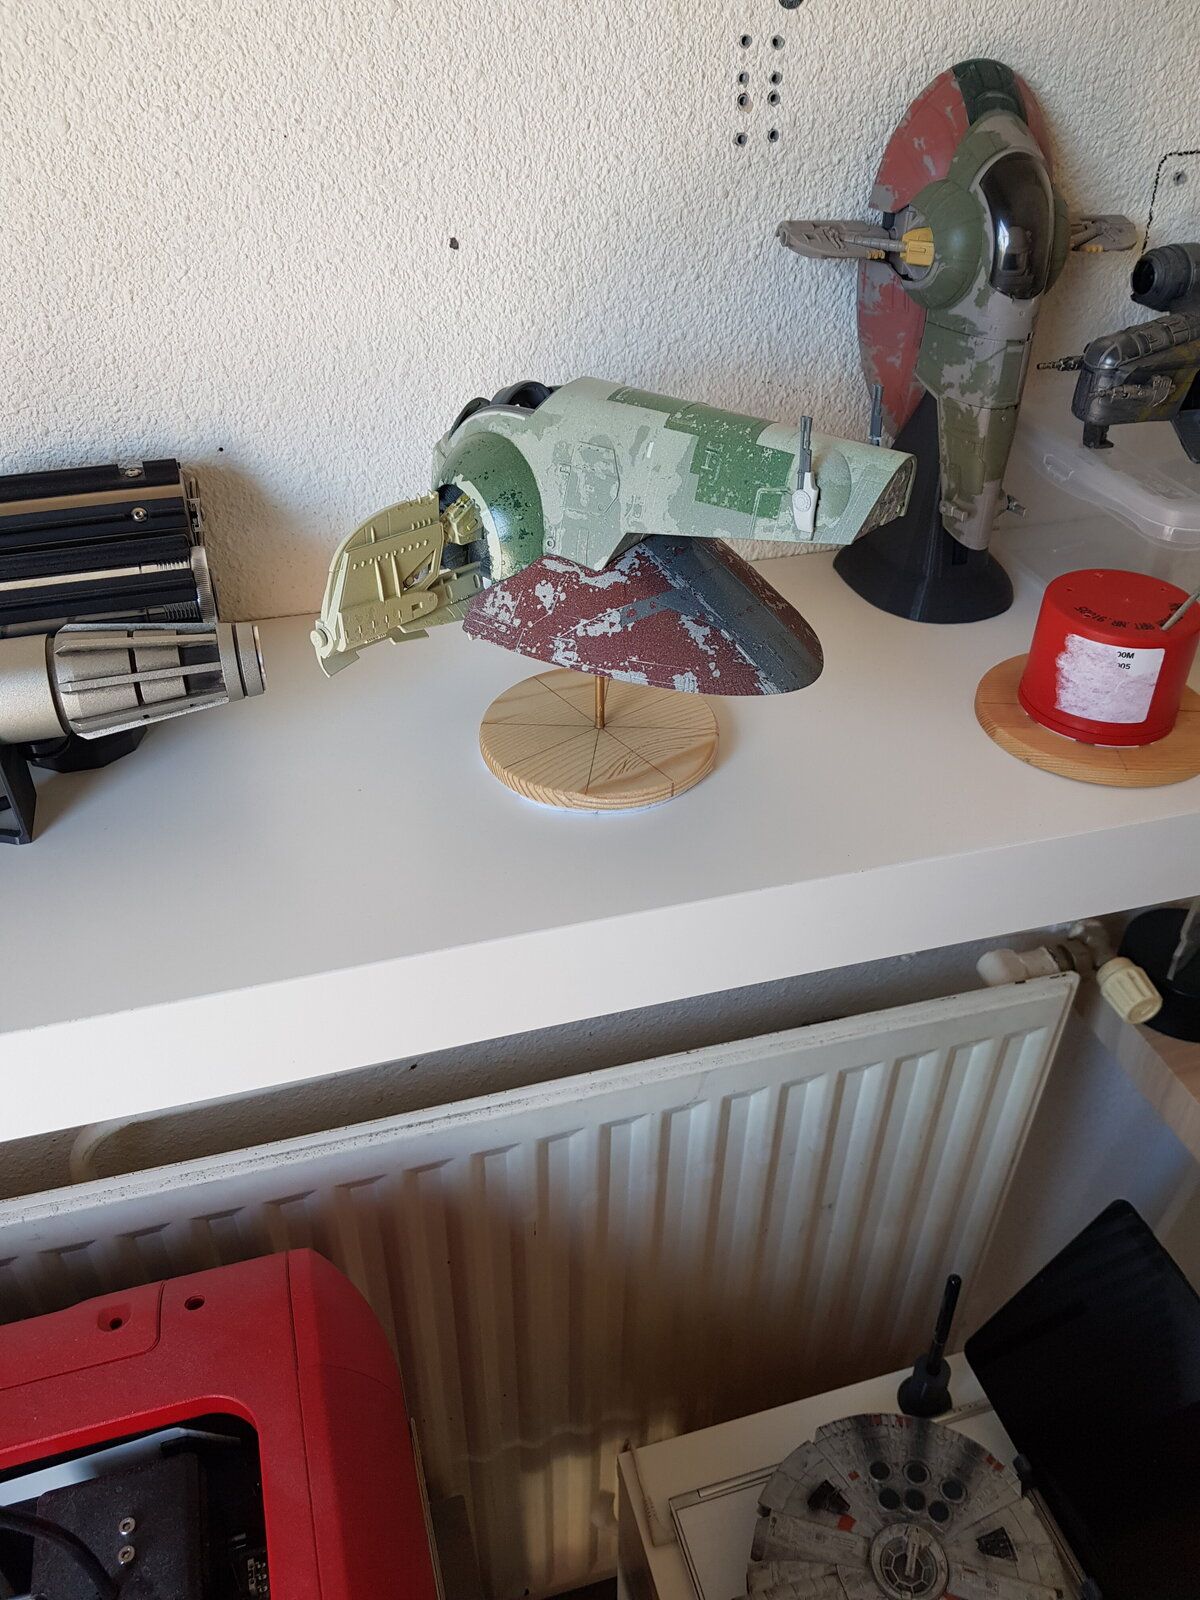
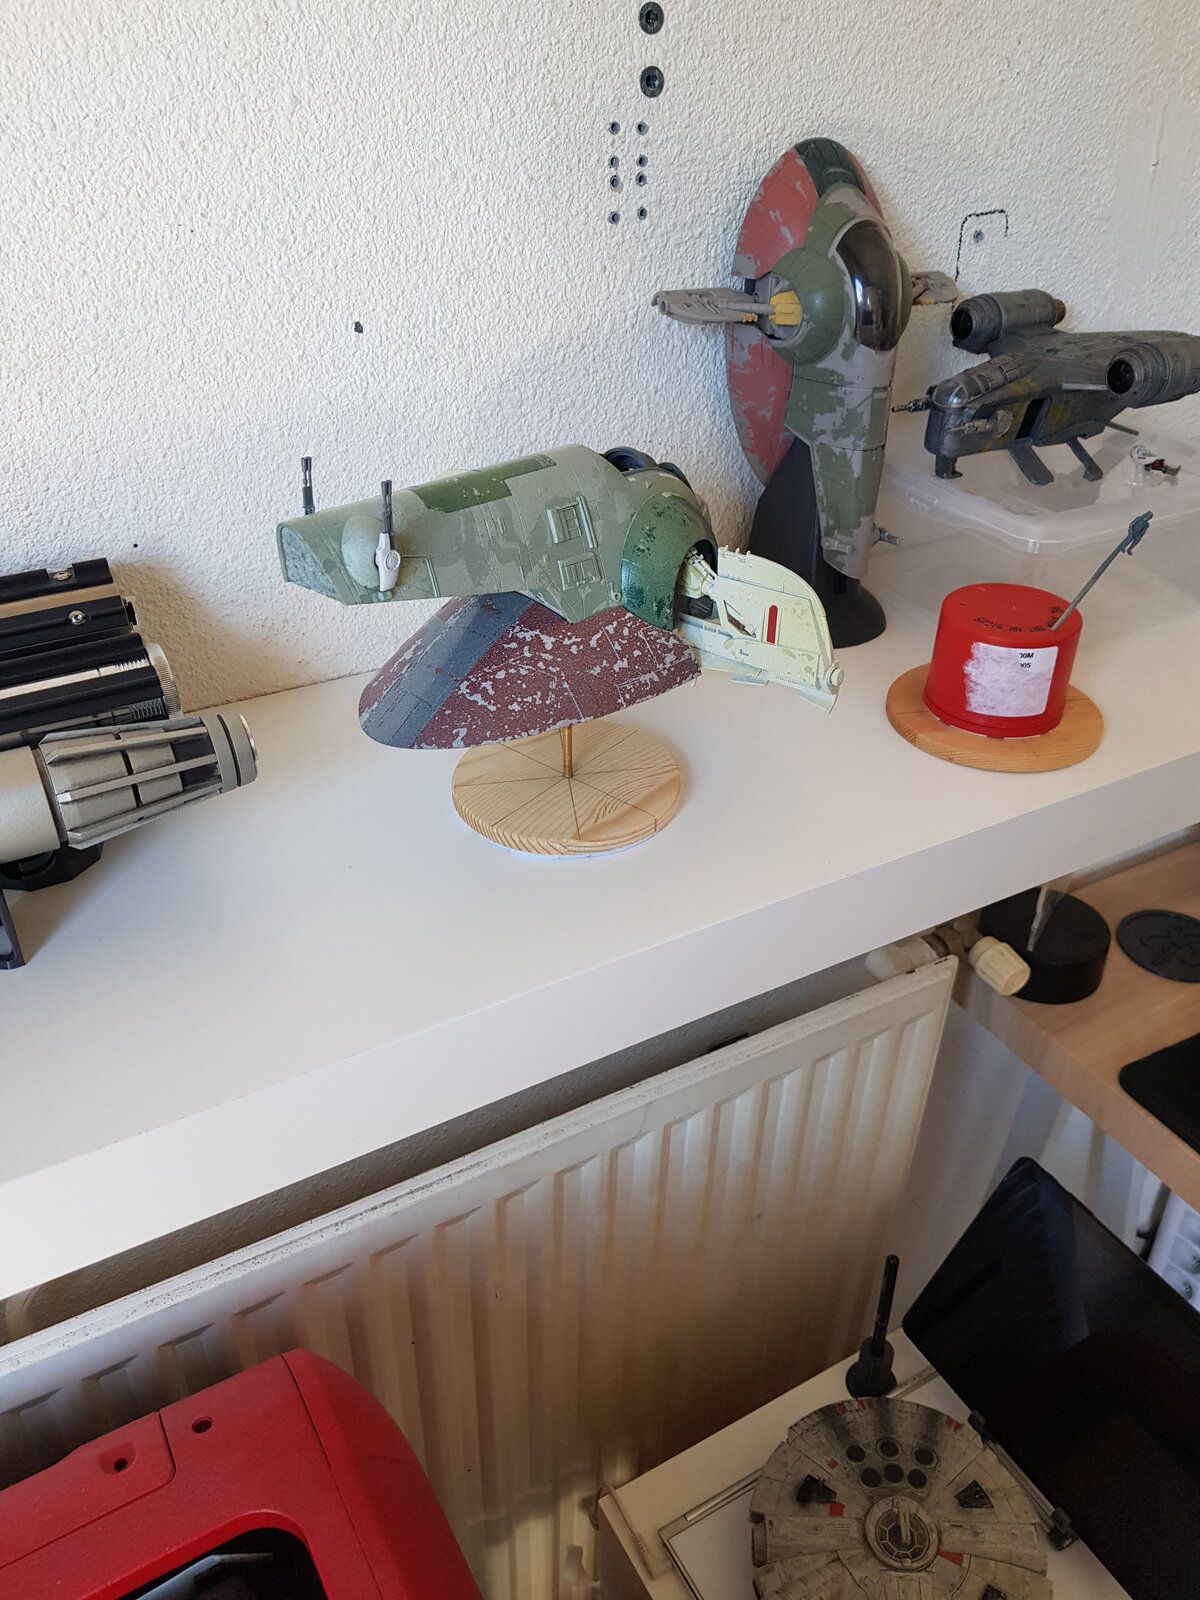
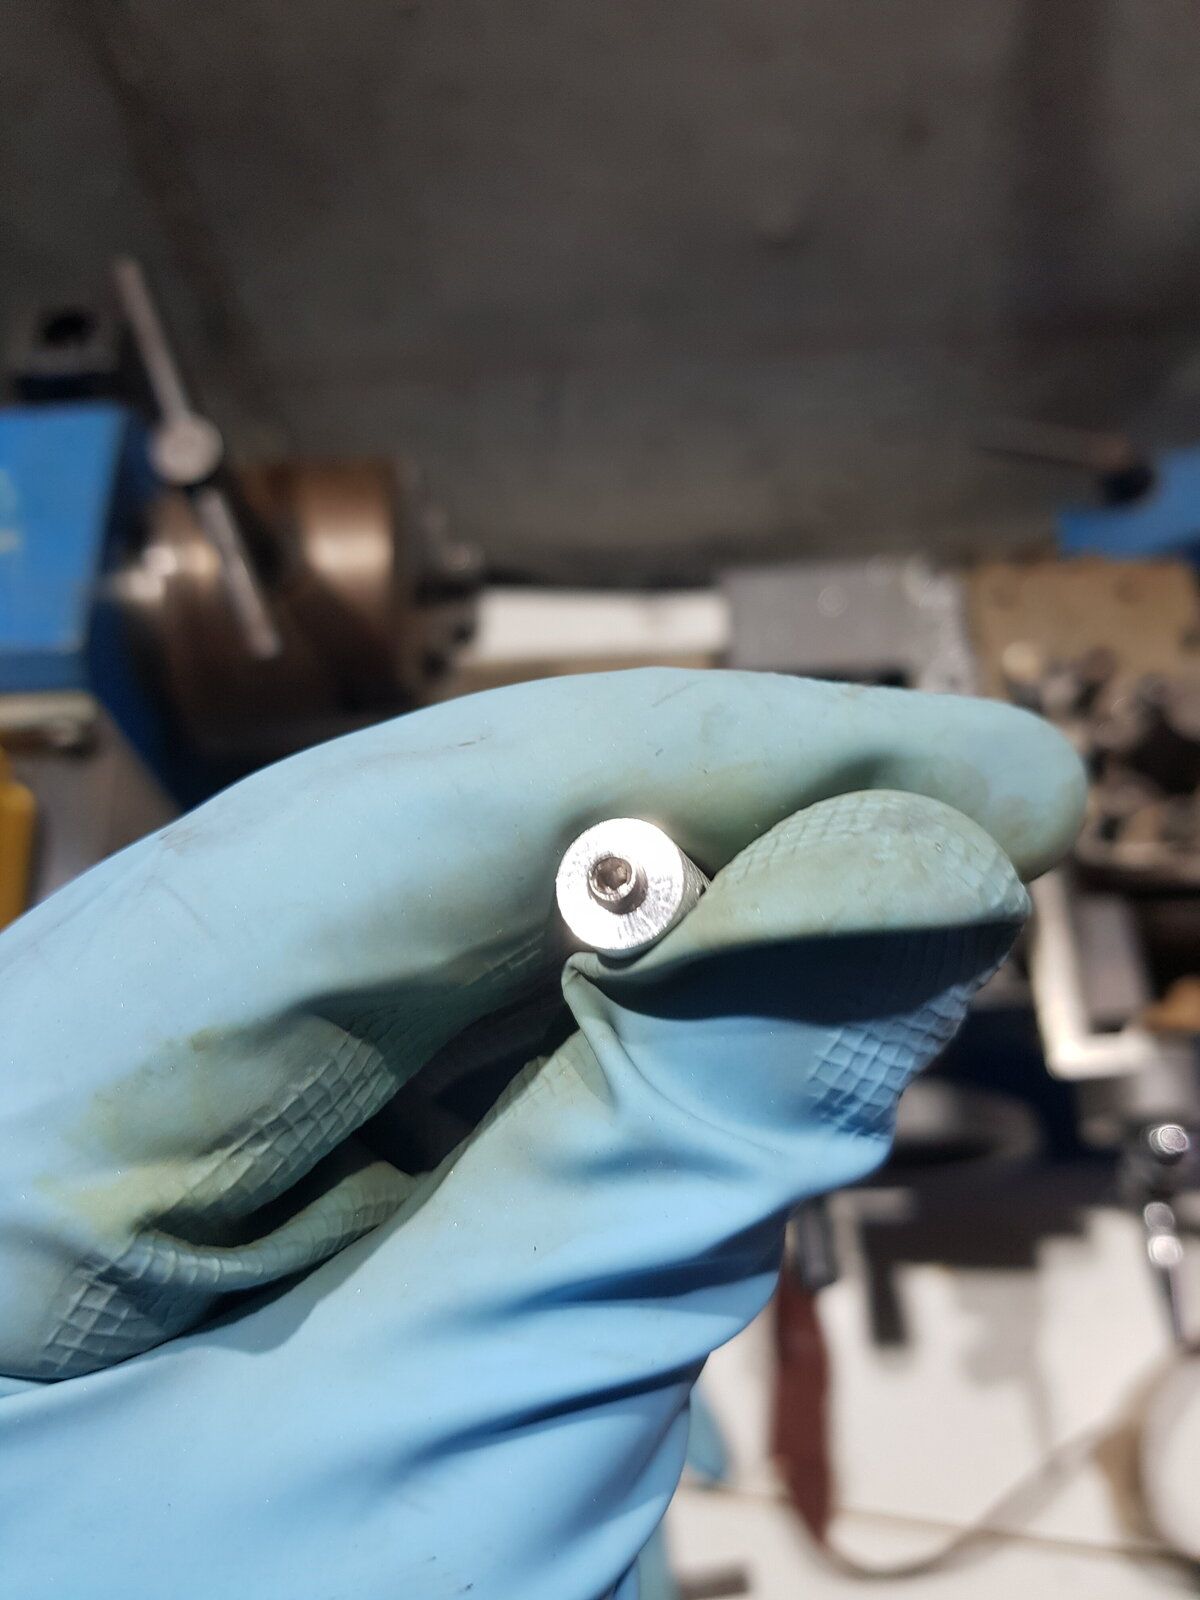
Hello everyone, long time no see 
But now I am back
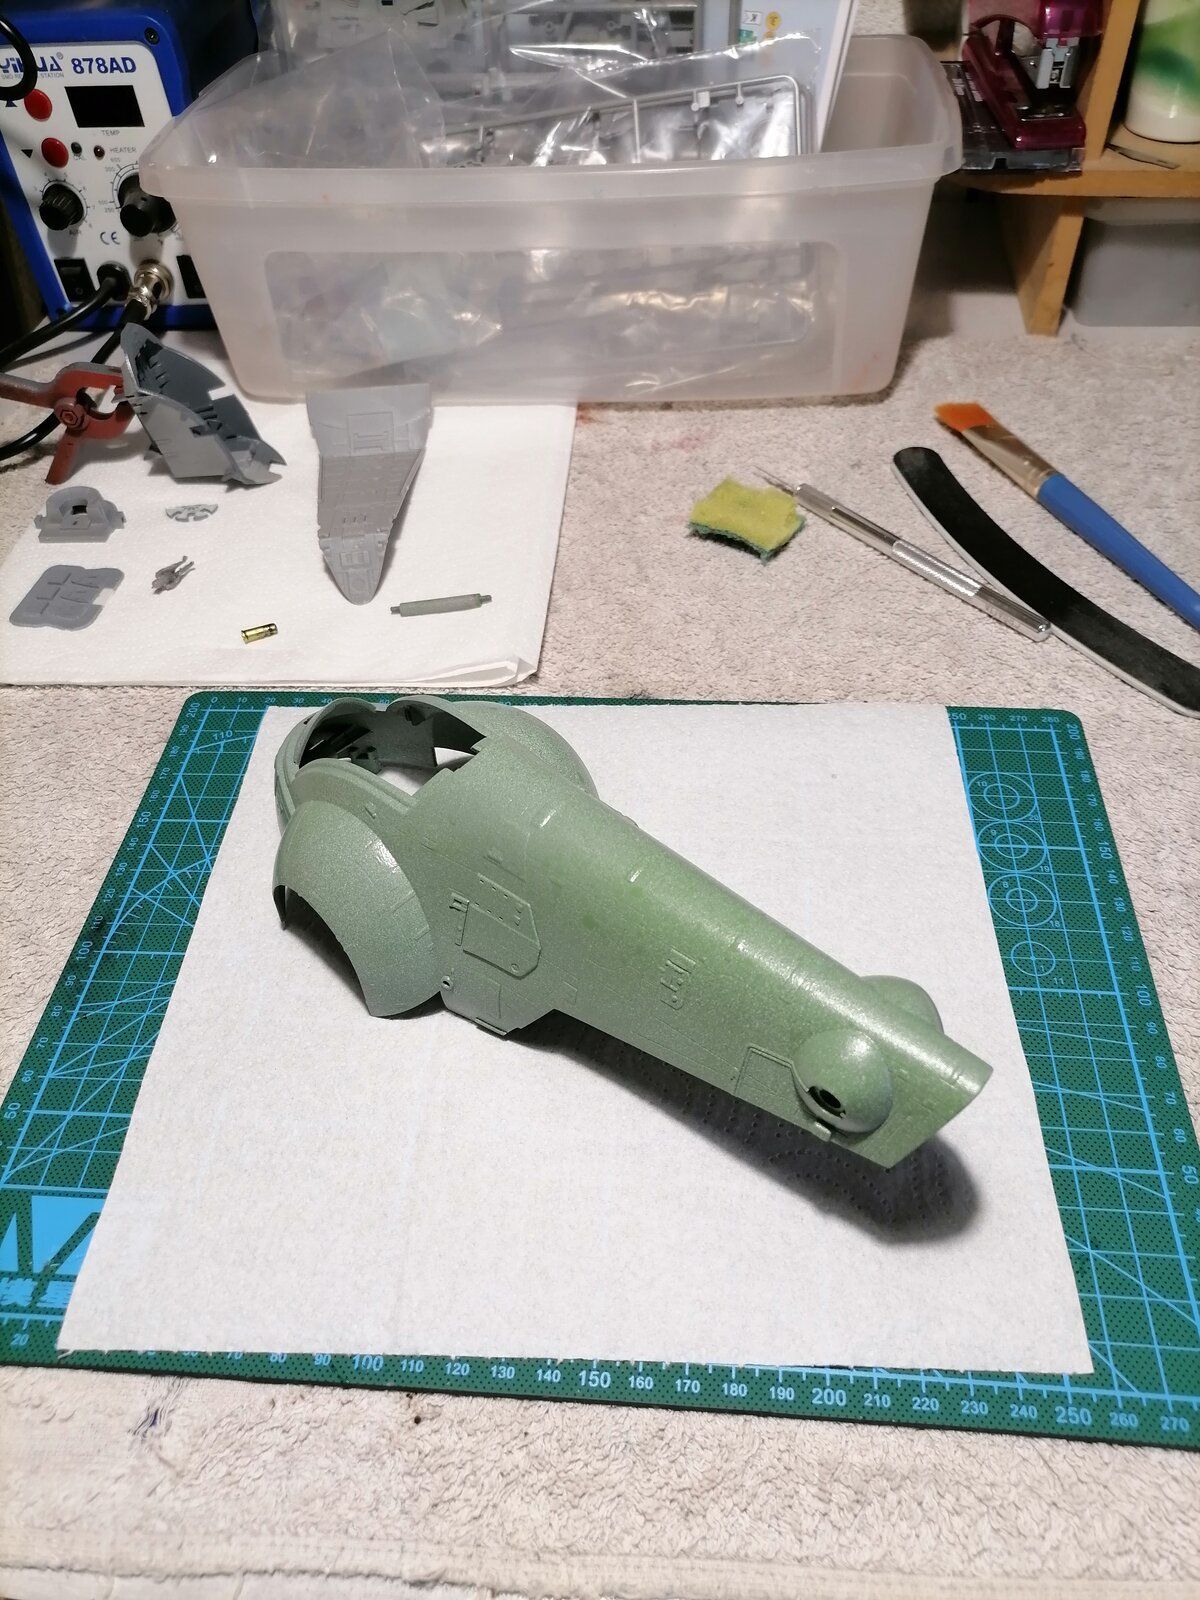
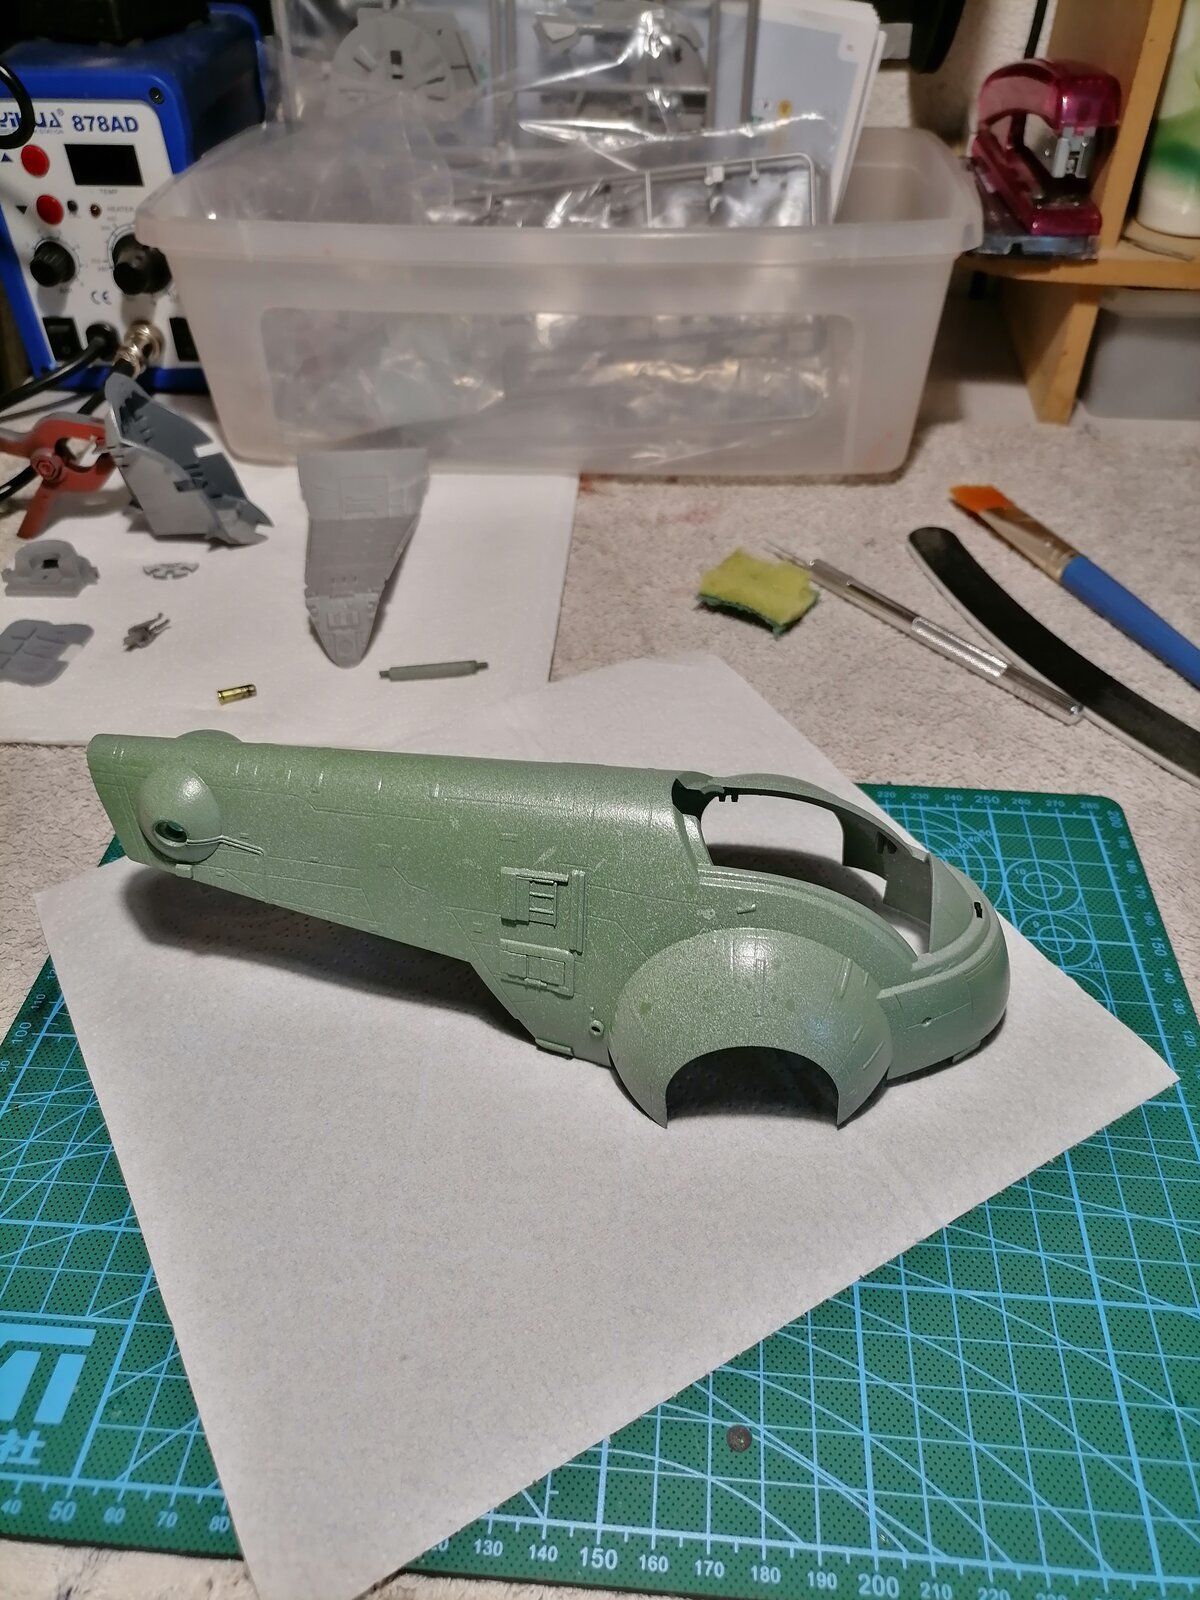
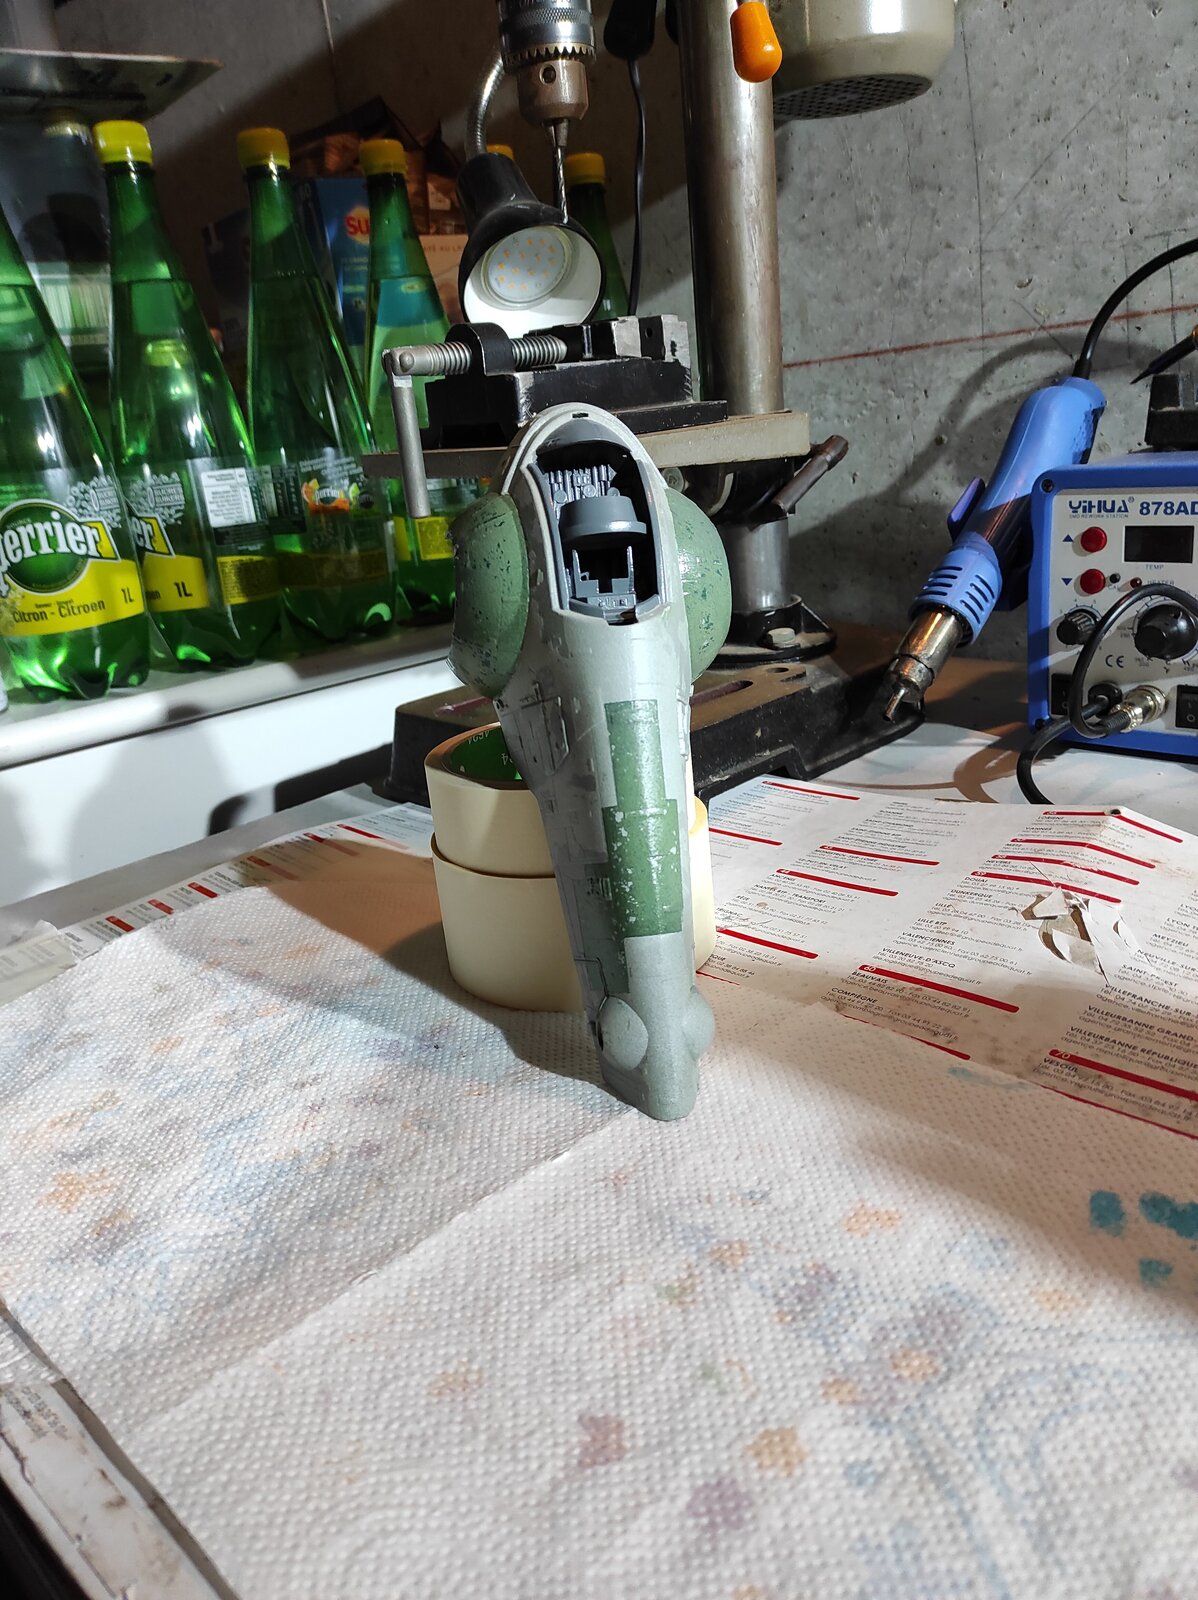
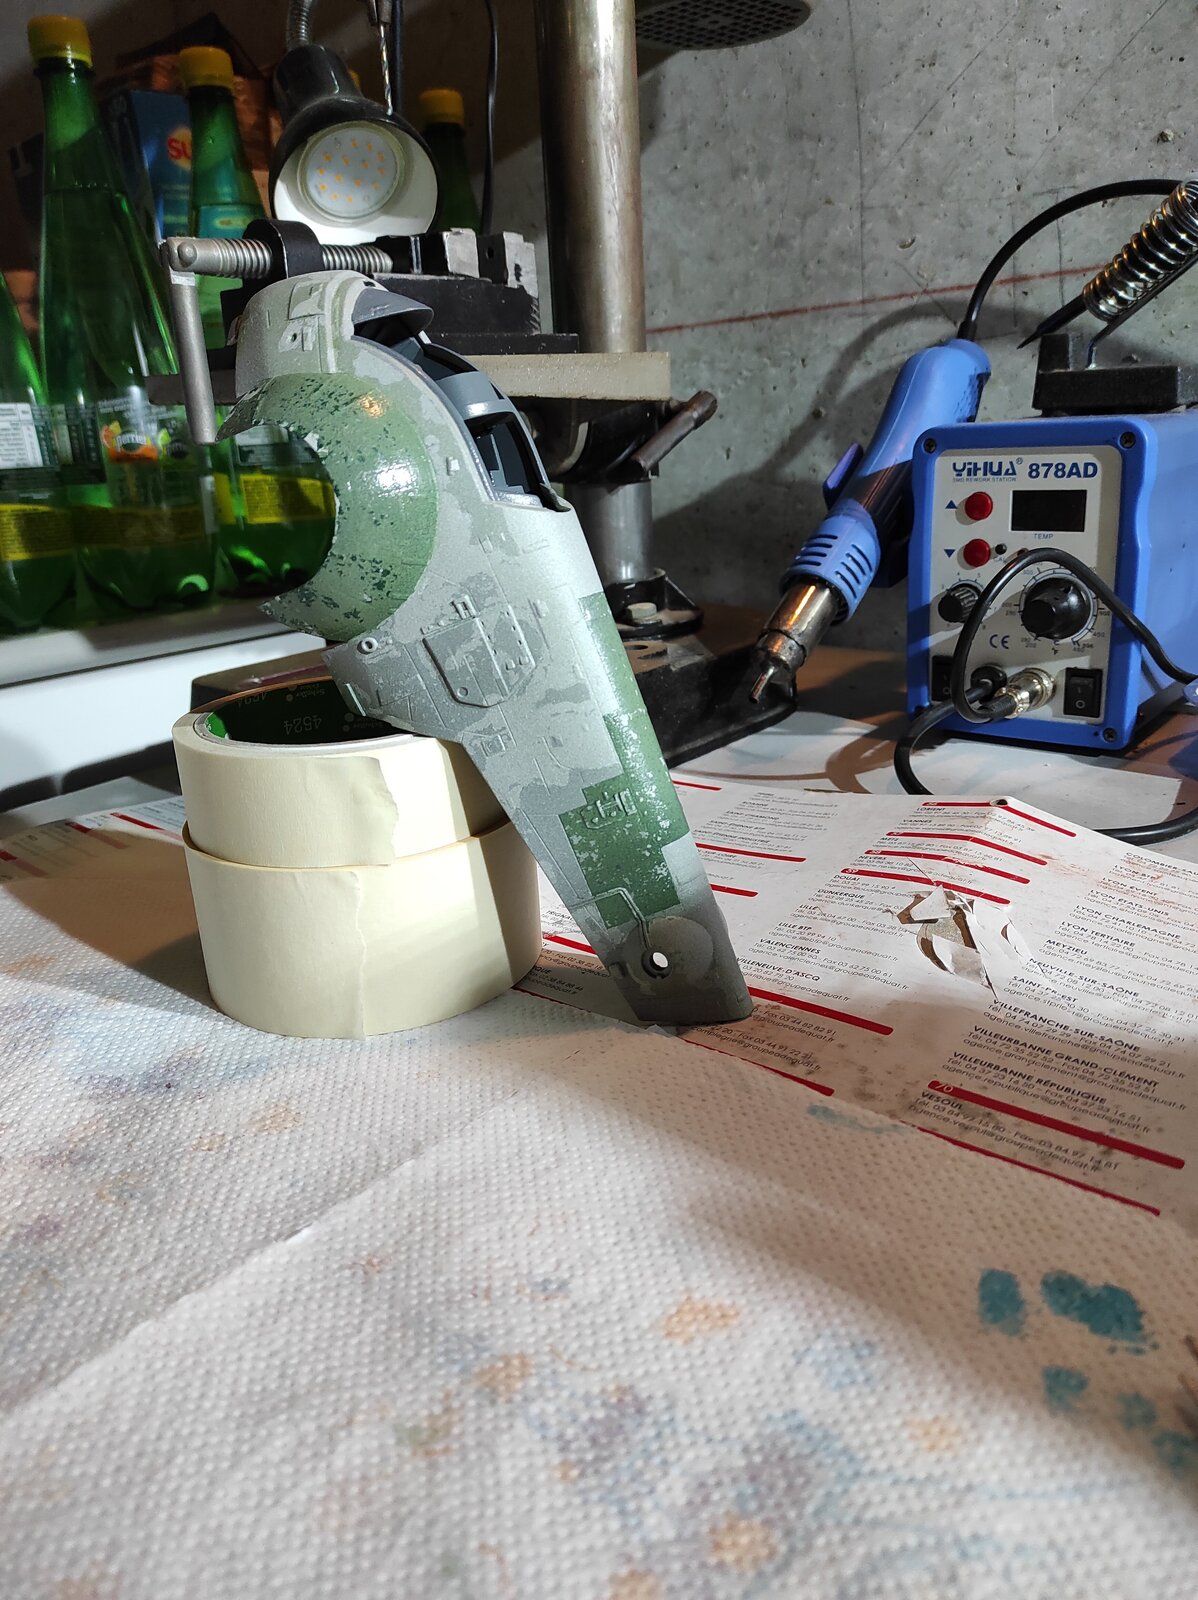
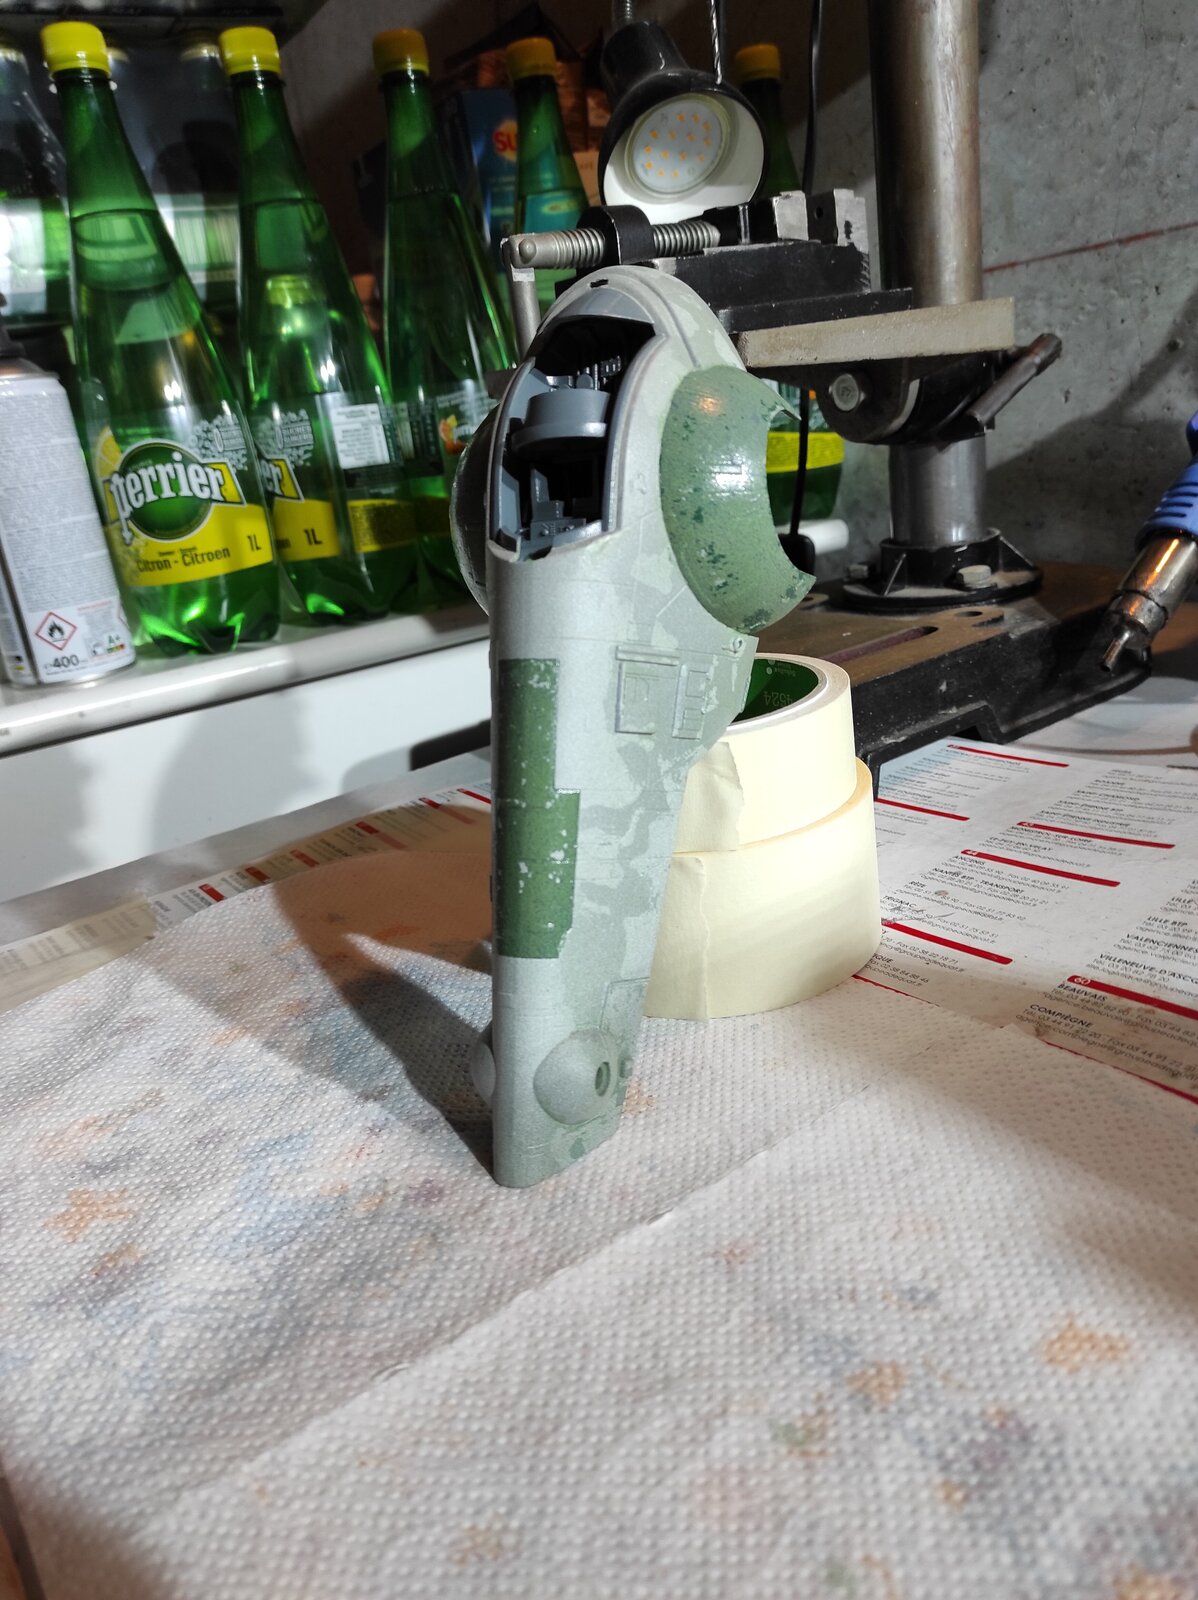
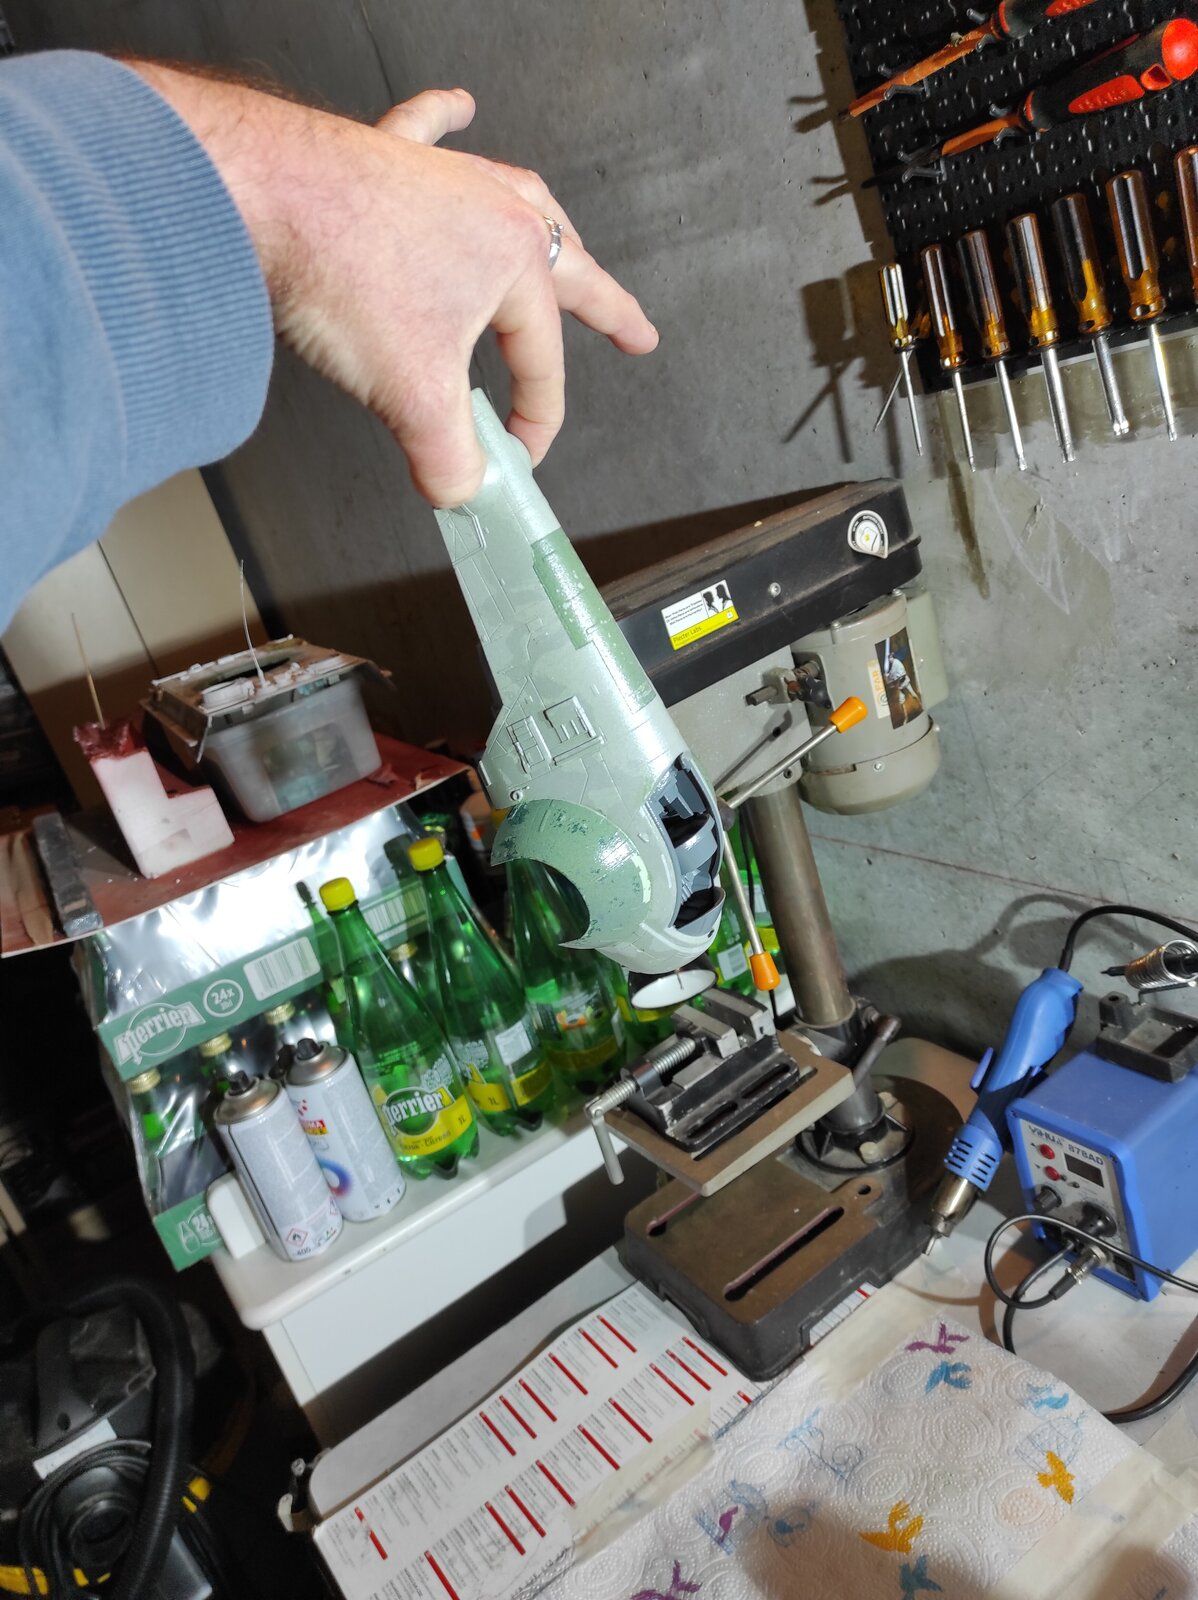
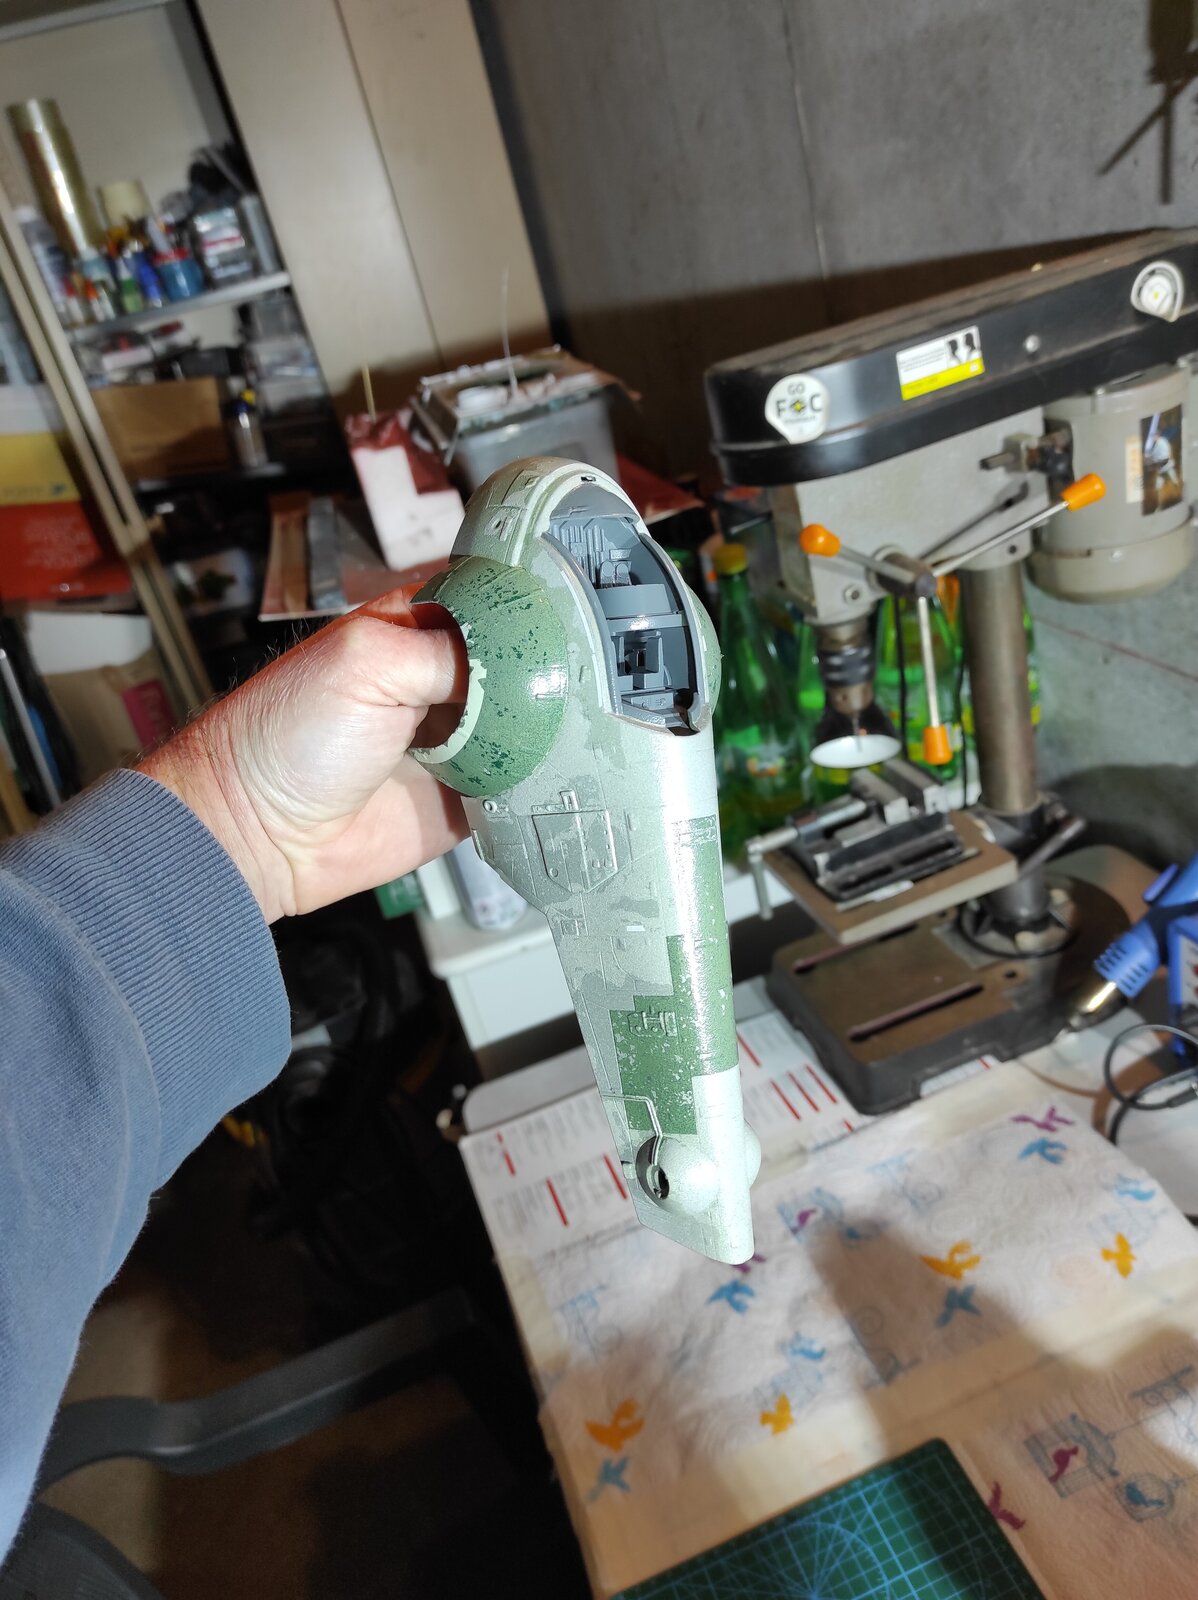
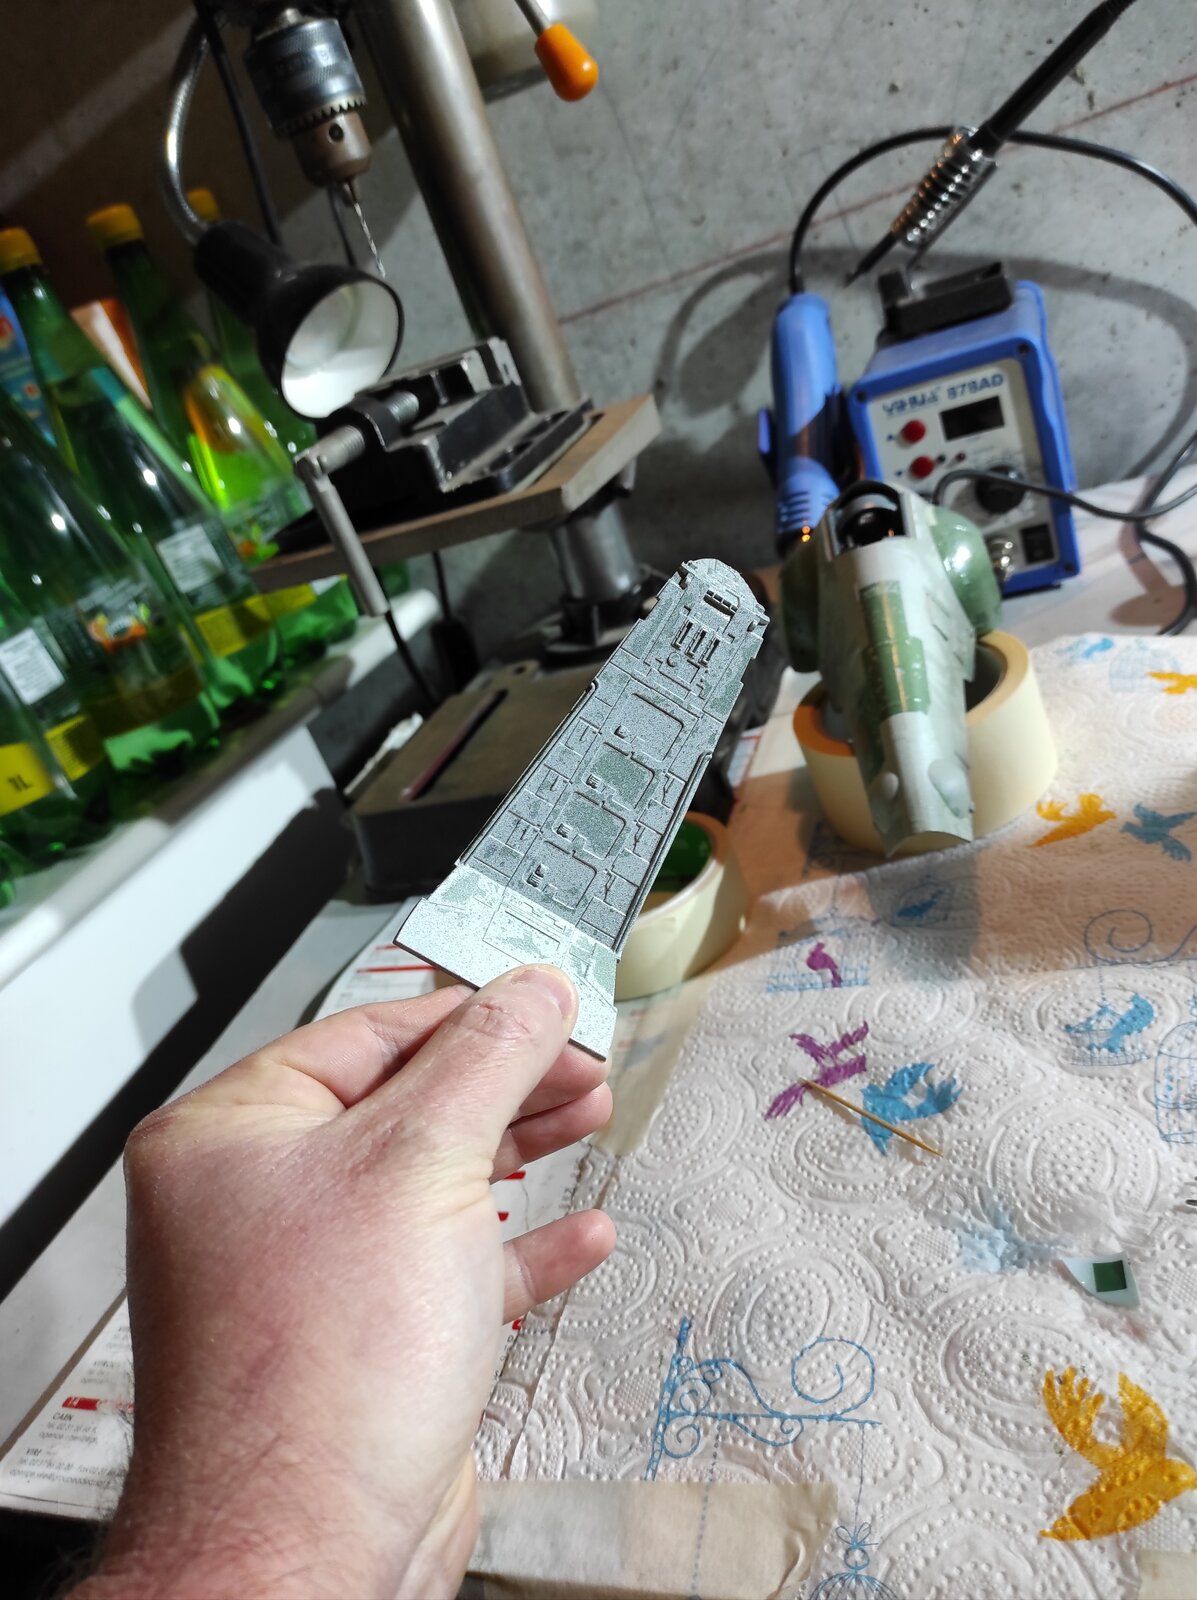
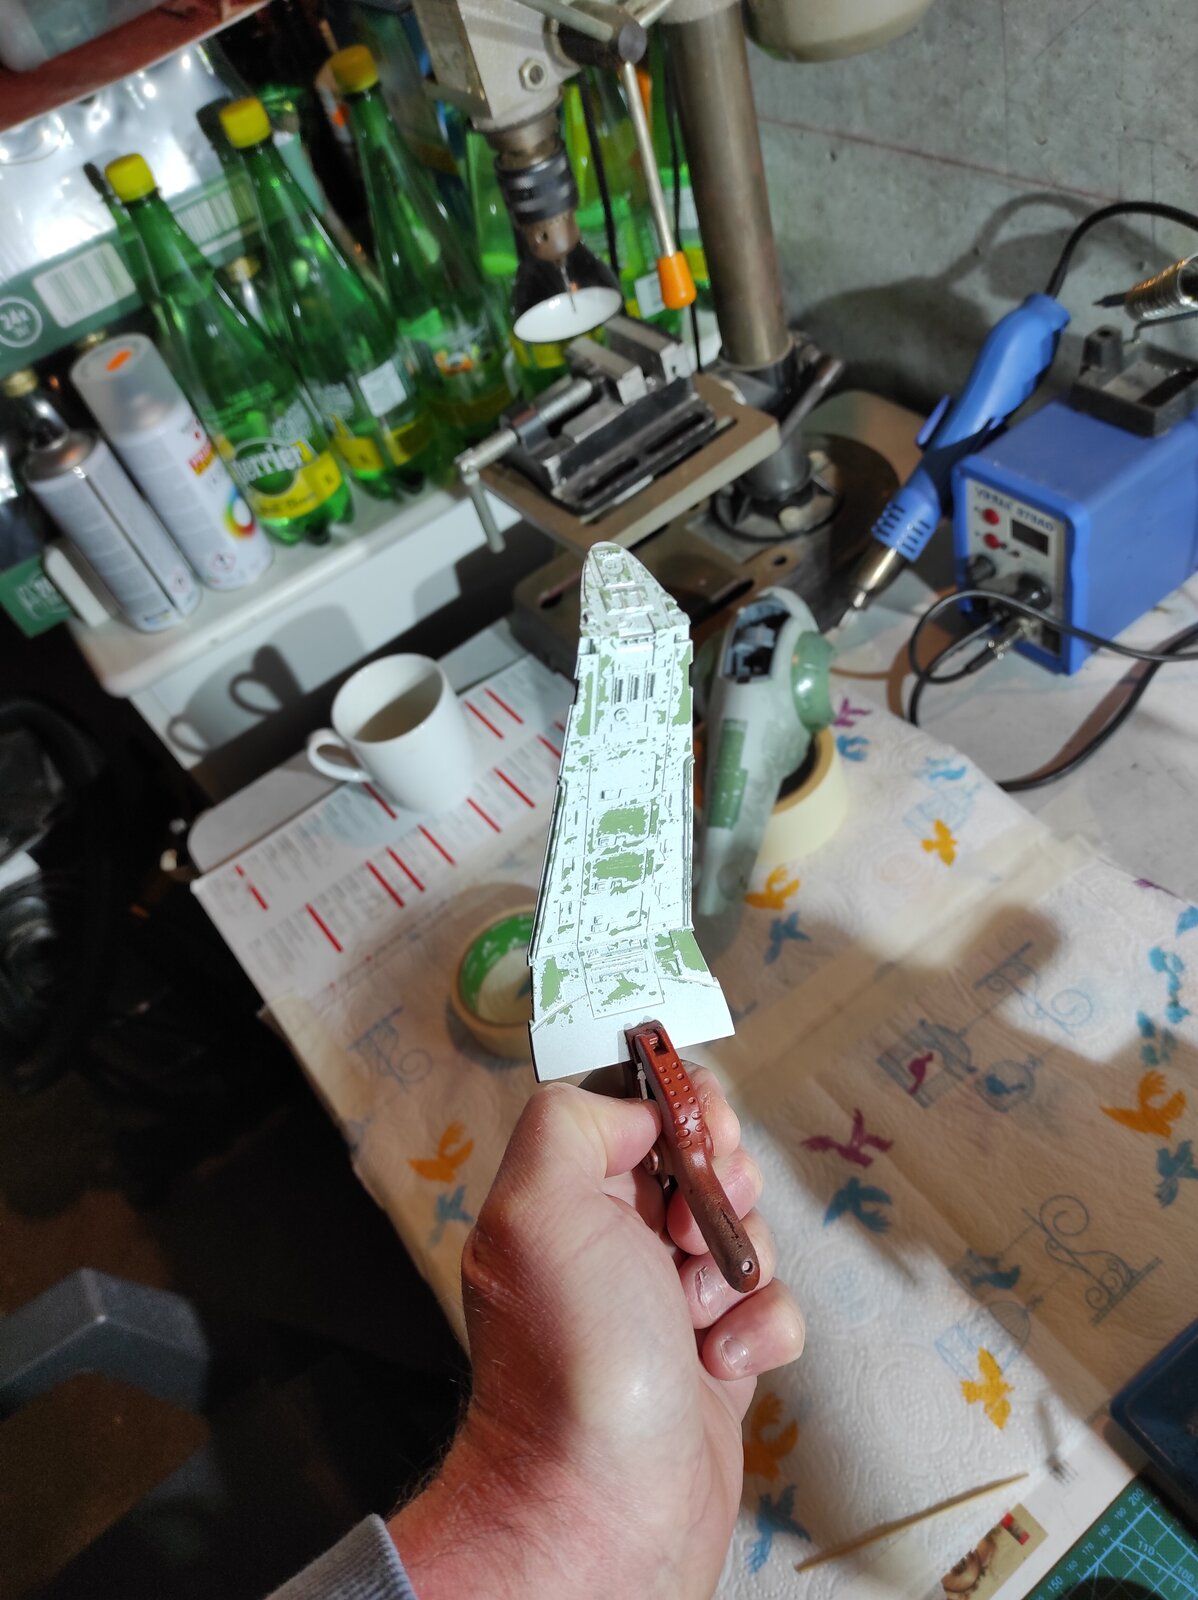
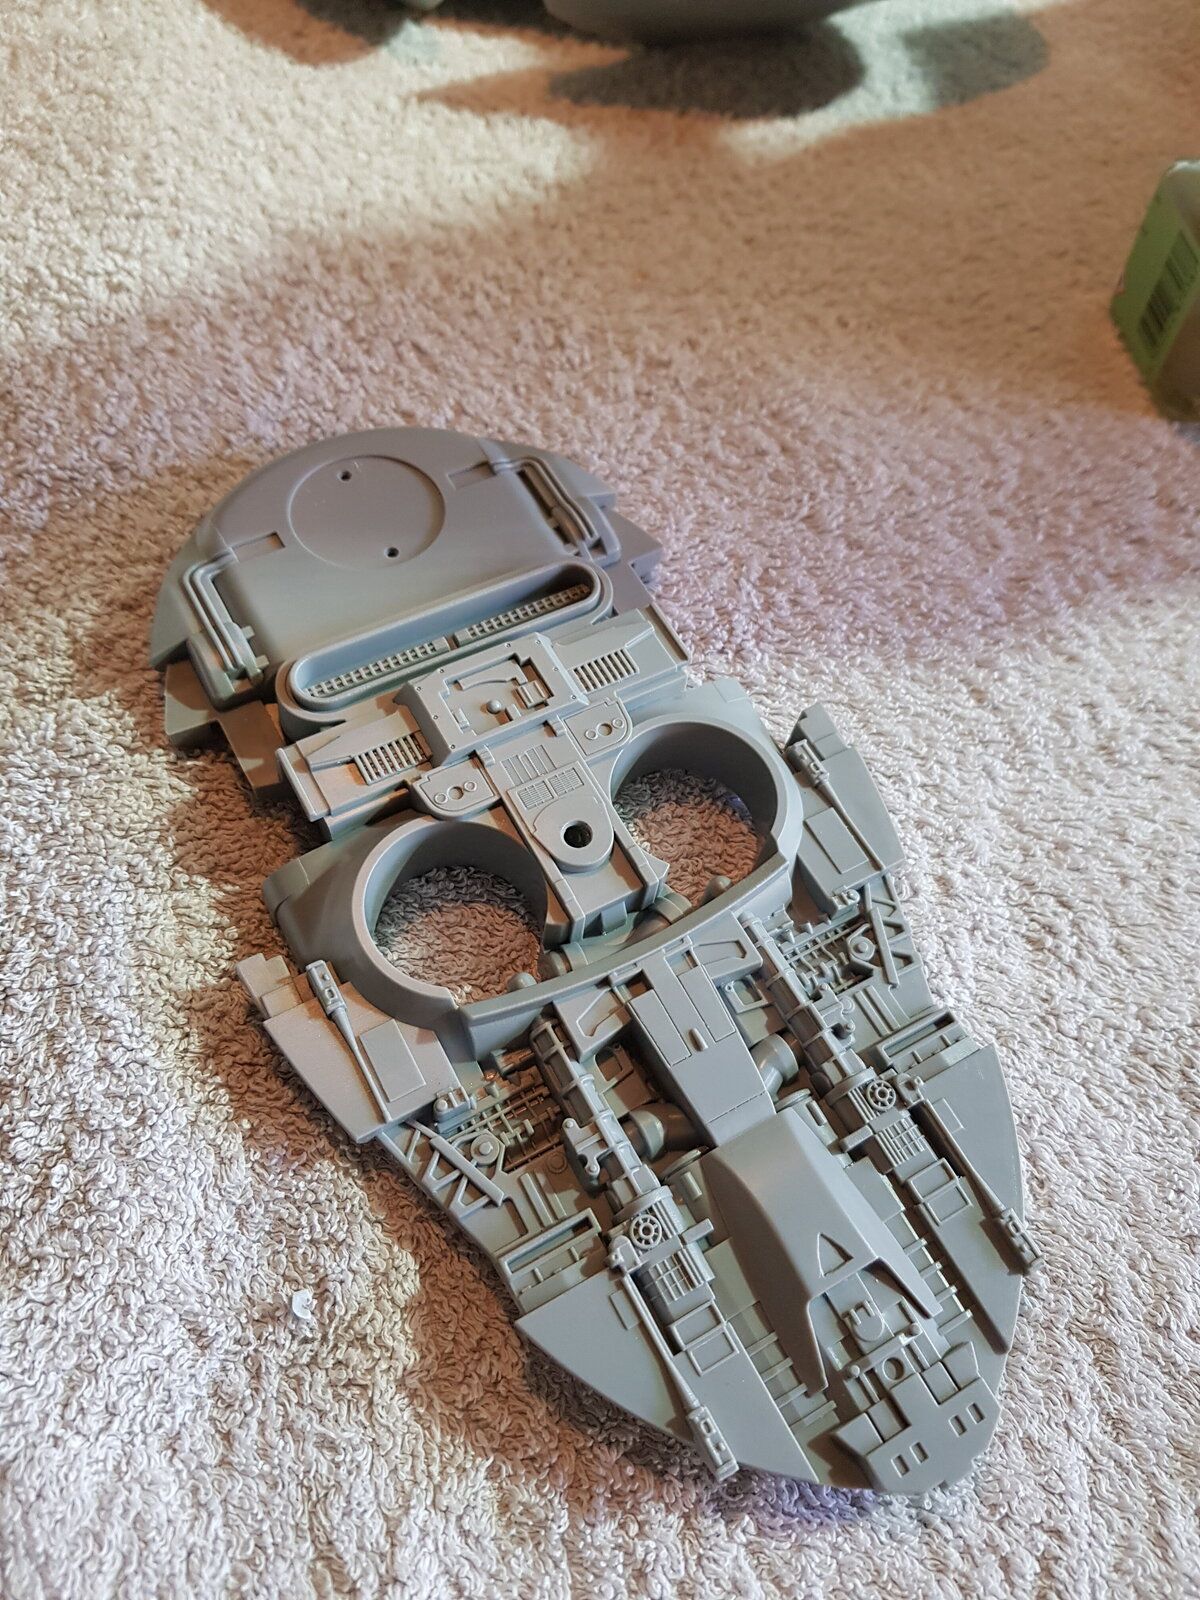
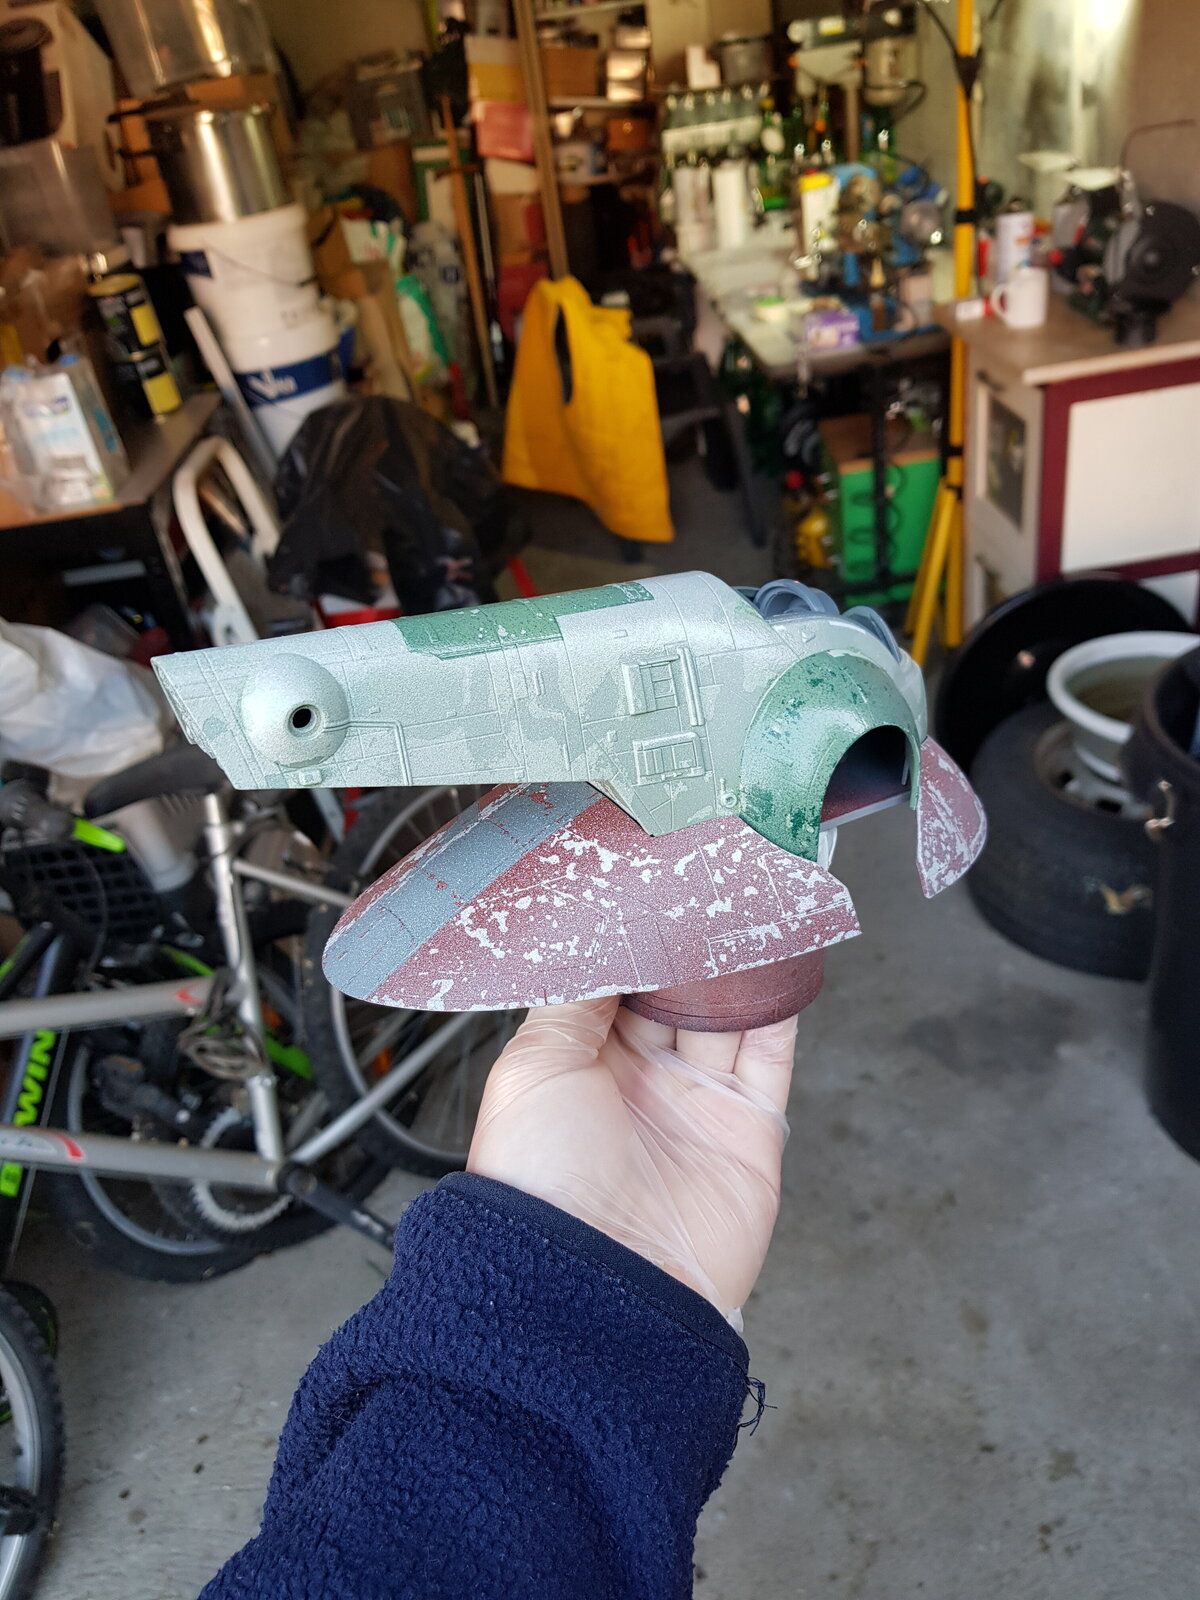
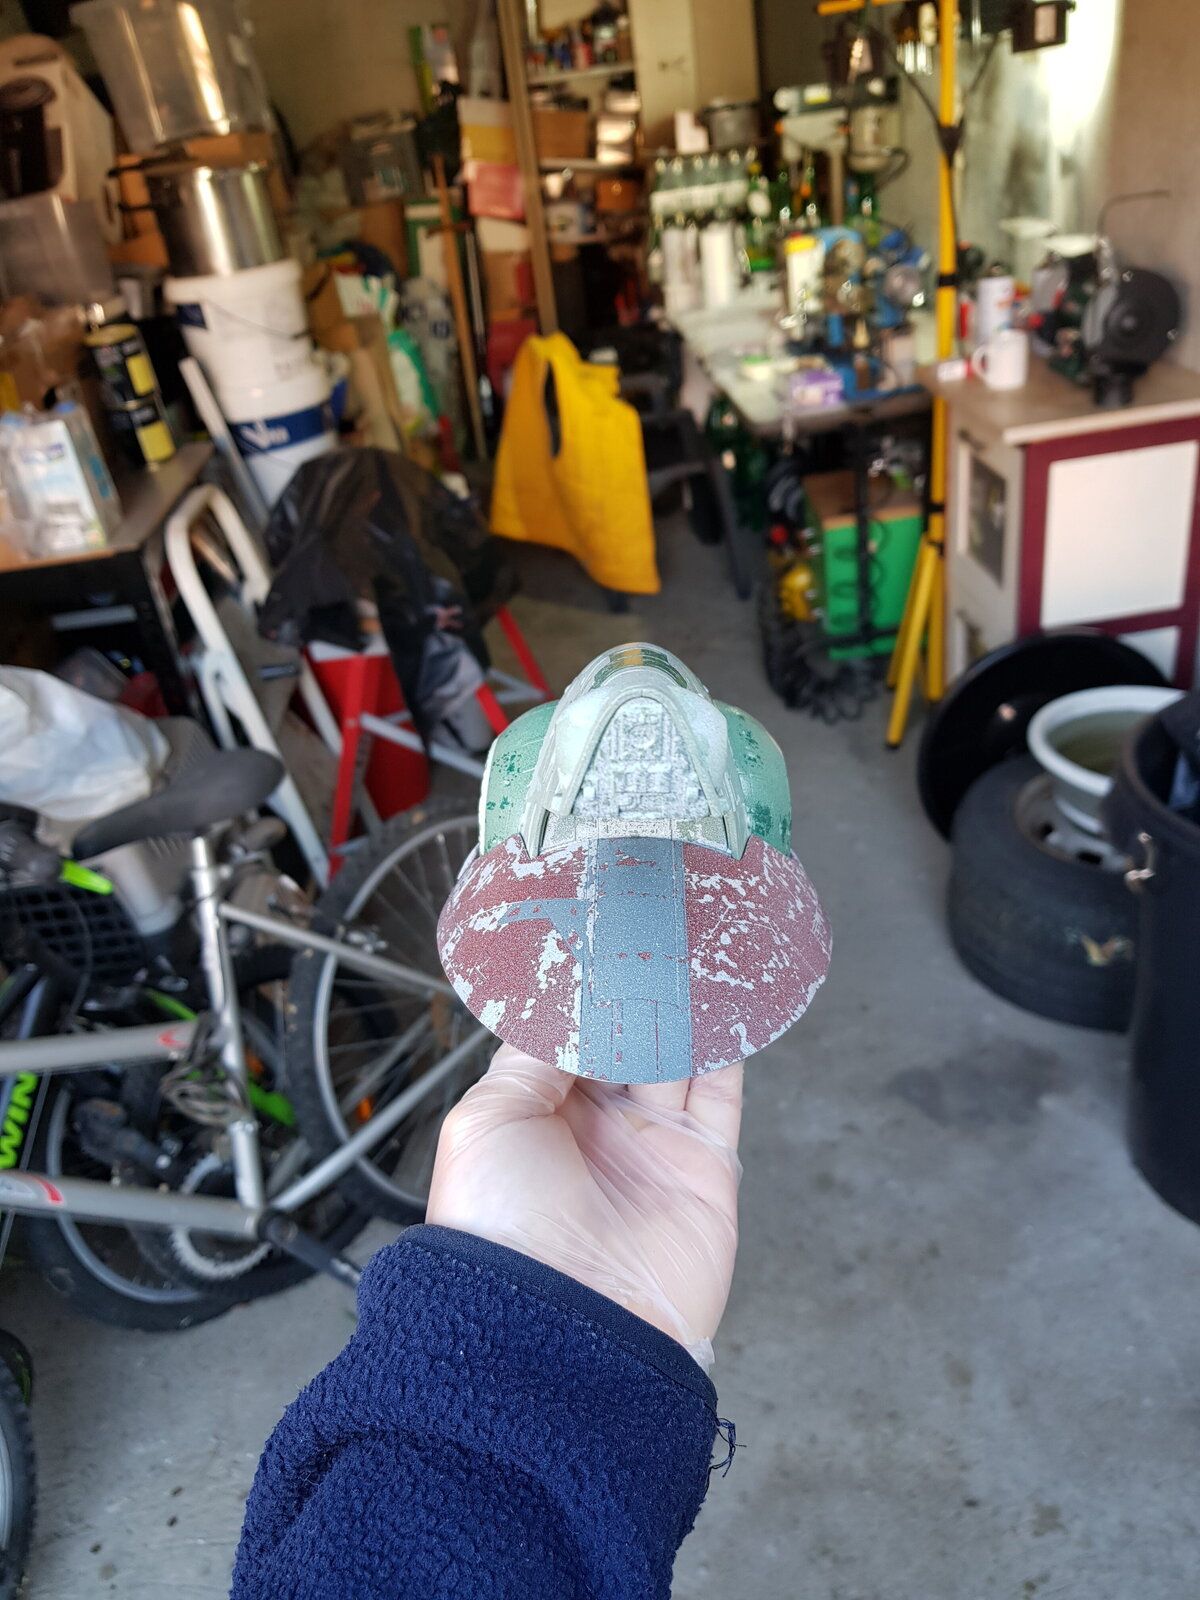
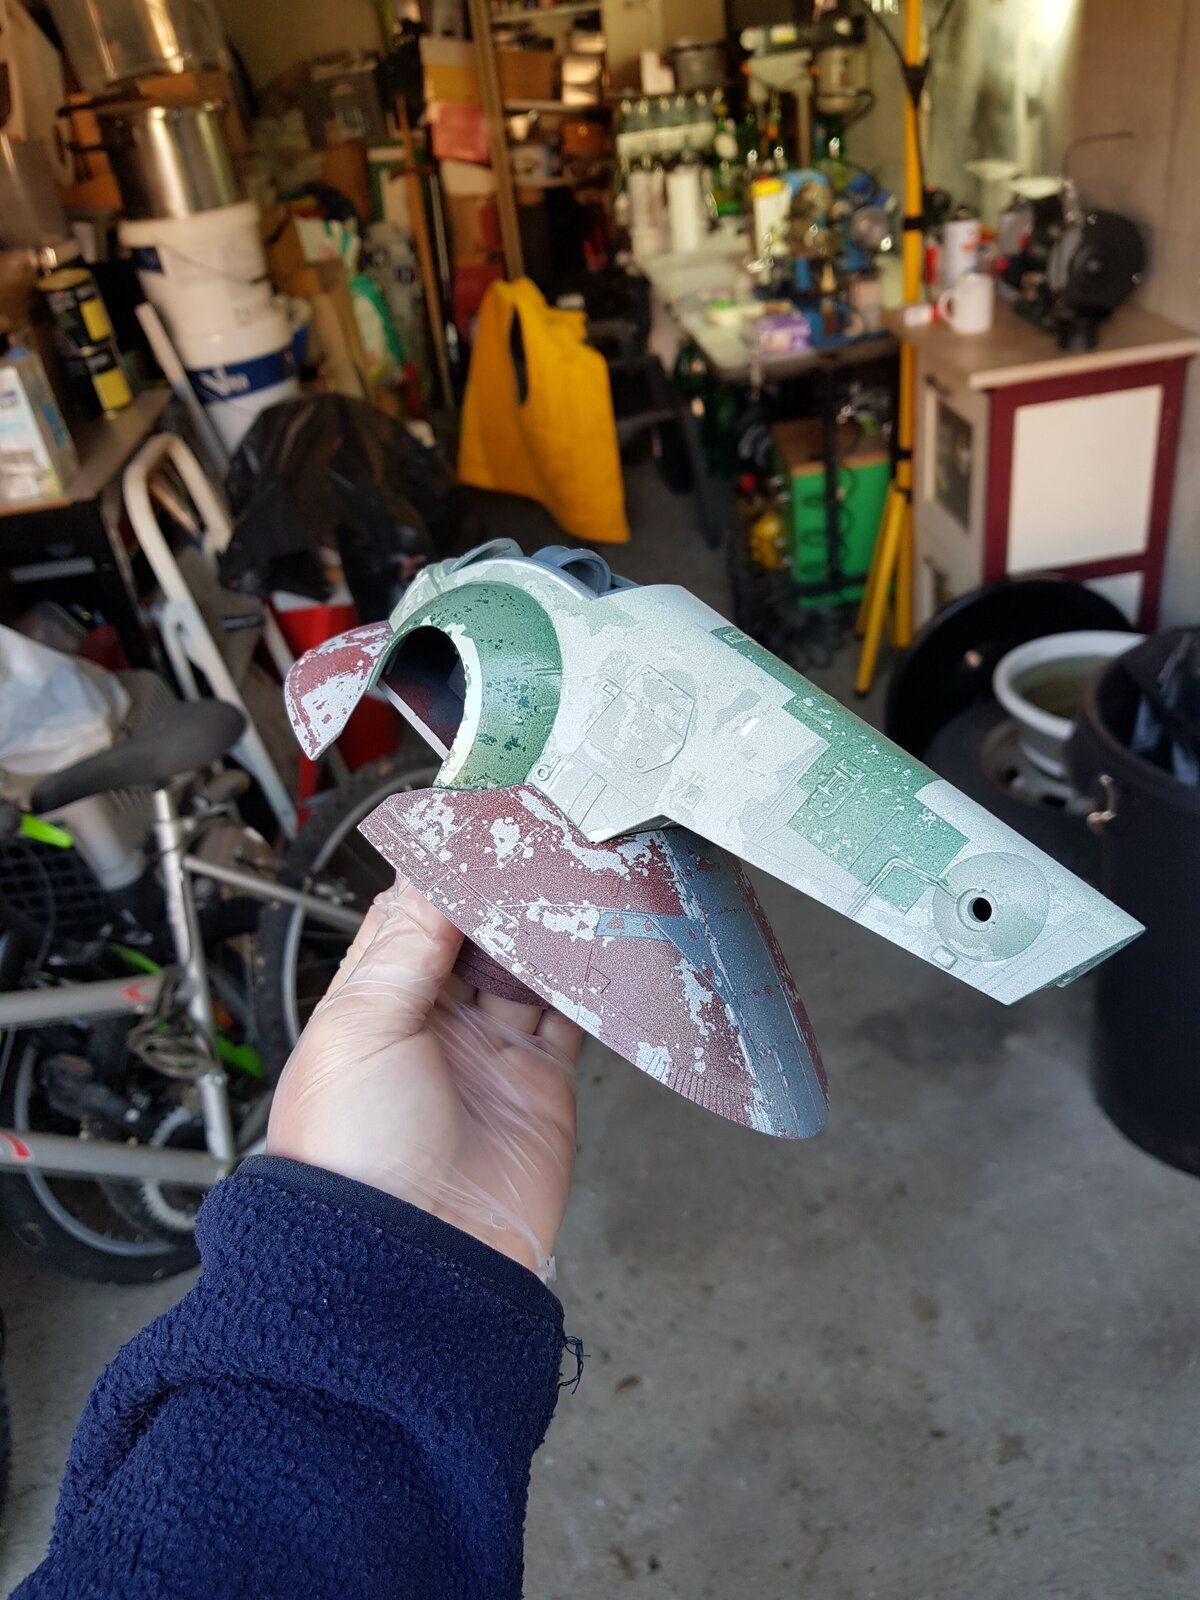
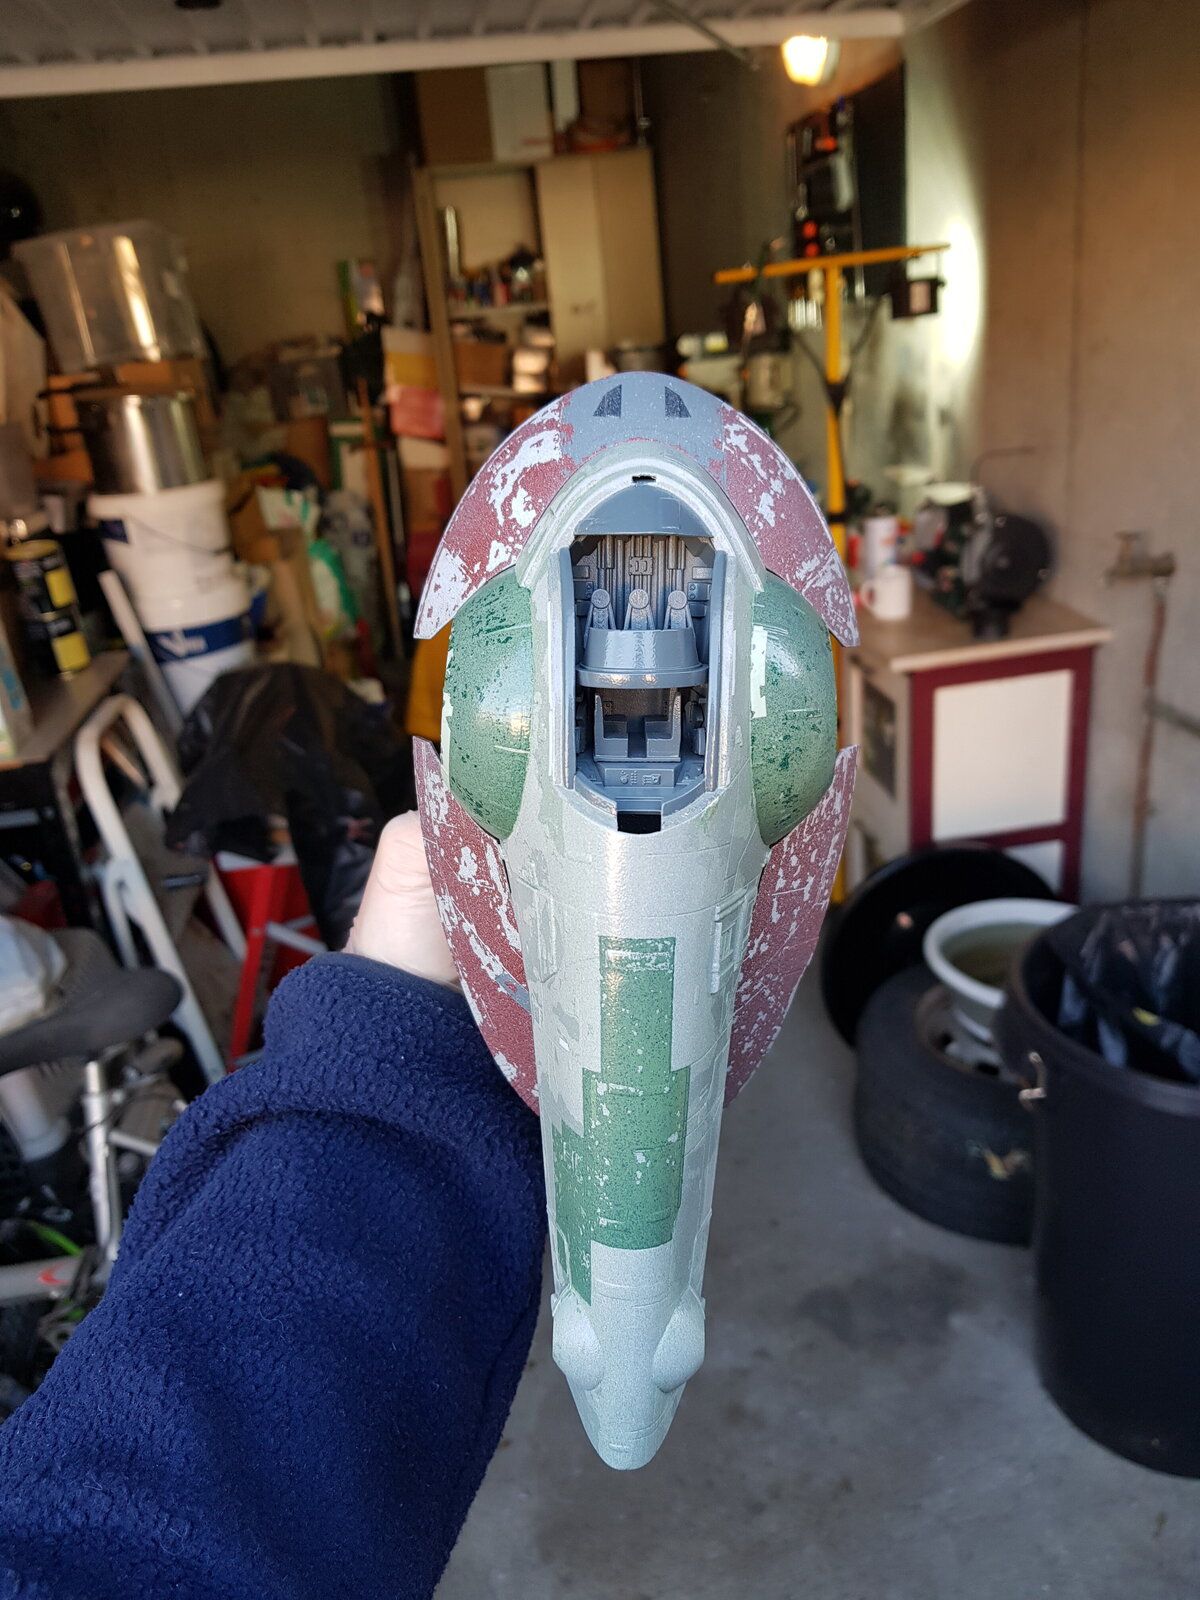
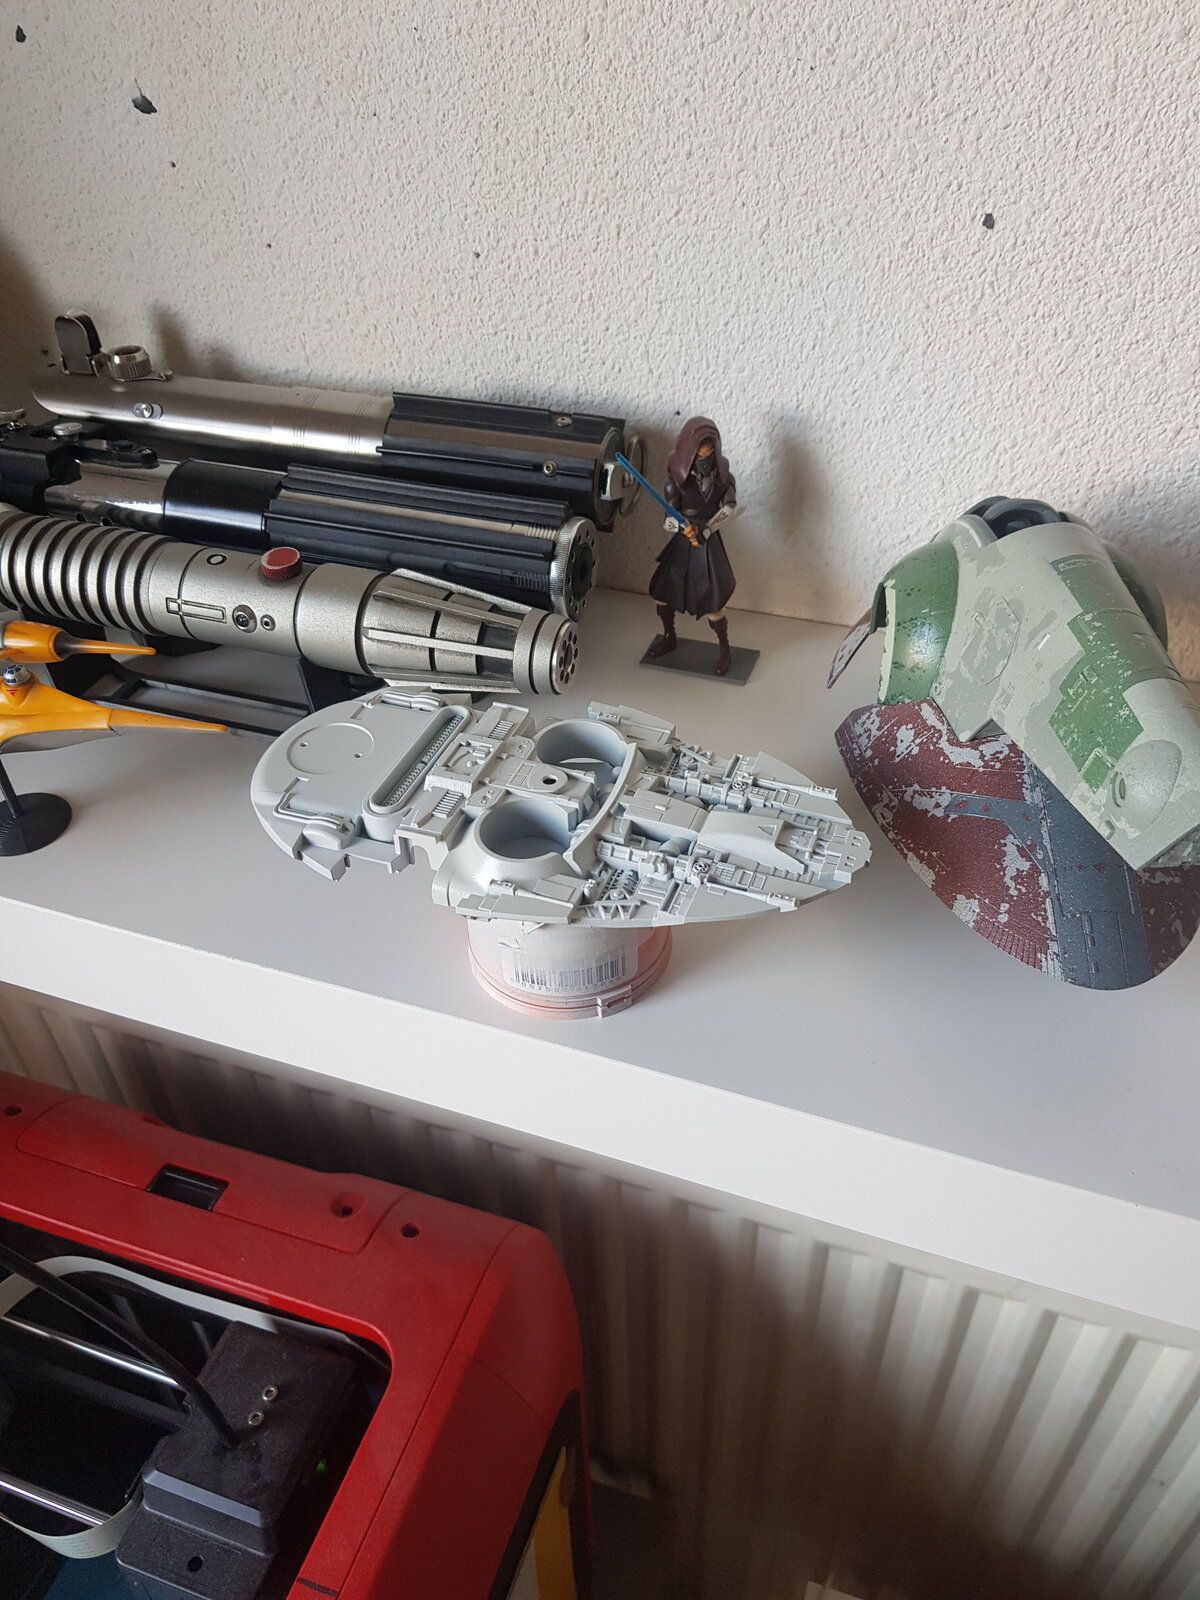
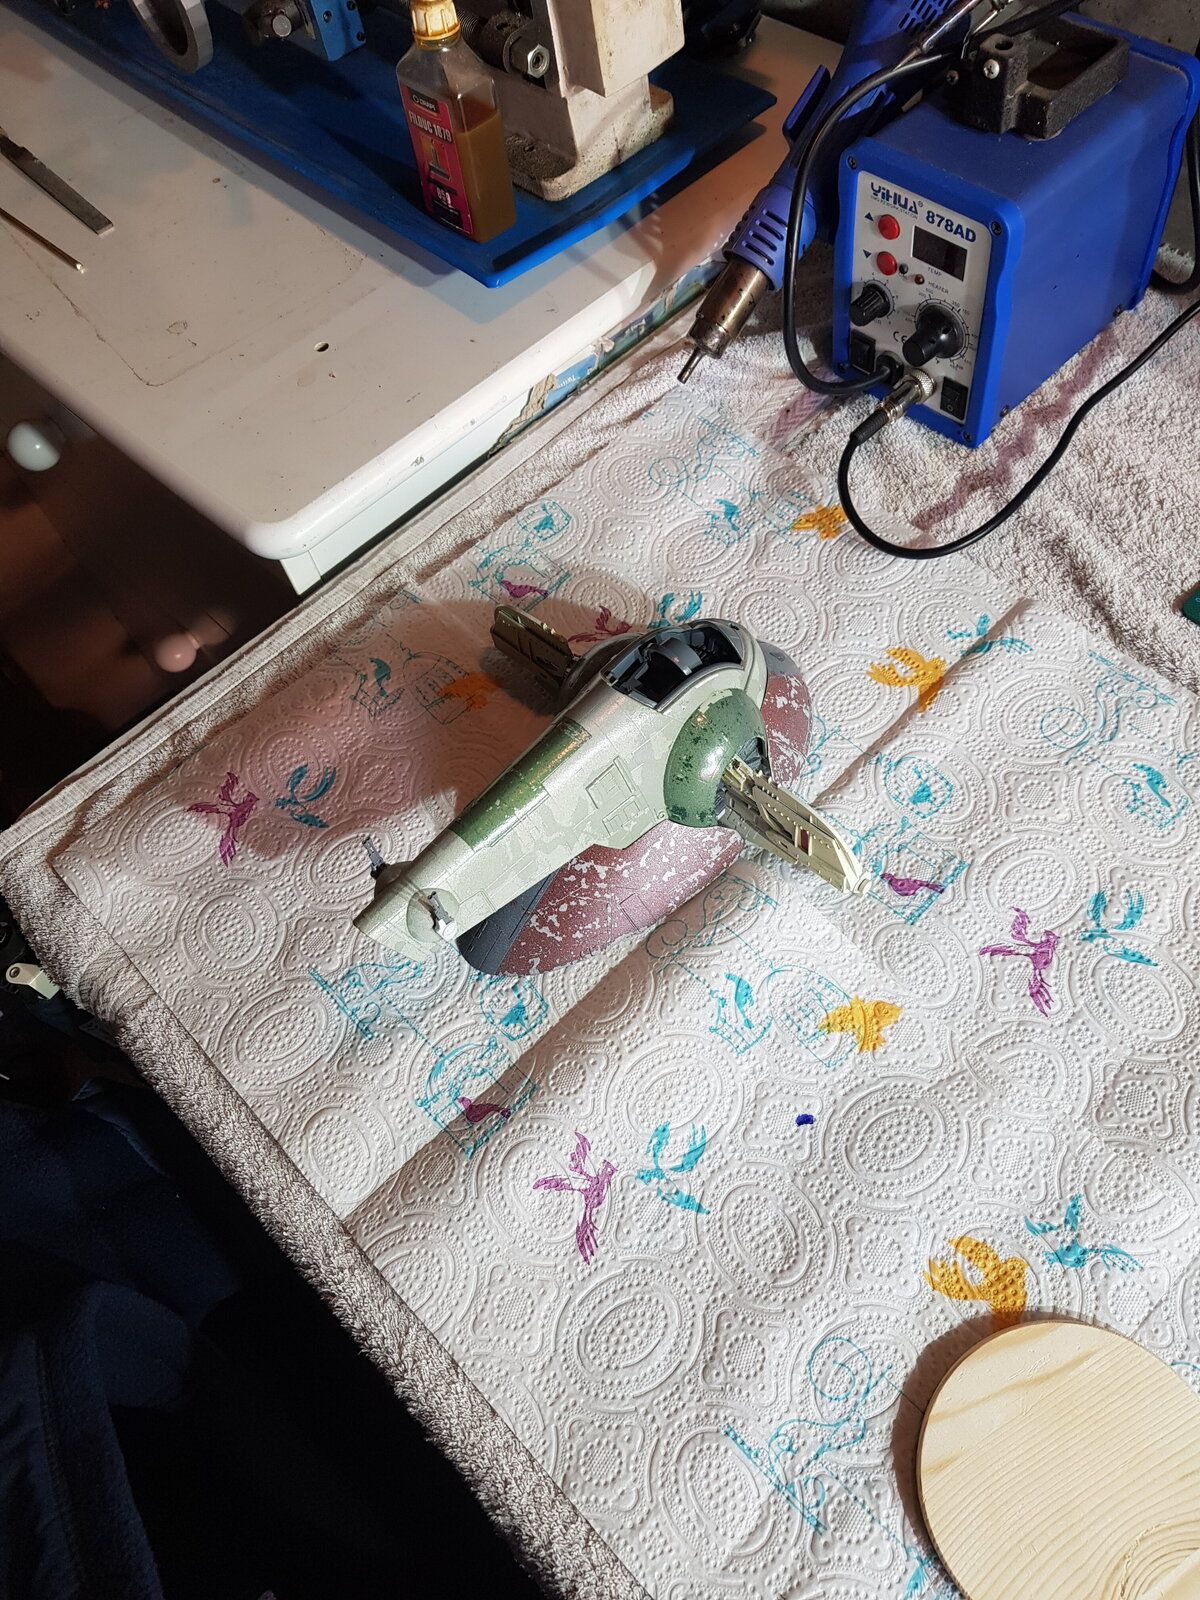
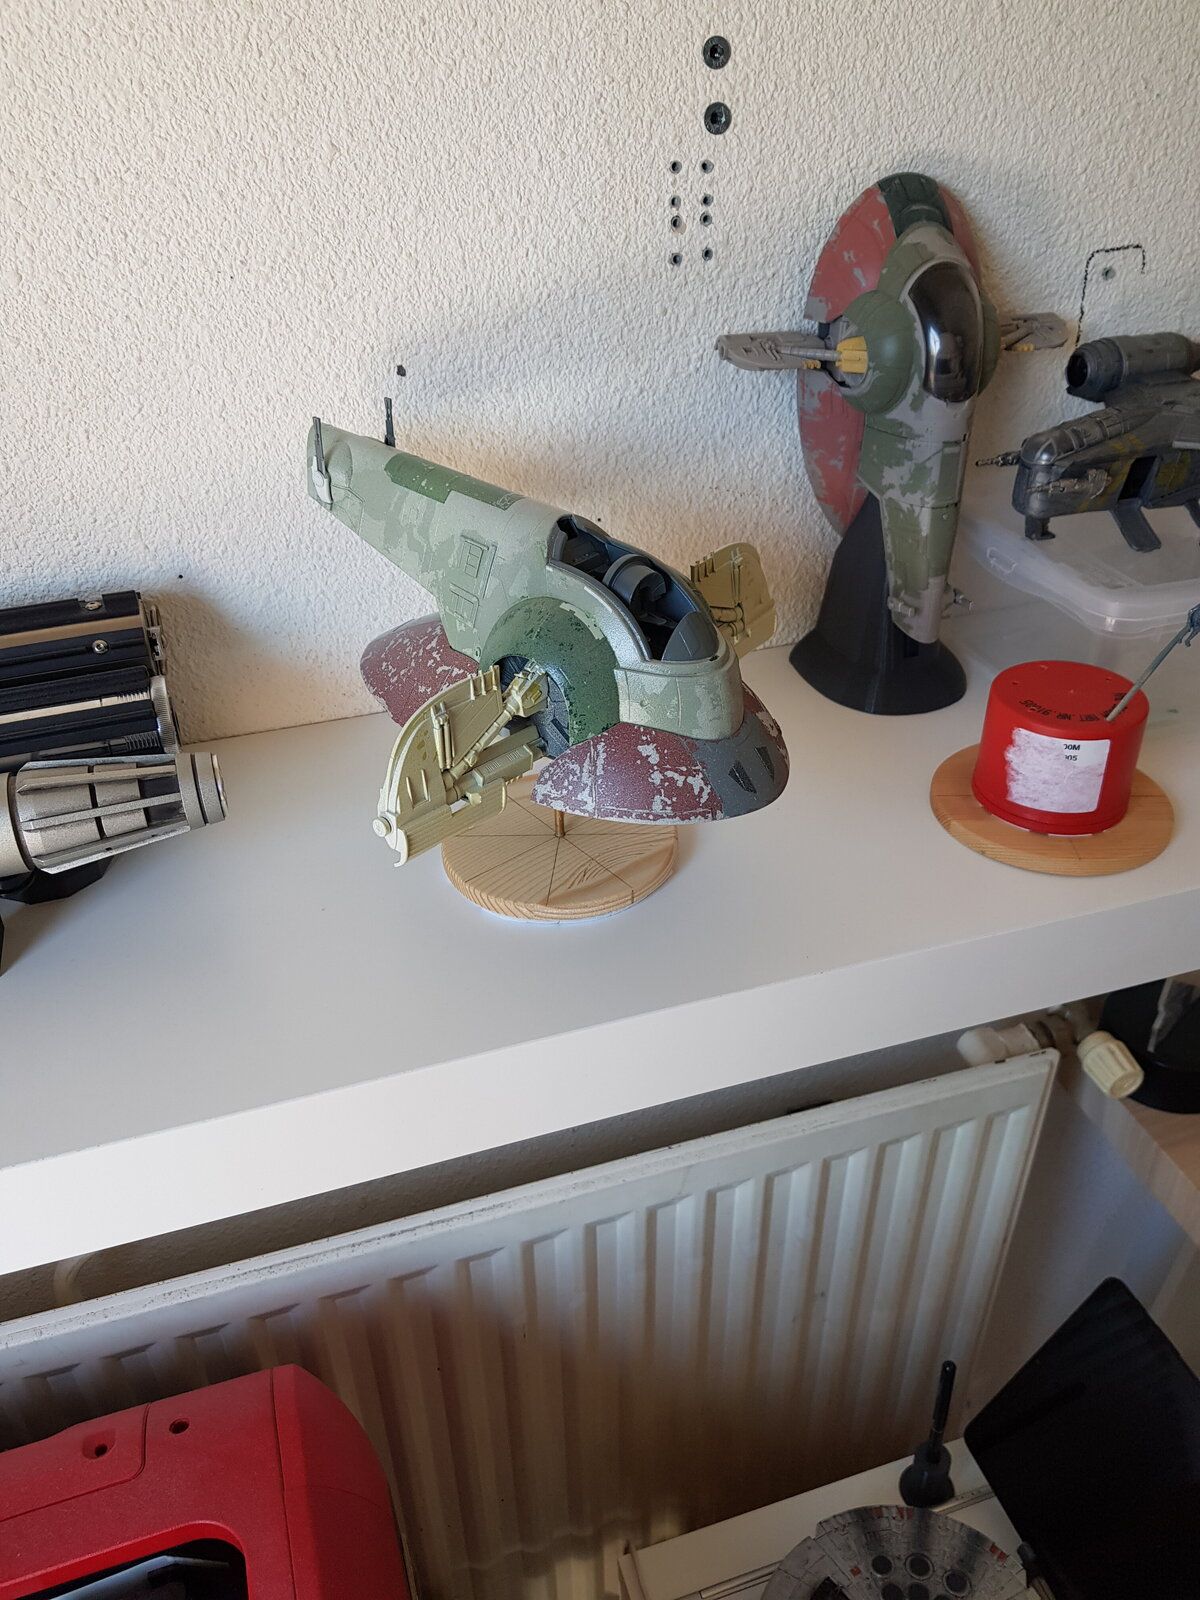
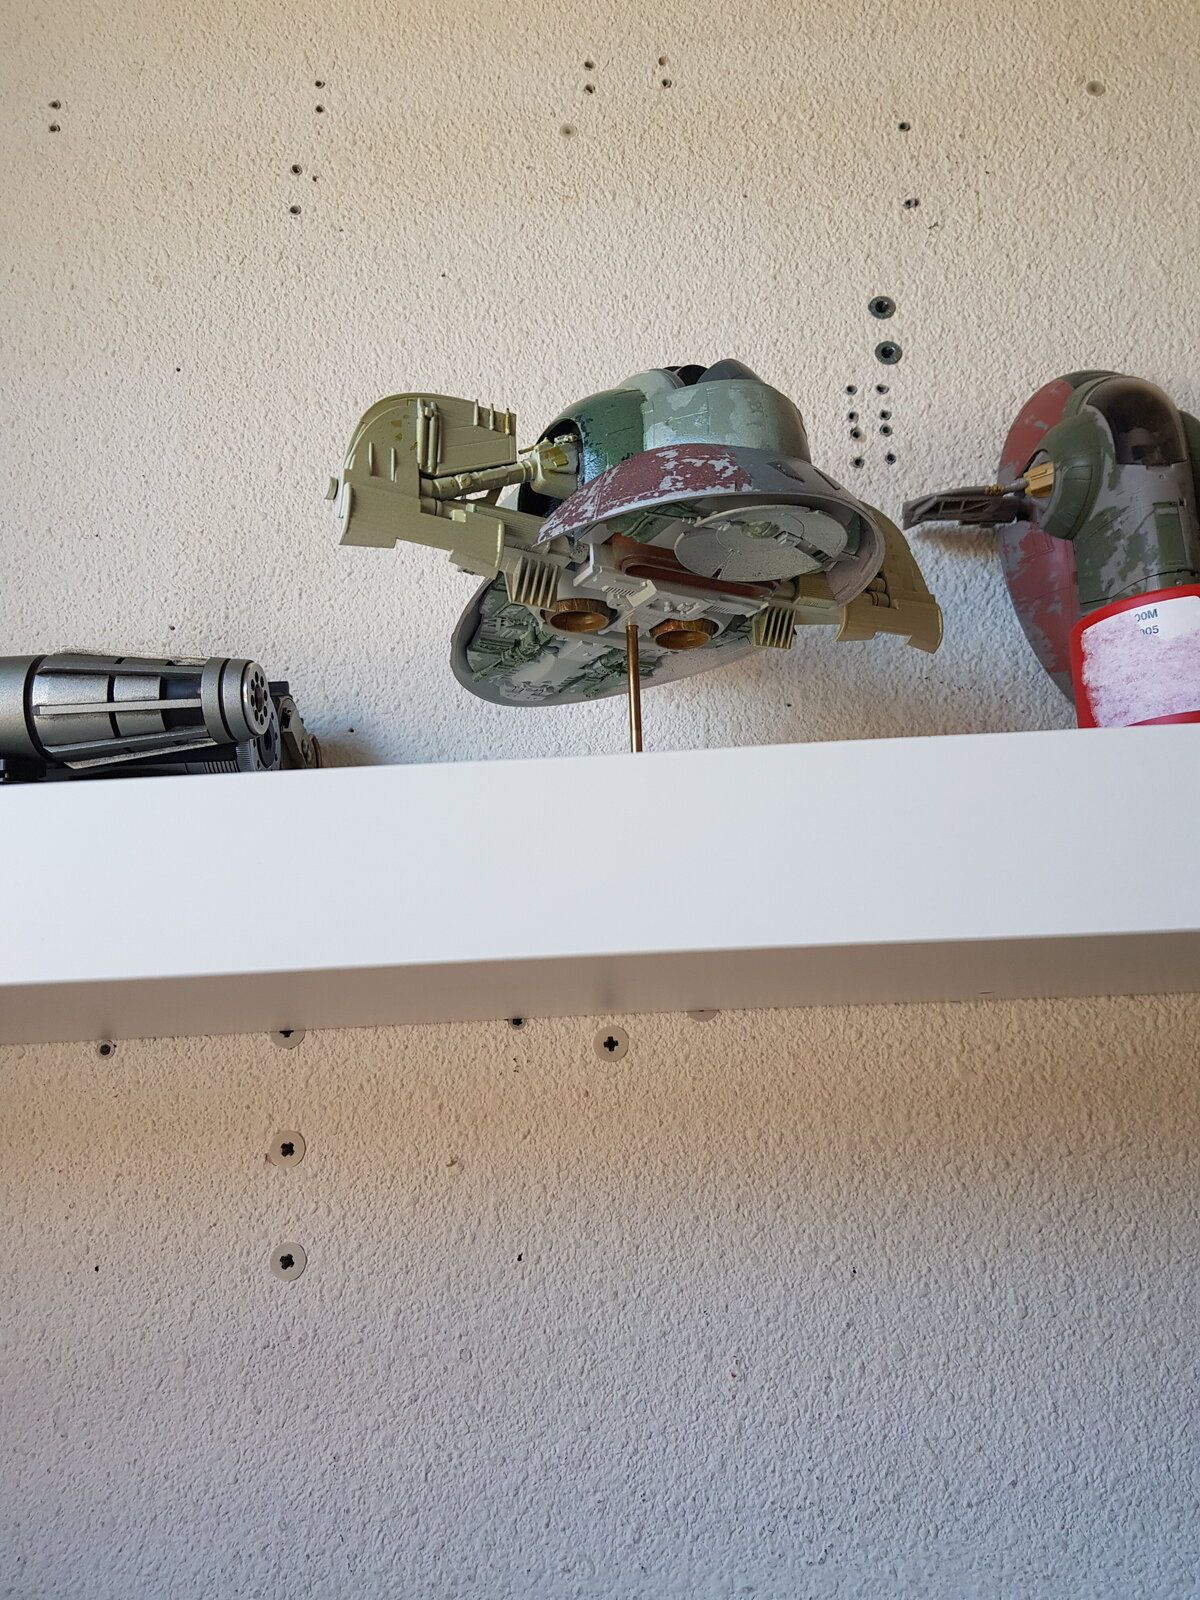
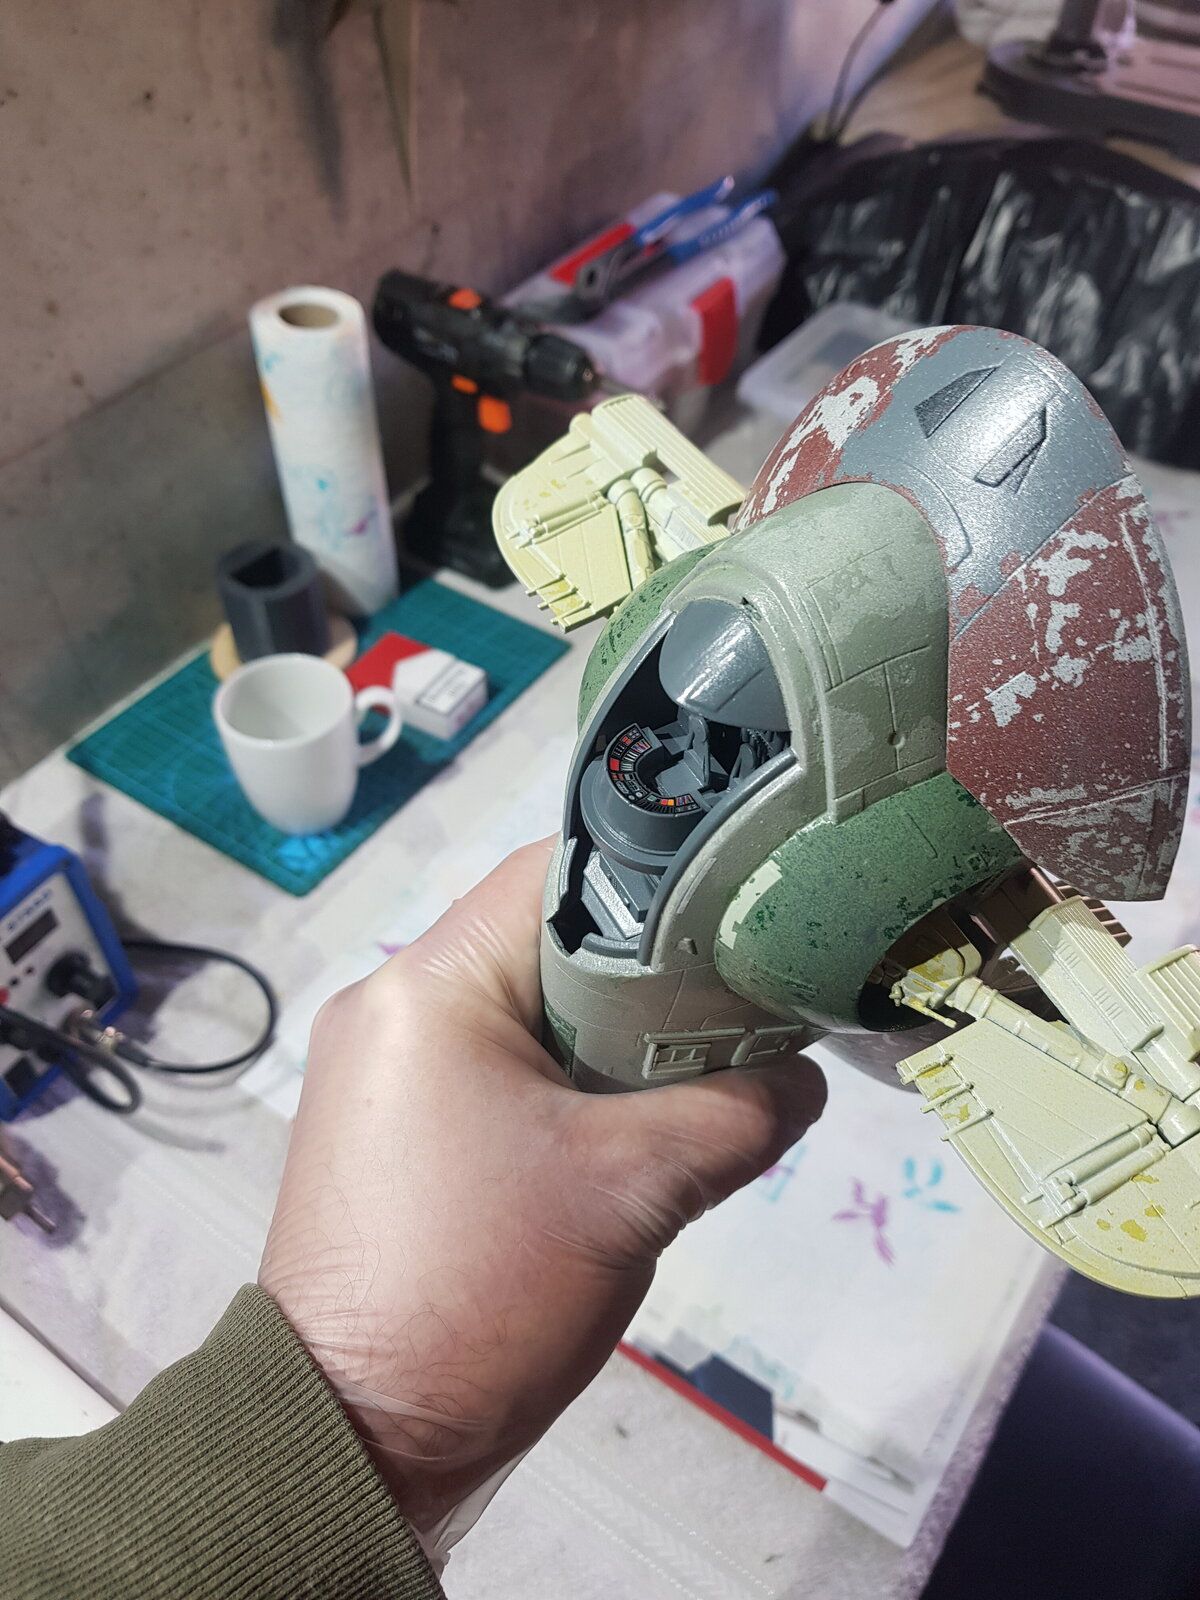
After looking at the diverse offerings for large "ish" scale Slave 1 I have settled on the Revell one.
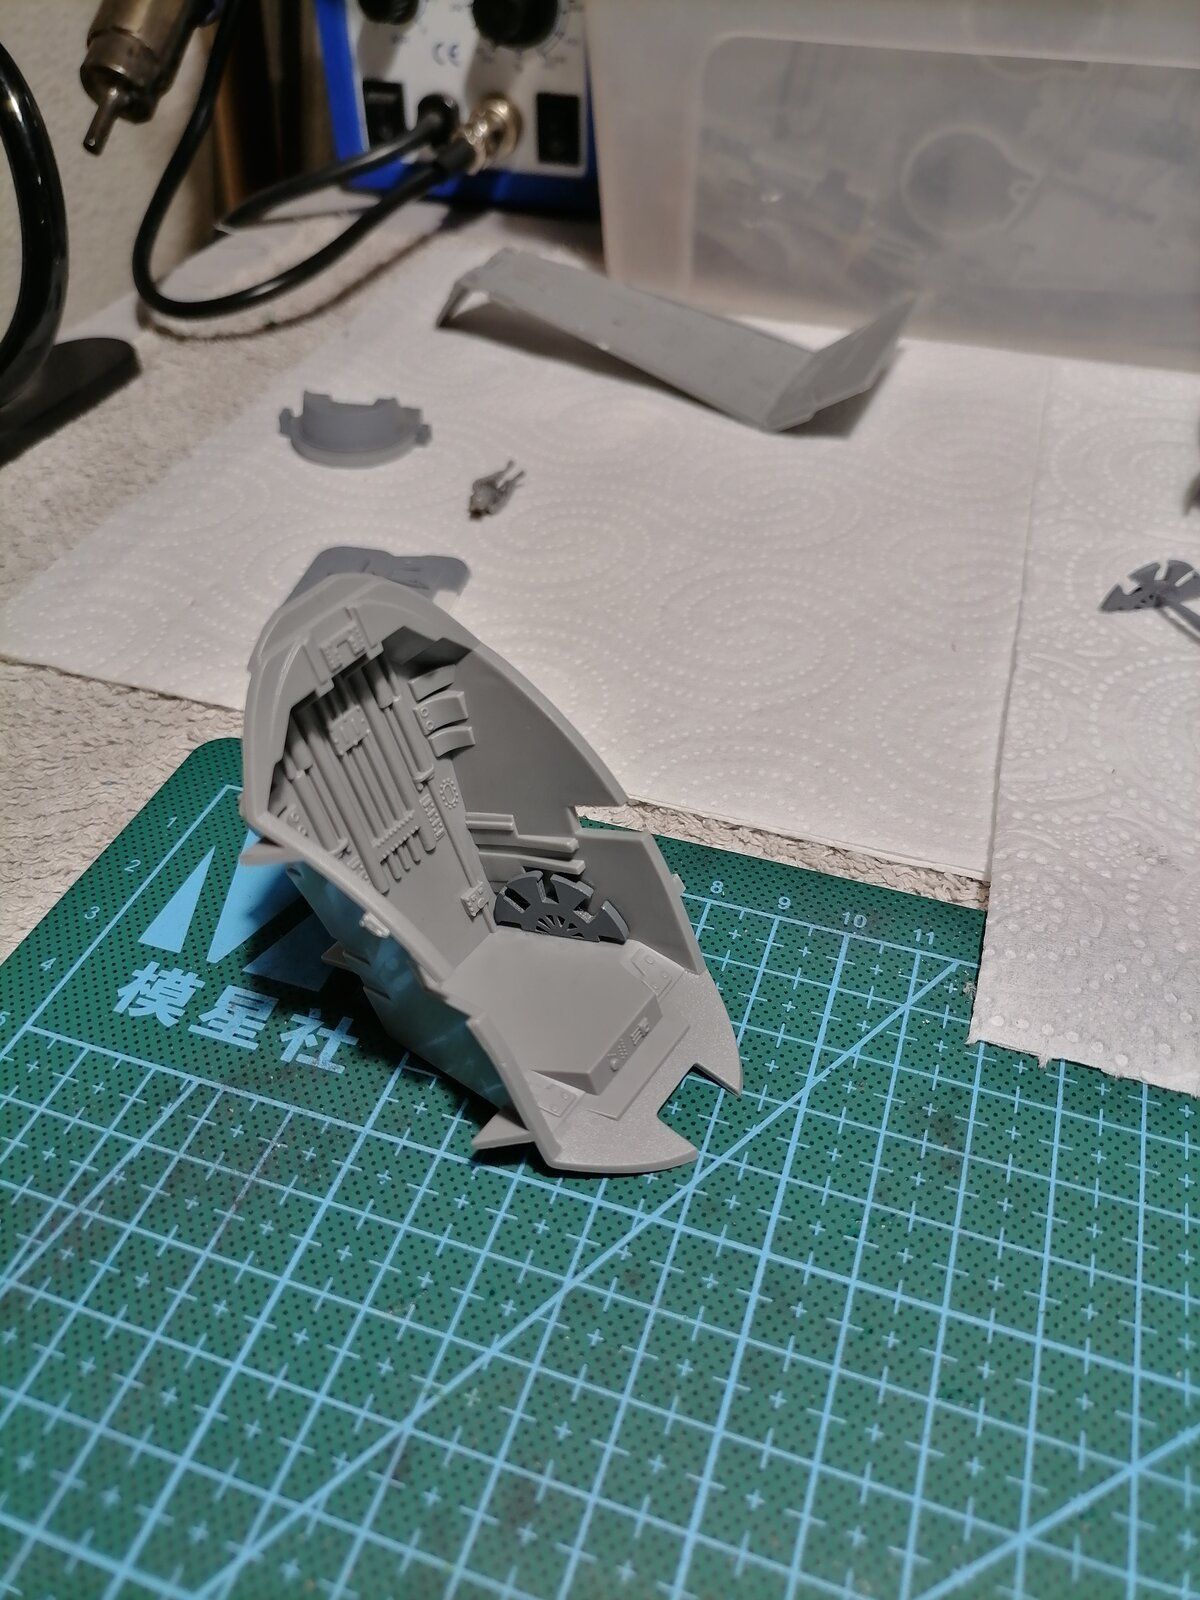
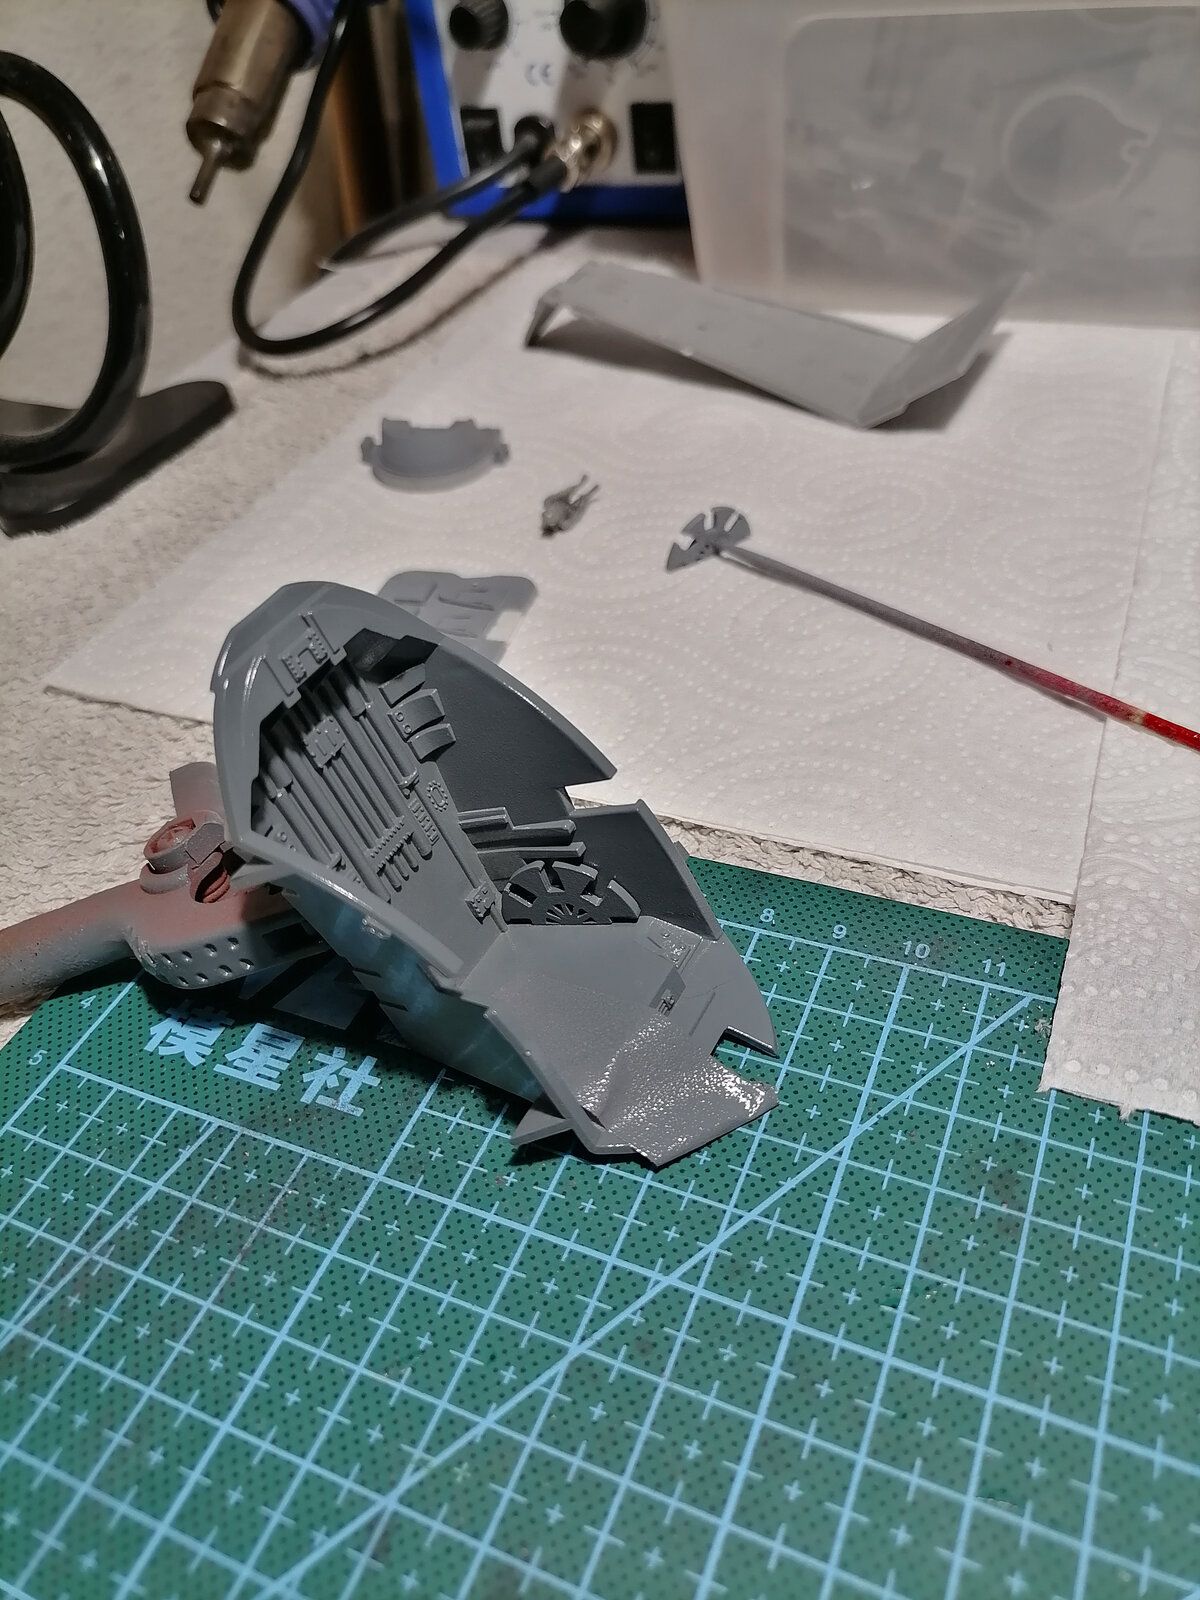
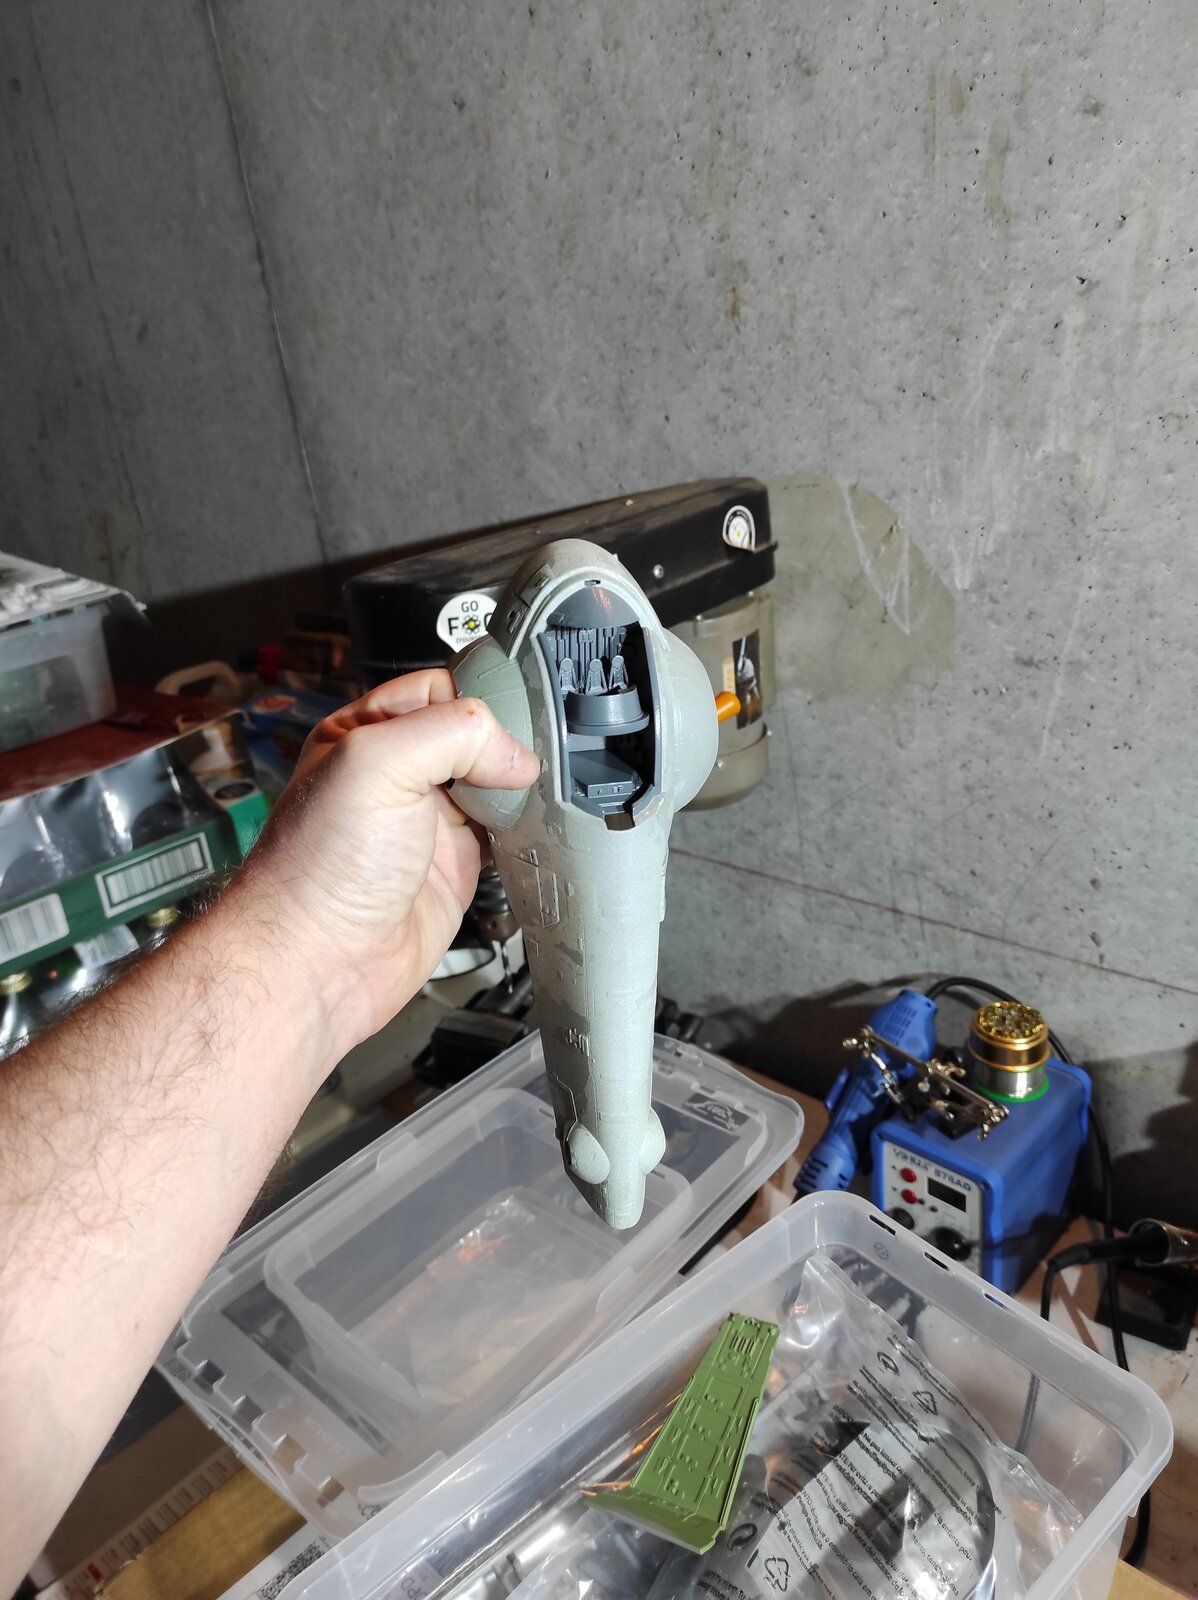
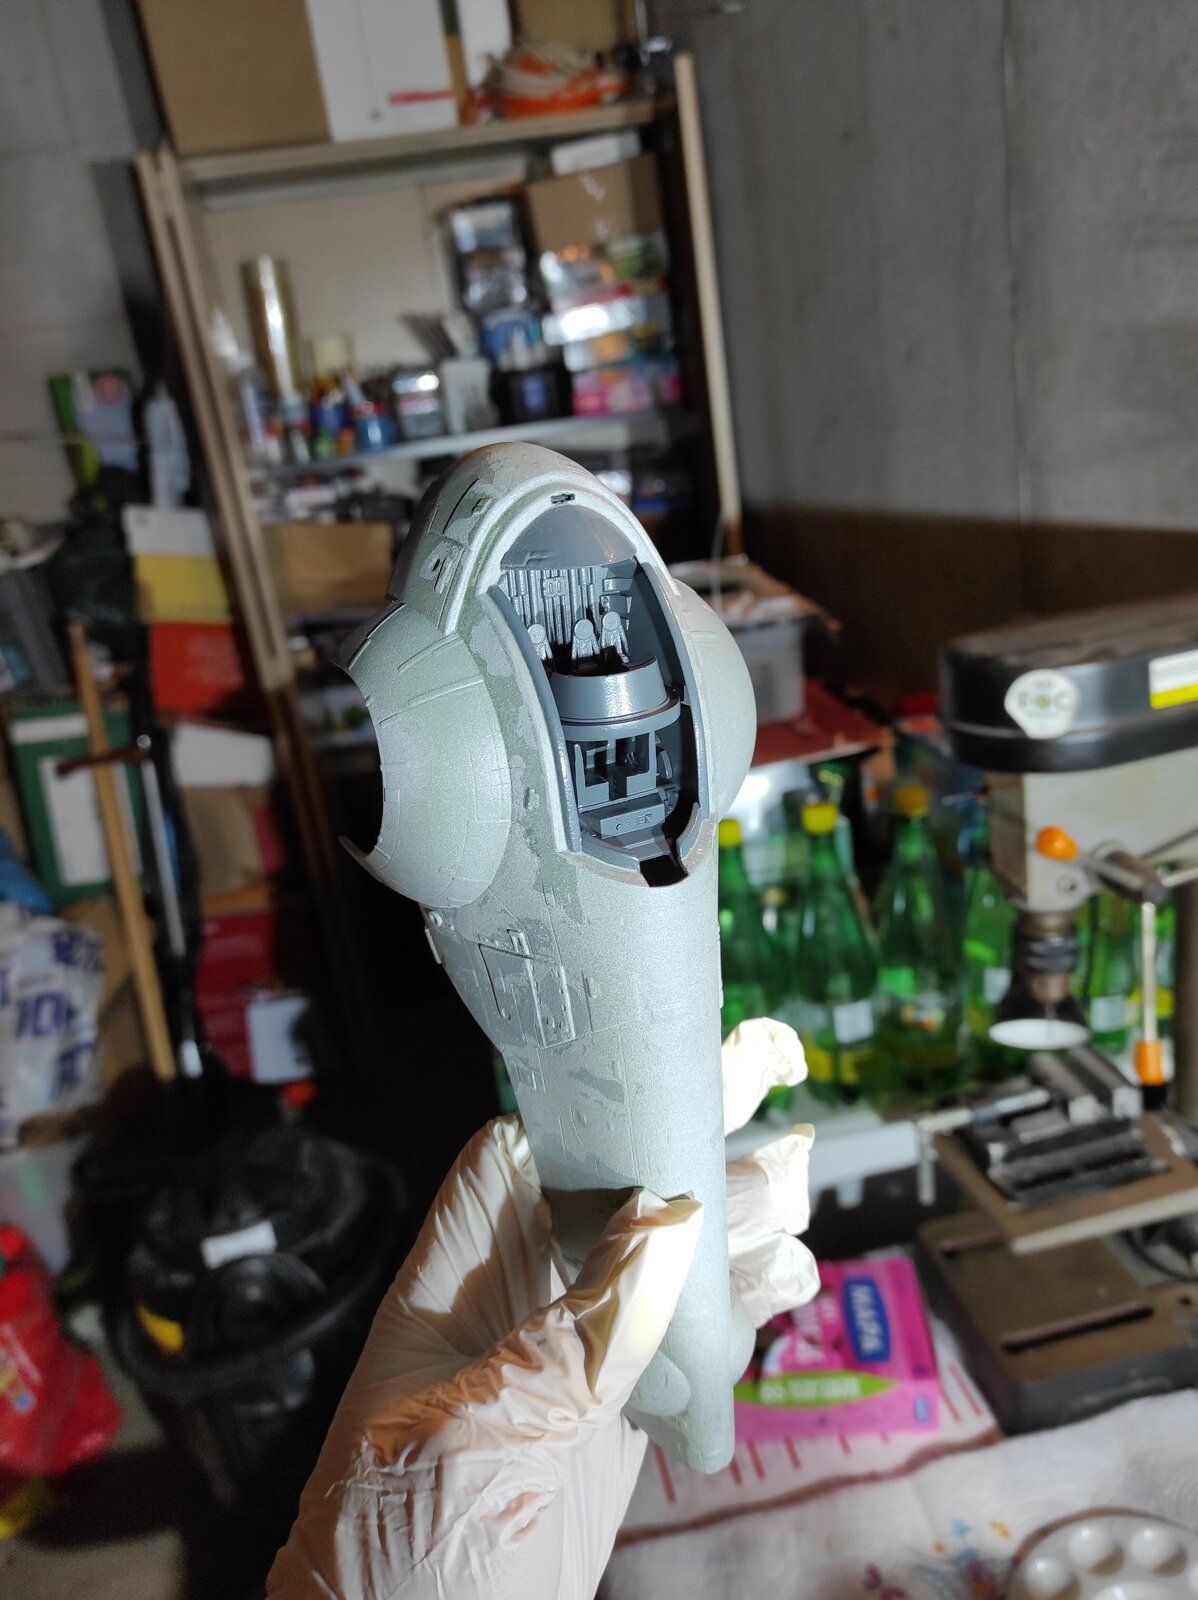
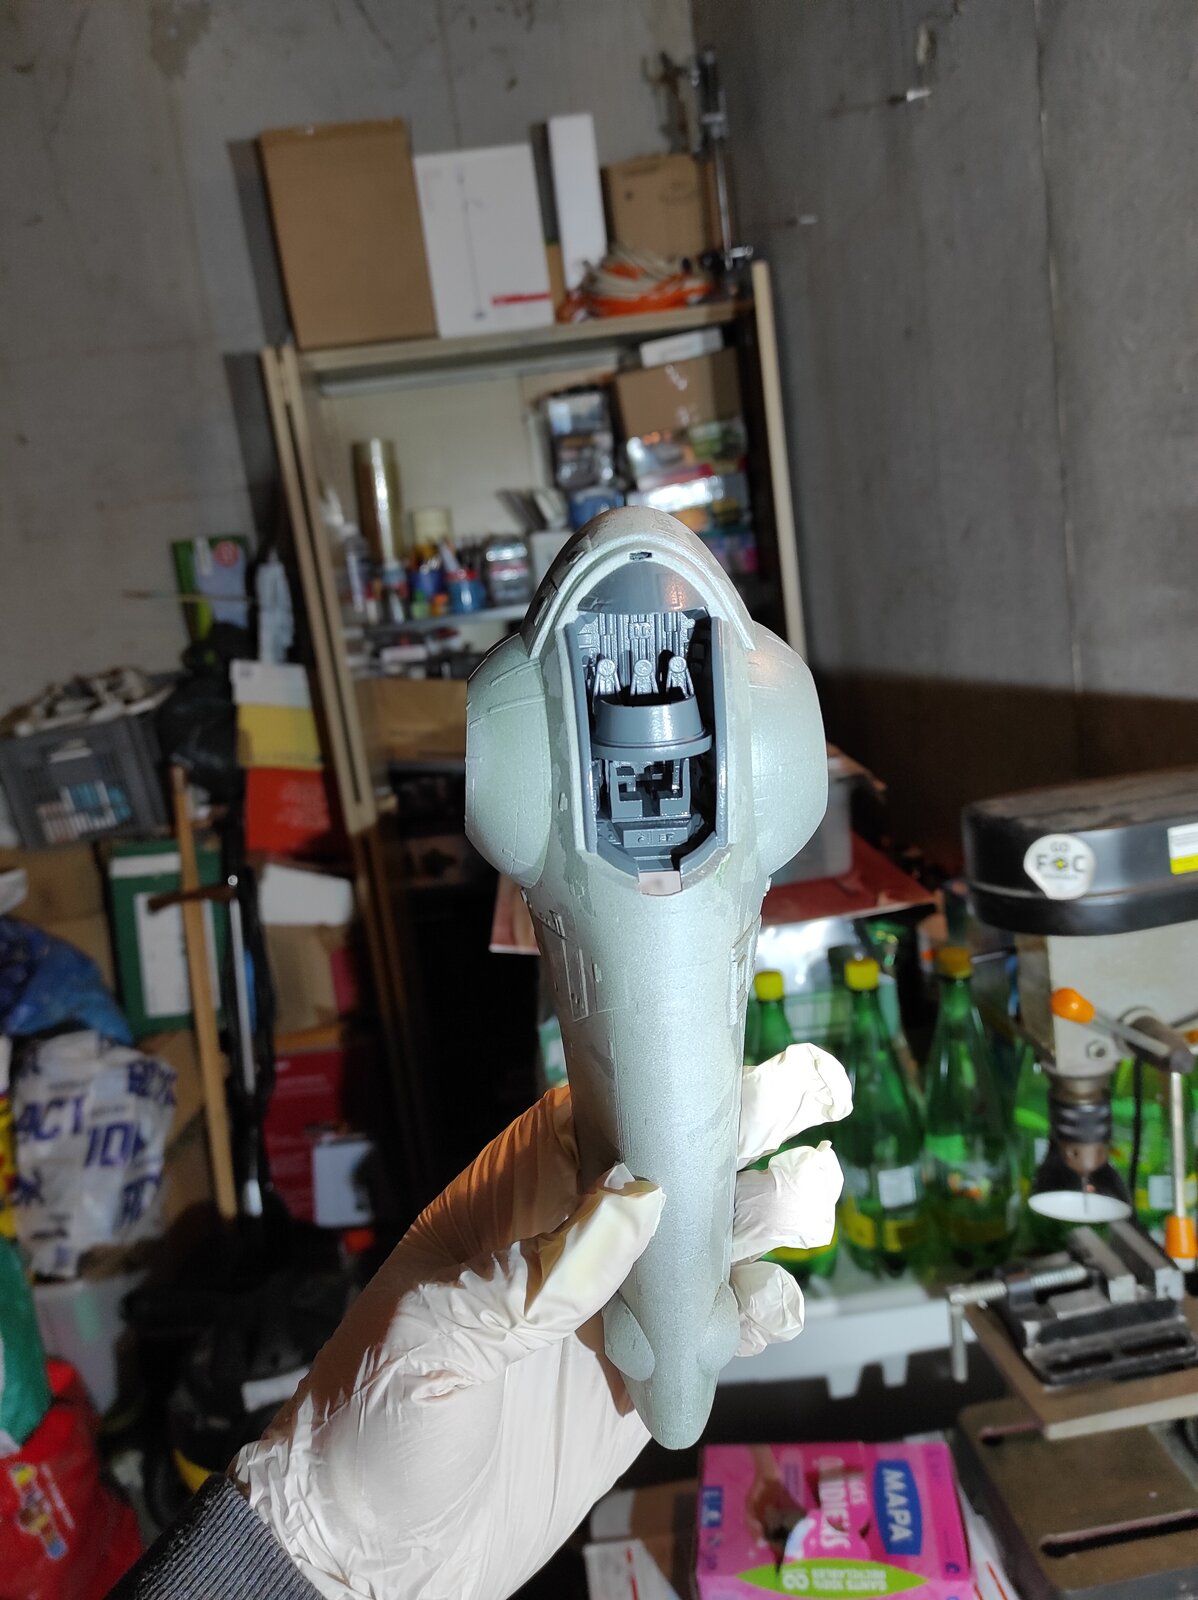
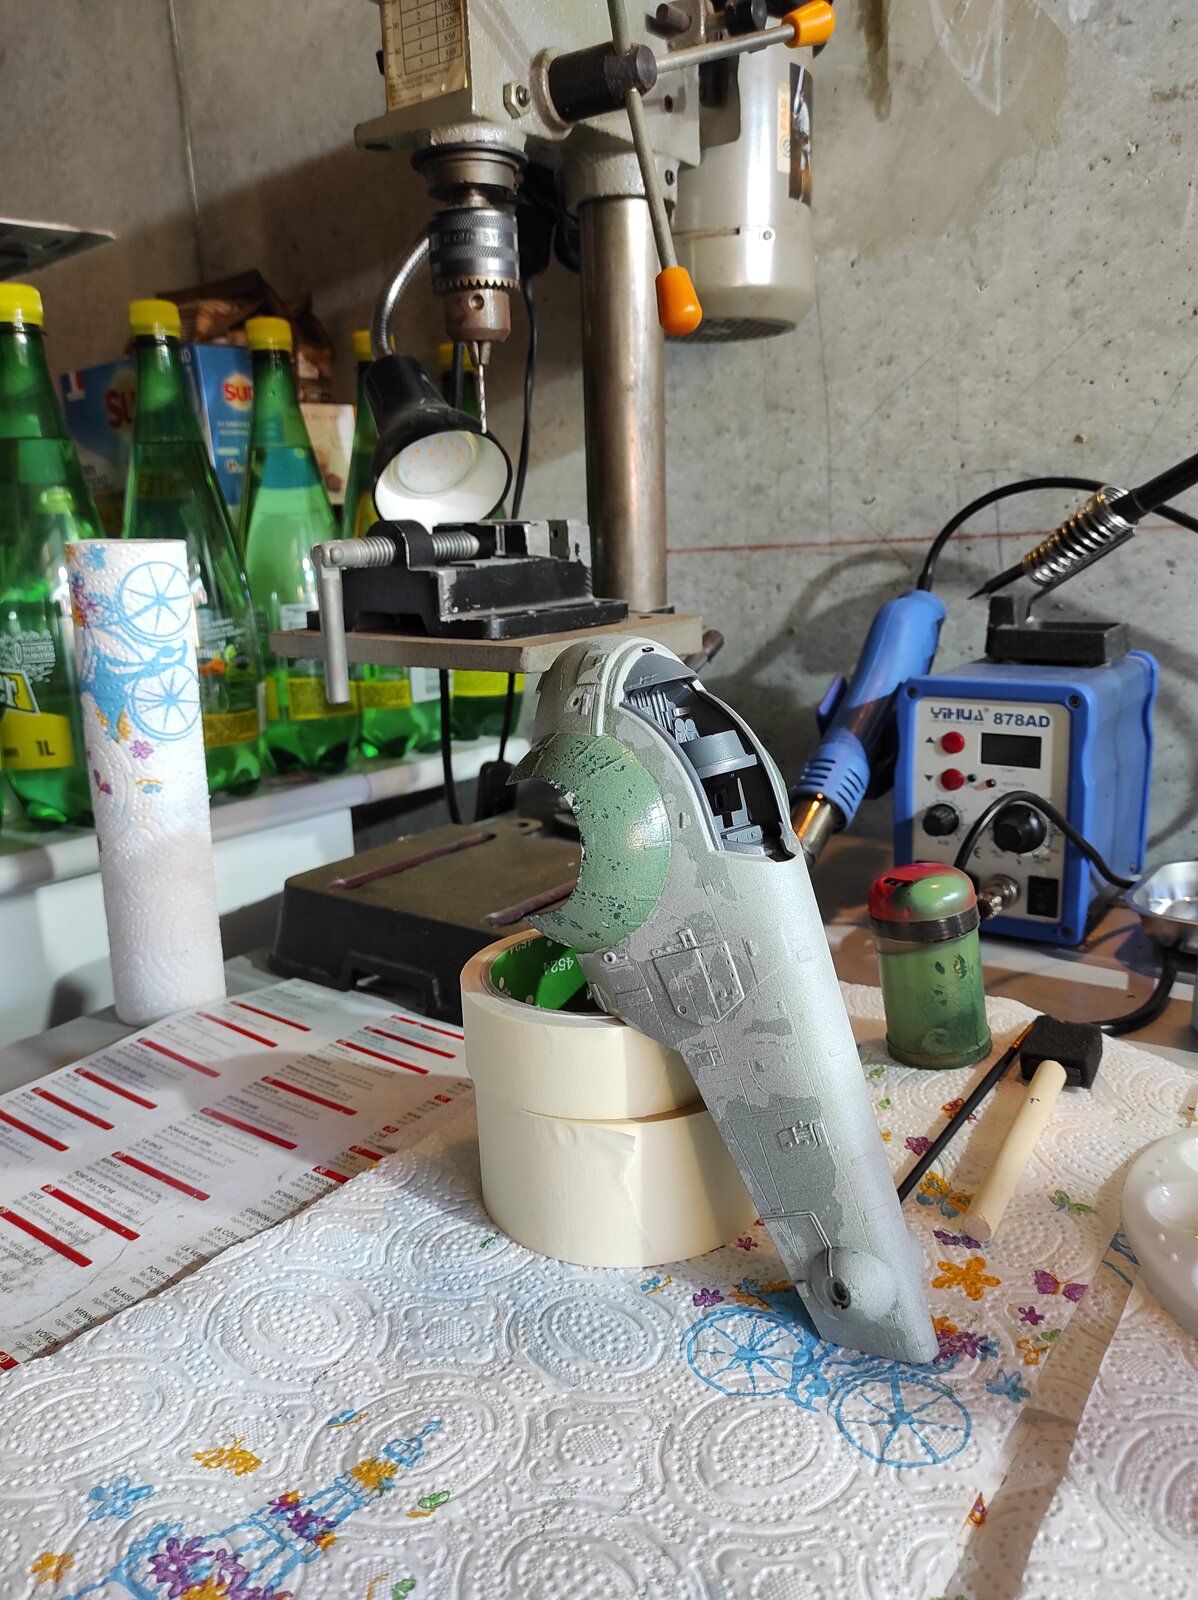
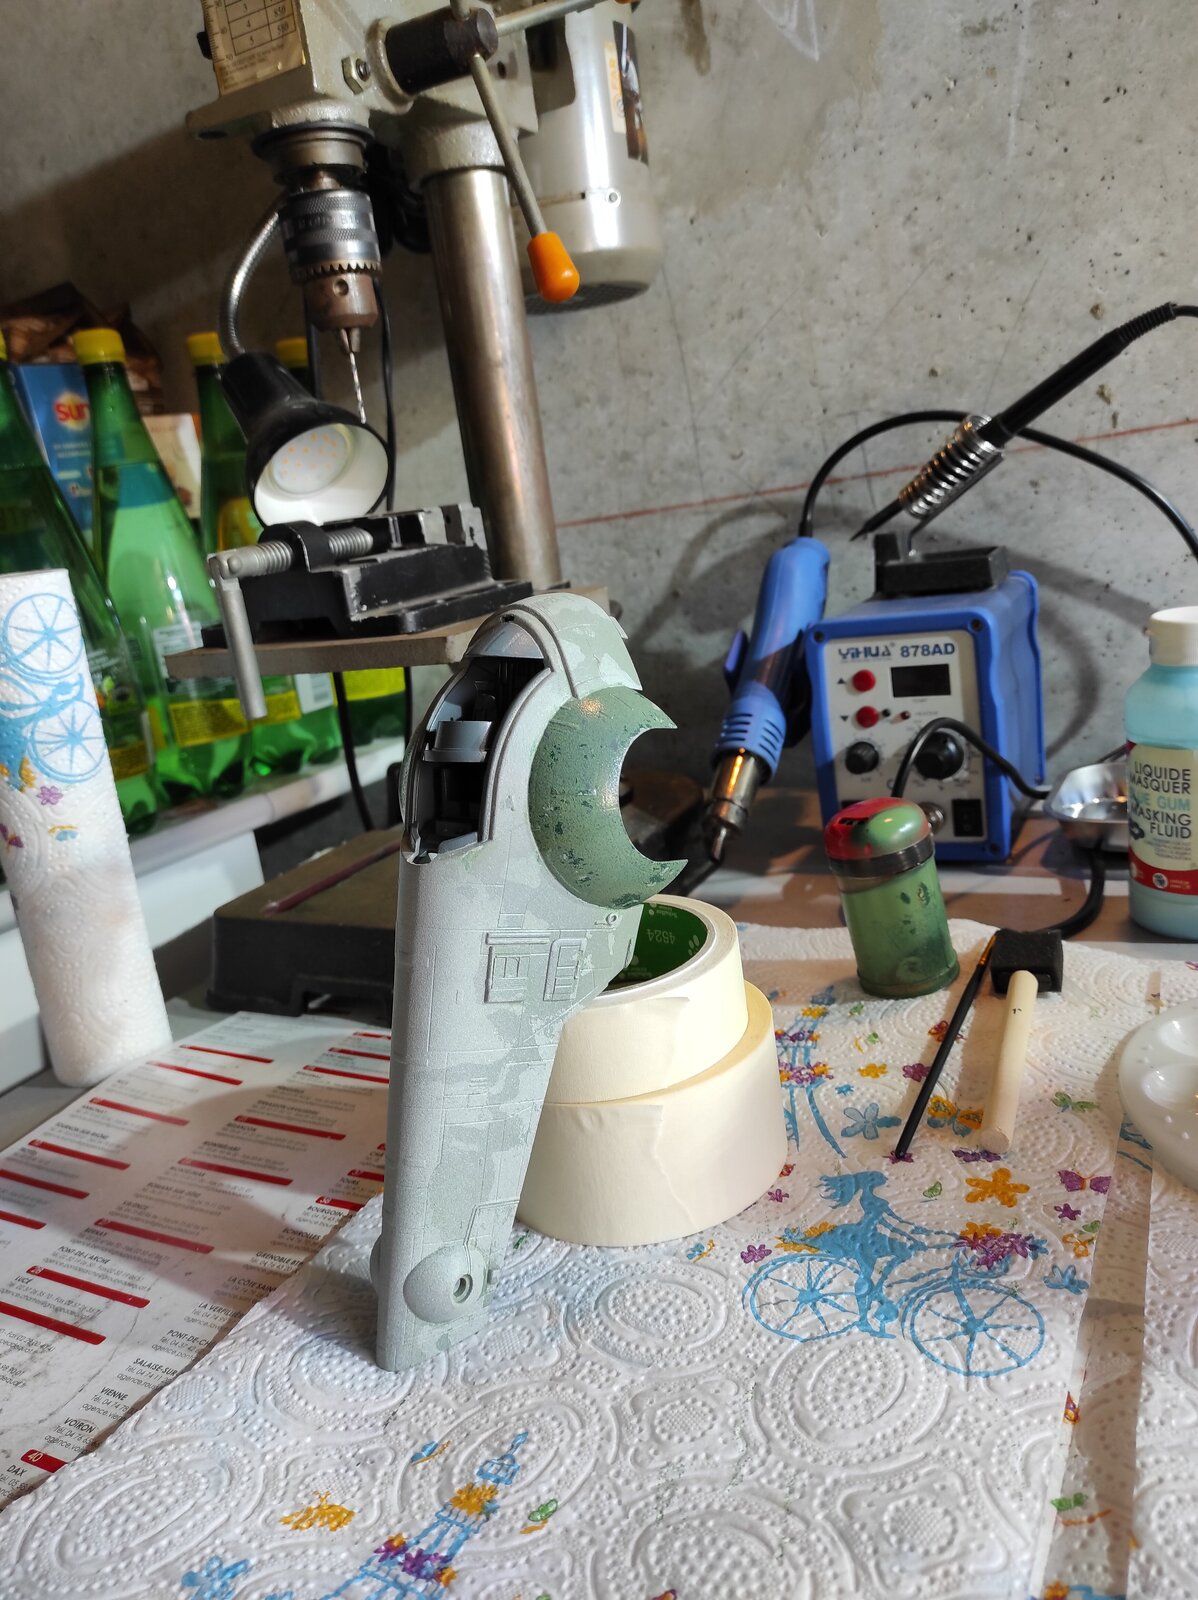
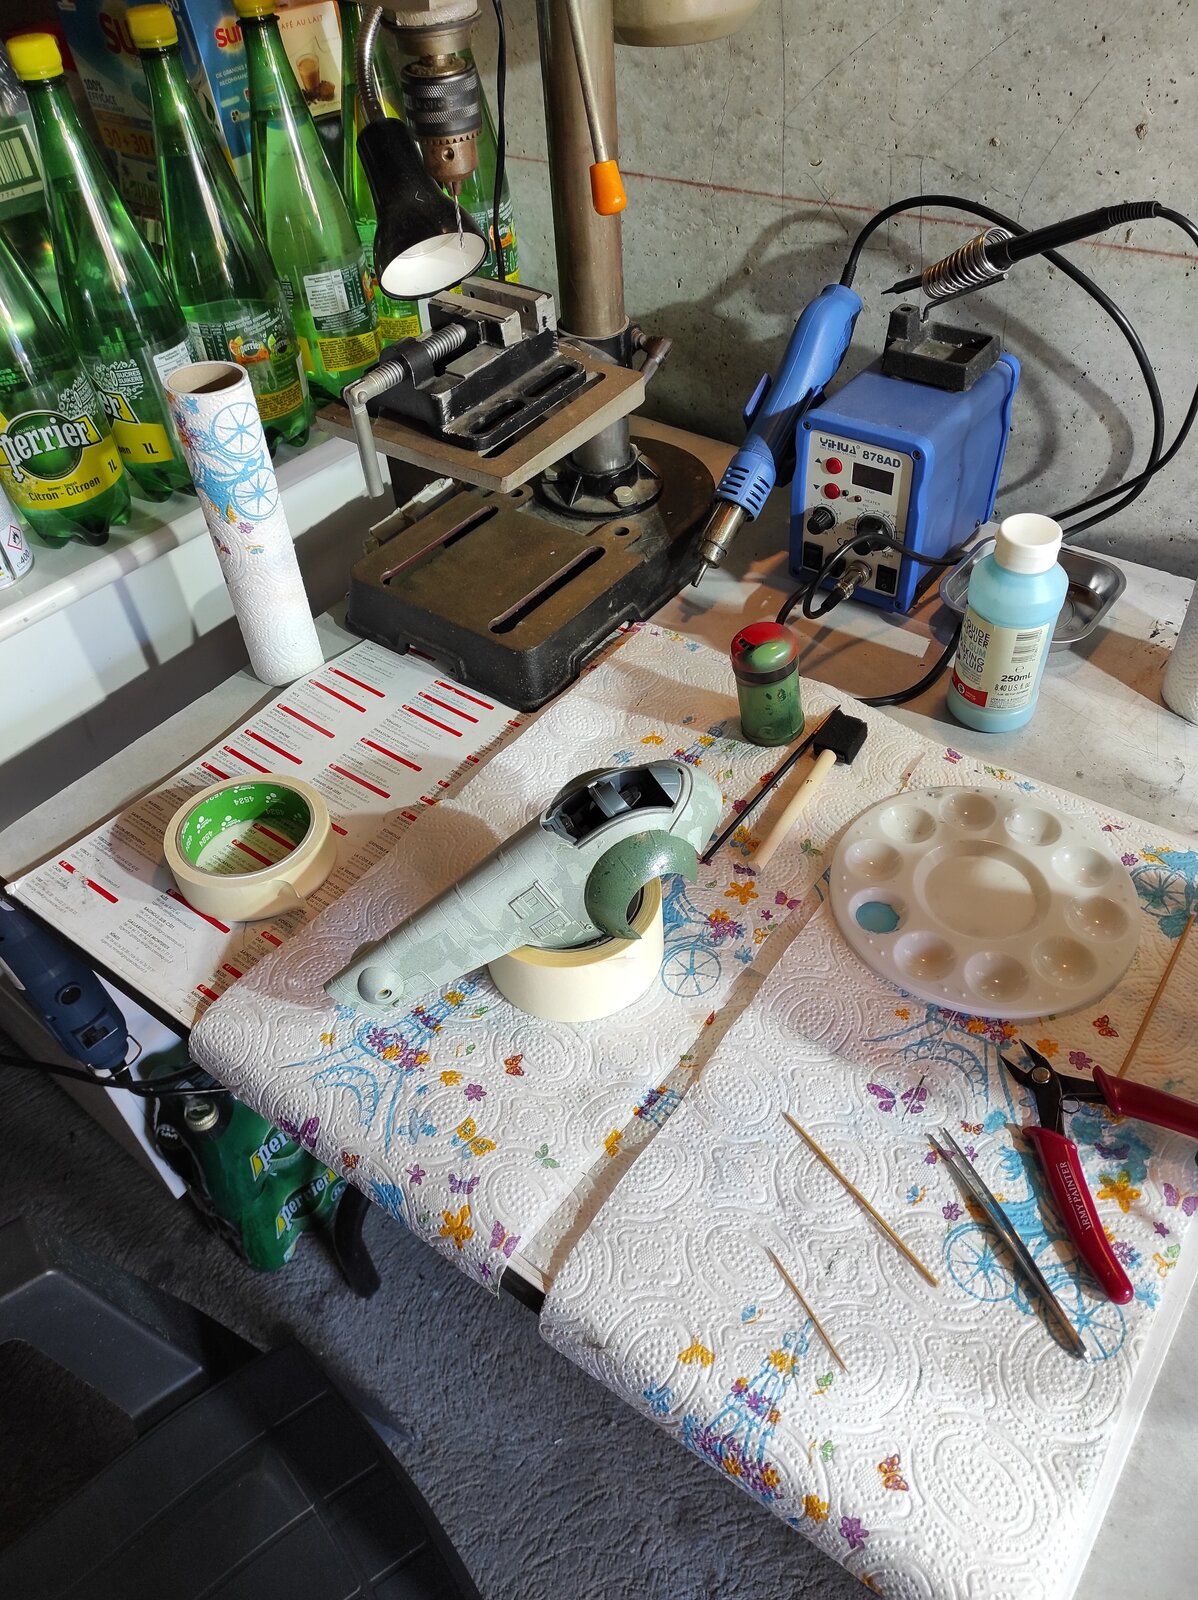
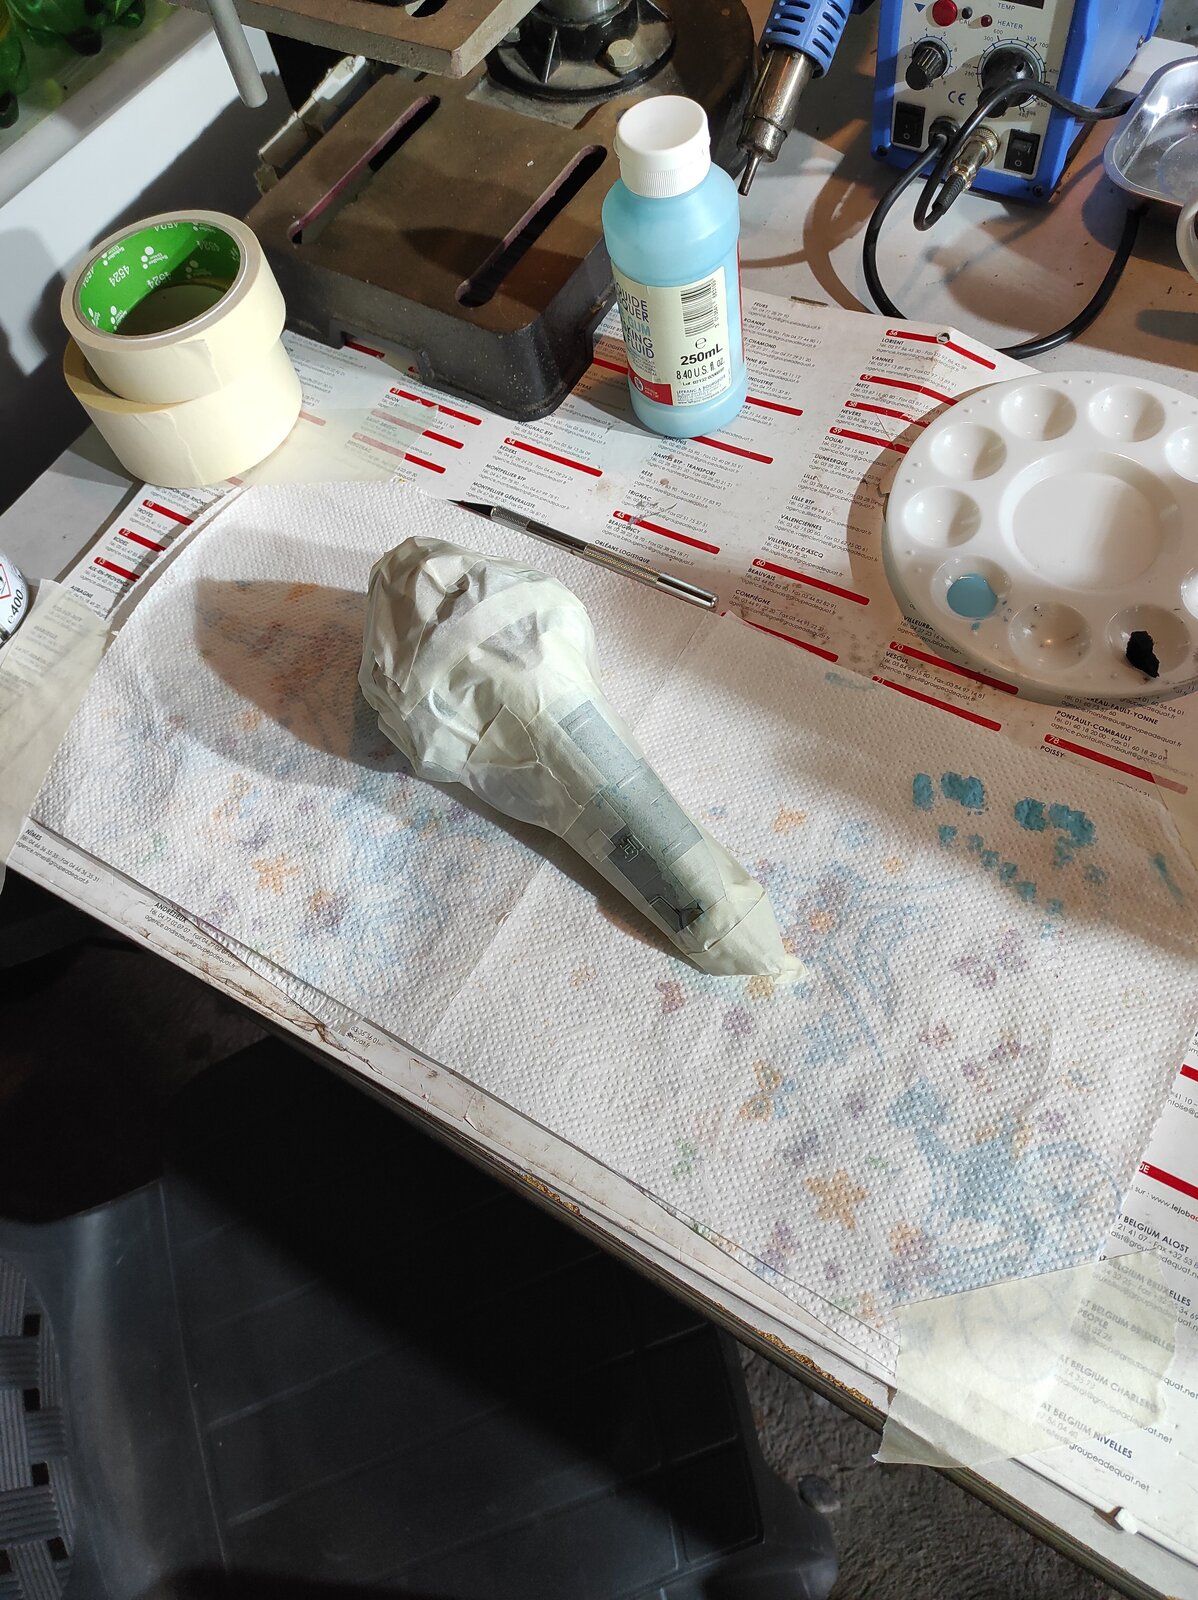
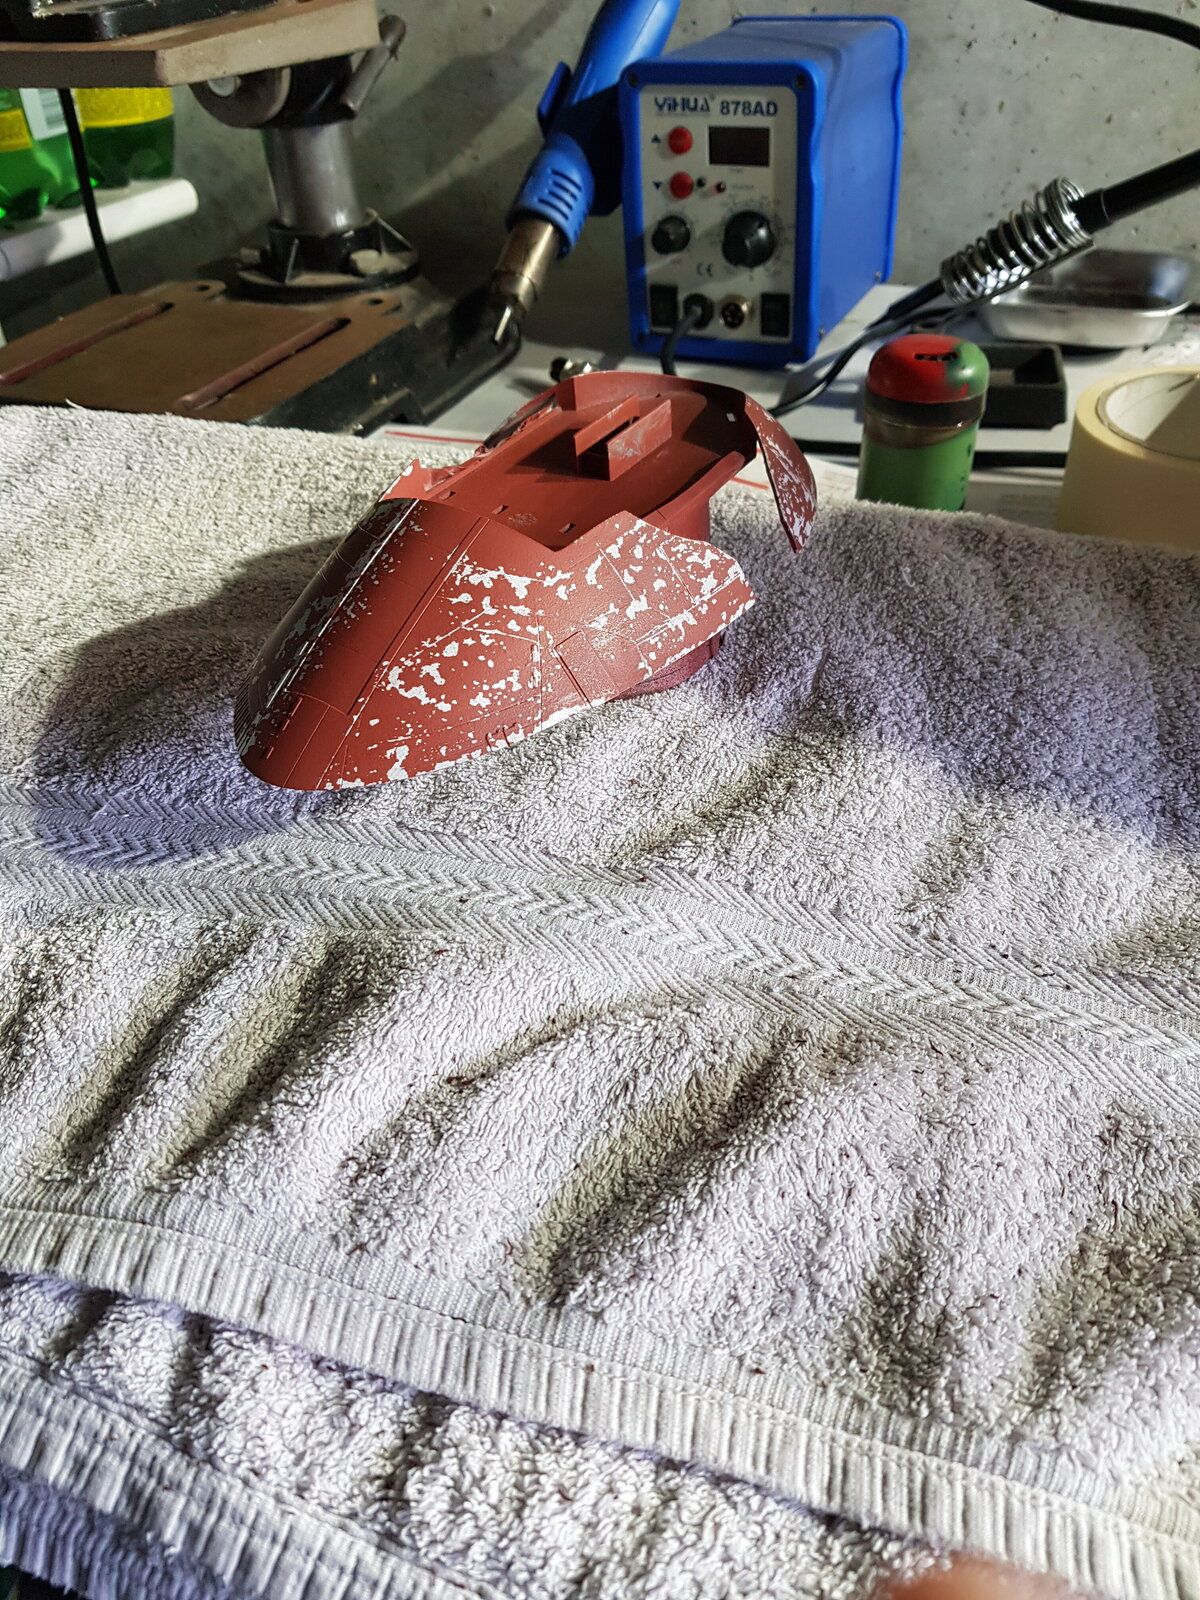
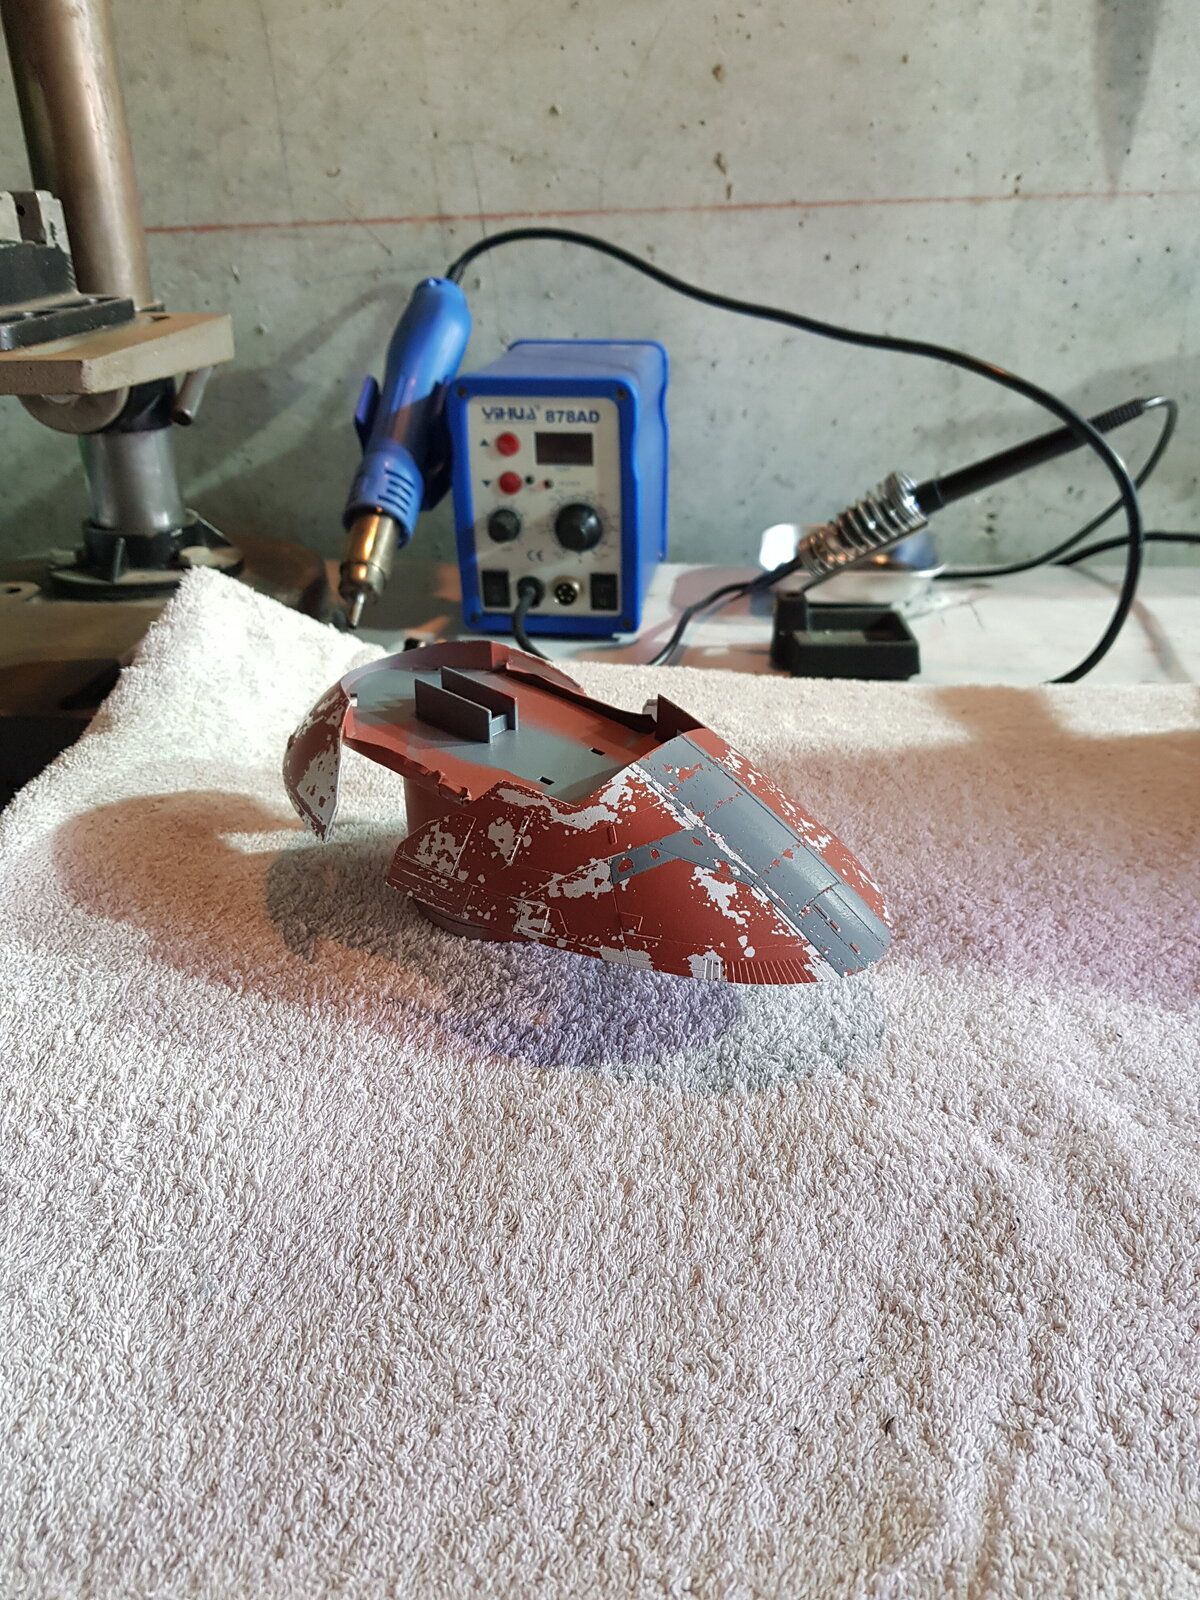
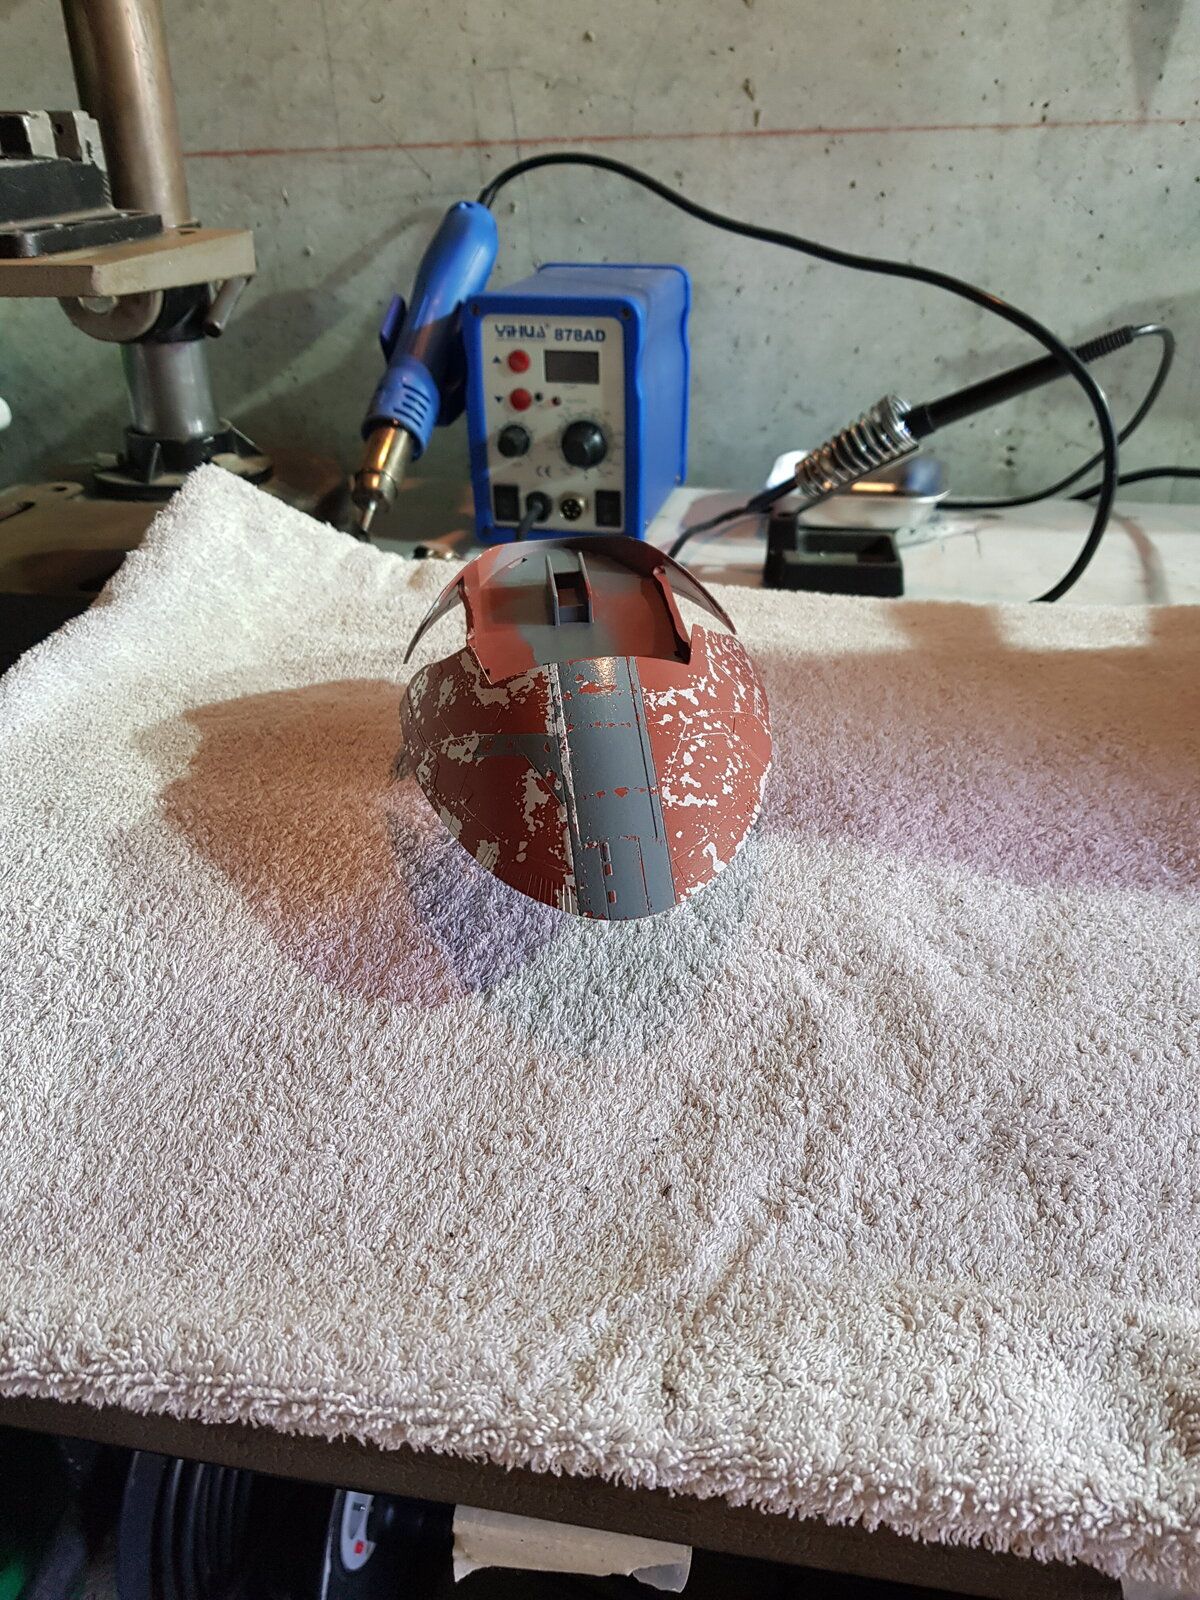
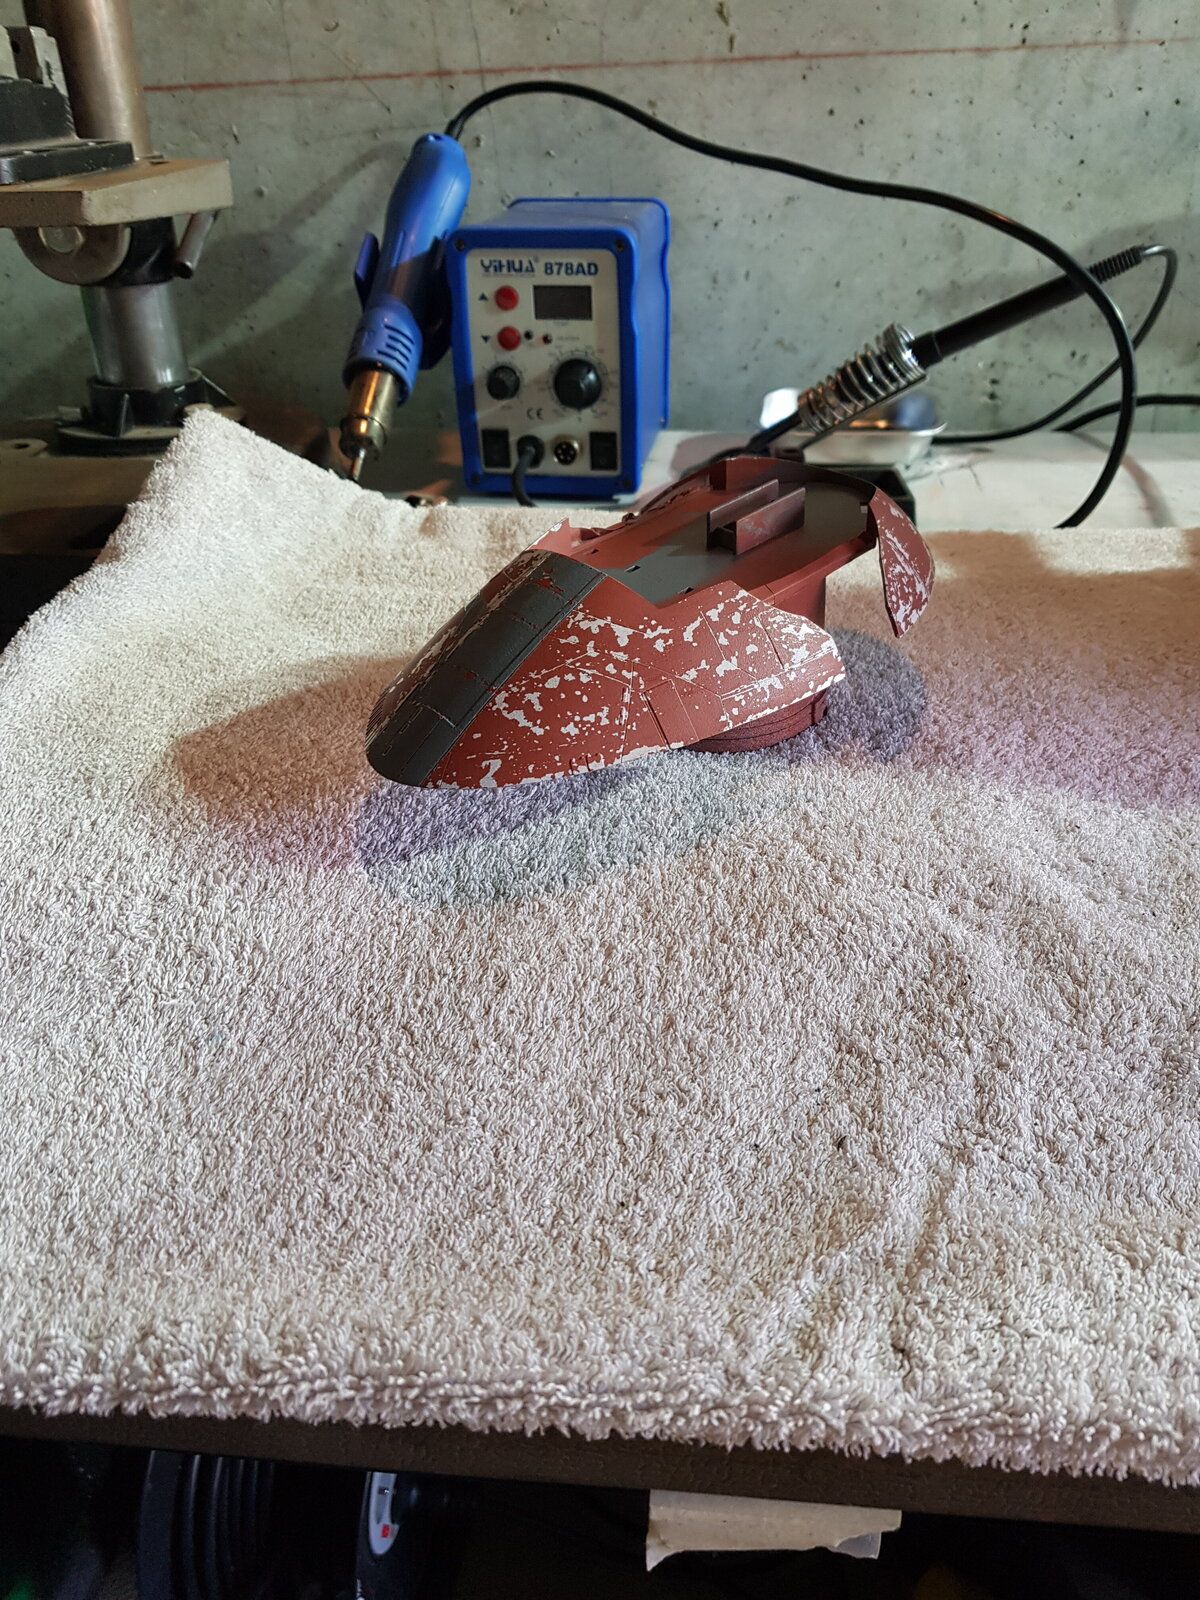
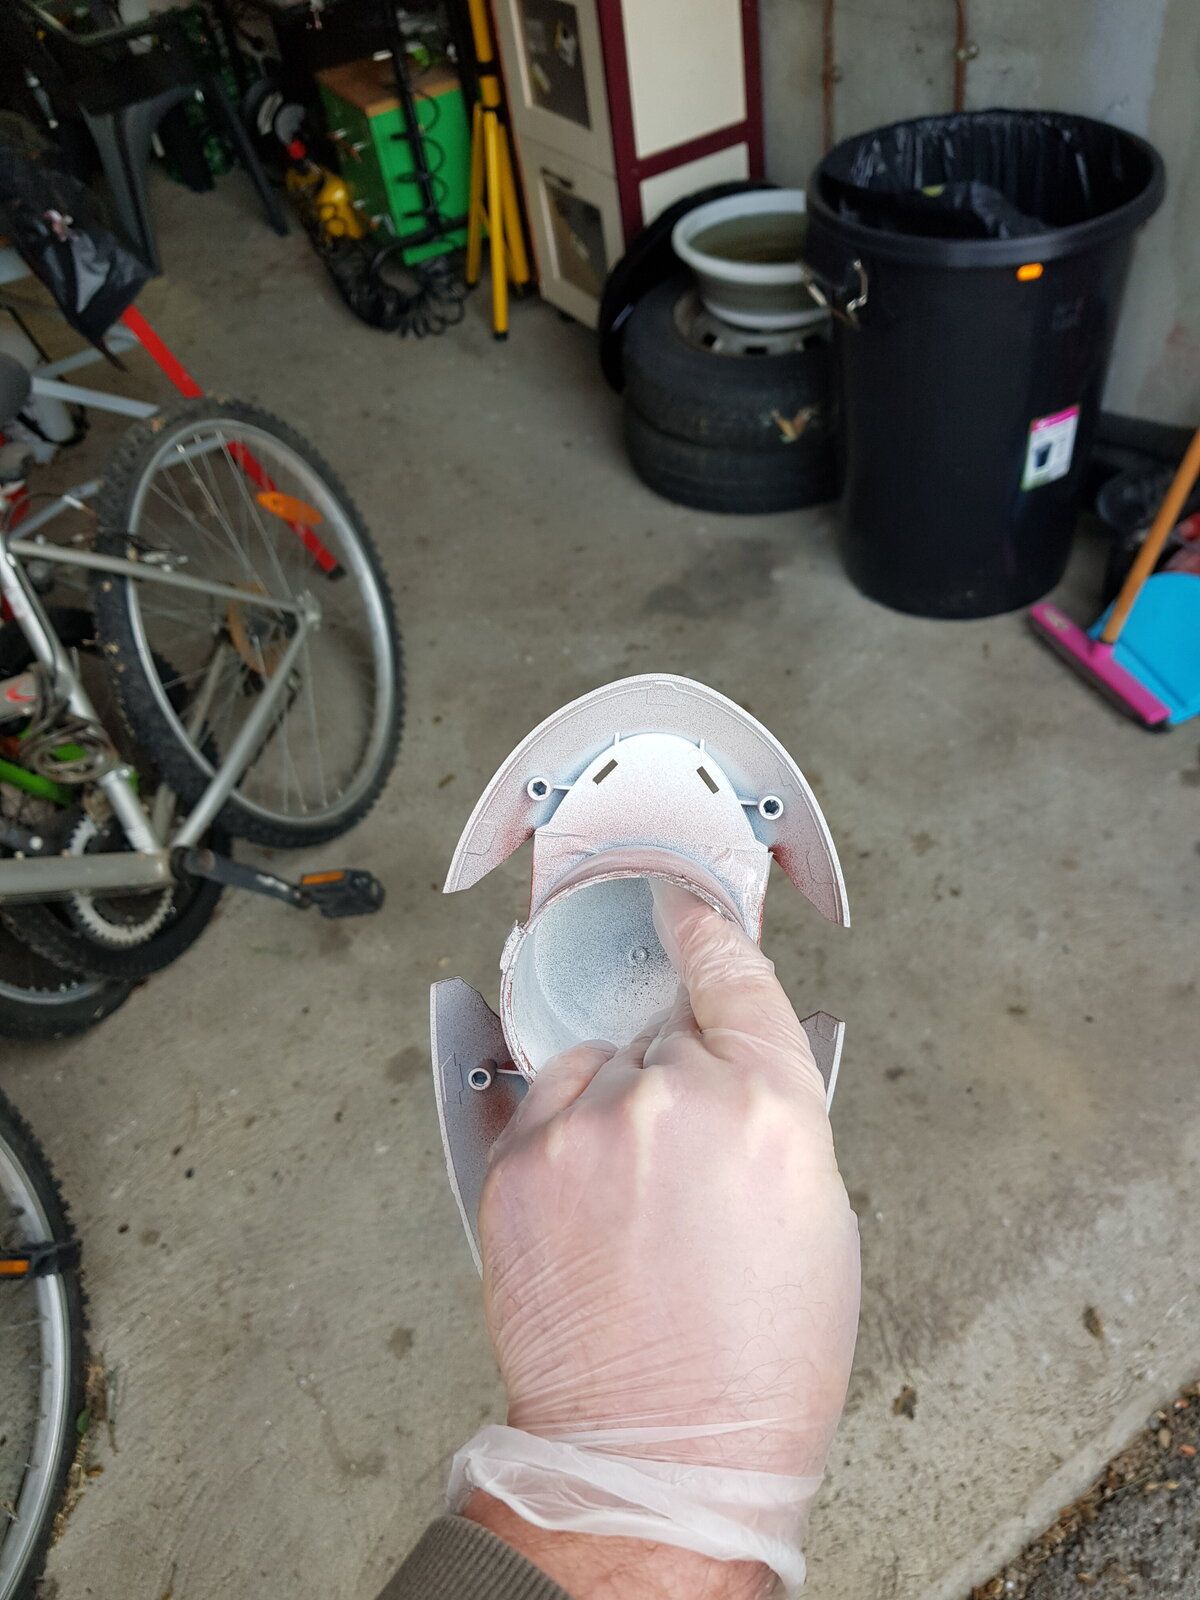
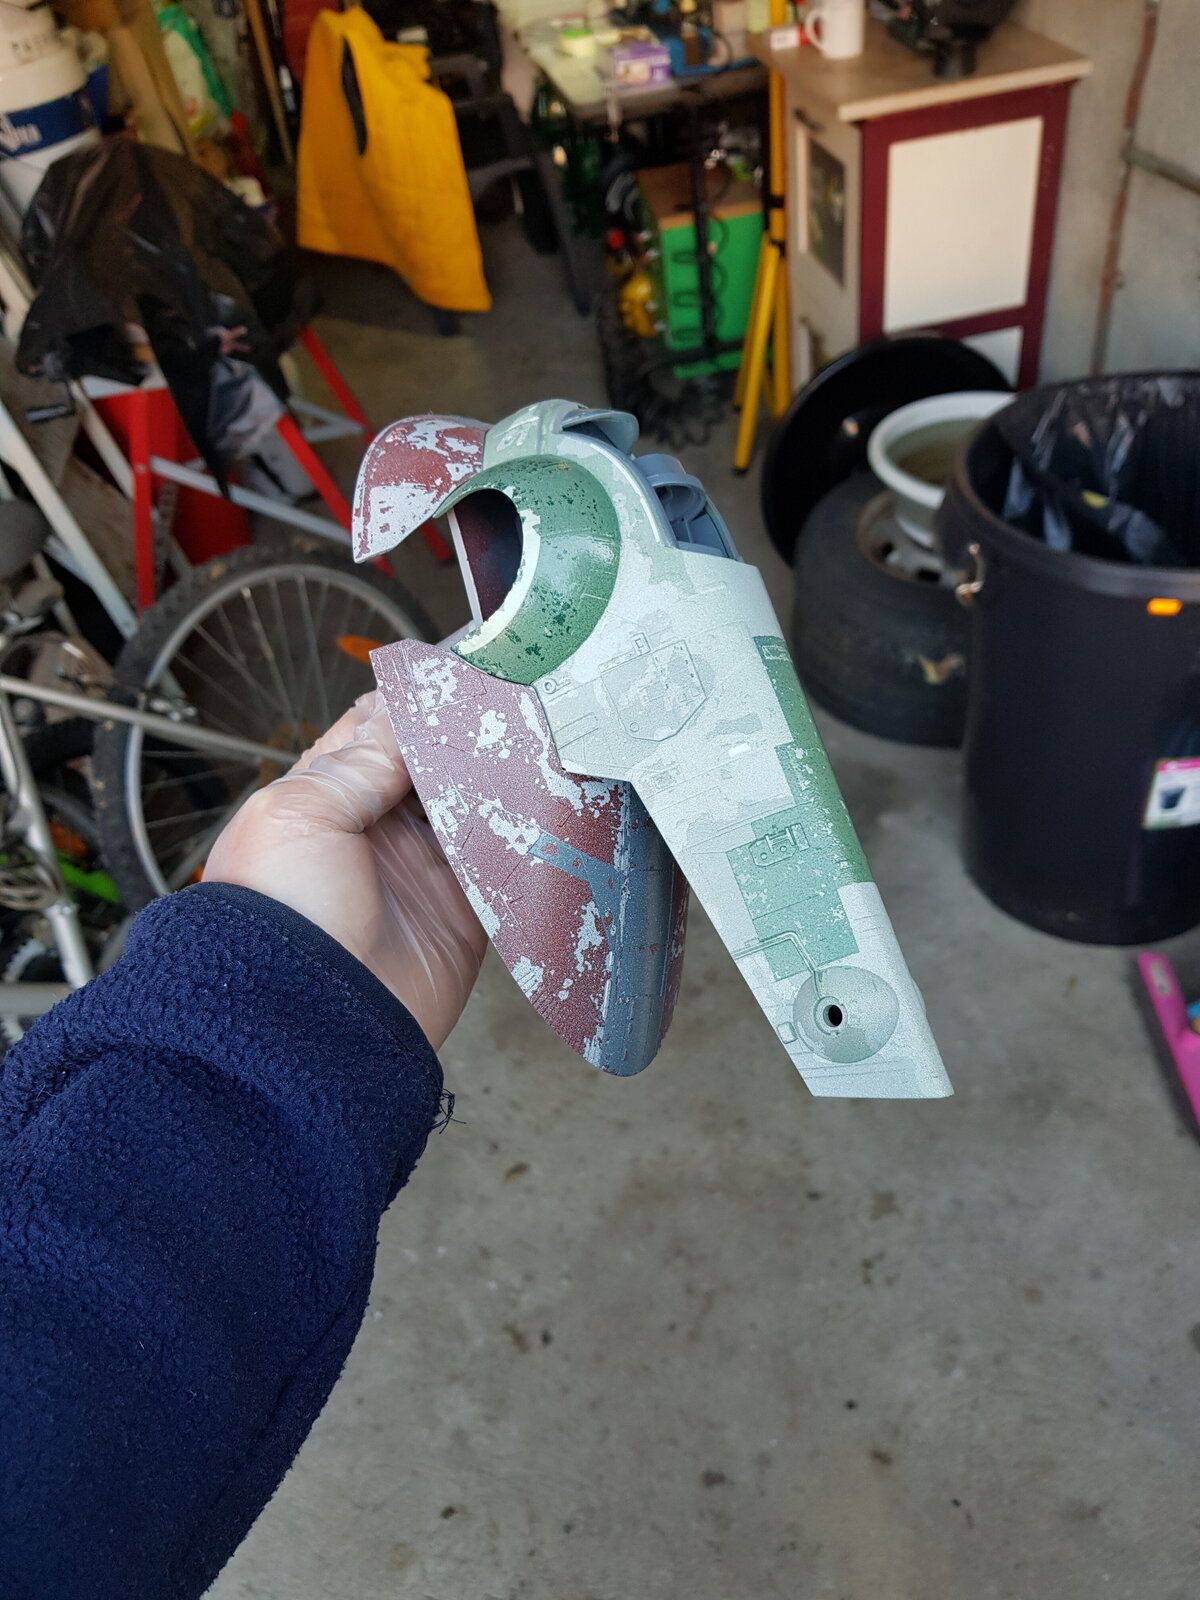
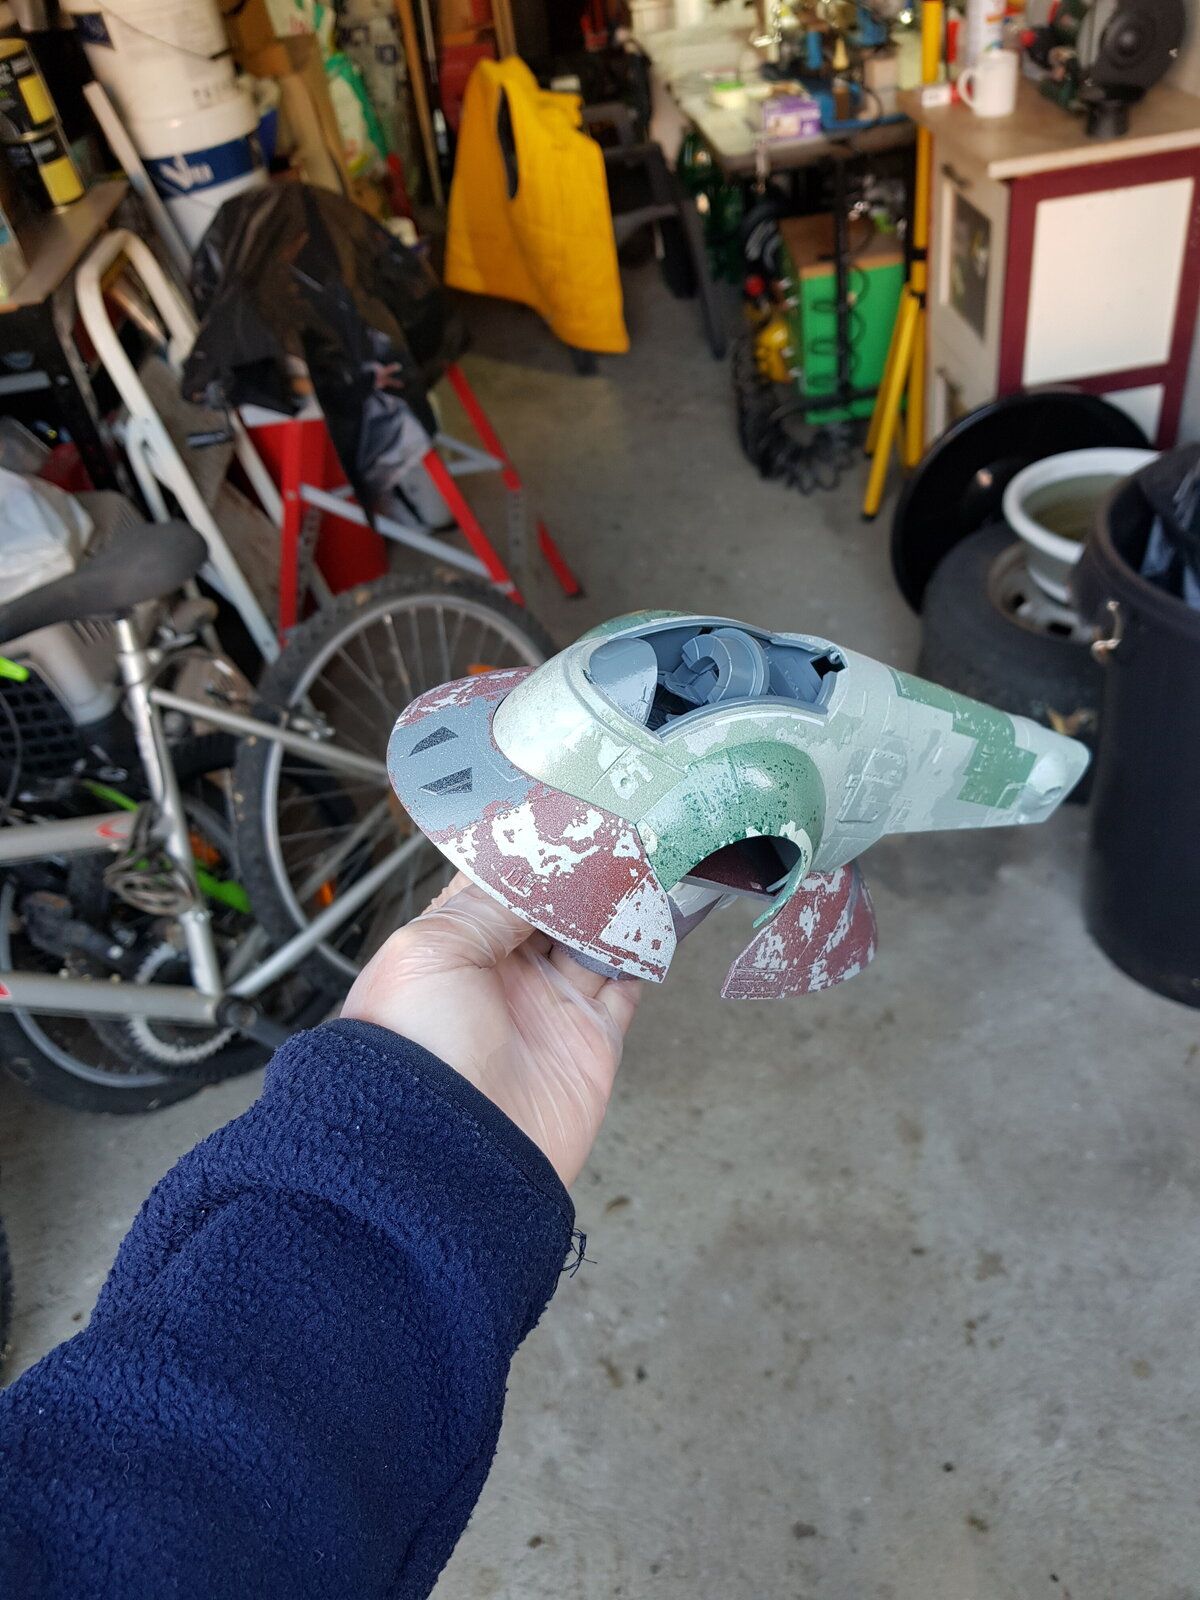
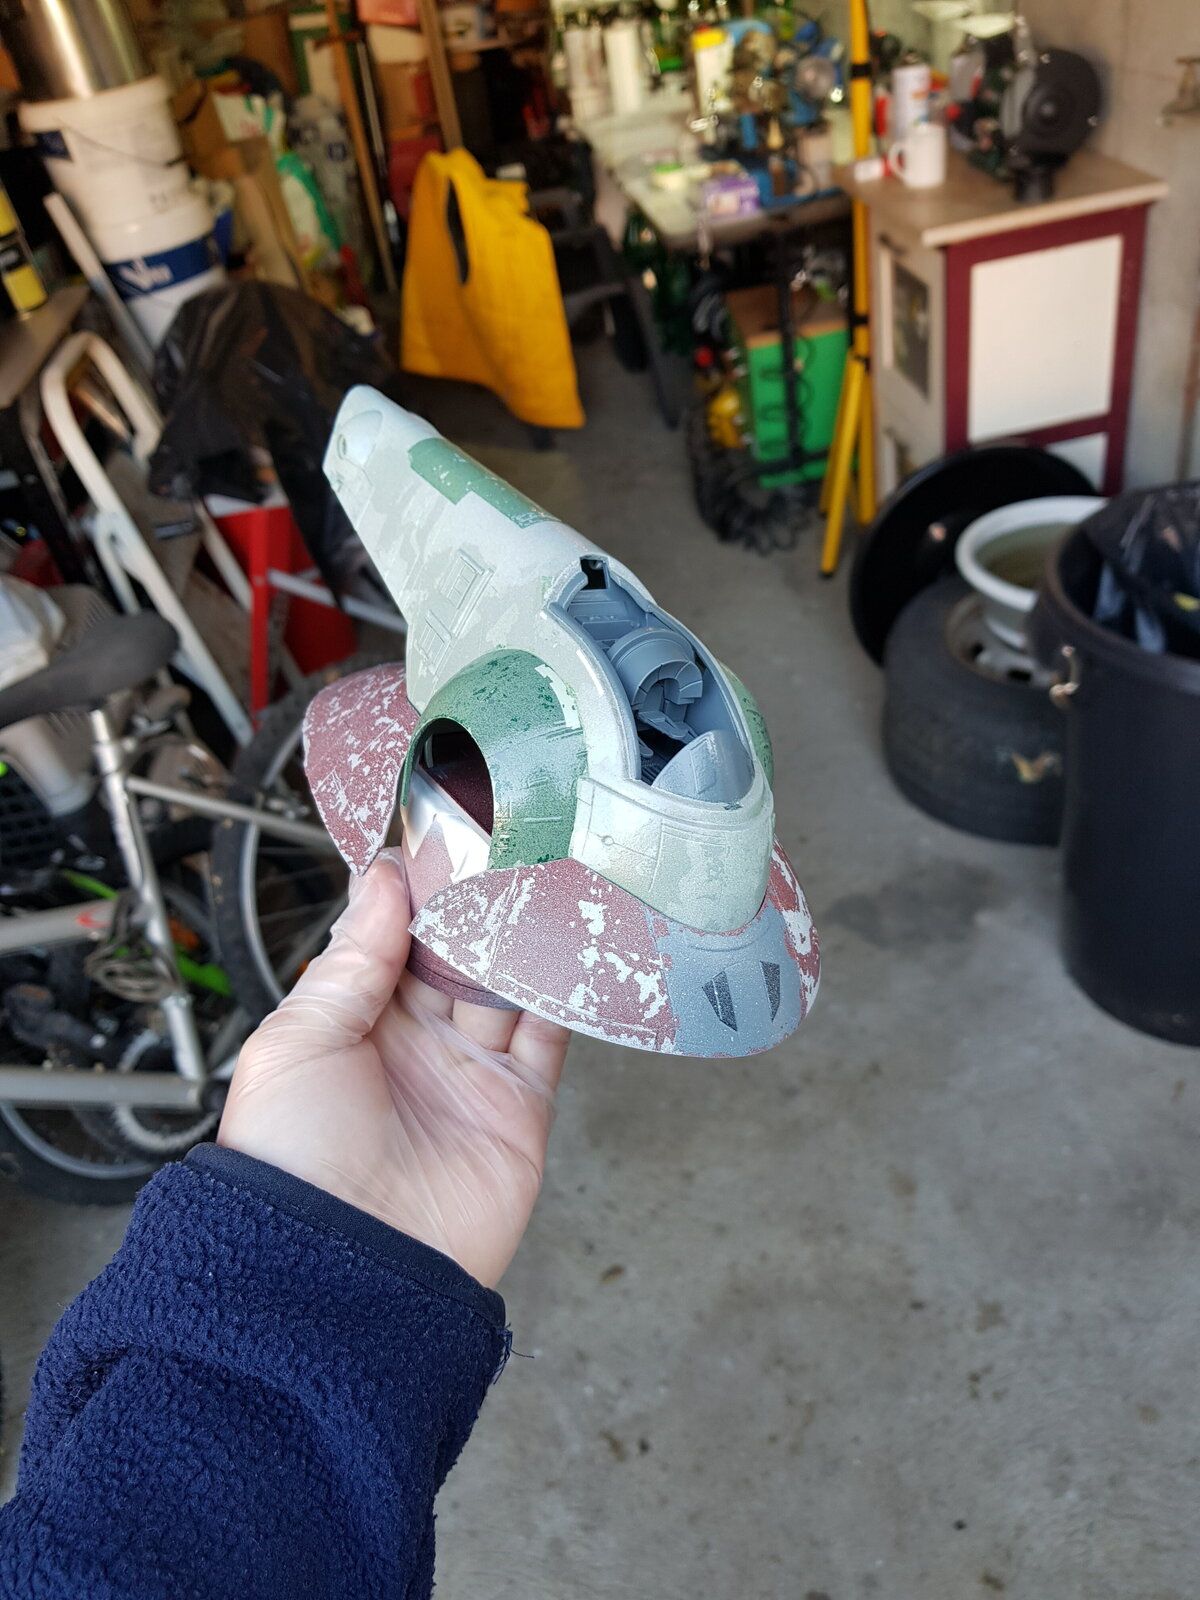
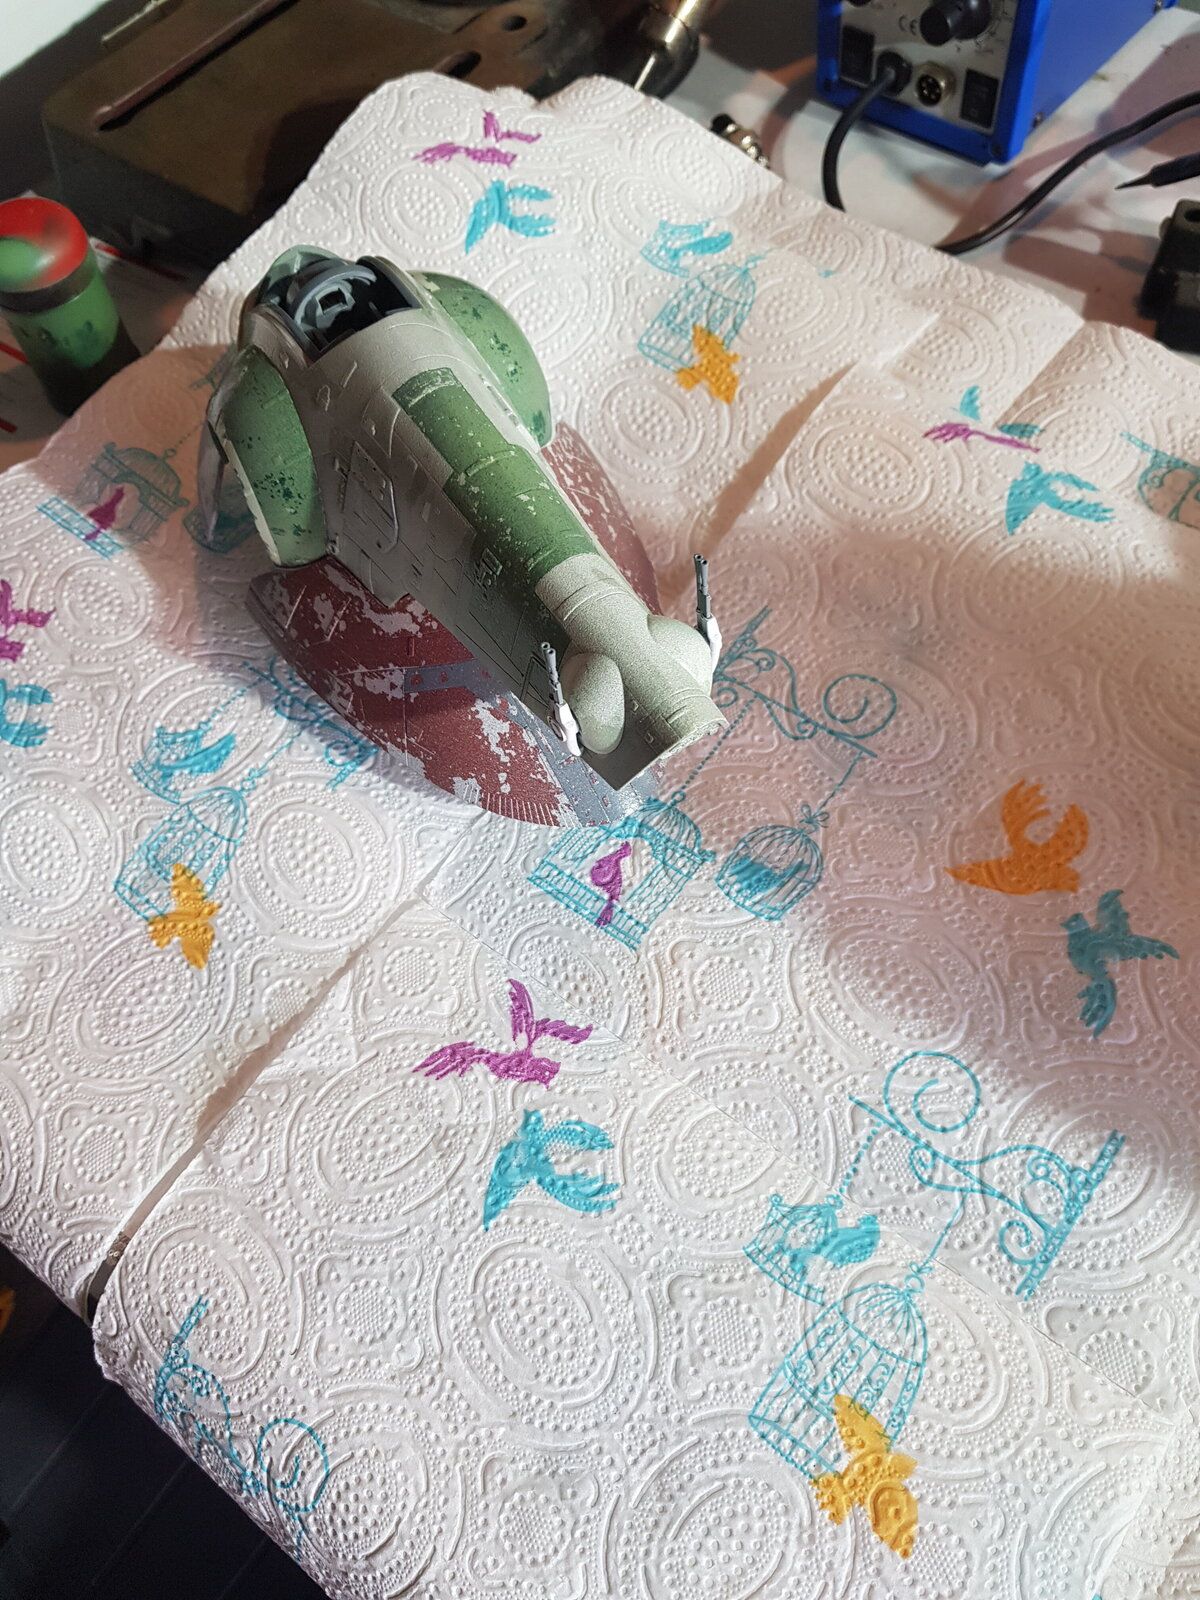
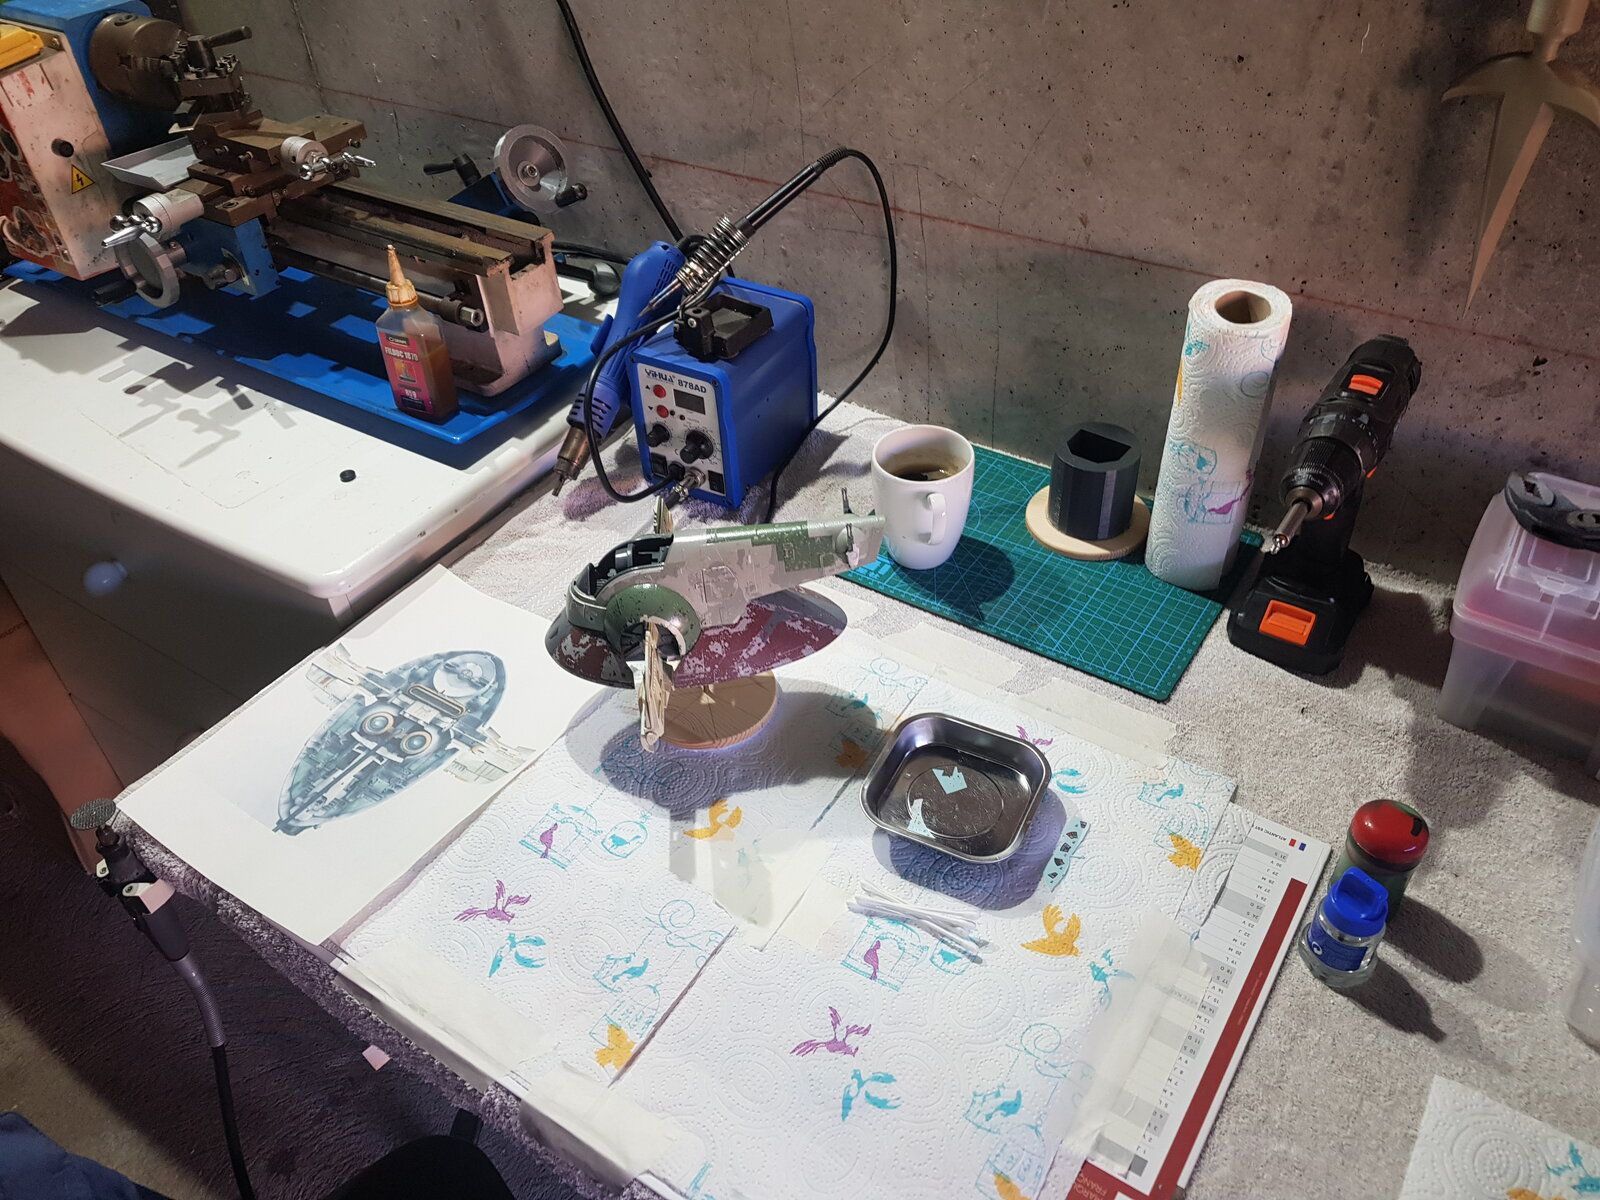
The build will include the paint scheme seen in the Mandalorian and accuracy mods according to the show (mainly in the cockpit).
My kit is on the way so I will start on it soon.
Dont hesitate to join me and MTFBWYA

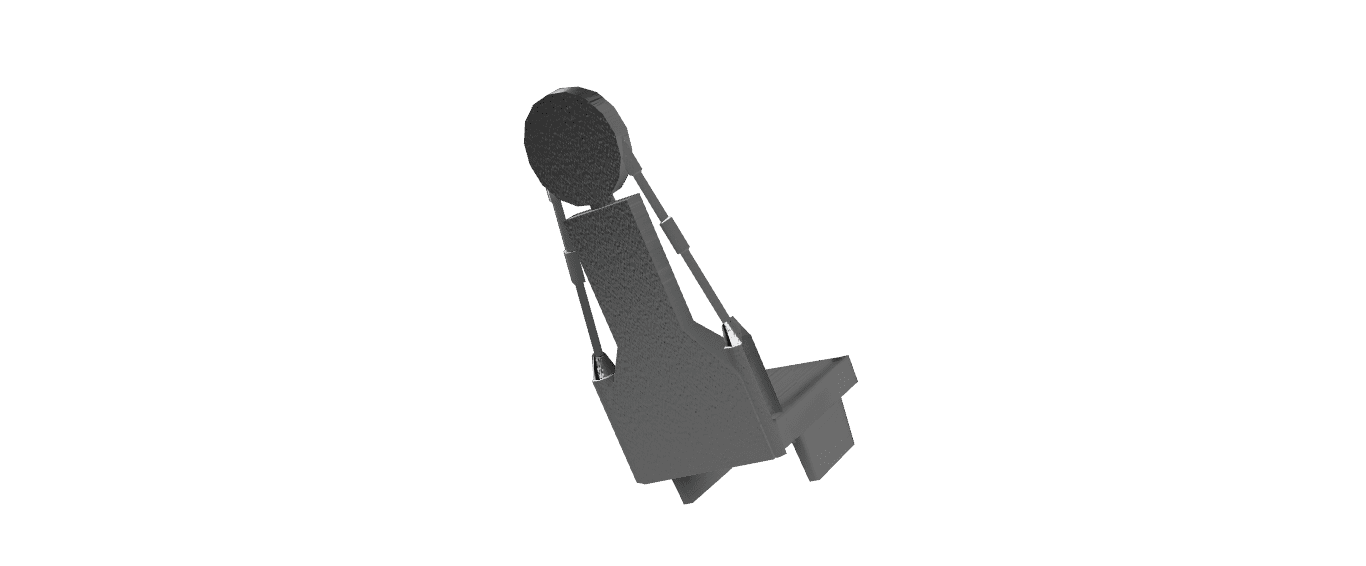
Ok now I need a nap, been up since yesterday morning working on this^^
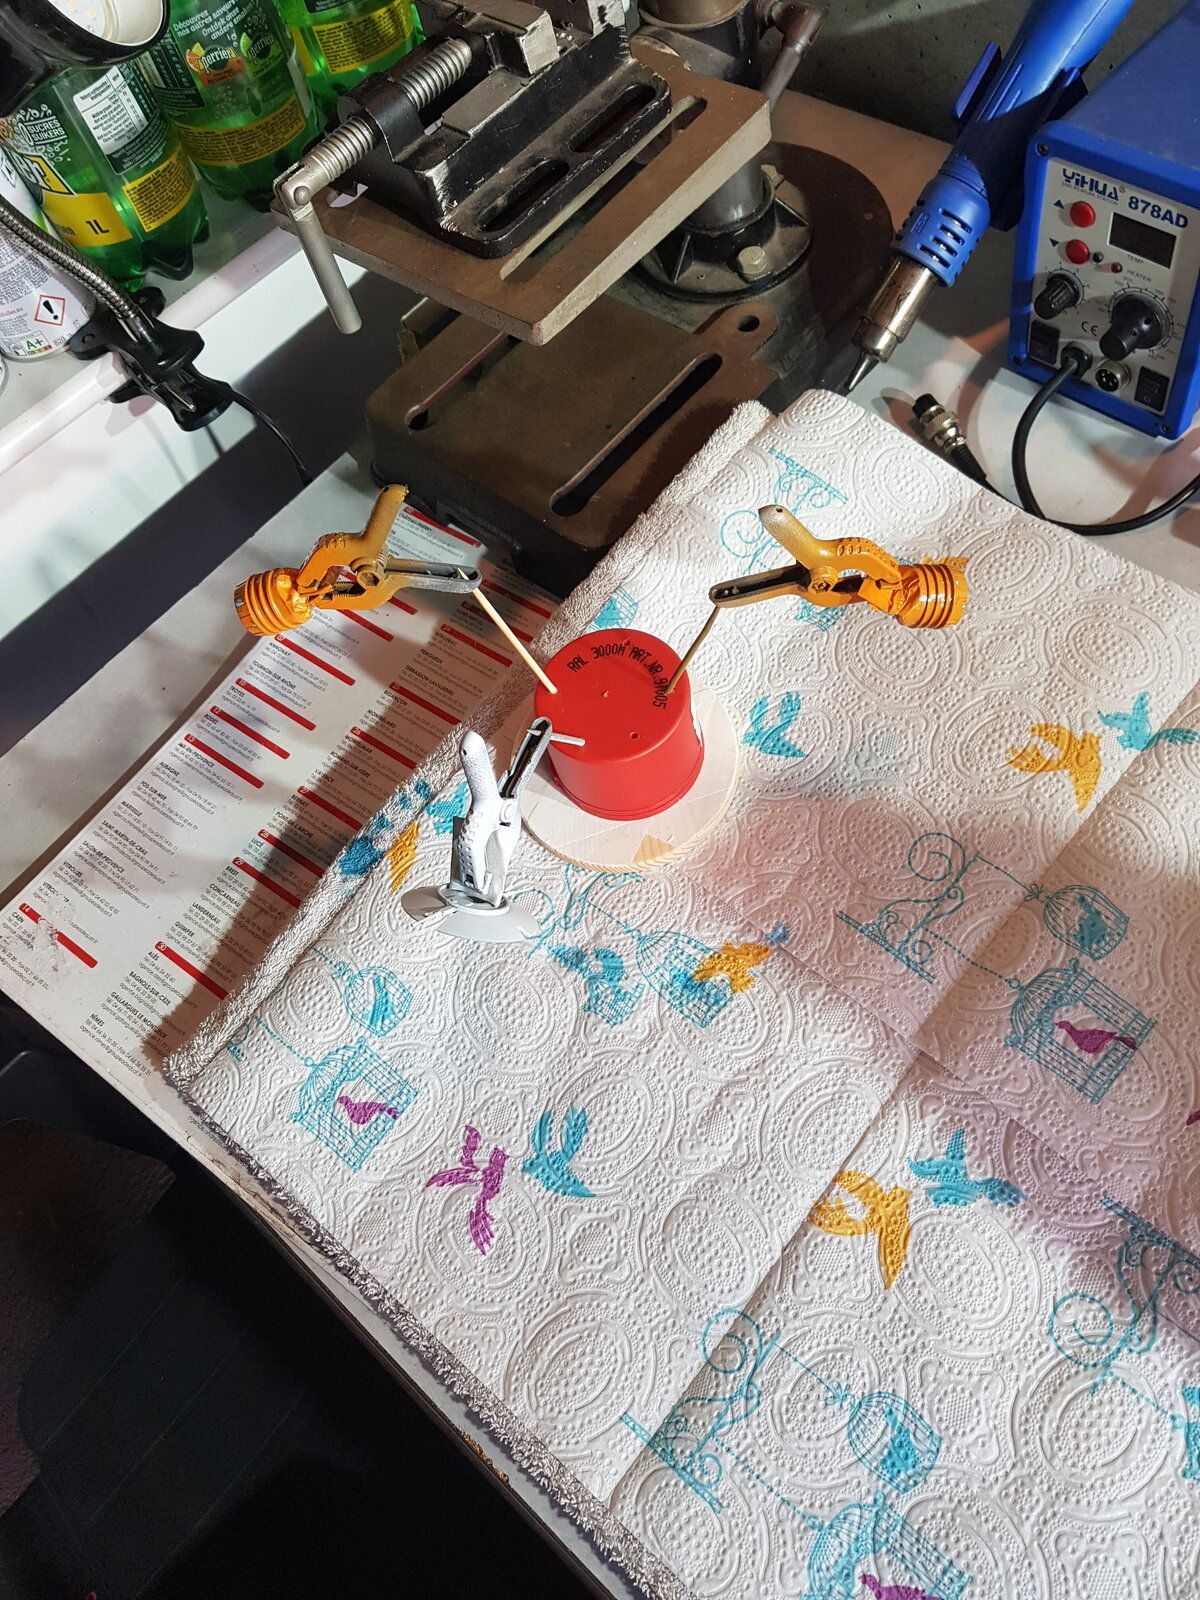
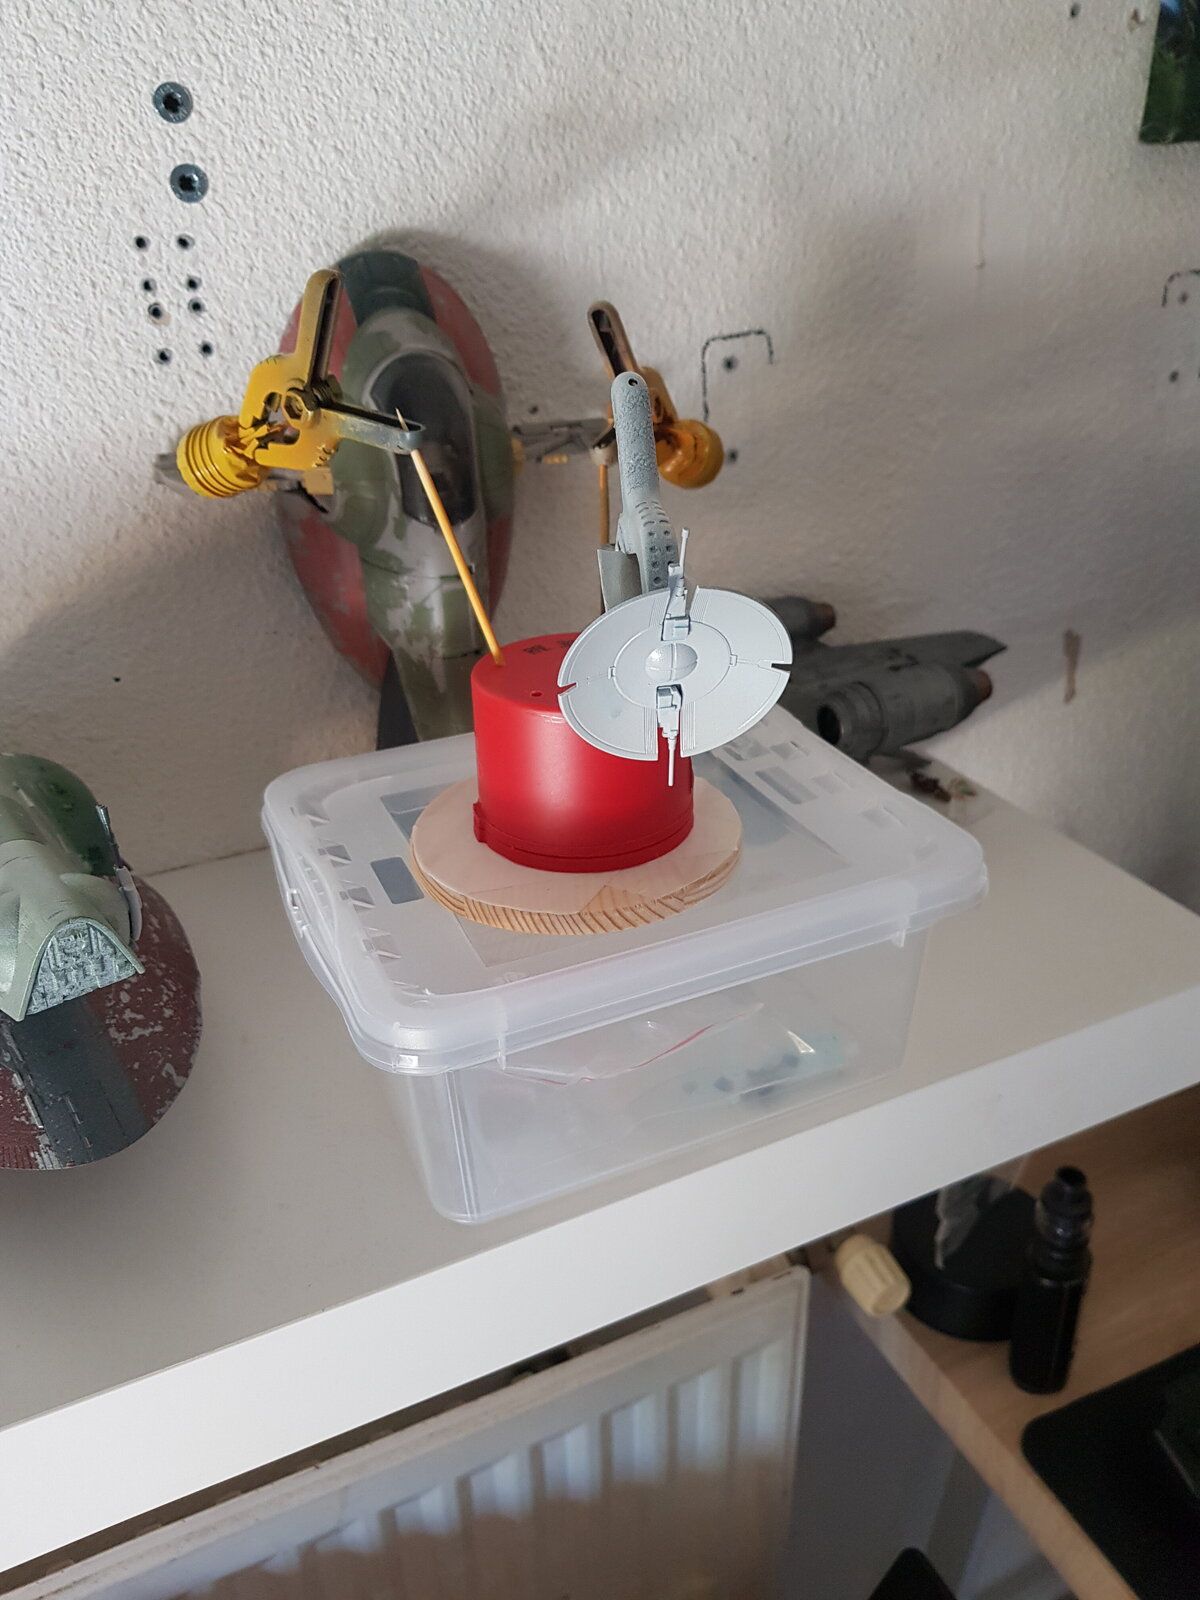
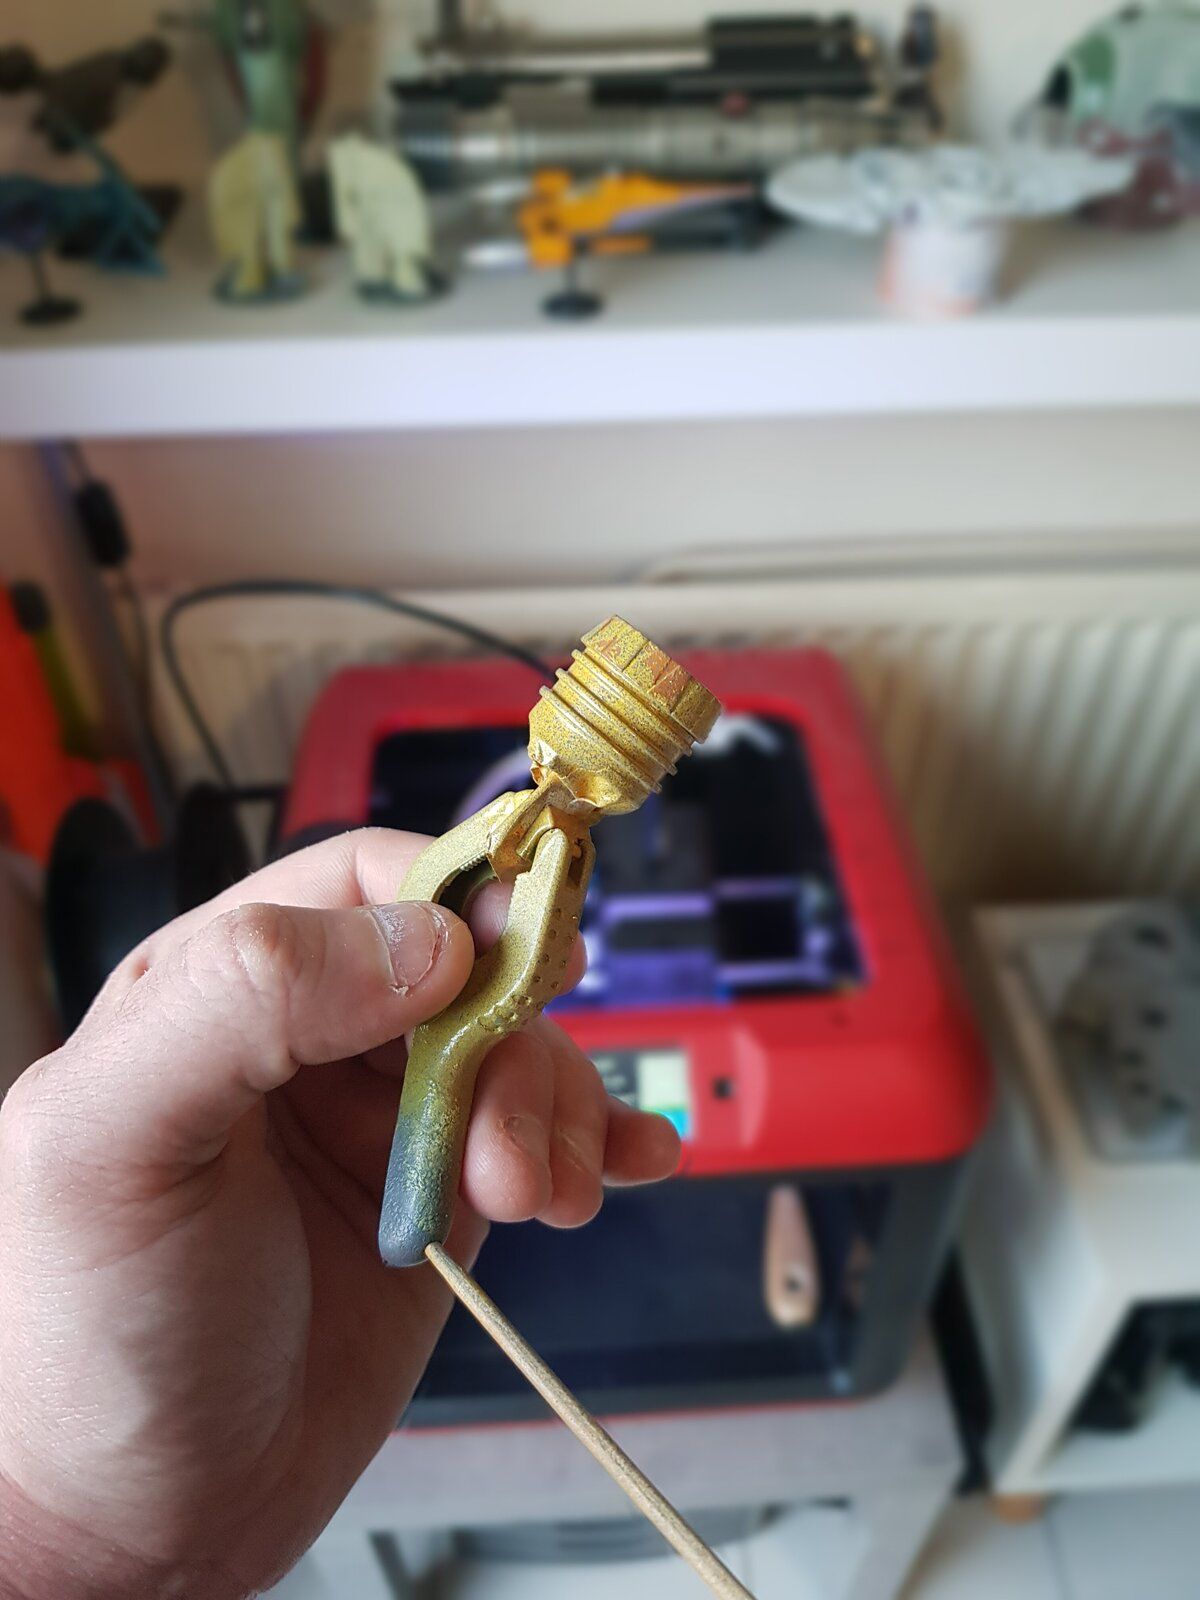
and after that some test prints
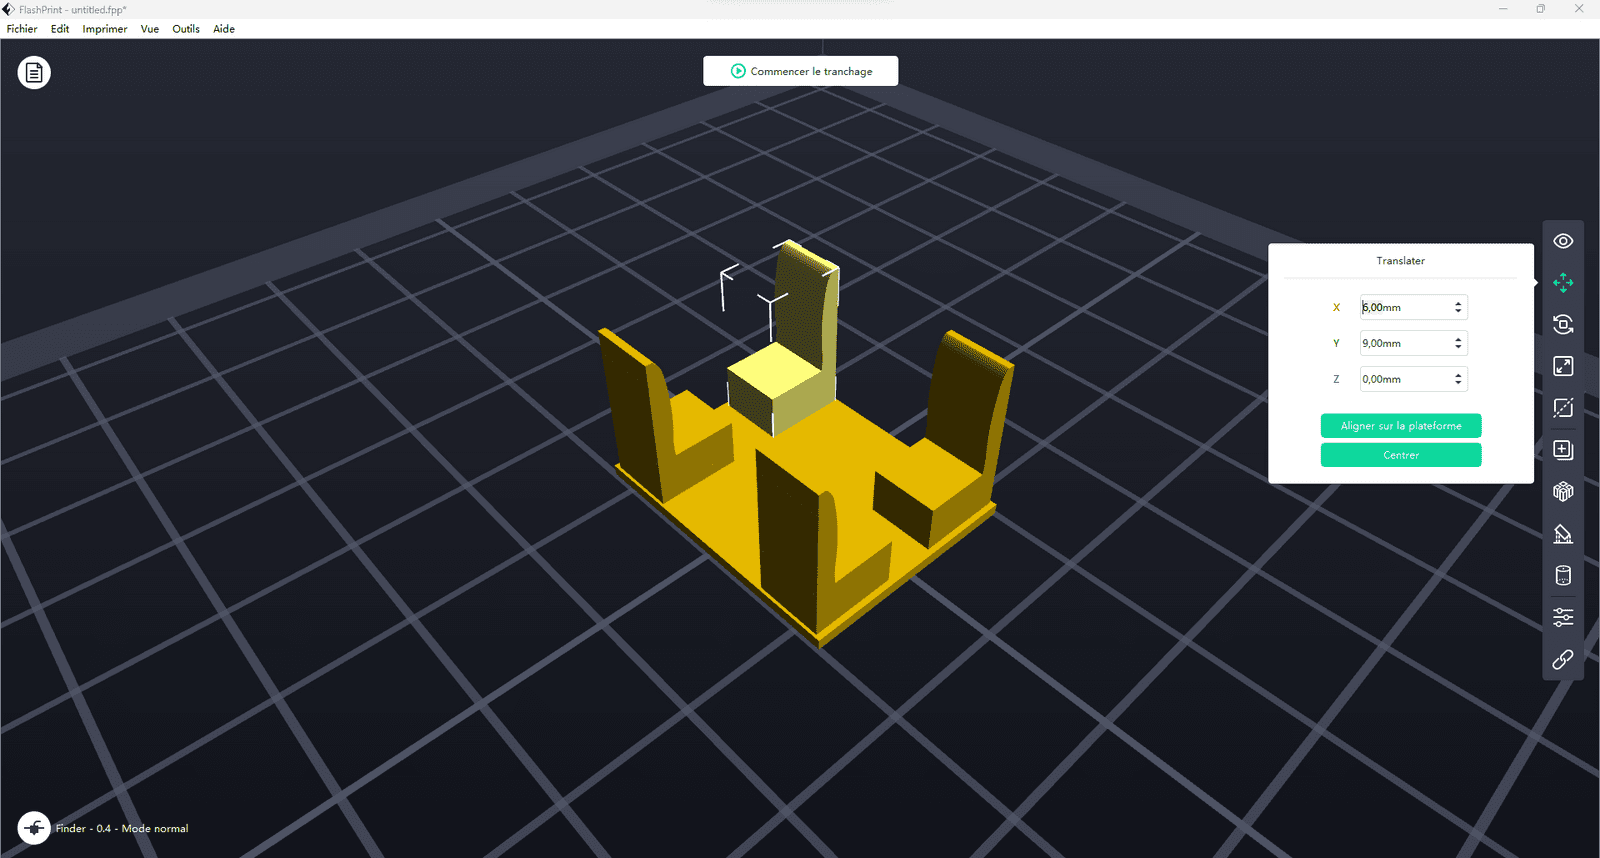
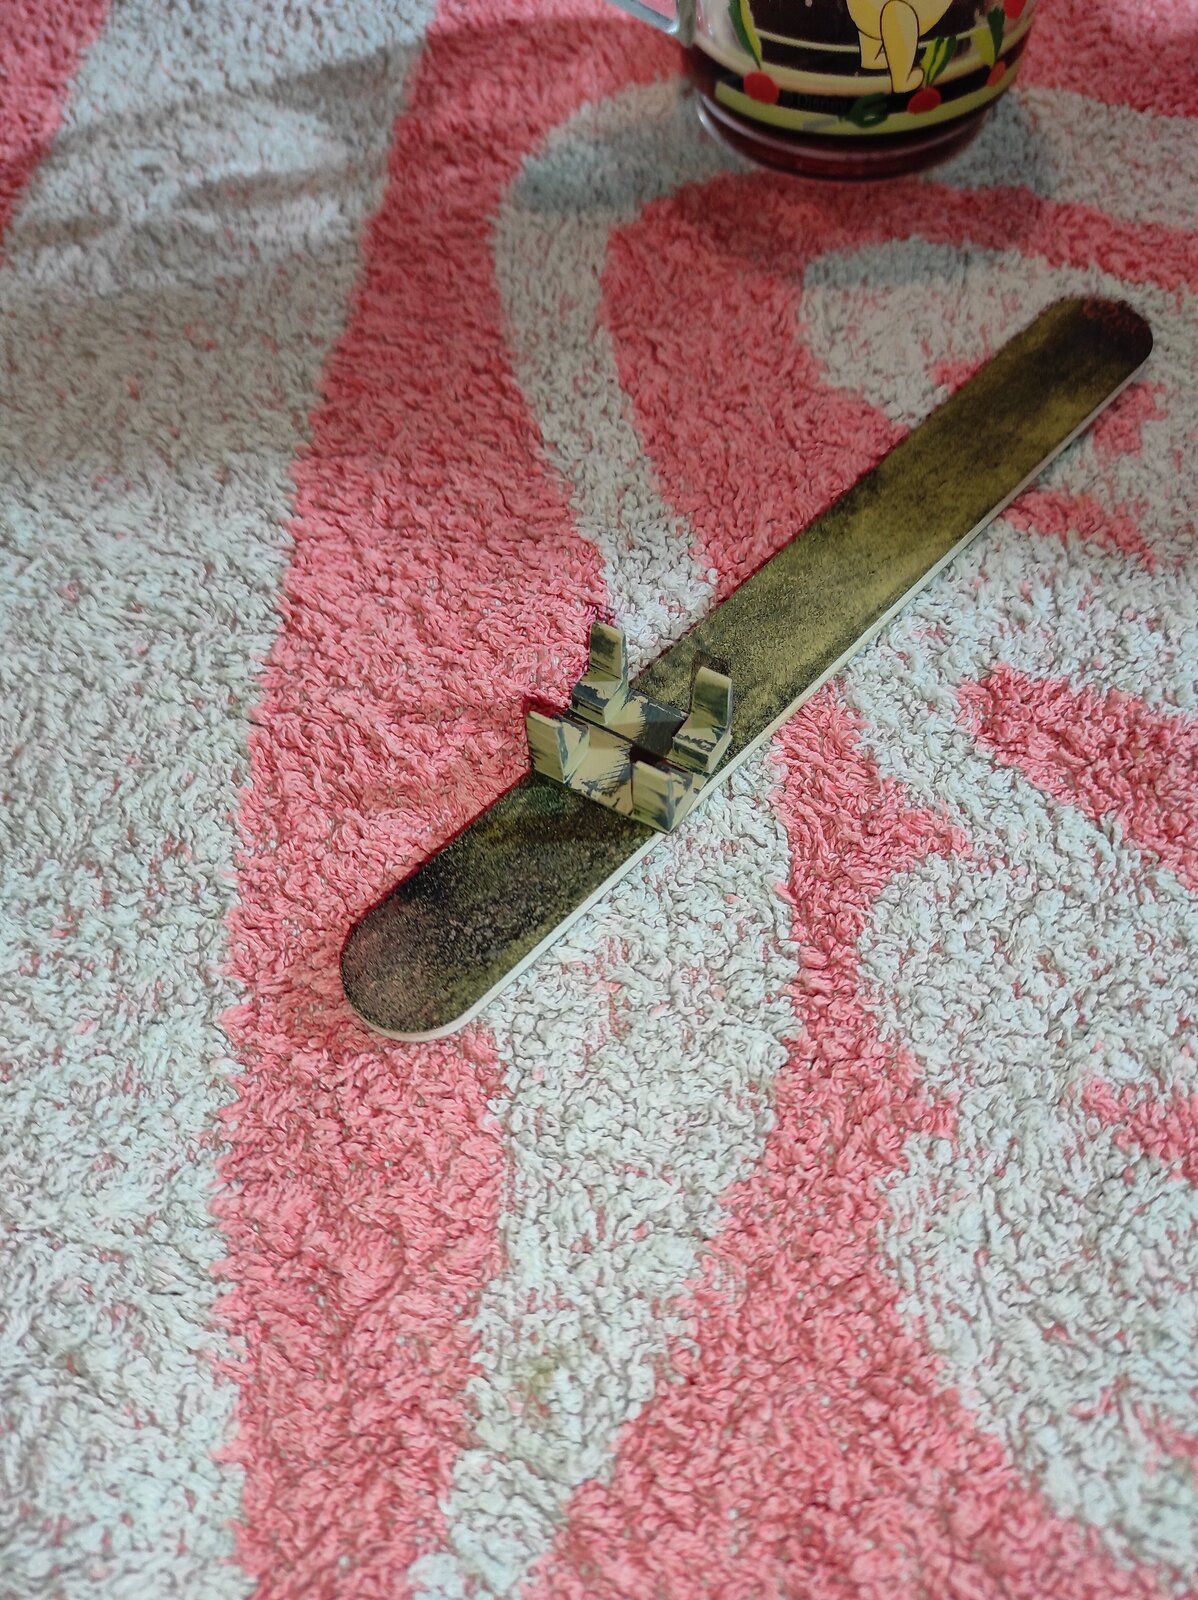
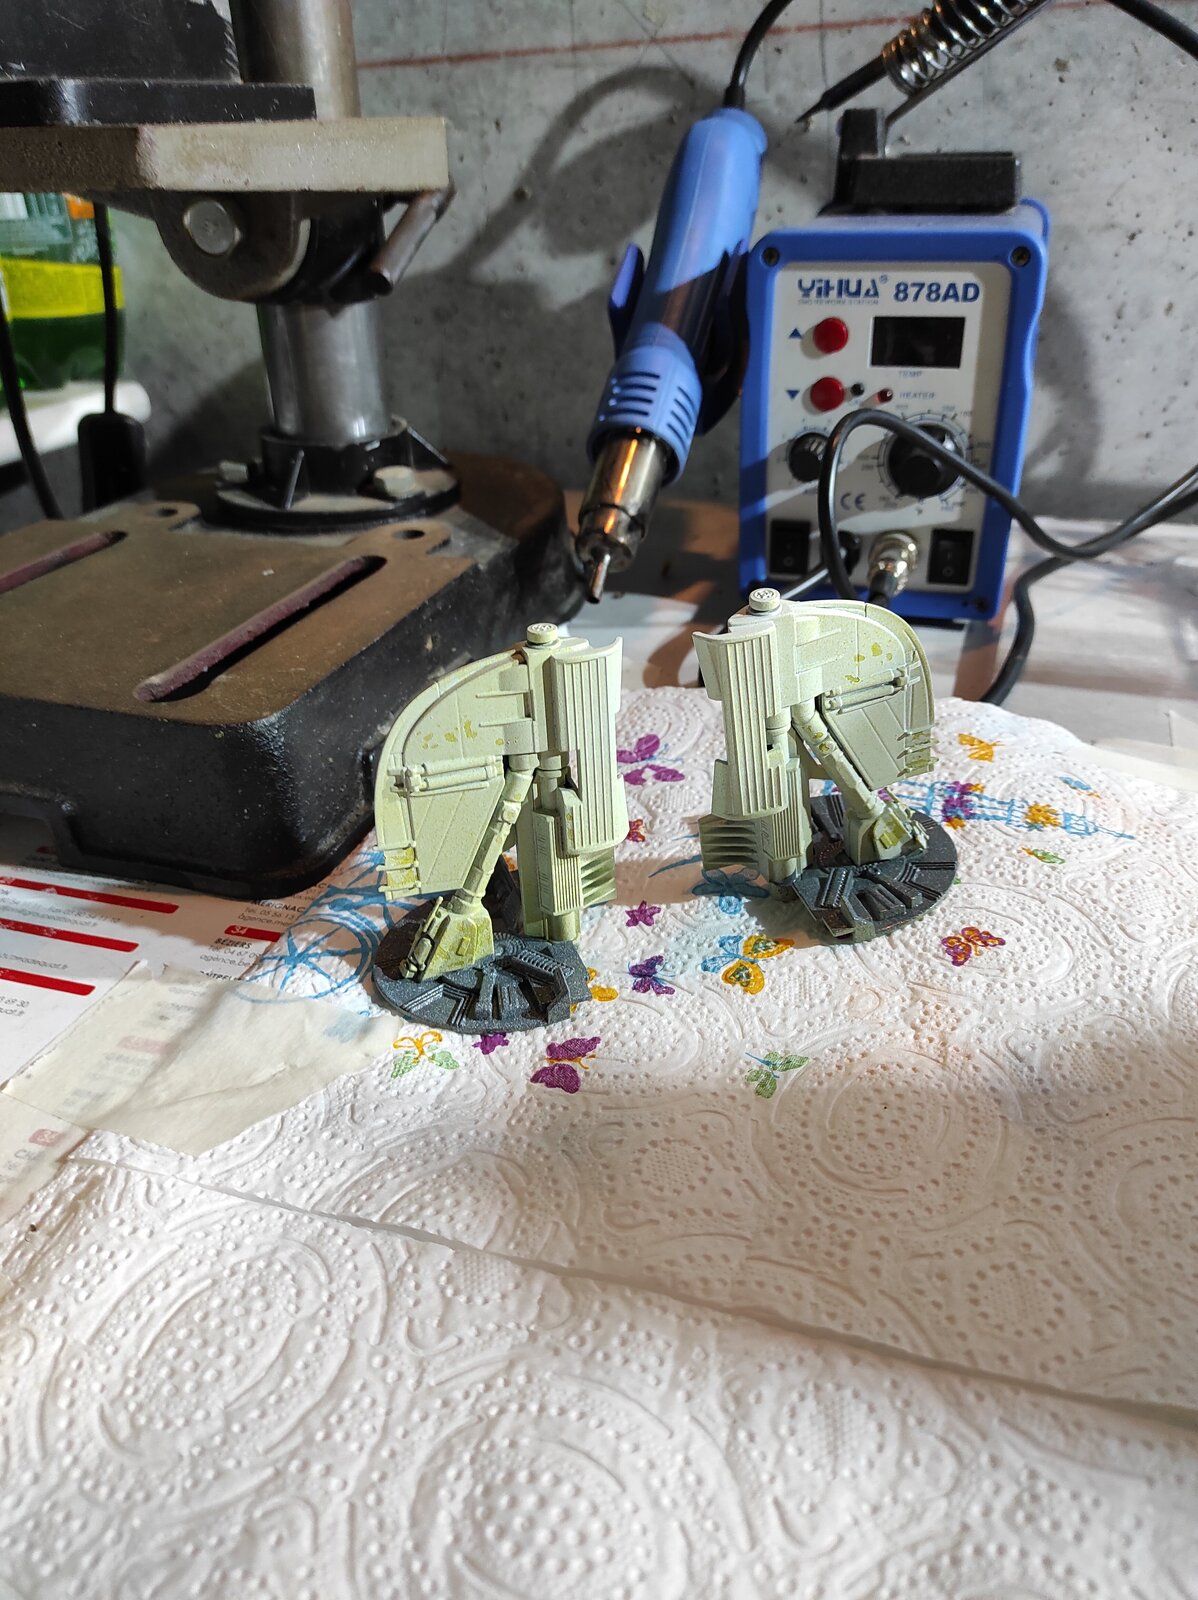
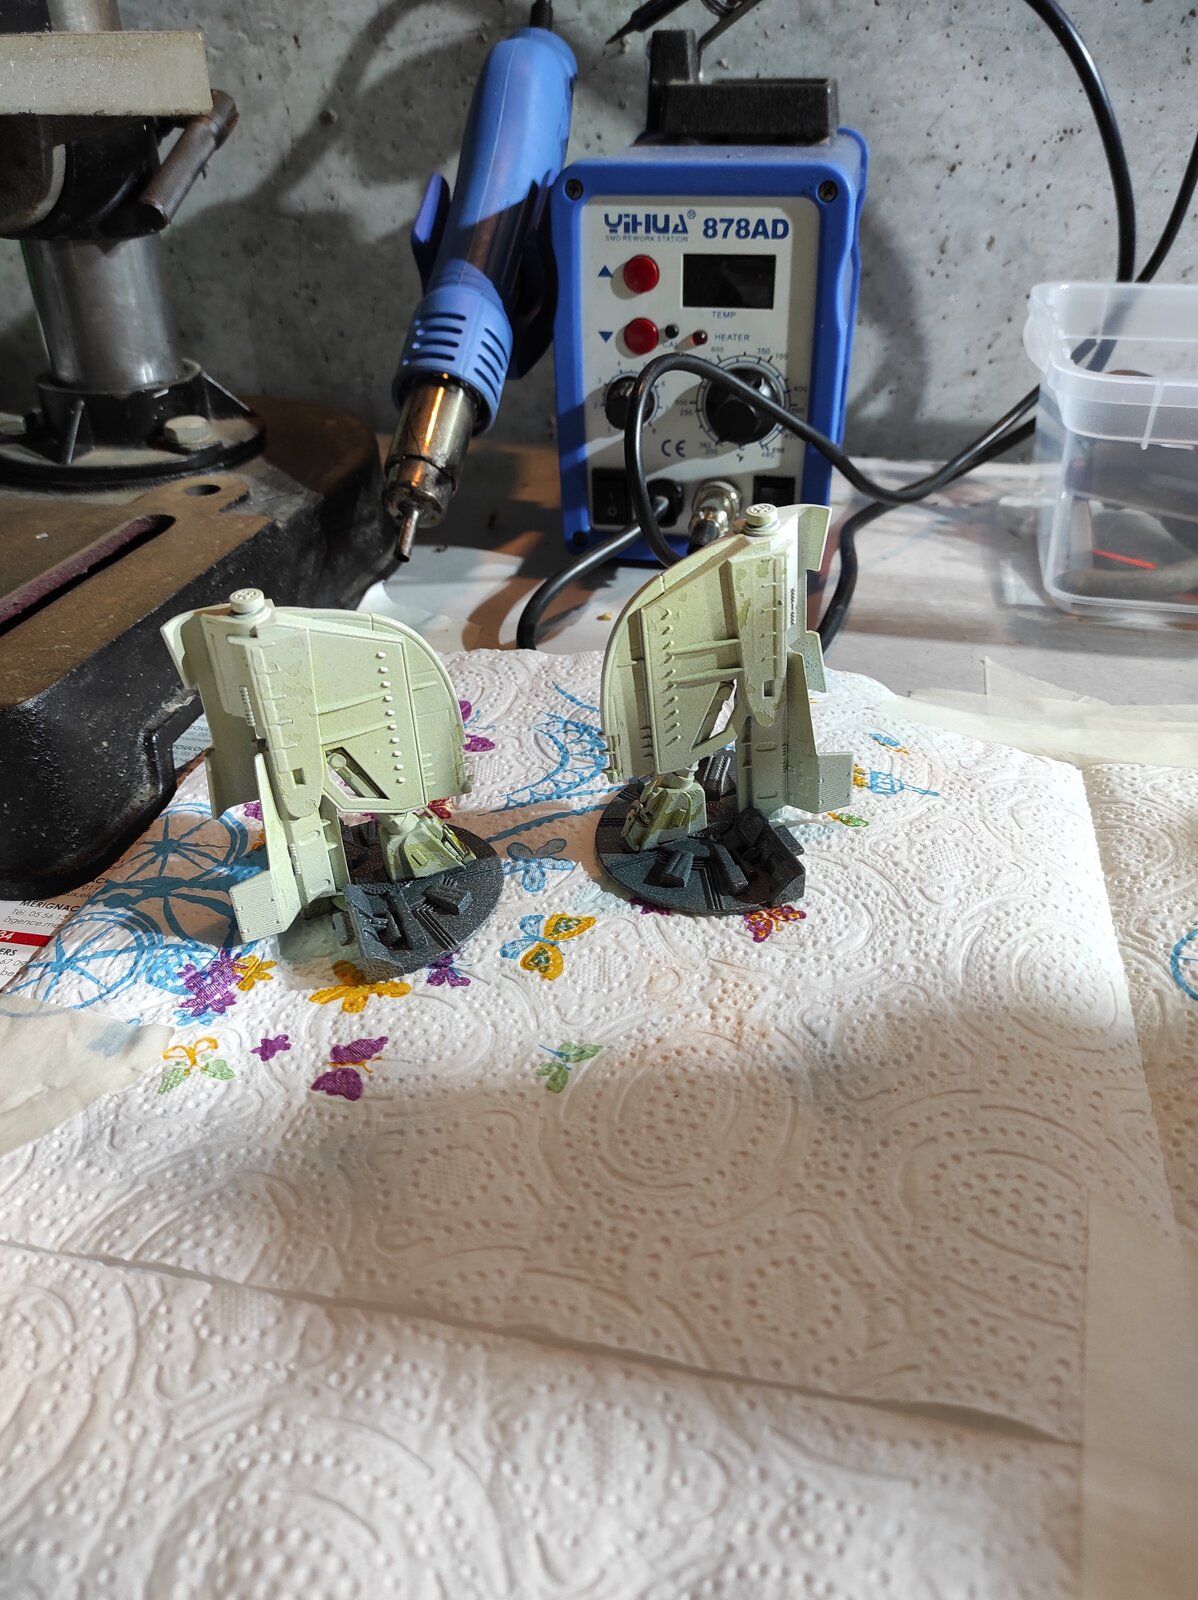
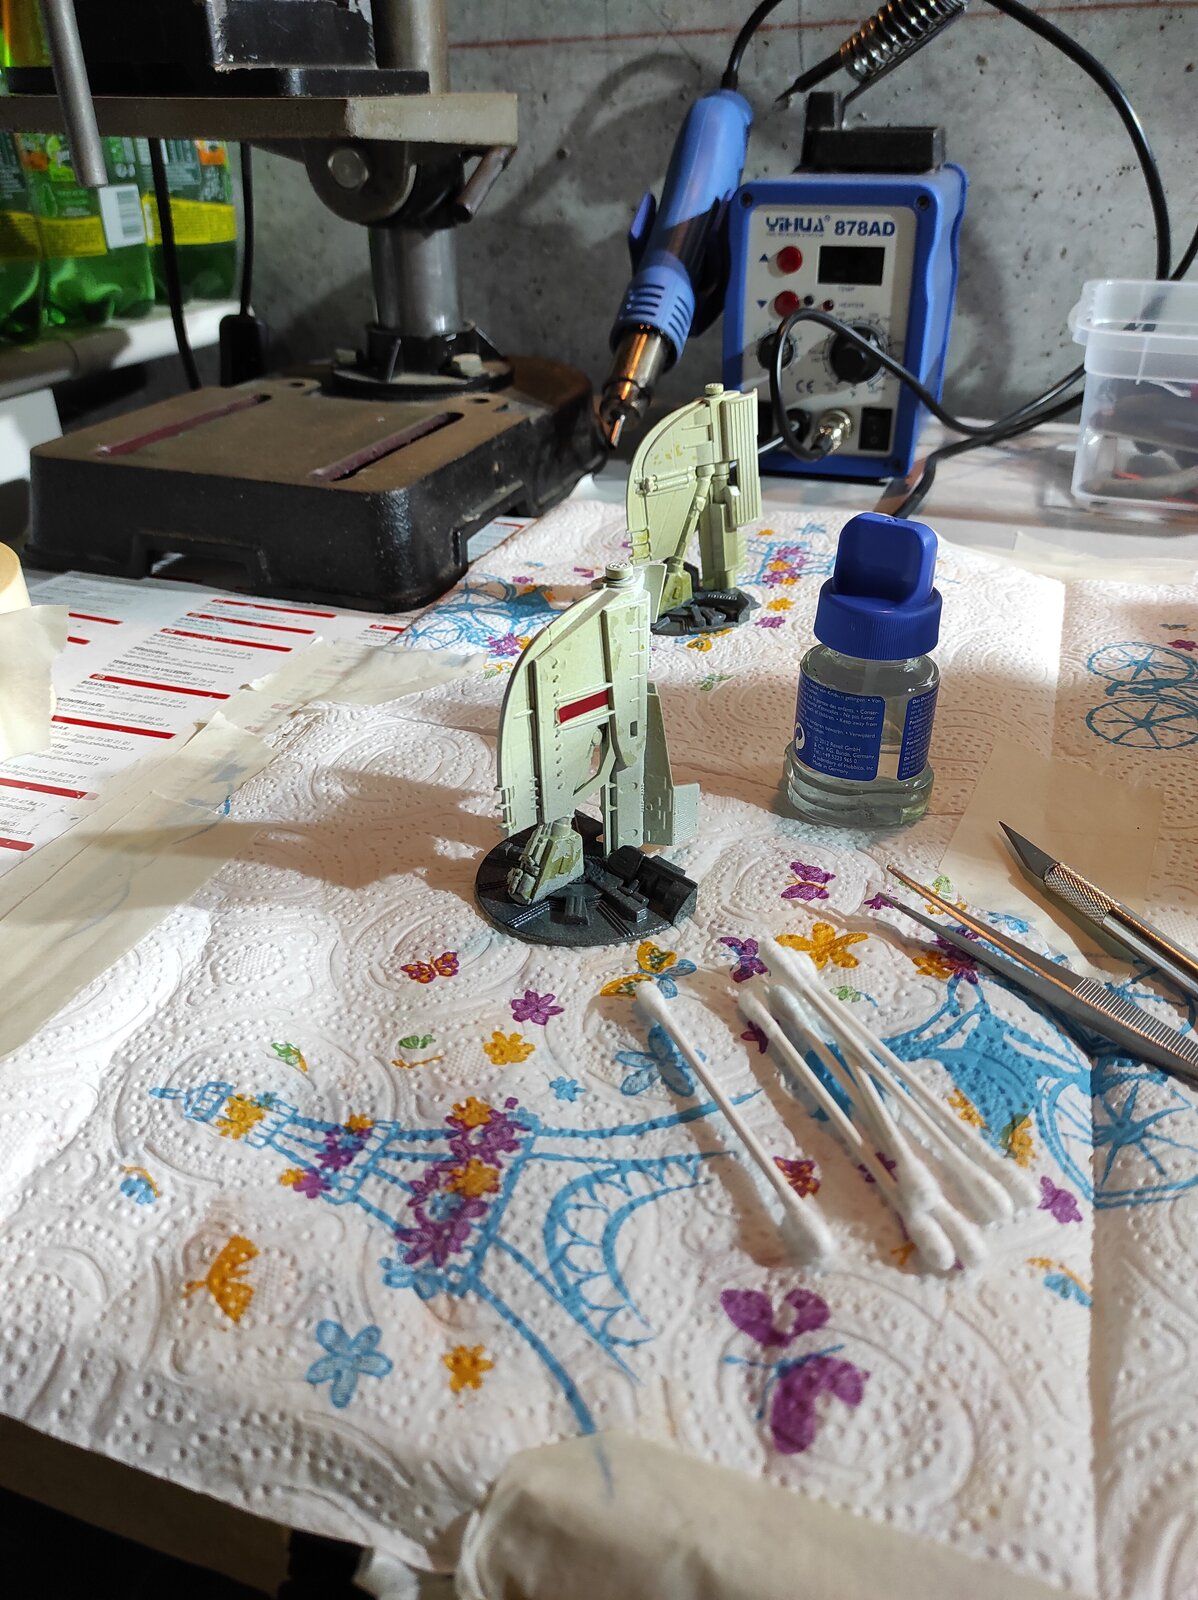
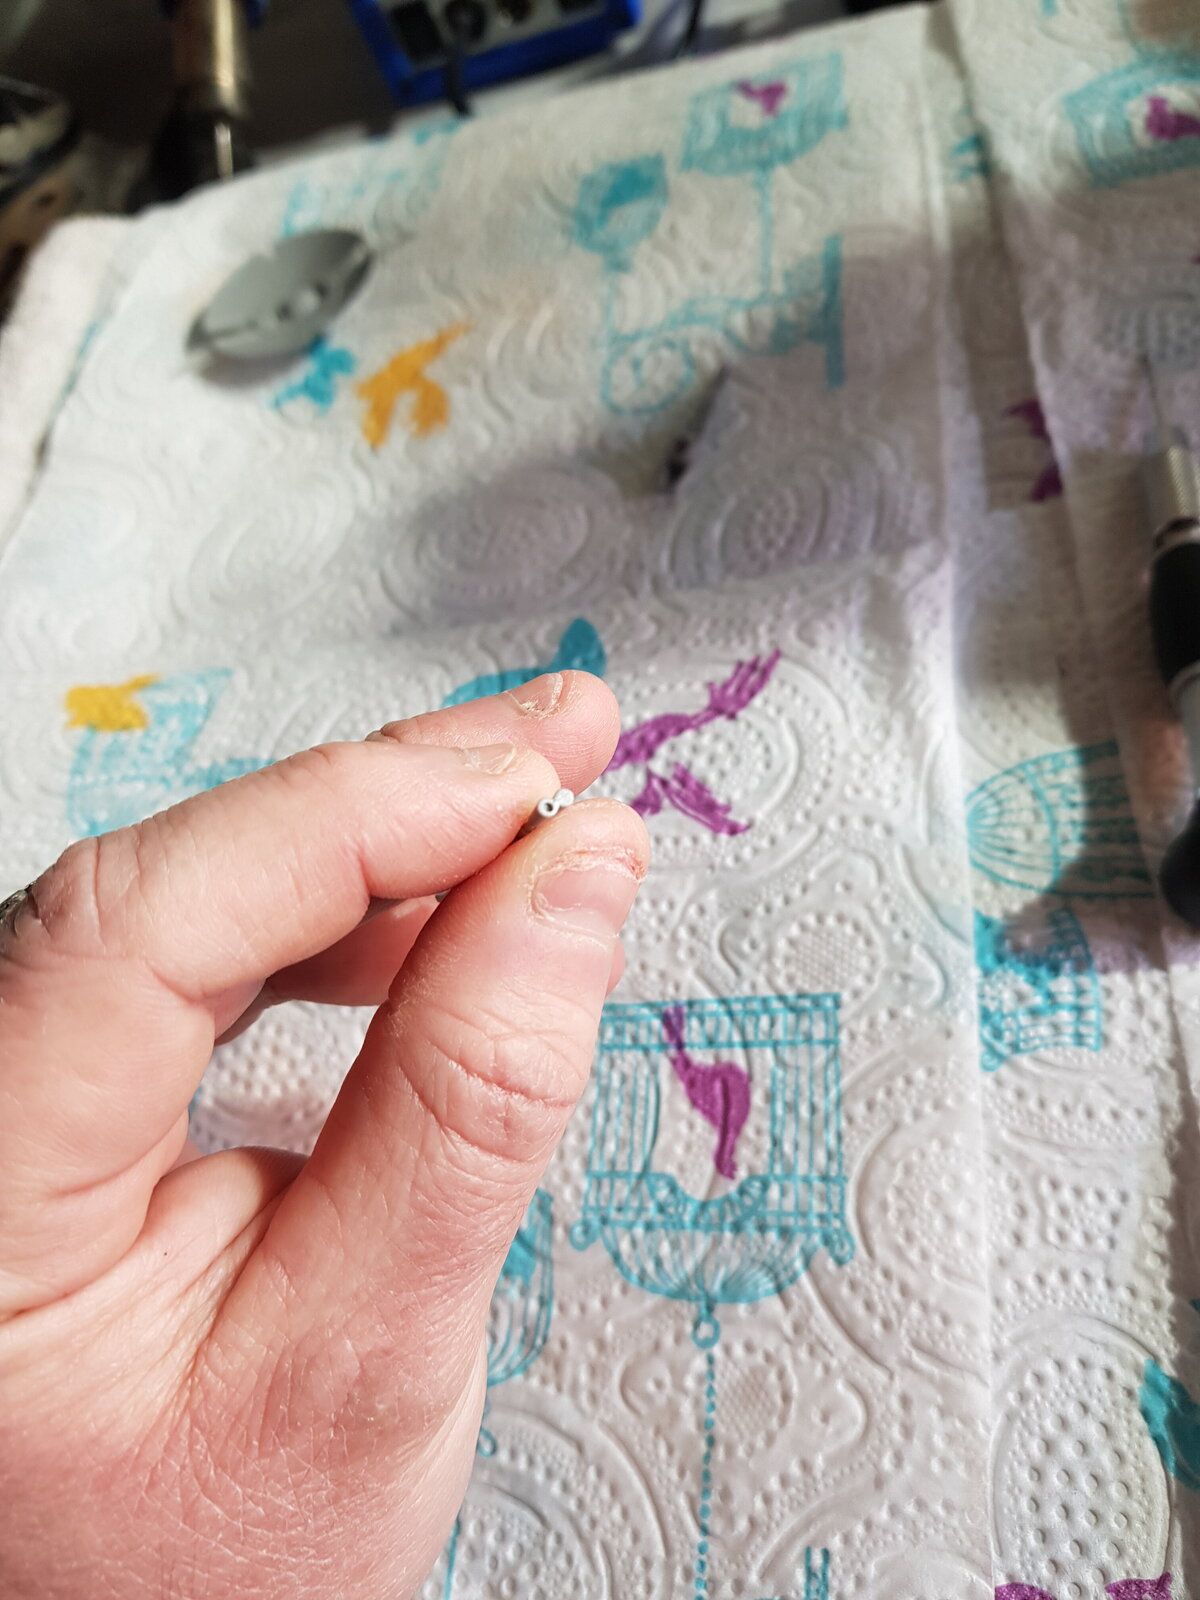
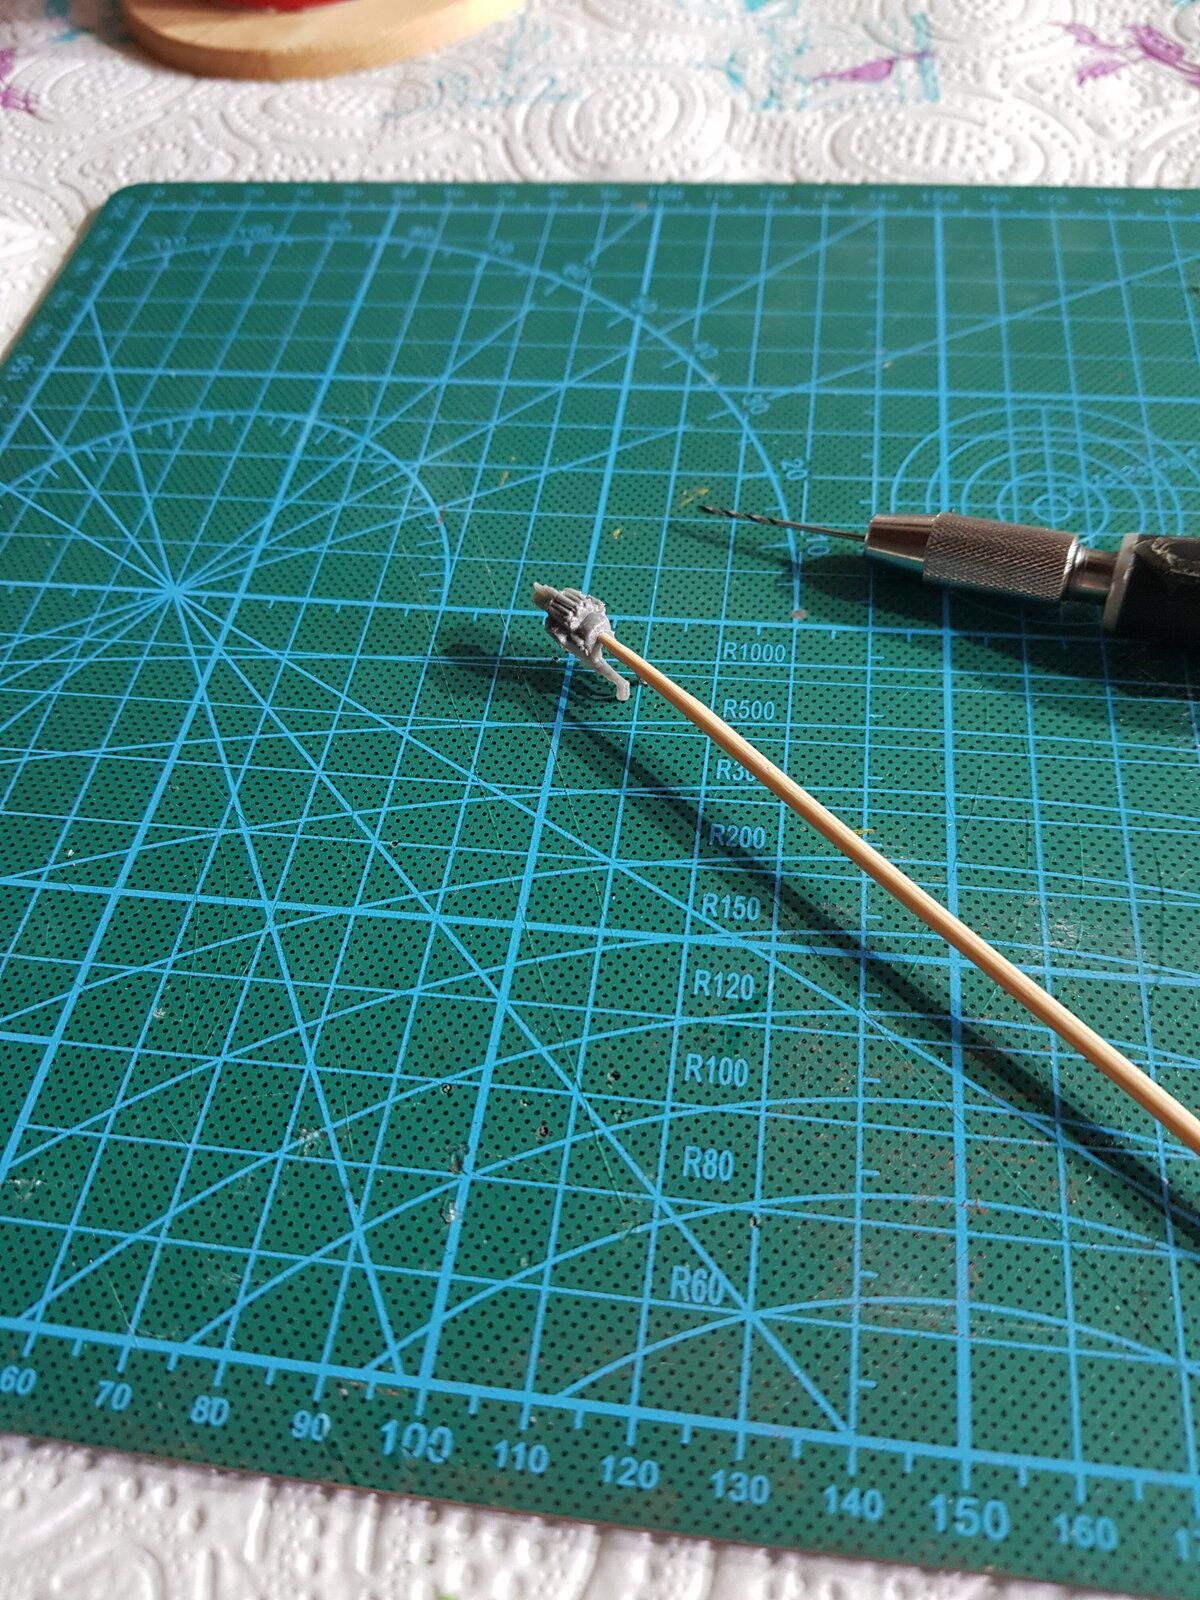
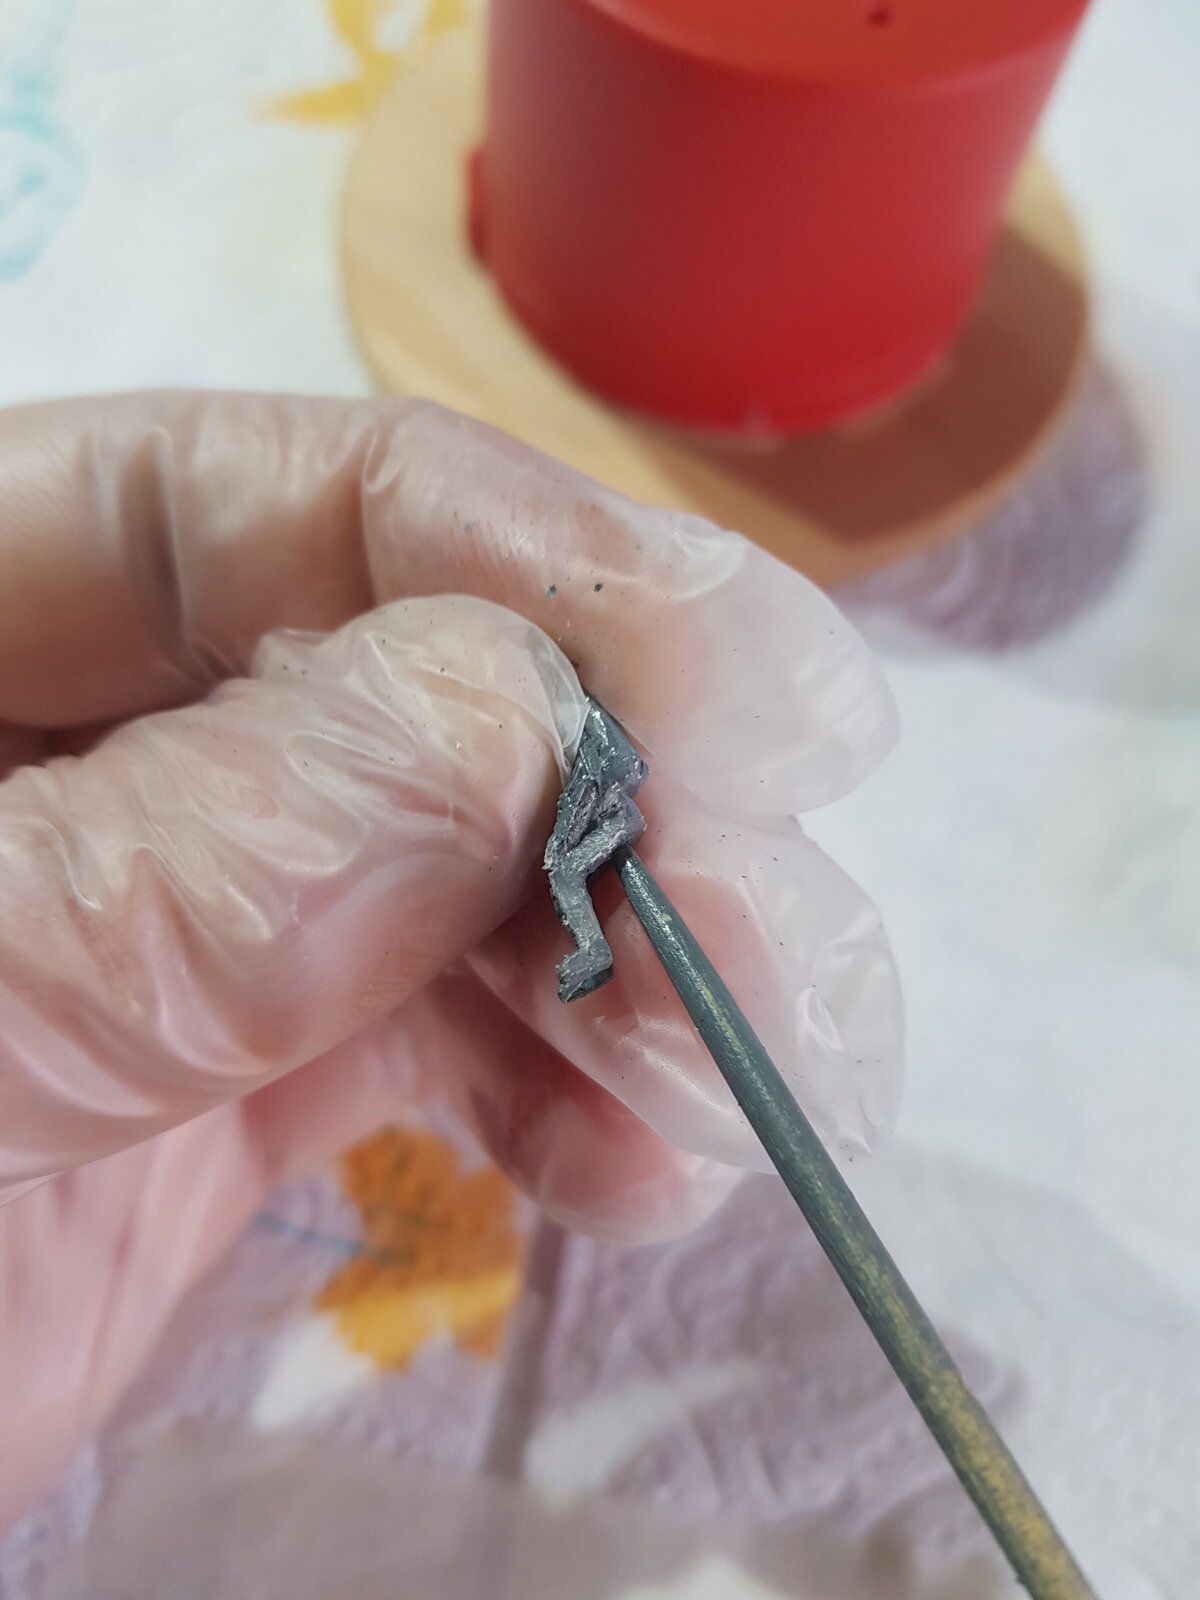
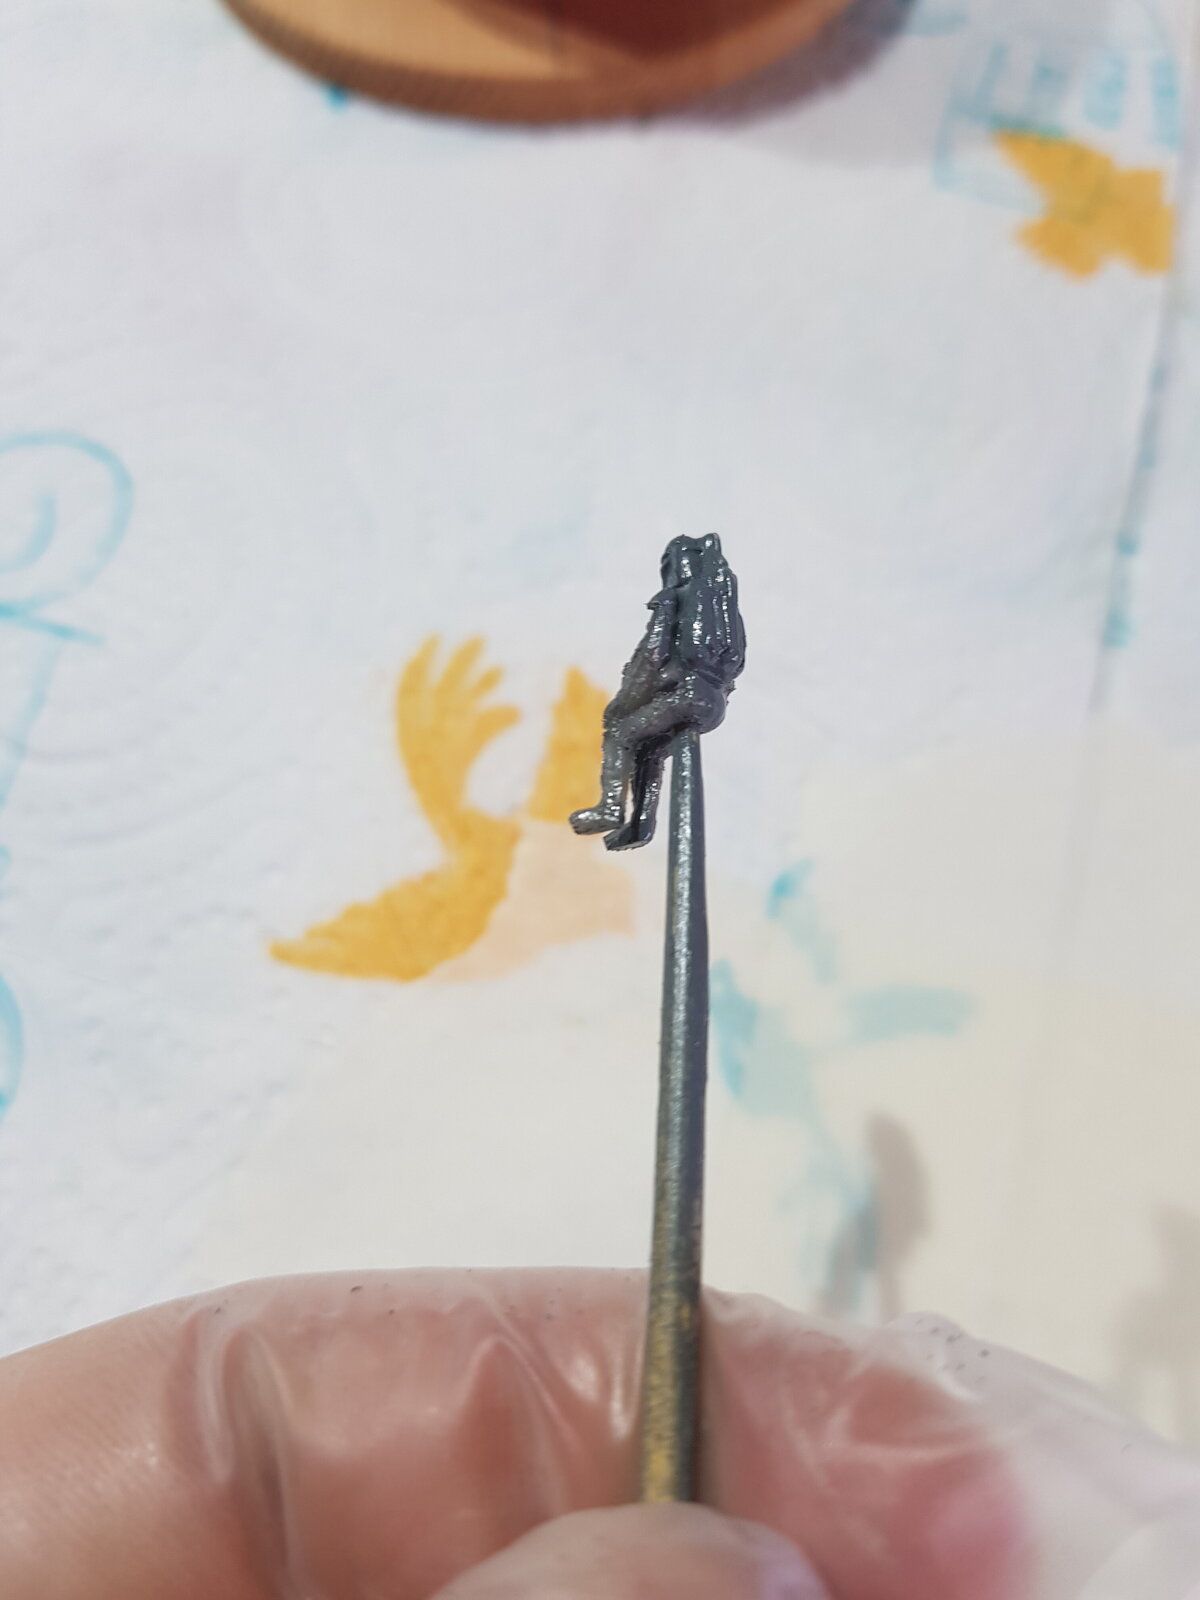
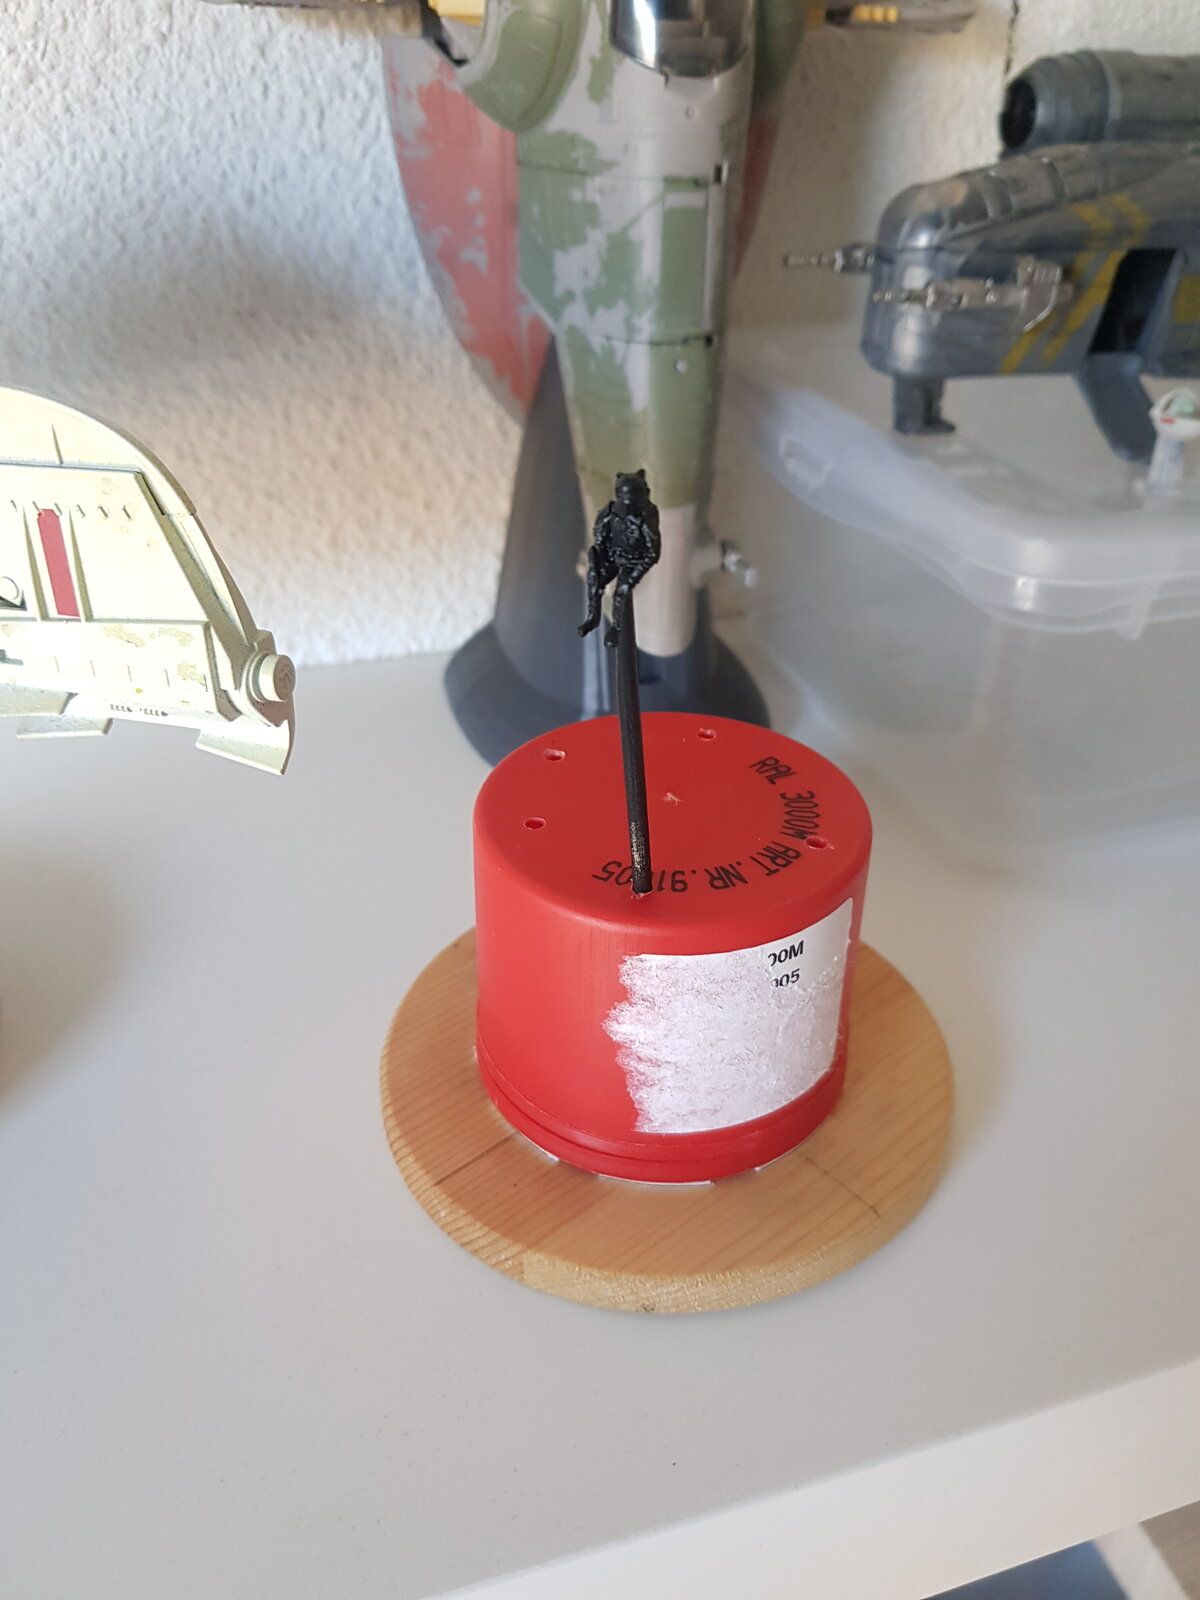
And a fist test print for Boba pilot seat back rest, just of the pinter and went very well
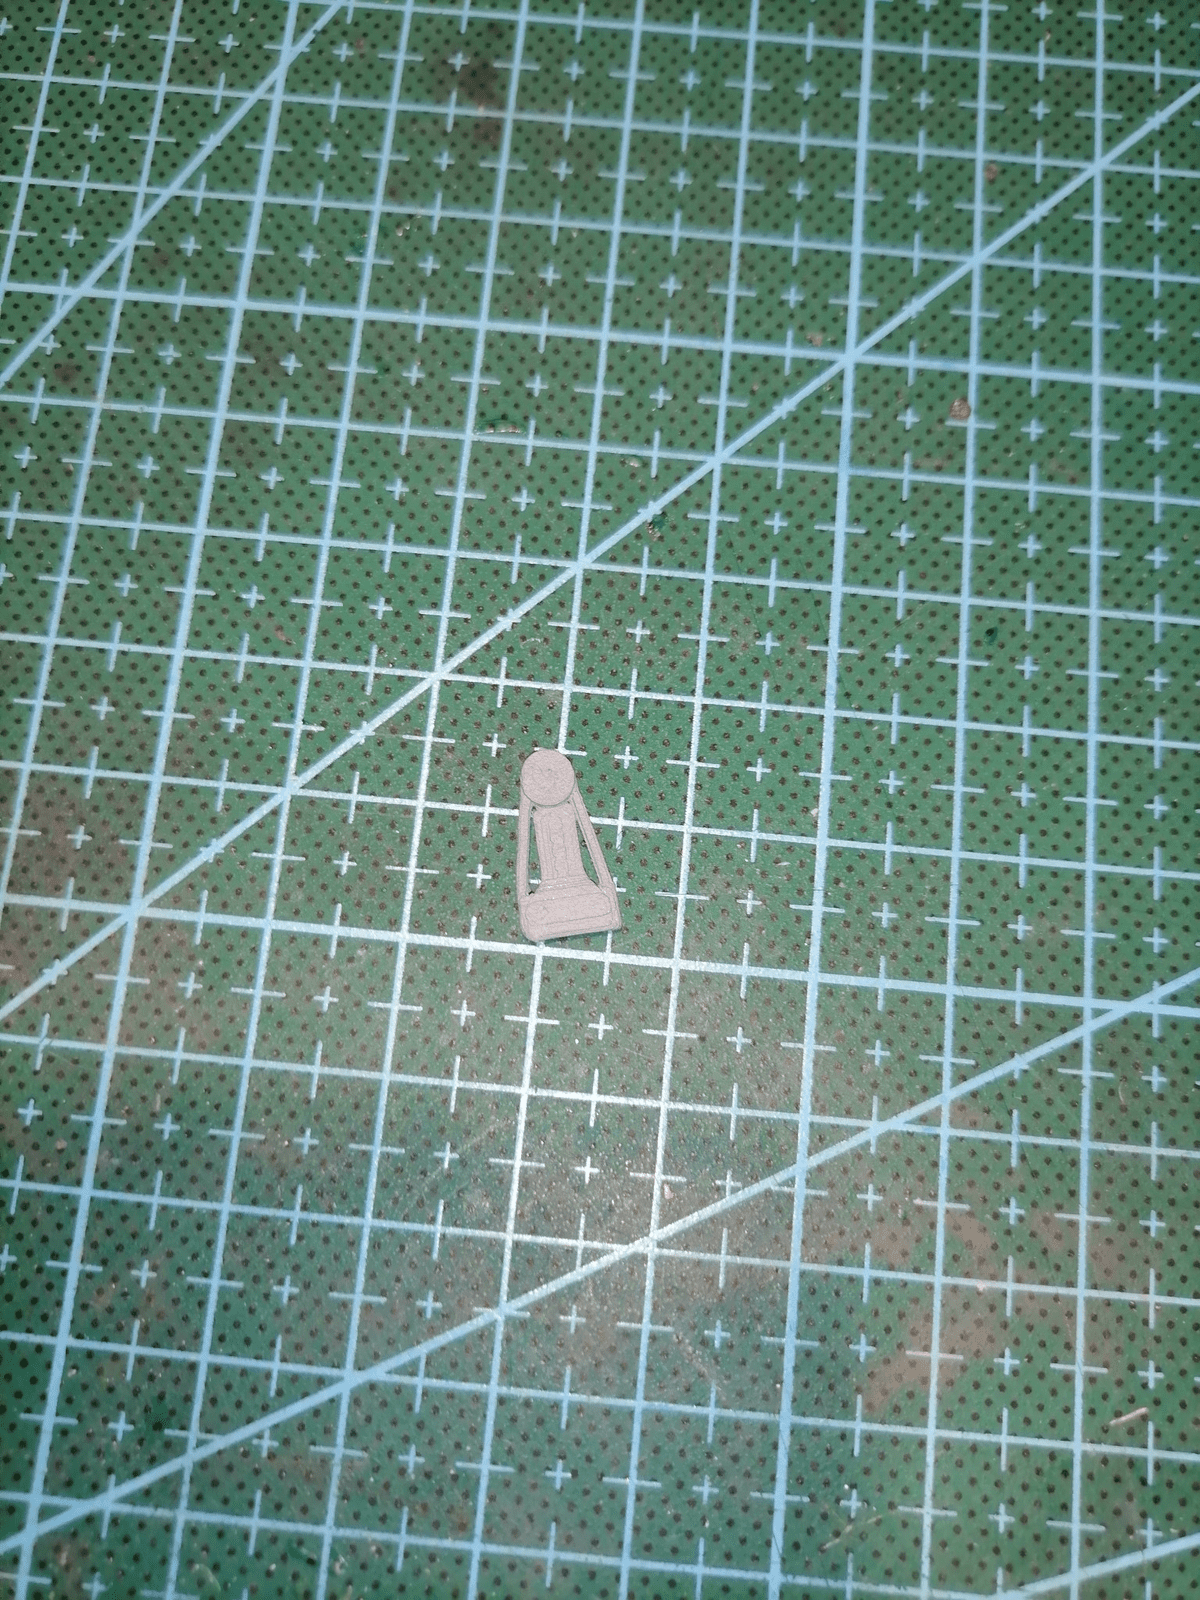
Yes its very small^^ Can be scaled and fine tune when the kit arrivve
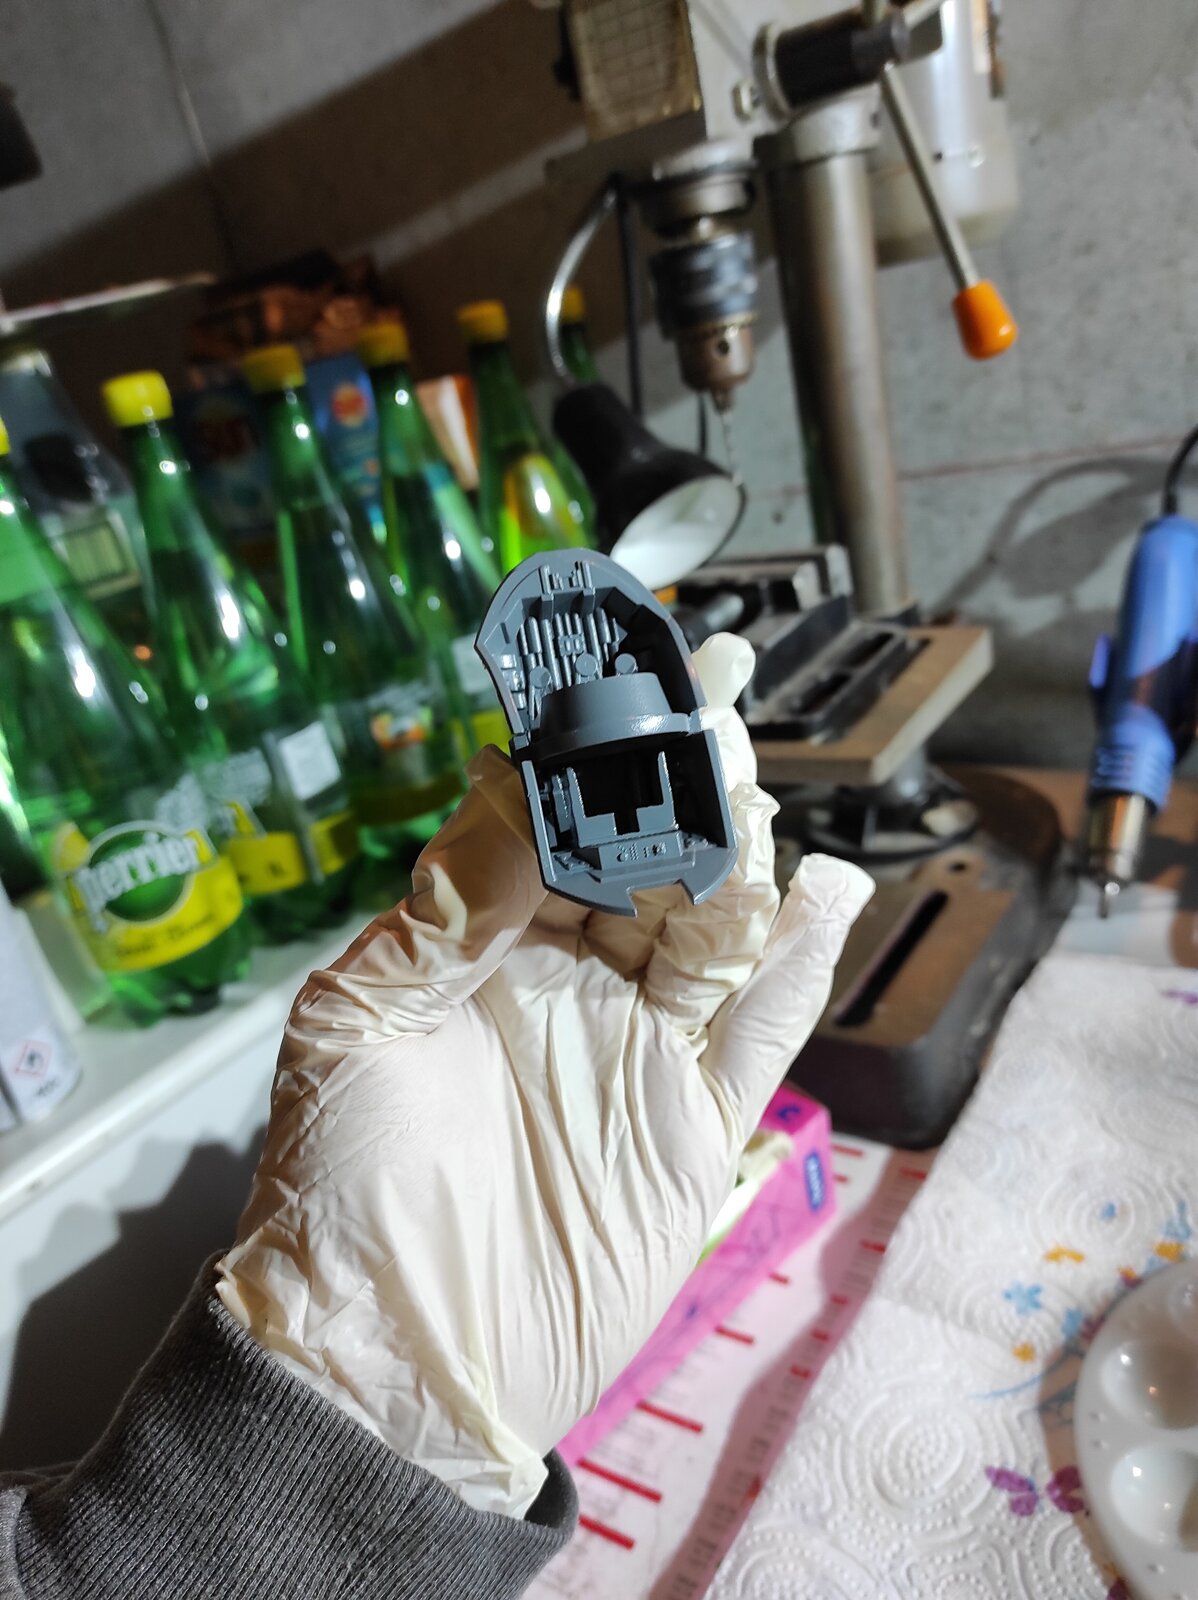
Will test print the nav chairs next
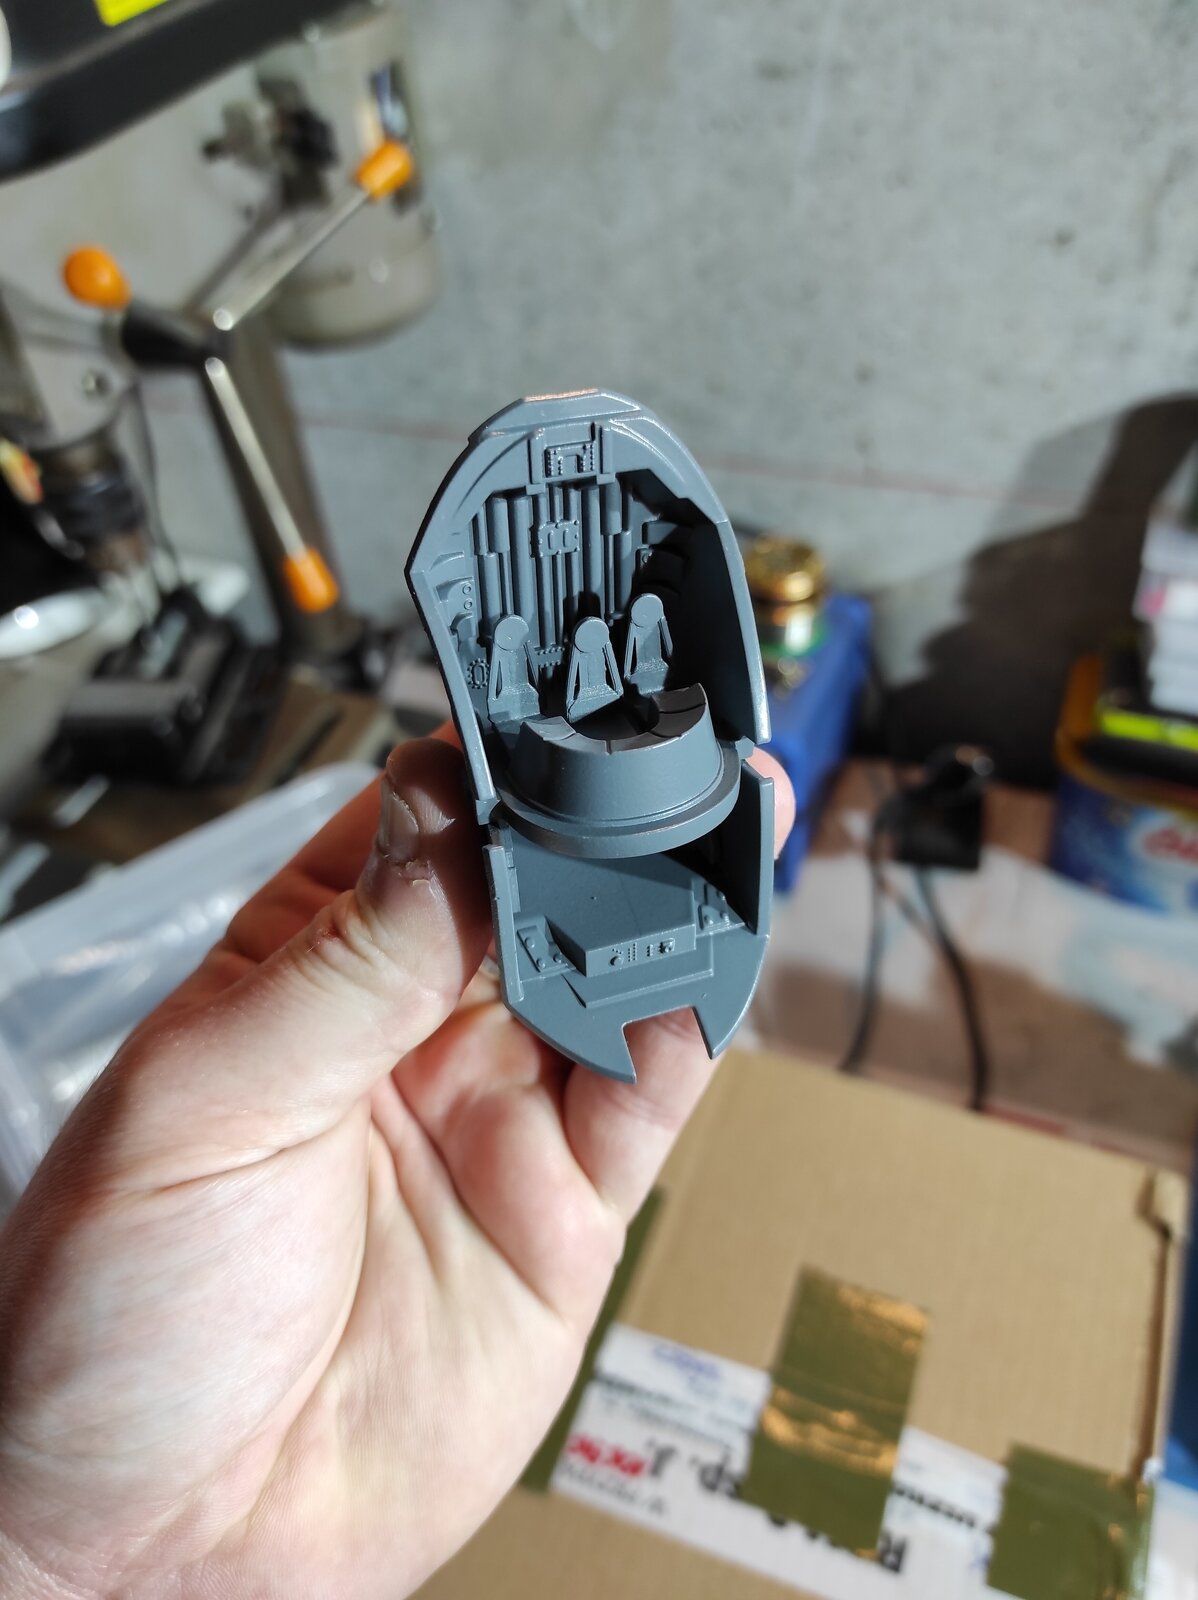
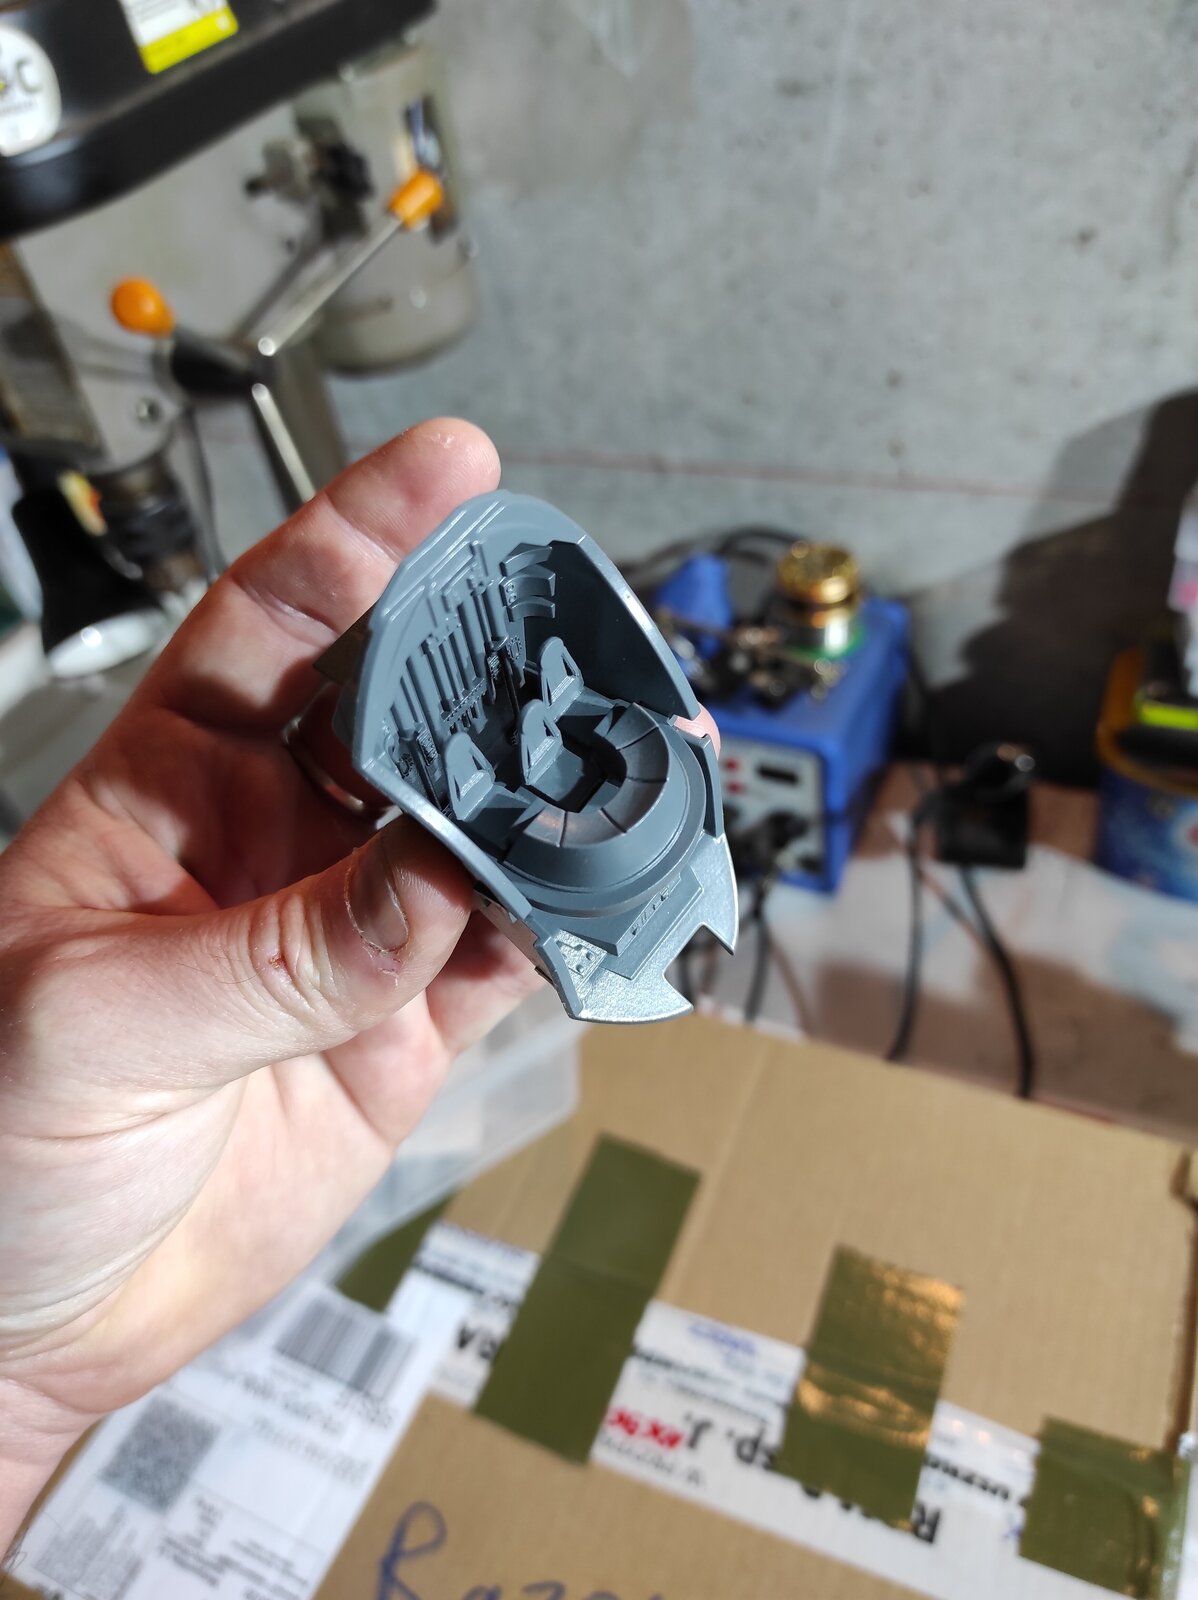
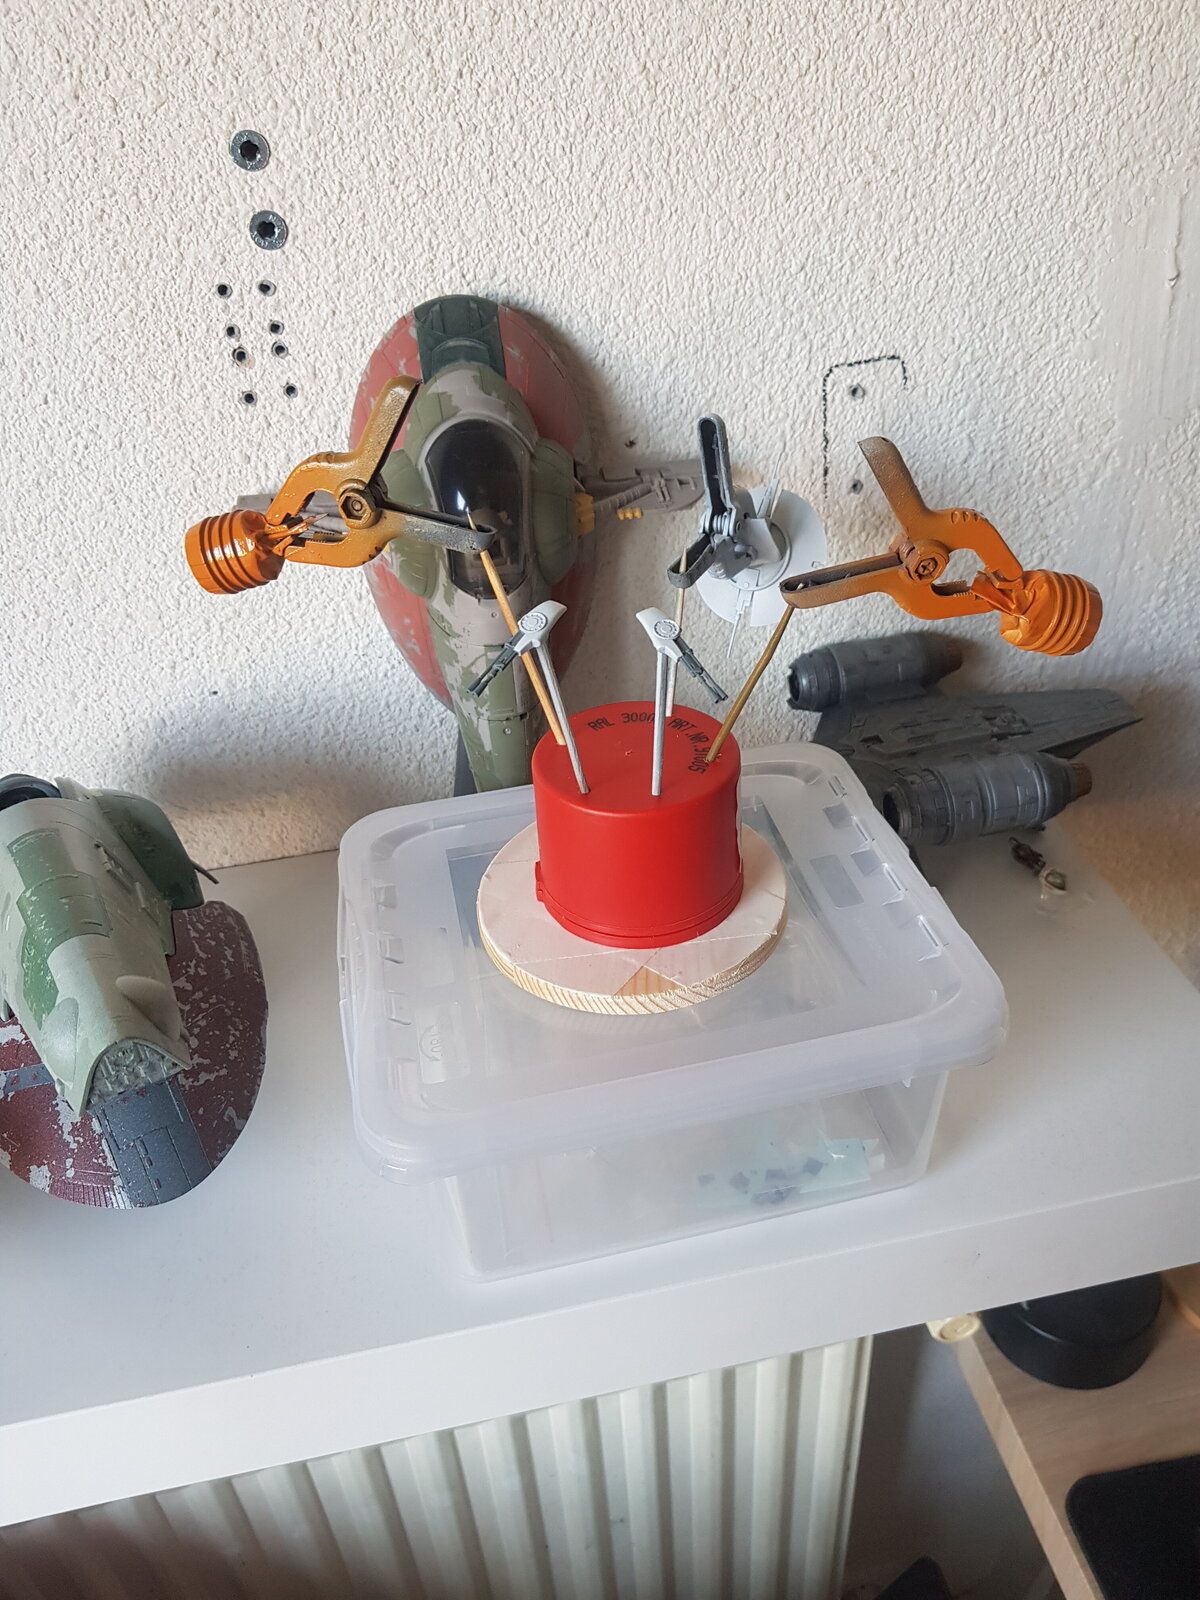
Nav chairs test print went well, will show you them once assembled and painted with the pilot chair / chairs too
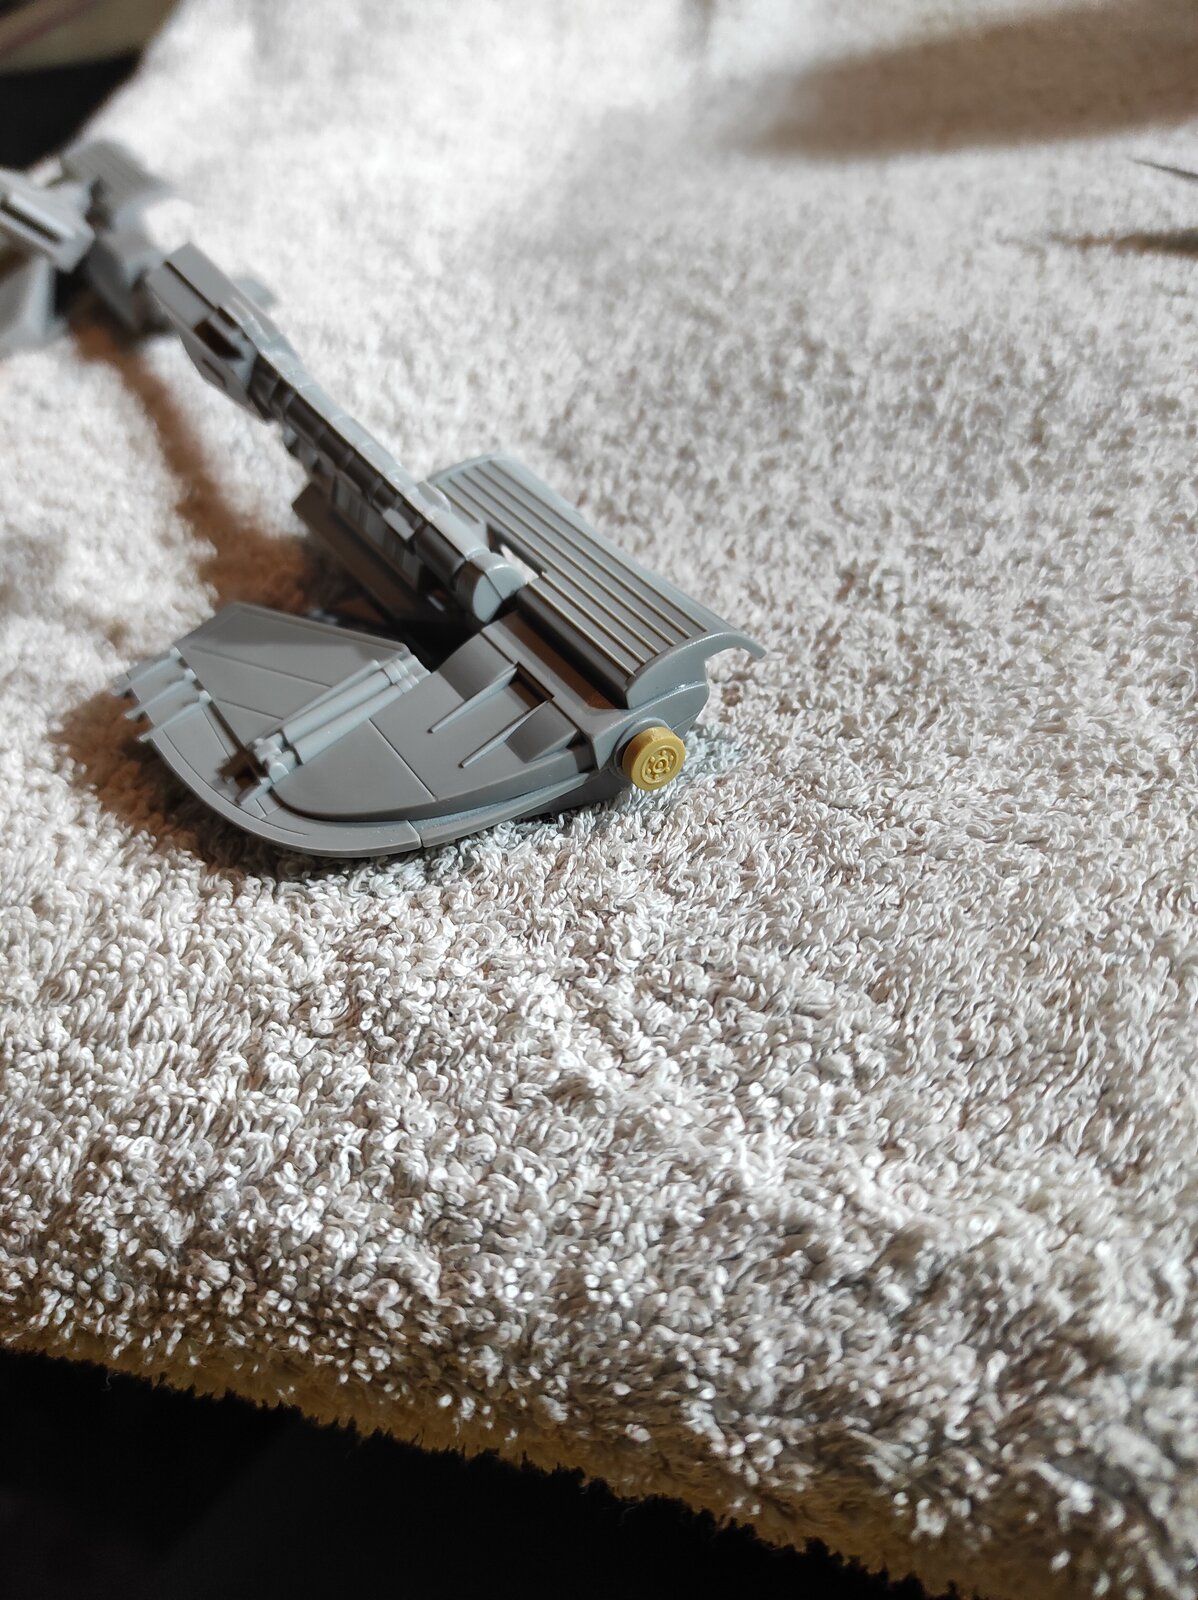
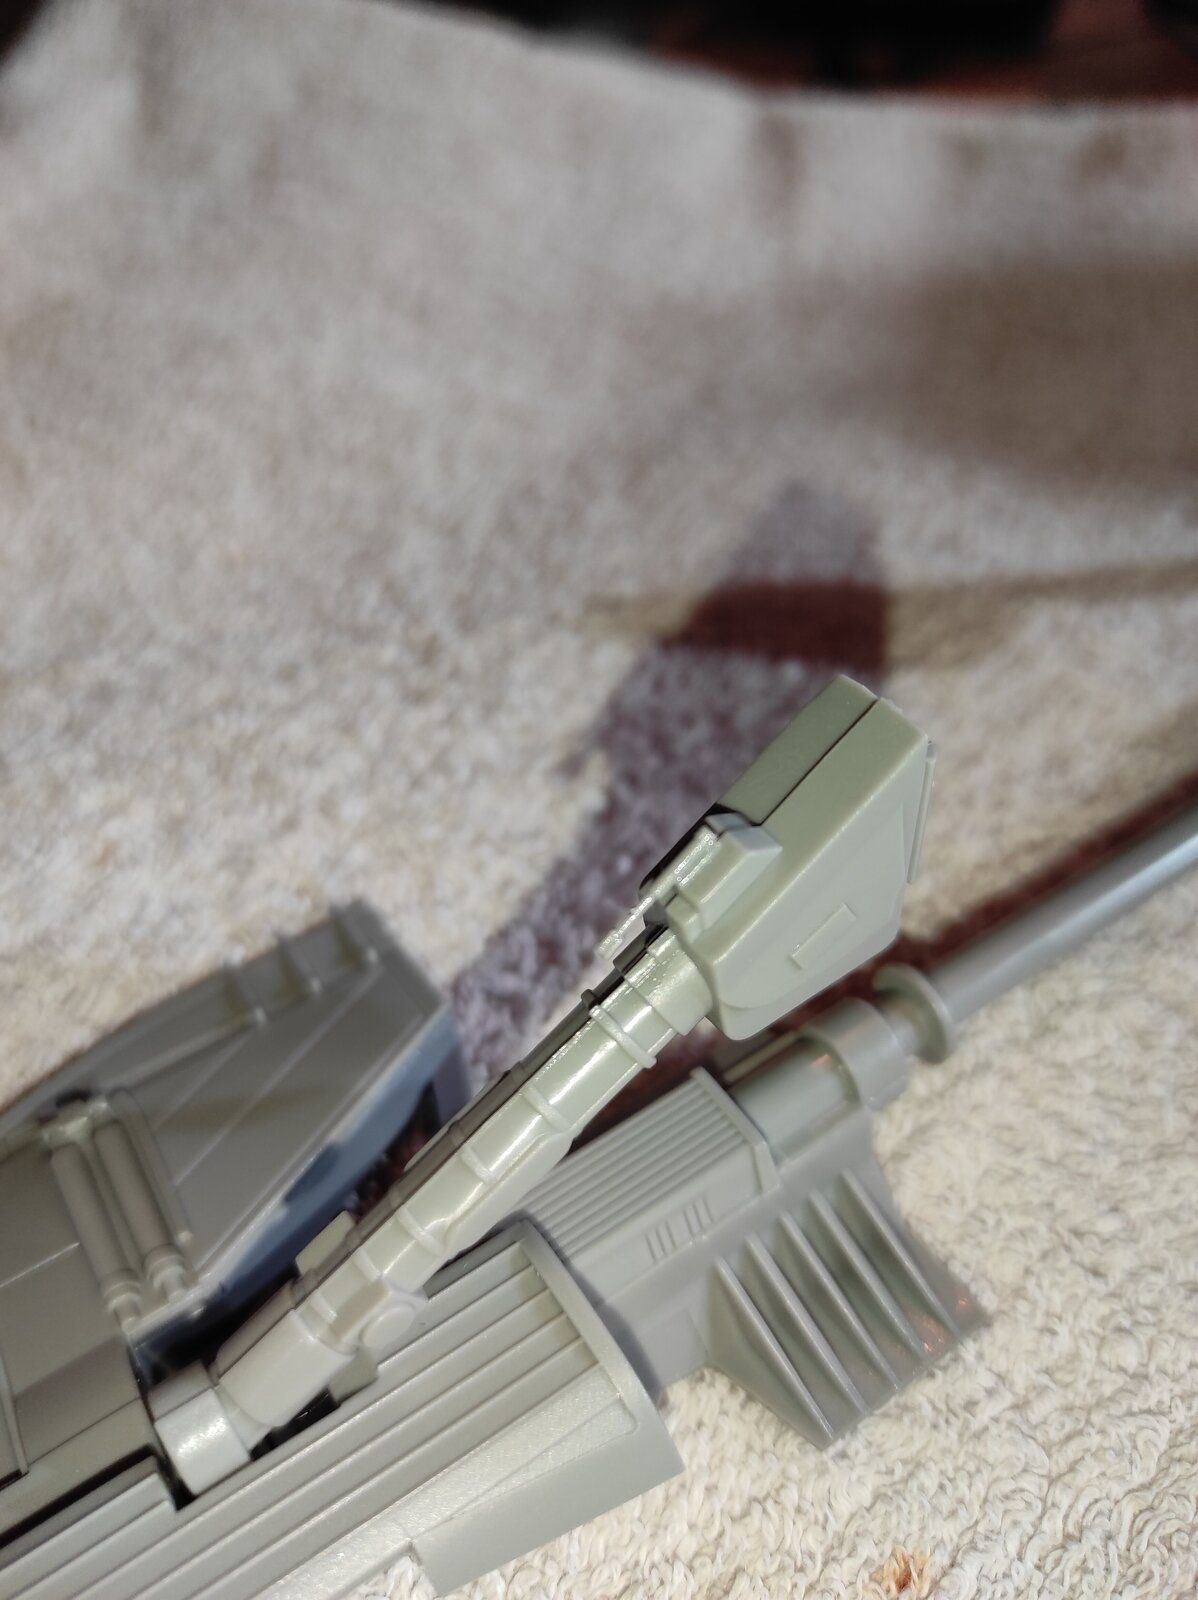
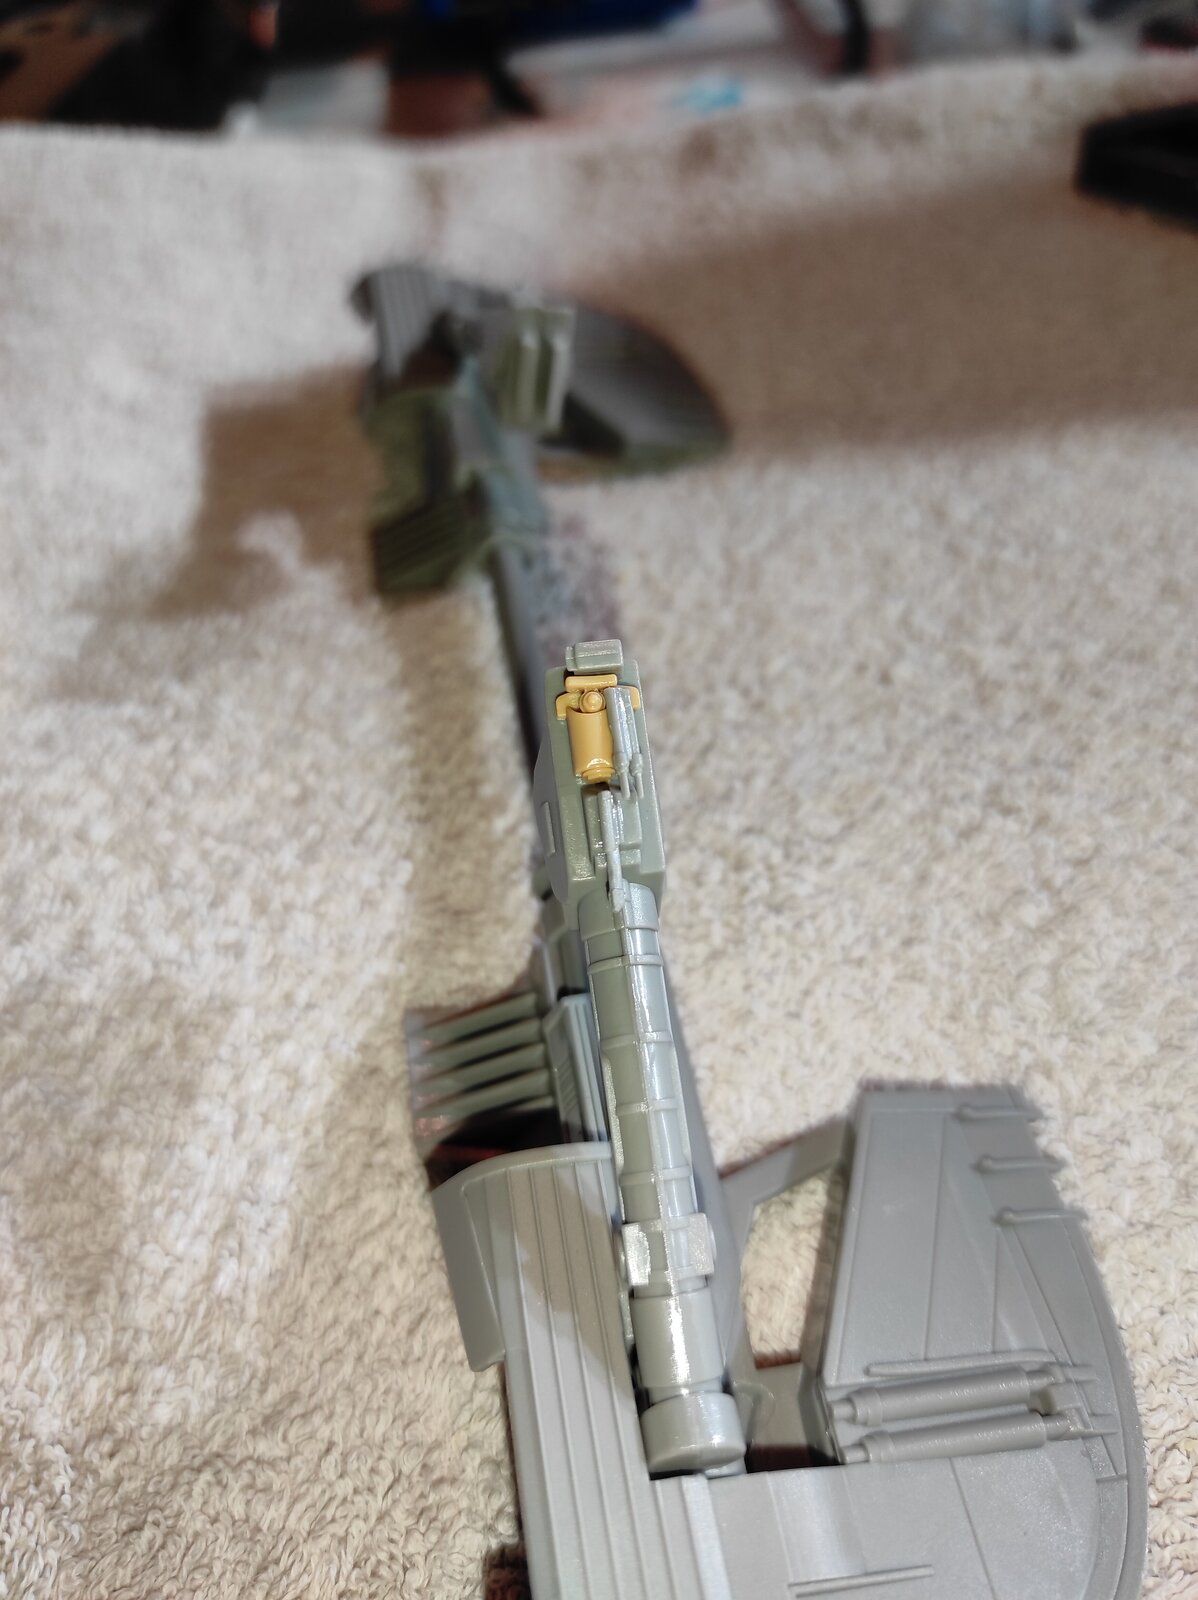
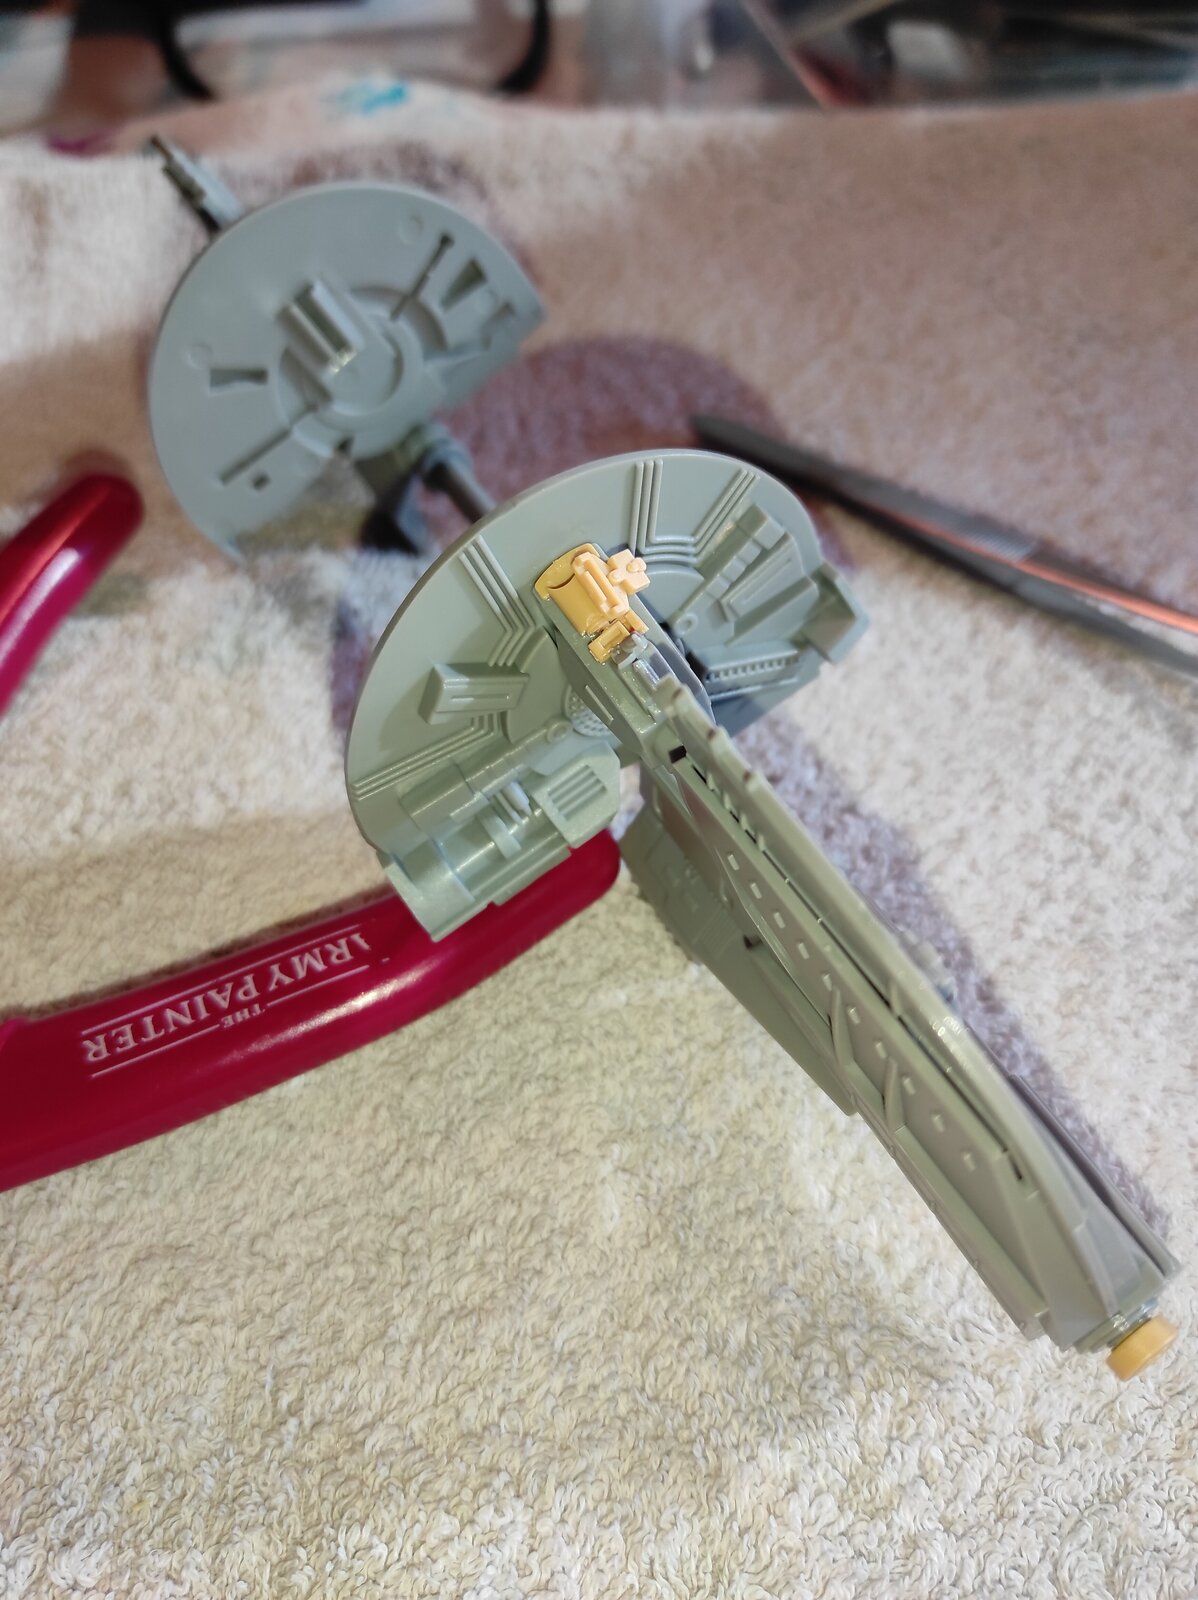
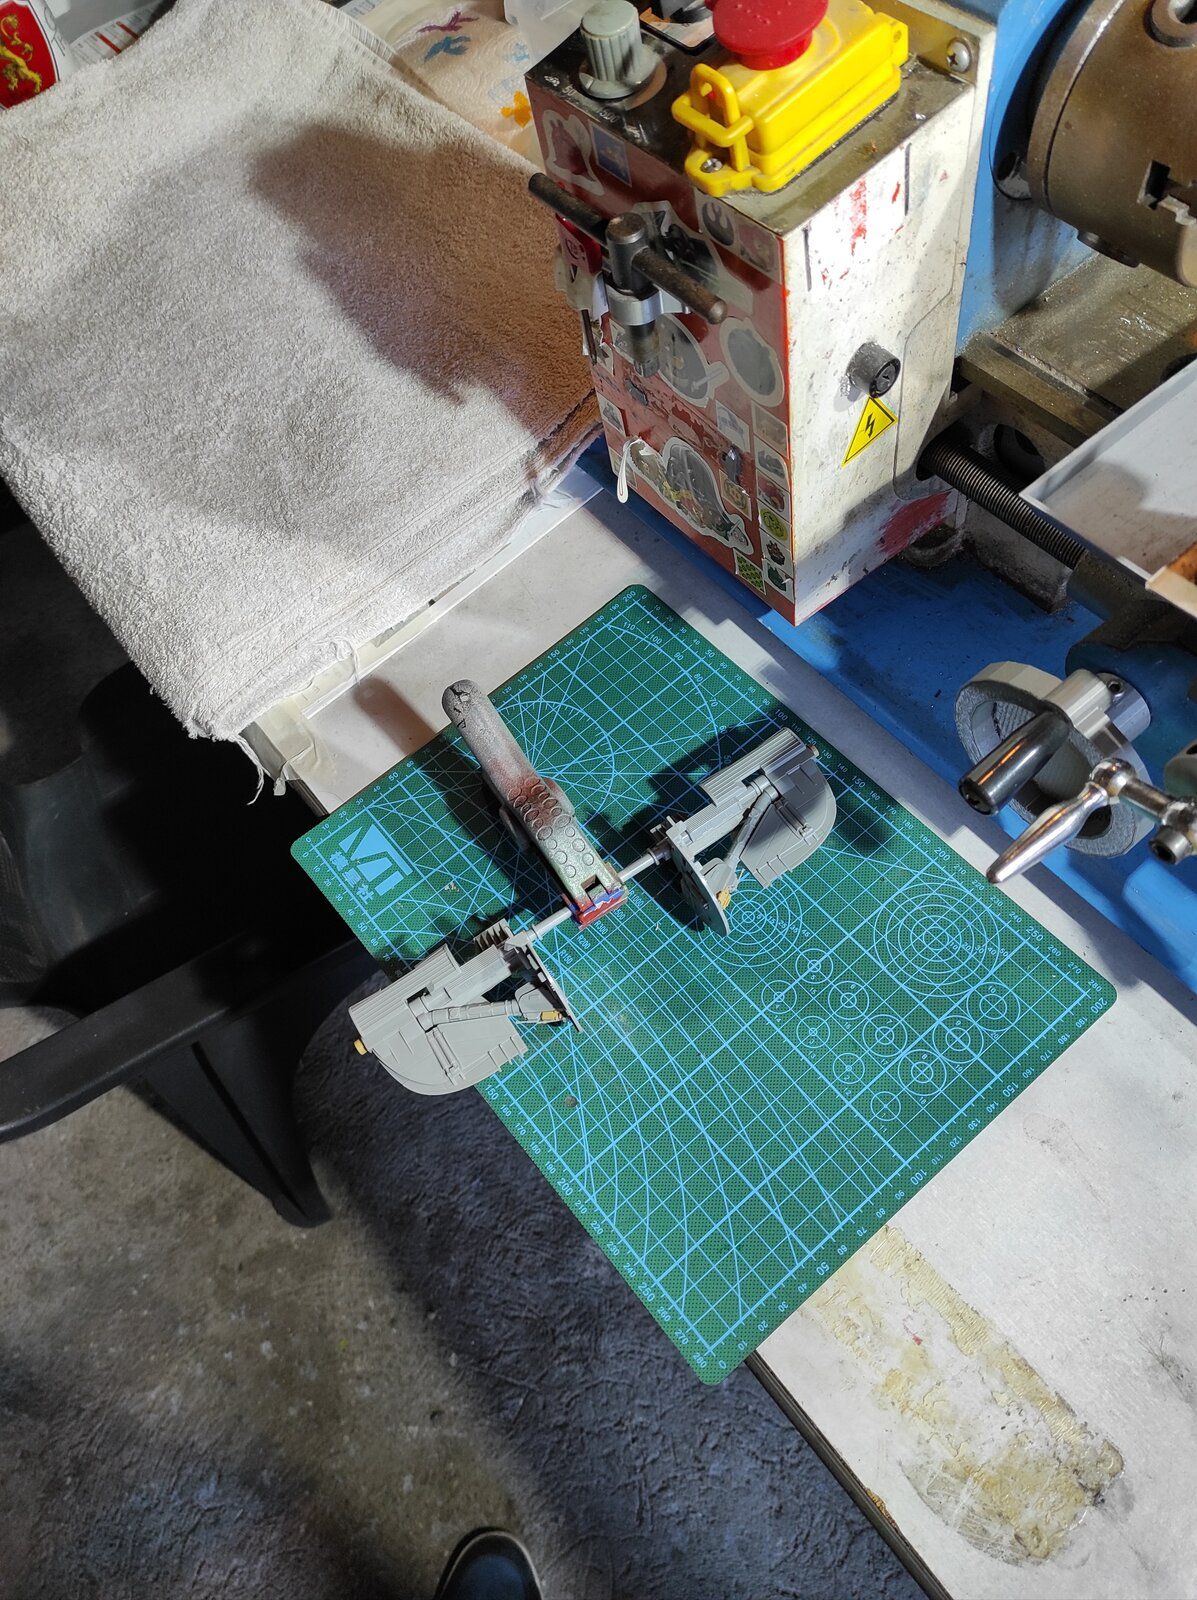
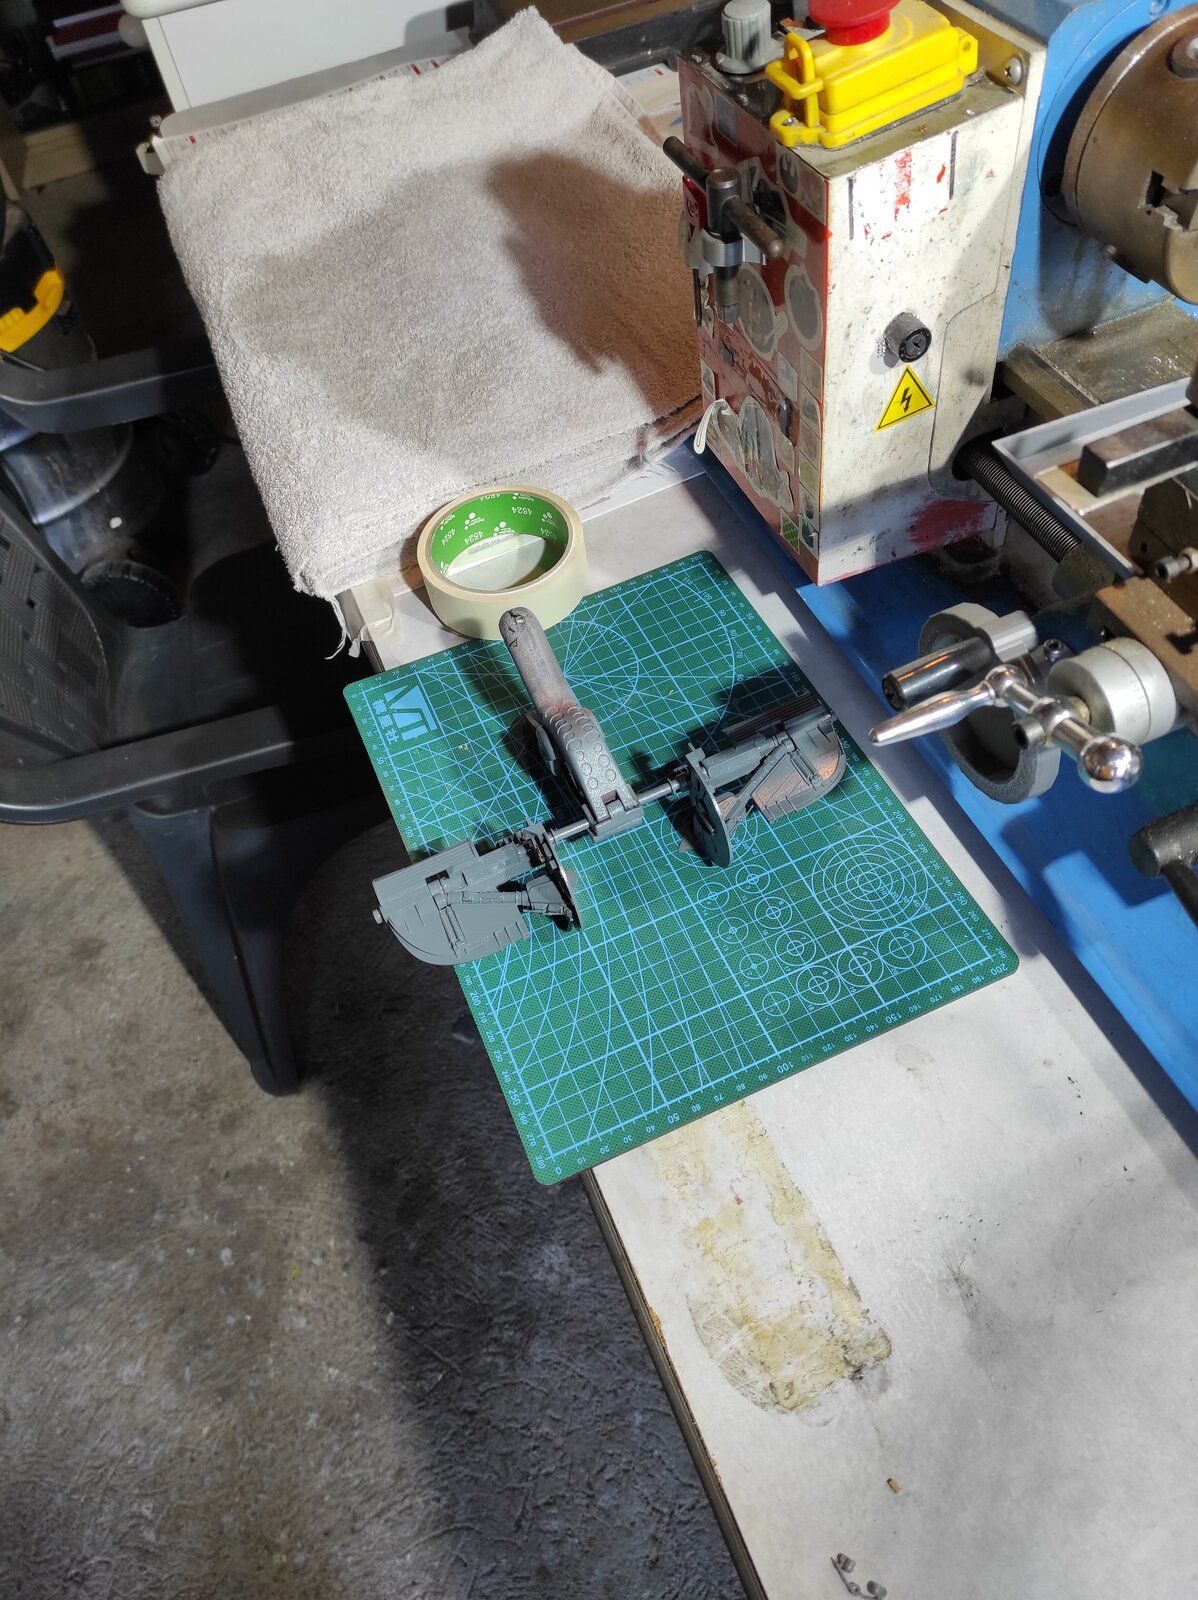
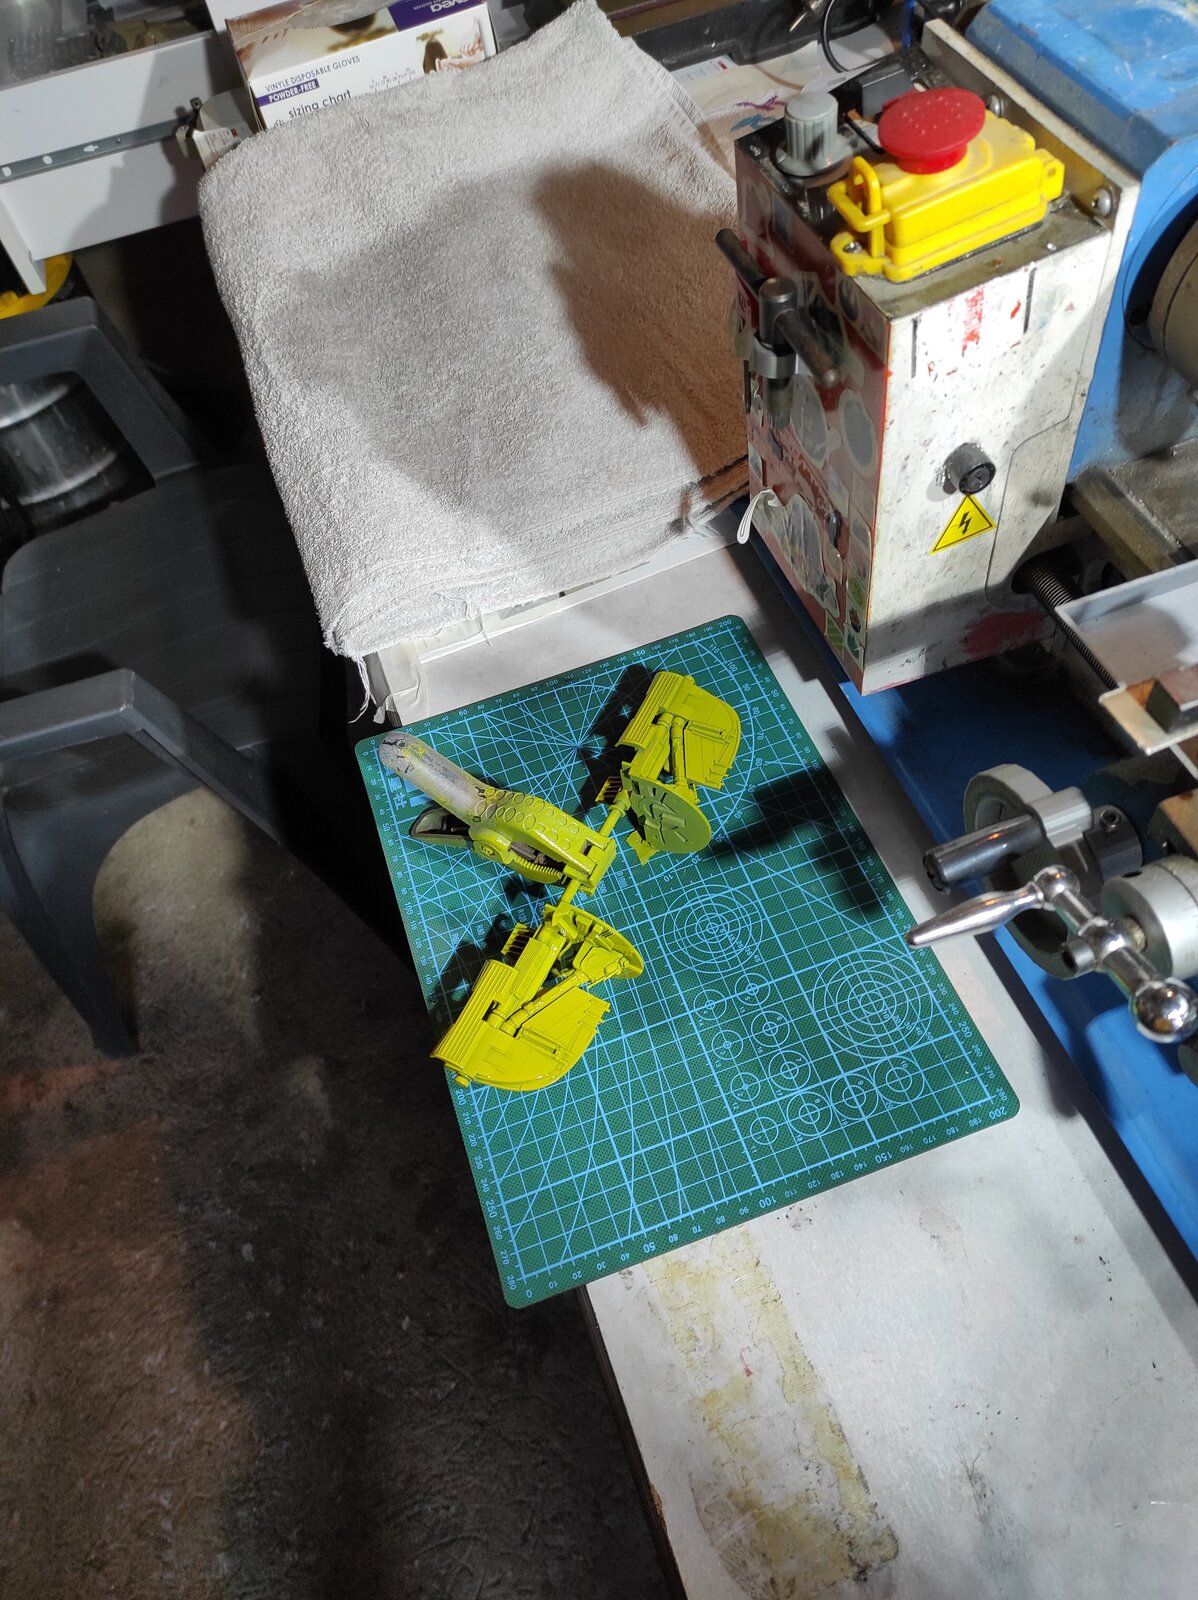
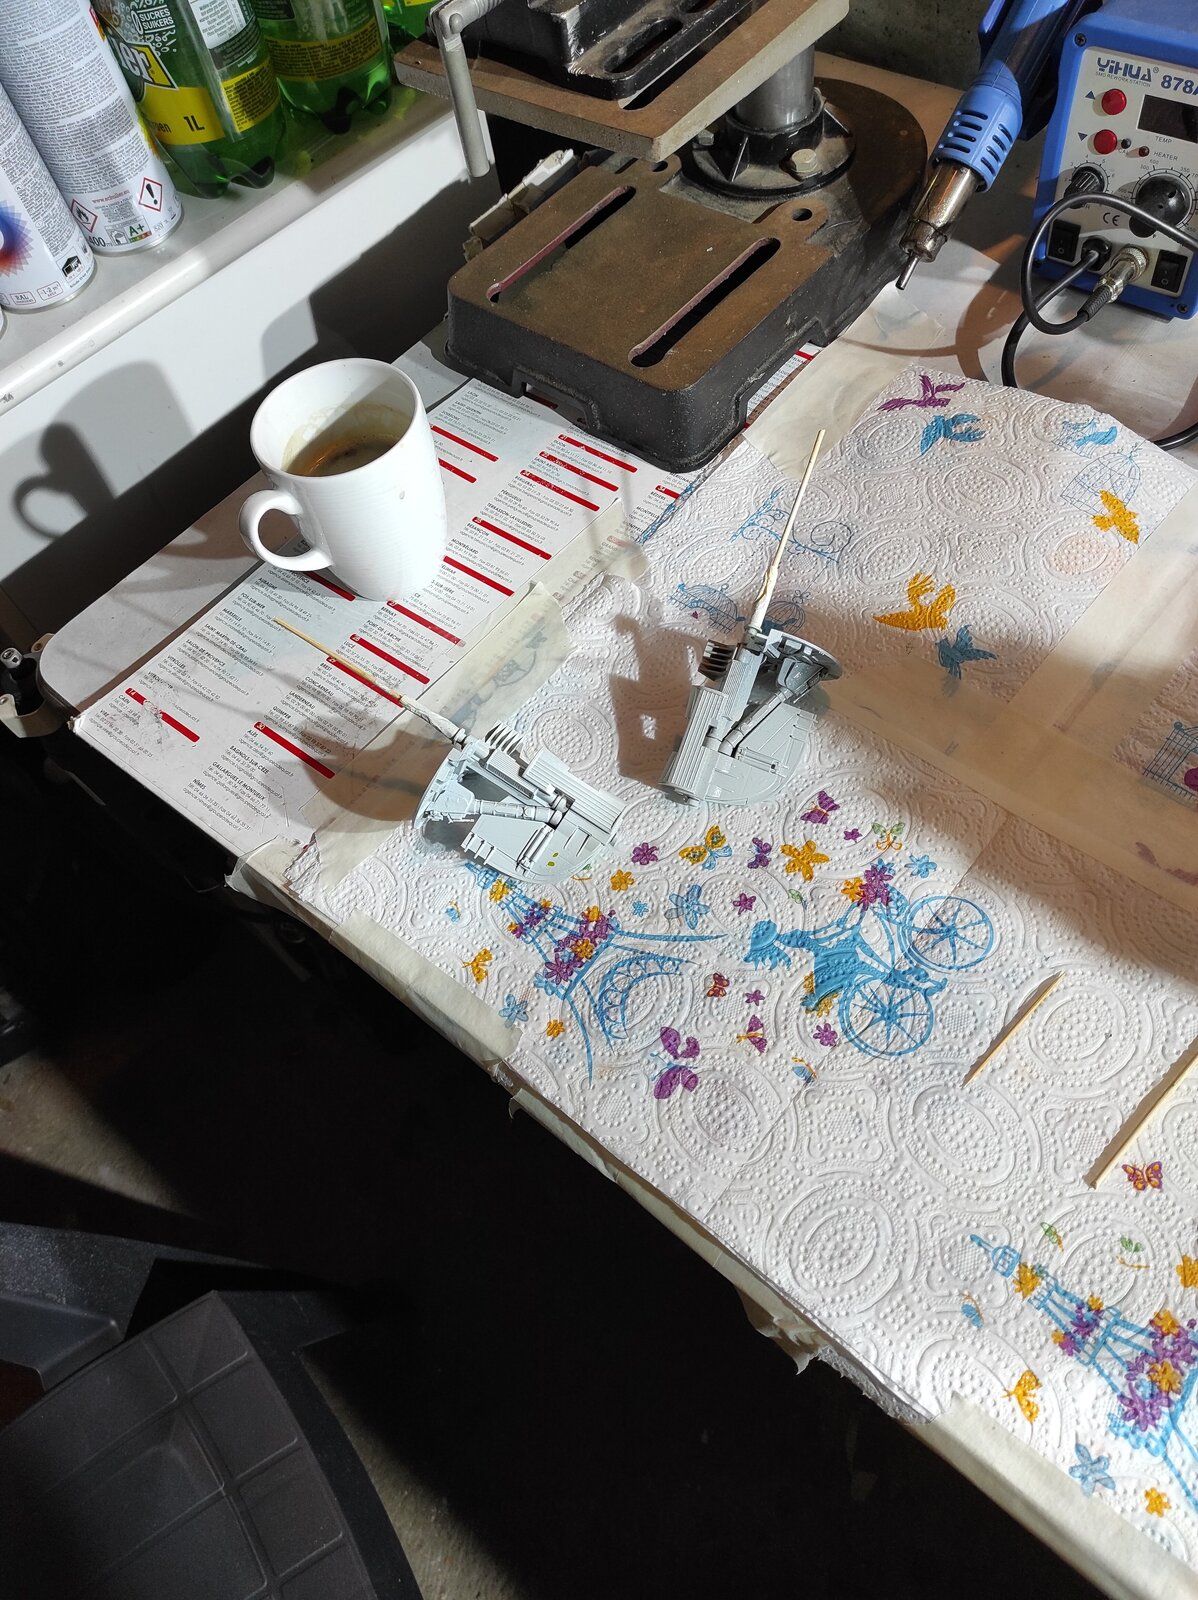
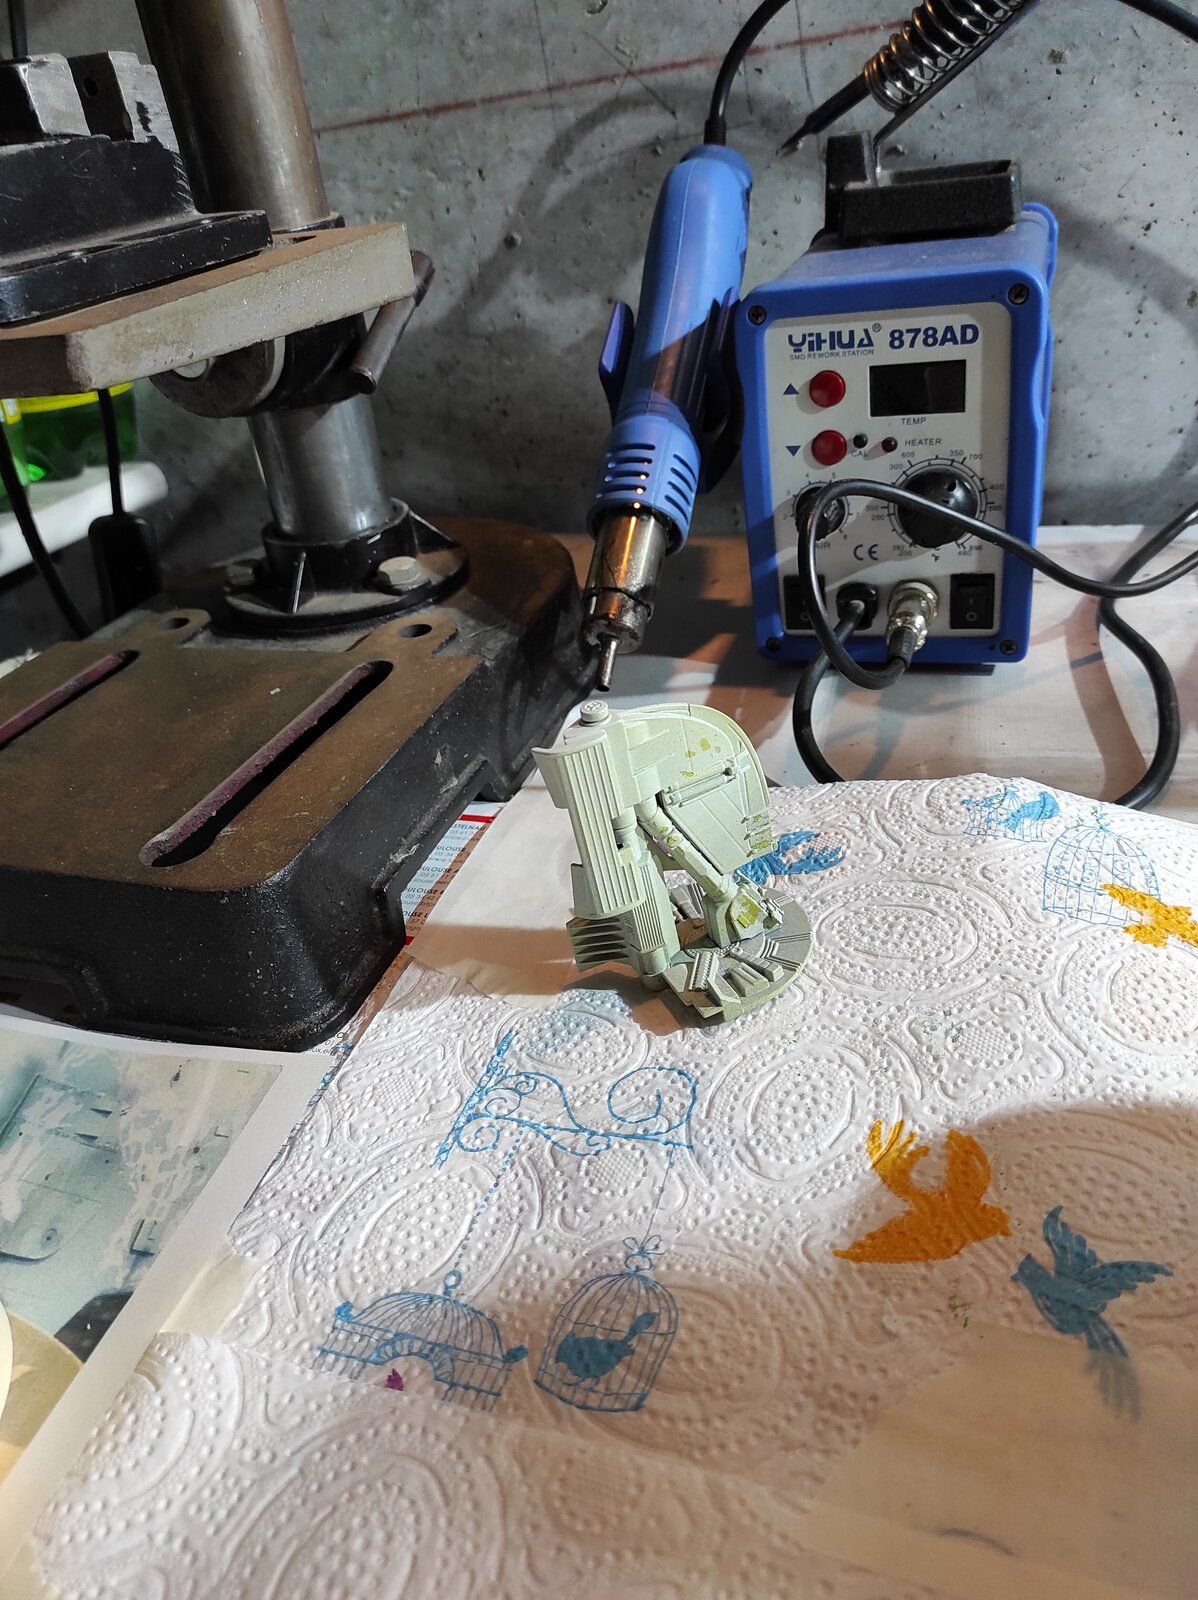
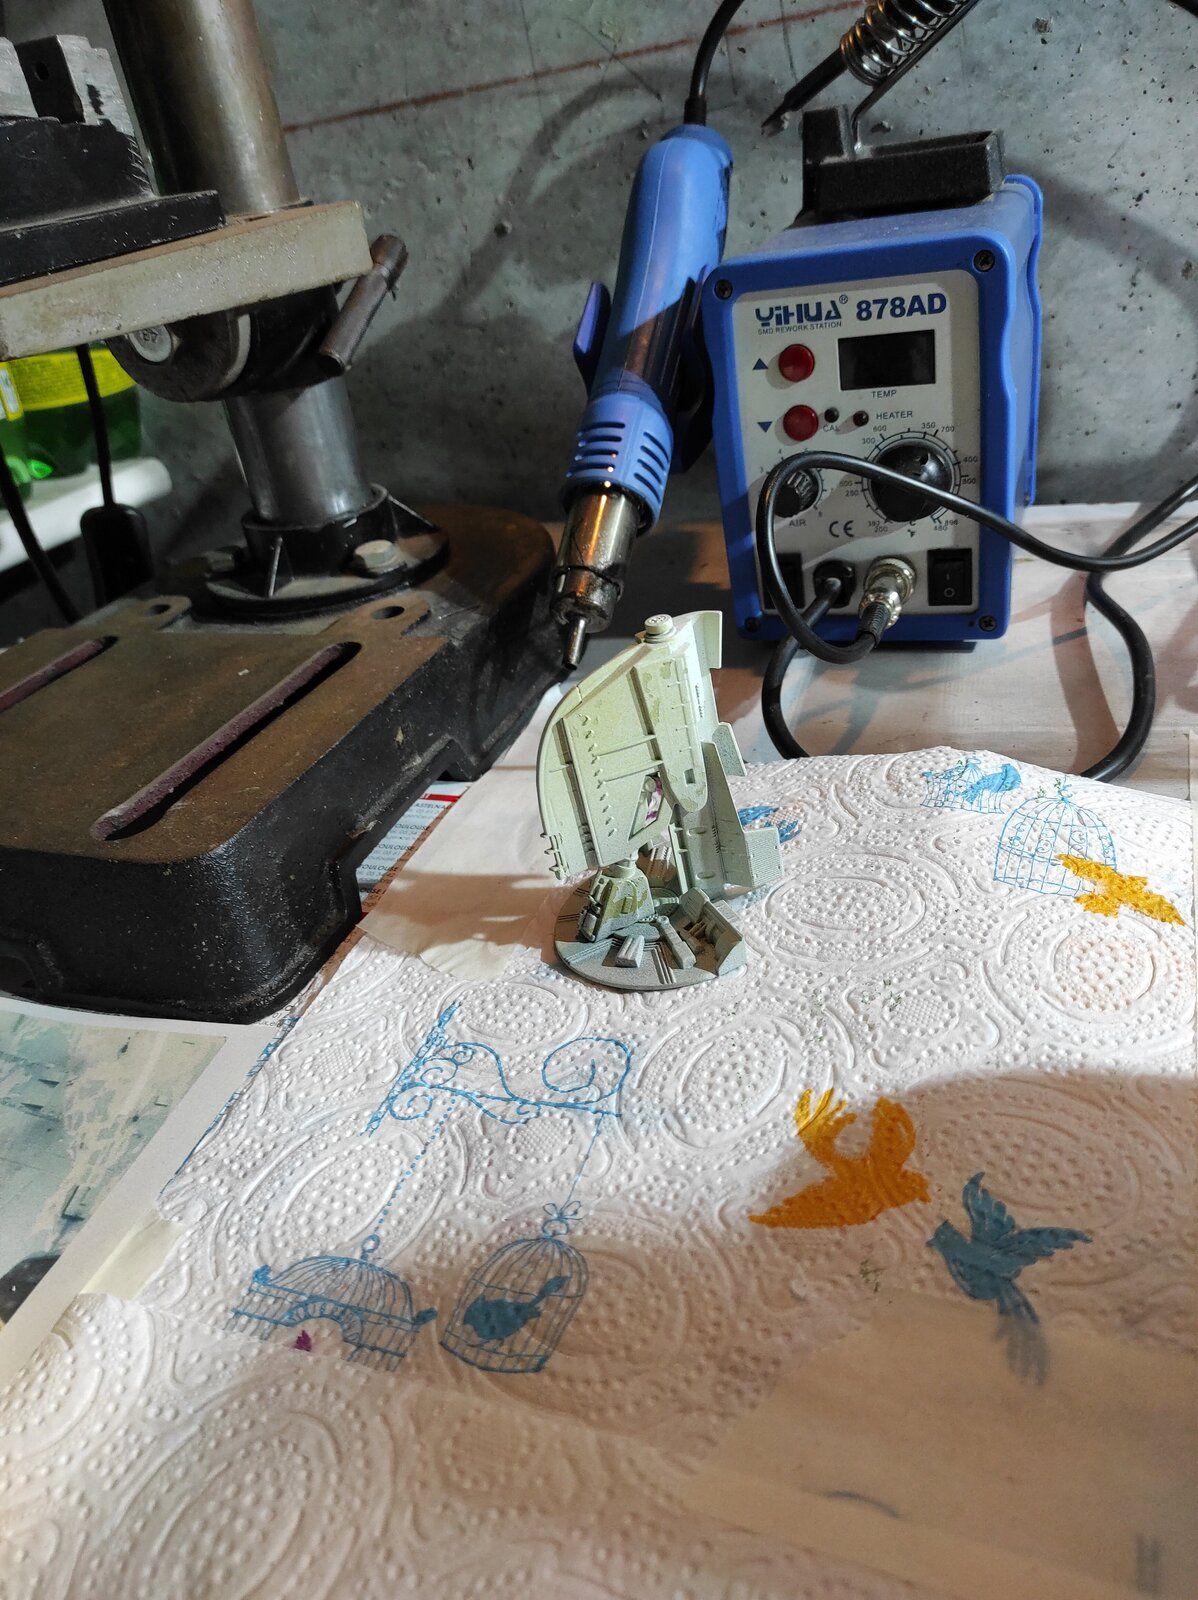
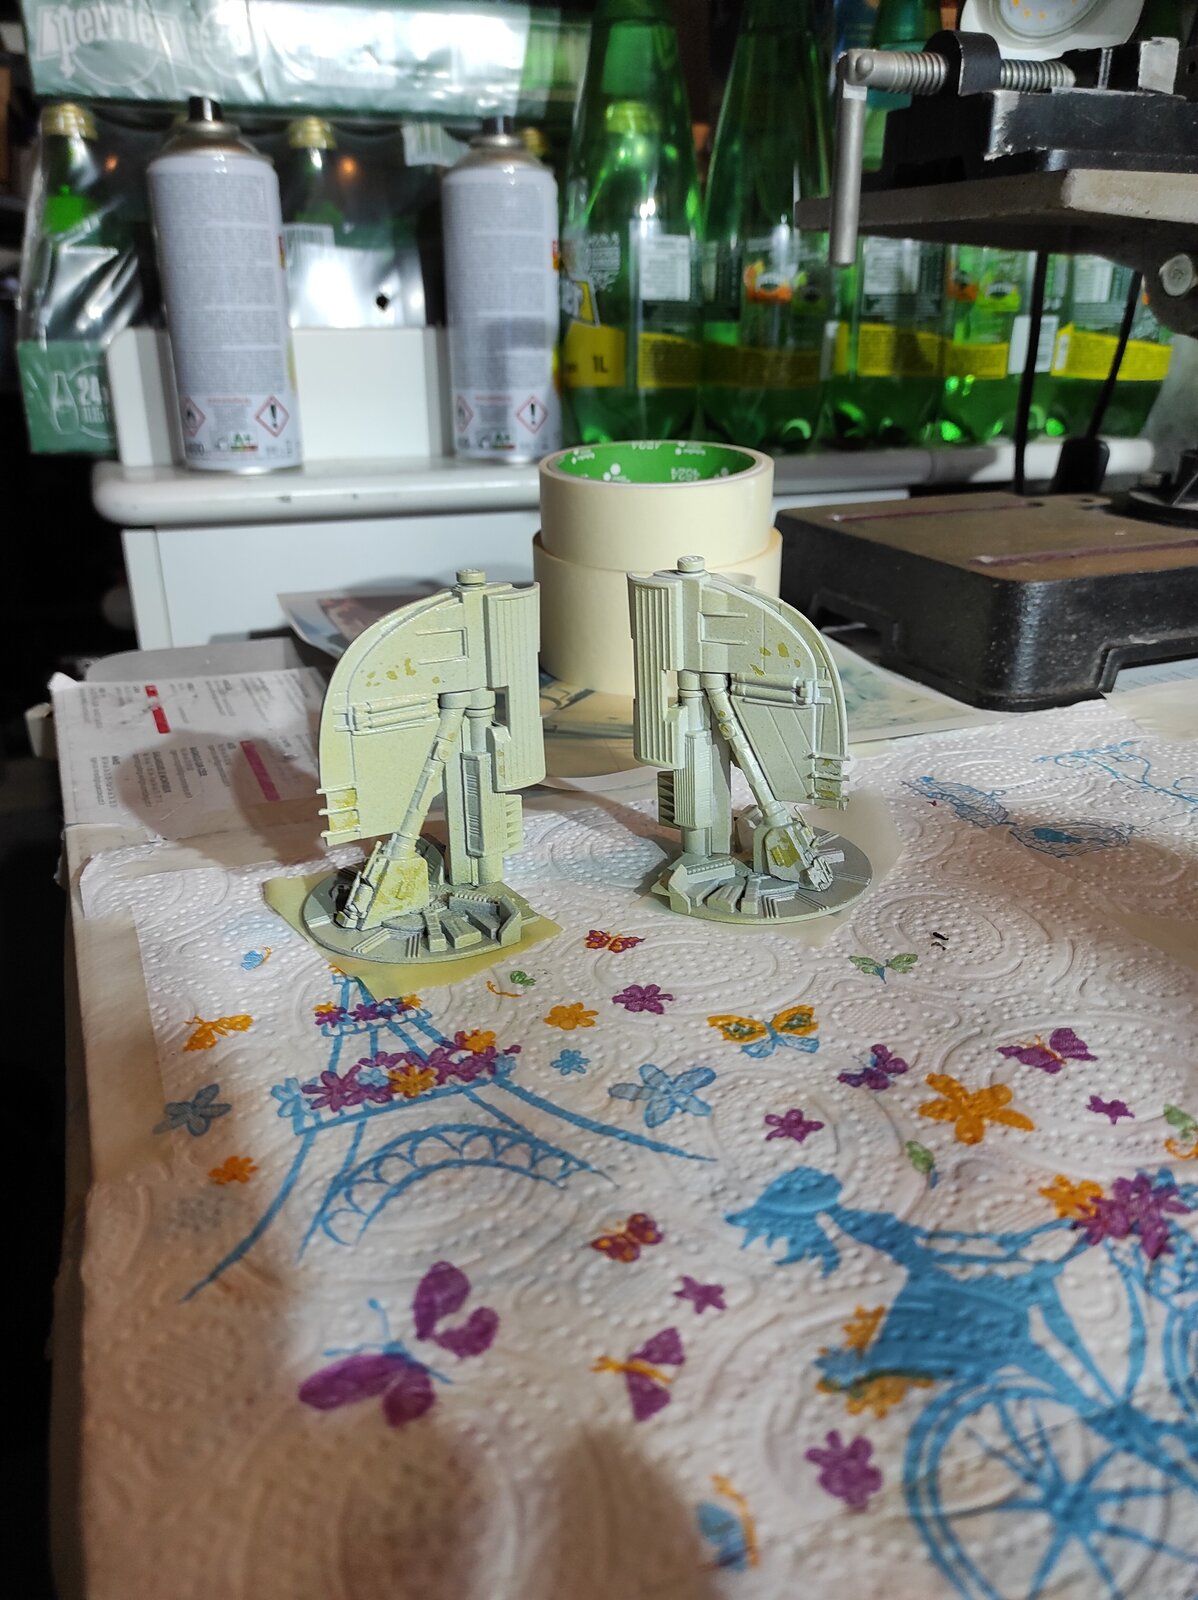
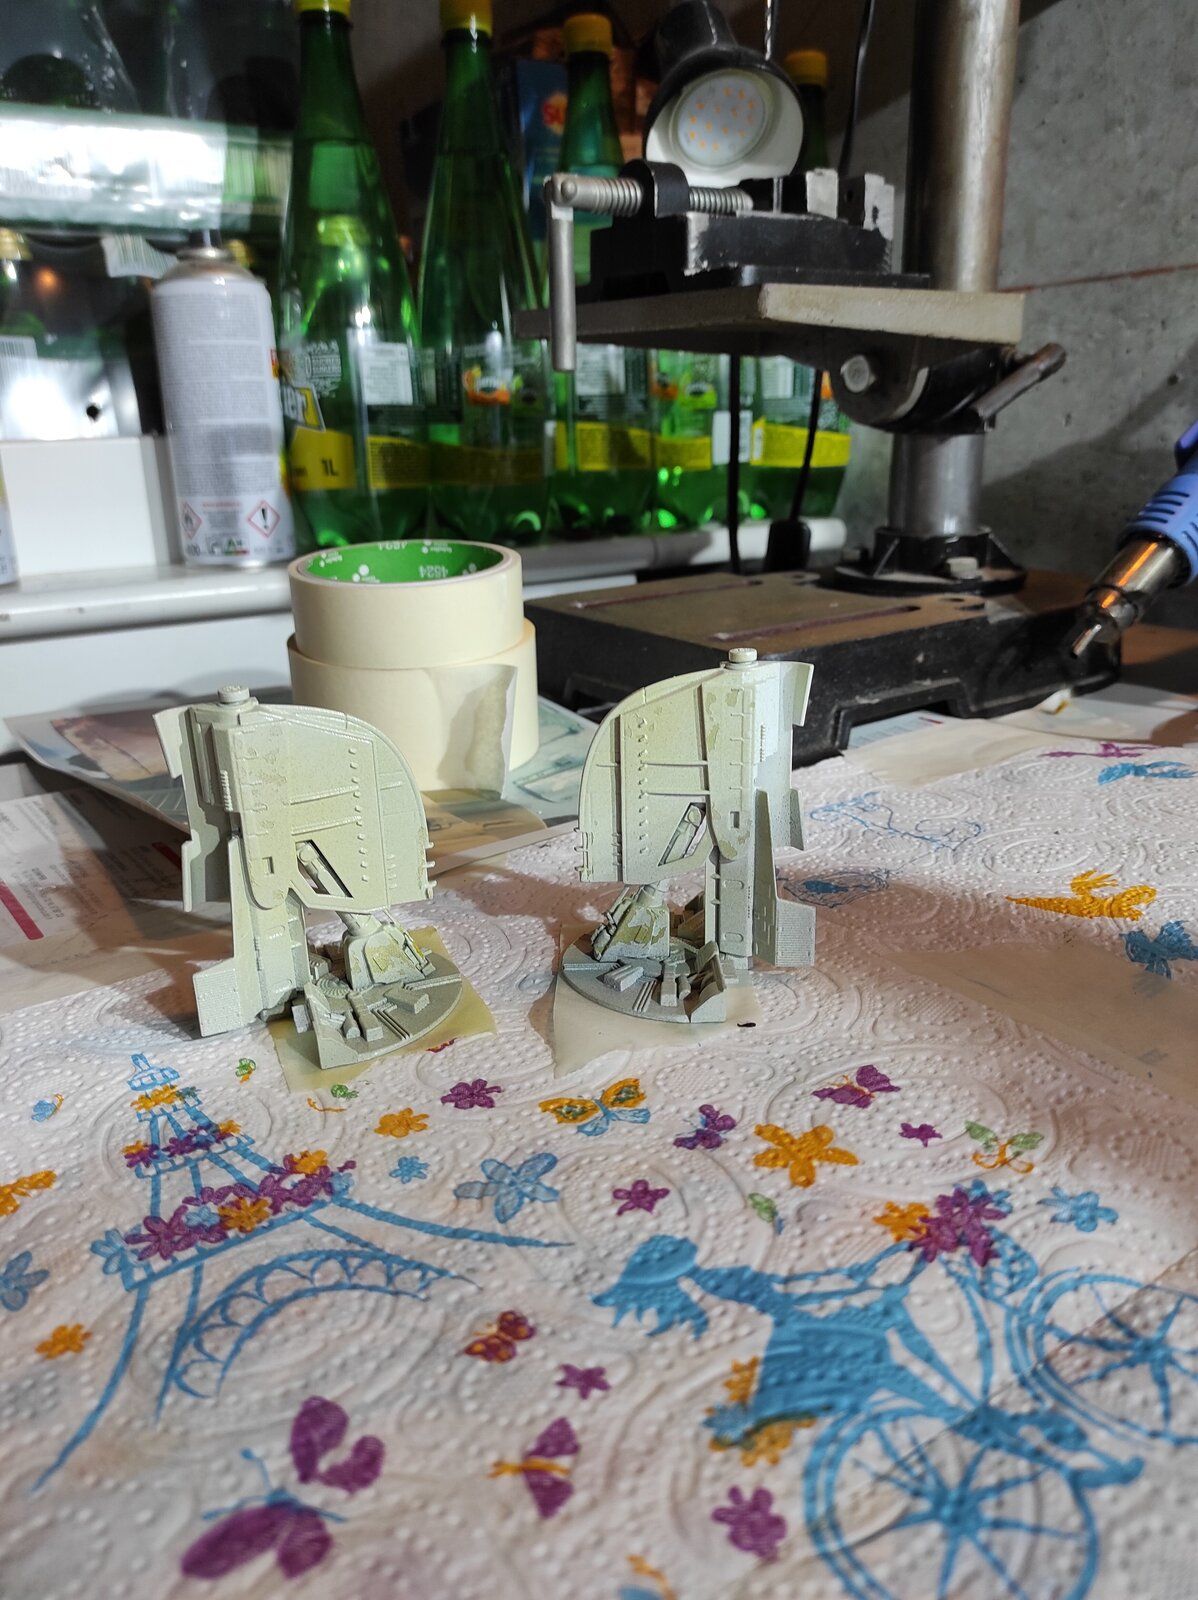
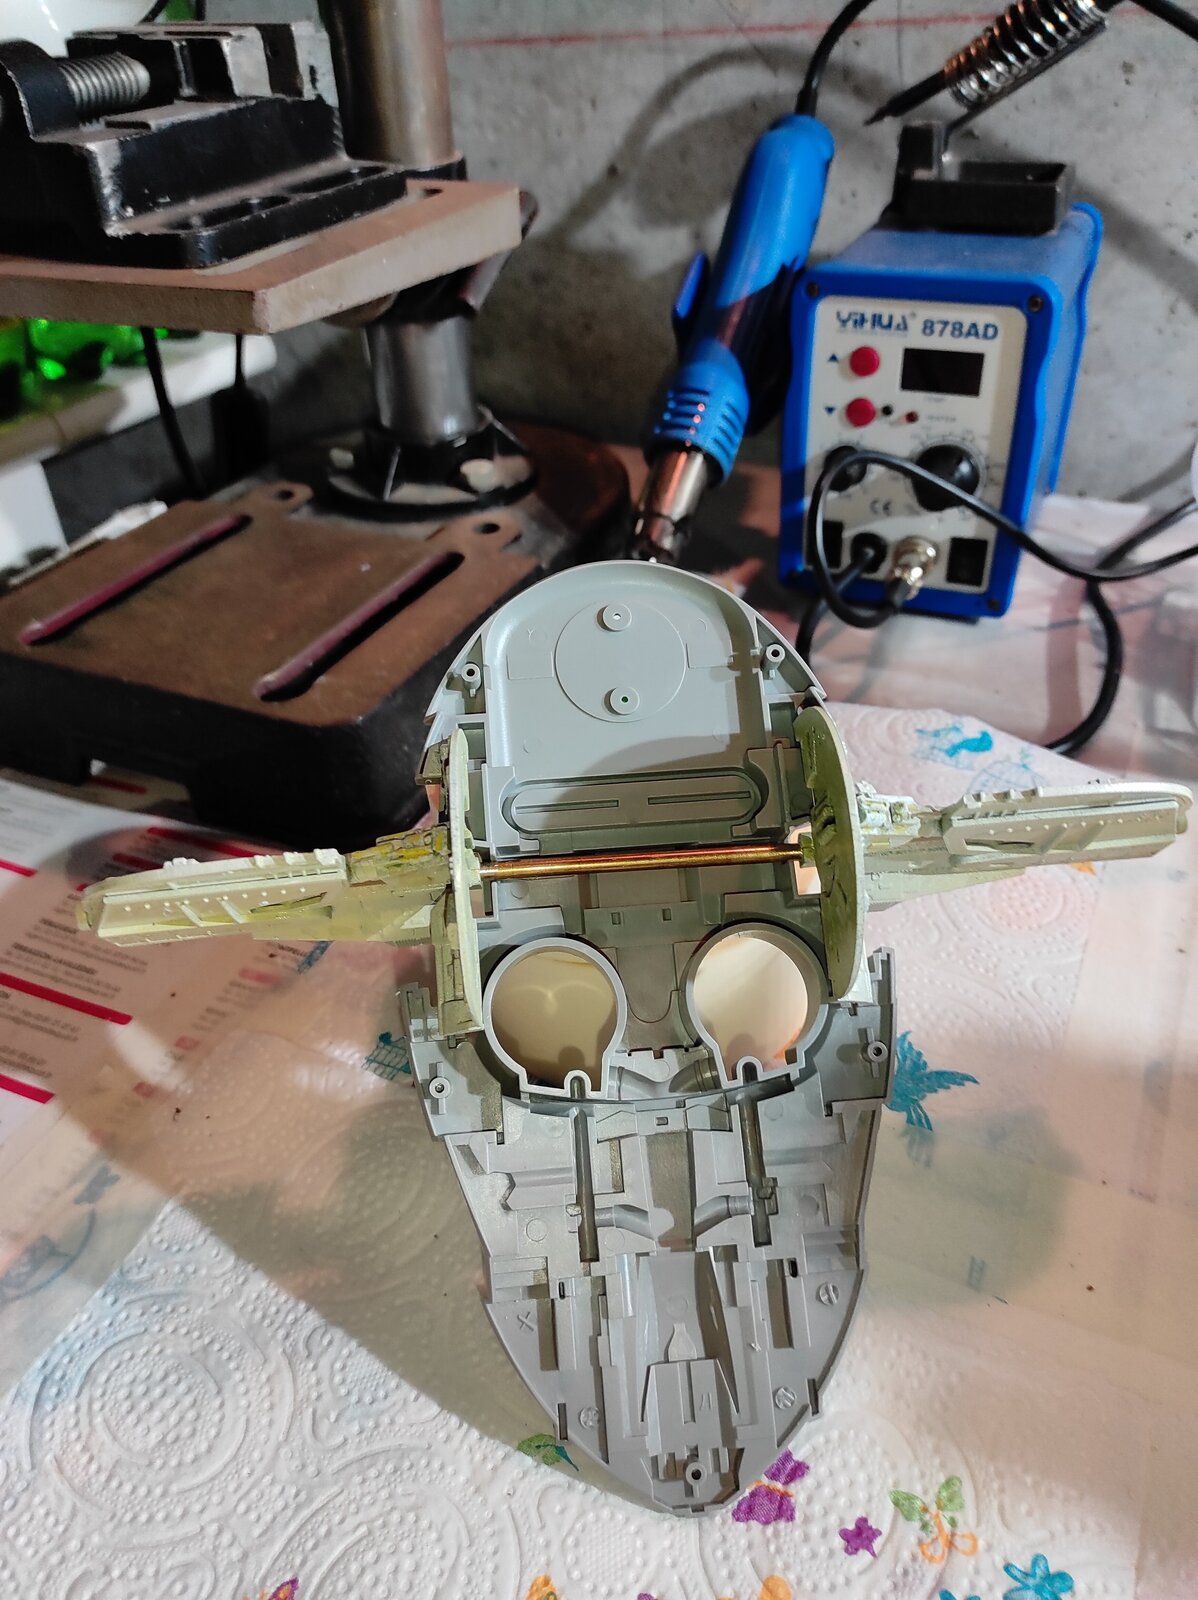
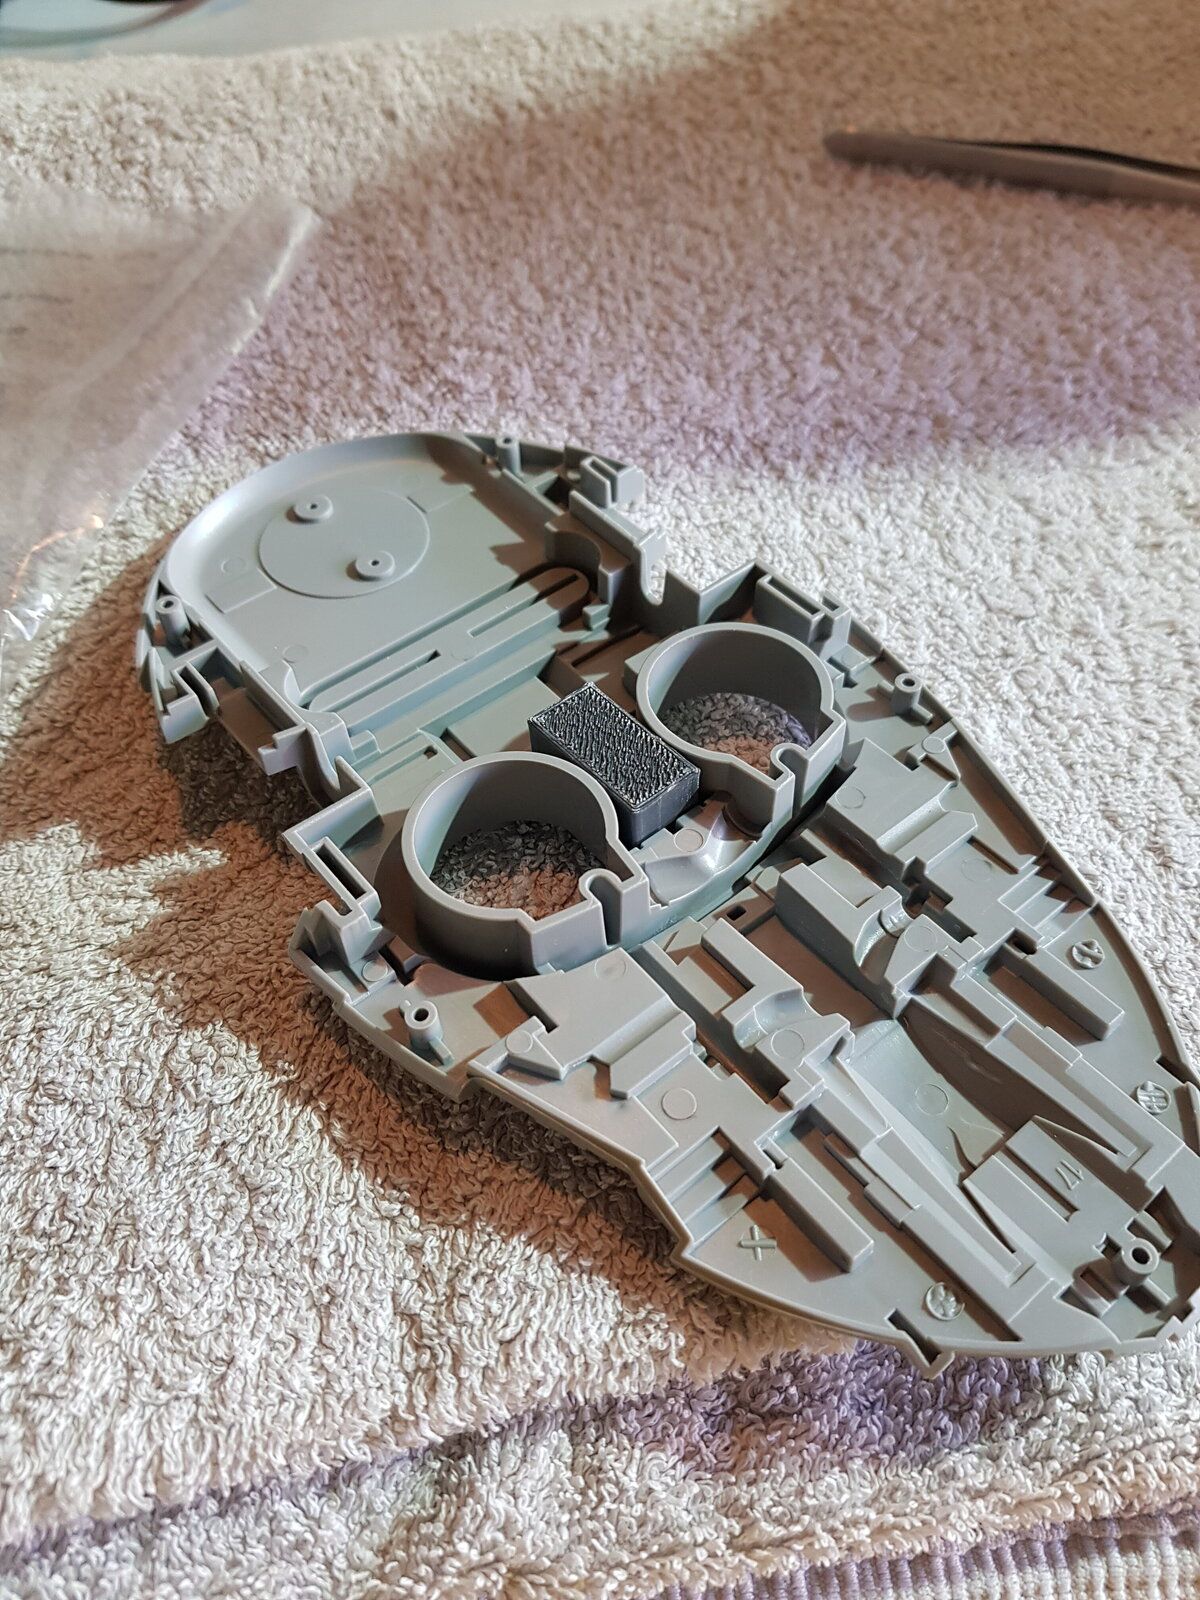
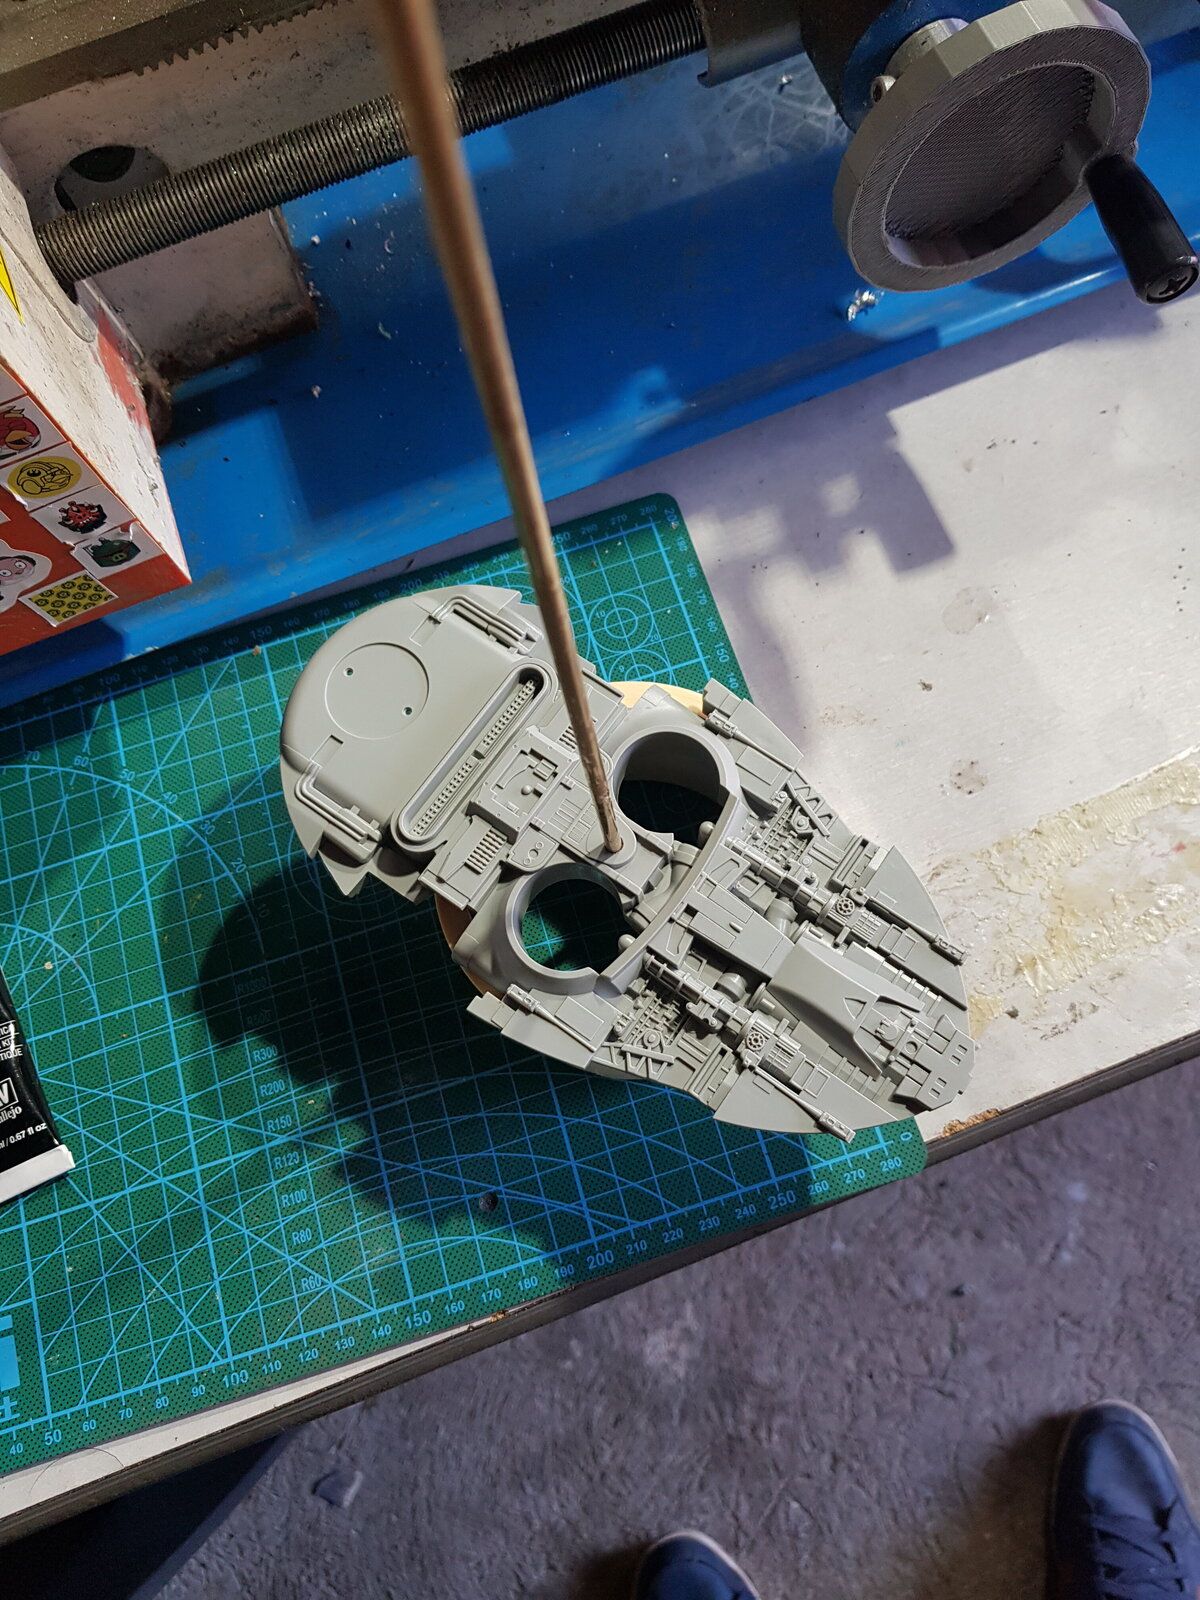
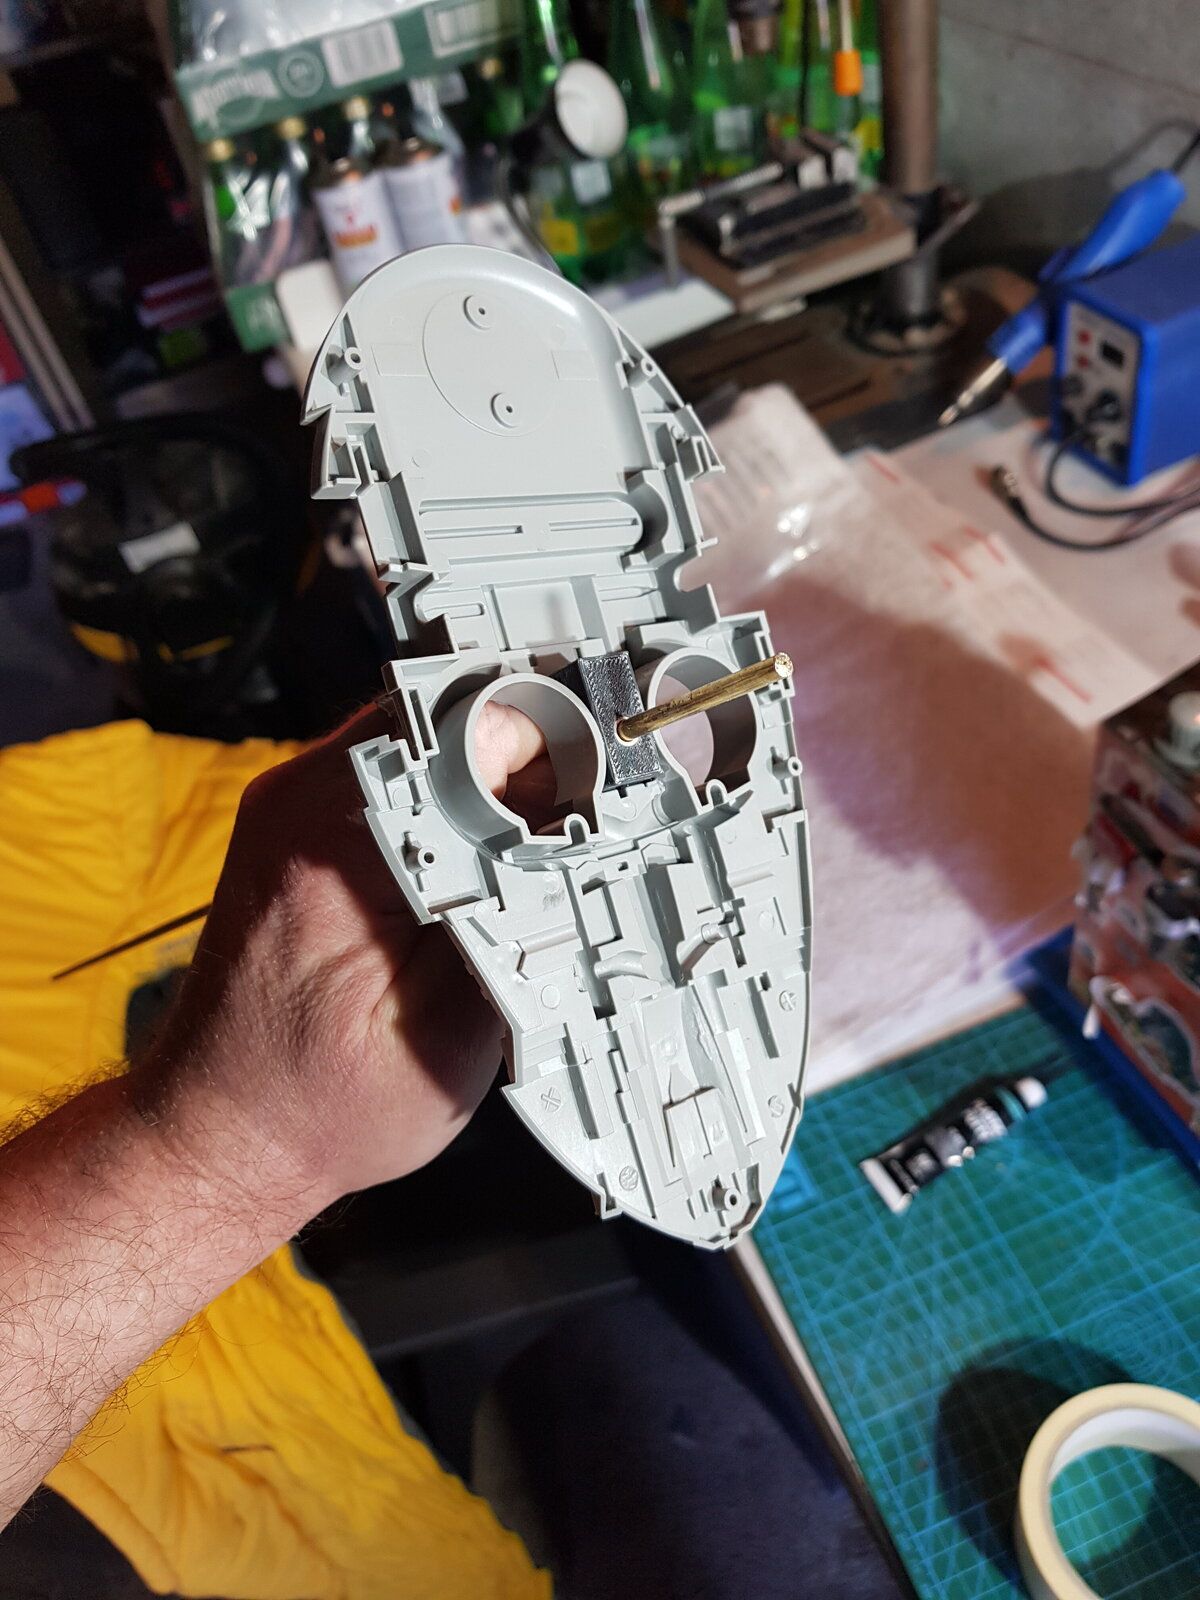
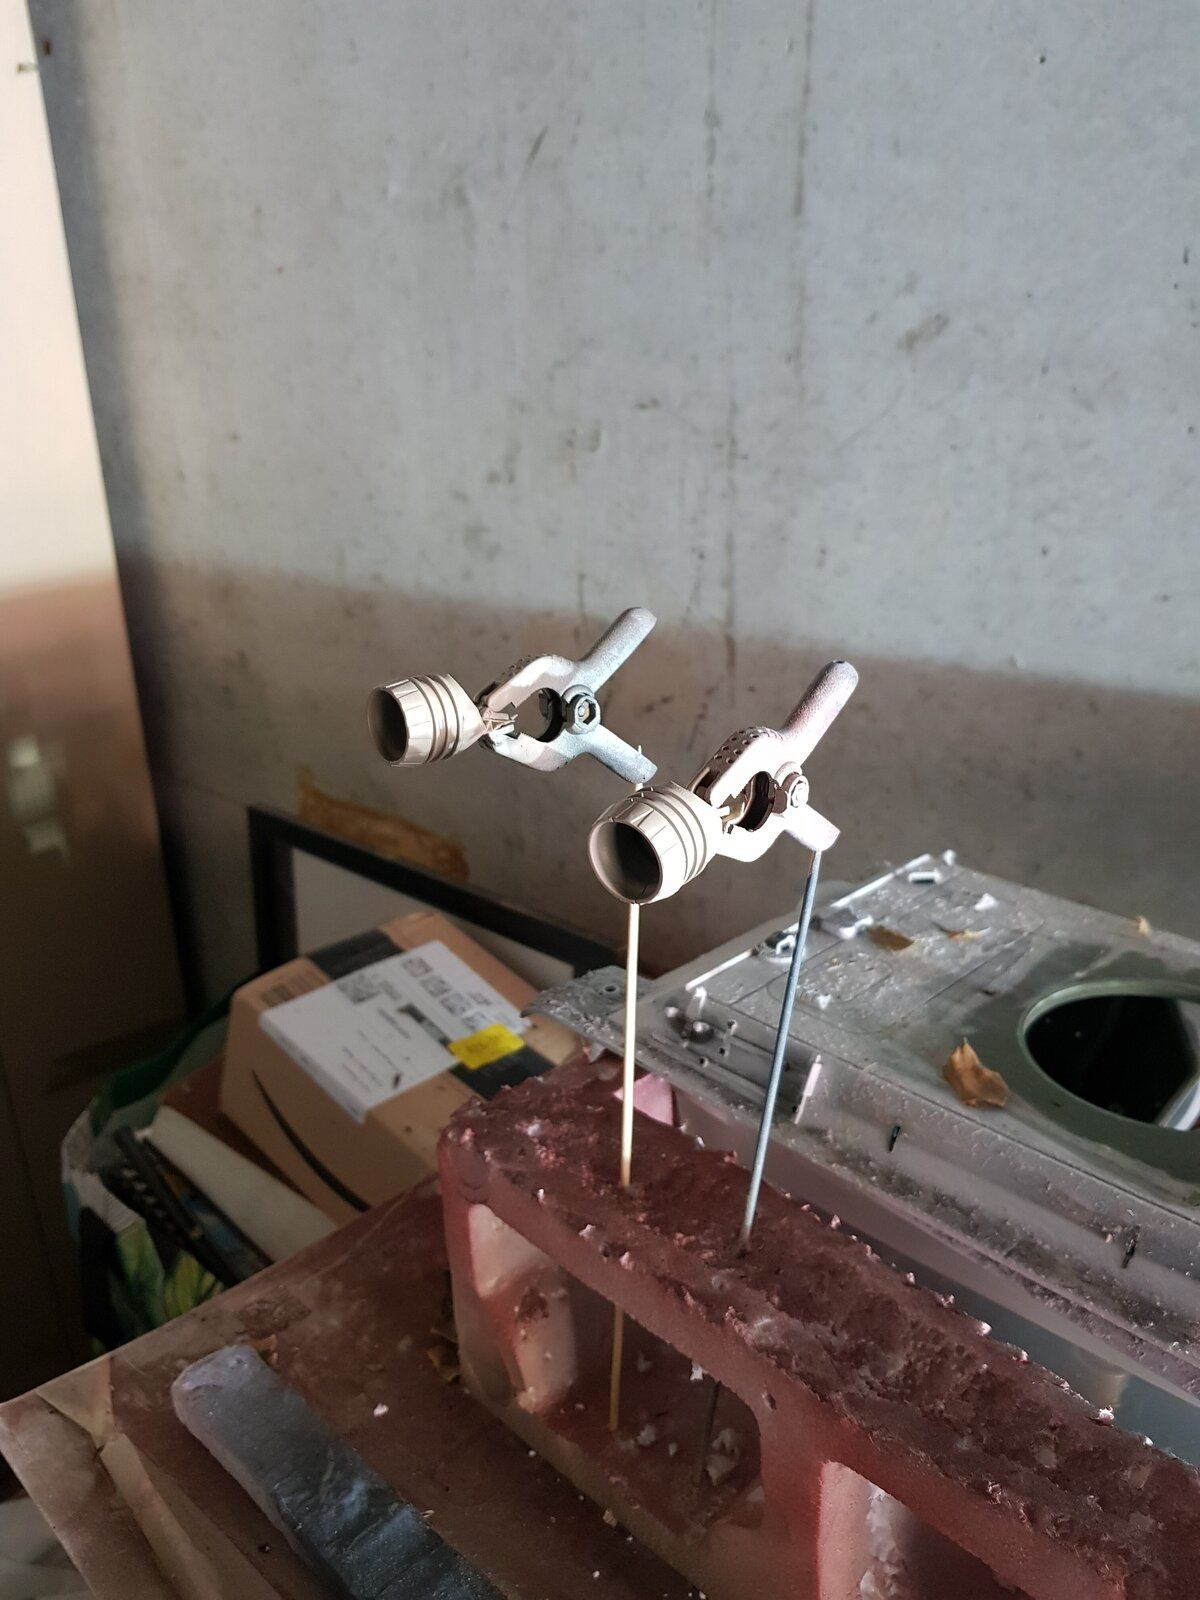
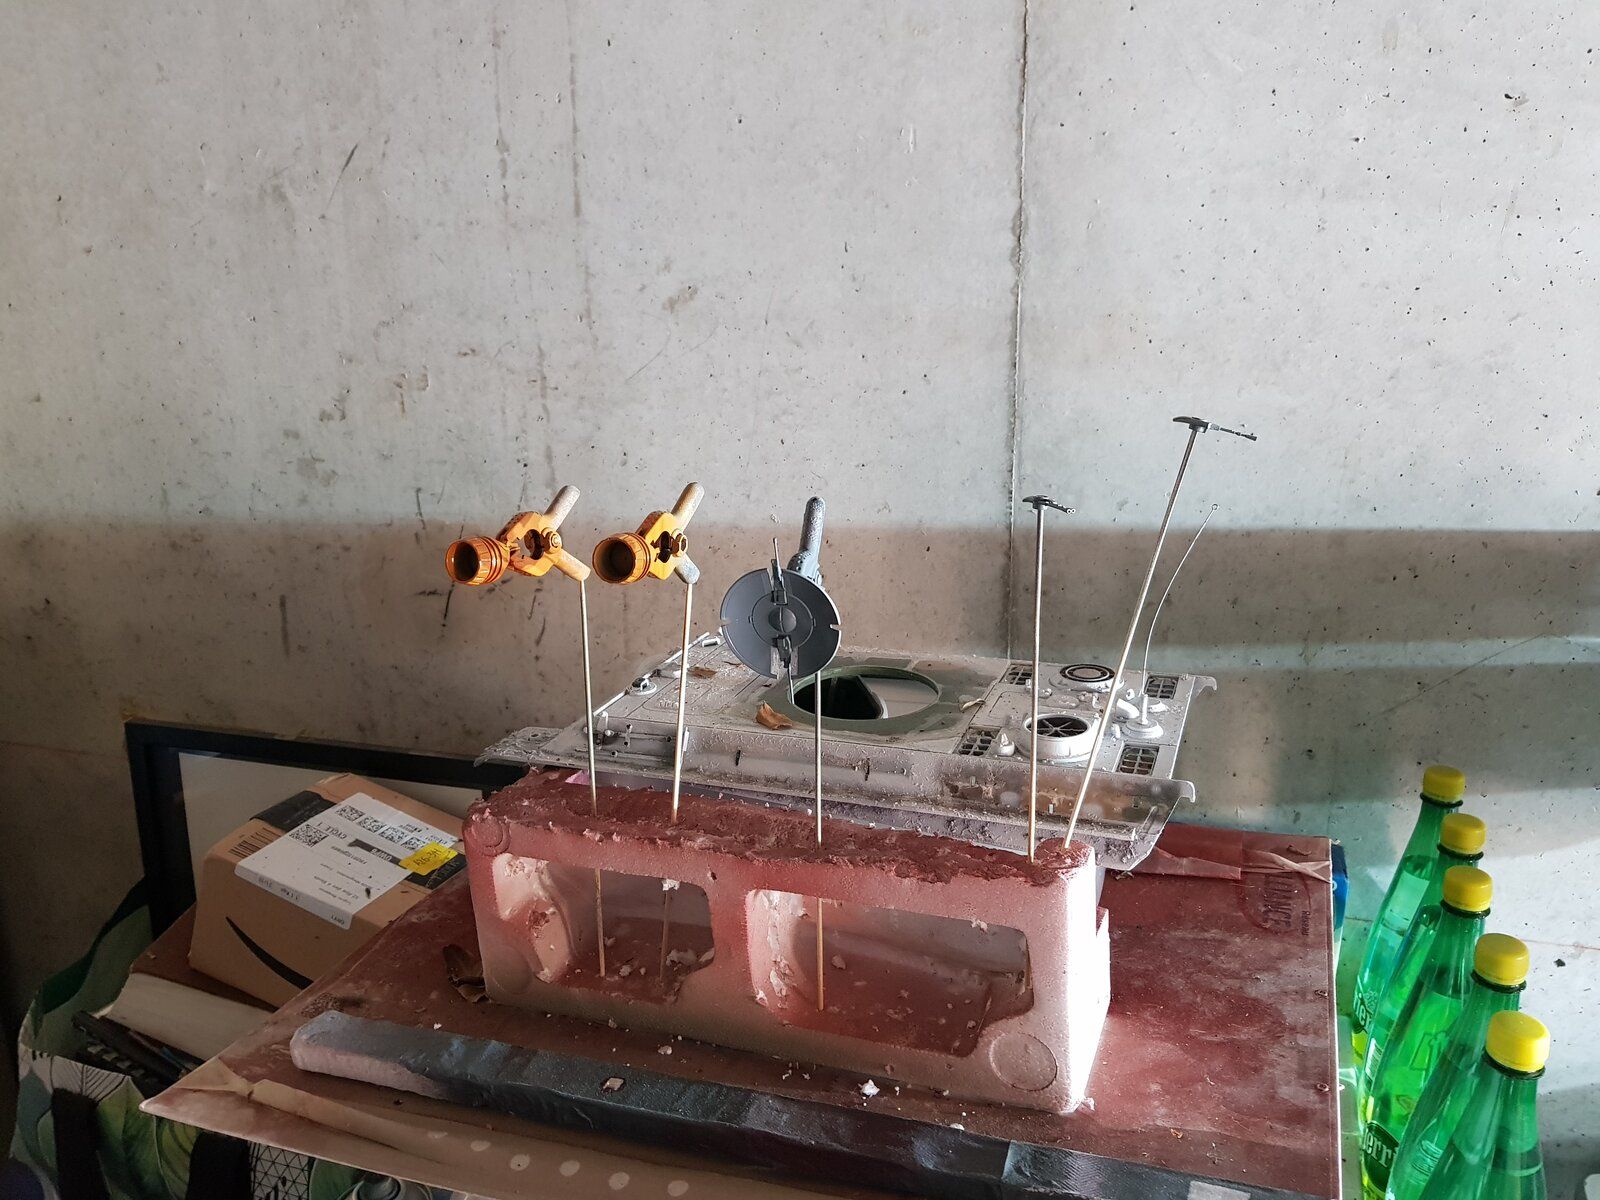
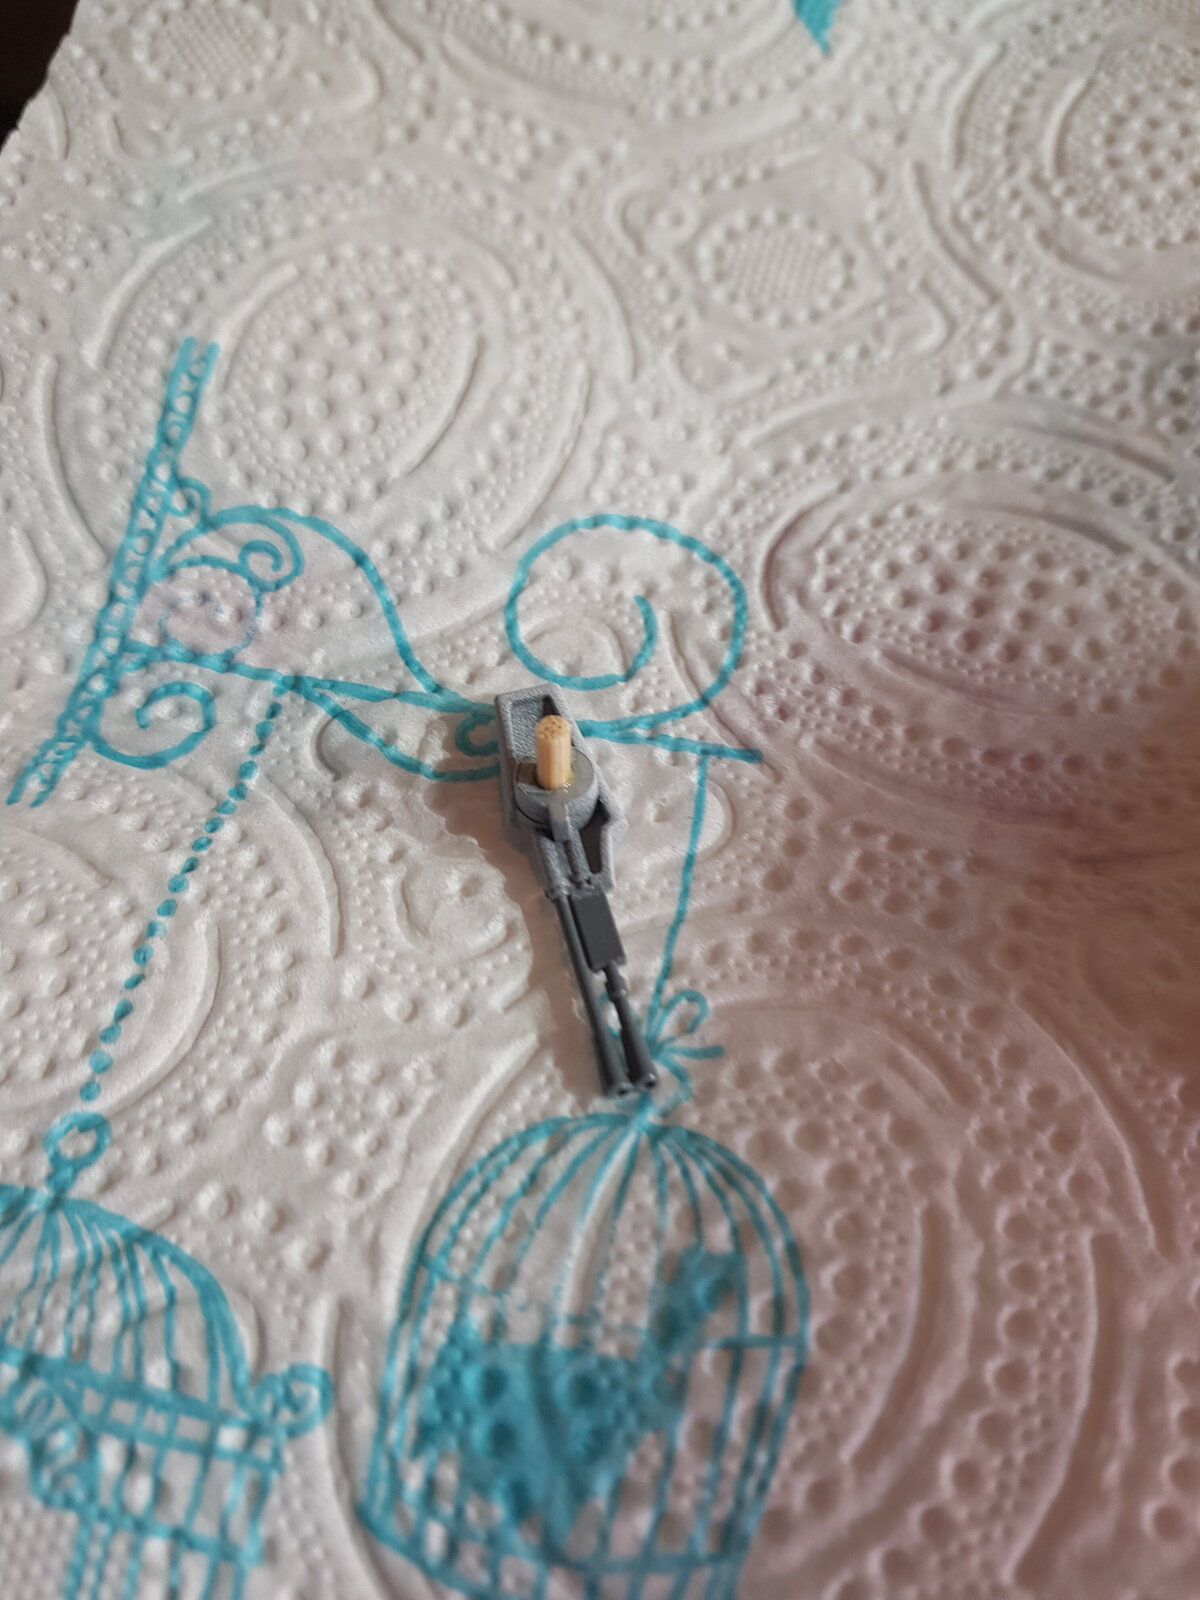
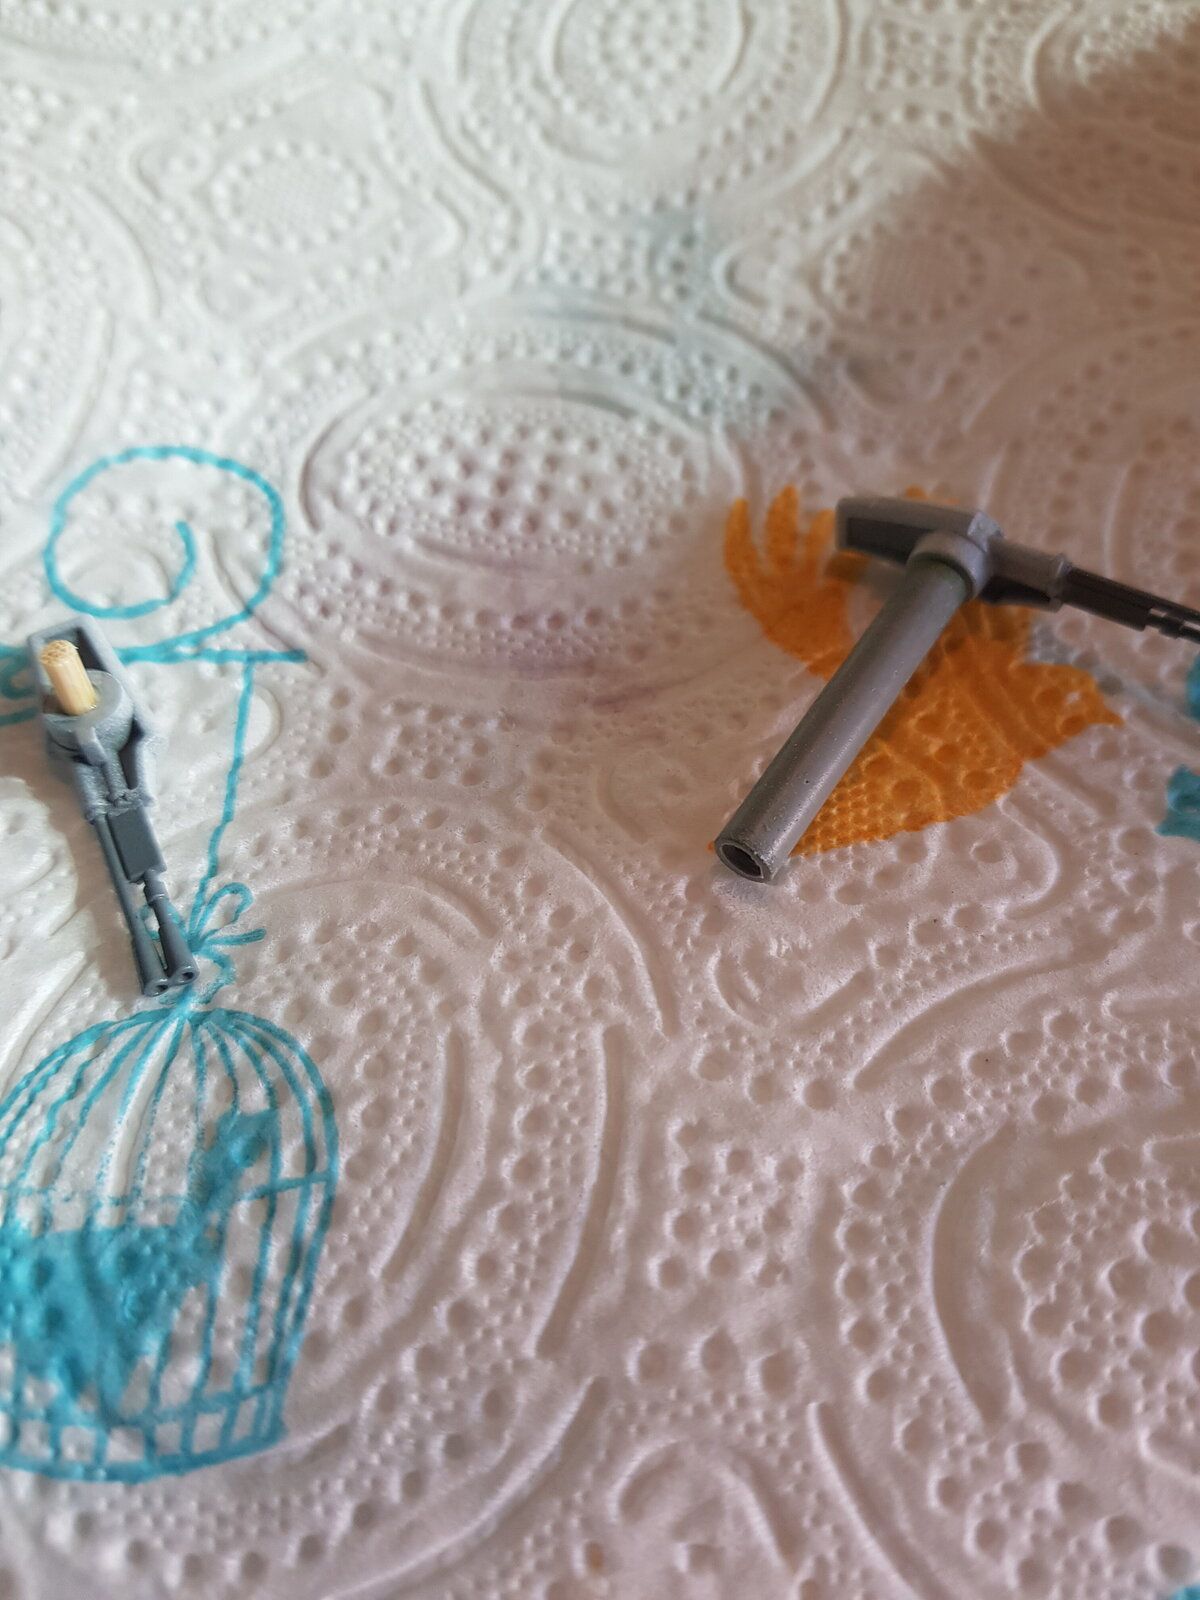
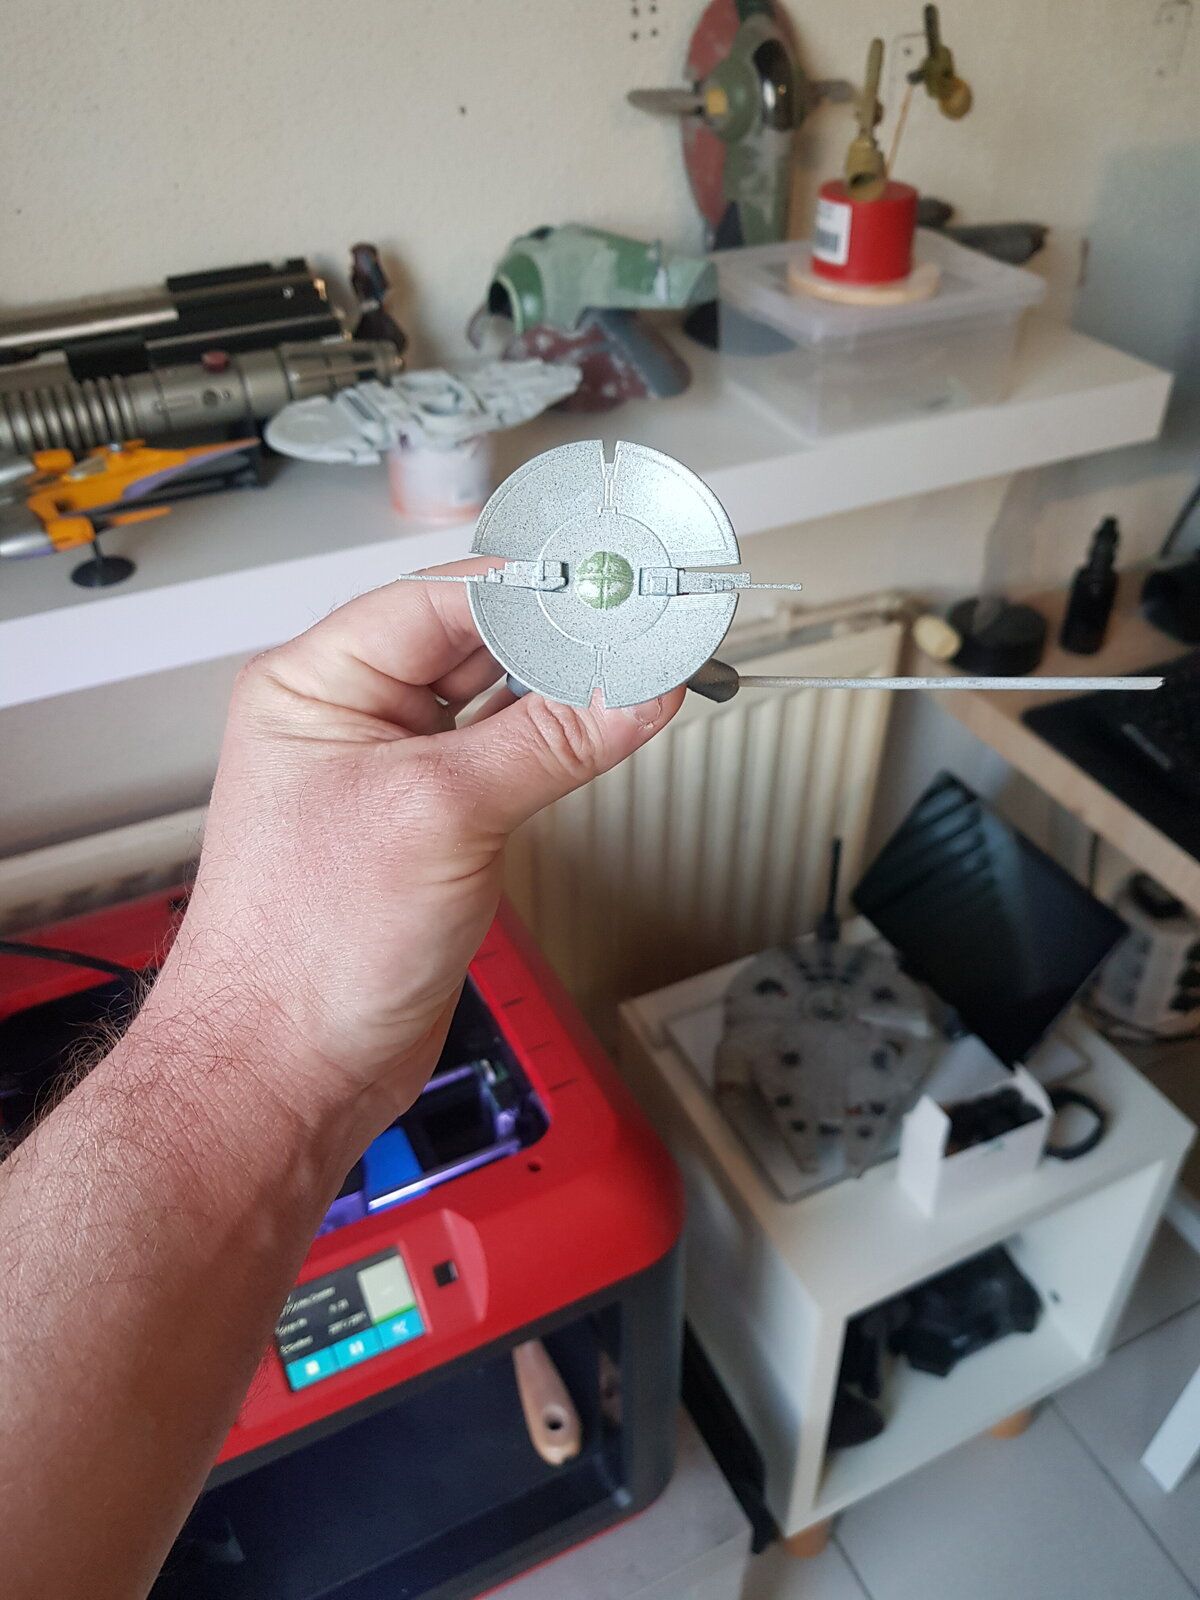
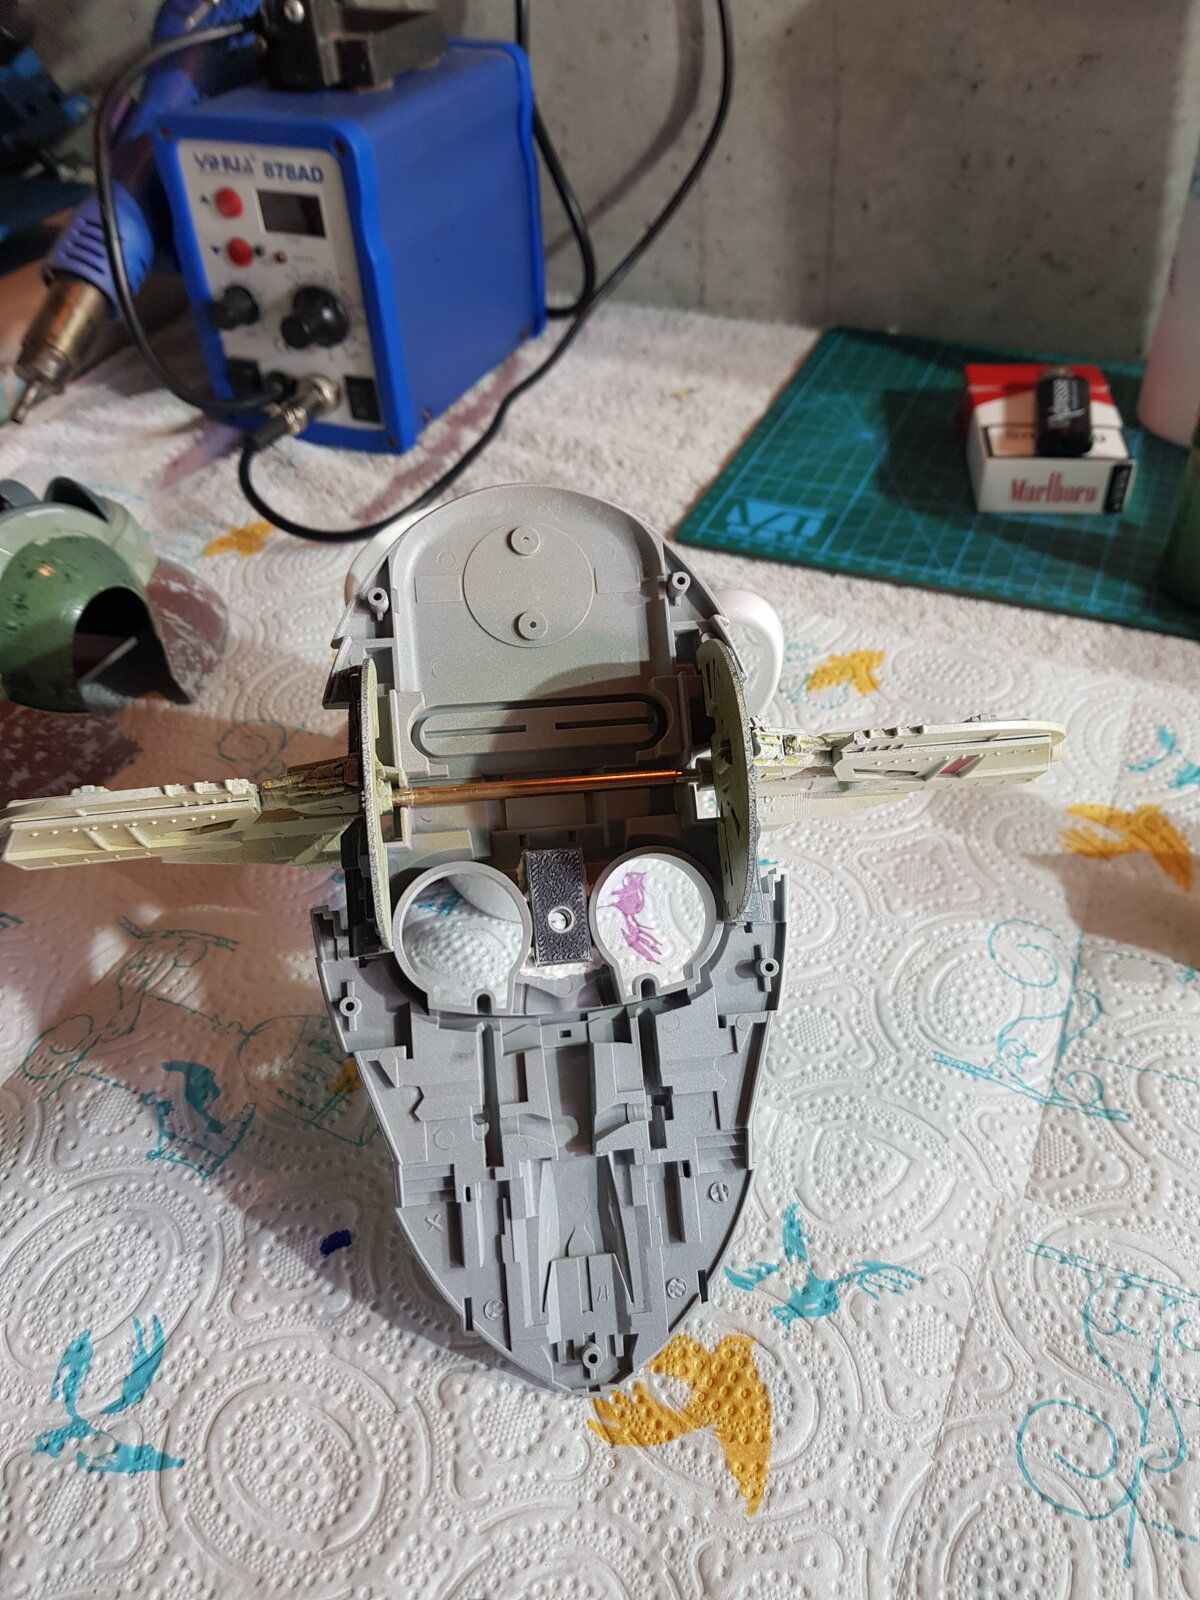
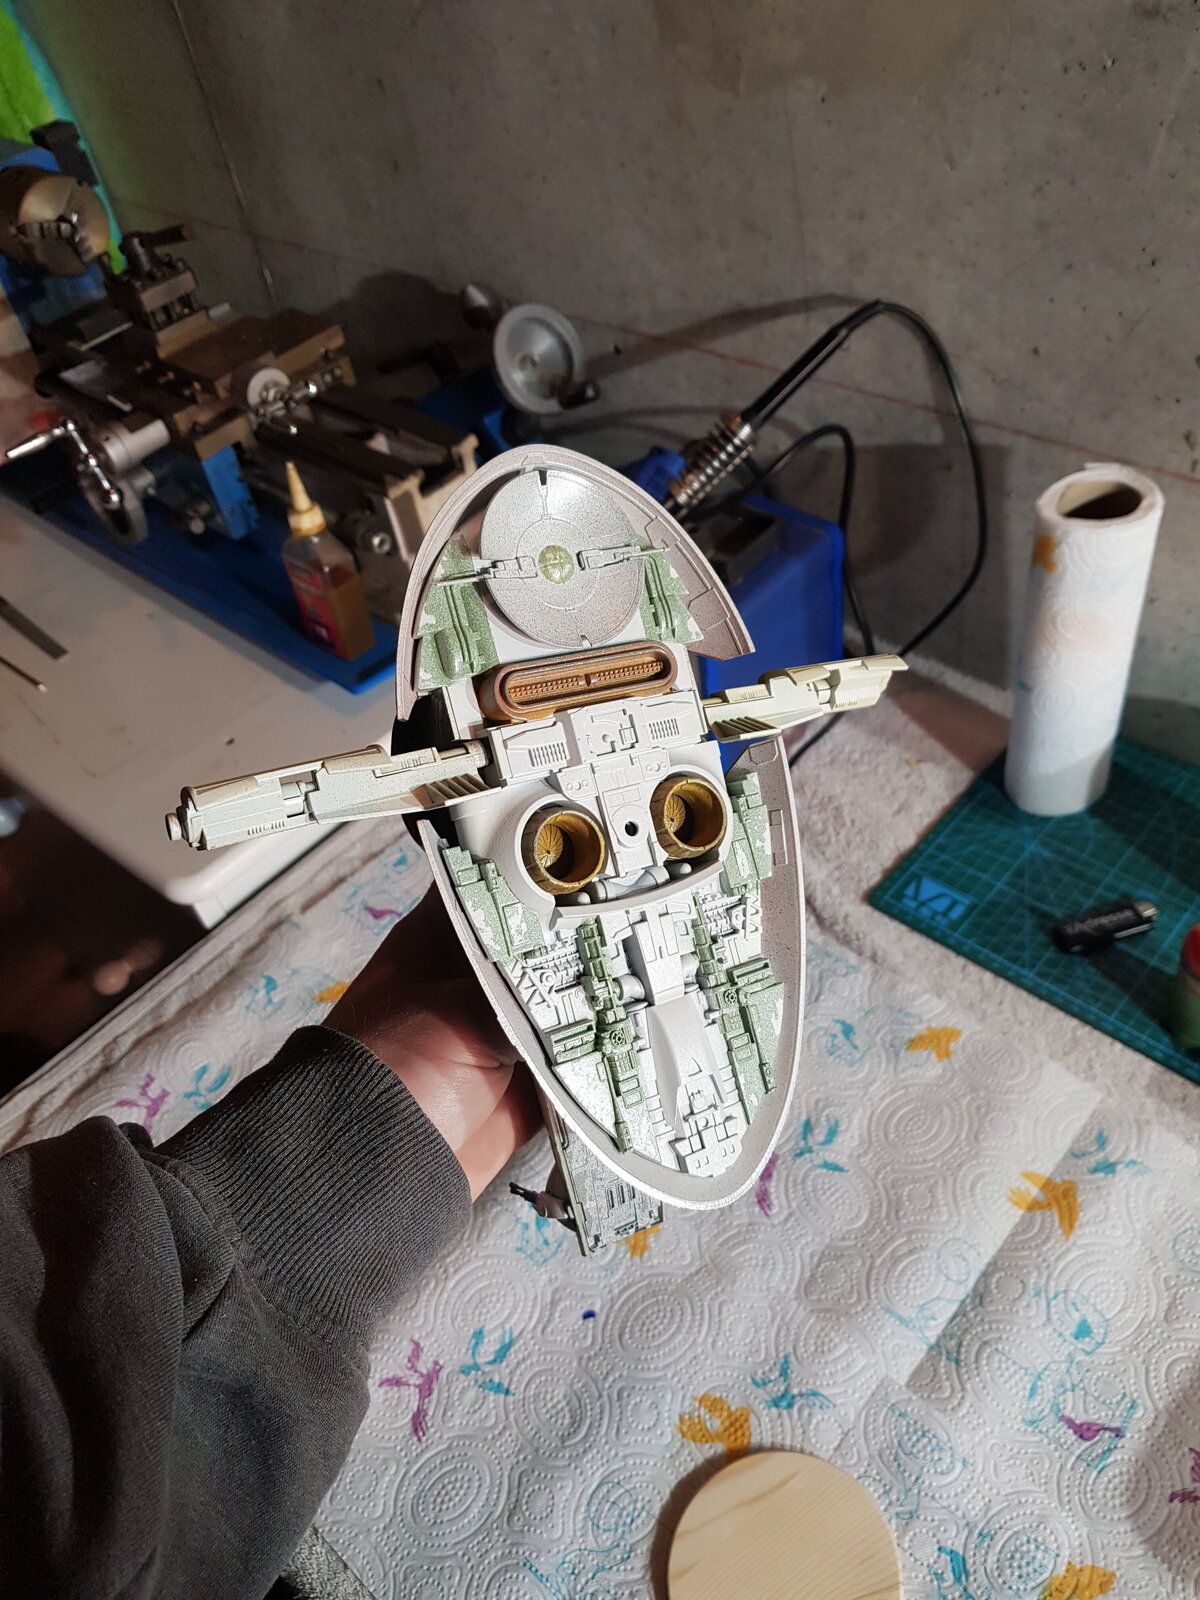
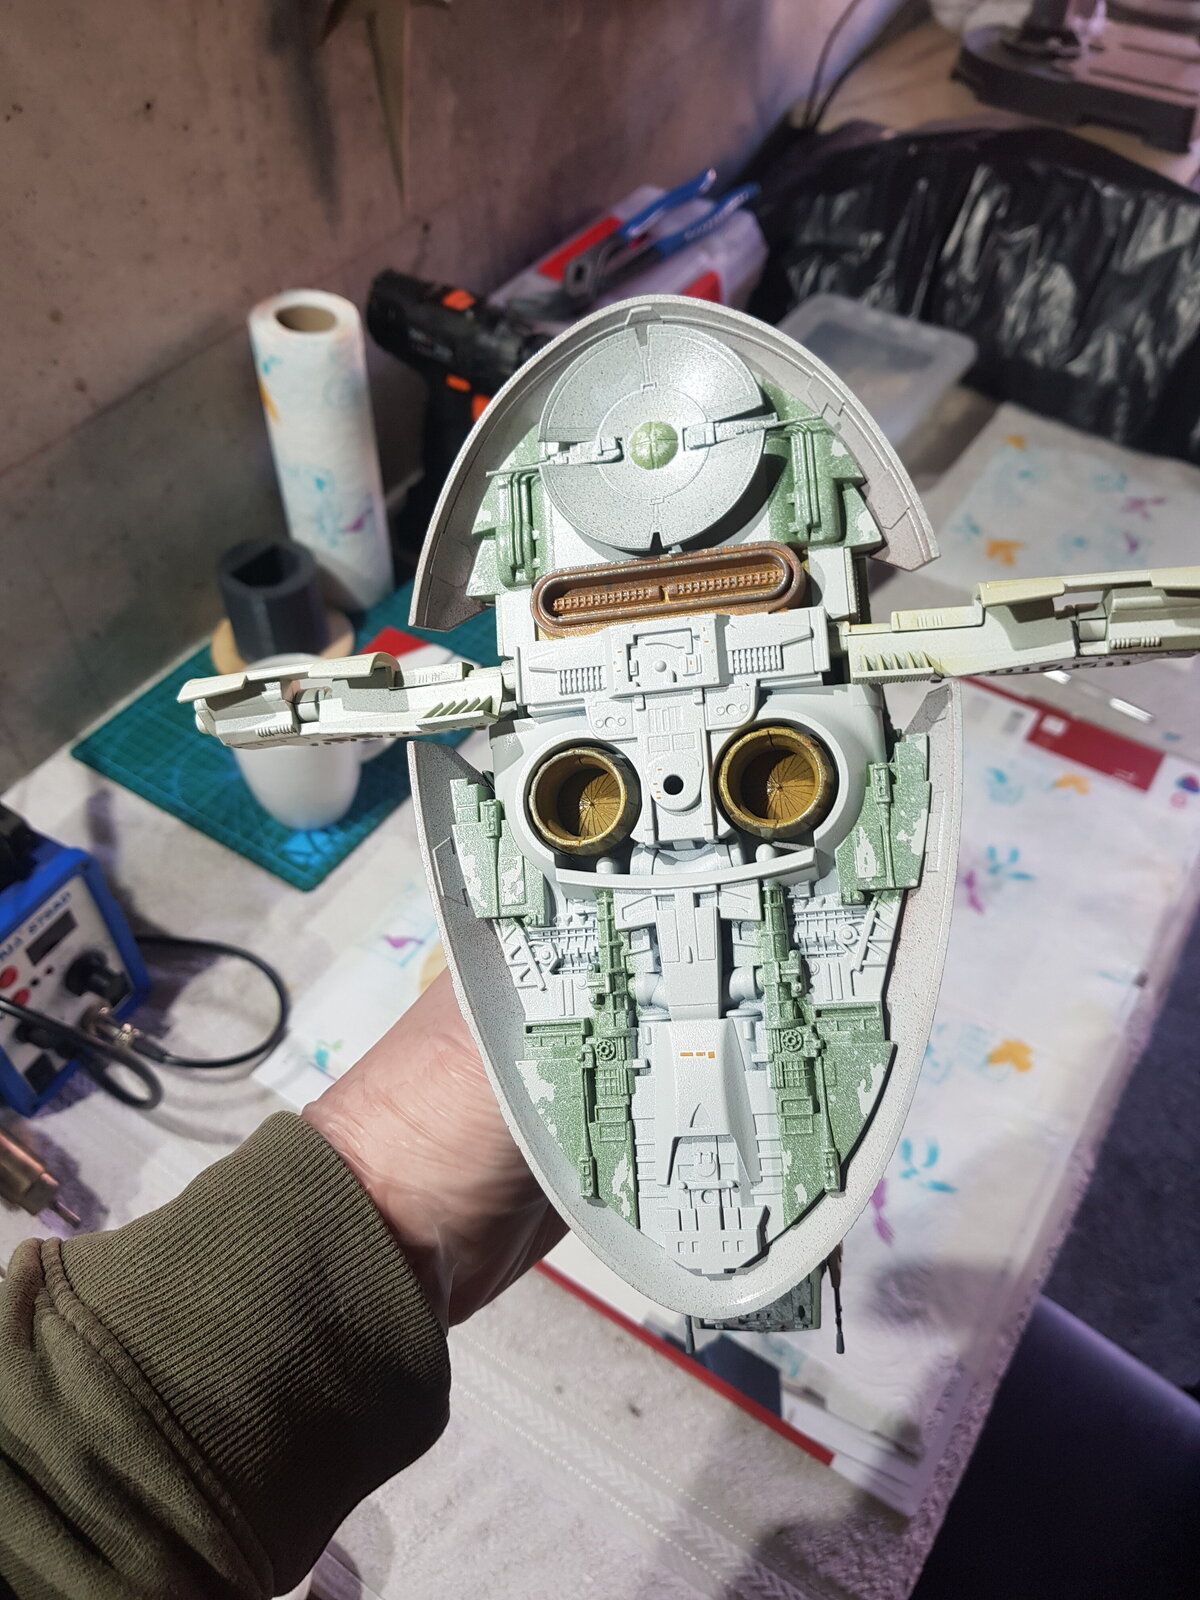
After I took a second look at what I can see of the motors I opted for a second look for it Printed in halves for easy instal.

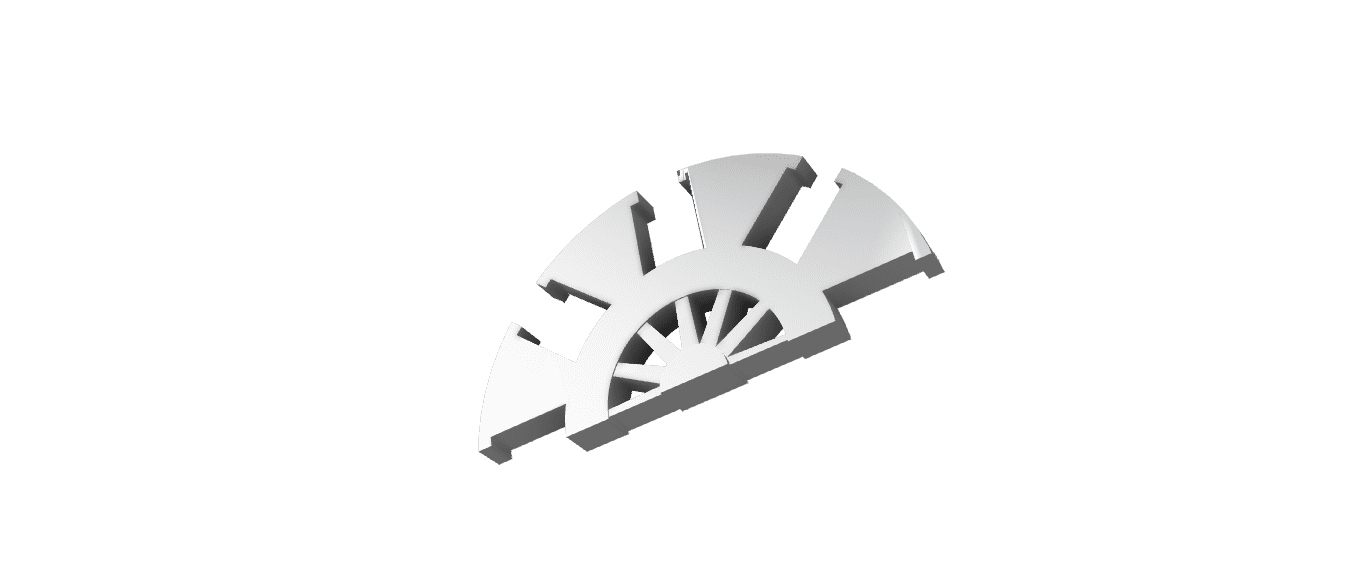
Again its inspired by not a replica by any mean
But now I am back
After looking at the diverse offerings for large "ish" scale Slave 1 I have settled on the Revell one.
The build will include the paint scheme seen in the Mandalorian and accuracy mods according to the show (mainly in the cockpit).
My kit is on the way so I will start on it soon.
Dont hesitate to join me and MTFBWYA
Ok now I need a nap, been up since yesterday morning working on this^^
and after that some test prints
And a fist test print for Boba pilot seat back rest, just of the pinter and went very well
Yes its very small^^ Can be scaled and fine tune when the kit arrivve
Will test print the nav chairs next
Nav chairs test print went well, will show you them once assembled and painted with the pilot chair / chairs too
After I took a second look at what I can see of the motors I opted for a second look for it
Printed in halves for easy instal.
Again its inspired by not a replica by any mean