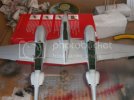
Revell 1/48 P-38J Lightning, NOOB WIP

Osquitz

New Member
Joined
Aug 5, 2012
Messages
77
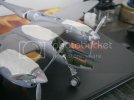
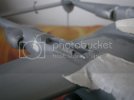
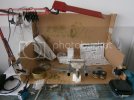
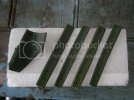
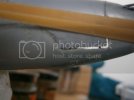
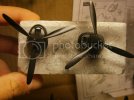
Hello guys, this is my first attempt to do a serious build, i have been following many of the builds on the forum and finally gained the strength to upload this build je je, all the comments and suggestions will always be welcome, in fact i am counting on some tips to improve my next build which will be a tamiya P-51D 1/48 Tuskegee Airmen.

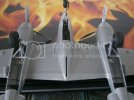
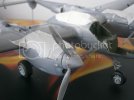
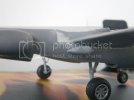
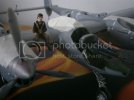
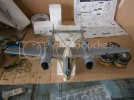
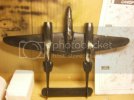
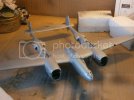
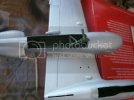
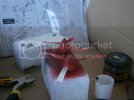
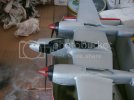
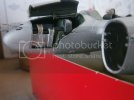
so here are some pictures of what I'm doing,
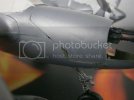
P9170148.jpg
P9170147.jpg
P9170146.jpg
P9170145.jpg
P9170144.jpg
P9170143.jpg
P9170142.jpg
P9170150.jpg

please consider that my painting skills are close to zero... je je

thanks for watching, ;D
Have fun !!
 
You're got some solid progress there!
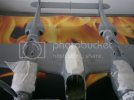
What are the white things on top of the engines? Tape?
Cheers!
 
hey ferris !, thats right some masking tape to hold the props in place, i'm not sure about putting that in there without painting the spinner and the propellers...
btw, i was just looking at the turbo superchargers that come with the kit and they look kinda funny.... the intake and the body look small when you put it in its socket.... I honestly don't know how to improve that....

thanks for stopping by !
have fun ;D
 
Hey mate


nice build !

nice solid start, keep it up mate ;D


cheer,


shane.
 
longlance67 said:
Hey mate
nice build !
nice solid start, keep it up mate ;D
cheer,
shane.

thanks a lot shane !! ill try to keep working on this and hopefully ill have something to show in a few days
have fun!
 
Osquitz said:
btw, i was just looking at the turbo superchargers that come with the kit and they look kinda funny.... the intake and the body look small when you put it in its socket.... I honestly don't know how to improve that....

I haven't gotten to that point. I'm held up on getting the canopy sorted out. :-\ Can you upload a pic of it sitting in the socket?
 
Good start on the P-38. :) I'll be following along.

I got to build one of these...
 
Coming on good ....Look forward to the Stang :)

Chris.
 
Hello again mates !! sorry, it's been a good couple of weeks since my last post.... (complicated weeks, me and my girlfriend lost our jobs at Pluna, the Flag carrier of Uruguay, the planes got sold to a charter company in Spain...)

well here is my small update, painted the gear bays along with all the nose compartment, it came out pretty decent.
I'm using tamiya paints, before that I tried with AV but I just could not get the paint to stick to the plastic....(perhaps i messed up at some point thinning it with water...)
right now I'm preparing to paint everything with black primer, I saw Ferris got excellent results by doing this so I'm going to follow that ;)

I also made some adjustments to my workbench in order to avoid being evicted by my lady jeje...
comments are always welcome, thanks for stopping by.
Have fun.


PA030312.jpg
PA030313.jpg
PA030314.jpg
PA030315.jpg
 
Hey! good to see ya back! Sorry to hear about your job.
Looks like you're making great progress. On the super chargers, i dropped mine in and there is a slight...bit of wiggle room with them. For me, it's acceptable, they look fine. I'm pretty sure that the fit from one of the newer releases by other manufacturers would look truer than Revell's, but as I said, they look fine. When i do the oil wash for the panel lines, that should help fill in the areas around the chargers (covering the aluminum in the recesses of the charger areas.
On the black, make sure it's gloss, makes the metallic look better. You could also, lay down a gloss clear coat on top of the black, it worked for me.
Keep up the great work!
Cheers!
 
hey ferris, thanks a lot for the tips !! i just finished painting it black ;) also put a layer of future on in to make it a little more shinny... as for the aluminum finish i had planned the aluminum from mr. metal color... truly awesome stuff, the only bad thing is once you applied it you need to scrub it with cotton or soft cloth to make it shine.
apart from that I'm pretty pretty shure that i will make a mess once i get to paint the spinners....

ill be sure to "paint before assembly first".
have fun
 
Nice progress, Osquitz! You should be pleased with your work, and looking forward to applying everything you learn on the next one (there's always a next one ;D ). This is a relatively tough kit, too, and I say that as an old-time Monogram fan. The weapons bay hatches don't fit well, they're really better left open to display the guns, there are some other areas that can be problems, but you've seen, you can still build it into a nice model. Looking forward to your next installment!
 
Hello again guys ! today I finally got some time to start the paint... still lot of work to do, many things to correct and plenty to improve ;D
comments and tips will always be welcome :) :)

have fun !!
here are some pictures of how far I'm at.
btw, sorry if some of the pictures are a bit blurry... ill try to upload better ones tomorrow or when the decals are on.

PA030314-1.jpg
PA030315-1.jpg
PA040316.jpg
PA040319.jpg
PA040320.jpg
PA040321.jpg
PA040328.jpg
PA040329.jpg
PA040330.jpg
PA040322.jpg
 

Latest posts

Back
Top