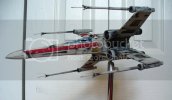
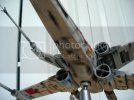
Red leader MPC X-wing

jake

Member
Joined
Feb 12, 2013
Messages
348
Hi, I've been working on this kit for a few weeks now and am getting close, or closer... to finally completing this thing. I wanted to make it look better than what the kit originally was so I searched and used a lot of what I found on the net as a guide to beef this sucker up! I have used (almost exclusively) the build up videos on YouTube made by Scott Girvan. Thank you Sir! I have incorporated many of his modifications to this kit and I have to say the difference is pretty cool. I thought I would take a break and show a little progress so here ya go. Thanks for looking.

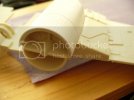
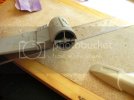
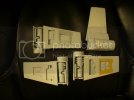
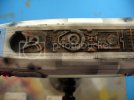
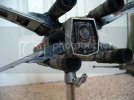
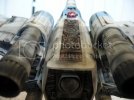
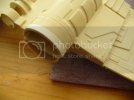
Beefing up the intakes
P1030618_zps731b3623.jpg
P1030620_zps677dcbc9.jpg
P1030628_zpsa9ce937f.jpg
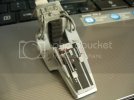
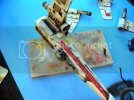
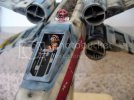
A little cockpit modification ;)
P1030637_zps1c8cc392.jpg
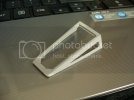
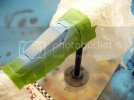
Styrene strip canopy
P1030640_zpsdbe50bcf.jpg
Scott's fuselage mod. (flatter bottom instead of that crazy lump)
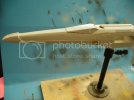
P1030645_zps81578635.jpg
 
Great start there Jake. Nice touch adding the round exhaust tubes....who knows what they're really for.....on to the fuselage beneath the cockpit. Yes it's an old kit with a lot of missing detail and inaccuracies but just rip in to it. And that's as great a cockpit as I've ever seen on this kit so good for you. Keep up the good work. You lighting her?
 
Thanks for the compliments. Yeah after looking closely I realizes there are 5 exhaust ports not 4! :-[. But what the hey. I'm not going to light this one. I lose patients with that sort of thing. Its a wonder I ever finish a model these days ;D
 
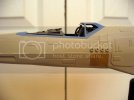
Got some paint going. I used Tamiya AS20 Insignia white. I think for my next X I will go with a plain flat white. For the cock pit canopy I used craft smart acrylic sailing sky blue through an airbrush.
P1030644_zps610e9fc0.jpg
P1030647_zpsc5f6fe88.jpg
P1030654_zps2de5d5f7.jpg
 
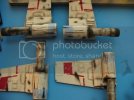
Started some weathering with my very very sofffttt pastels. I think I may have started out too heavy.
P1030655_zpse701880c.jpg
But... I like them dirty!
P1030657_zps3557cc36.jpg
 
Hoping it looks close to the studio model. I guess I'm just heavy handed ;D But when I get started its game on! I just cant seem to "lightly weather" anything. I honestly did start this off with that intent. I was gong to use the forward "new" panel on Red 1 as the focal point and lightly weather the rest but in the end I guess its going to be a greasy beast..... Thanks guys for your support!
 
Eh, might be a touch heavy on the blast points but heck this is Star Wars. Star Wars kits look great filthy. Maybe try a wash to bring out those panel lines. Looking sharp keep it up!
 
Gluing on the wings with some CA gel. Need to start working on a pilot, astromech and the blaster cannons. Oh, I need to work on a base too.
P1030665_zps194c6ec9.jpg
P1030667_zps3148432e.jpg
 
Weathering may be heavy but it looks damn cool. You know if you clear coat the model you can always go in and knock down the darkness with a misting of your basecoat color, thinned down of course. That would tone down the black and make the rest of the build pop. Would be hell on the red, yellow, and blue markings but you could mask them to protect them too.
 
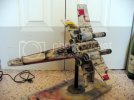
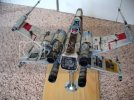
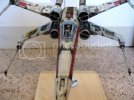
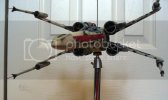
Ahhh feels good to be finished with this X-Wing. Thanks to Scott for all his tips and tricks to make this old MPC kit snap to attention!

P1030687_zpsda3fda2e.jpg
P1030682_zpsd7d06ec5.jpg
P1030681_zps1378f538.jpg
P1030677_zpsecac8392.jpg
P1030674_zps6861e885.jpg
P1030673_zpsa27e9764.jpg
P1030688_zps69088205.jpg
P1030692_zpse14674db.jpg
 
You've done a really great job on this. I really like the look you achieved.
 
Scott Girvan said:
You've done a really great job on this. I really like the look you achieved.

It wouldn't look at all like this without your cool videos. Thanks again man!
 

Latest posts

Back
Top