Pavesi P4-100 Gun tractor 2025-06

Scale Model Addict - Model Tips, Guides, Tools & Tech, Tutorials, and Community

Help Support Scale Model Addict:

BarleyBop

Well-Known Member
Glue Member
Joined
Sep 4, 2022
Messages
5,412
City & State/Province
Ottawa, Canada
...so, I'm still reading up and preparing for the Scammell Pioneer; what can I build in the meantime?
Back to my Italian collection; did you really think I would just abandon them in the desert?
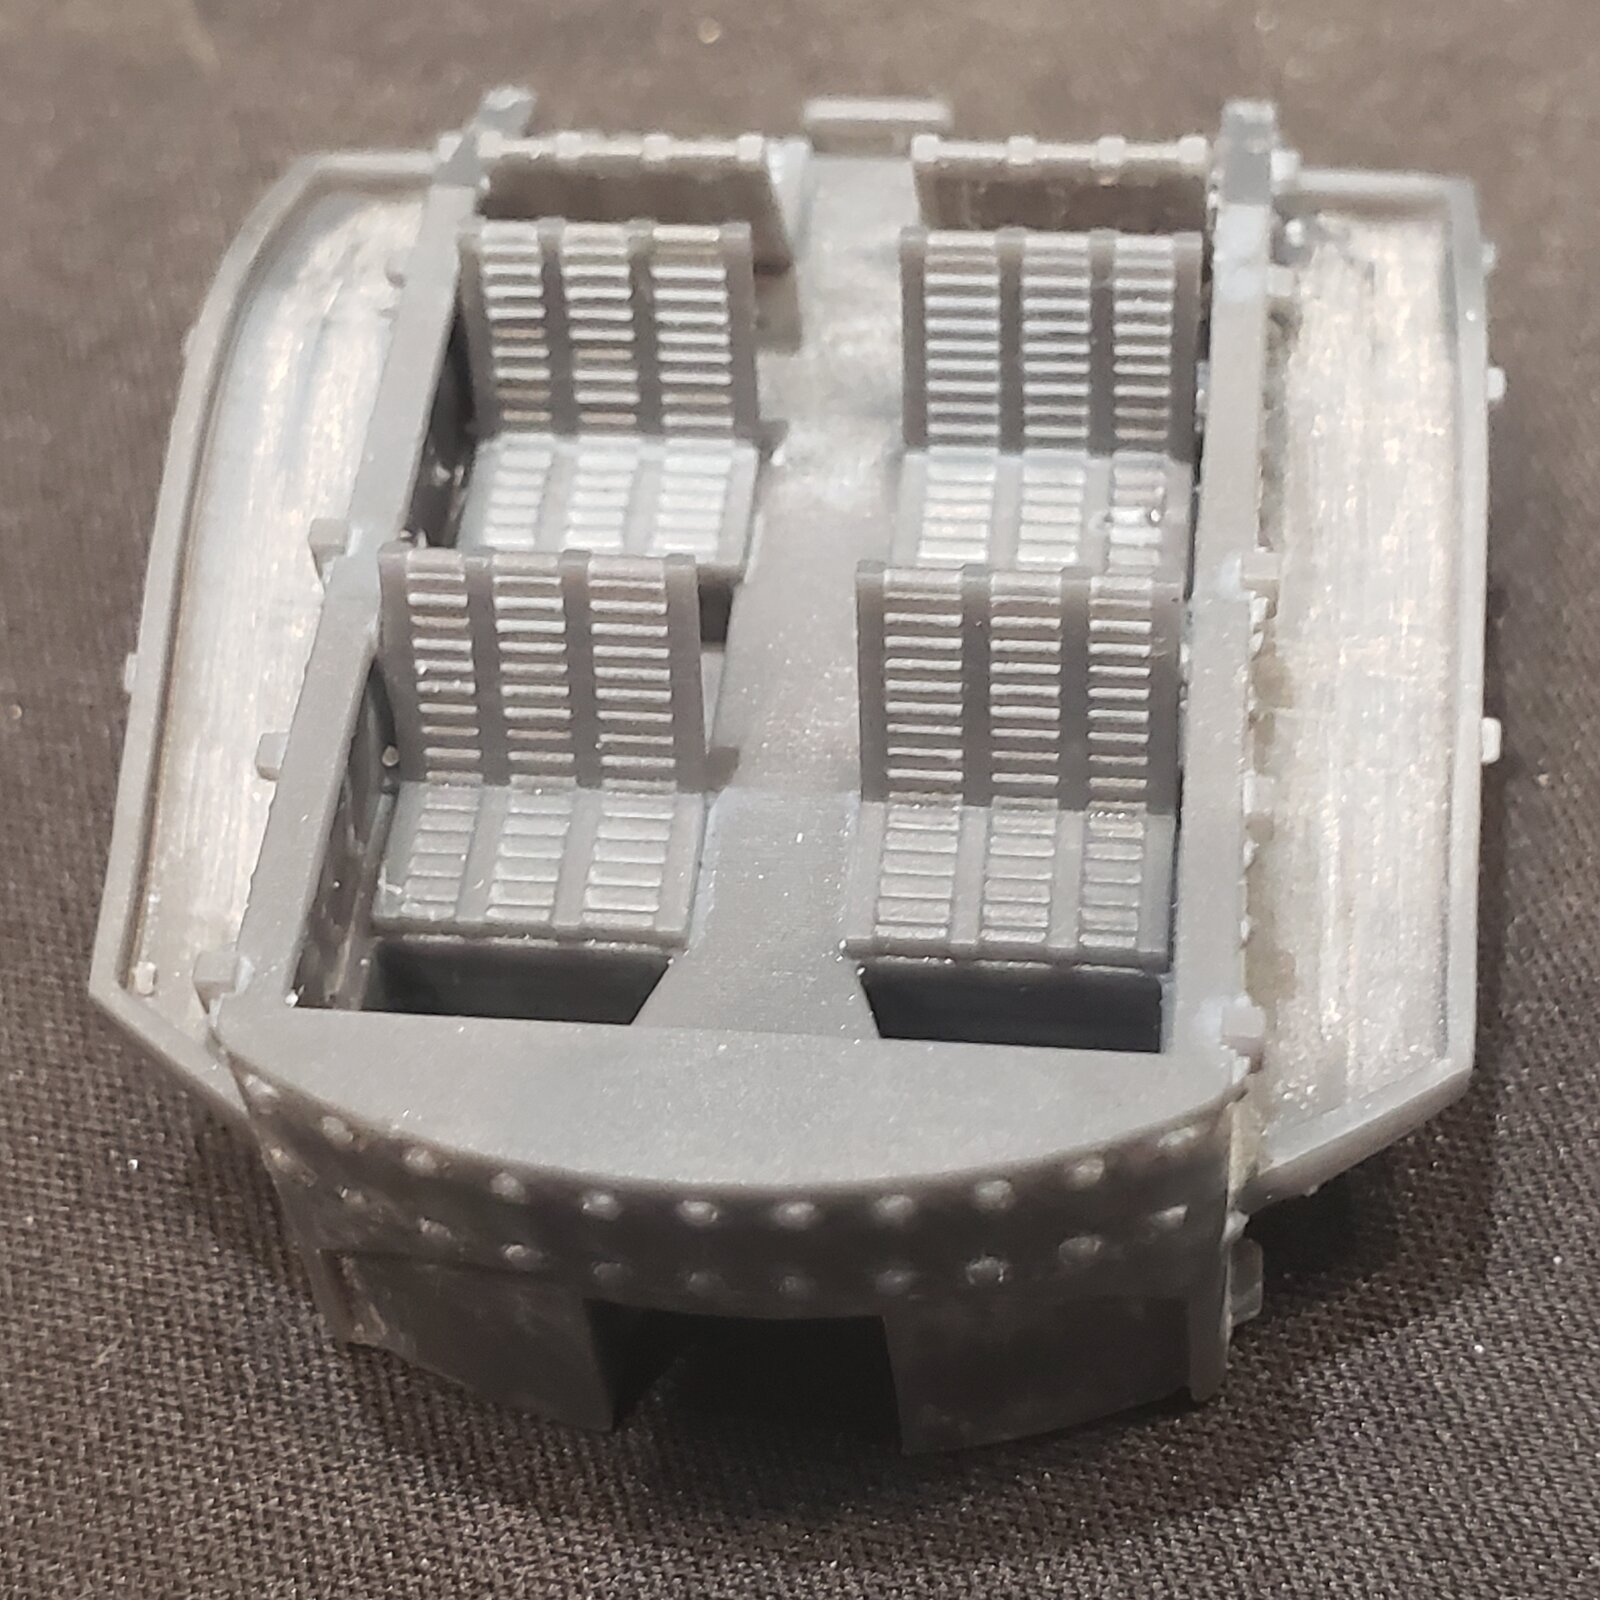
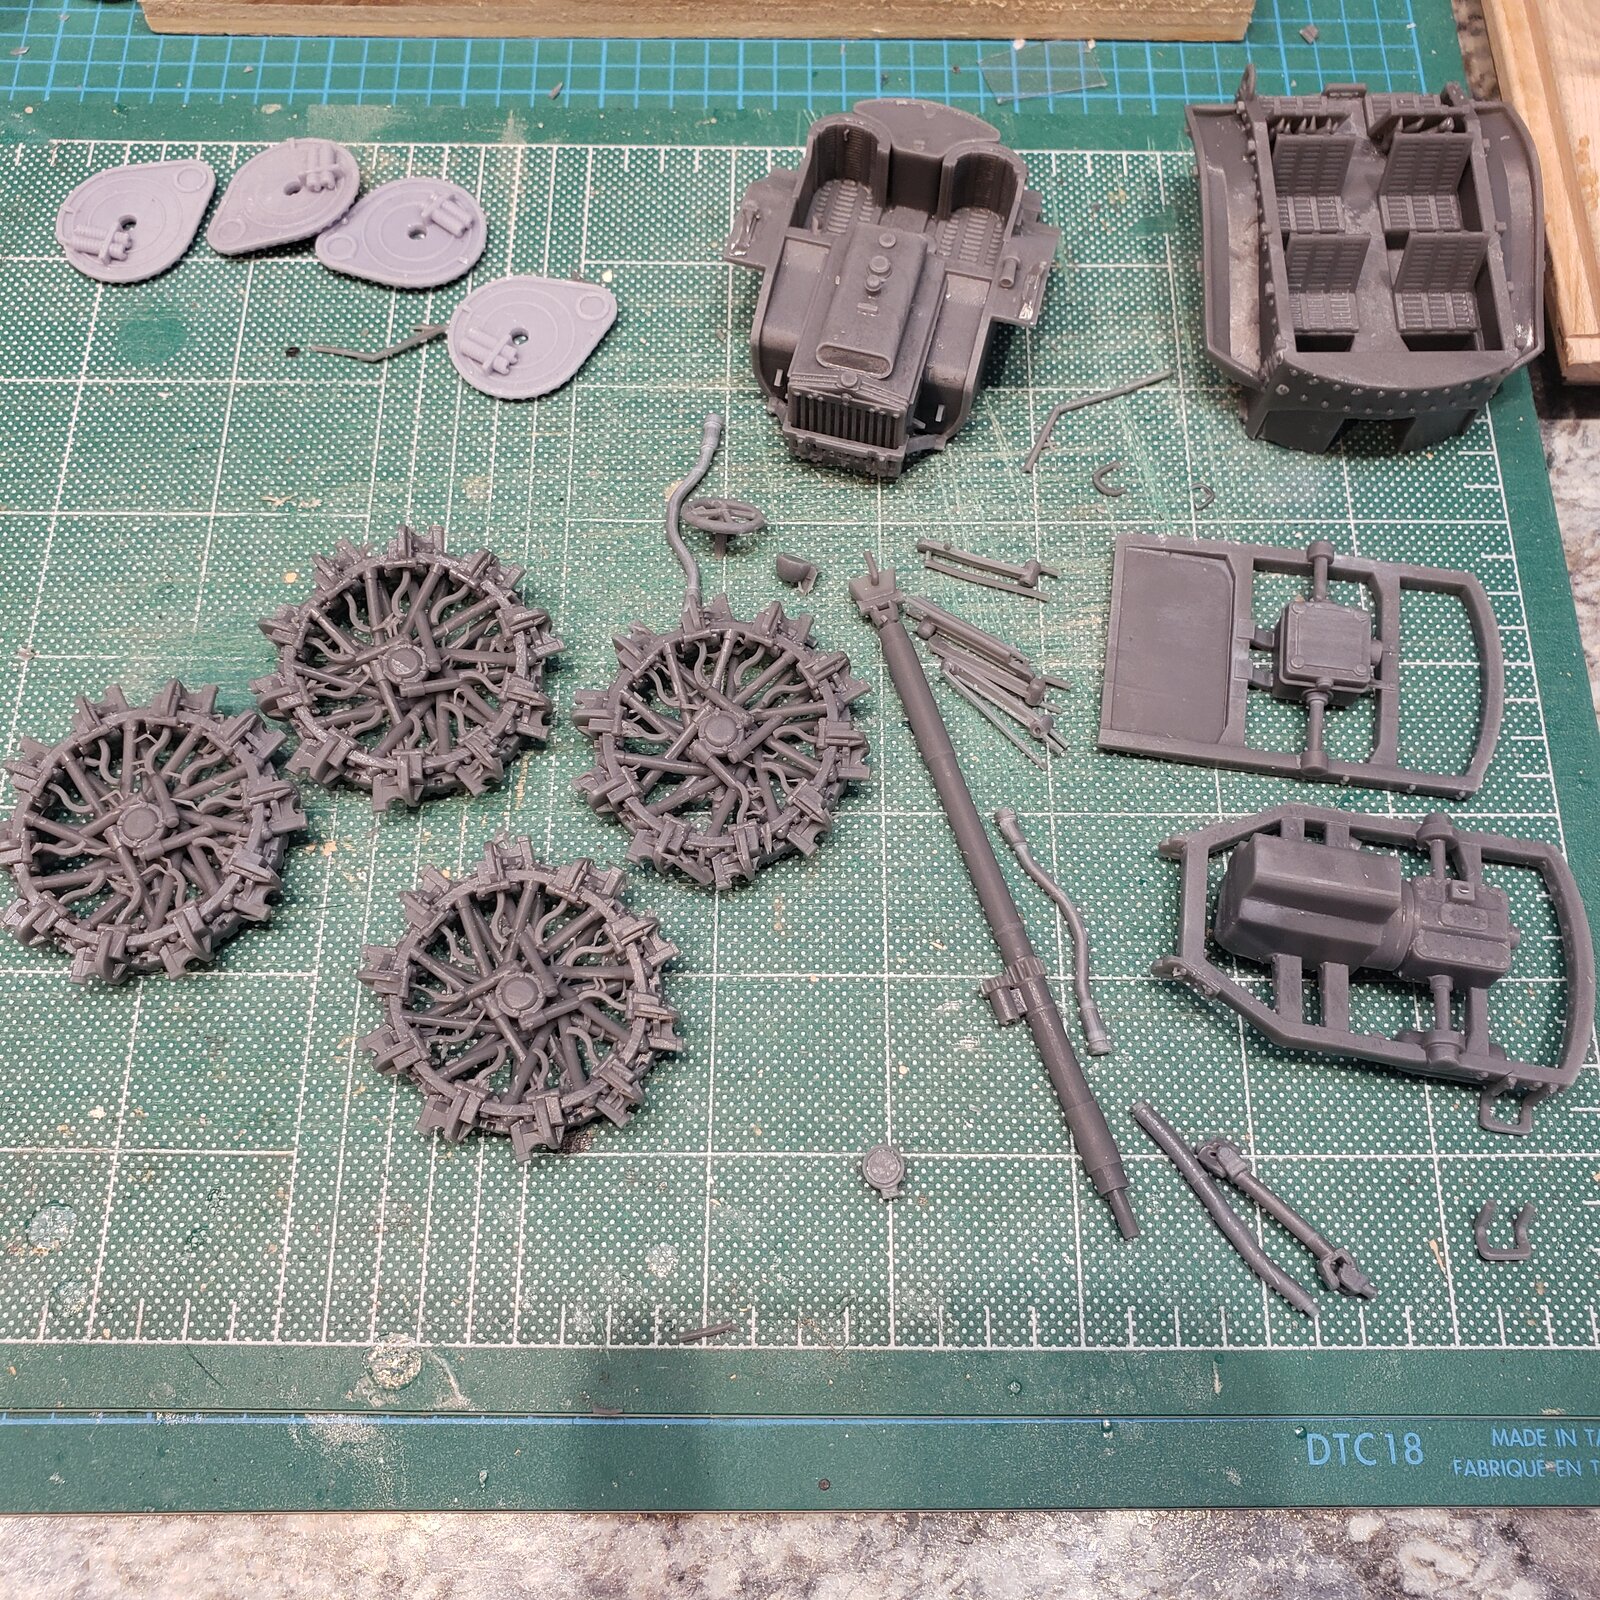
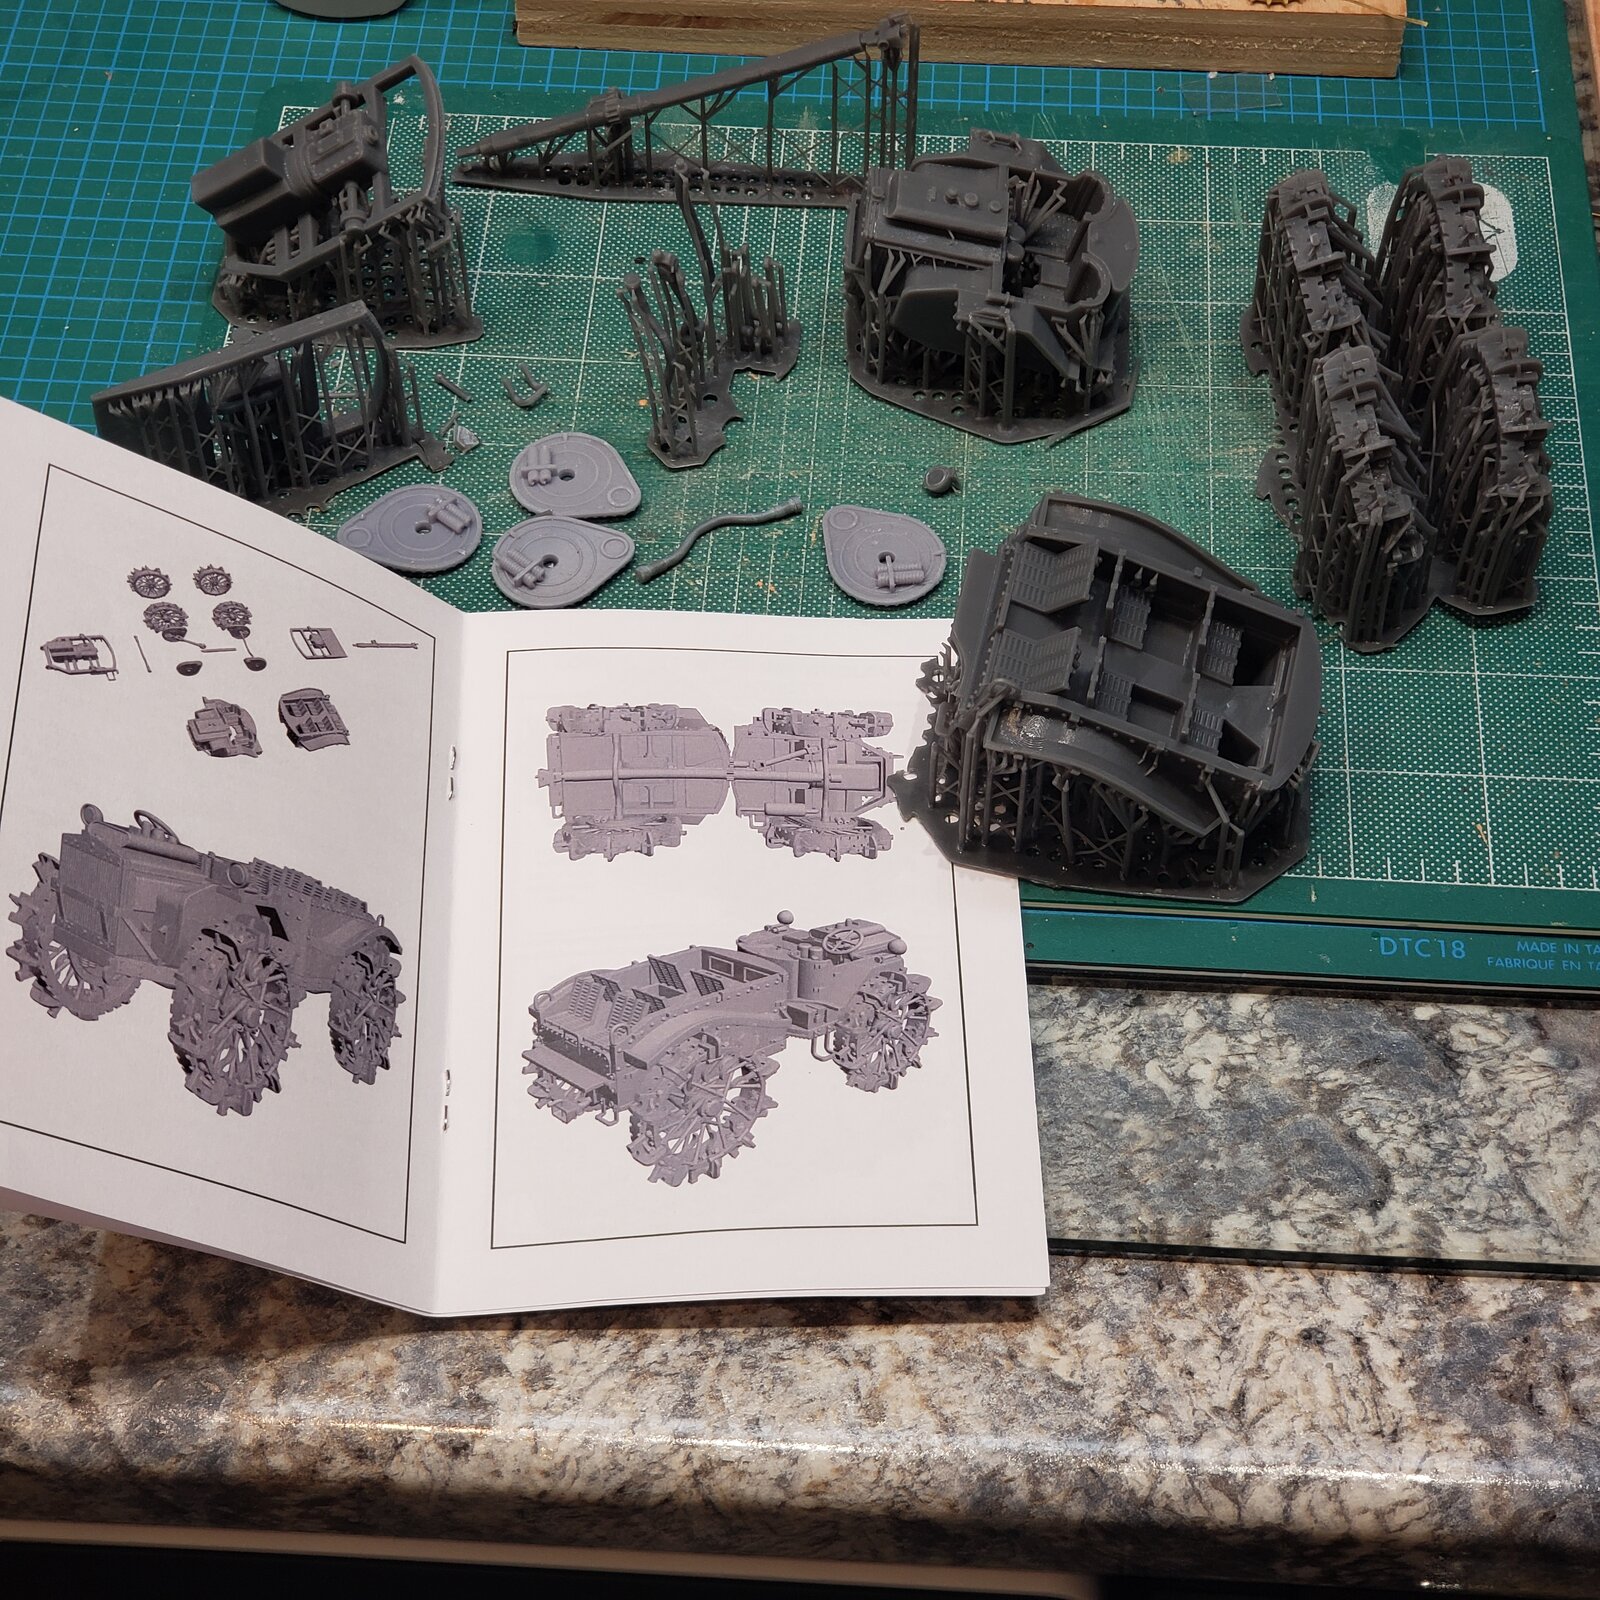
This is a different build for me, my first all 3D printed kit.
17488098103526679684212593315028.jpg

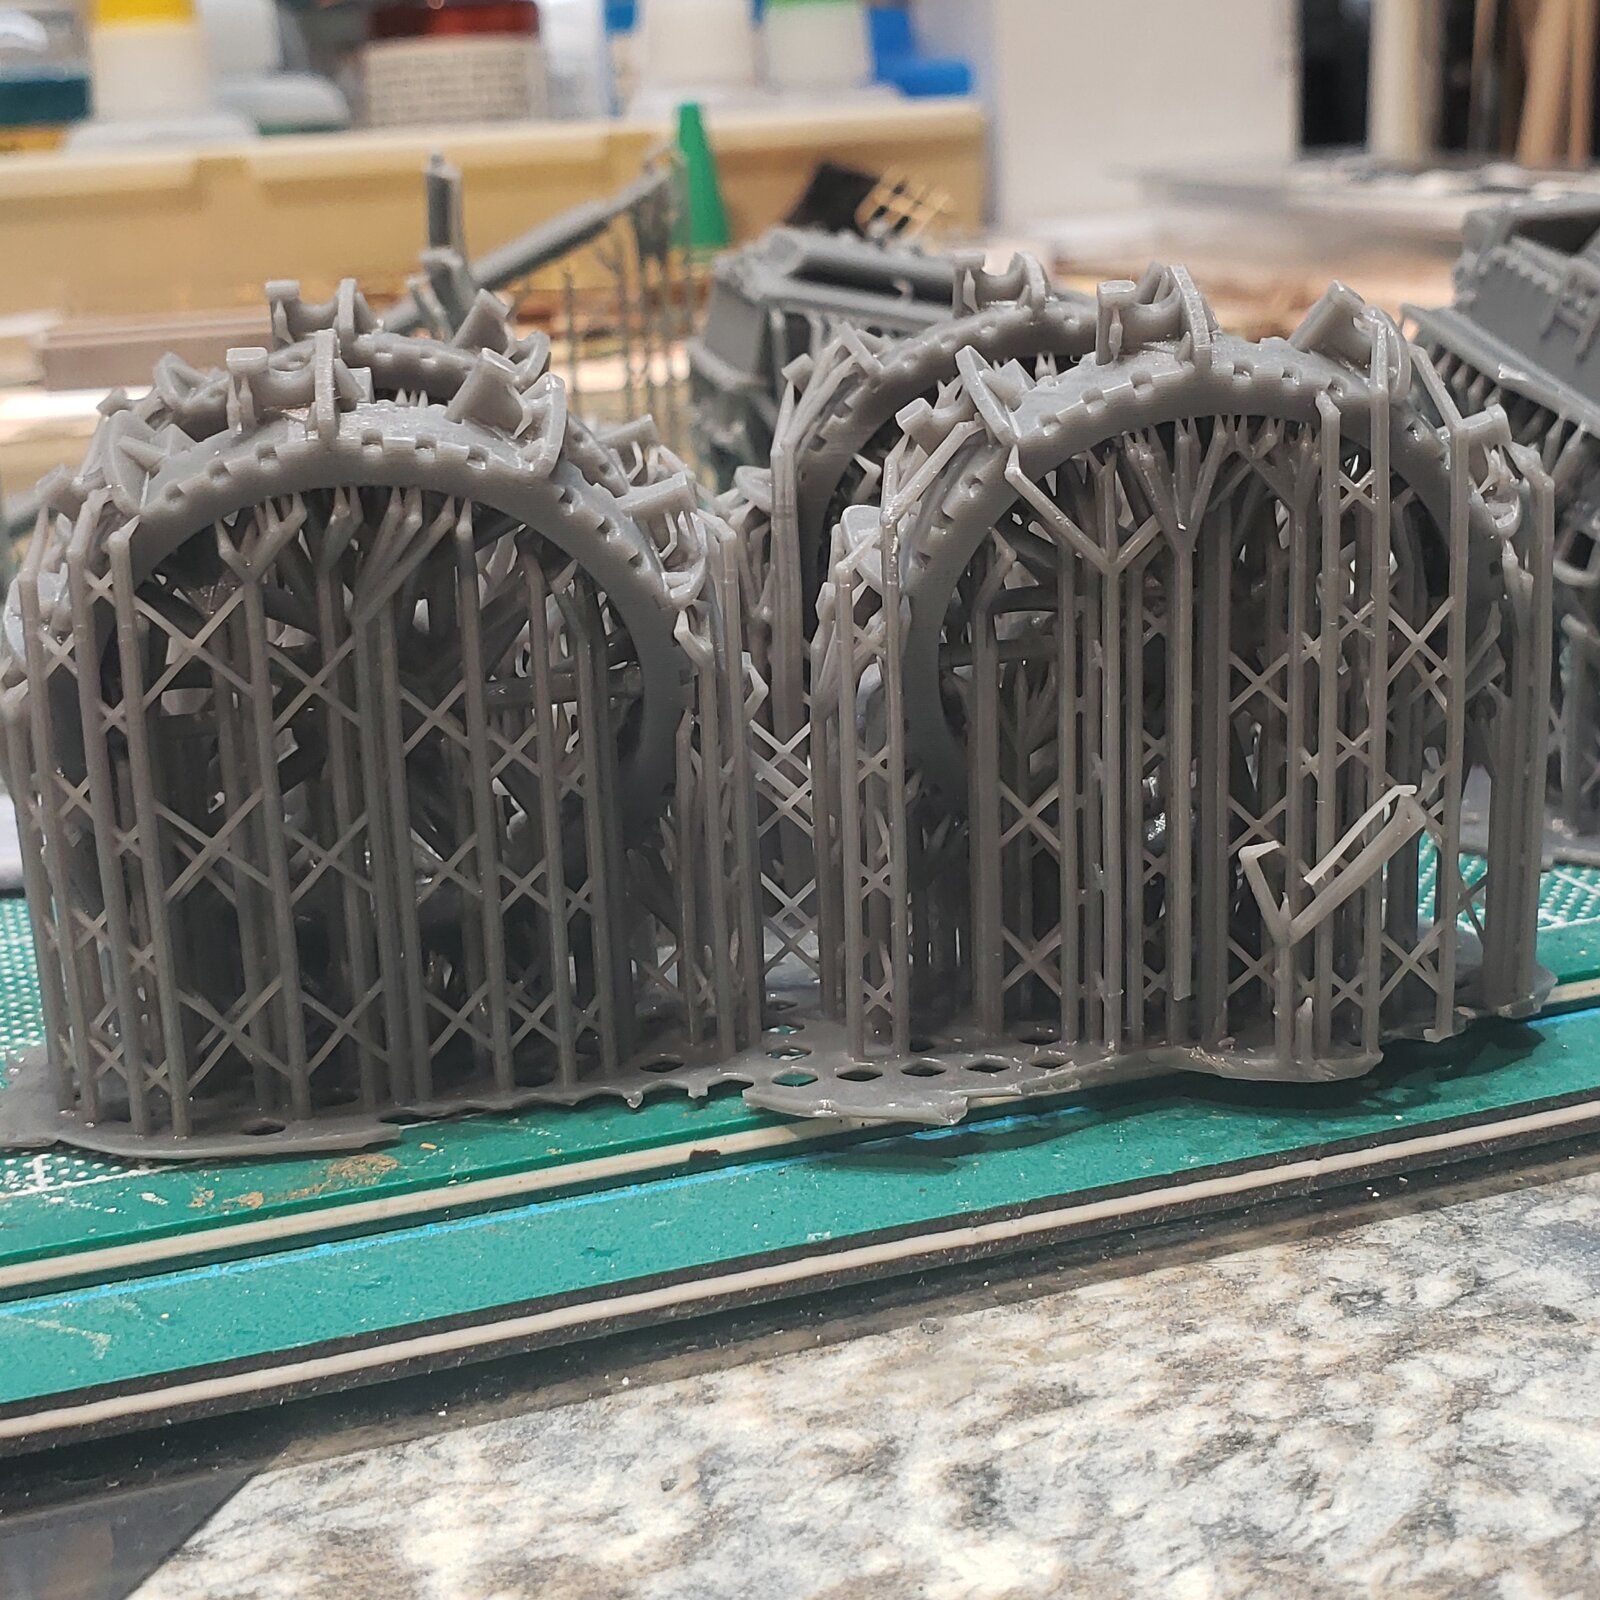
No sprues, just a forrest if supports sprouting from bases, with a limited number of parts that will need to be liberated.
The entirety of the instructions are visible in the photo: that's it!
So I'm thinking this one is going to be mostly about the paint. Perfect!
 
Interesting model.
The only 3D printed stuff I dealt with is aftermarket accessories from AFV Modeler. Great details from the 3D stuff, but their products are brittle. Be very careful separating the smaller / thin parts from the bases, easy to break the part itself.
Looking forward to following along with your build.
 
Thanks for the heads up @kevin !

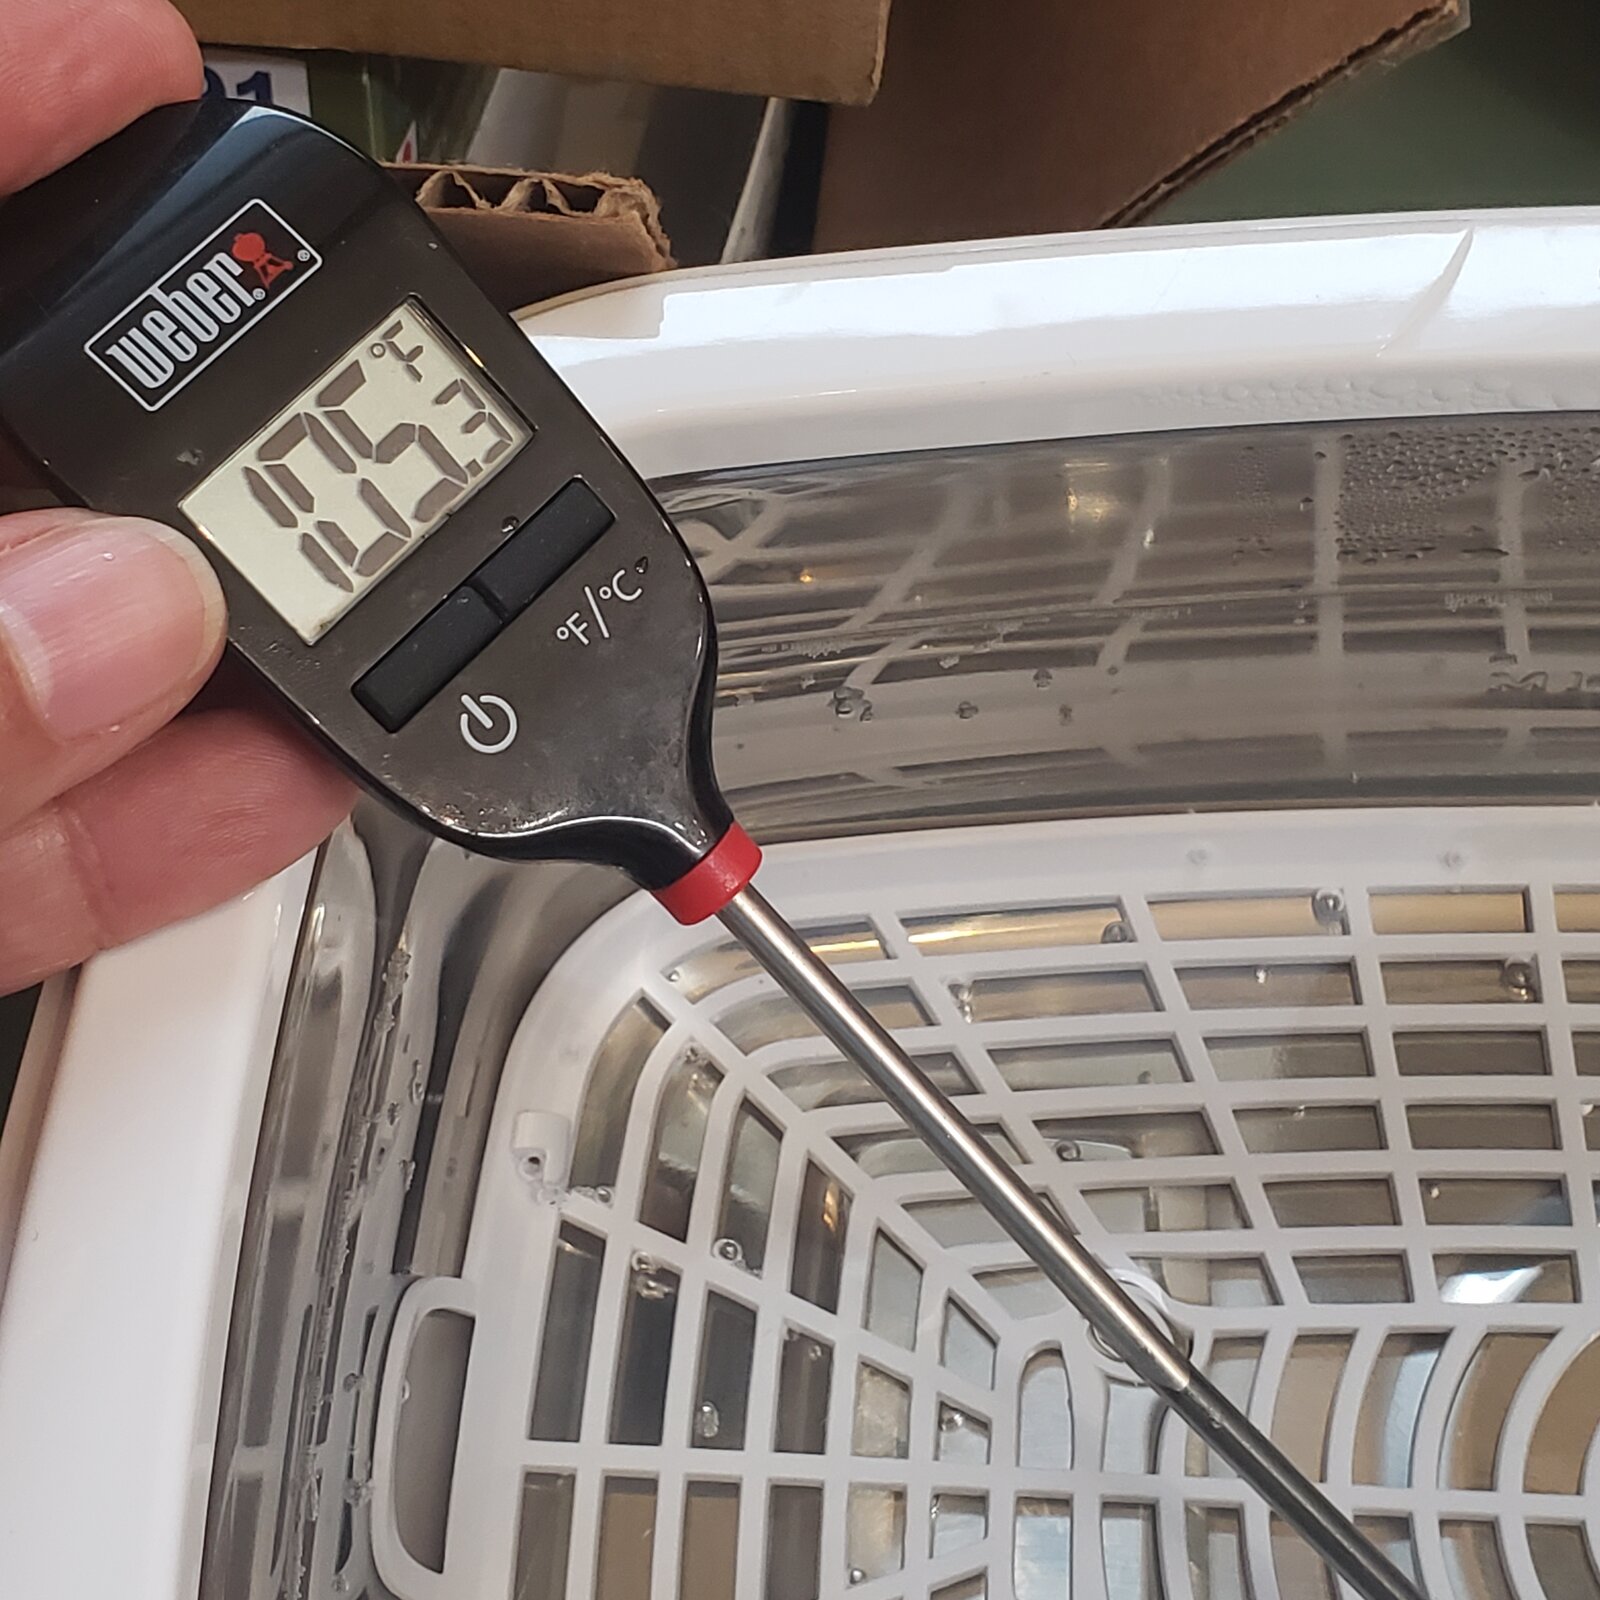
After a little investigation, it would seem that applying controlled heat can noticeably speed up and facilitate the removal of all those supports: key word being controlled. Ideally somewhere between 105 and 110 according to Mr Googles.

My bench hair dryer a bit too unruly for the job.
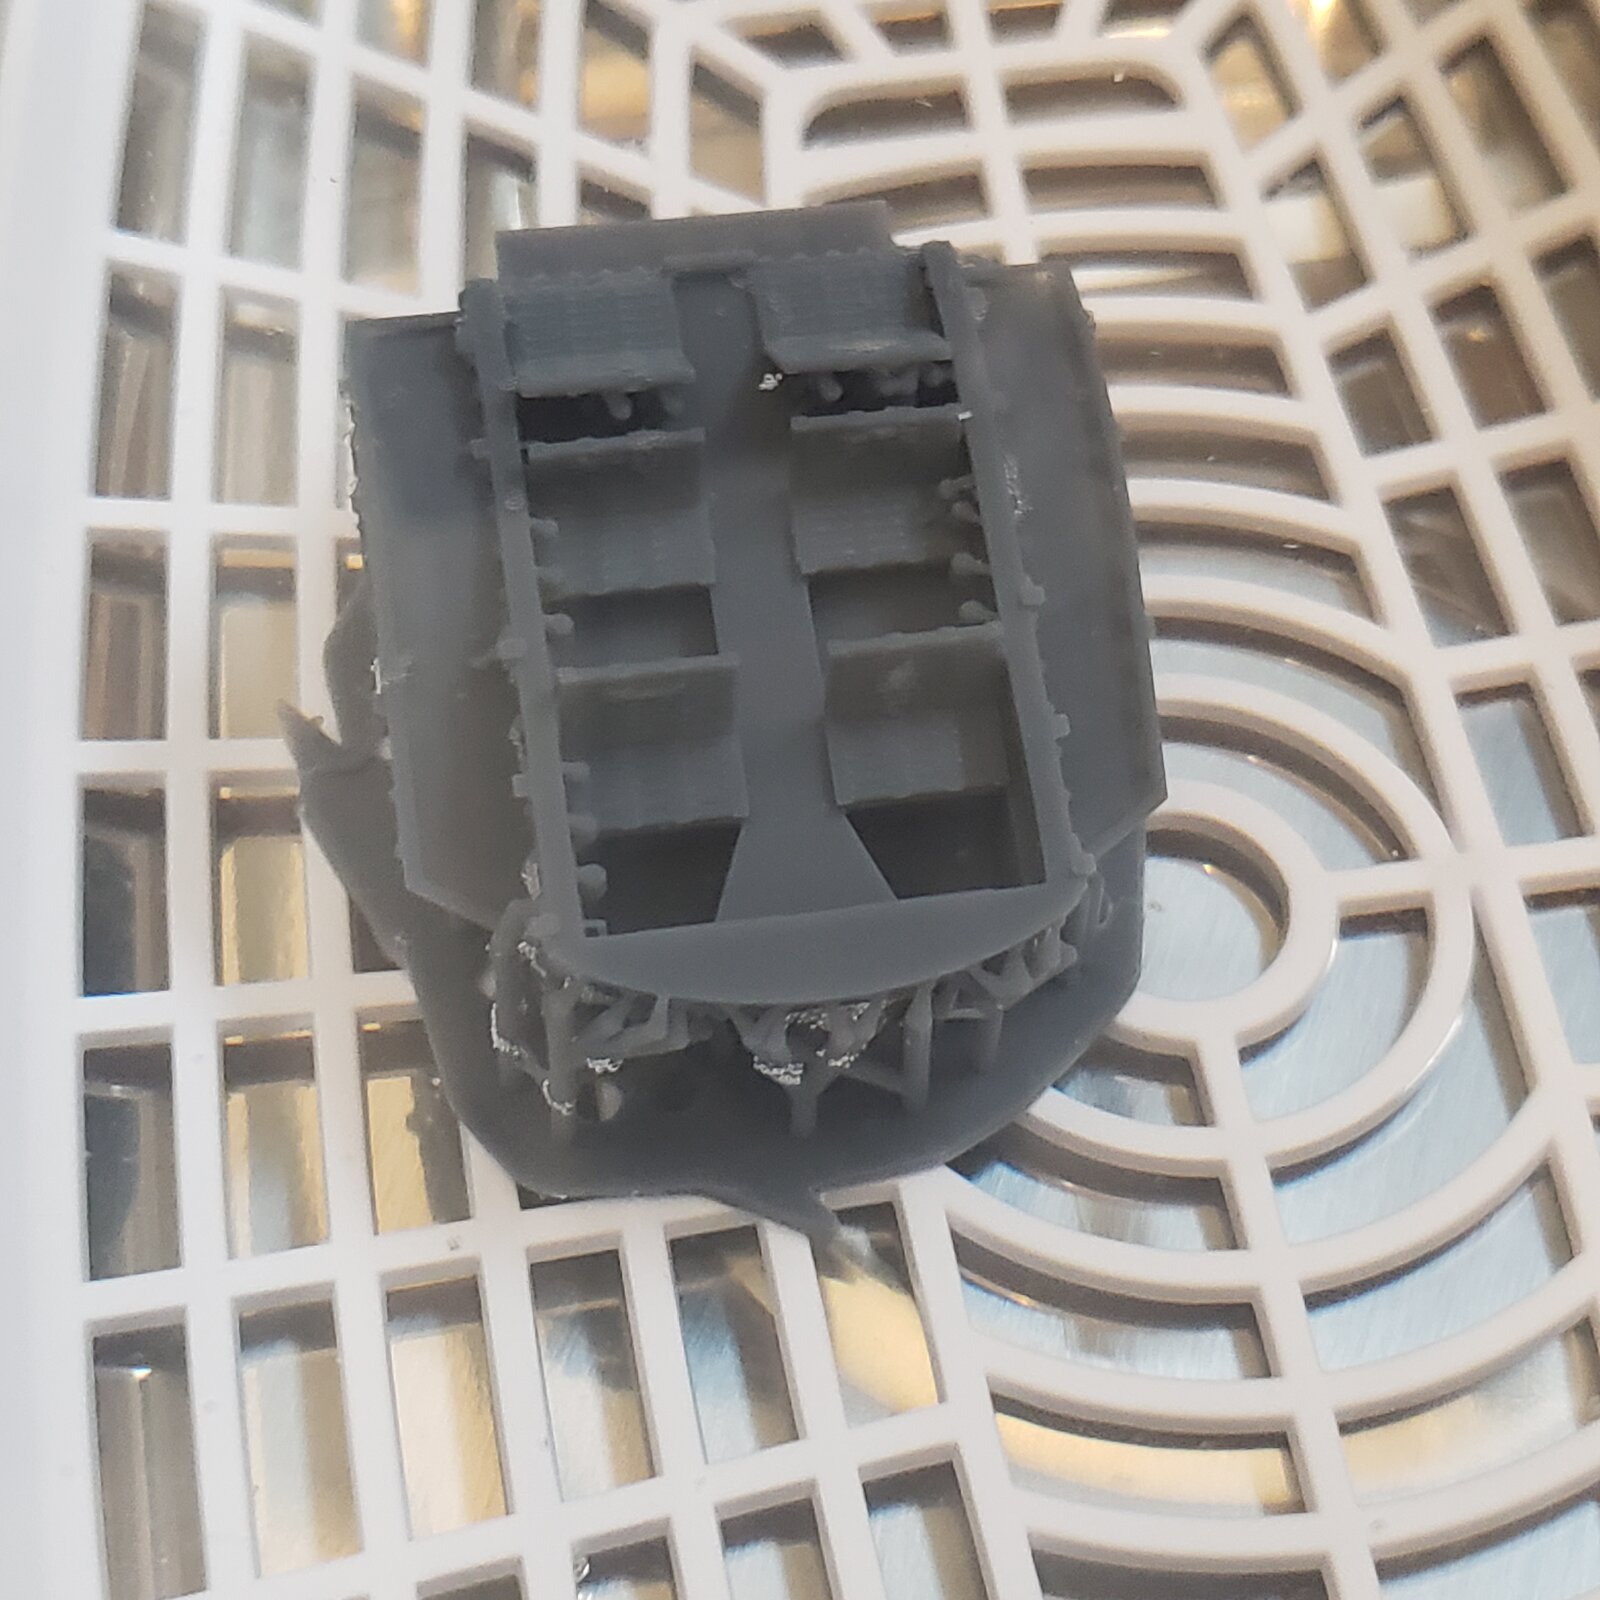
What about the ultrasonic cleaner, it has a heater!? I test it out

17488109425077342708072713830006.jpg

Seems worth a try!
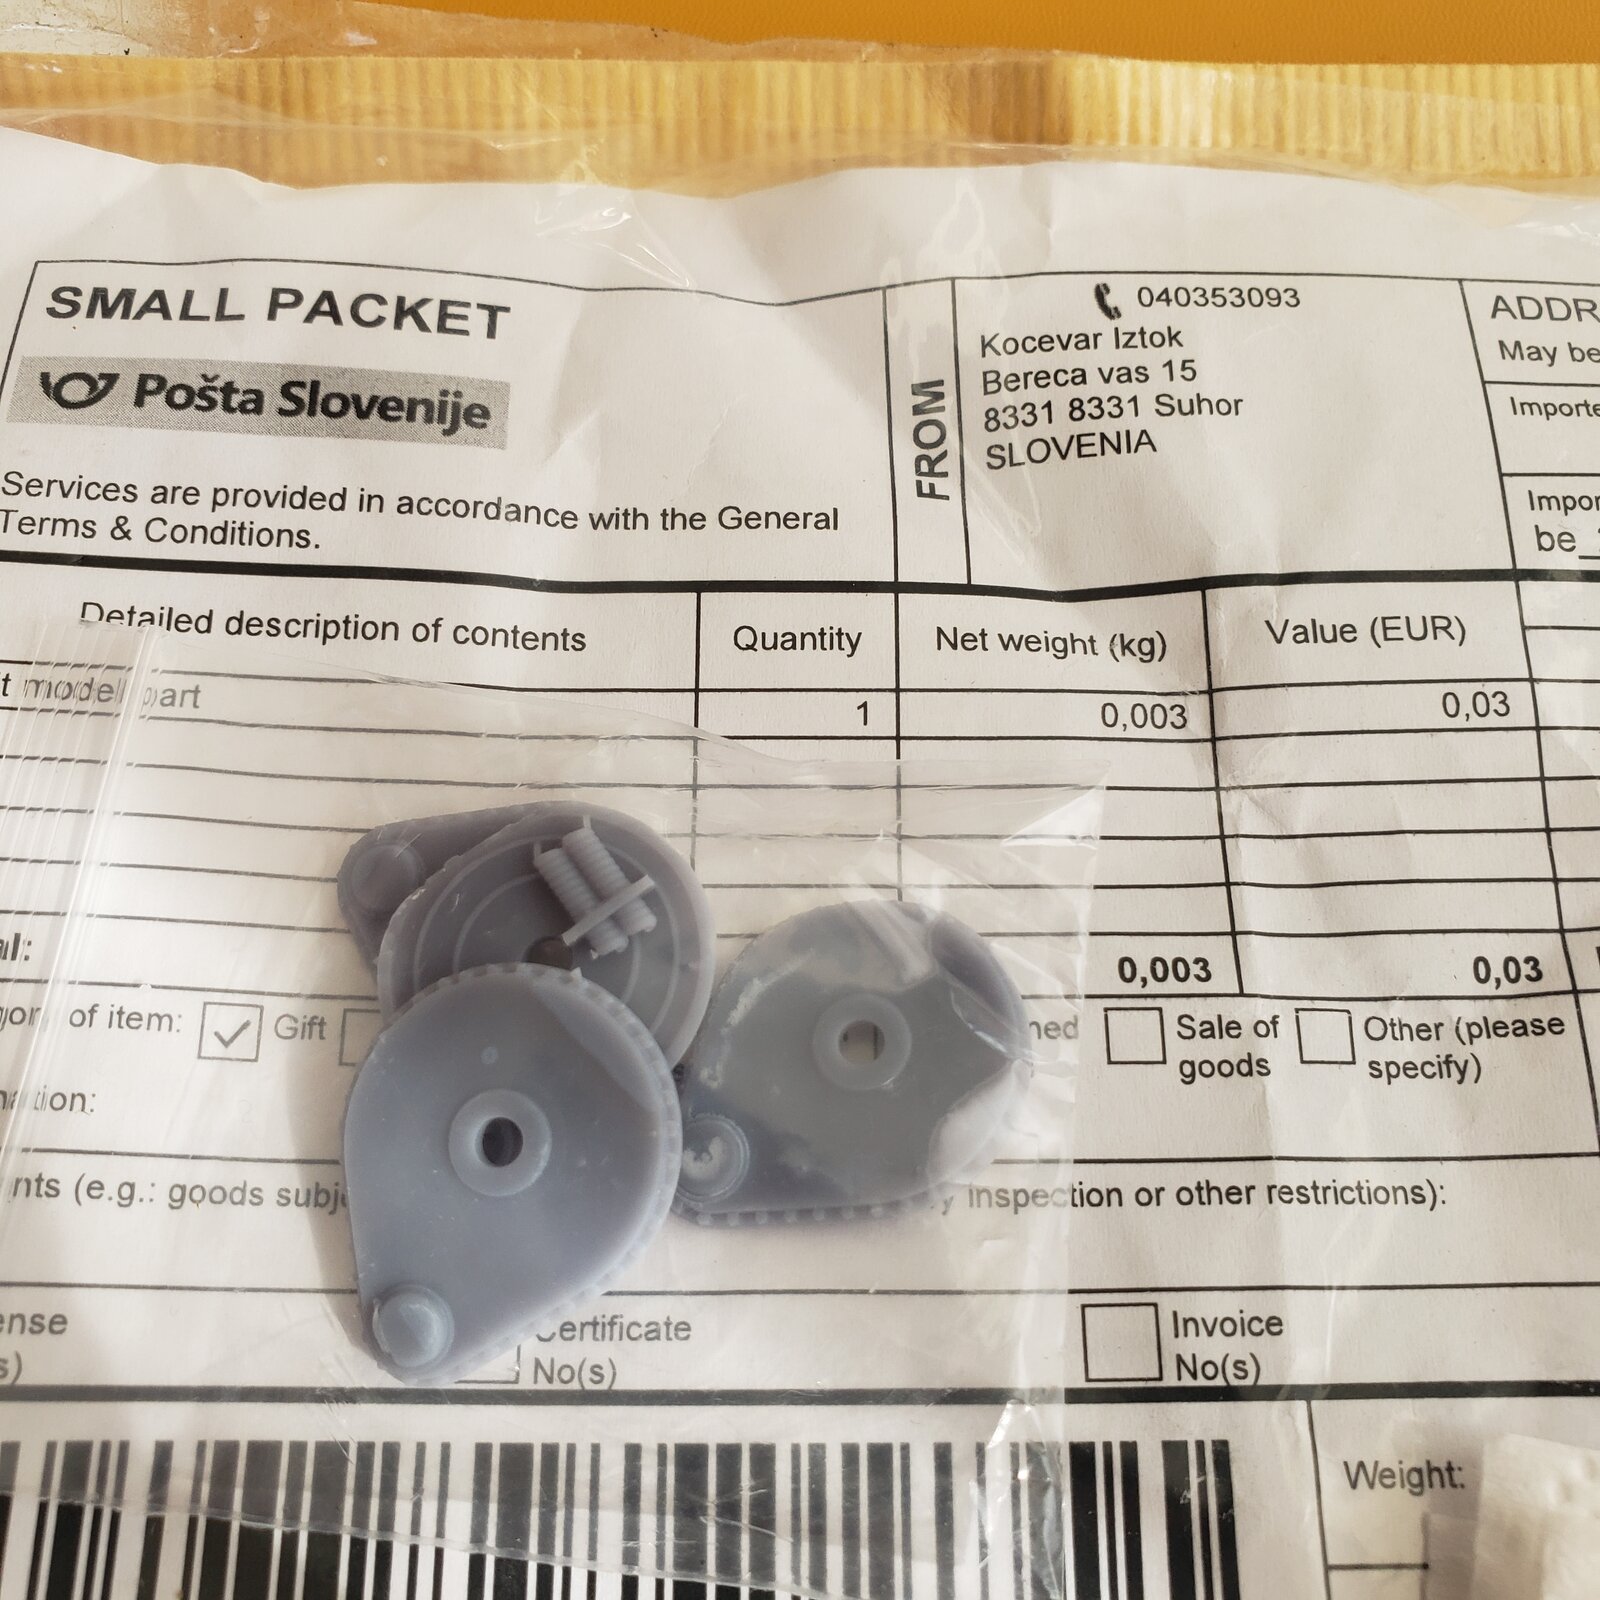
... and guess what? Remember my stash post about the Pavesi arriving as 1:72 instead of 1:35?
They then sent me the right scale, so I now have a 1:72 kit to experiment with. :D

17488113468054290010459230333448.jpg
 
17488123641186626087680797690461.jpg

17488127770553442361266727514133.jpg
17488130505453814638930281377973.jpg

1748814363061218088944348062586.jpg

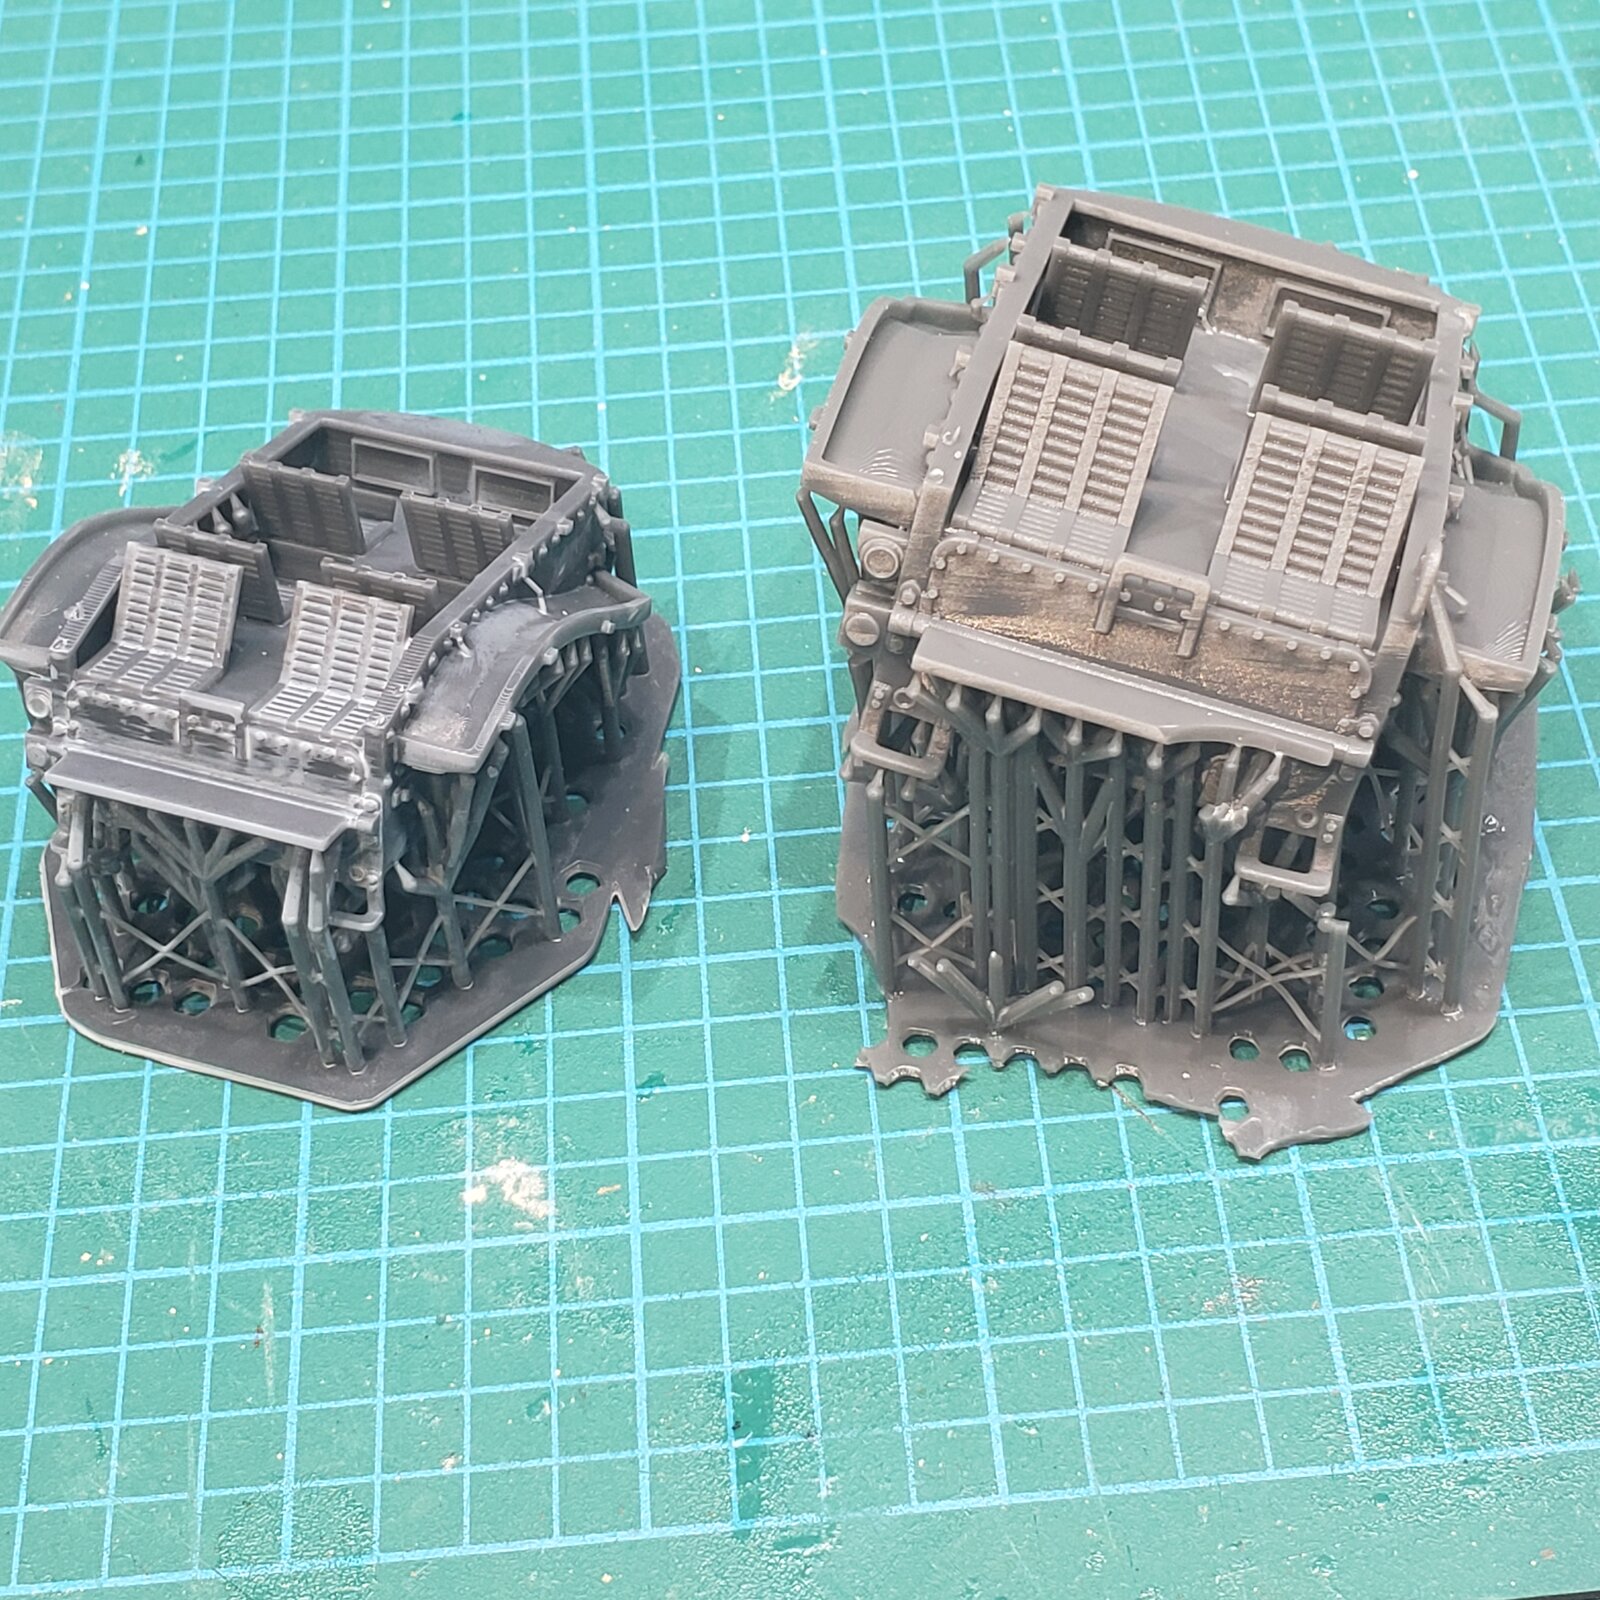
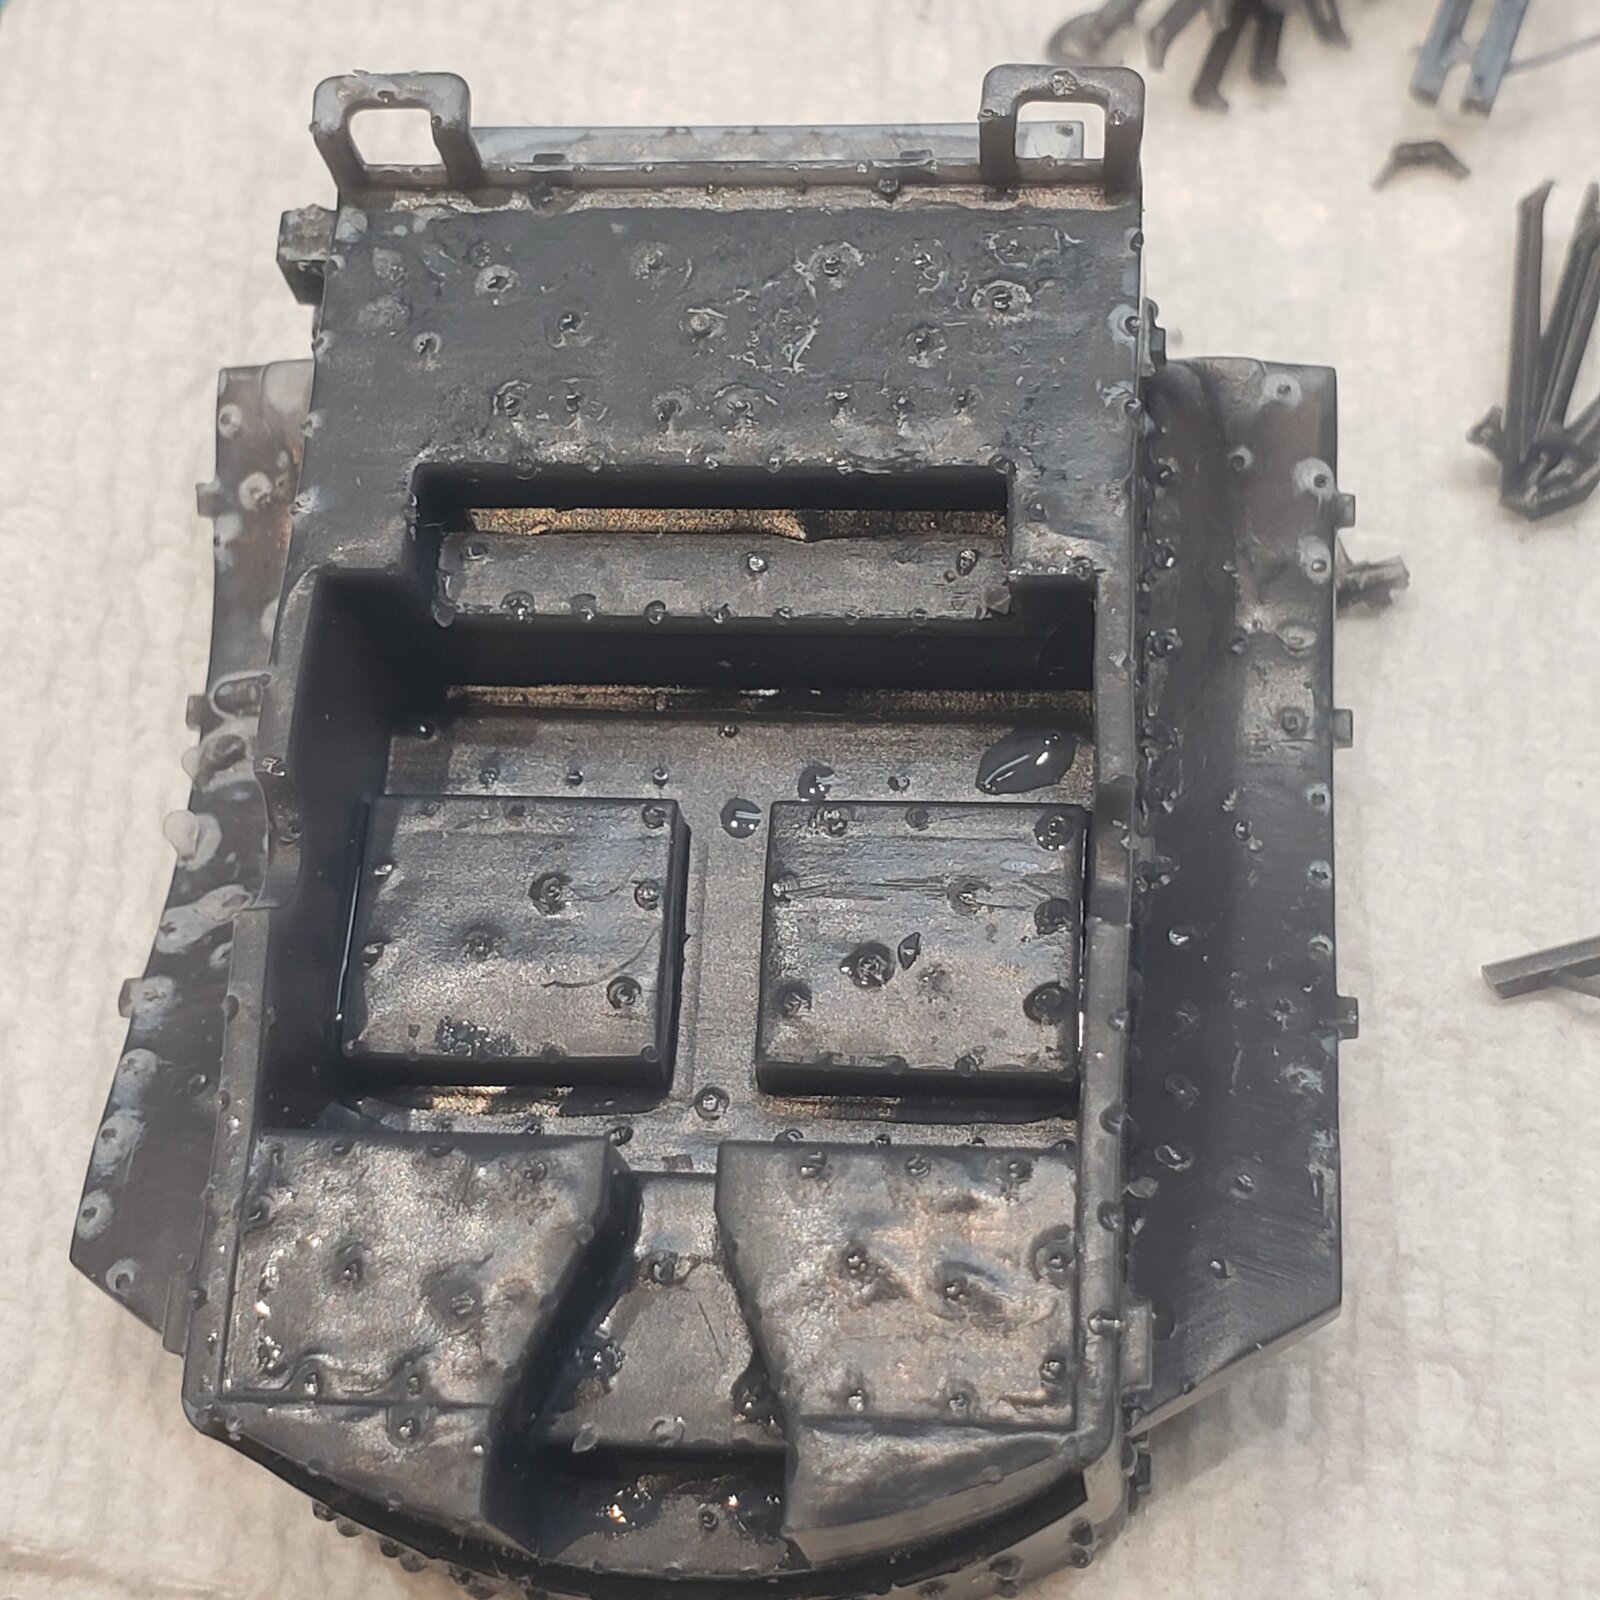
...still have to make another pass to scrape/sand tiny vestiges of the supports in places.

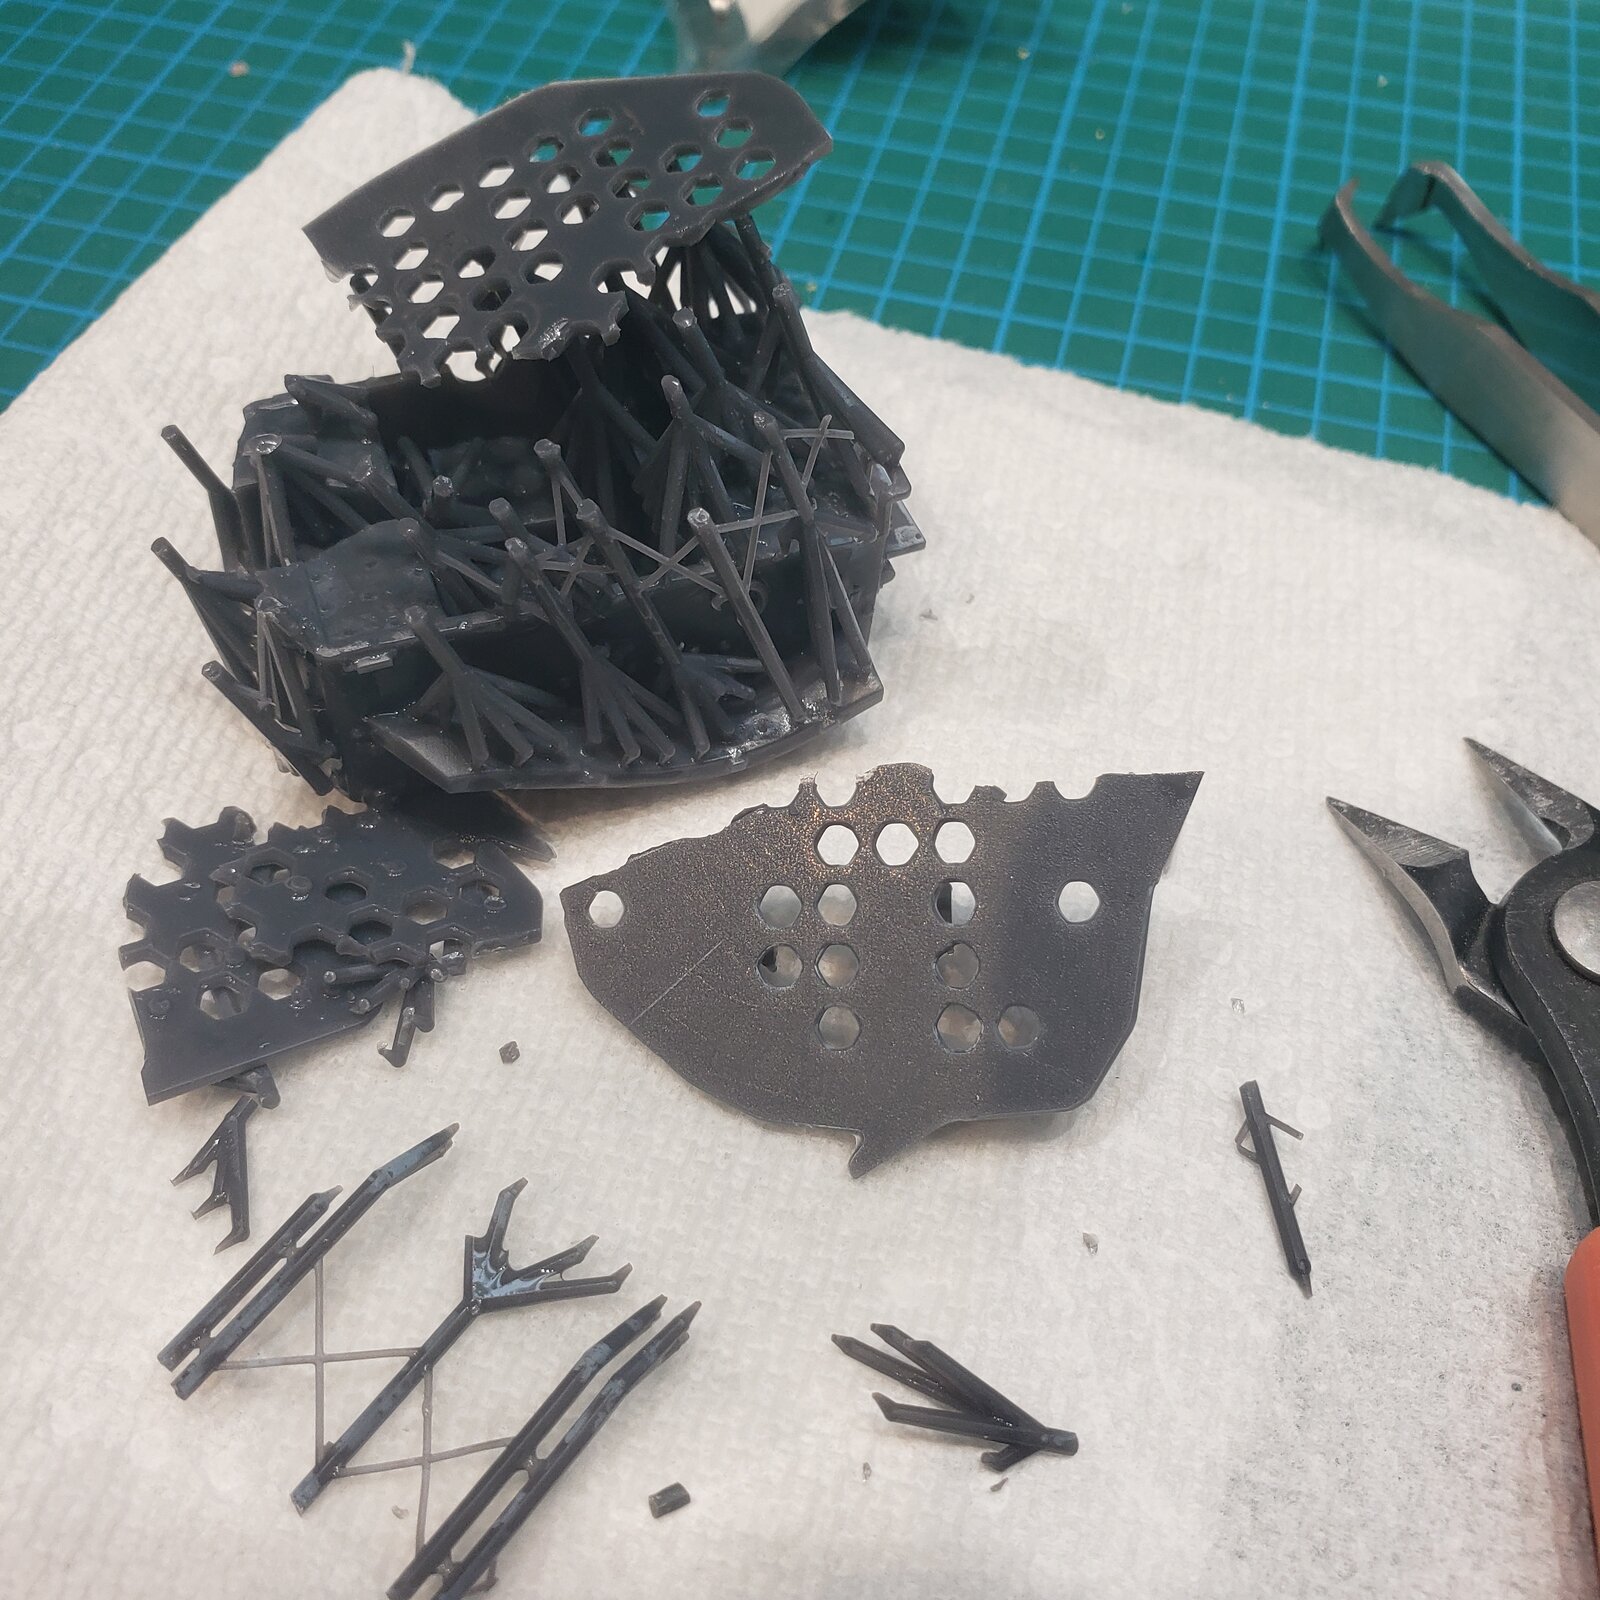
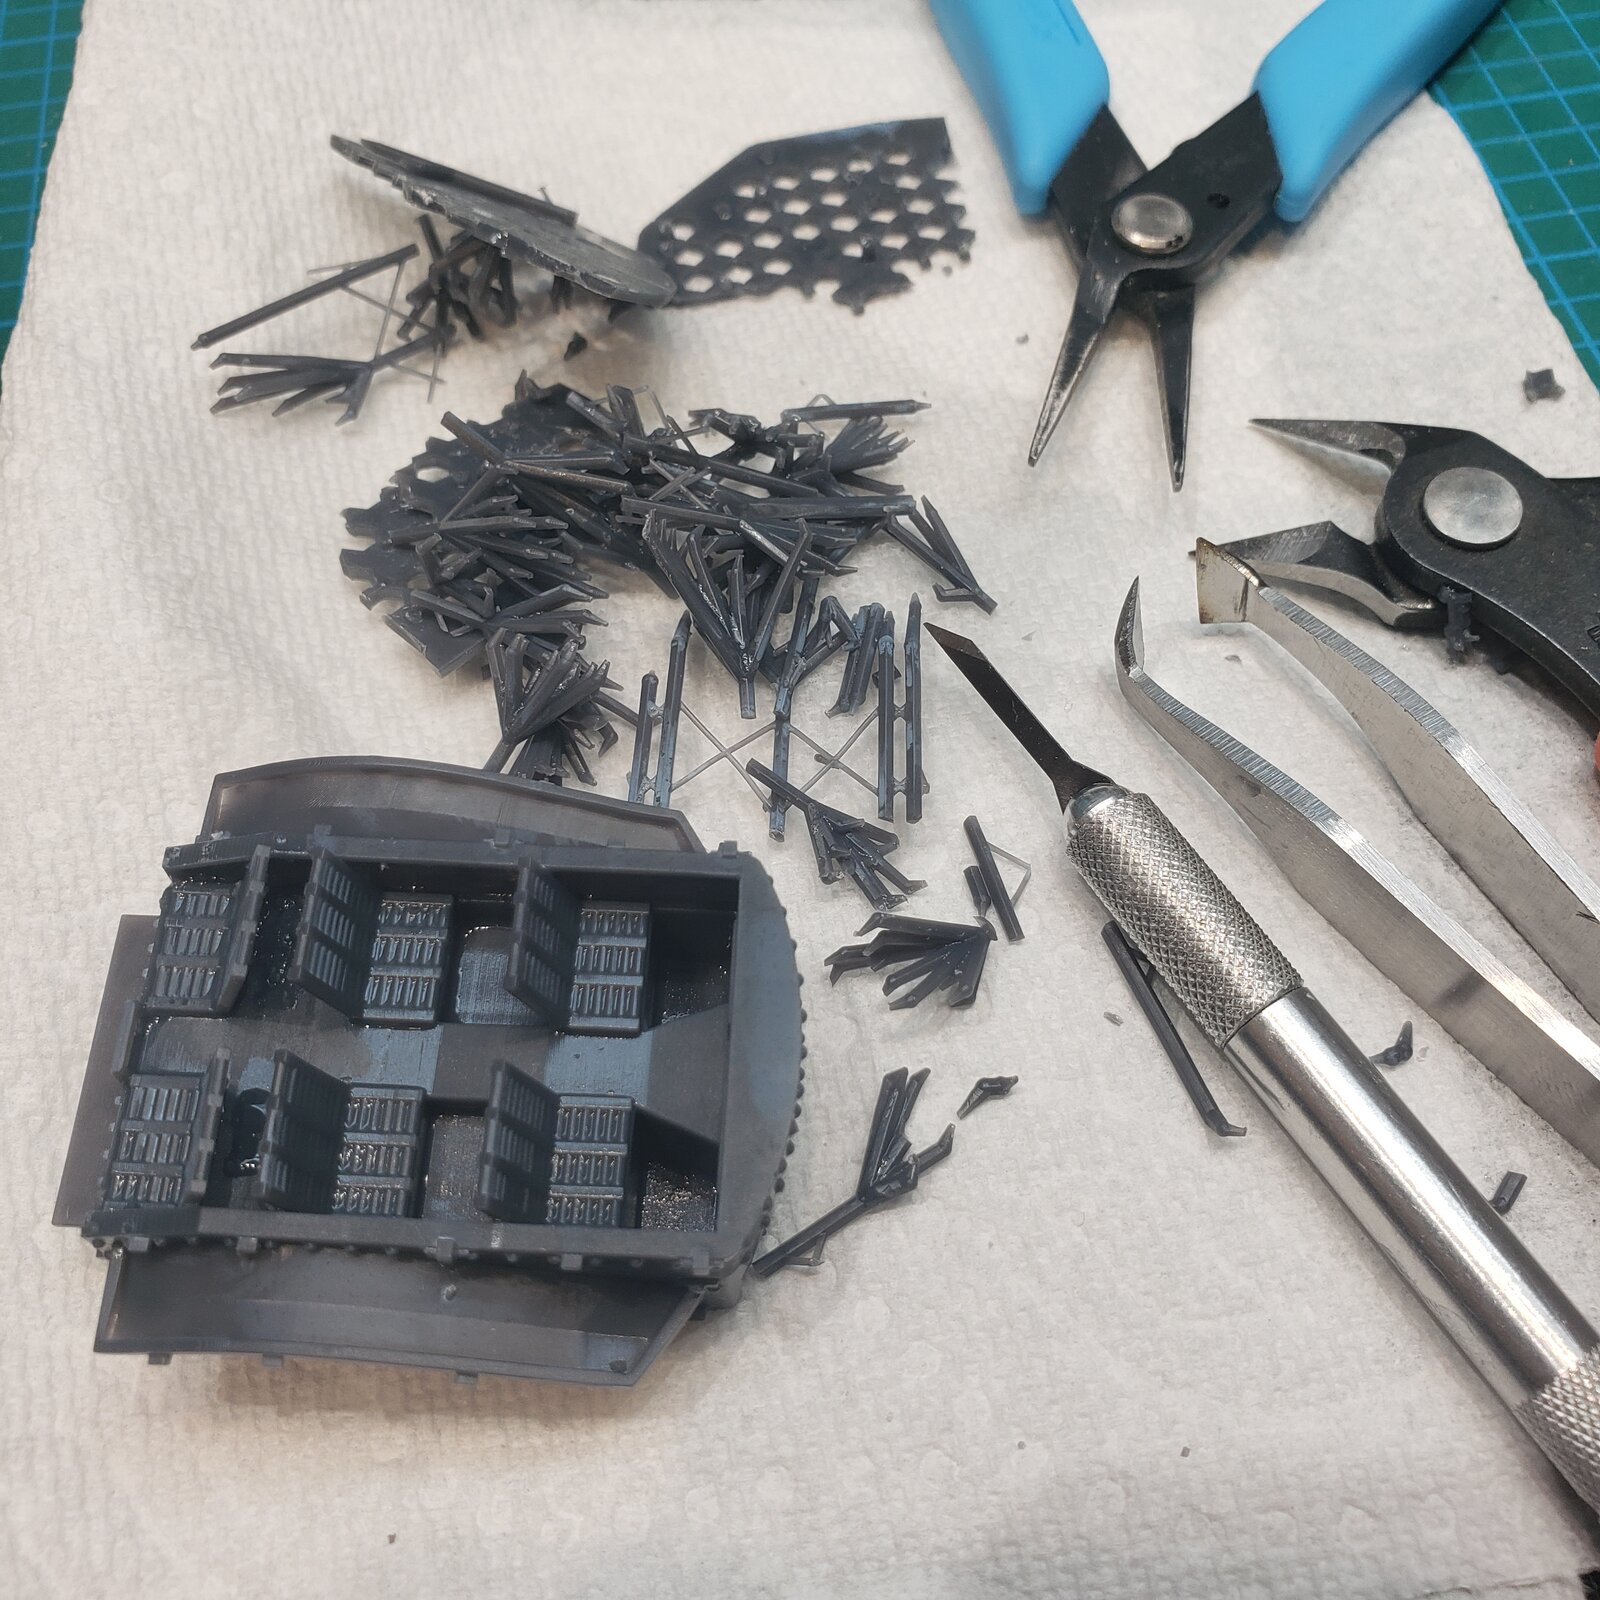
I cut away the base to start with my rough sprue cutters.
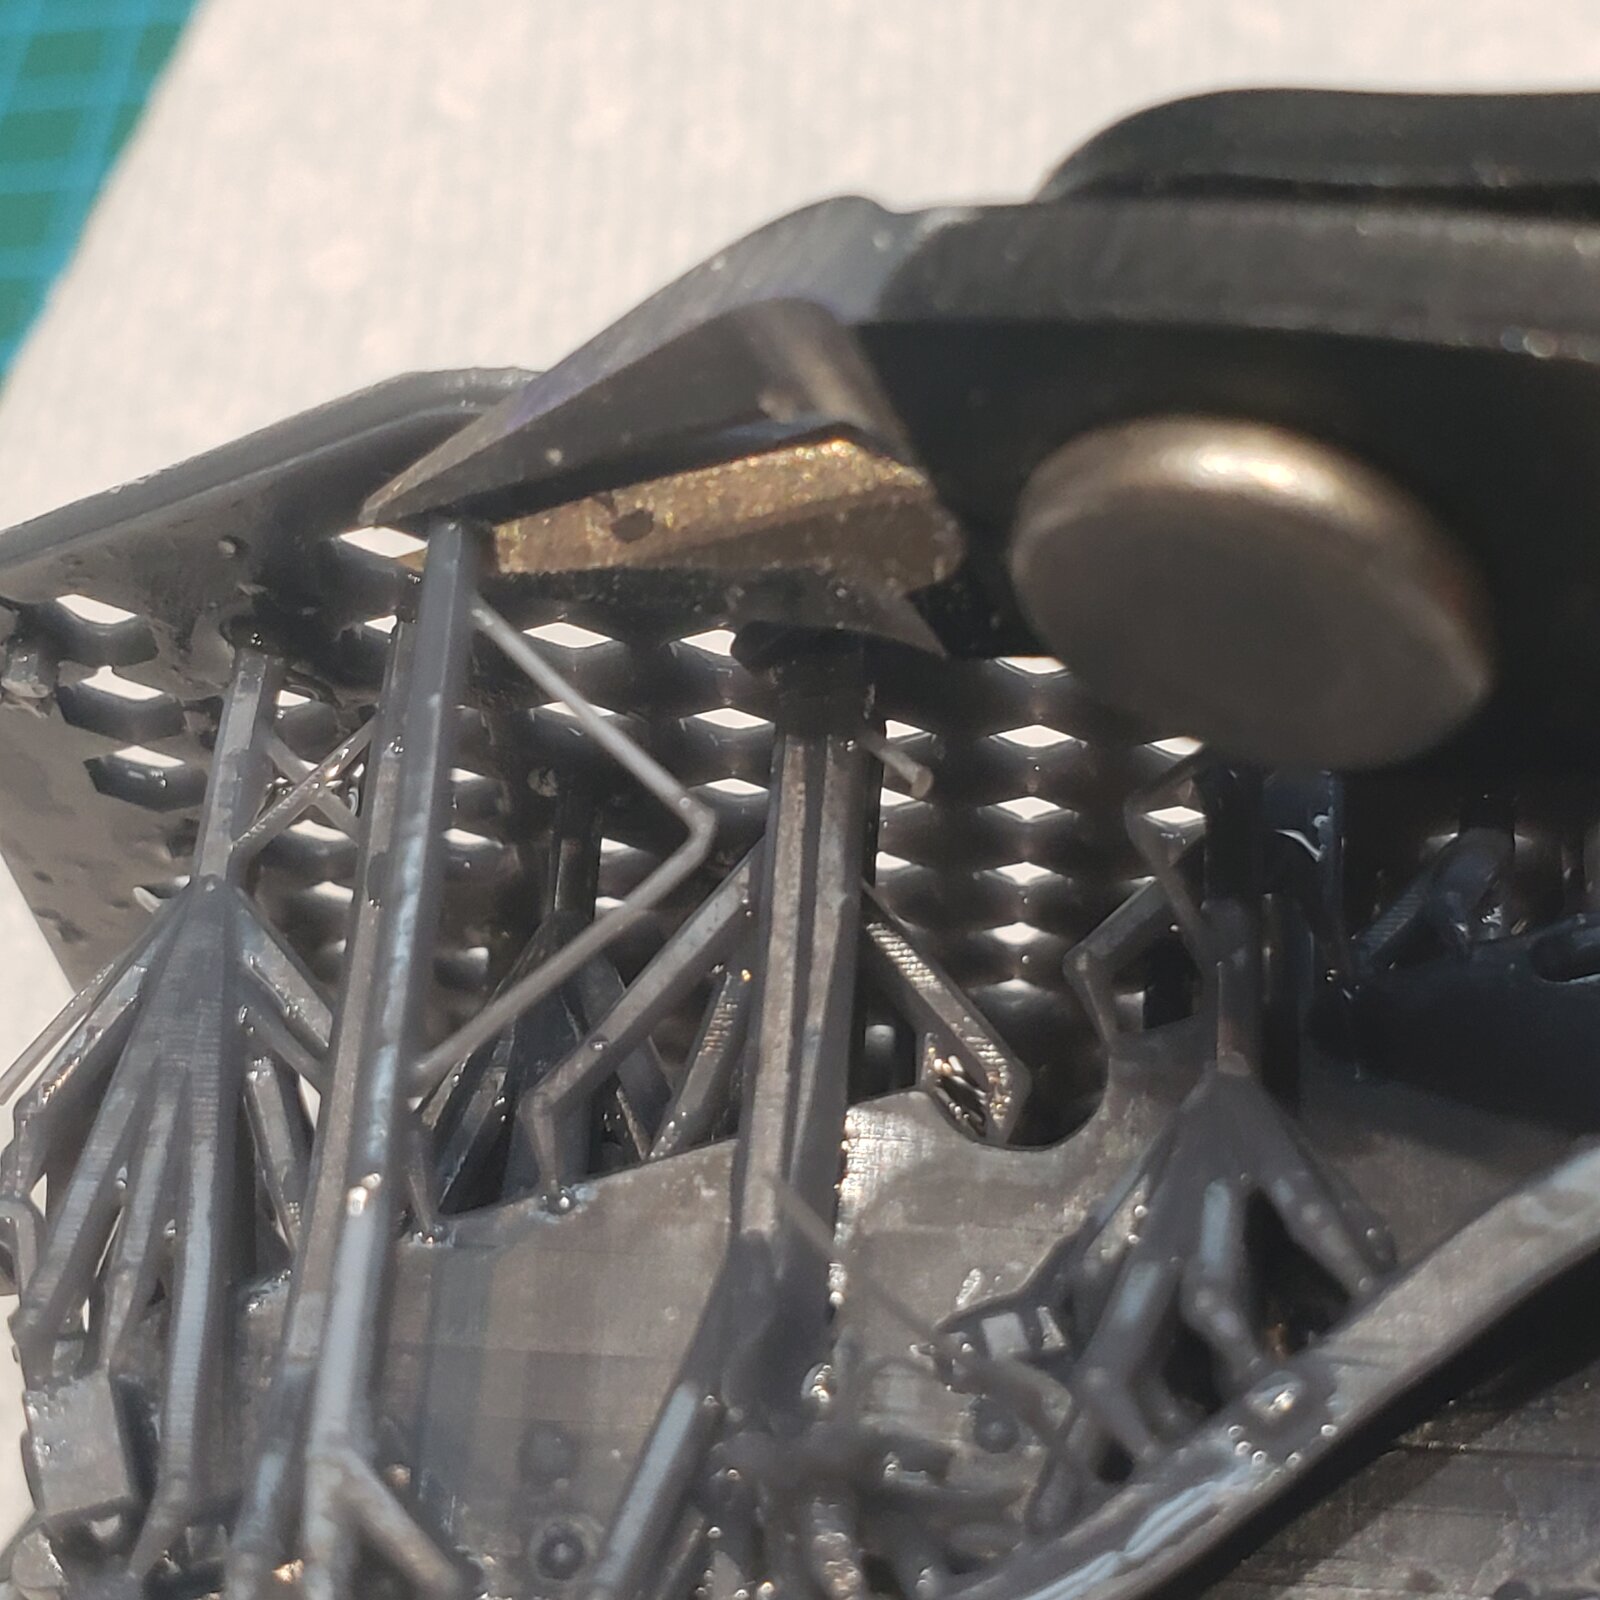
Then I could get at the supports, which, depending on thickness and the size of the area supported, (from large to fine) I removed with my fingers, the square nosed pliers, the 'ultra fine sprue cutter tweezers', the knife.

I think I'll wait for the bath to be closer to 110F next time!

The wheels will be fun, looks like a Coney Island roller coaster!

17488149604365117402296336632089.jpg
 
As an Amazon Associate we earn from qualifying purchases. Product prices and availability are accurate as of the date/time indicated and are subject to change.
I've been told that they still need to be uv cured. Don't if that is true or not, just a bit of helpful info I hope
 
... done enough cleanup to know what's involved, so I think I can move on to the 1:35th kit.

Normally I'd give this another rinse after brushing with resin prep., and there is some minor pitting that I'd fill. Have to watch out for that on the visible surfaces.

17488311548712265441721718034286.jpg
 
Well @wjbrandel , Hobby Market responded first thing!

Dear Brian,

Thank you for contacting us regarding our 3D printed kits.
All 3D printed kits and sets are ready for assembly and paiting. No need to make any UV curing or even washing.
Some sets are even already cleared from supports.
Best regards
Hobby Market support

As I suspected. That UV step something to consider if you do your own printing at home. As for the washing, I'm in the habit of washing resin models and figures as a matter of course before painting: a few times with regular resin parts I'd come to a surface where the primer just beaded like I was painting on wax!
 
For traditional resin kits, that's most likely because there's some mould release agent left on the part. 3D-printed resin kits don't have that, for obvious reasons :)
 
With so many pillars for support, they can make the diameter of the contact segment between the pillar and the part much smaller and it wont' leave such a large goose pimple or make it so hard to remove.

You shouldn't have to apply so much heat to remove the supports. You could risk removing details and parts you don't want to remove. They should pop right off. I normally pop mine off before UV curing but if I need the support to cure, I will pop them off while cleaning under warm water, not hot.

A fact that the supports are hard to remove is an indicator that the parts are fully cured.
 
@scottrc78

Oh, heat is minimal at 105F...don't know how much it helps as I have no experience!

It was a bit unnerving to 'snap' some off by hand :rolleyes: , but I think I'll get the hang of it.
Thanks for the guidance!
 
Last edited:
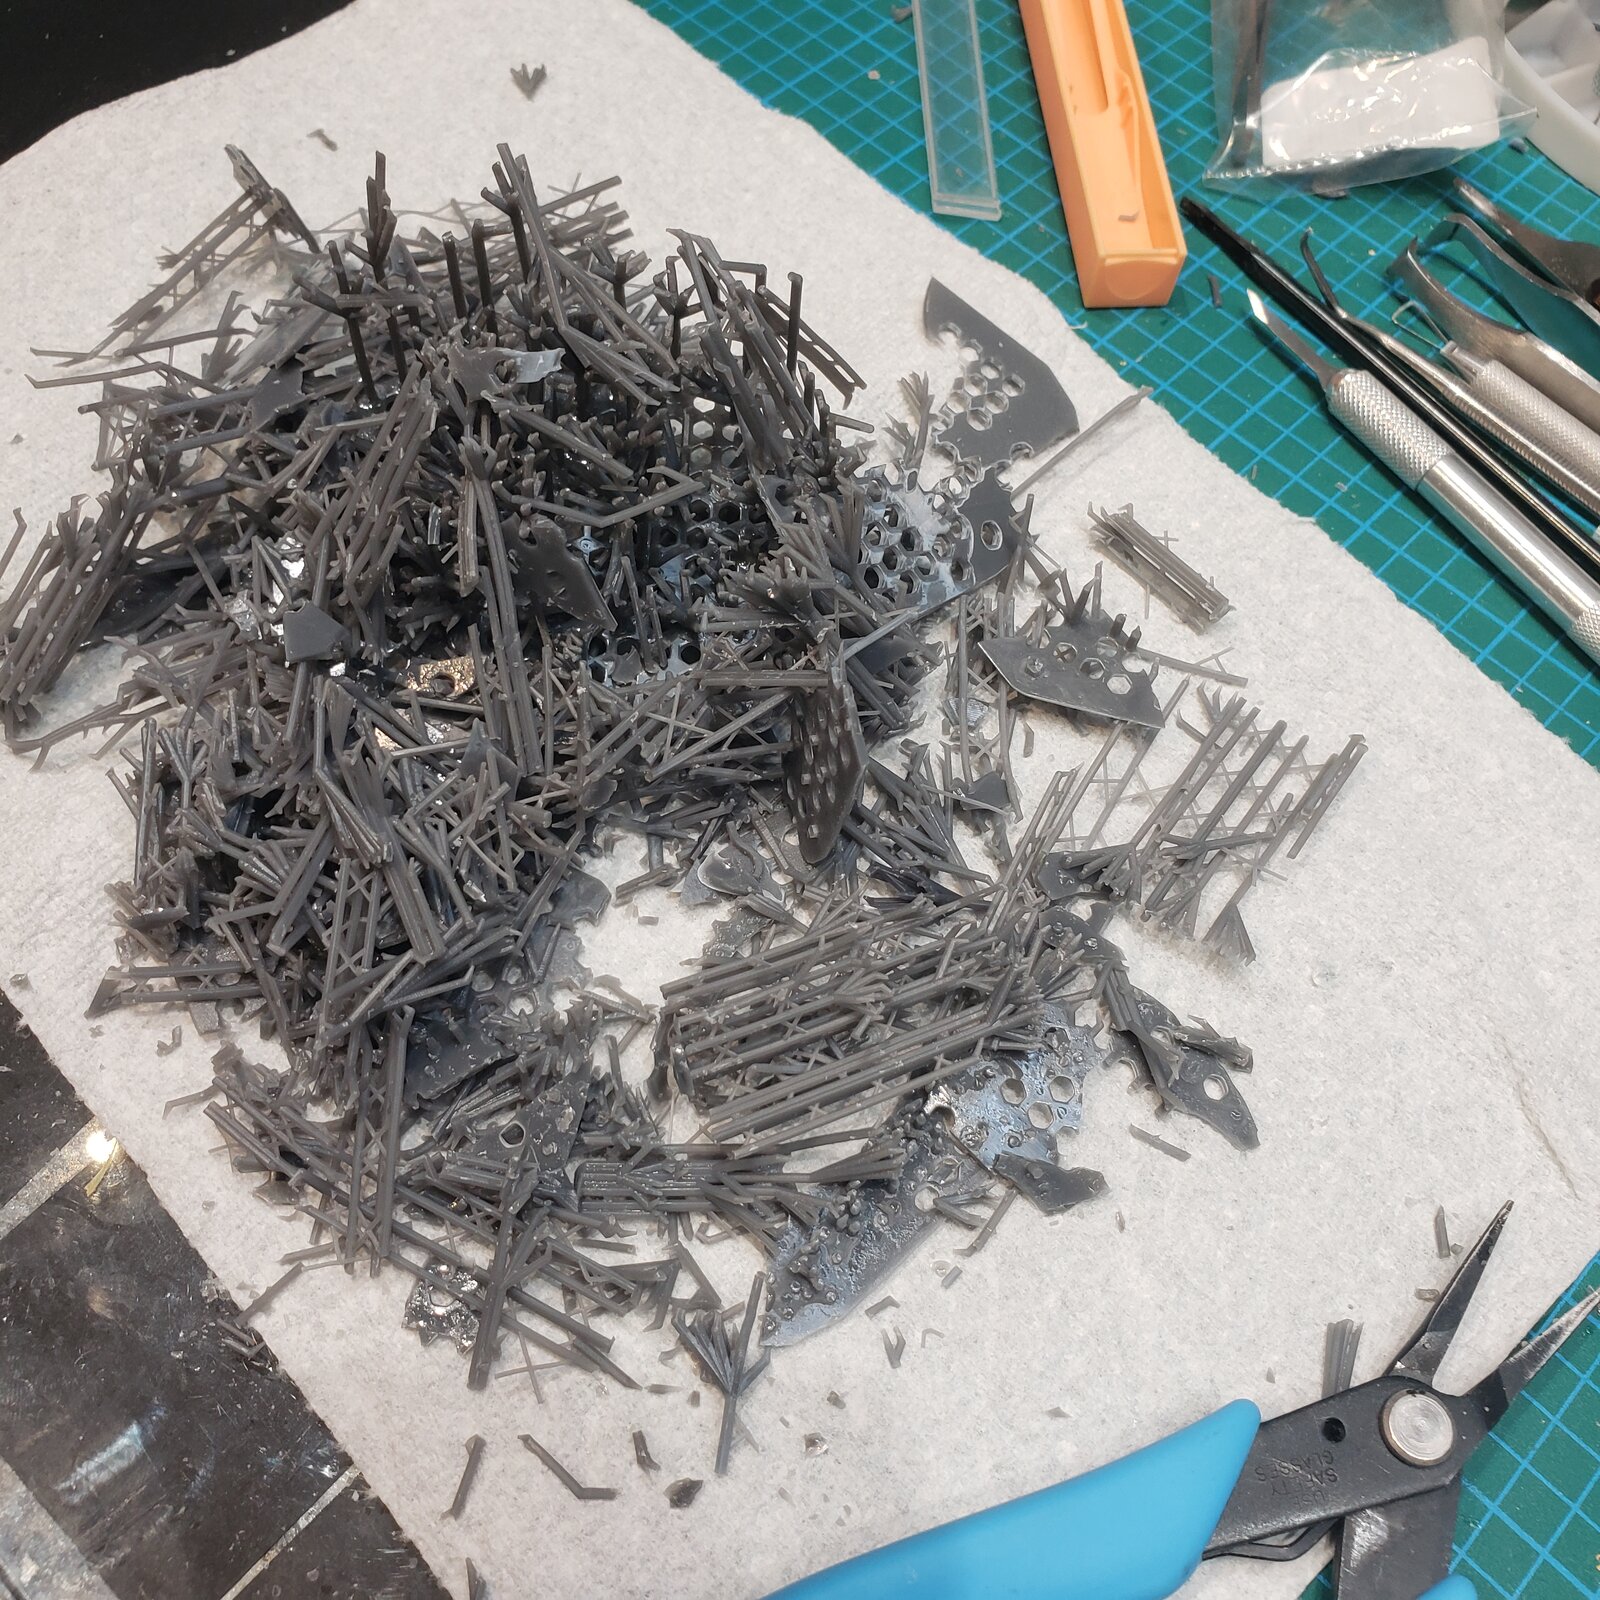
wow , that's a significant amount of waste material .'

I had to google those wheels .
The paddles fold down onto the hub , for flying down the Autobahn
 
Continuing with clean up of parts; test fitting revealed some warpage and areas that will need squaring up before assembly.
I also realized that there was a part miss-packed: within 24 hours of alerting the vendor, it sounds like the right part is being shipped. There were four other parts in the kit that I could not find in photos or instructions: turns out they were miss-packed as well.

So back at the Scammell for now.

It's nice to have two on the go, covers situations like this, or I can alternate builds that are at different stages.
 
Had a few cycles with paint drying on the WC55, so did more cleanup, and repair of some parts.
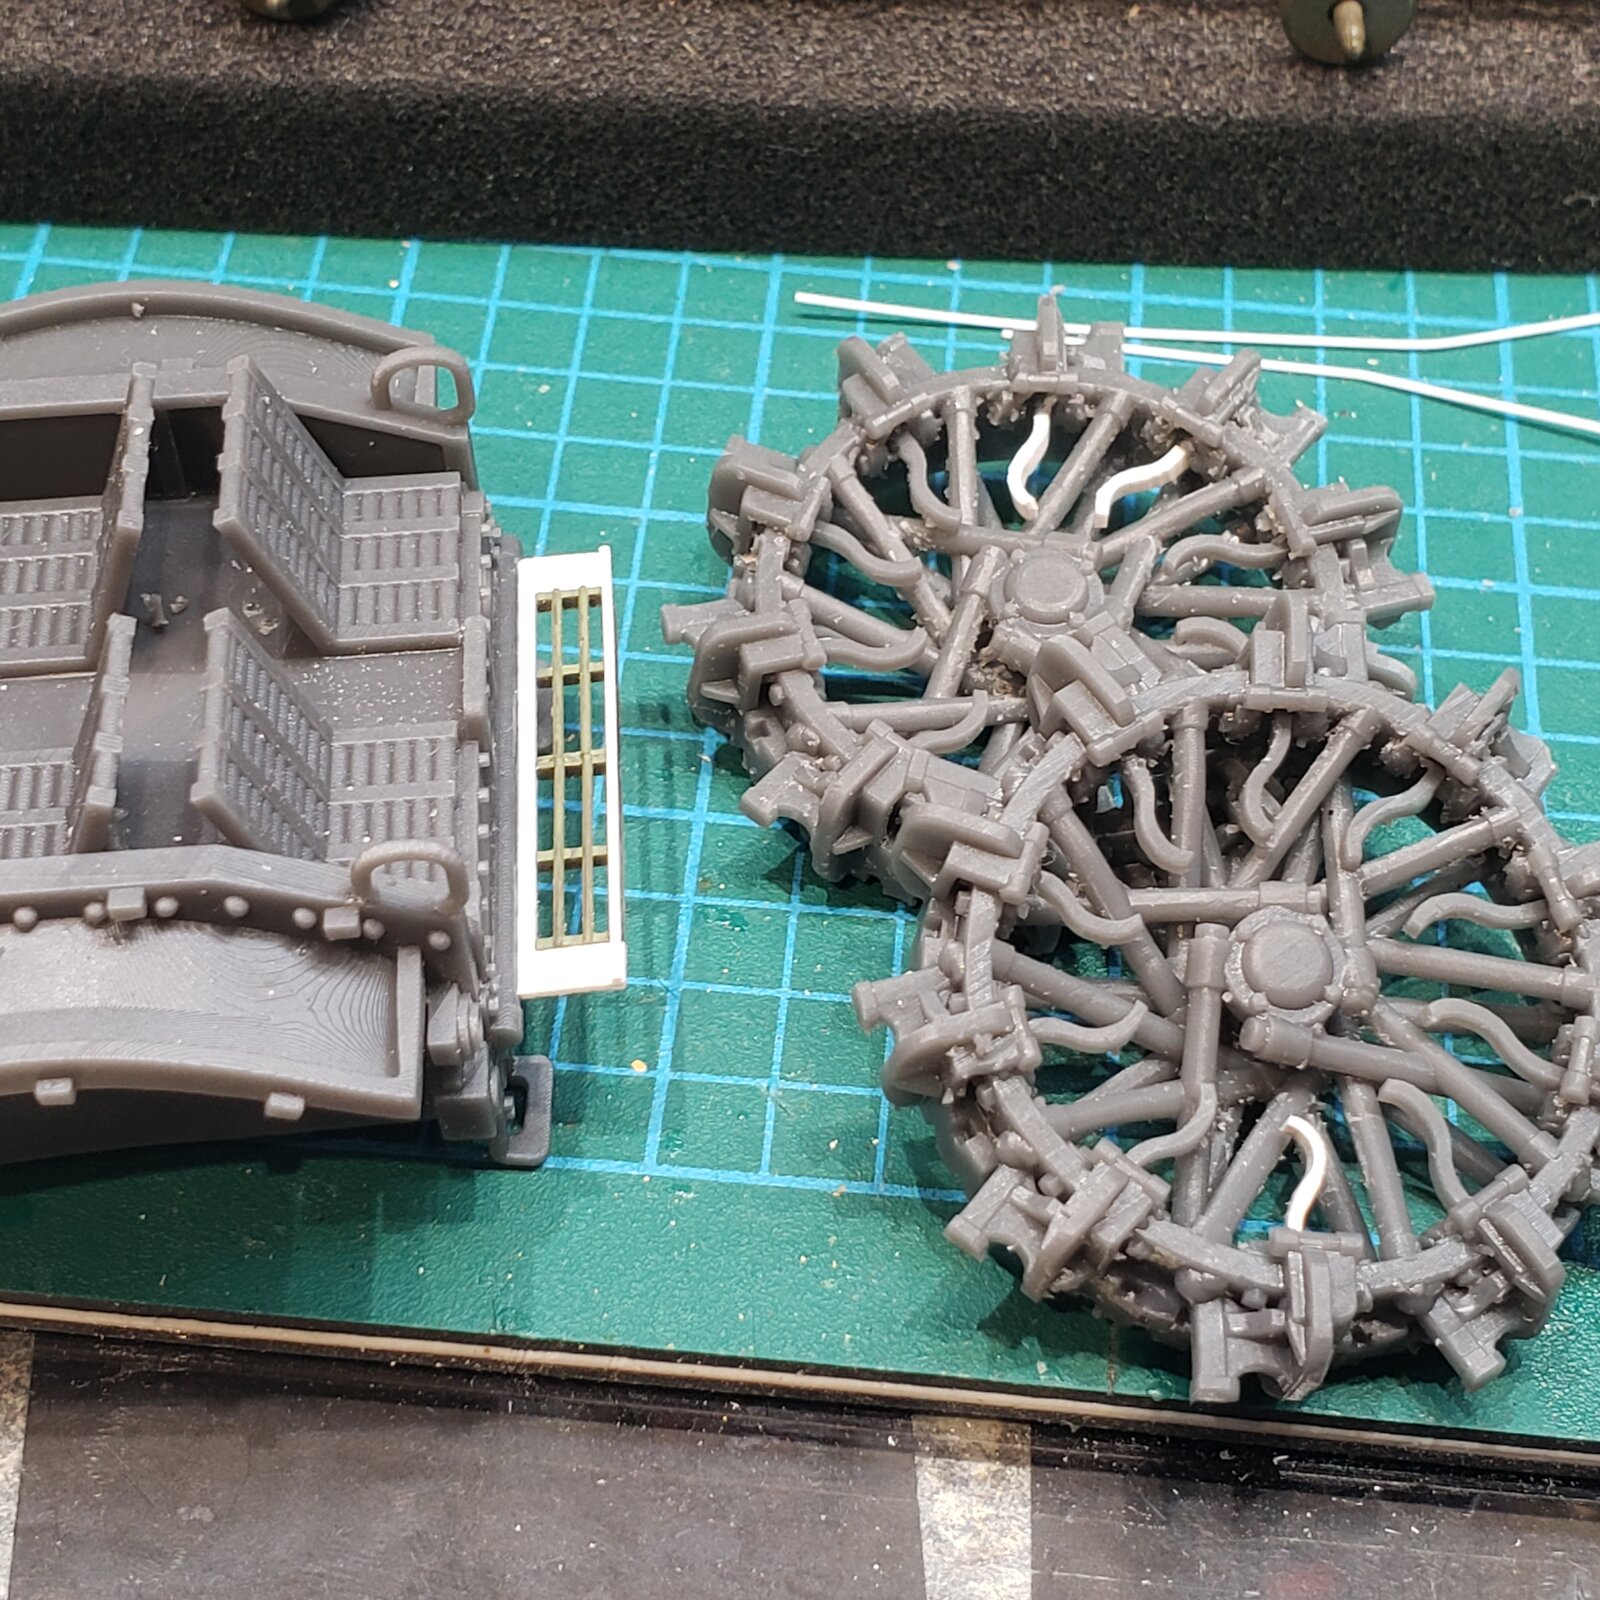
The foot rest was a solid piece with a corner missing, so cut it off and repurposed WC51 grill!
Painted up should look good.

There were three curly doodads missing on wheels, so heated and bent styrene strips.

20250623_213853.jpg


I will replace the tiedowns and canvas top post anchor blobs with some brass and wire.
The adjustable angle headlights are a mess, so will fix those too.
 
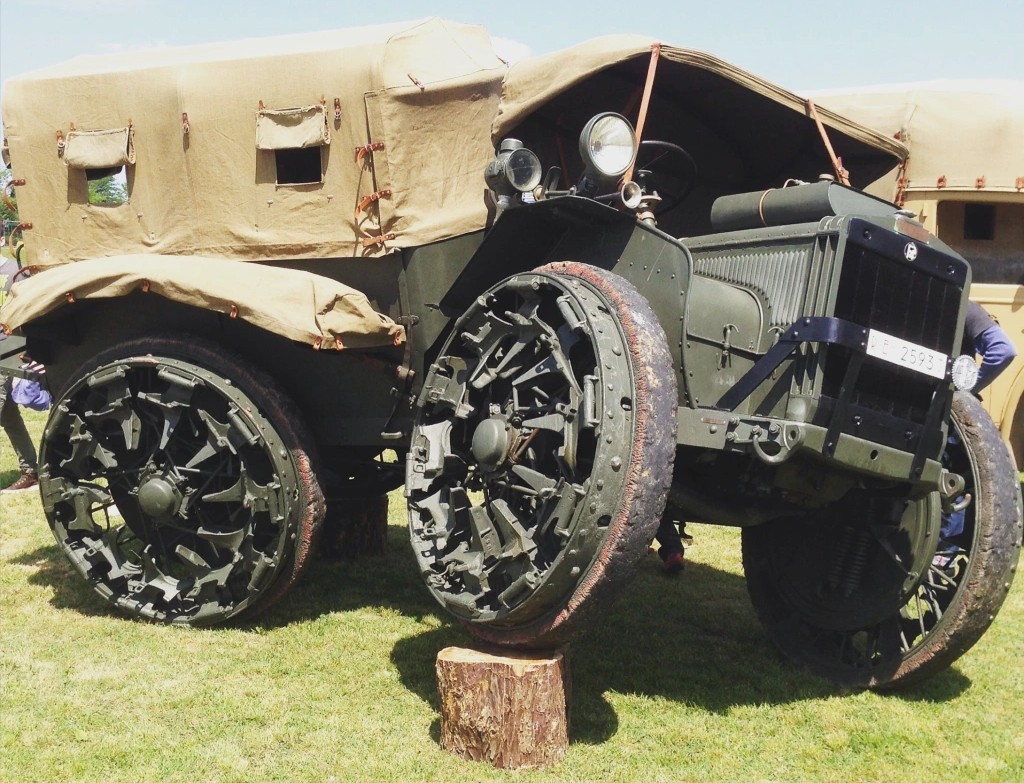
... so here is a photo of the paddles folded up (mine are molded down) for rolling on the rubber.
You can also see why there are so many channels for the tarp roof supports on the sides of the body.
The rear fenders are actually lipped like a tray for stowage, with their own protective tarps!

The photo also shows how the vehicle was hinged in the middle to negotiate awkward terrain.

pavesi.jpg
 
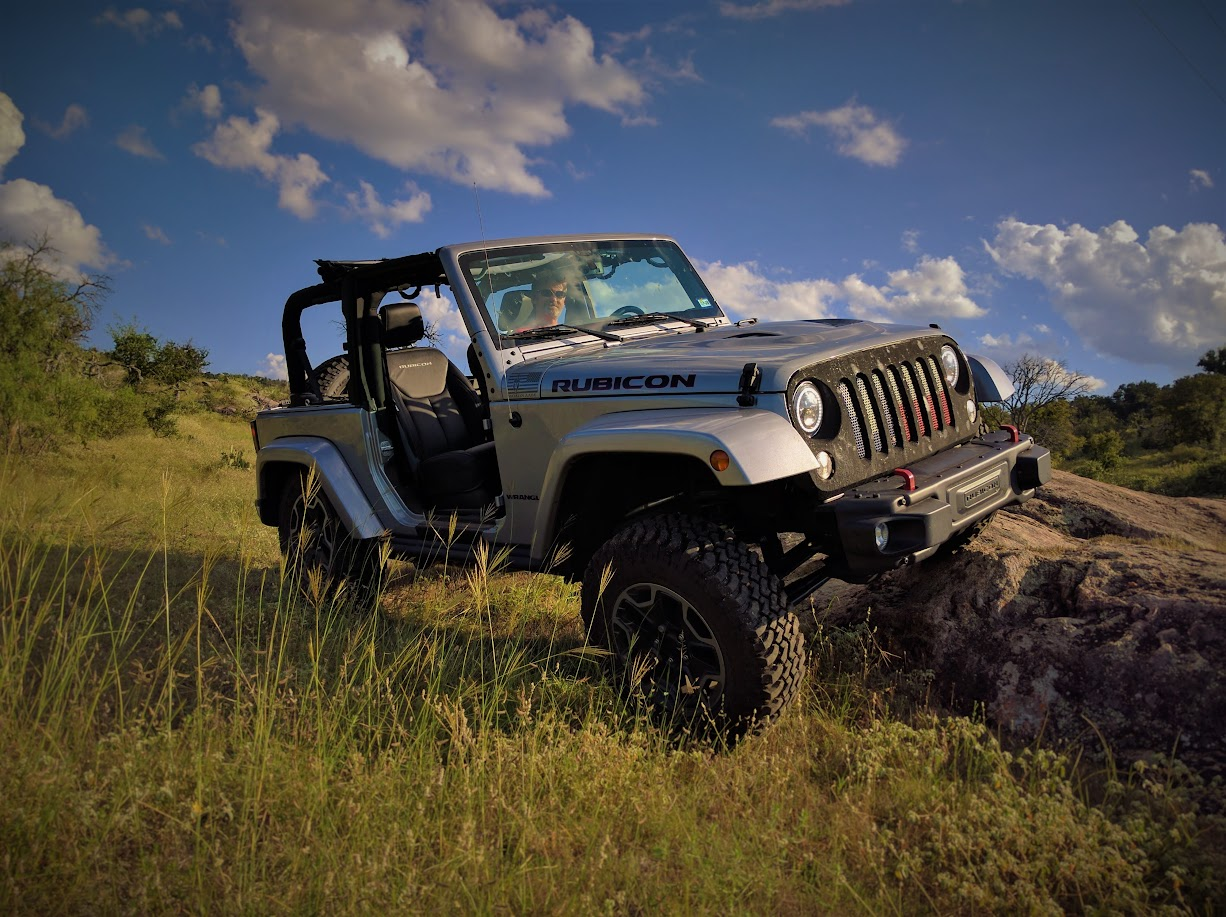
That articulation would make Jeep (I should say "Wrangler" the only real Jeep) owners envious. This was about all the articulation I could get from the factory suspension on mine, long wheel-base versions could get more. I guess my example is about suspension-flex, your tractor has chassis flex :)

1750794999568.png

(left-front wheel is almost 3 feet higher than right)
 
So some prototyping:
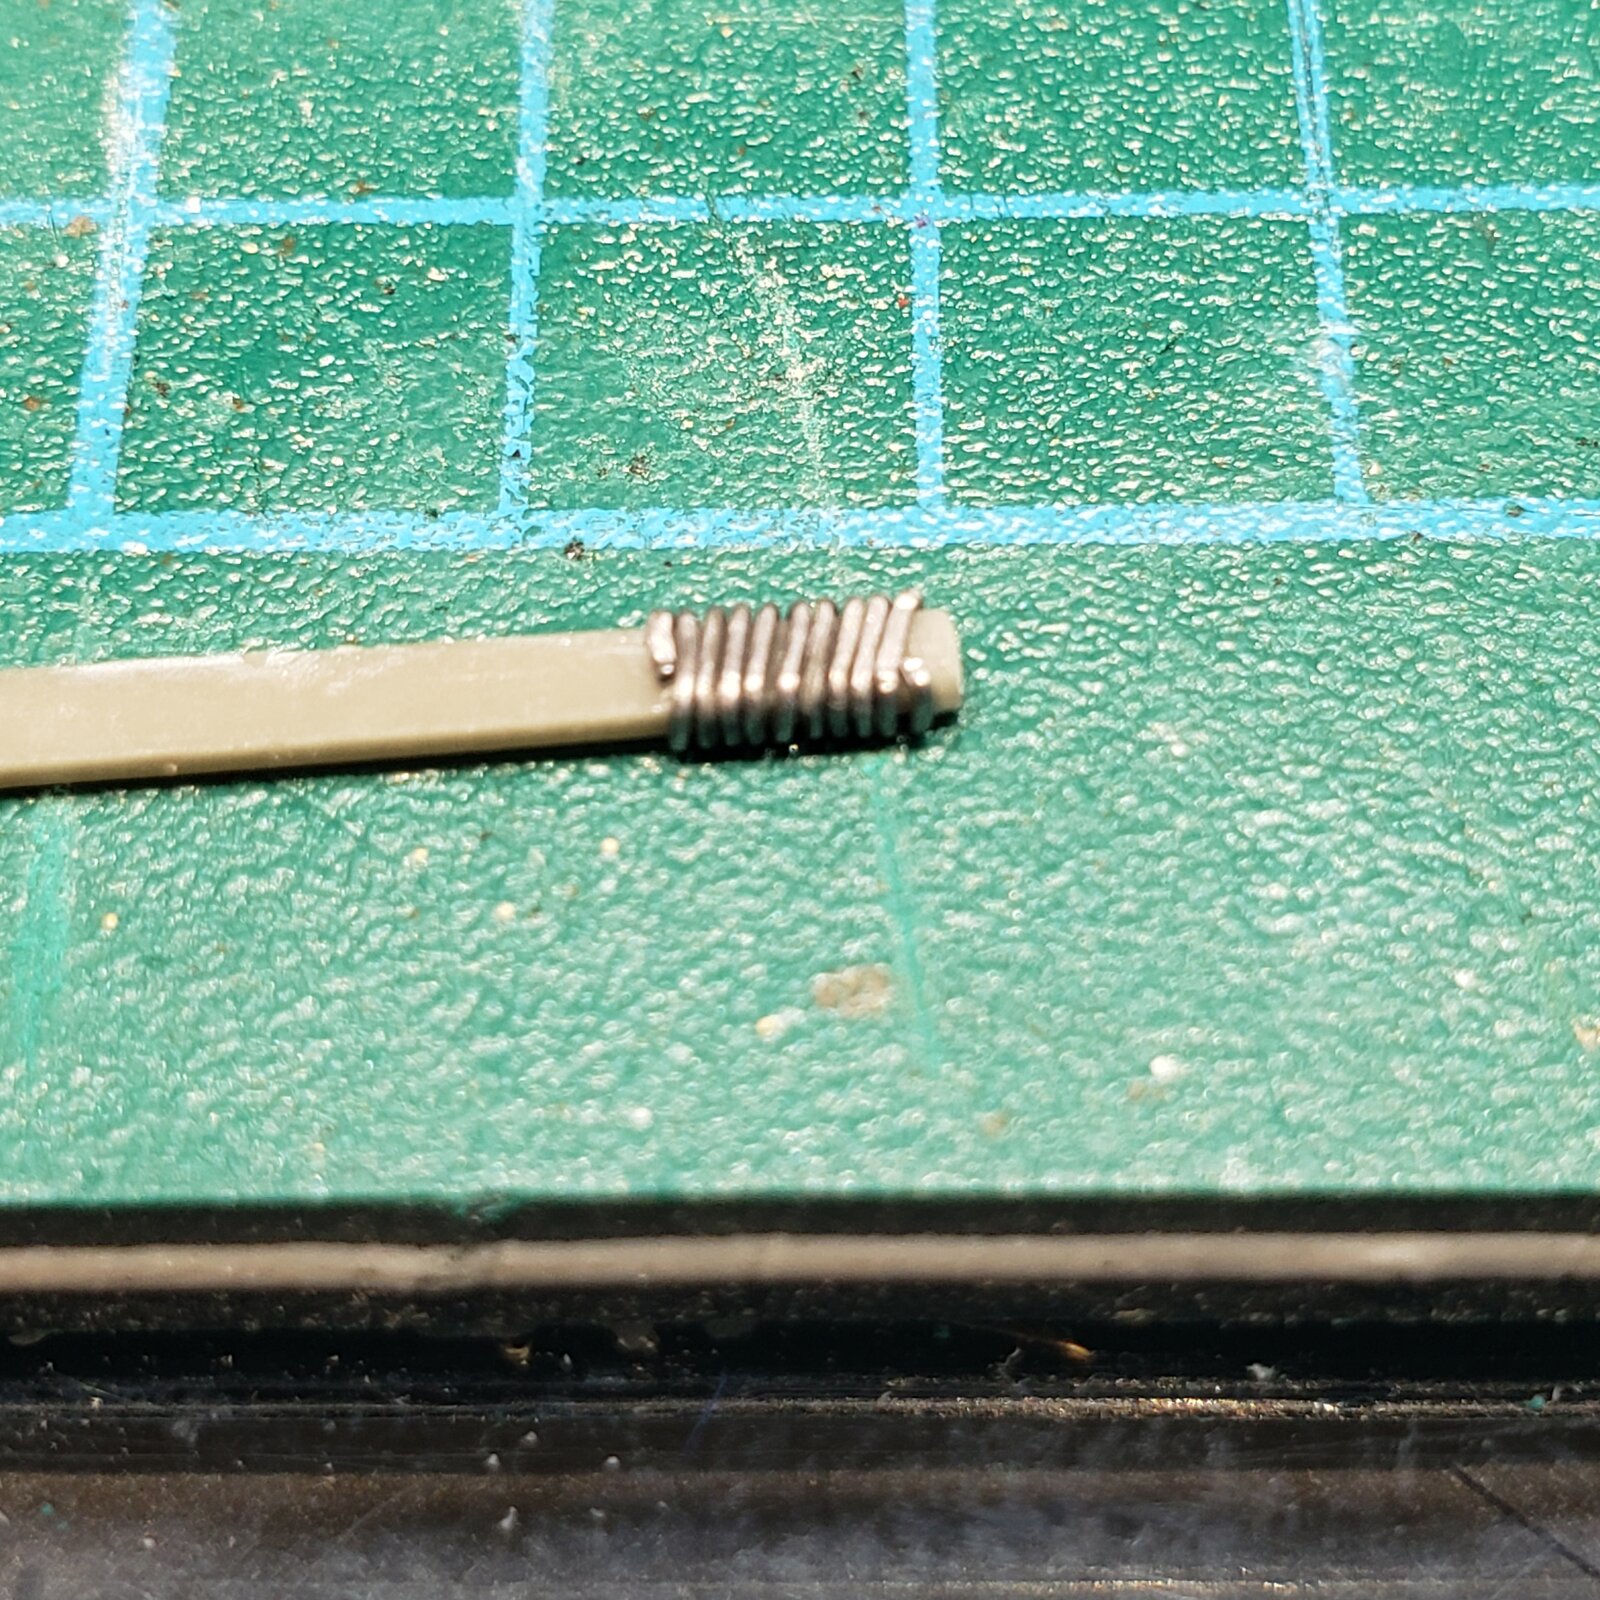
Folding light wire or lead wire.
The light wire is hard to fold square, but is rigid.
The lead wire is super easy to shape, but could easily get shmushed handling the model.
At this size, the light wire digs into the plastic piece. Free hand on flat tipped pliers is equally hard.
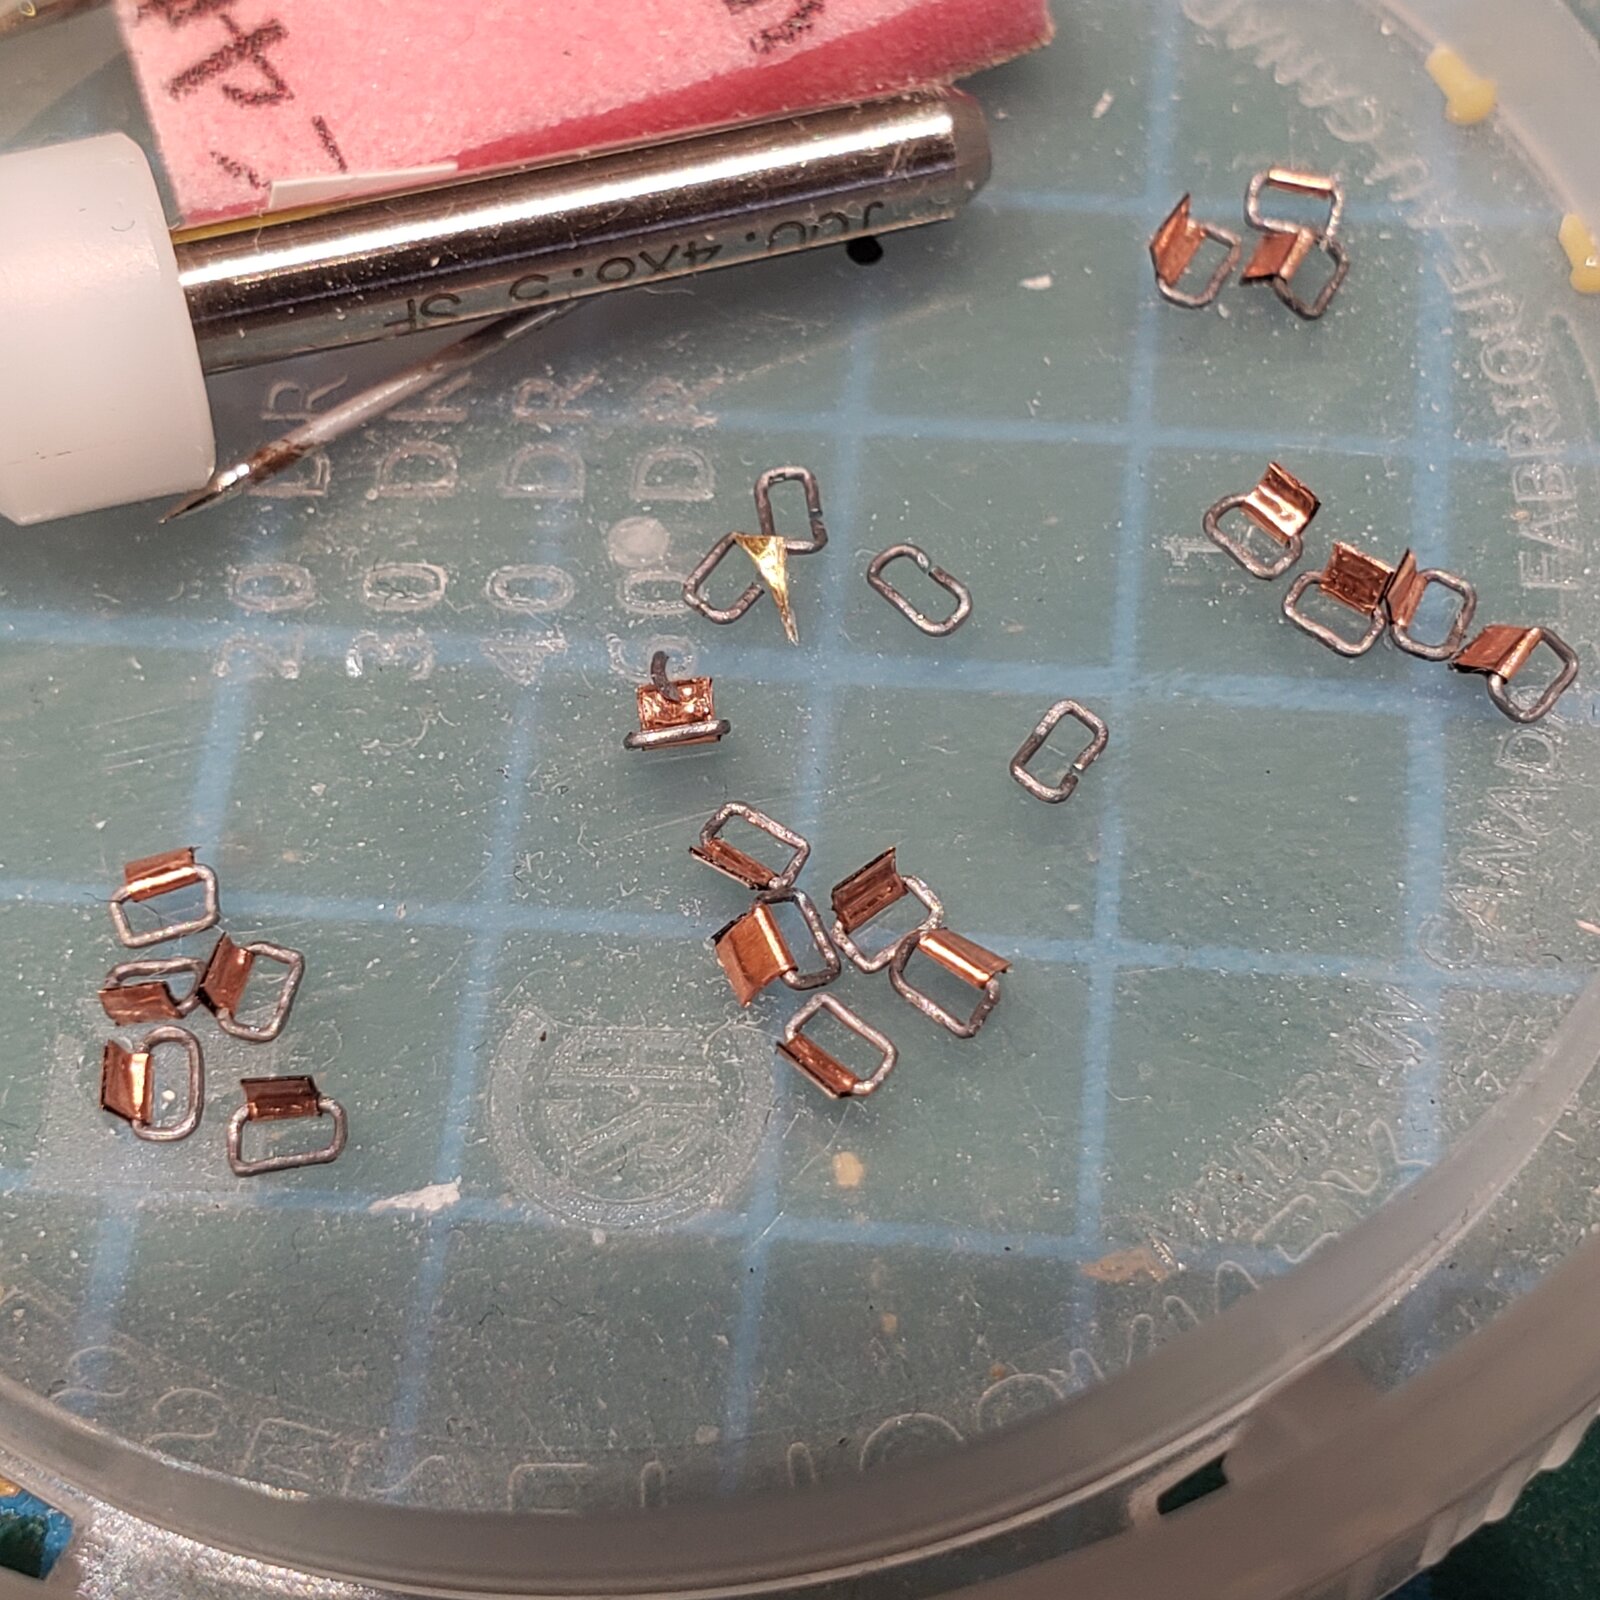
Wrapping the lead, gently persuading a rectangular shape, and one cut up the middle gives me plenty of near identical parts.

20250624_160504.jpg


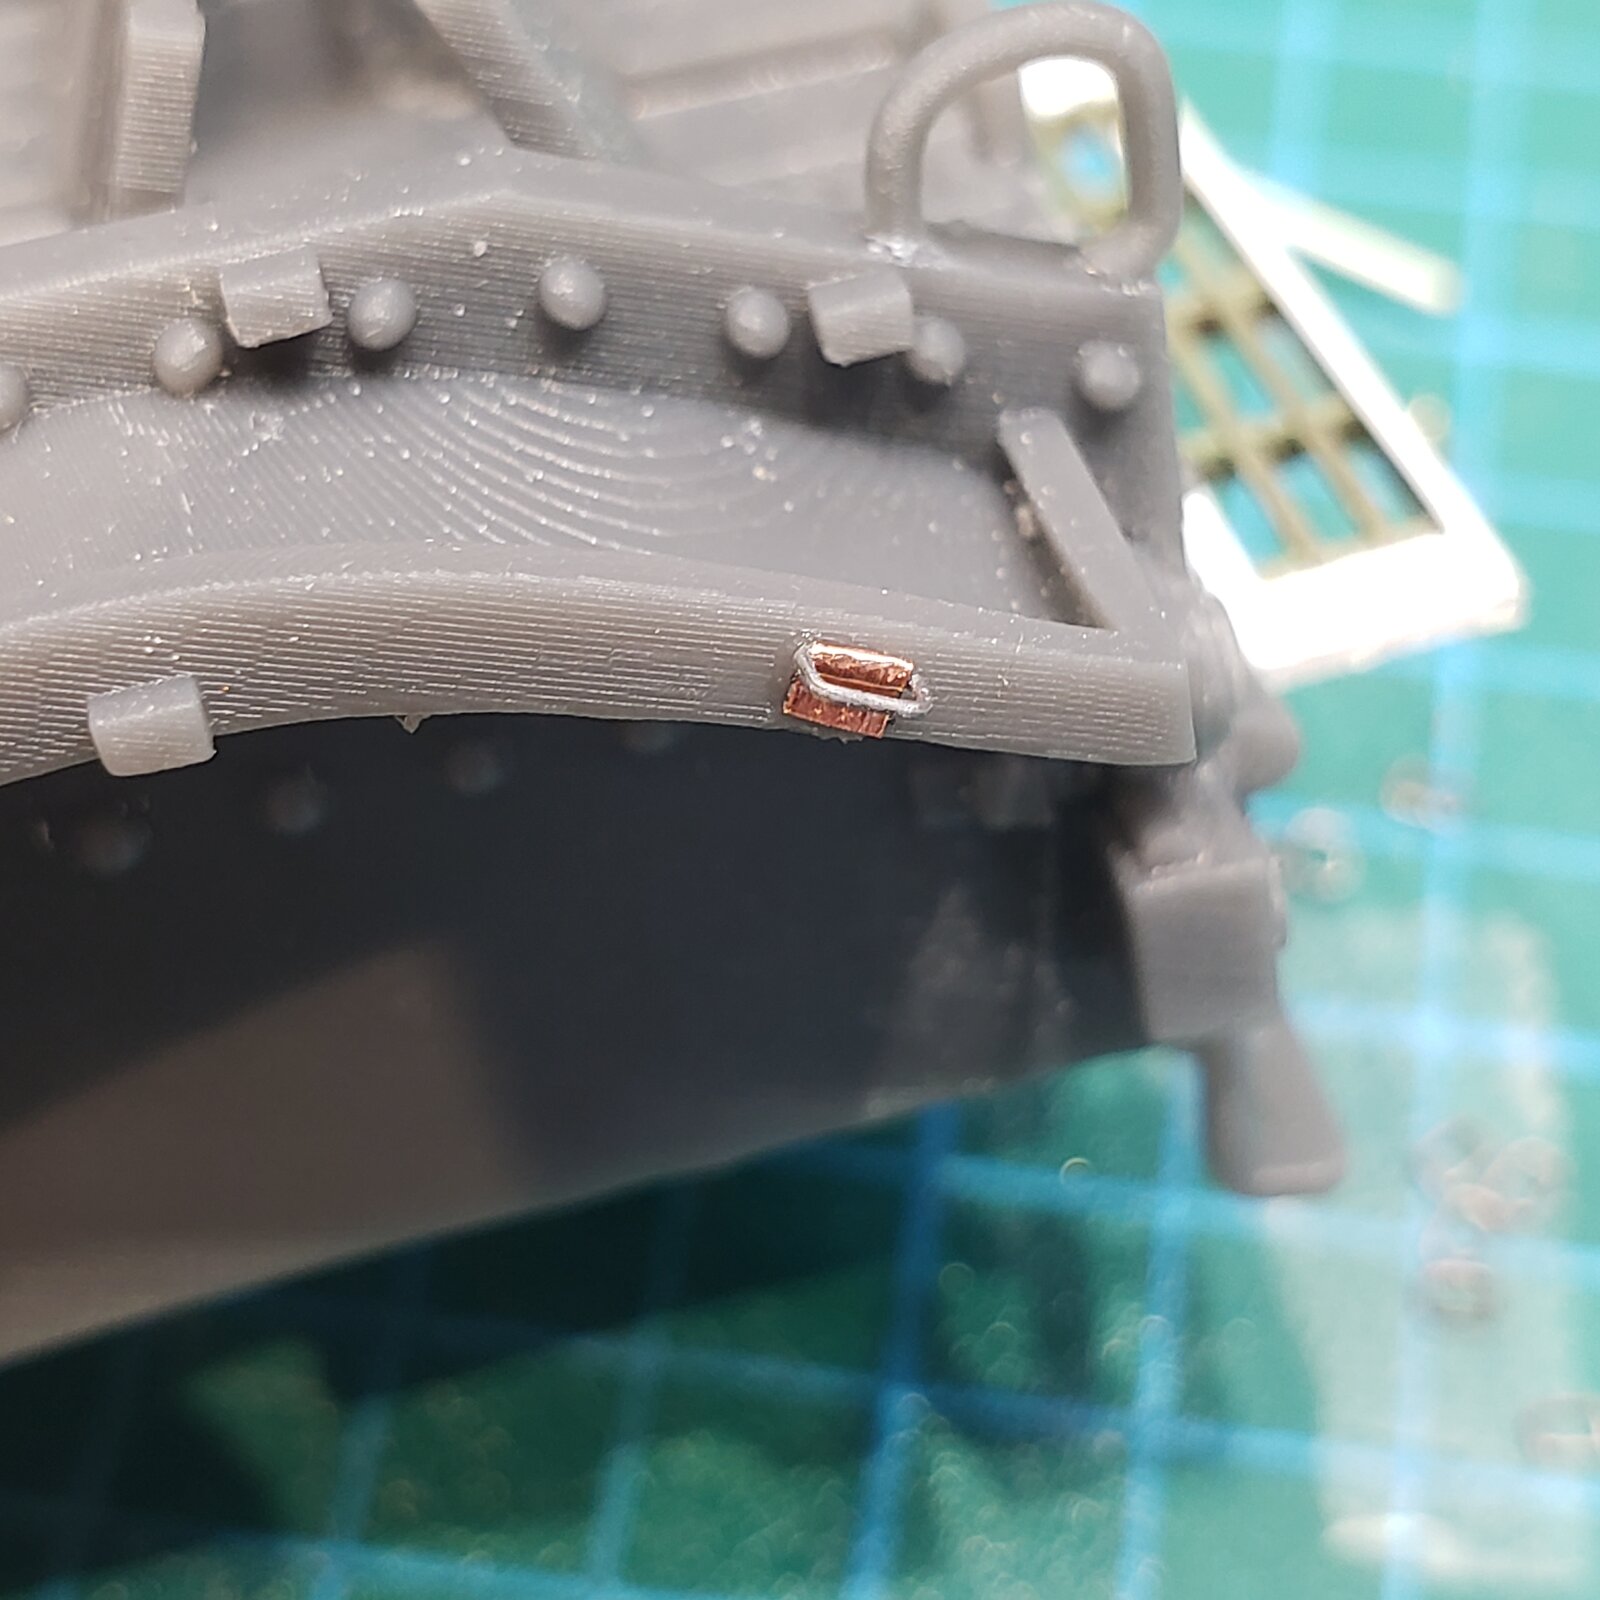
Before I do a bunch, with copper tape plates, better make sure it looks okay.
The blob next to it is the do nothing alternative...

20250624_163410.jpg
 
go with that,
Yup, I had come to the same conclusion and spent half the evening 'fabricating' a bunch!
Because they are delicate, I will wait until the vehicle is assembled before attaching.


Now onto the channel guides for the soft top poles and carefully removing all the nondescript blobs.

1750874276161670622616862867950.jpg
 

Latest posts

Back
Top