Ferris928
New Member
- Joined
- May 7, 2009
- Messages
- 623
Well, off we go (again) into the skies…
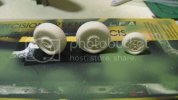
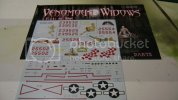
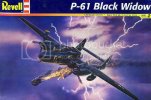
I’m sure many of you have seen this kit in the hobby stores for years. The first release of this kit was in 1974 (the year I was born). It’s one of those venerable kits; you know, those kits that will never go away and keep popping up in a new box every few years. Same molds â€" different box. I’m not sure about the decals though. My decals are pretty bad. Thankfully there are some aftermarket decals available (Soon to arrive with some weighted resin wheels from www.spruebrothers.com).
For as old as this kit is, it’s the only P-61 in 1/48. I guess AM Tech was planning on releasing one in 1/48, but they went under before that could’ve become a reality. Too bad. They were going to have all new tooling. :'(
I’m building the kit for my self, but also for a friend who, like me, has always loved the kit and plane. He told me that he started one years ago and /it didn’t work out between us.’ I built one long ago as well, and it didn’t survive past building. And it wasn’t done very well. So now that my modeling skills are better, I’m gonna take another stab at it. Also, maybe it might encourage him to start building again too. (Doubtful, but there’s still hope.)
Opening the box.
I was a little confused and disappointed. Everything was bagged up, except the clear parts. Thankfully the clear parts weren’t scuffed or damaged. And the decals I was strongly disappointed in. The box side photos show red walk boundary markings for the wing top that aren’t on the sheet and the decals look much better that what were printed before me. Granted, I knew that this was an old kit and I’d probably have to get new decals anyways, it was still a little bit of a let down. One would think that with a new release, they’d up date the decals at least.
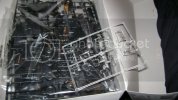
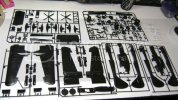
The sprues.
They looked good in their raised detailed goodness. I wasn’t too concerned with dips and low points in the pieces, unless there were very noticeable ones. Of which there wasn’t.
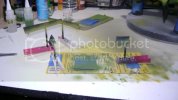
So after degreasing everything with Simple Green and drying them off, I set out to begin to set up the sub assemblies for paining and such.
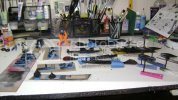
A word of advise if you plan to ever build this kit, check everything piece for problems. That is, even though there wasn’t a huge amount of flash (A bit there was), there were ‘build ups’ along the joint lines for the two tail booms and wings. That edge along the part where you have the male and female plug type things...brian not functioning...can't think of words. It would be smooth for most of it, then I’d come across some bumps along that area. (If that makes sence) Moral of the story, look over every part carefully. I should've taken a pic of them.
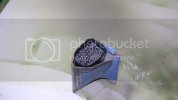
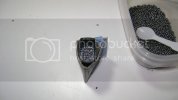
Here I’ve started with lead weight for the nose, by the time I’m done this will be full.
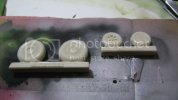
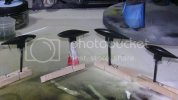
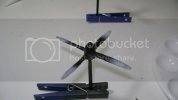
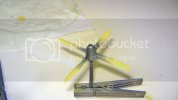
Prop blades get a base of white then yellow. After I future them, I’ll mask the tips and paint them black.
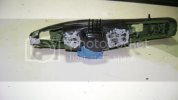
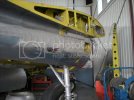
The main fuselage interior I’m paining GREEN zinc chromate and the side gear bays and inner engine housings YELLOW zinc chromate. From my available research (Many books and the net) I can’t find a color picture of the inside of a finished P-61. All the instructions say is Zinc Chromate, not green not yellow. I found an article on Interior Colors of aircraft during WWII and it’s not much help, beyond saying it’s both colors. So, since I figure I can’t go wrong with it, I’m taking it. Though I did find a color pic of a trio of P-61’s two had were Very weathered. The black paint was heavily chipped and worn away; you could see that they were primed in YELLOW zinc chromate.
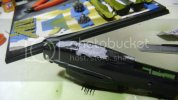
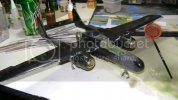
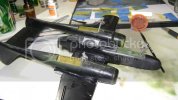
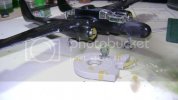
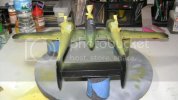
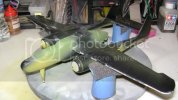
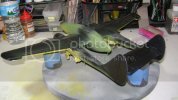
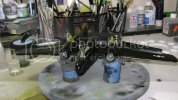
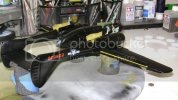
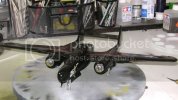
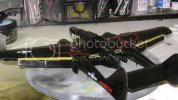
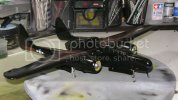
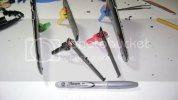
So, I’ve done the interior colors, drop tanks and landing gear. Also I took a silver sharpe and went along the edges of the wings and flaps to see where I need to fill in.
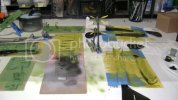
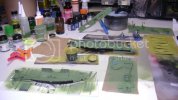
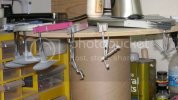
That’s my progress so far.
Thanks for checking it out.
Cheers!

