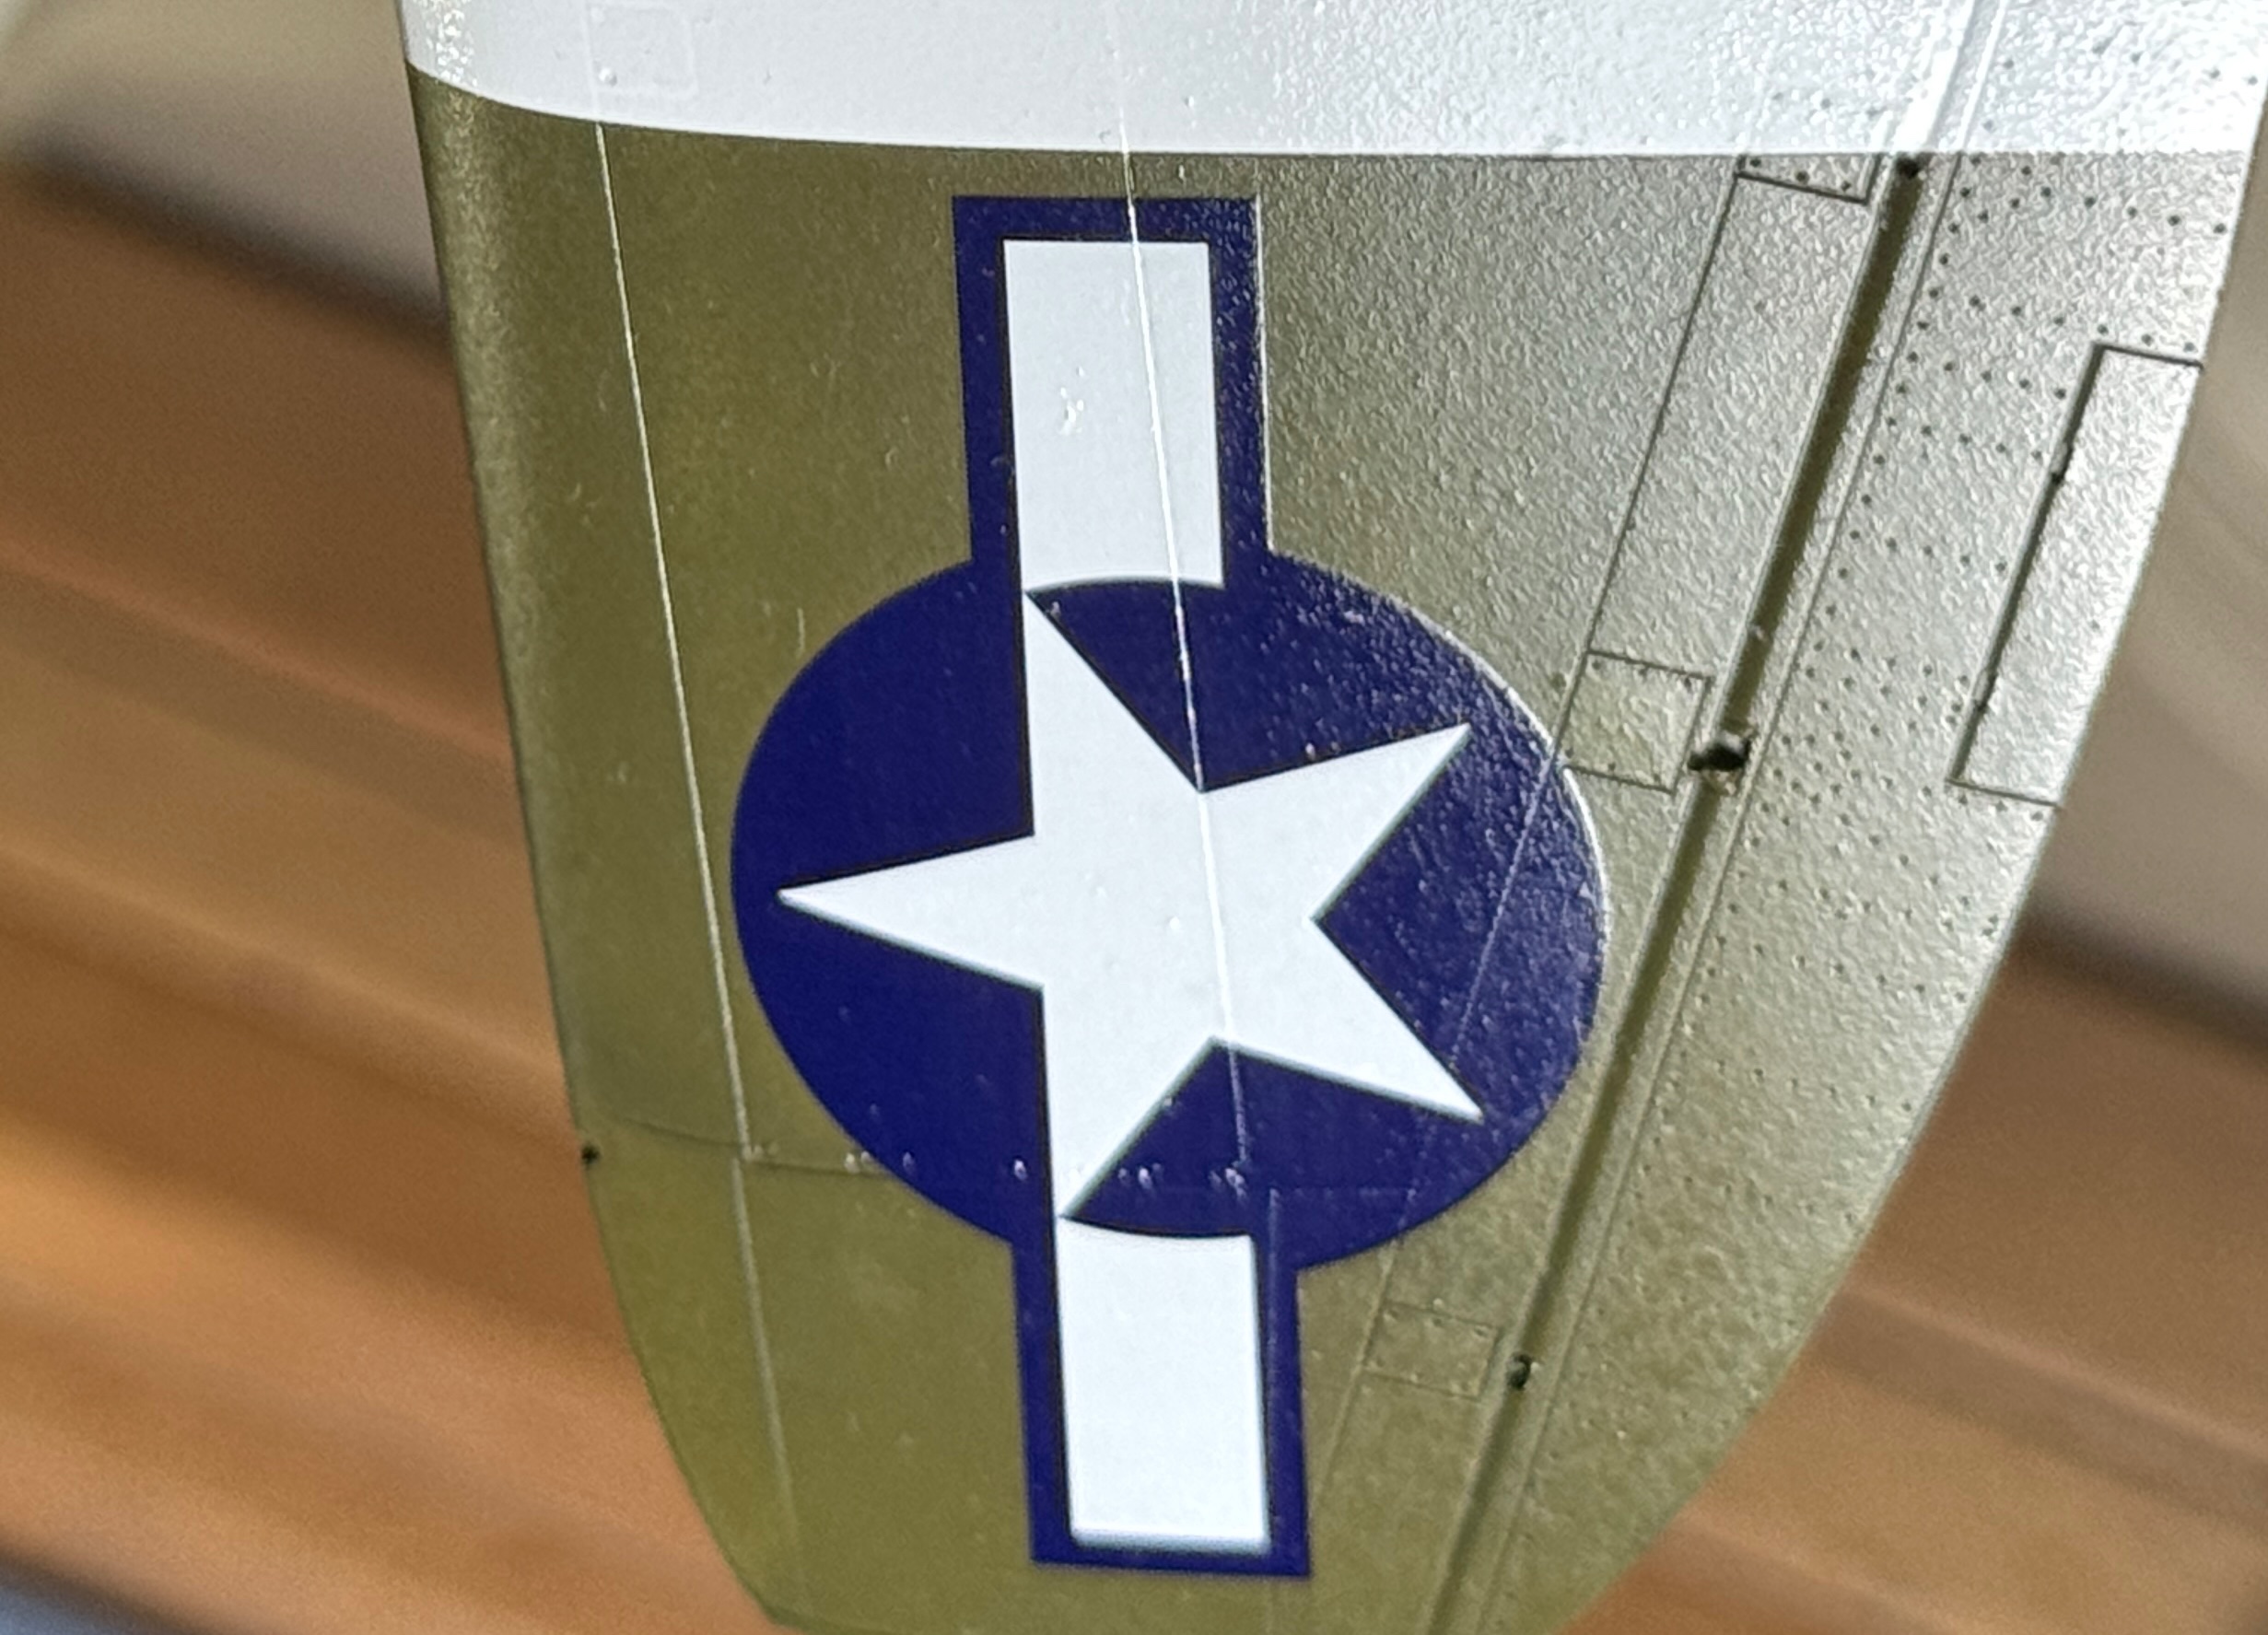
P-47D 1:48 Lt Augustus Hamilton

Scale Model Addict - Model Tips, Guides, Tools & Tech, Tutorials, and Community

Help Support Scale Model Addict:

ohbejuan

Well-Known Member
Joined
Mar 21, 2021
Messages
657
Thanks to everyone who commented on this thread and helped me with research and suggestions on this post
https://www.scalemodeladdict.com/threads/p-47-thunderbolt-research-help.15715/

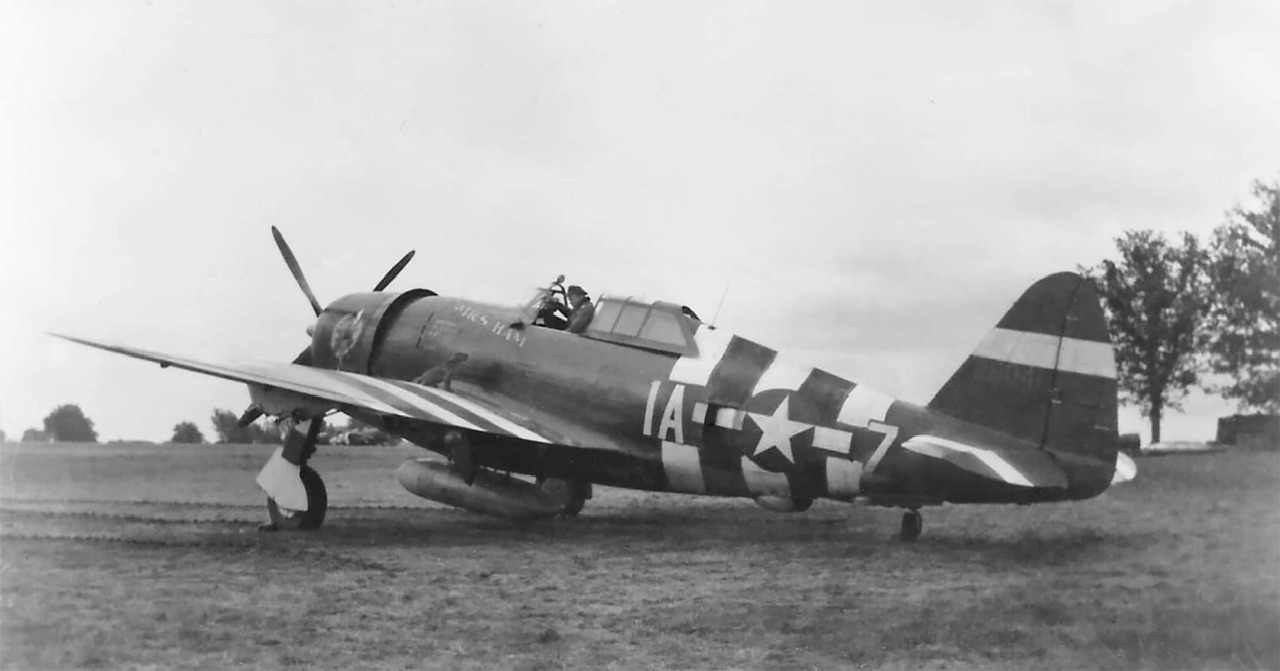
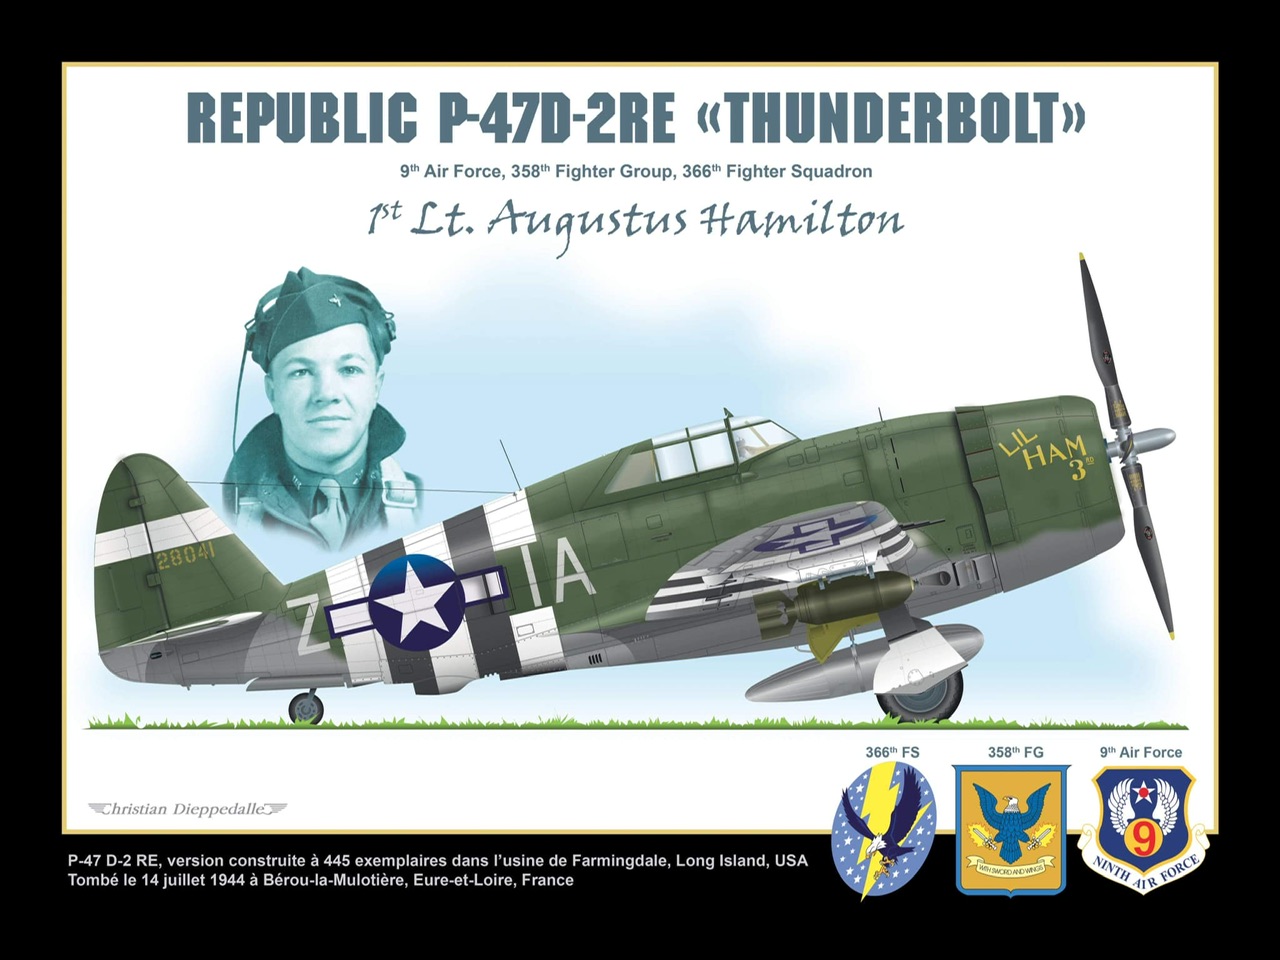
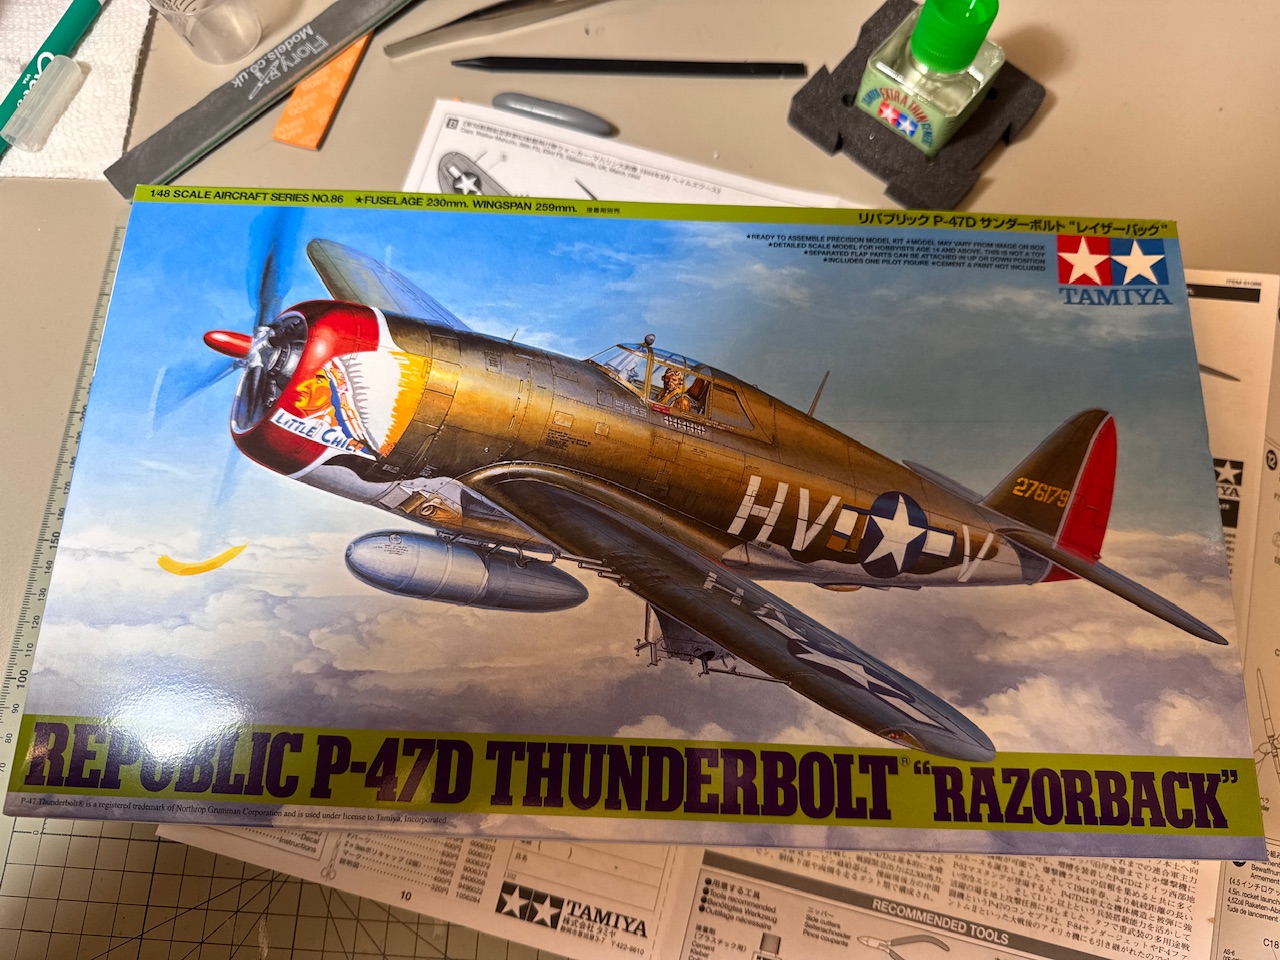
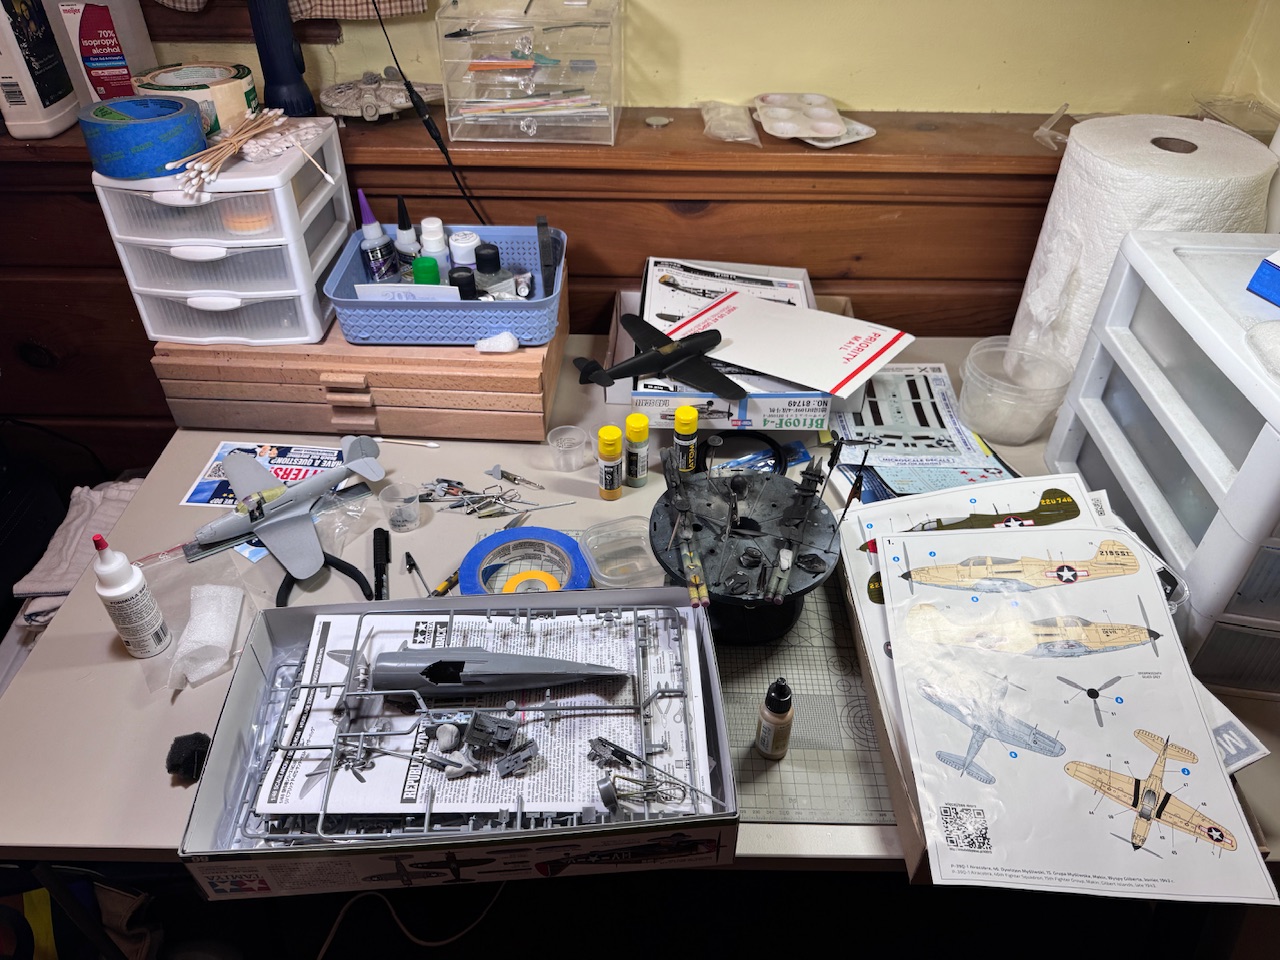
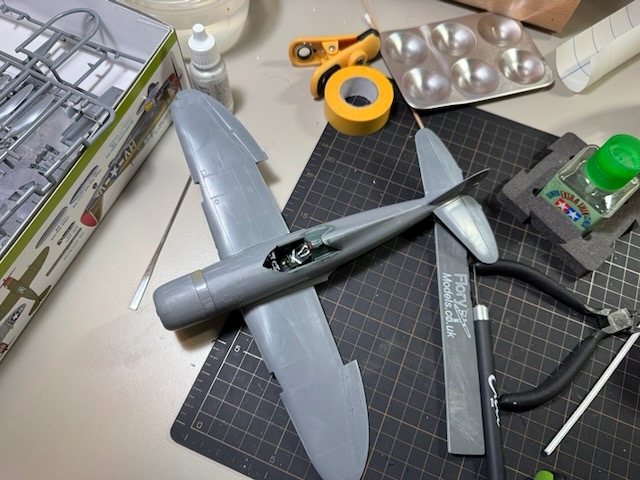
I have purchased a kit, and some after market. I am ready to get started. I am pinning reference photos here at the top.
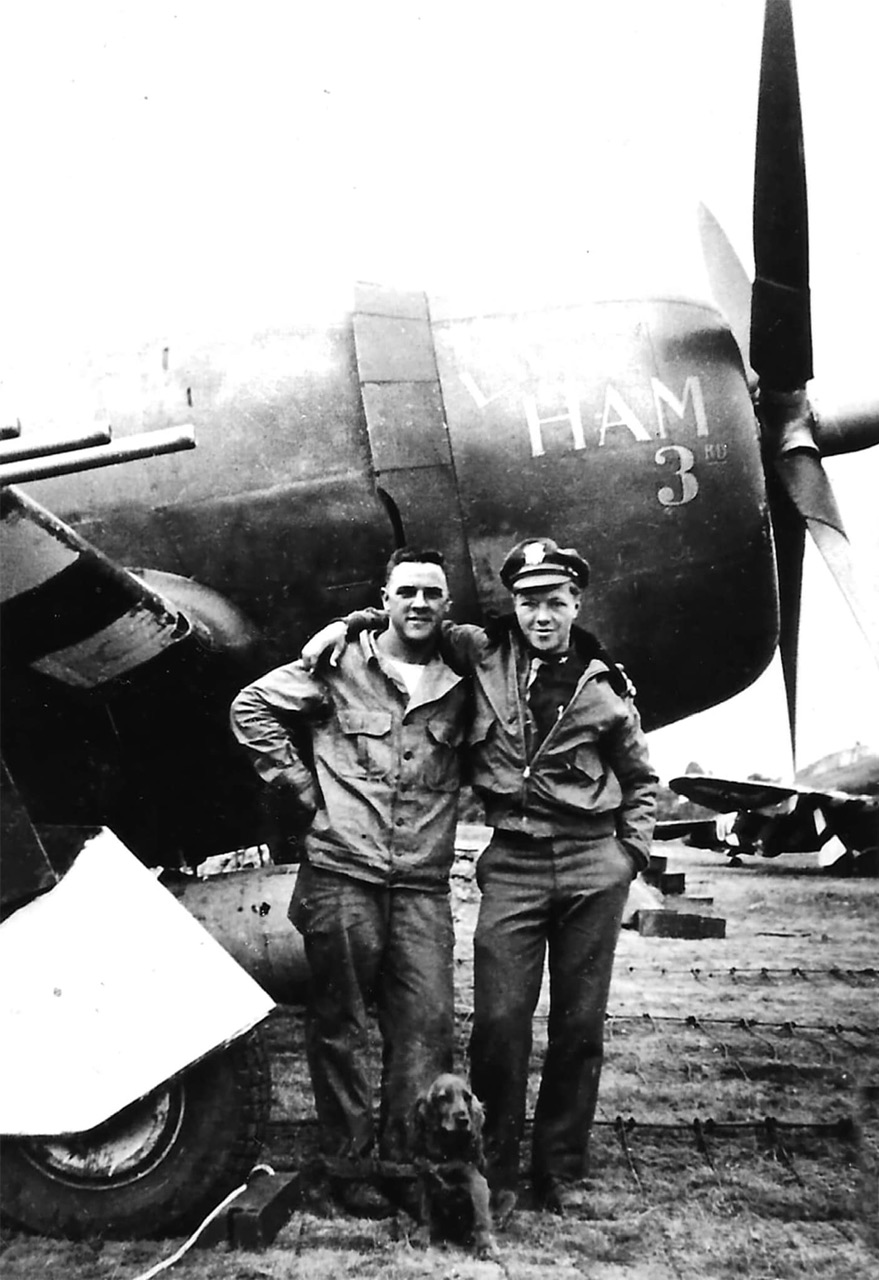
339793100_6194389667270450_7923951490285083656_n.jpeg


339729077_750595919852439_4108954302031379269_n.jpeg


339897120_1856950091331084_4746673909566536304_n.jpeg


IMG_5558.jpeg


Wish me luck
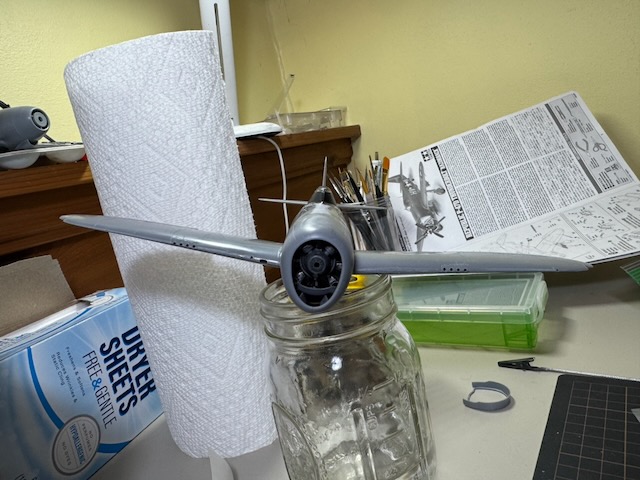
 
The Tamiya P-47's are nice kits to build. I have a bubble top in the stash. I've taken to doing OOB builds but am very interested in doing a Gabby build with it. It's on the back burner for now though so who knows. Look forward to seeing all your projects completed.
 
OK after a looooong (and much needed) break from the hobby I have picked back up and I am working on this project again. Someone else here just did an excellent version of this same kit, and I found it inspiring.

IMG_5777.jpeg
 
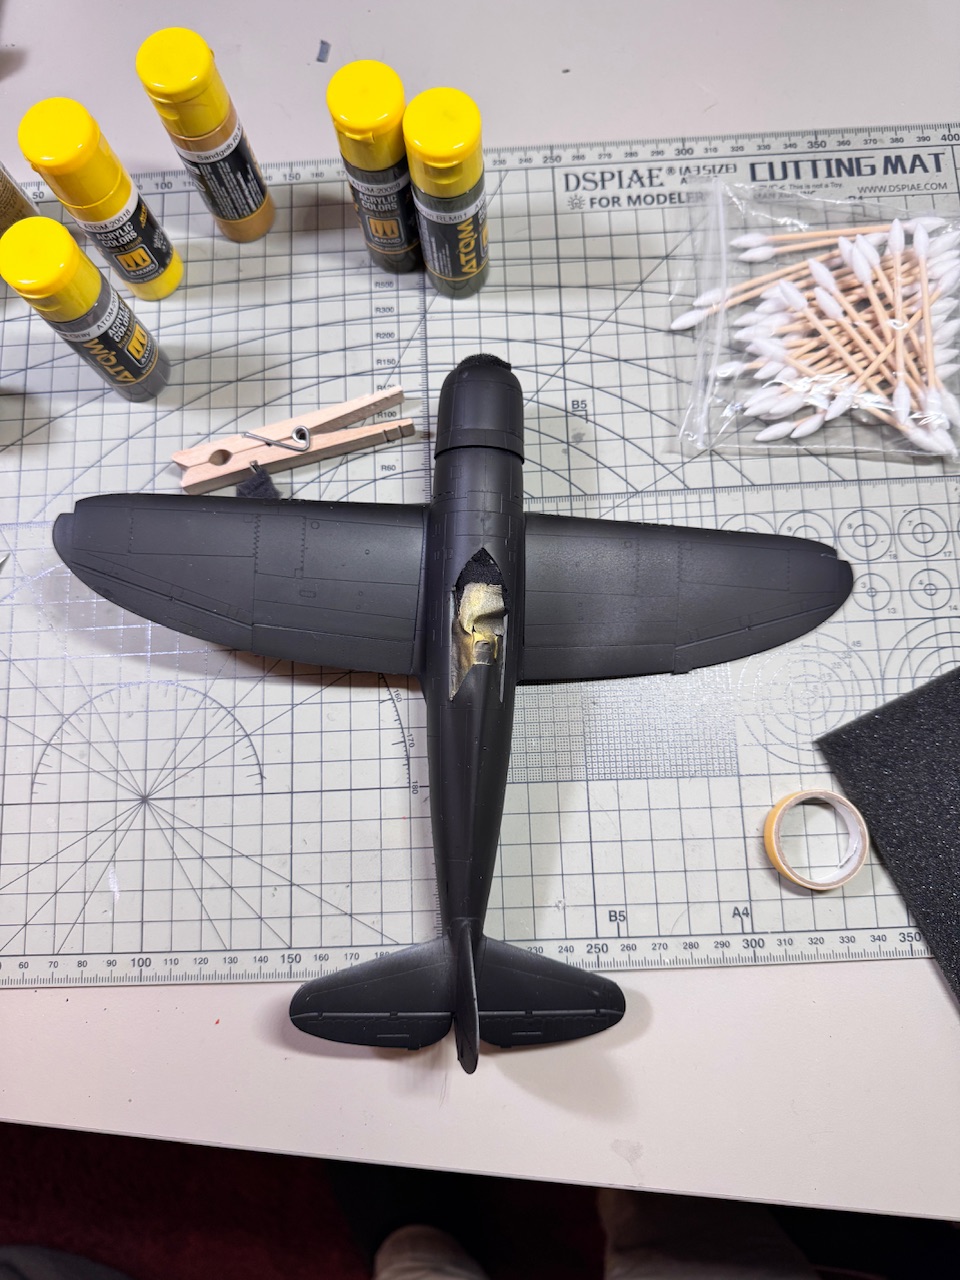
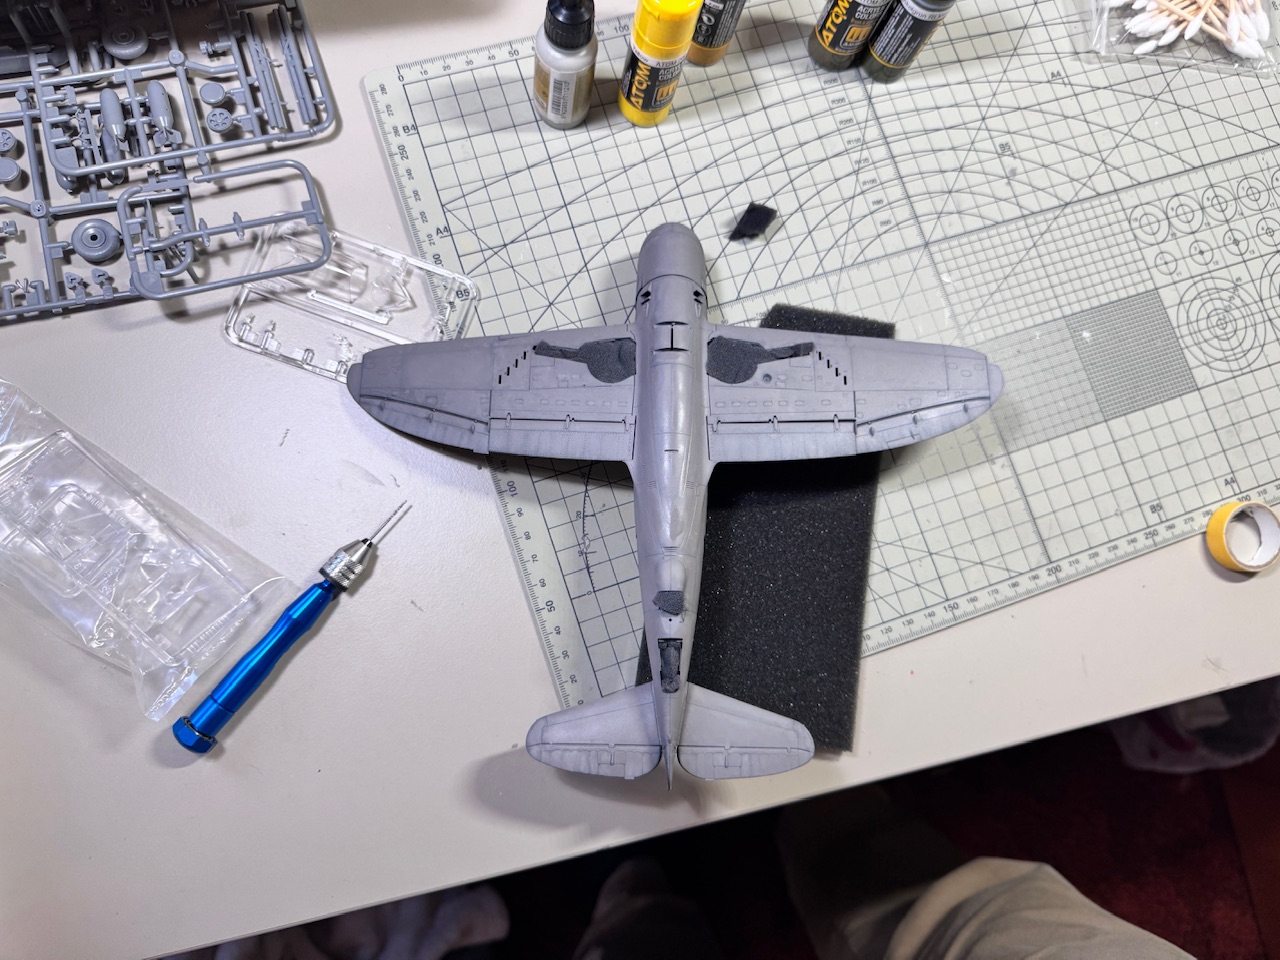
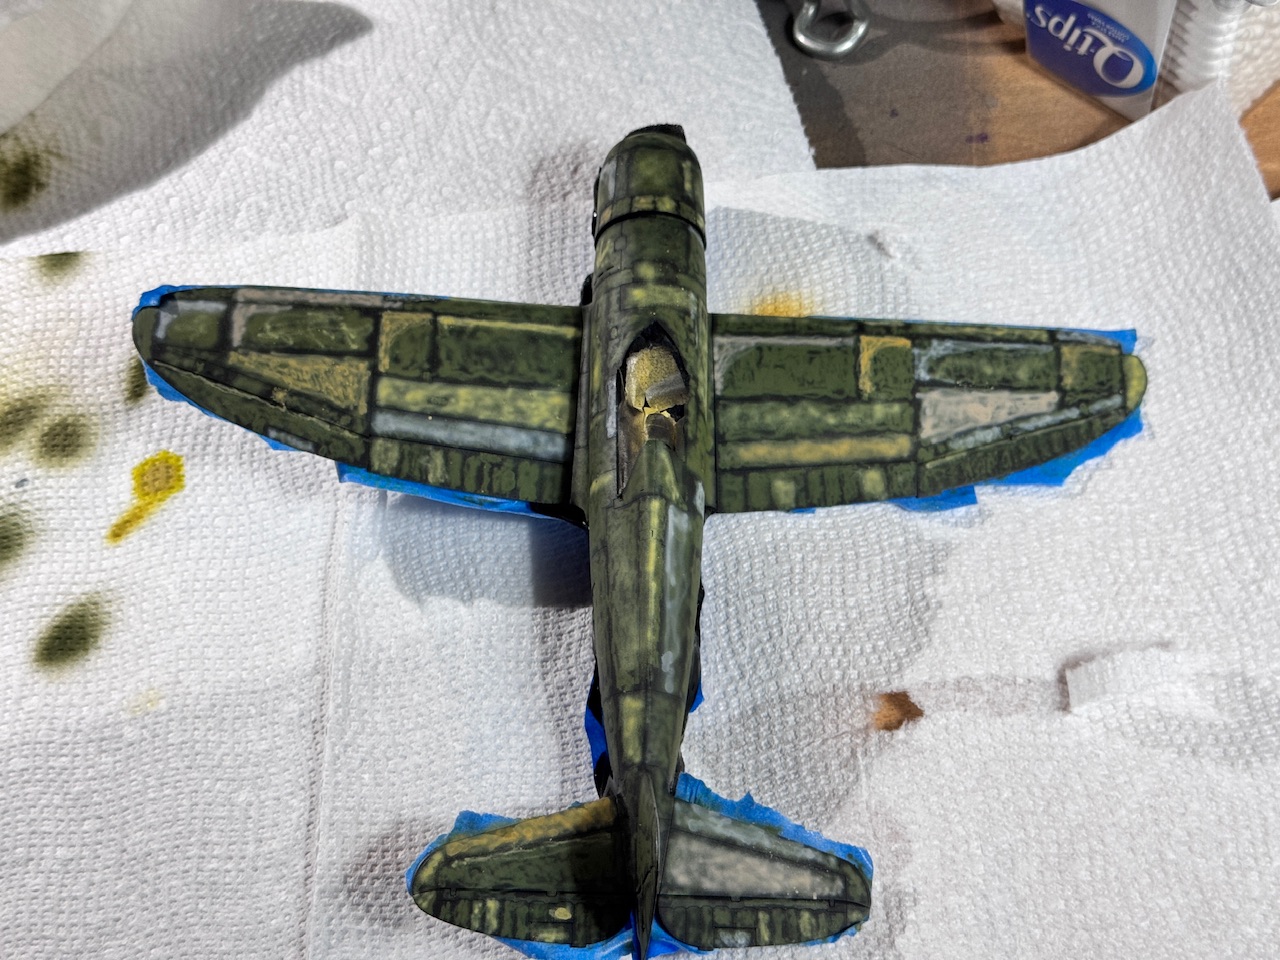
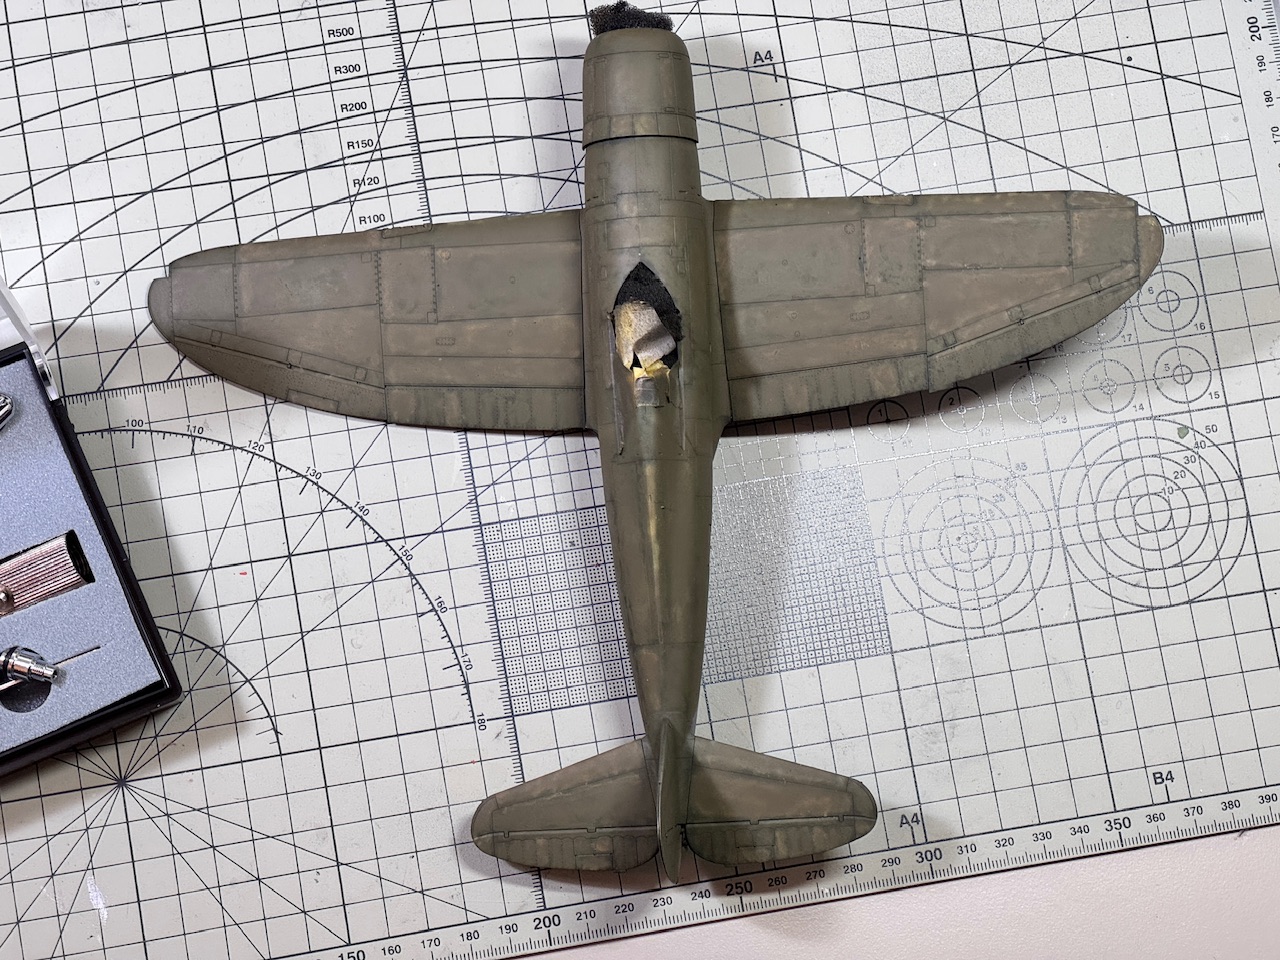
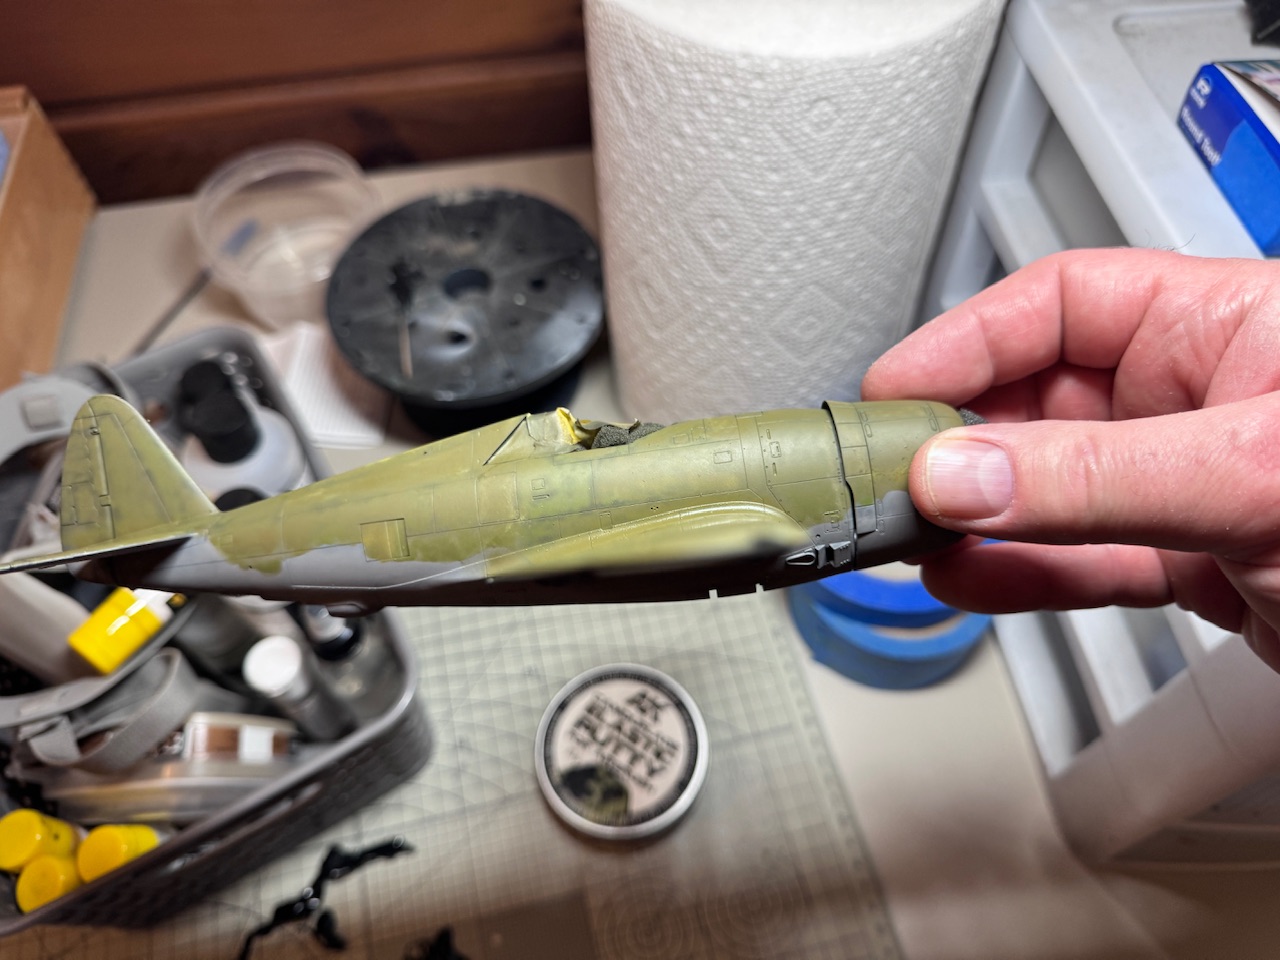
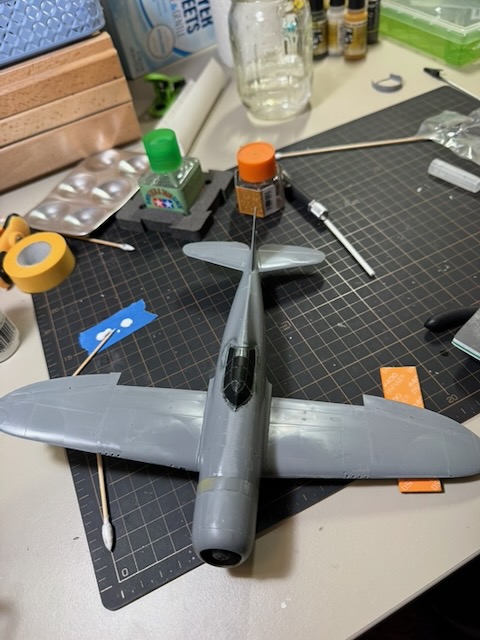
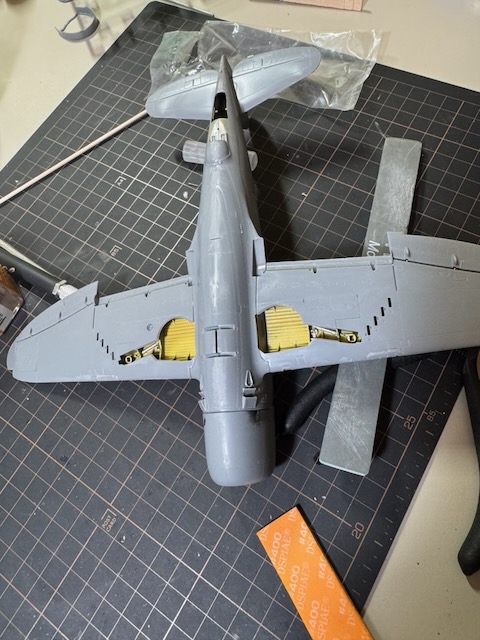
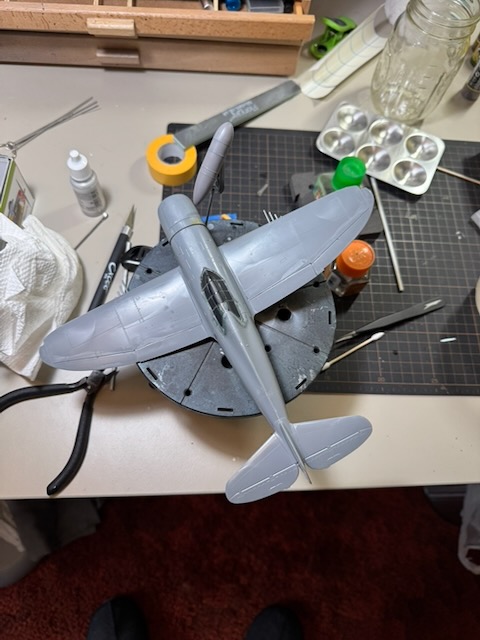
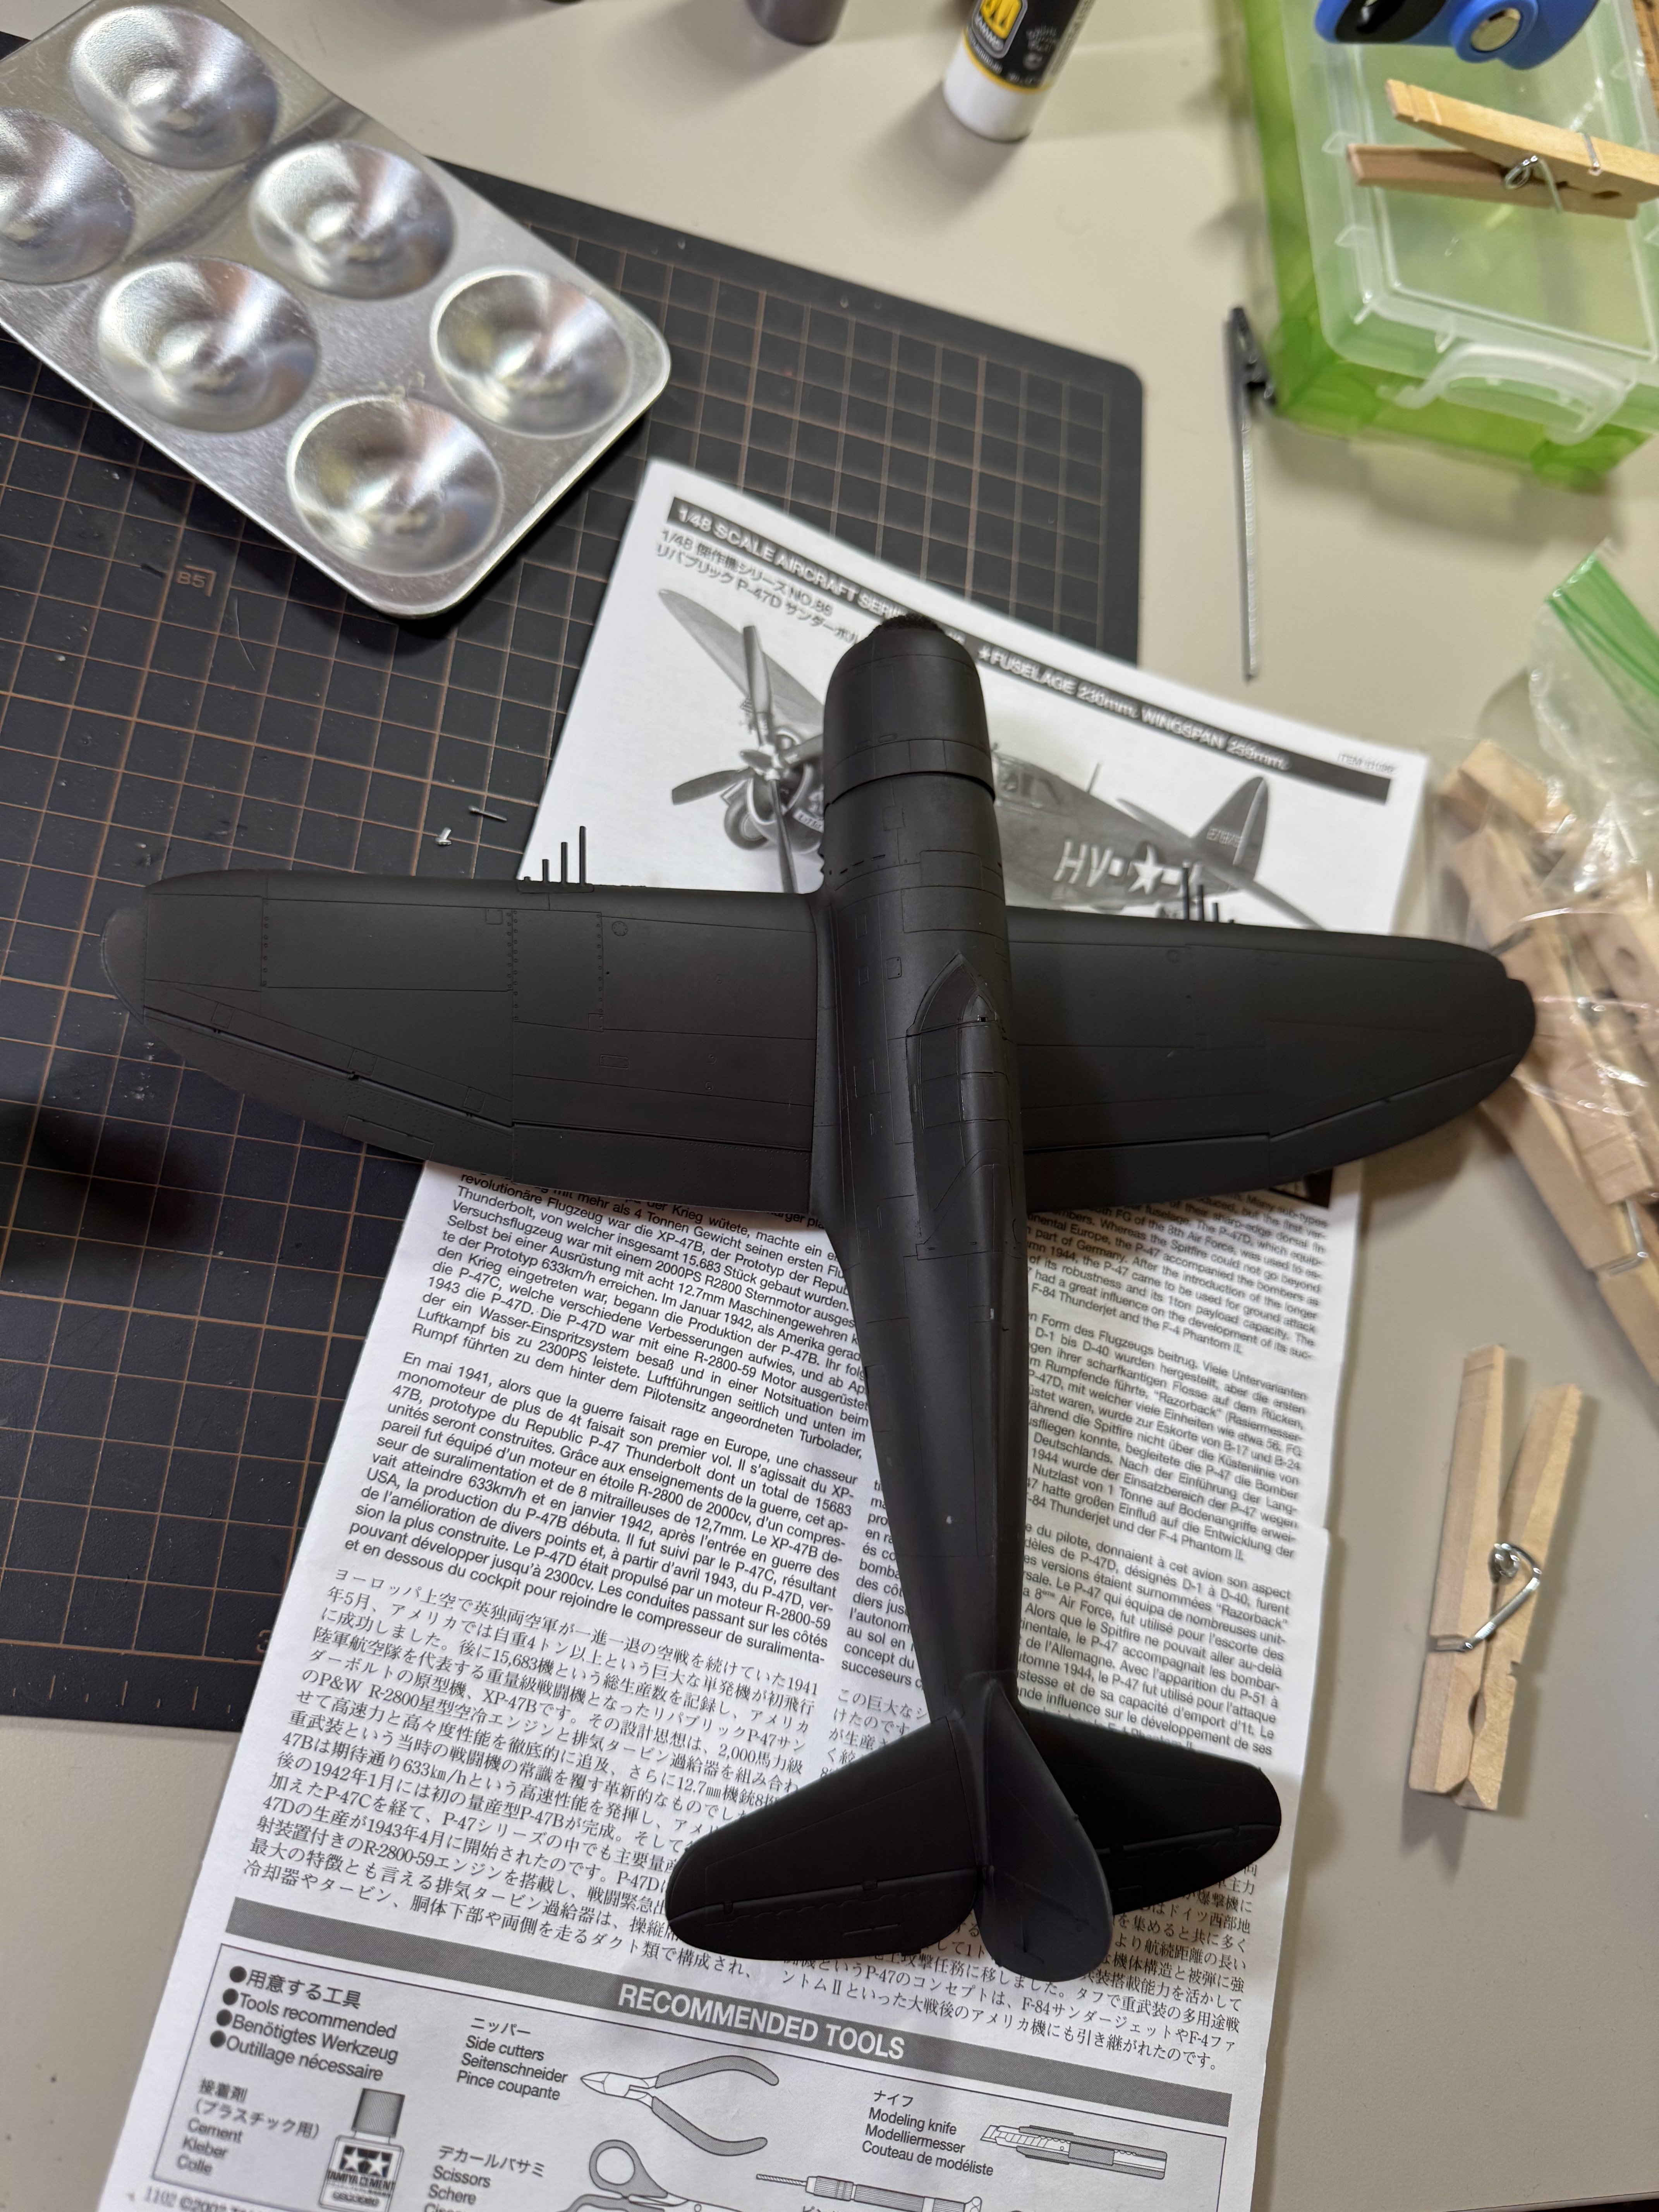
I have been so busy with work I have not updated in a bit. I made some good progress on the base coats. After I clean up the edge between the top and the bottom, I will be ready to paint the invasion stripes and markings.
IMG_5835.jpeg


IMG_5855.jpeg


IMG_5911.jpeg
IMG_5923.jpeg

IMG_5915.jpeg
 
Wow, some nice underpainting!

But the green in the last two photos changes drastically.
I like the darker green in photo 4 but the lighter green (#5) is not correct.

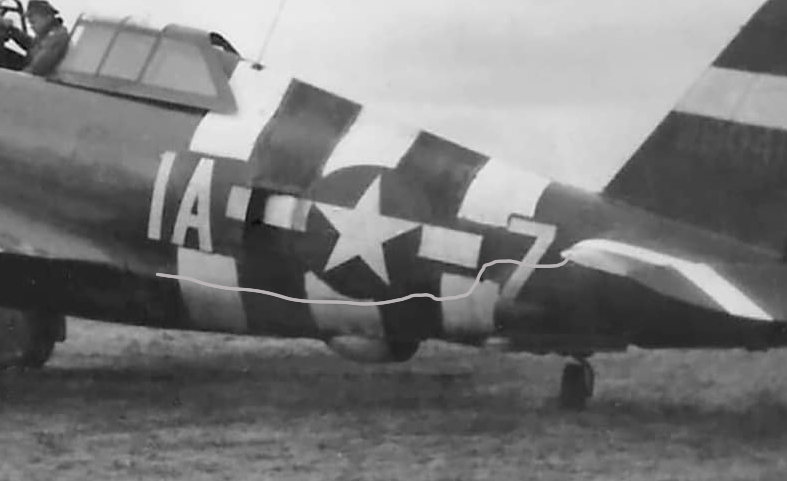
Also, the underside gray did not reach that high on the fuselage.
You have it above the wing, when it should align with the wing edge.
(same goes up front)
It also kicks up much further back, near the tail plane.
Its more like what I've drawn on the photo.

Did you get a handle on the nose art?
I've done some more research, and I think I have some insight for my model.
It'll be some time before I get it done though.

lil ham p47 (1) detail.jpg
 
This is great feedback! The only difference between photos 4 and 5 is lighting. Photo 5 is held right under a bright LED. Looking at the finished coat 36 hours later with the naked eye it looks much more like the darker paint in photo 4. As far as the nose art, zero luck. I am proceeding, but if I can't find it I will complete it without. The person I am making it for does not mind. I would like to get it for completeness, but research is not a strong suit for me.
 
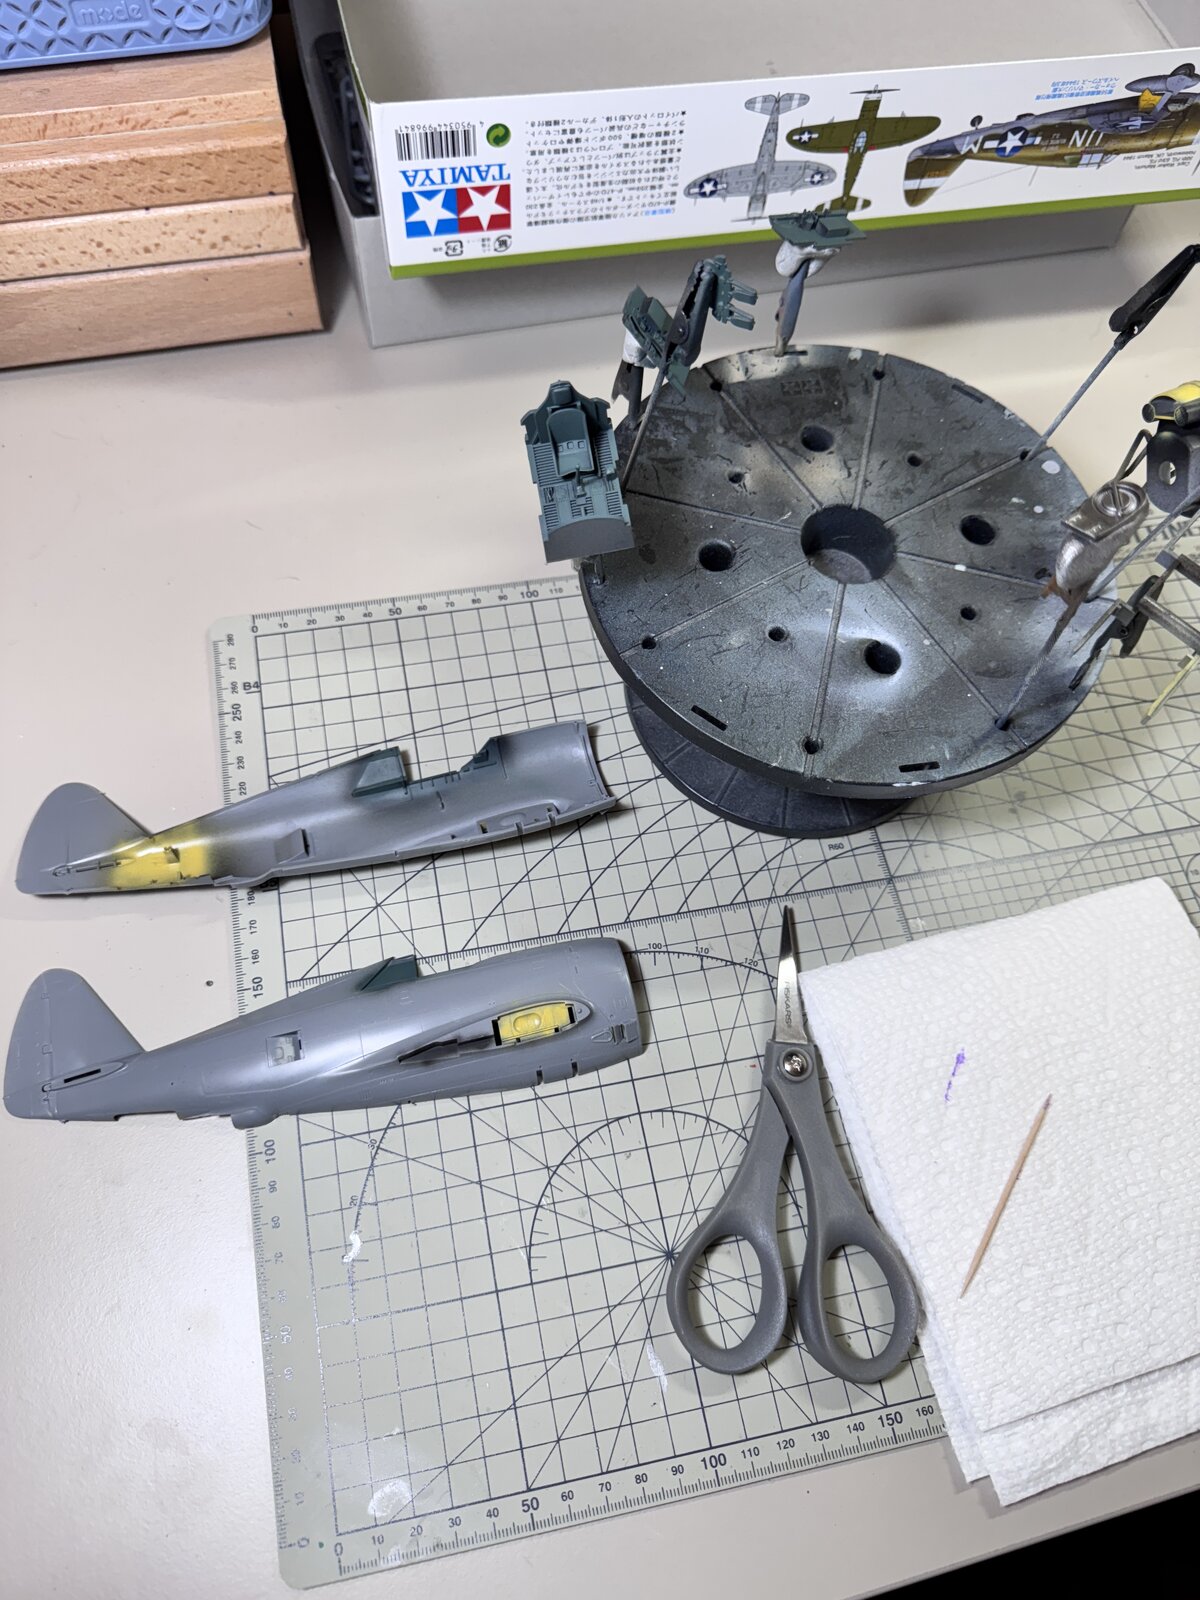
Ok... this may seem like a rash decision, but it was actually pretty deliberate... I have been stuck here for 6 months and i needed something to get this project back on track
IMG_7551.jpeg


IMG_7550.jpeg


IMG_7549.jpeg


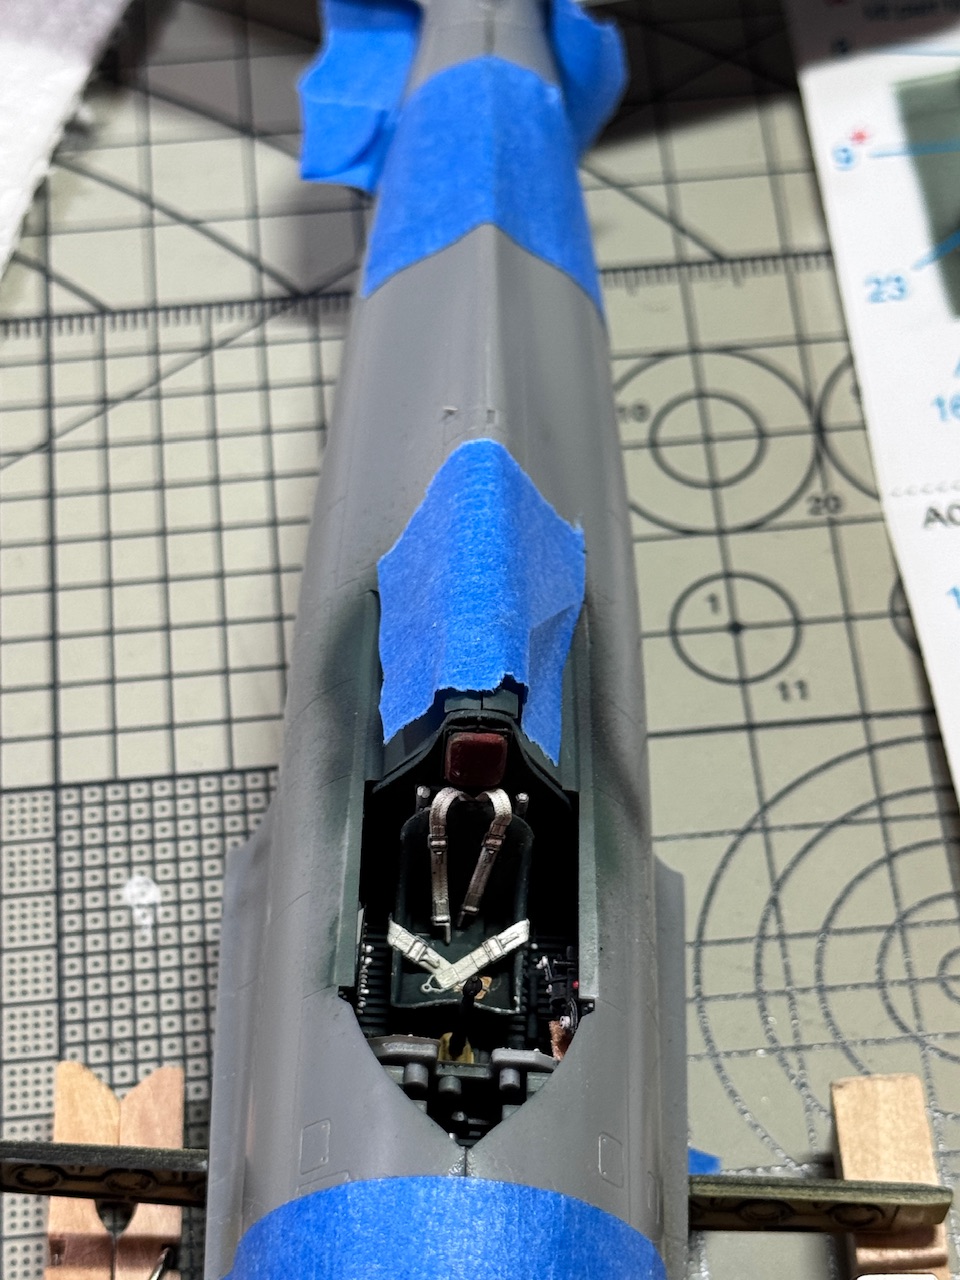
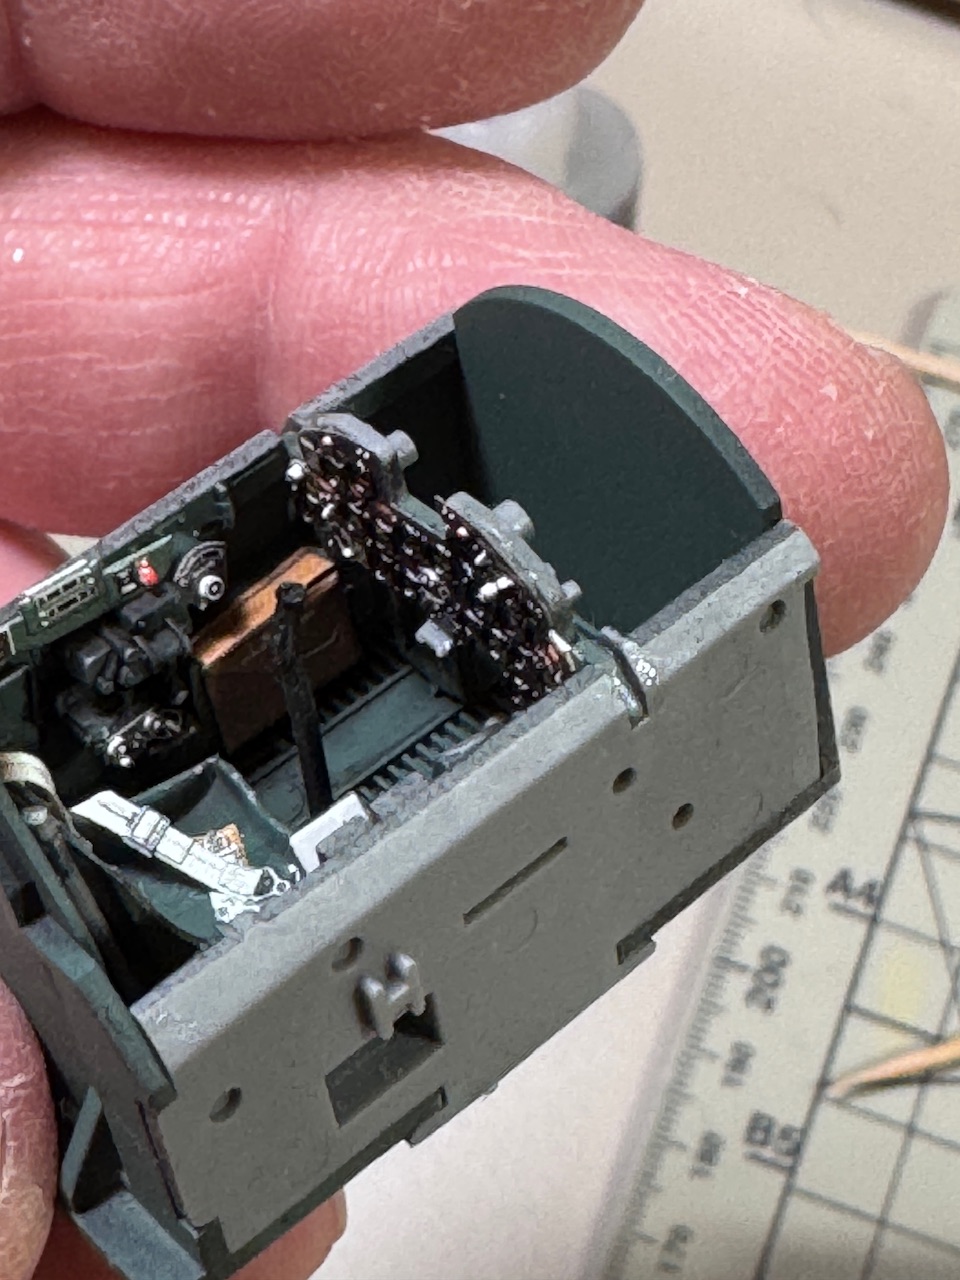
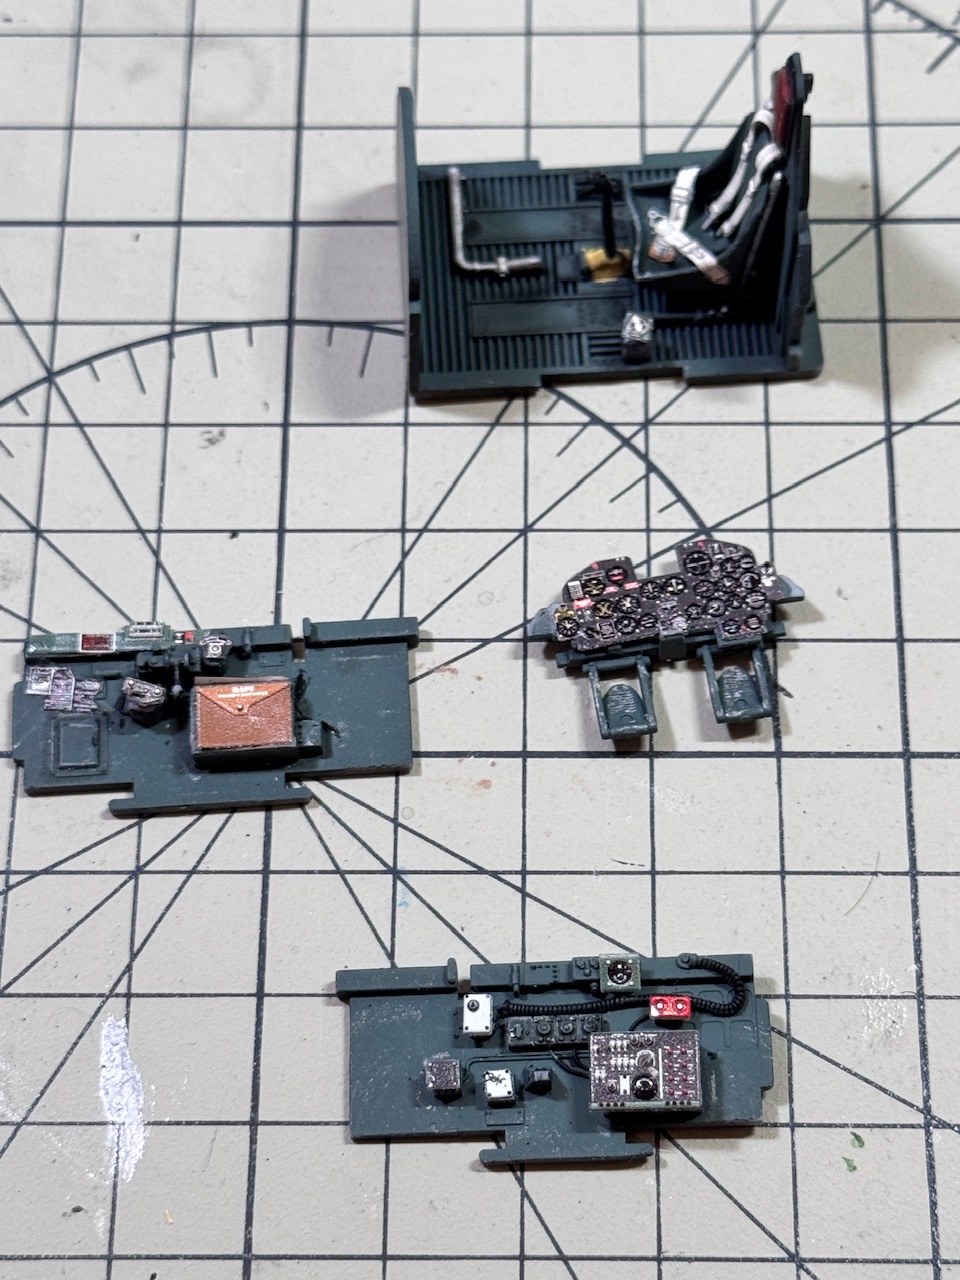
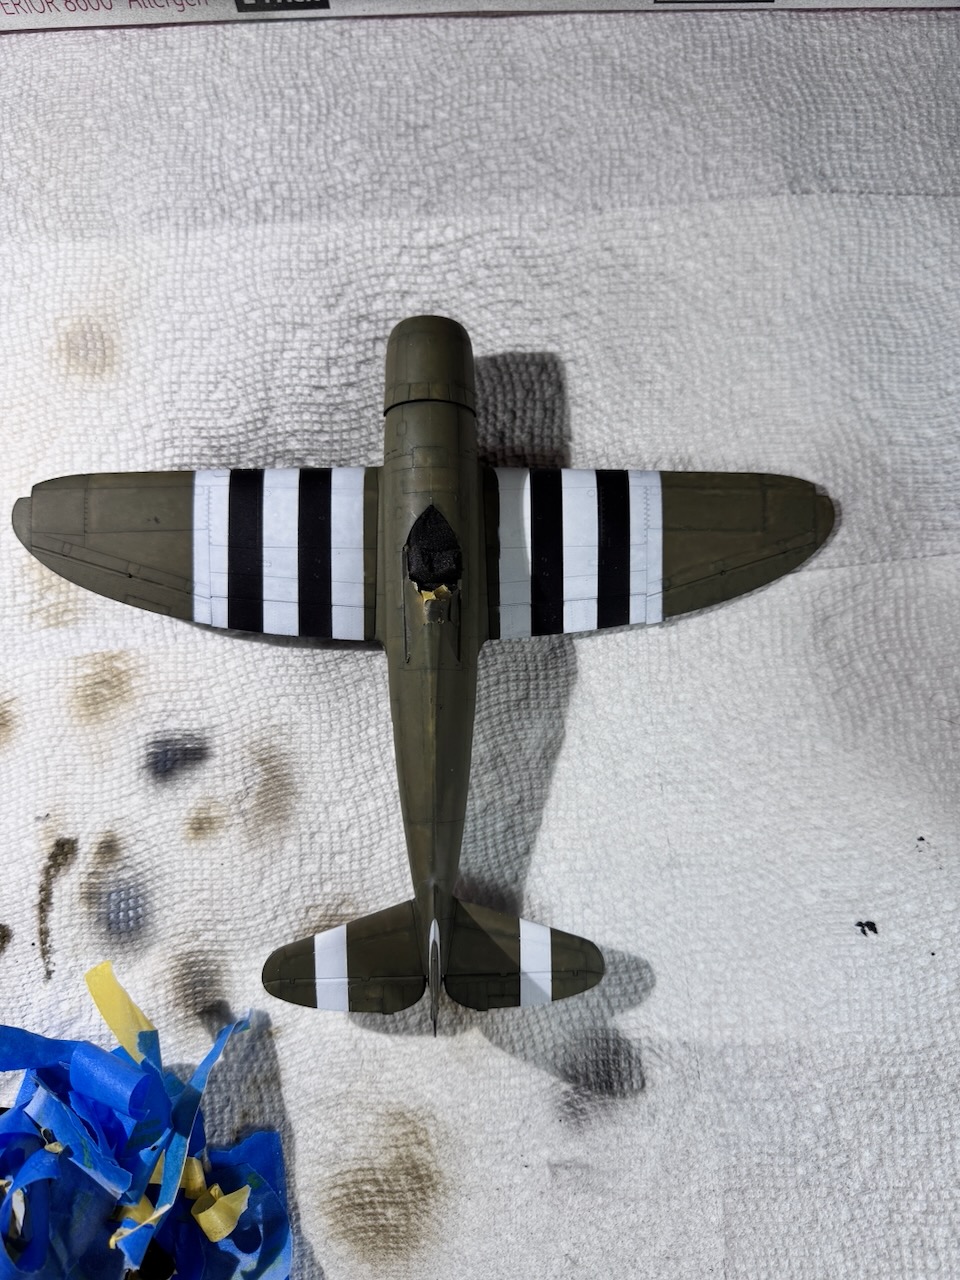
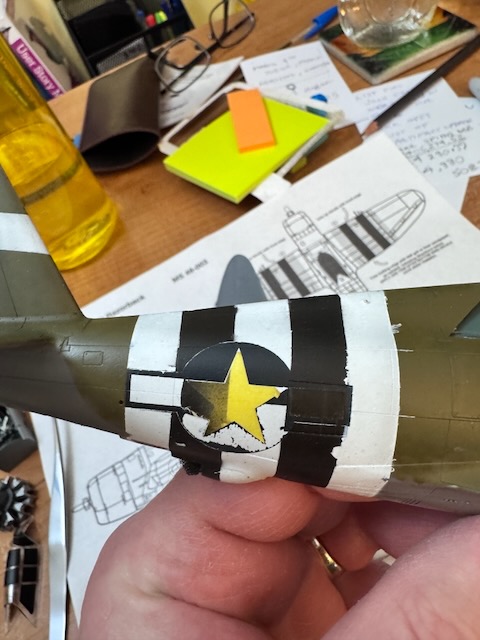
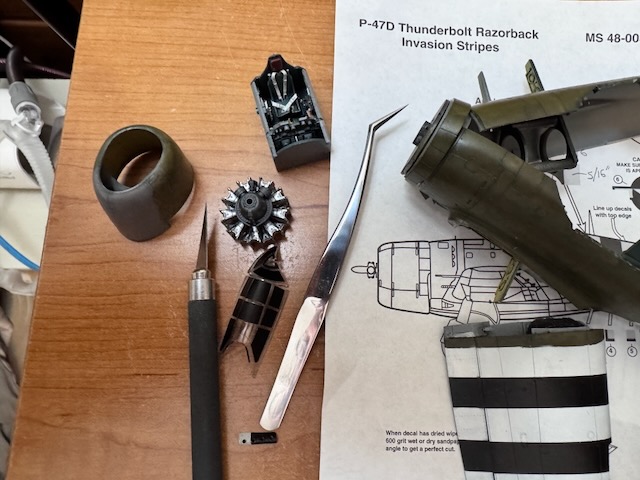
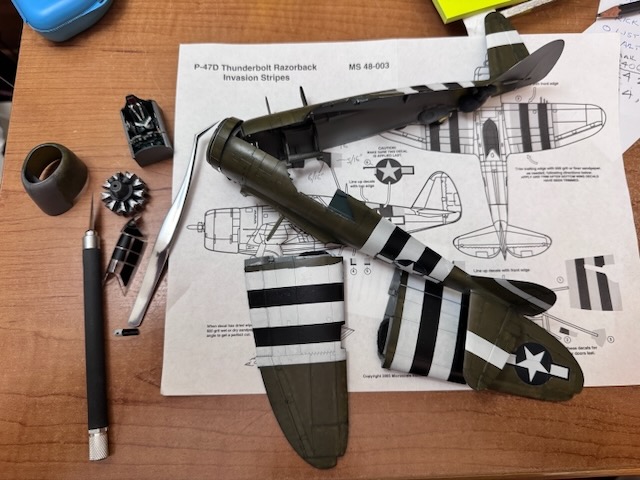
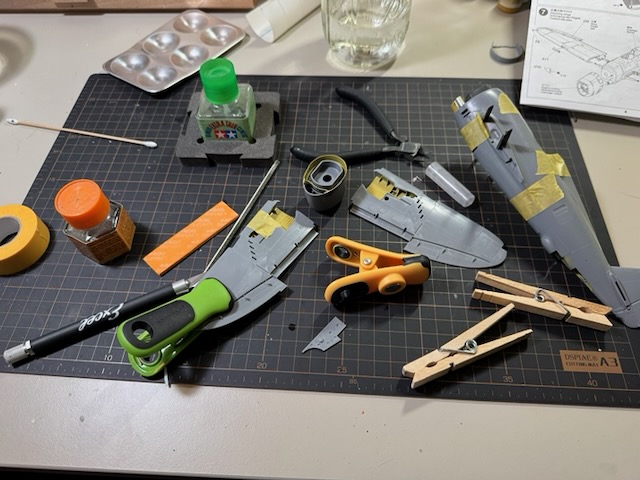
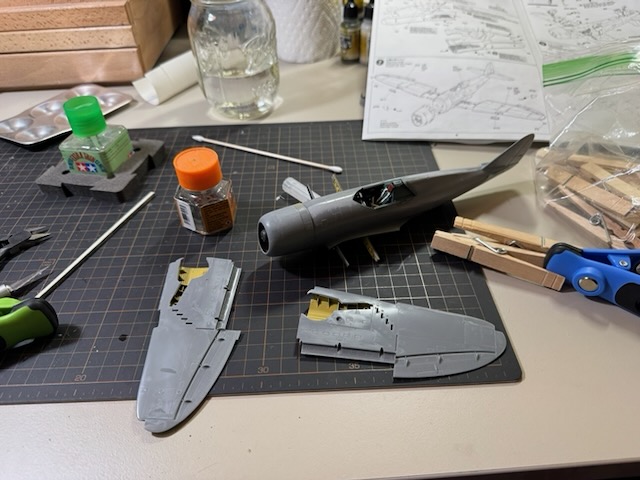
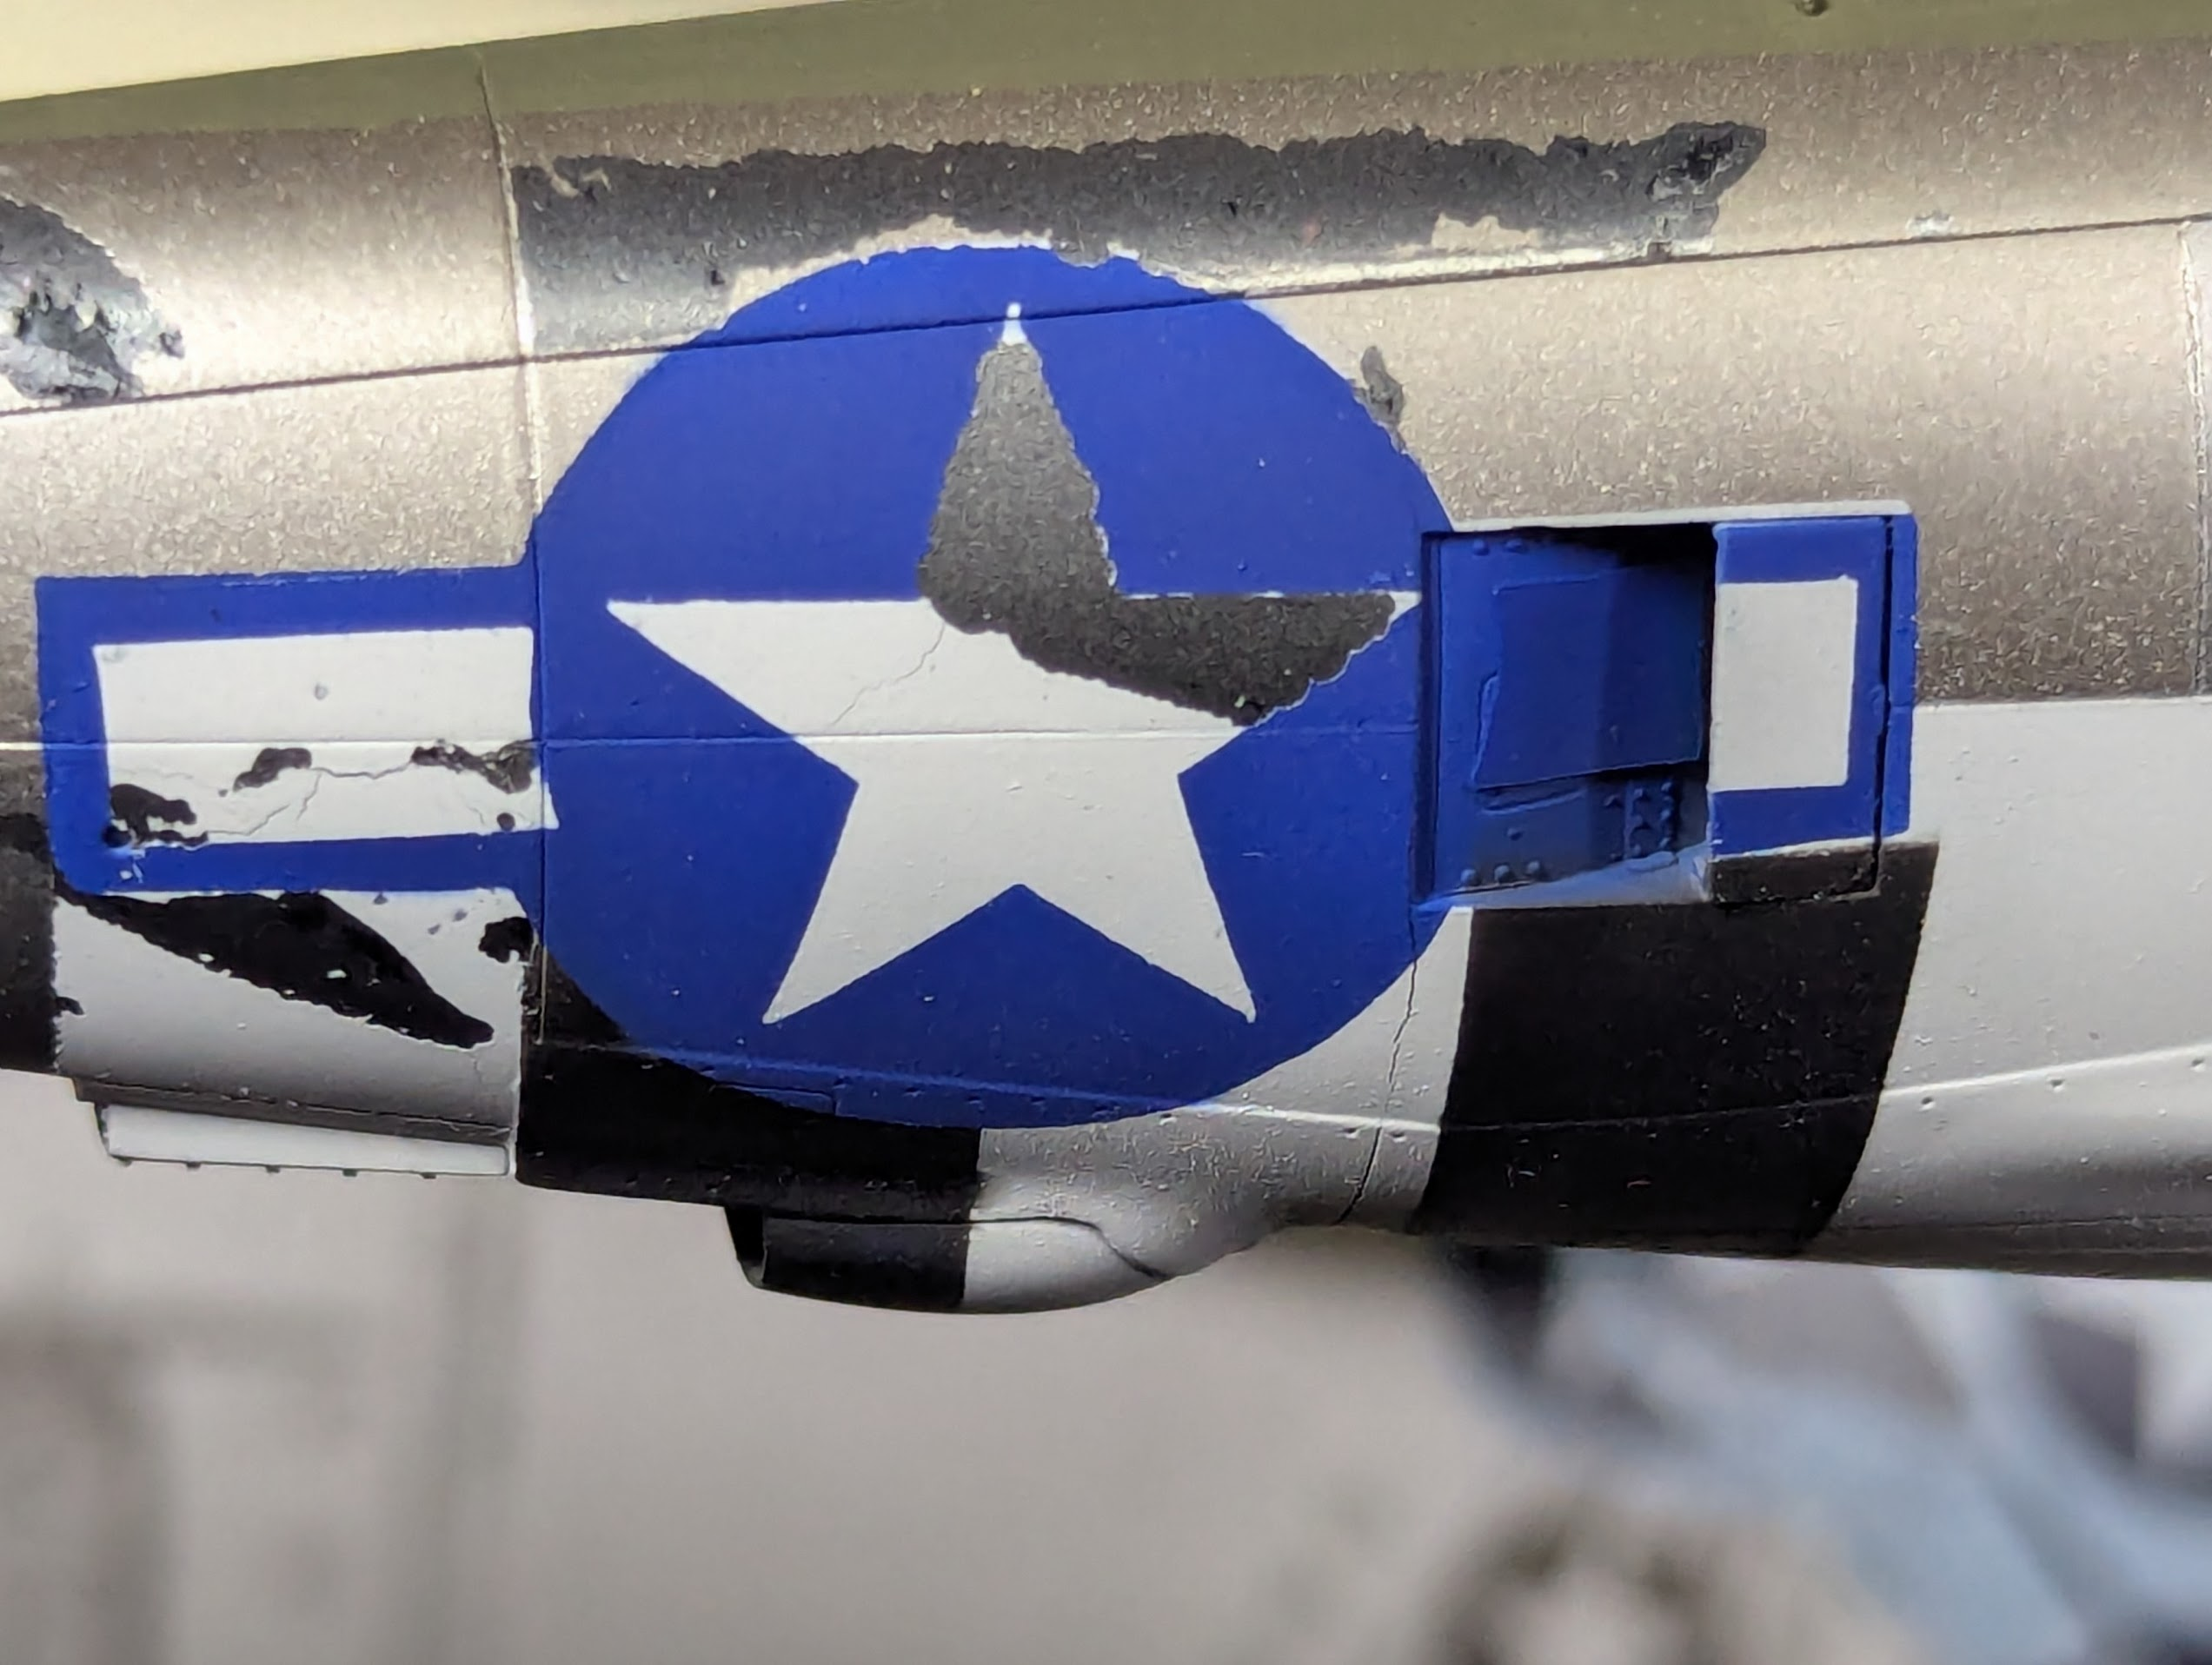
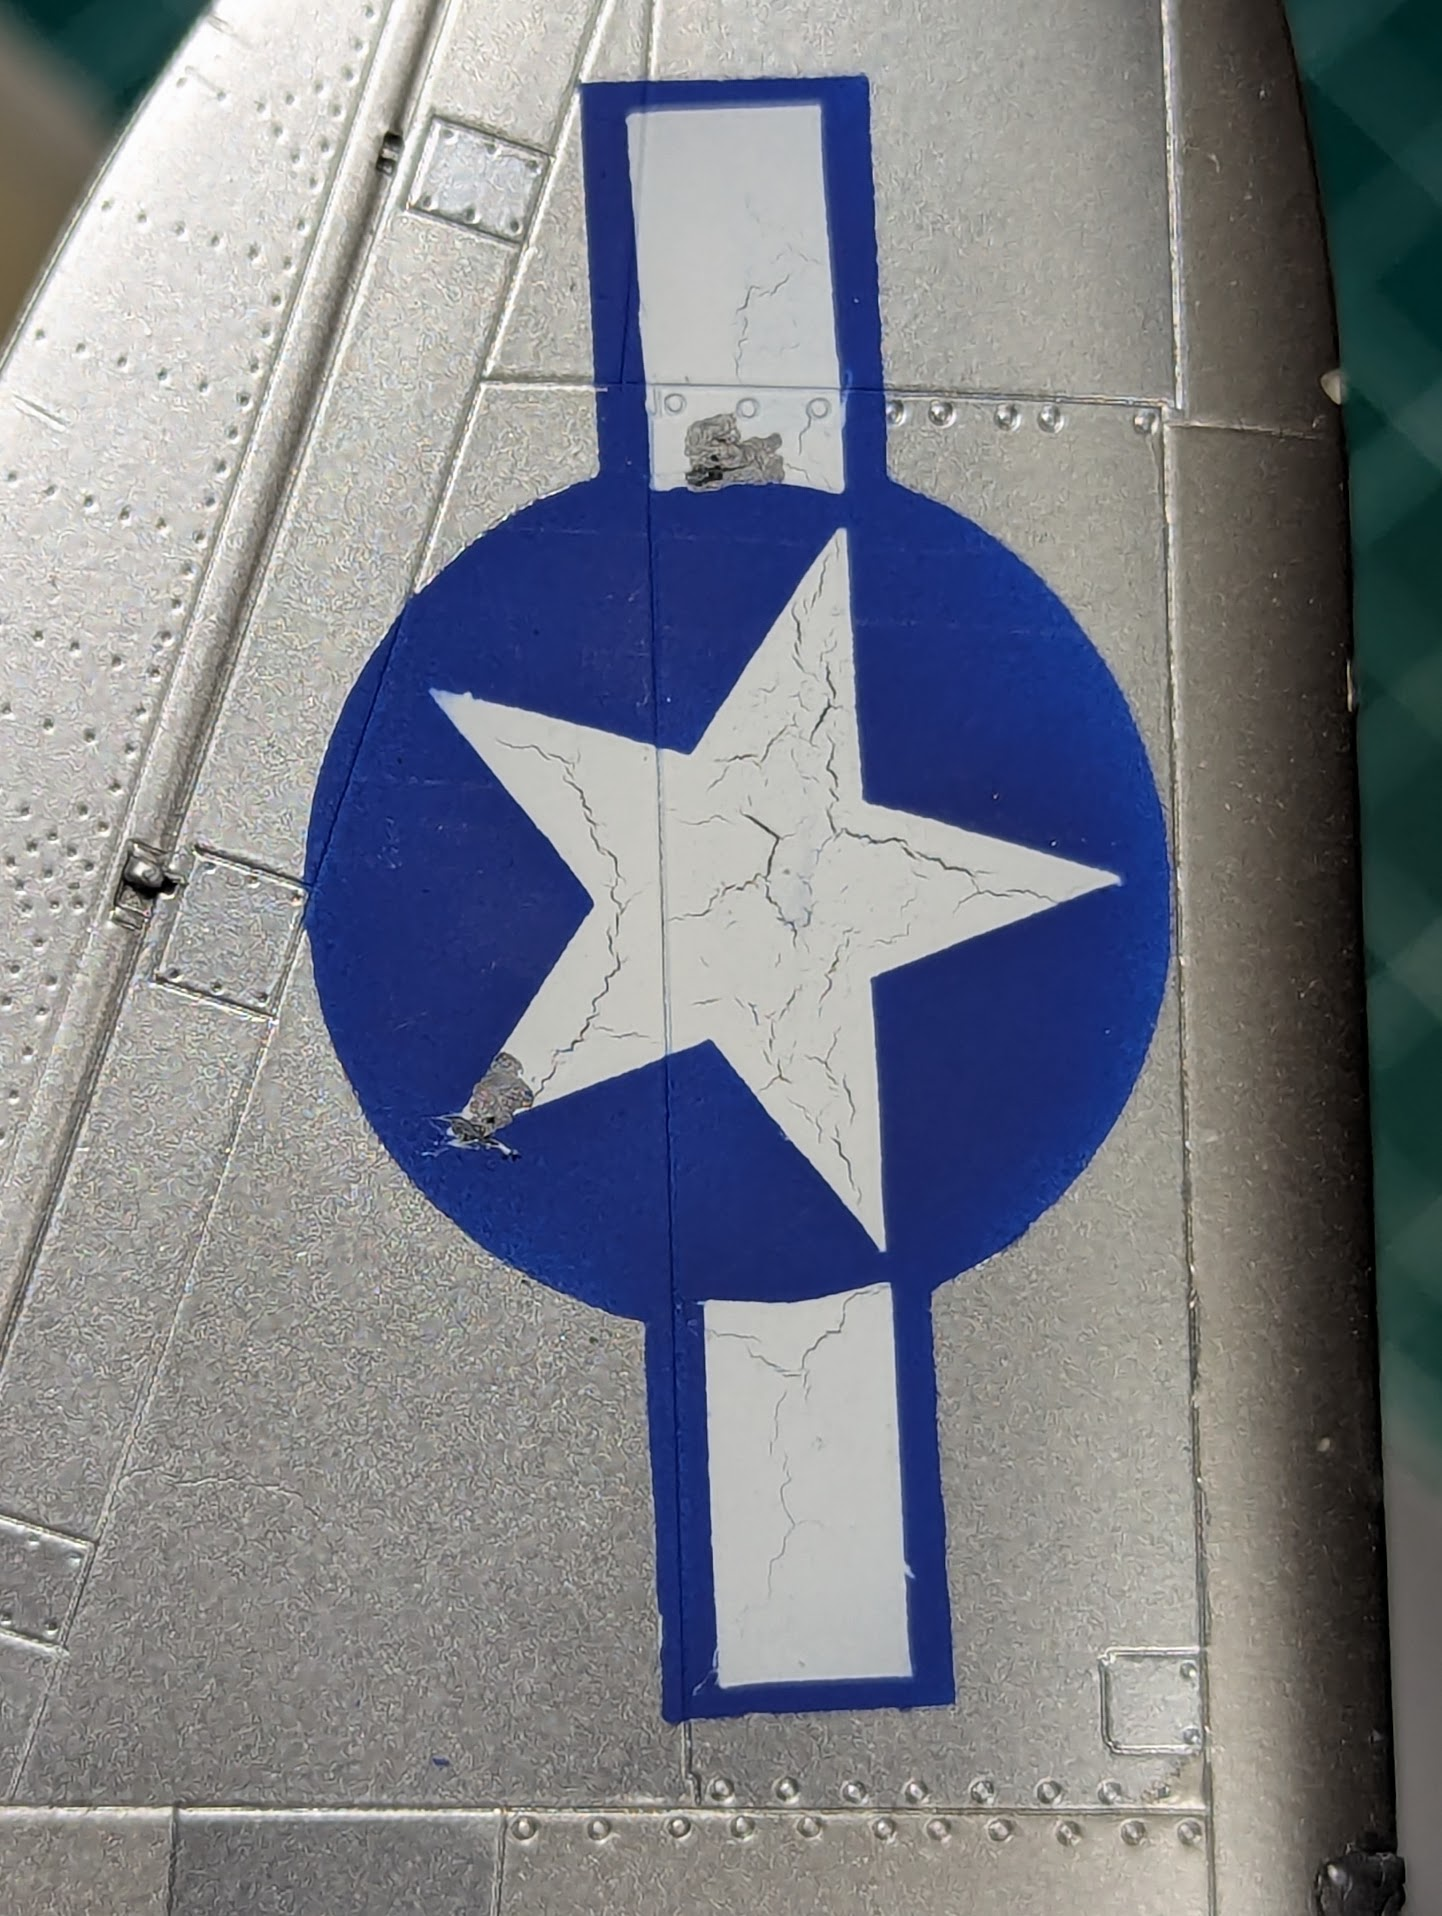
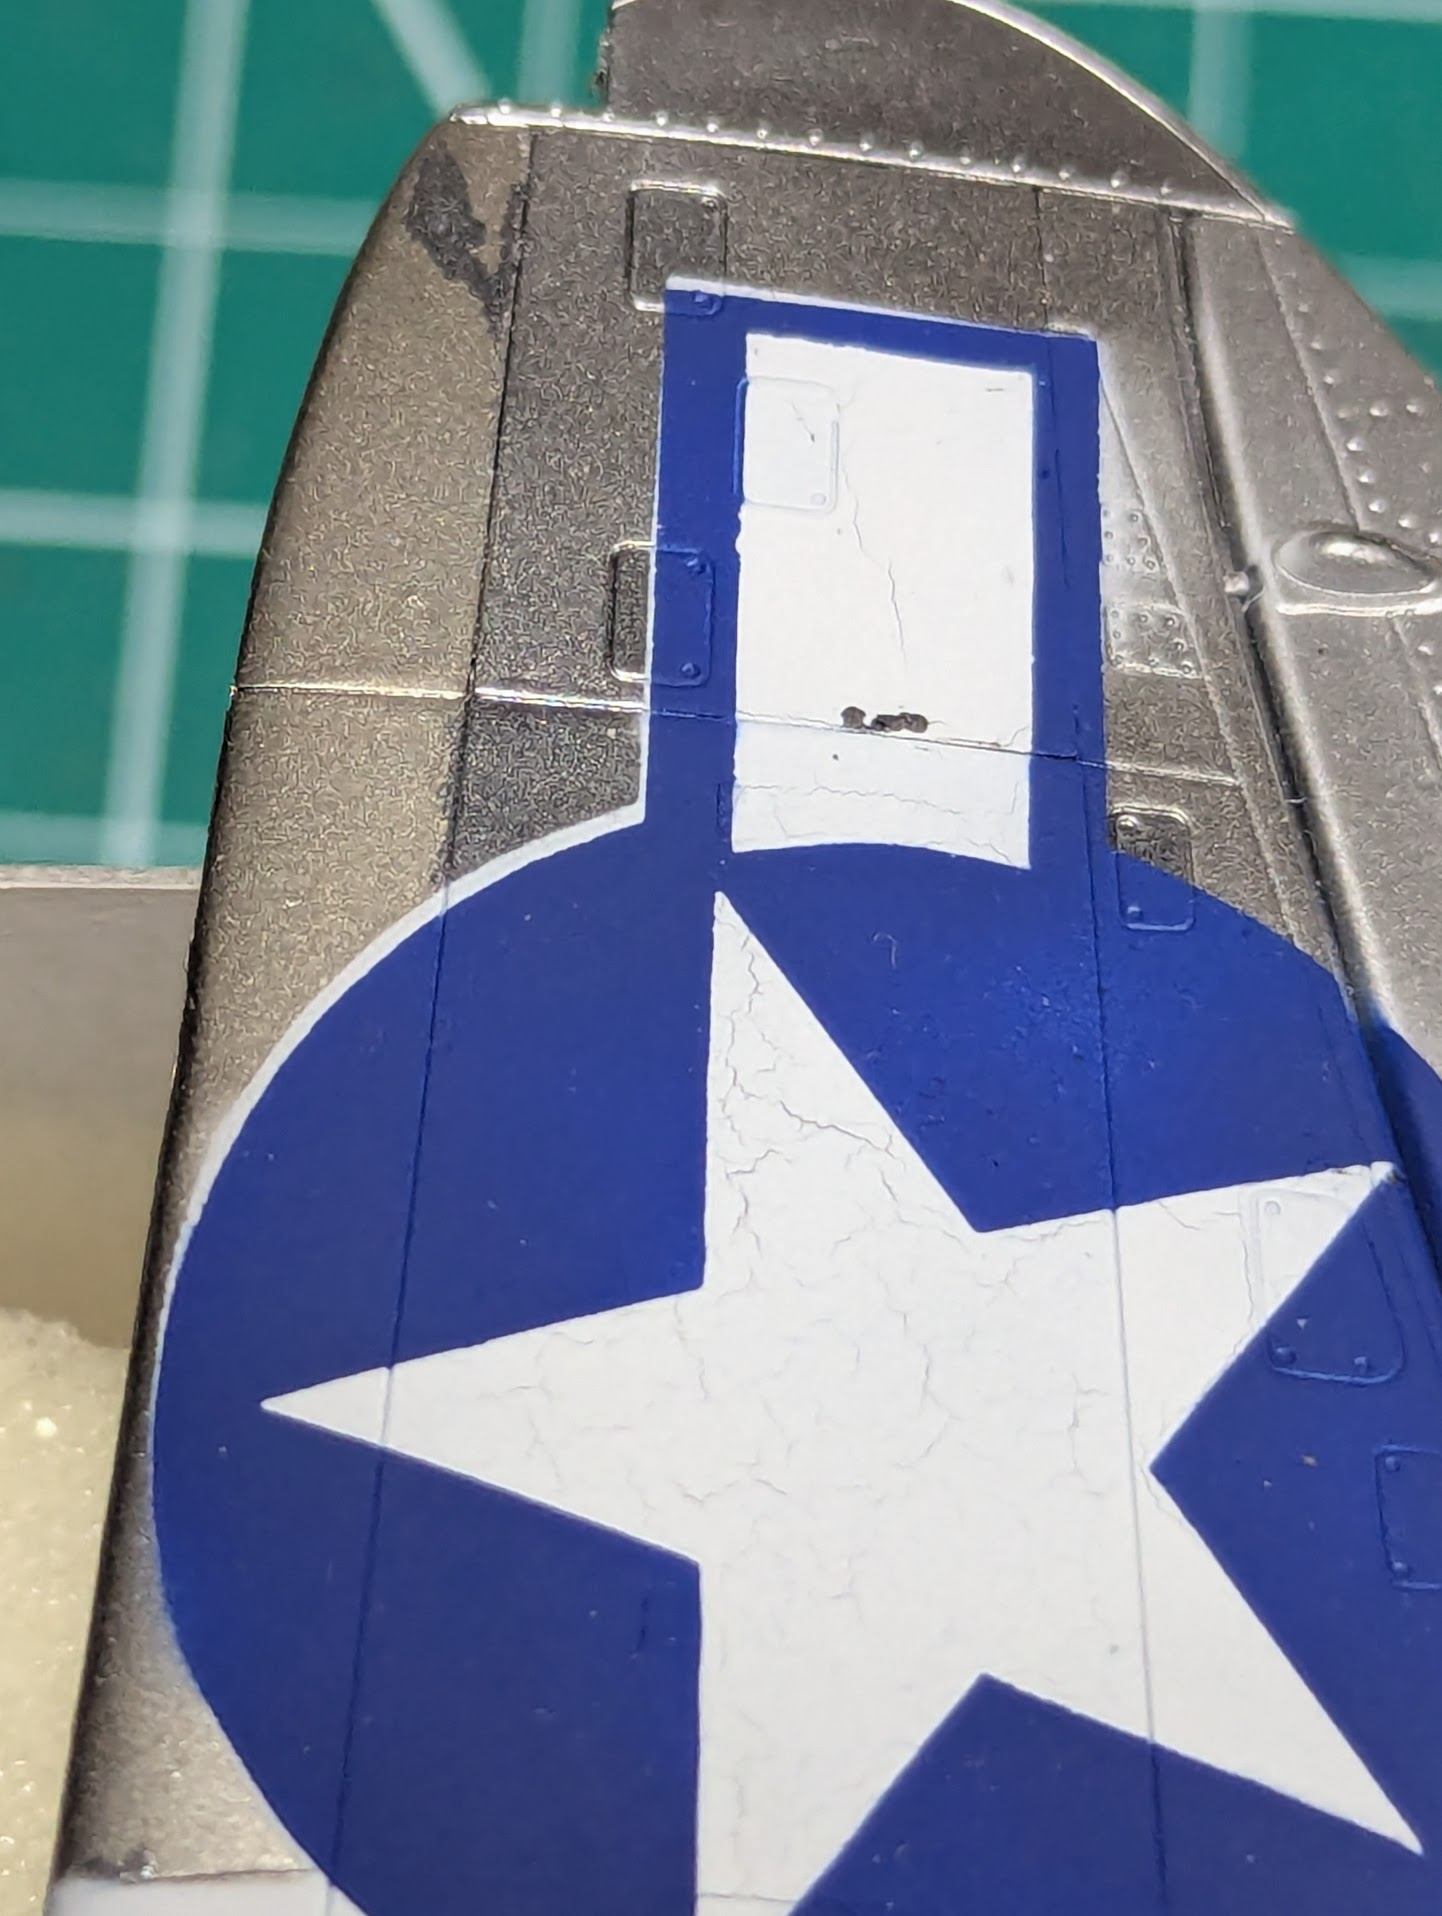
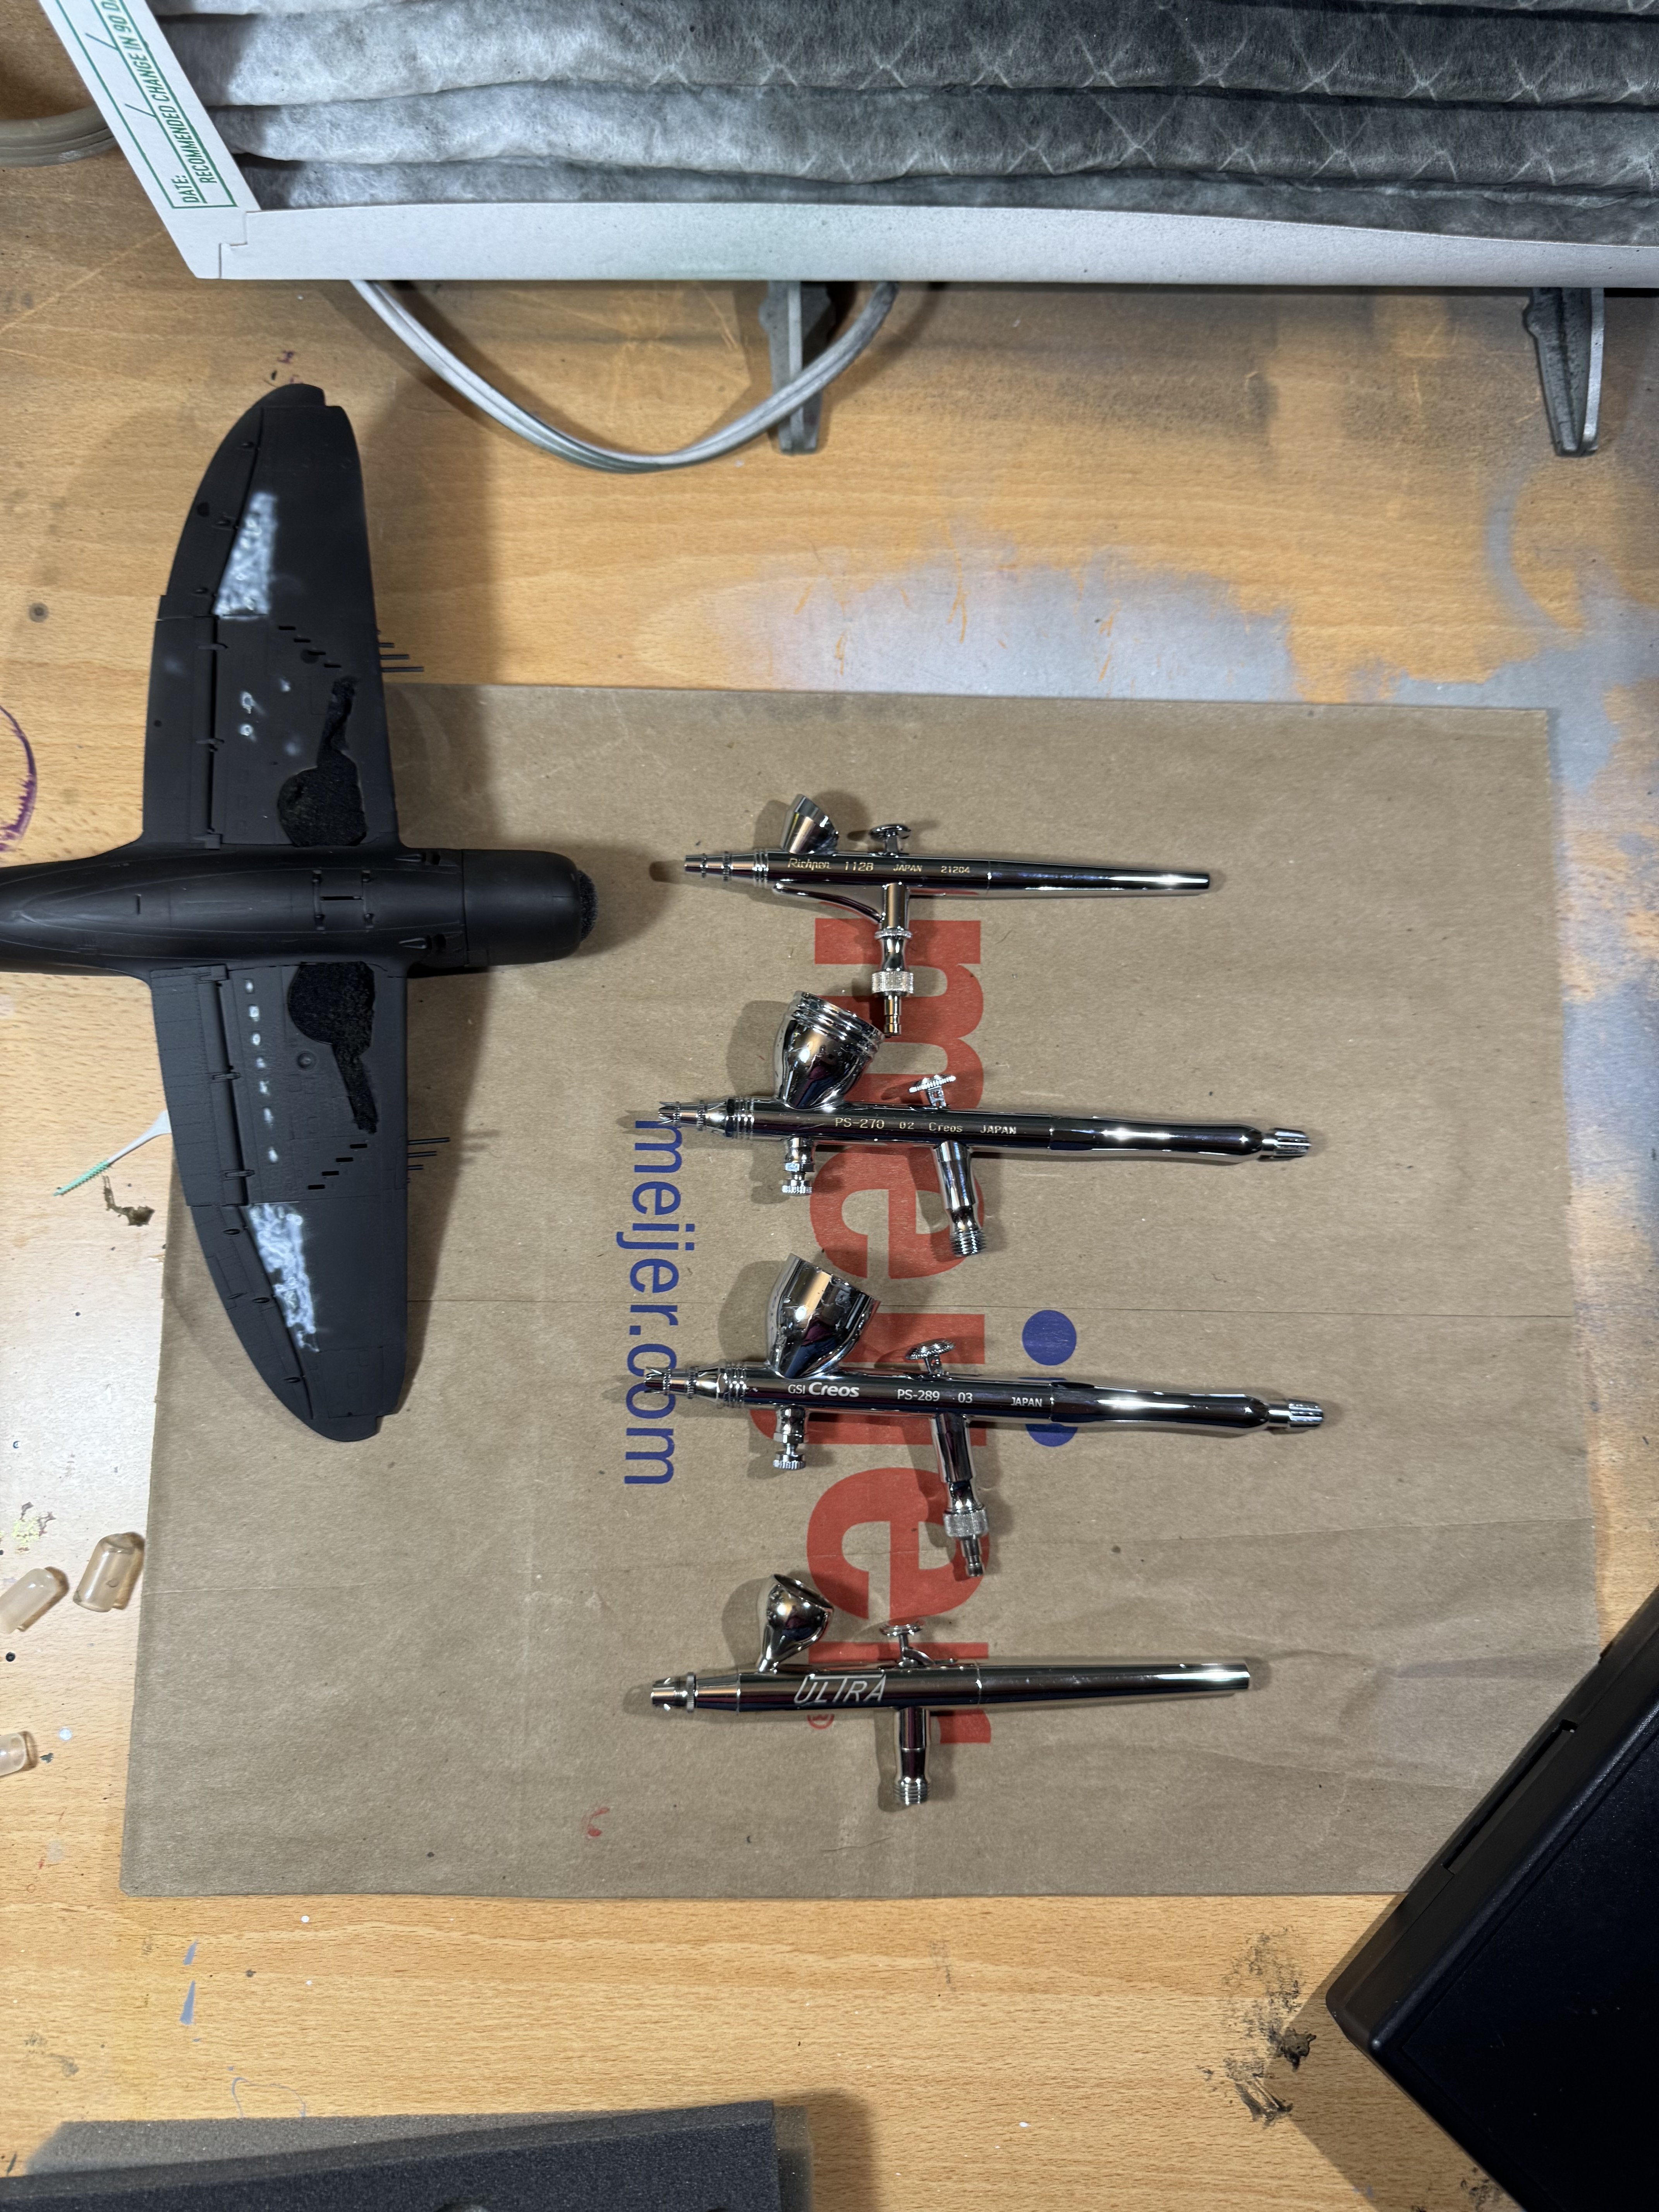
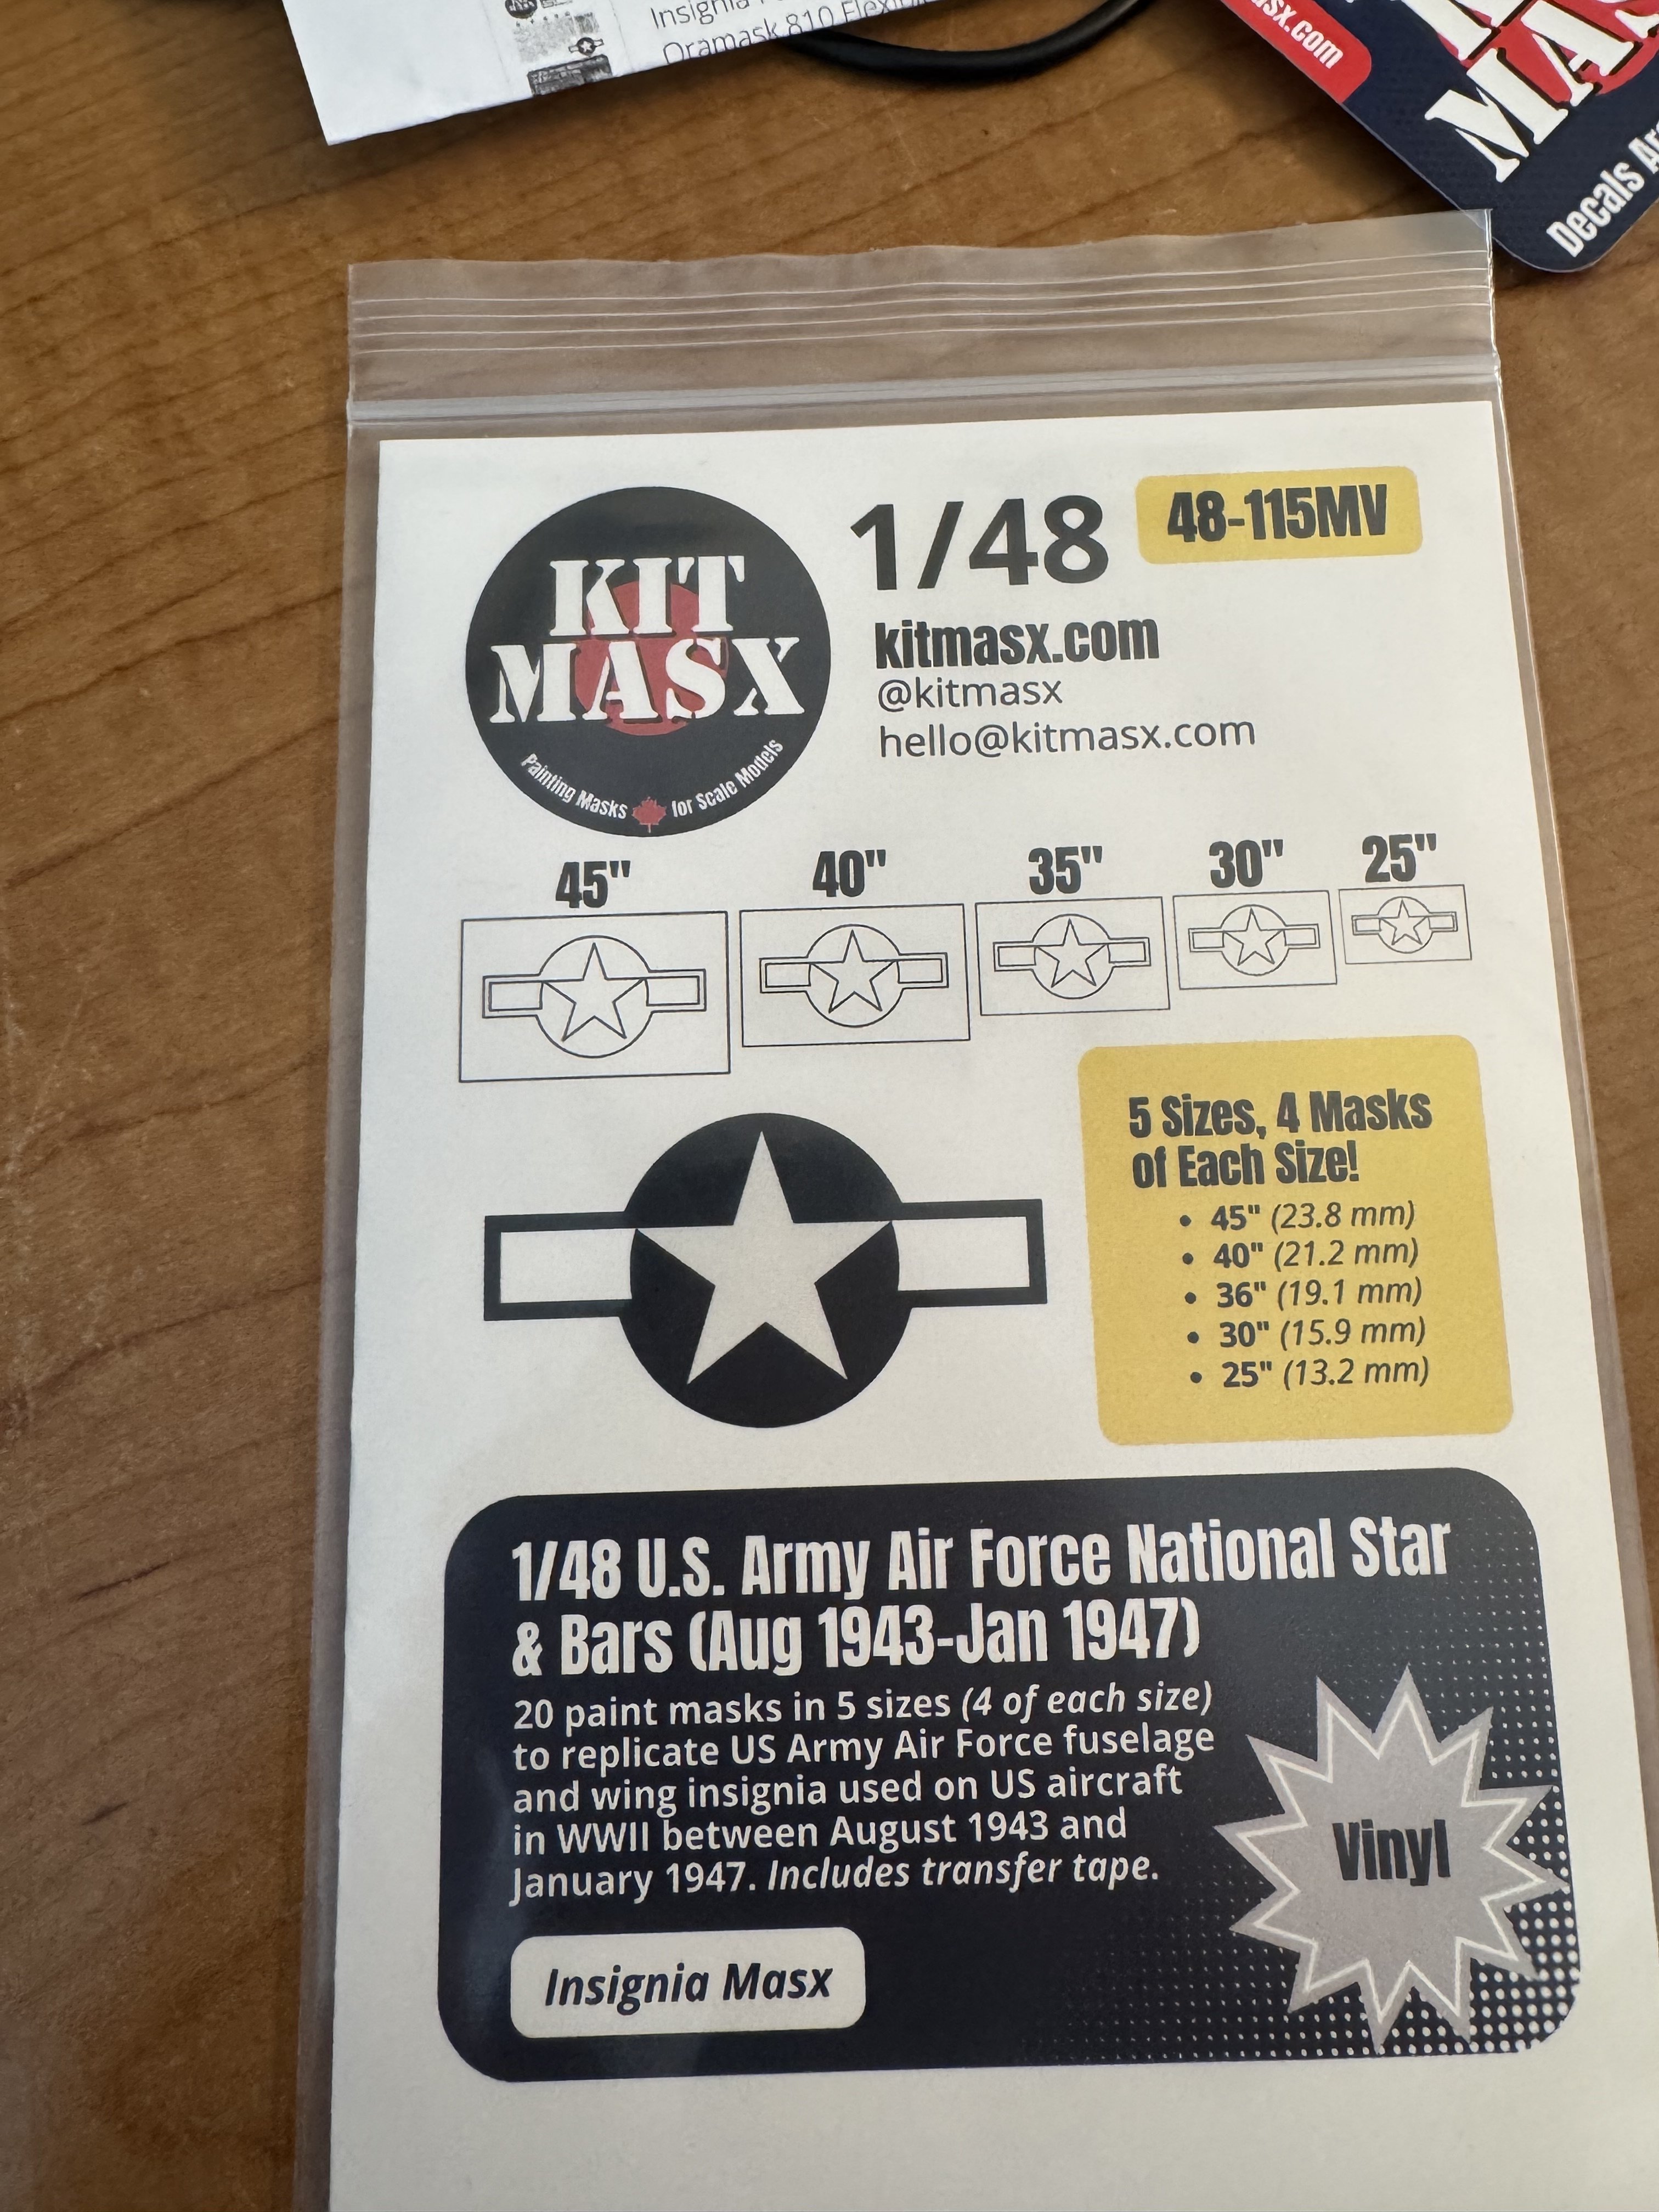
This was my first attempt to paint markings instead of using waterslide decals. Using a bunch different masks, I tried to paint both the invasion (black and white) stripes and the stars and bars. After weeks of trying I just could not get them to not look like ass.I think I had two options1) Soak the whole thing in 90% Isa propyl alcohol for an hour and strip all of the paint. The problem with this is that it would damage the clear canopy, and then I would have to track a new one down. Most likely by buying the whole kit again. 2) Take the kit apart and and salvage the canopy, engine, and cockpit - all of which i am happy with. I decided to go with option 2. I order a set of $10 decals on ebay, and I am going to pick up a new kit tomorrow at Model Cave (my local shop).
 
Ok... this may seem like a rash decision, but it was actually pretty deliberate... I have been stuck here for 6 months and i needed something to get this project back on track

View attachment 175136

View attachment 175137


View attachment 175138

This was my first attempt to paint markings instead of using waterslide decals. Using a bunch different masks, I tried to paint both the invasion (black and white) stripes and the stars and bars. After weeks of trying I just could not get them to not look like ass.I think I had two options1) Soak the whole thing in 90% Isa propyl alcohol for an hour and strip all of the paint. The problem with this is that it would damage the clear canopy, and then I would have to track a new one down. Most likely by buying the whole kit again. 2) Take the kit apart and and salvage the canopy, engine, and cockpit - all of which i am happy with. I decided to go with option 2. I order a set of $10 decals on ebay, and I am going to pick up a new kit tomorrow at Model Cave (my local shop).
What paints were you using? Tamiya?
 
This was my first attempt to paint markings instead of using waterslide decals.
I'm only posting this in an attempt to make you feel better. Mine is still boxed up in the closet, but I'm starting to get the urge to fix my mistakes...

1779577639931.png

1779577660722.png

1779577687081.png


Total respect for the efforts in fixing things, you are only defeated when you give up!
 
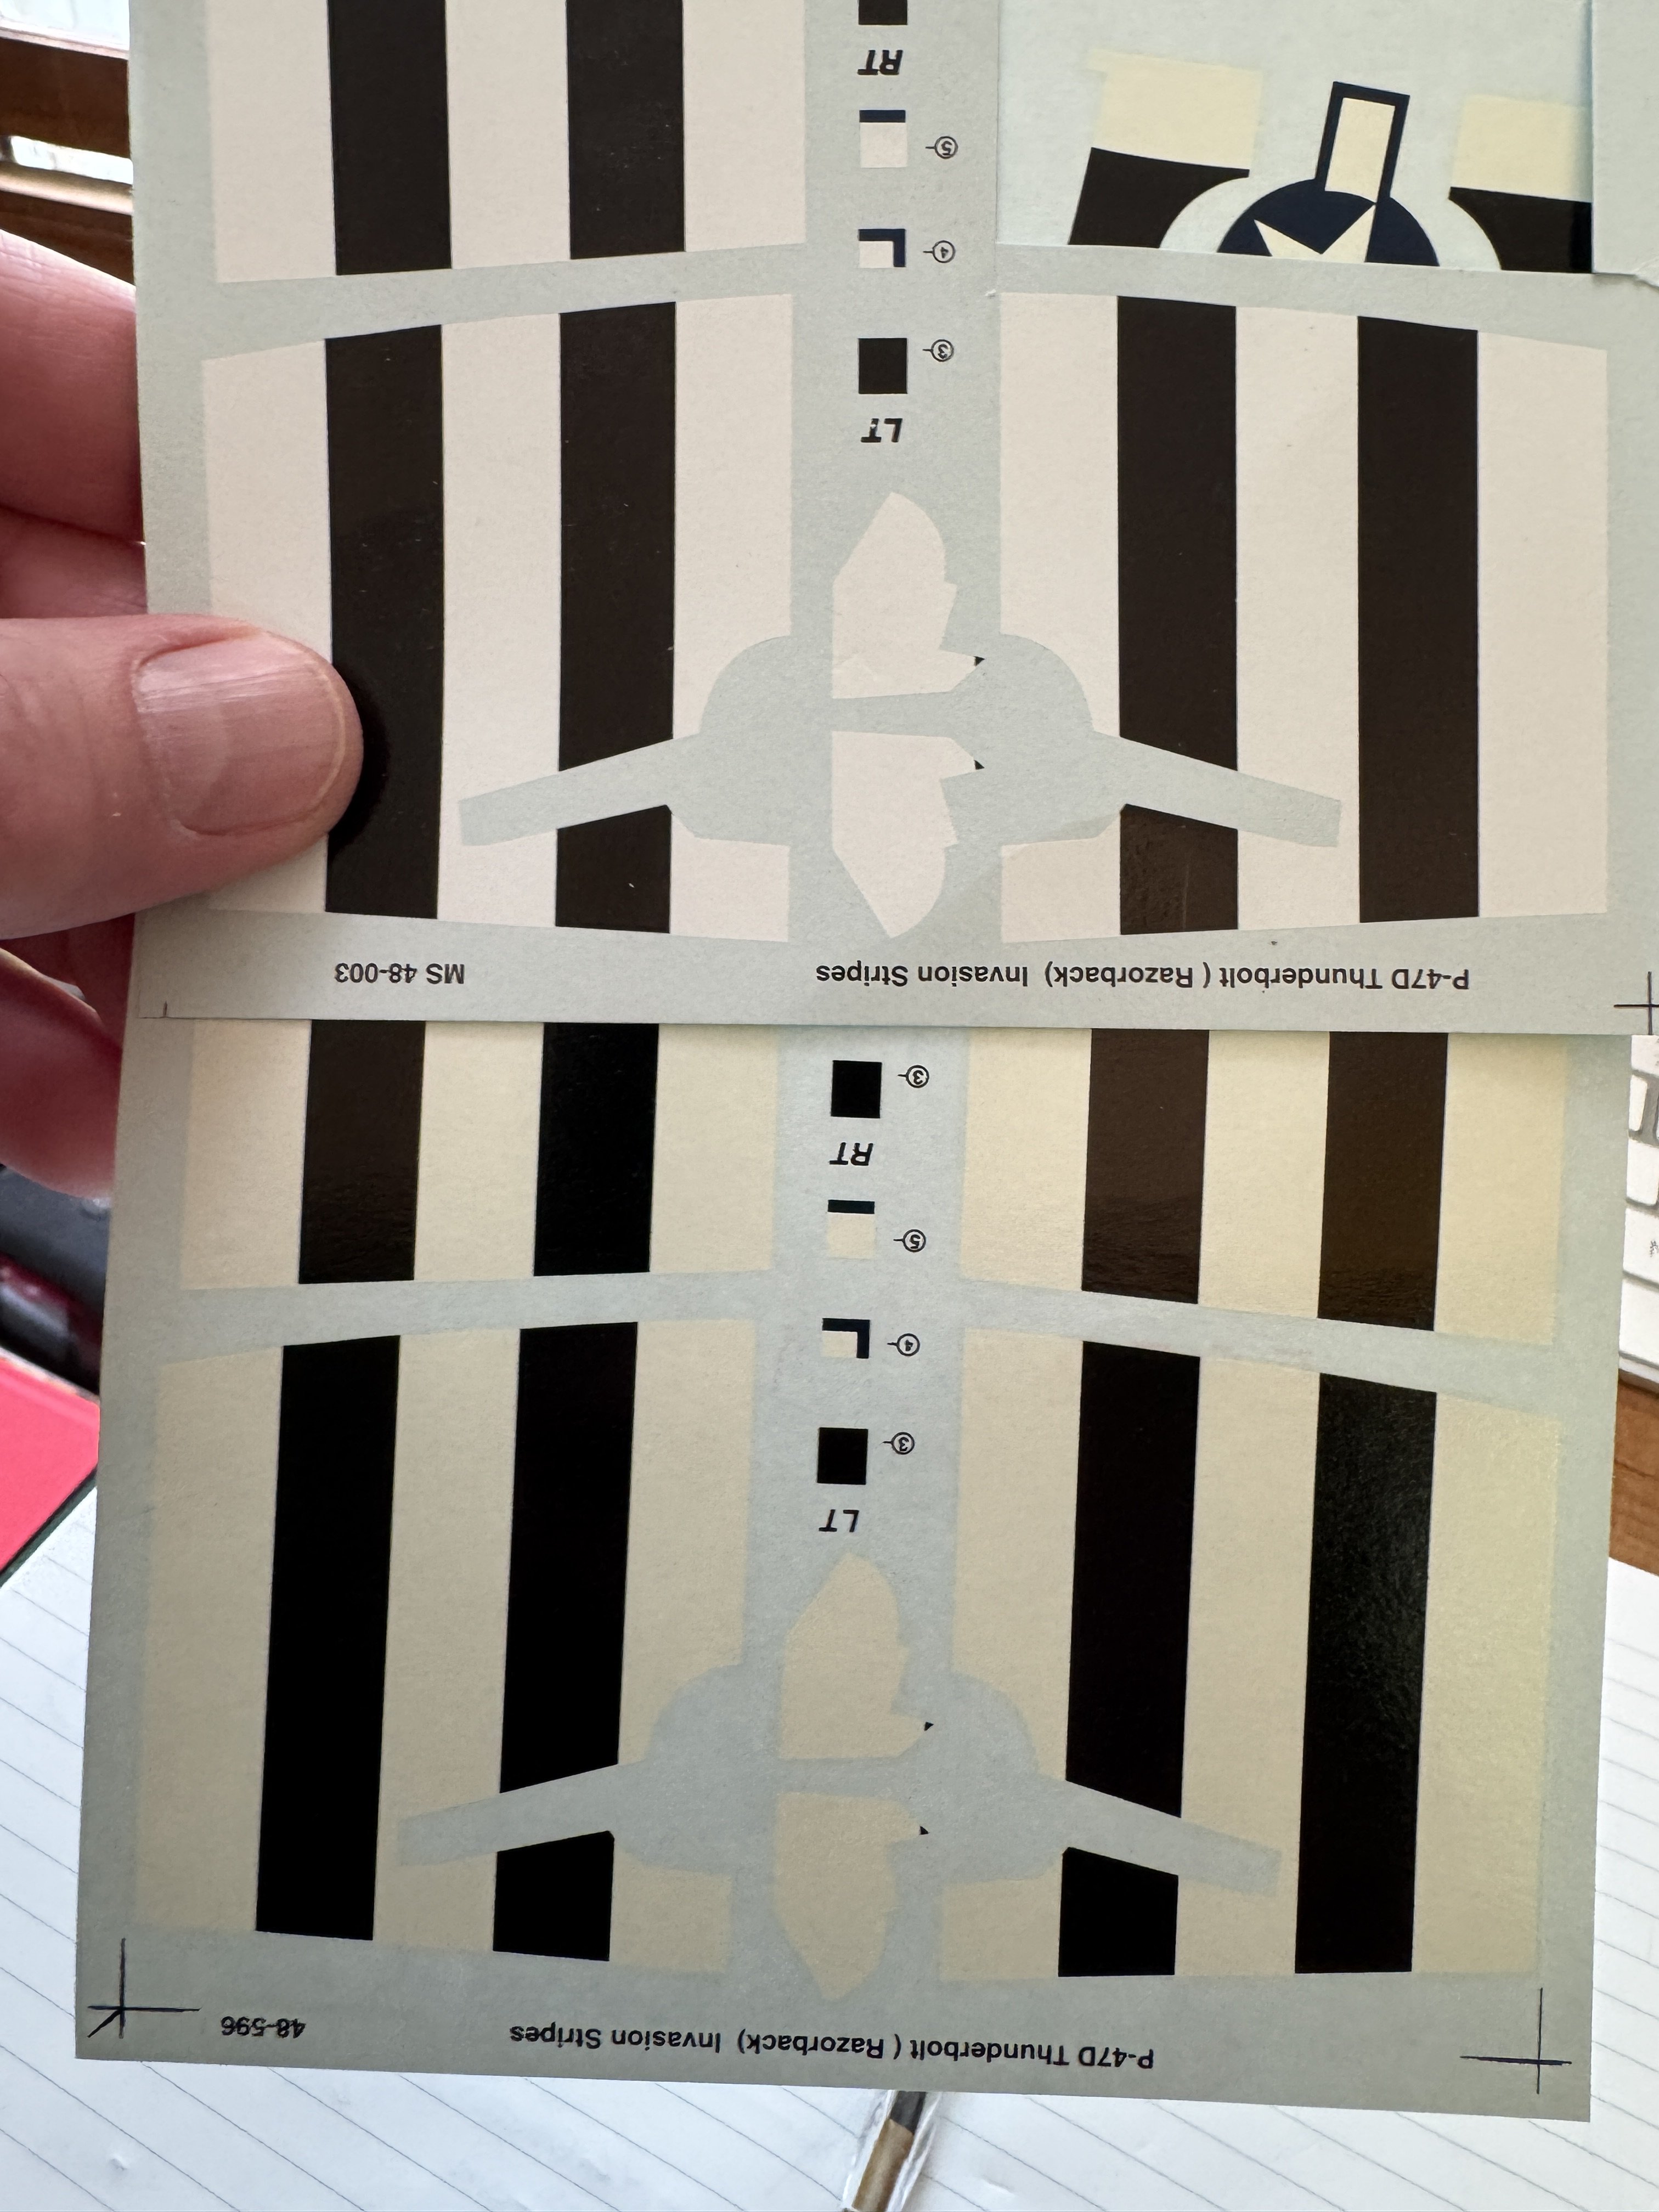
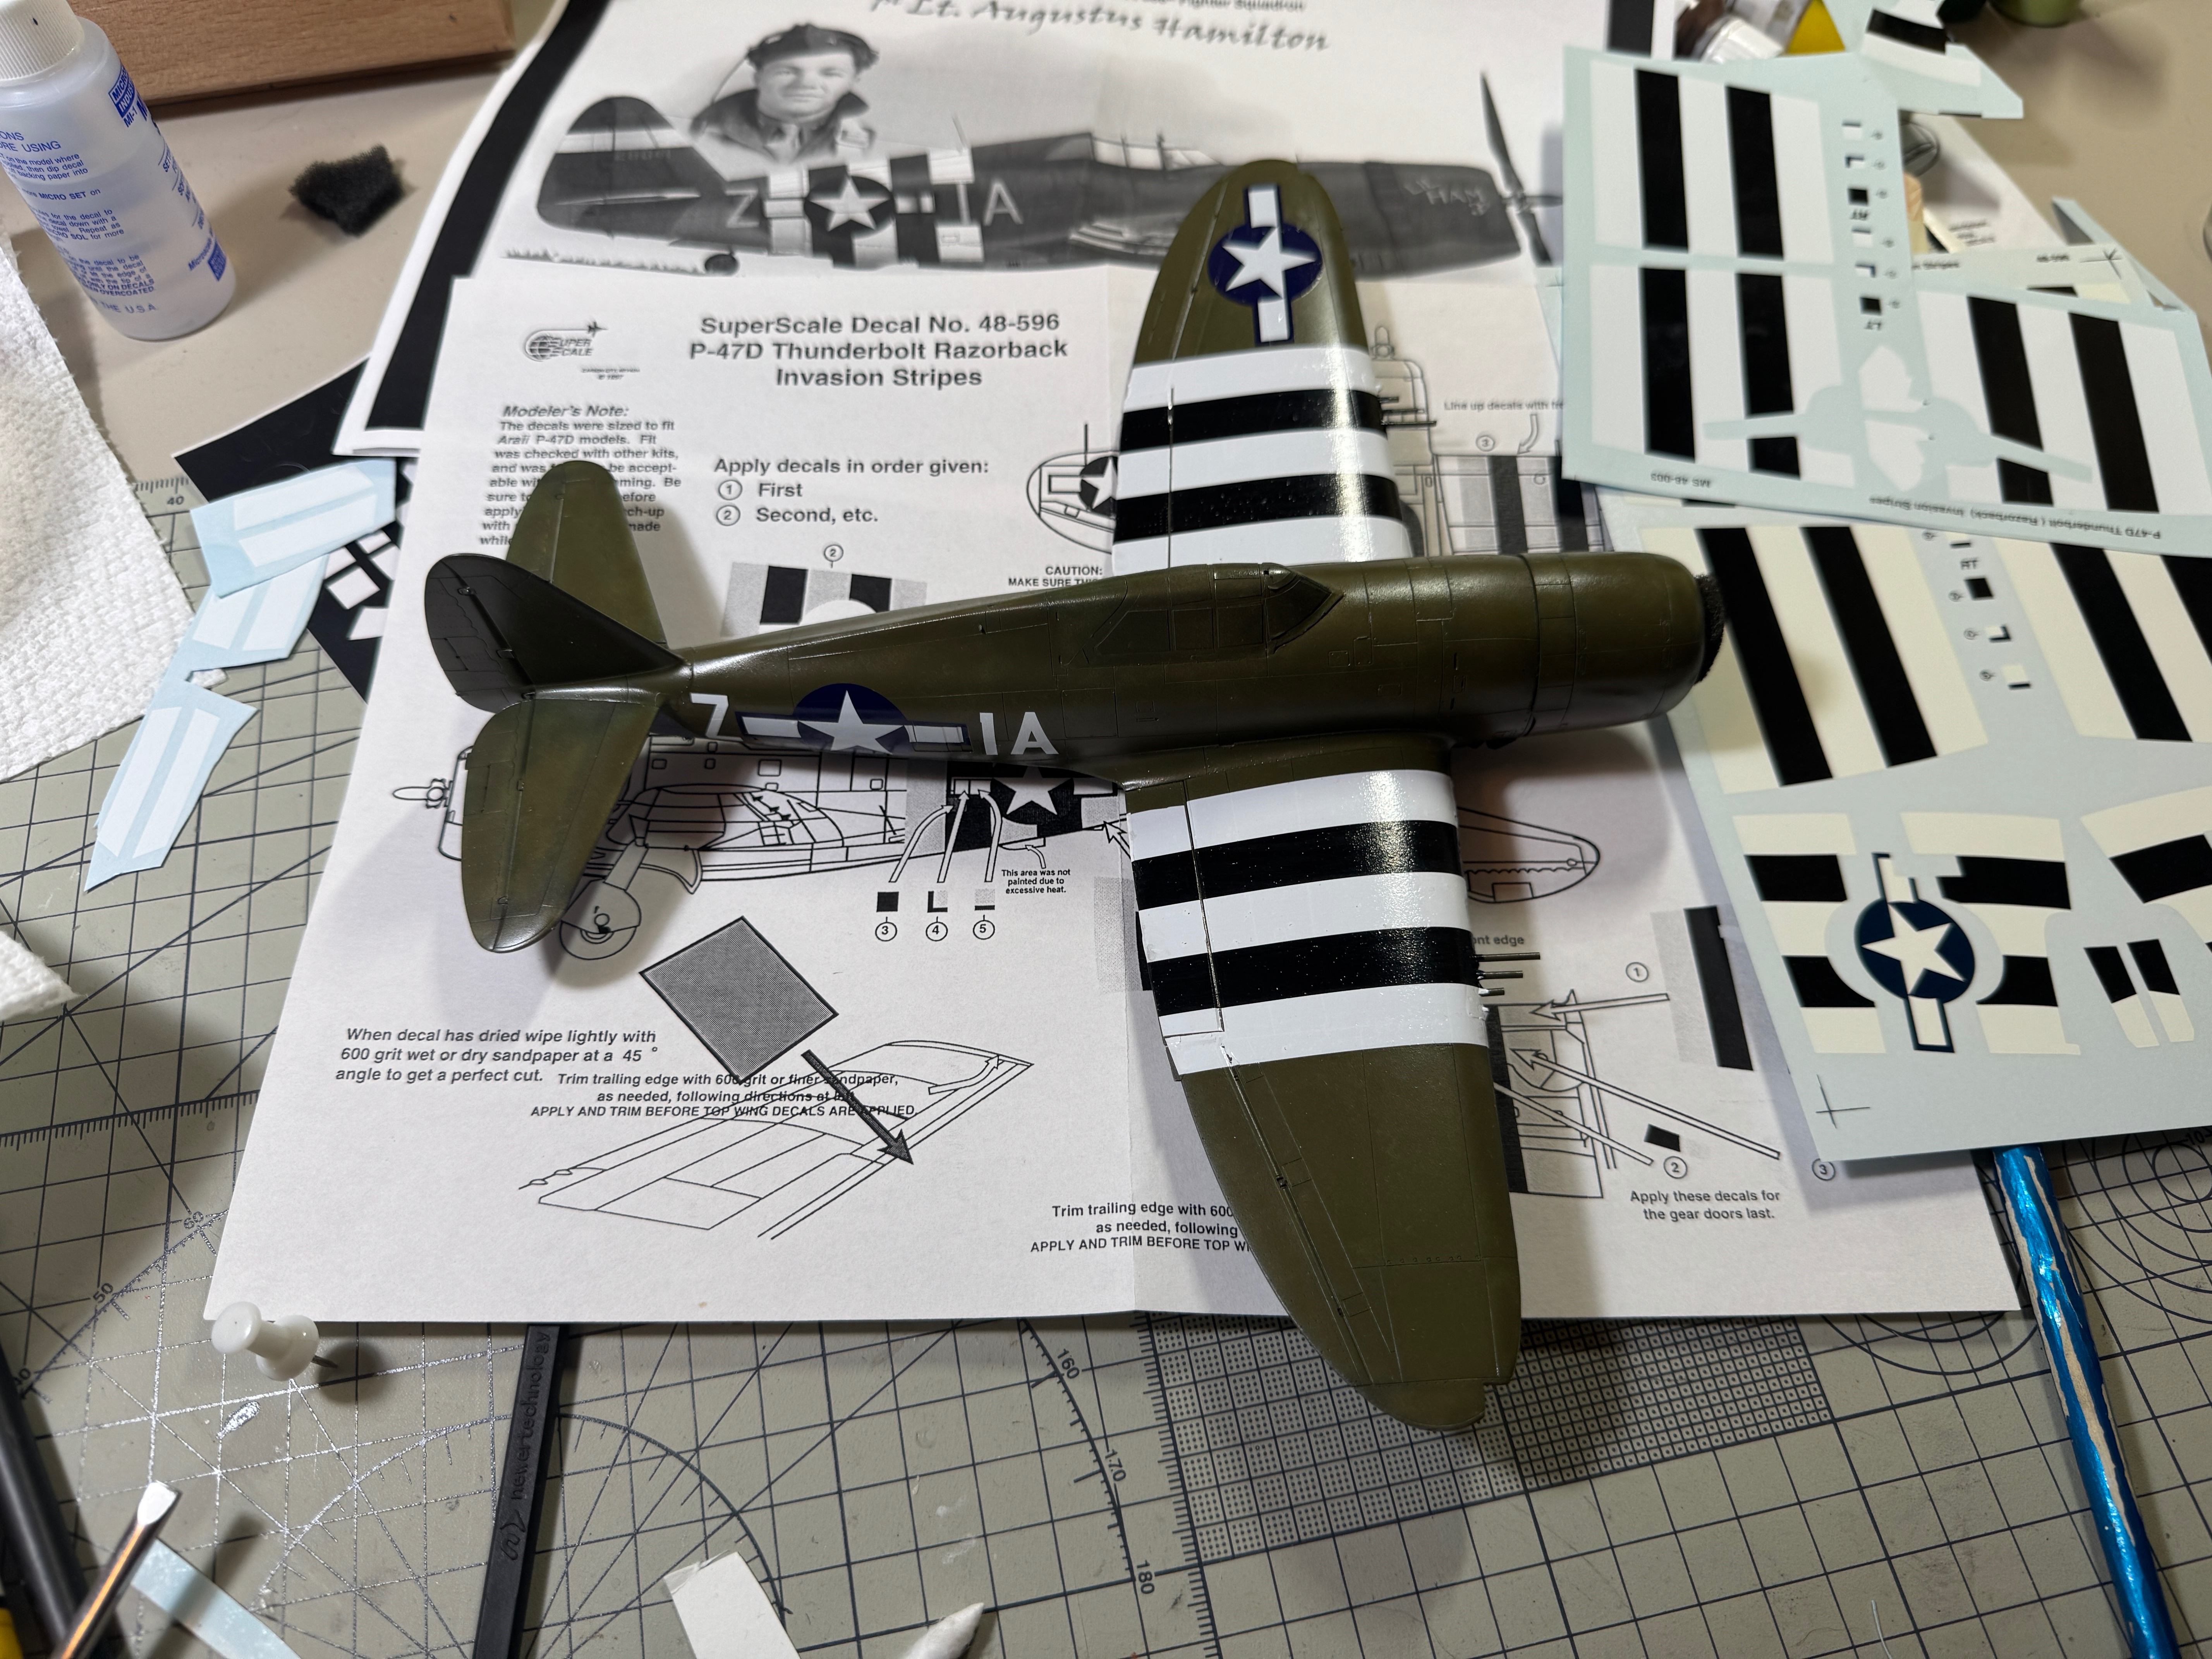
Progress continues. I ended up going back to decals, because the painting was filling me with dread.

These are third party. I had to order a second set, which showed up severely yellowed. So i ordered another set from the same place i ordered them 2 years ago.

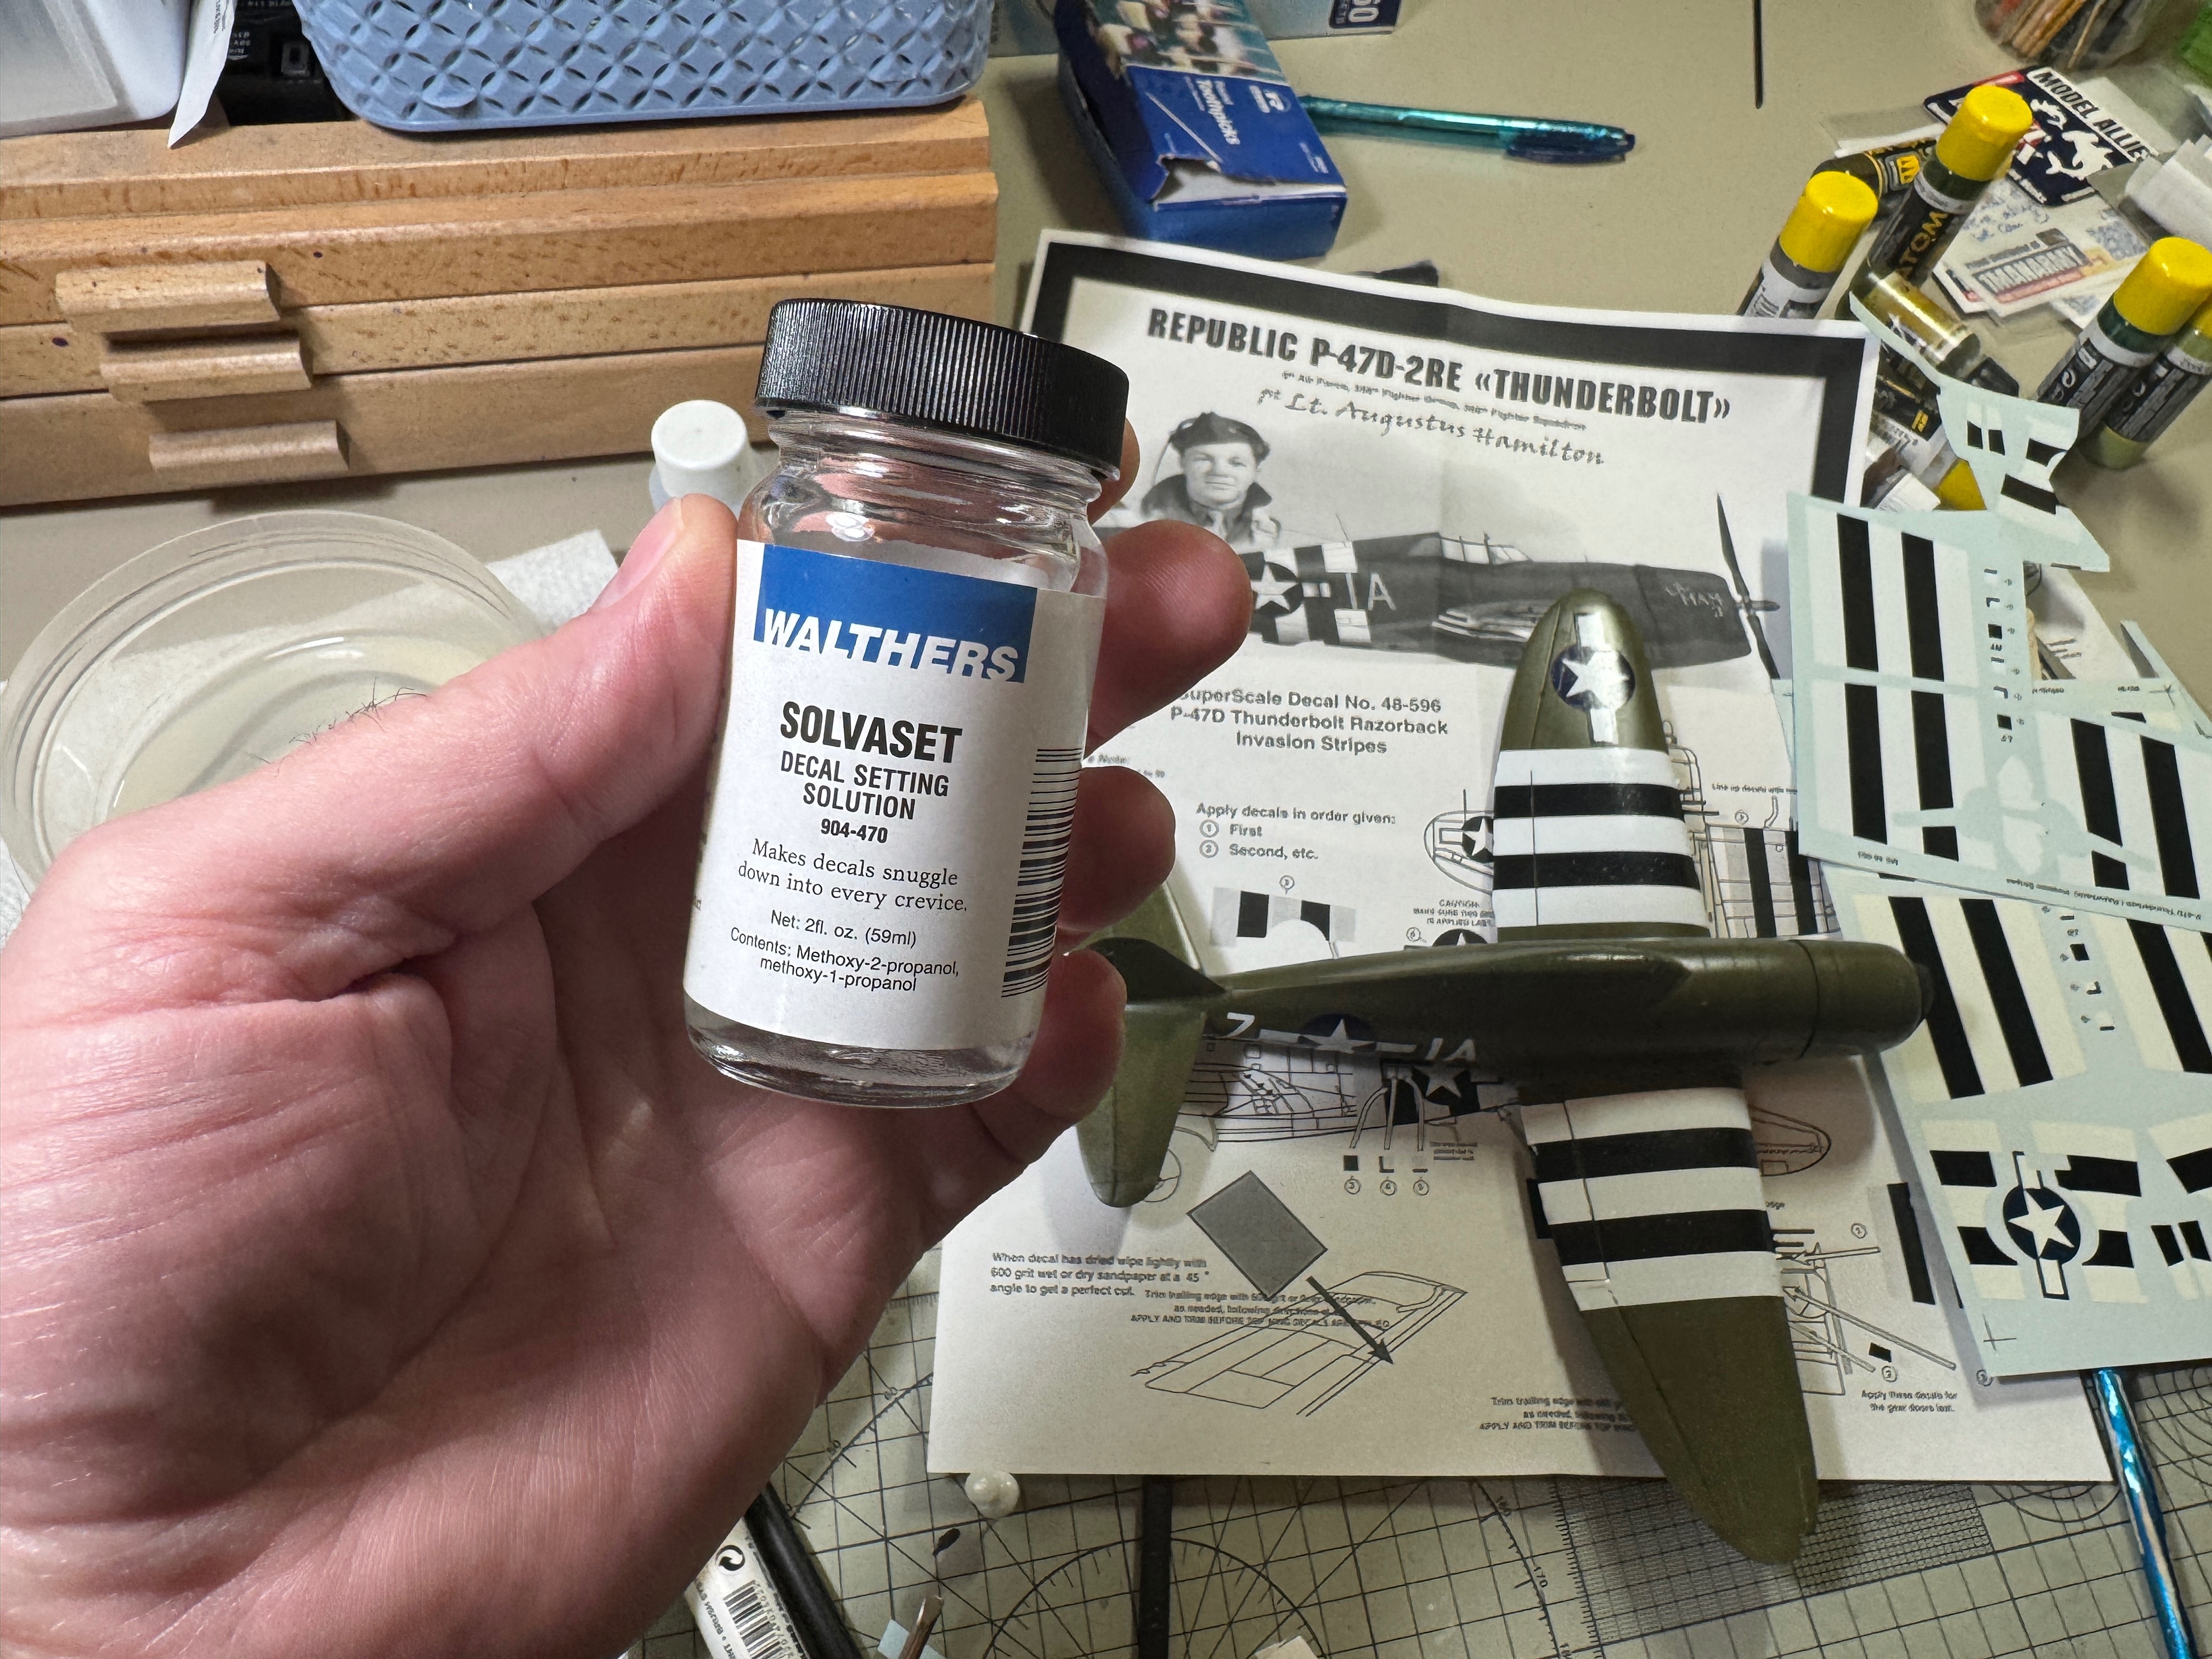
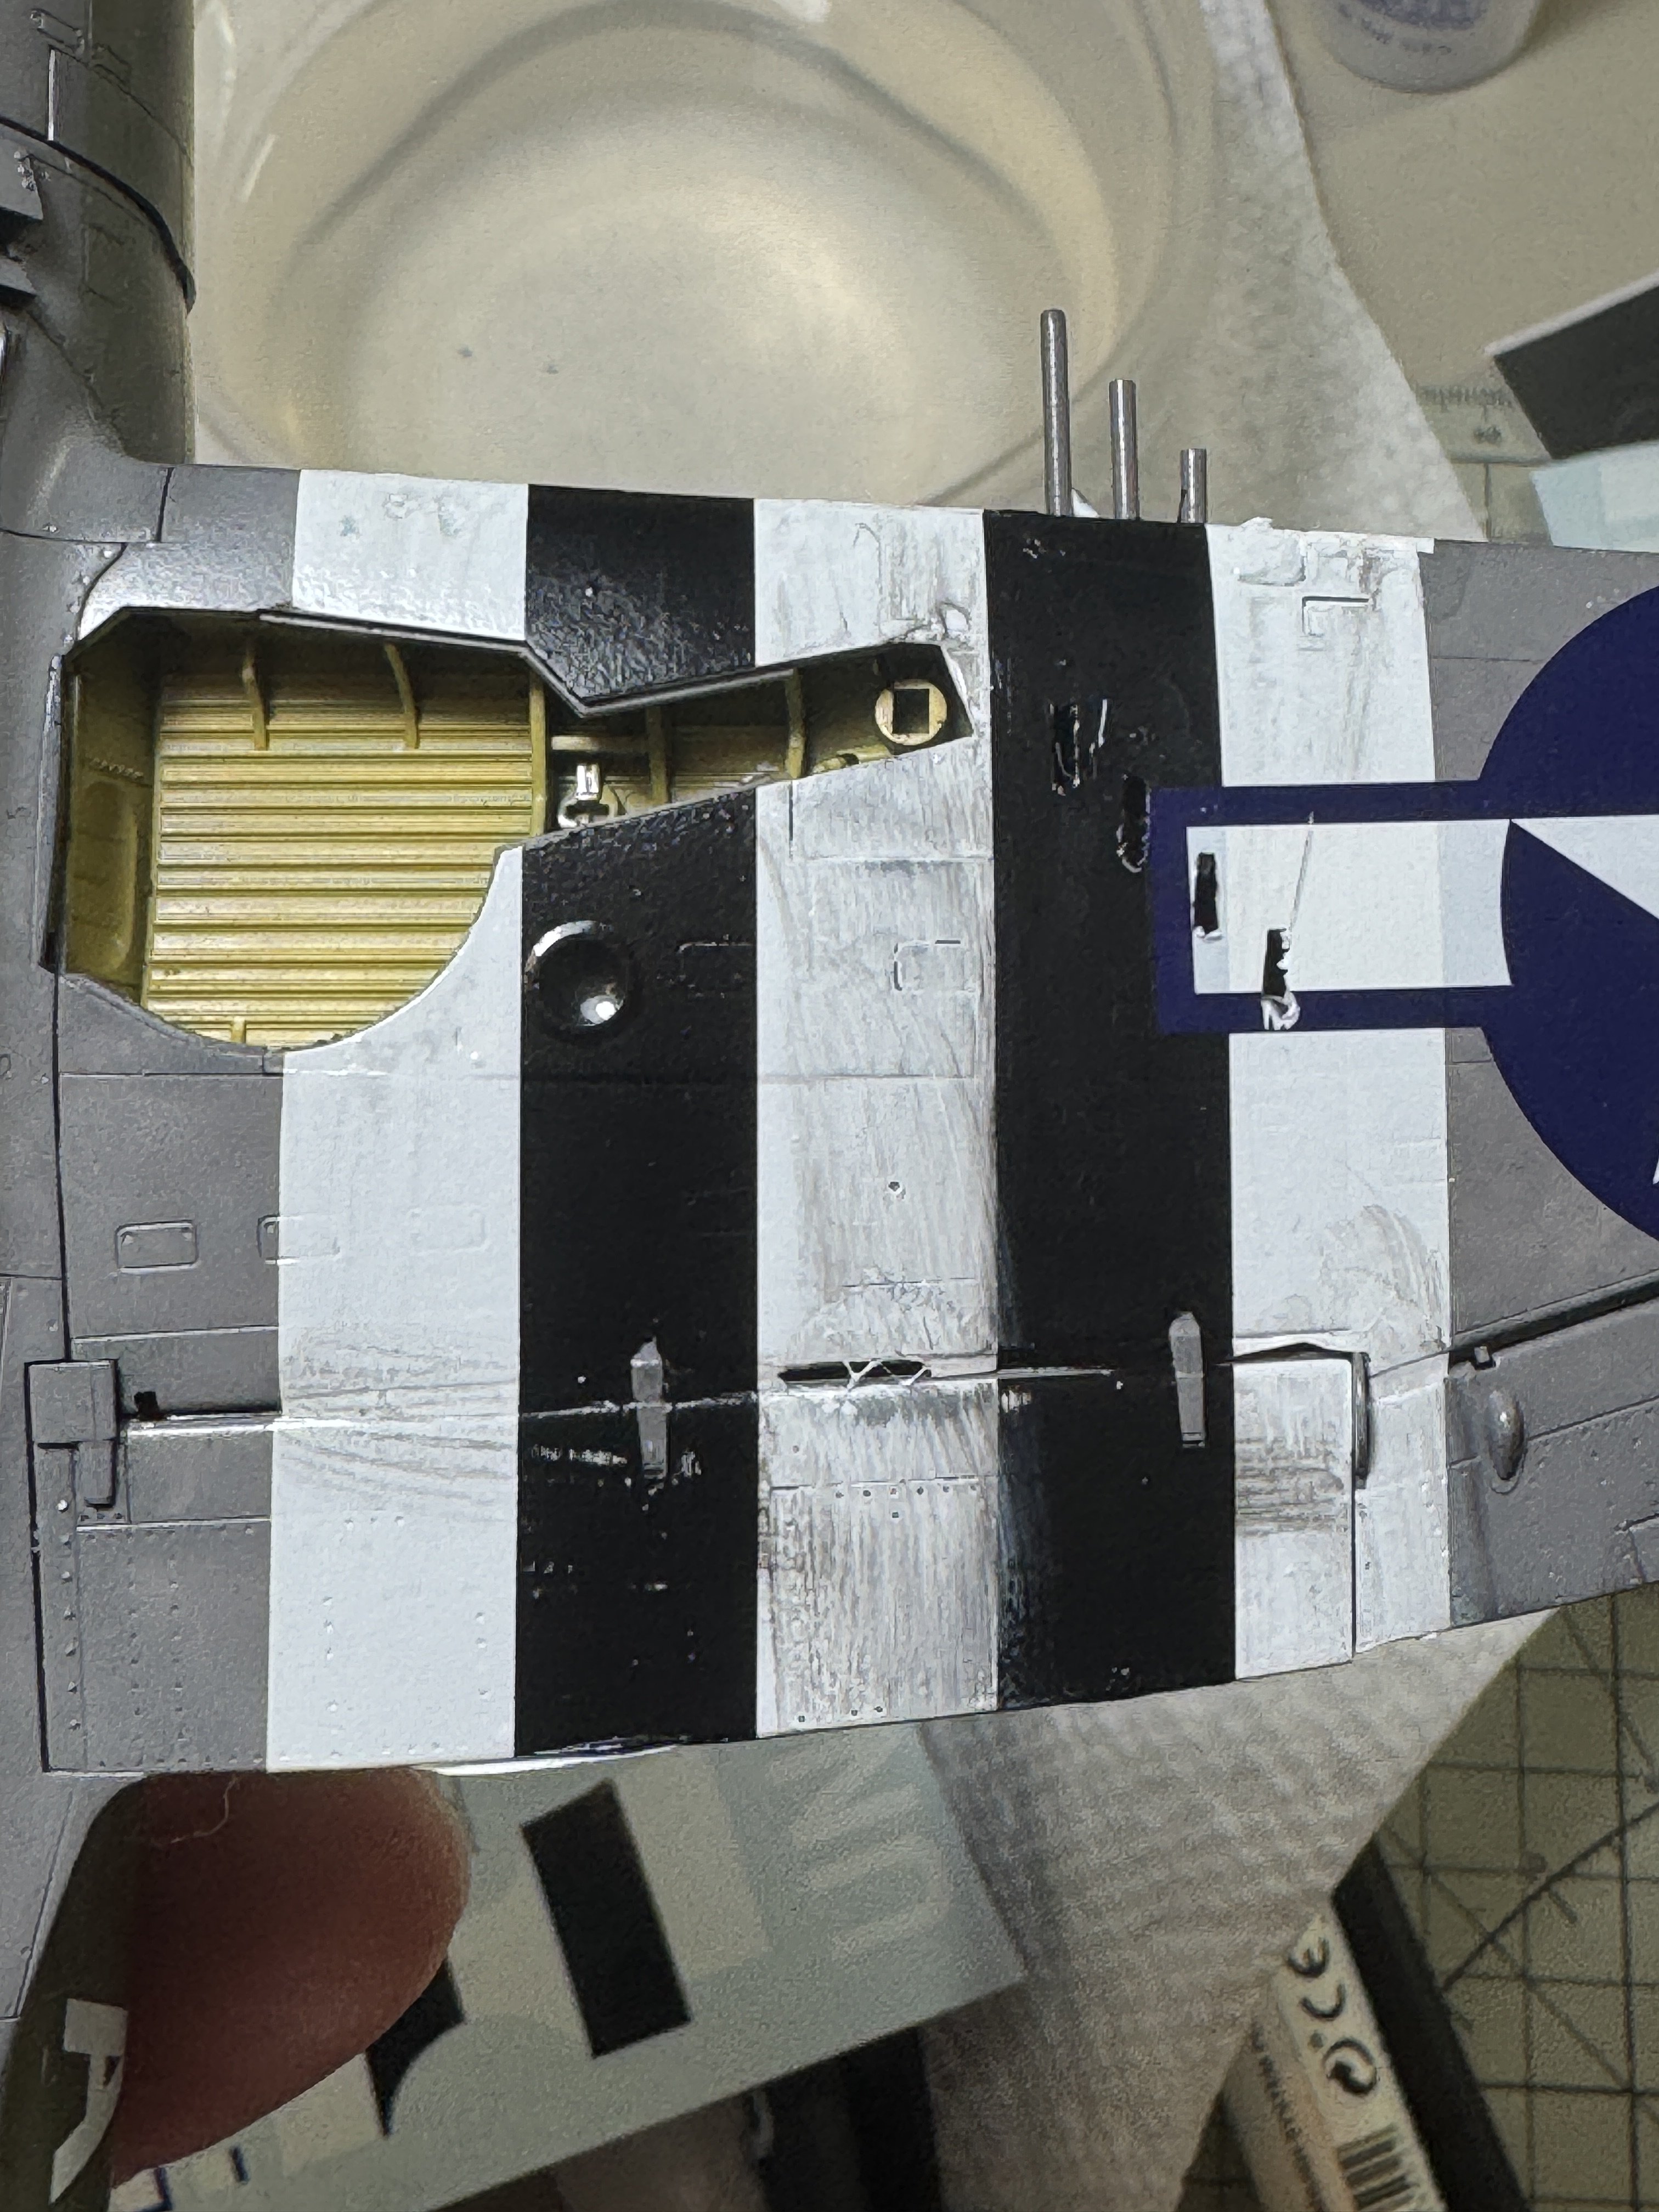
This Solvaset is awesome, but they are not kidding when they say use it sparingly. As witnessed by some color bleeding. But the decals are right in the panel lines. Waiting on the new set to finish the fuselage.
 

Attachments

  • IMG_0883.jpeg
    IMG_0883.jpeg
    4.8 MB
  • IMG_0881.jpeg
    IMG_0881.jpeg
    1.1 MB
  • IMG_0884.jpeg
    IMG_0884.jpeg
    2.9 MB
  • IMG_0886.jpeg
    IMG_0886.jpeg
    1.4 MB
  • IMG_0885.jpeg
    IMG_0885.jpeg
    803.9 KB

Latest posts

Back
Top