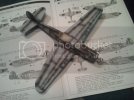
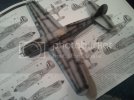
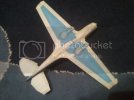
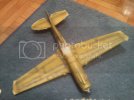
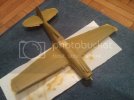
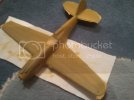
P-40 Tomahawk "African Ace"

Thanks for the comments guys, you are making me think that i am better modeller than i really am. ;D

Brace yourselves - long post coming!
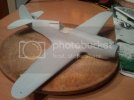
Ok, this is starting to look like a P-40 now.

Today i finally glued the halves and wings and put everything together...
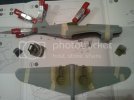
2012-04-13180211.jpg

2012-04-13183825.jpg

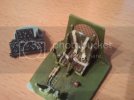
While that was drying i added the seat belts and a mesh behind the seat and took final shots before it goes inside:
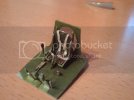
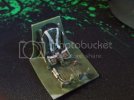
2012-04-13193115.jpg

2012-04-13174049.jpg

2012-04-13193456.jpg

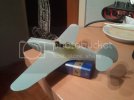
And this is how it looks like now:
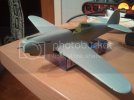
2012-04-13202542.jpg

2012-04-13202556.jpg

2012-04-13202623.jpg

Thanks for looking!
Cheers!
 
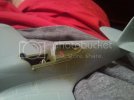
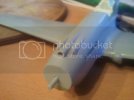
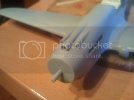
Small update, i am still in the process of sanding. Today while Mr.Surfacer was drying i added these two small details:

2012-04-21211450.jpg

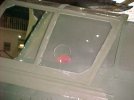
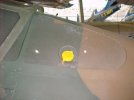
These were reference pictures:
MVC-009F.jpg
MVC-010F.jpg

Cheers!
 
Hey Flipflop,

If you can put together a set of belts like that ,you dont need to worry about AM stuff !! They look excellent buddy ,really do . The whole cockpit has come together very nice and the airframe is looking good . ...Keep it up :)

btw ....now worries on the help ...anytime ;)

Chris.
 
Thanks Chris!

Update time... Again small one.

Done some work on exhausts:
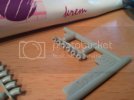
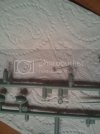
1. This is how they looked like:
2012-04-23014833.jpg

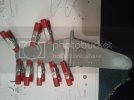
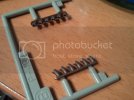
2. Drilled them with 1mm drill (only one i have) and then expanded them with xacto (first 4 done, bottom 2 in the process):
2012-04-23014814.jpg

Painted and weathered:
2012-04-24210004.jpg

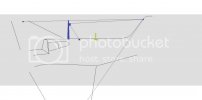
I almost forgot about ADF/HF antennas so i checked references on the internet and i found at least 3-4 different variants on these birds, so i chose the one i like most:
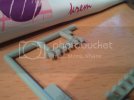
I made very professional scheme in MS Paint (blue - my plan, green - academys vision of how it should look like):
antennaplan.jpg

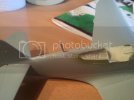
Covering the old hole:
2012-04-24175312.jpg

glued stretched sprue inside of the old hole:
2012-04-24180336.jpg

And sanded later (don't have an image but you know how that goes)...

Next up is painting... Finally!!
Cheers!
 
Those exhuasts look much better mate . Looking forward to the paint :)

Chris.
 
I am spamming this poor topic like mad, but it's helping me to not get lazy ;D ;D ;D .

I tried to make gunsight because i didn't like the one that came with the kit but i am not 100% satisfied so i need your small help - which one would you use?

2012-04-24205801.jpg

I'll cut the excess wire - it's there just to help me manipulate it easier...

Cheers!
 
updates looking great flipflop lots of mods for a WWII bird :eek:

the kit supplied gunsight is out of scale, from what I see ;D

try to bend the wire from a round sprue / toothpick or any that is a appropriate on the one
that you made. an etch on the center of the cross would make the two wires seems welded to each other. Just my opinion :D


Cheers!!!
ER
 
Finally started painting - most of the bench time i had today i spent on masking the canopy... For some reason i had to do it 76 million times so it took like 2 hours (Murphy strikes again). Anyway done that, made 50cals on the nose from medical needle, drilled some holes, added antenna attachment points (on the wingtips and vertical stabilizer) and primed... Here goes 3000 words:

2012-04-26182214.jpg

2012-04-26185606.jpg

Primed:
2012-04-27224344.jpg

After primer I expected to see few spots where i need to fill and sand again but believe it or not there aren't any... Looks good to my eyes... :)

Cheers!
 
Awesome progress. I like the detail inside. I'd go with the scratch gunsight!
 
Thanks guys.
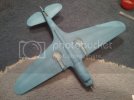
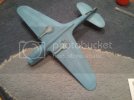
Started painting today, pre-shaded and painted underside and i'll finish painting probably tomorrow... I had trouble mixing colors to get azure blue but it's close enough (it's looks too bright on the photos)...

Anyway, here goes:
2012-04-28231322.jpg

2012-04-28231351.jpg

Underside - preshaded, painted and then highlited some panels to kill the monotony:
2012-04-28231511.jpg

2012-04-28231545.jpg

Cheers!
 
Update! Painted first color - Middle Stone (i used Vallejo Model Air). Also various bits and pieces have been painted, and i had help - my girlfriend painted wheels :) and she did fine job i must admit :) .

Here are the pics (cliche but i am sorry for the photo quality):
-Masking underside:
2012-04-29205236.jpg

-First pass (if anyone wondered how i airbrush over pre-shaded areas...):
2012-04-29211527.jpg

-End result:
2012-04-29220957.jpg

2012-04-29221034.jpg

Next up is masking the camo and airbrushing Dark Earth. I have both of these colors from my beloved Gunze range but i wanted to try Vallejo because i have never used them before.

Thanks for looking, cheers!
 
I like your pre-shading. I have seen some that looks too pronounced, yours looks right.
 
Very nice work Flipflop ! ...tidy preshade too . The Azure blue looks spot on to me ,and you have made good use of the preshade ..top and bottom . ....Great job ;)

Chris.
 
Pre-shading looks great, Flipflop at the very least your already on the painting stage. :D
 
Thanks for your comments guys, it really means a lot!
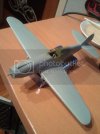
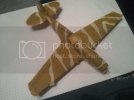
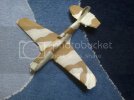
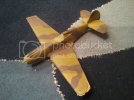
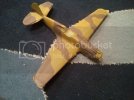
Painting complete... My assumption that i'll finish yesterday was very bold as i spent 2.5h just on masking yesterday. I tried three layer blending technique for the first time on dark earth and it was success (in my mind). It really looks like it started fading in the African sun. Anyway - pictures:

2012-05-01024417.jpg

2012-05-01120053.jpg

2012-05-01205904.jpg

2012-05-01205941.jpg

Next up is gloss cote, decals, another gloss cote and then weathering...

Cheers!
 

Latest posts

Back
Top