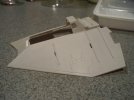
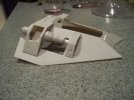
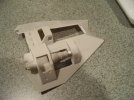
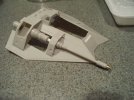
Making that old MPC Snow Speeder kit shine!

Really sharp work as always, Michael. Gives me lots of ideas to steal.... er... I mean inspiration. ;D

Thanks for walking through this for us. Decided, I'm gonna build 1 or 2 of these some day.
 
Thans guys! ;D

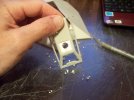
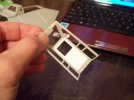
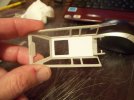
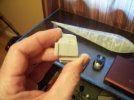
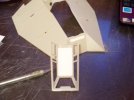
I worked on the canopy and a bit on
the lower hull. On the canopy i just
added some of the same evergreen
sheet i used on the side walls of the
tub. So it has a matching design wanted
it to have sort of a padded look.This mod
will not allow me to use the clear canopy
part that came with the kit, that's
ok i will go with out the clear part like the
original filming miniature.
009-1.jpg
010-1.jpg
011-3.jpg
013-2.jpg

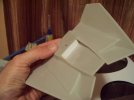
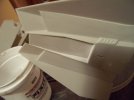
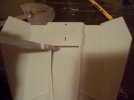
On the lower hull i added a piece of polystyrene
at the back to close off the area like it is on
the filming miniature, i also used some Apoxie
Sculpt to fill in the runners that span to the front.
You can see a gap the way the kit was designed
and it was pretty bad, so I felt i needed to do something
about that. At the front of the lower hull it comes up short
and you can see a gap there also, so again I added some polystyrene
to even it up.This also allows for a gluing surface to the top hull
where there wasn't one there before.
014-1.jpg
015-2.jpg
016-2.jpg
017-1.jpg
 
I have one or two of those Old Gals in my stash.... Nice to see it can be brought up to Specs !

Thanks for showing us the improvements...
 
This was the second build I made after a 25 year hiatus from building models. Something clearly went horribly wrong with it and I retired it to the confines of my small stash after it was finished. I was toying with the idea of a new paint job but might scratch some stuff out on it as well. Your giving me hope for it looking forward.
 
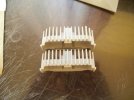
Decided to jump around a bit and worked on the rear heat sink
a bit. The part from the kit is not bad but has some issues. The
fins are a little rounded over on the edges so i sanded them flat,
and at the ends they have this wonky widening that goes on. I
went ahead and sanded that wonky wideness away.You can see
in the picture the bank on the top and the wideness that comes
with the kit part "AS IS," and the correction on the bank bellow.
004-3.jpg

The fins also have a strange angle to them on the top,
so i marked a line and straightened them out making
them much more 90 deg.
006-3.jpg

I also noticed on the studio model on the lower hull the
little inlets looked open so I opened them up on my model
kit as well. Not sure how deep it should run hollow, i may extend
the channel back so you dont see all the way in later on.
007-4.jpg

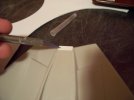
I also started marking out some panel lines on the
top hull they are scribed I just don't have a picture yet.....
next update. ;D
024-1.jpg
 
I think it looks like fun. I reckon this will be far more rewarding than the Fine Molds kit, if you follow these mods. You get a much larger model in return.
 
Igard tha'ts a very good point regarding the FM kit.
The Fm kit is very nice but very small if they did a
speeder this big it would be amazing. Another thing
I dont like about the FM kit's in general there is just
so many pieces, I have the FM speeder I will never
build that thing! LOL
 
Nice work! I am learning from my MF build that this kind of work is fun. Keep us posted!
 
Nice work on bring this kit up to awesome detail!!! I am learning much about scratch building from your work on this snow speeder. Thanks for posting your build results.
 
Grendels said:
Nice work! I am learning from my MF build that this kind of work is fun. Keep us posted!

G I love this type of build! Its nice because when you want to walk
away from modifying you can always put it together and say "time to paint"
When you scratch build something it doesn't lend you anything, you can't just
put it together if you get tired. ;D
 
JAM ,

Stellar Job on this one !! A case study indeed. Lookin Good ! Attack th kit ! I'm lookin forward to th next installment !
 
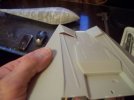
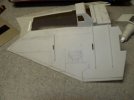
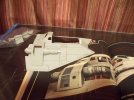
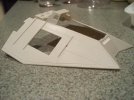
Here are the results of the scribing guys......
i also decided to model this with the circuitry access panel
removed, as seen on one of the filming minis.

Roughed in with pencil.....
001-2.jpg

002-4.jpg

opposite side...
003-4.jpg

004-4.jpg

005-5.jpg

006-4.jpg
 

Latest posts

Back
Top