

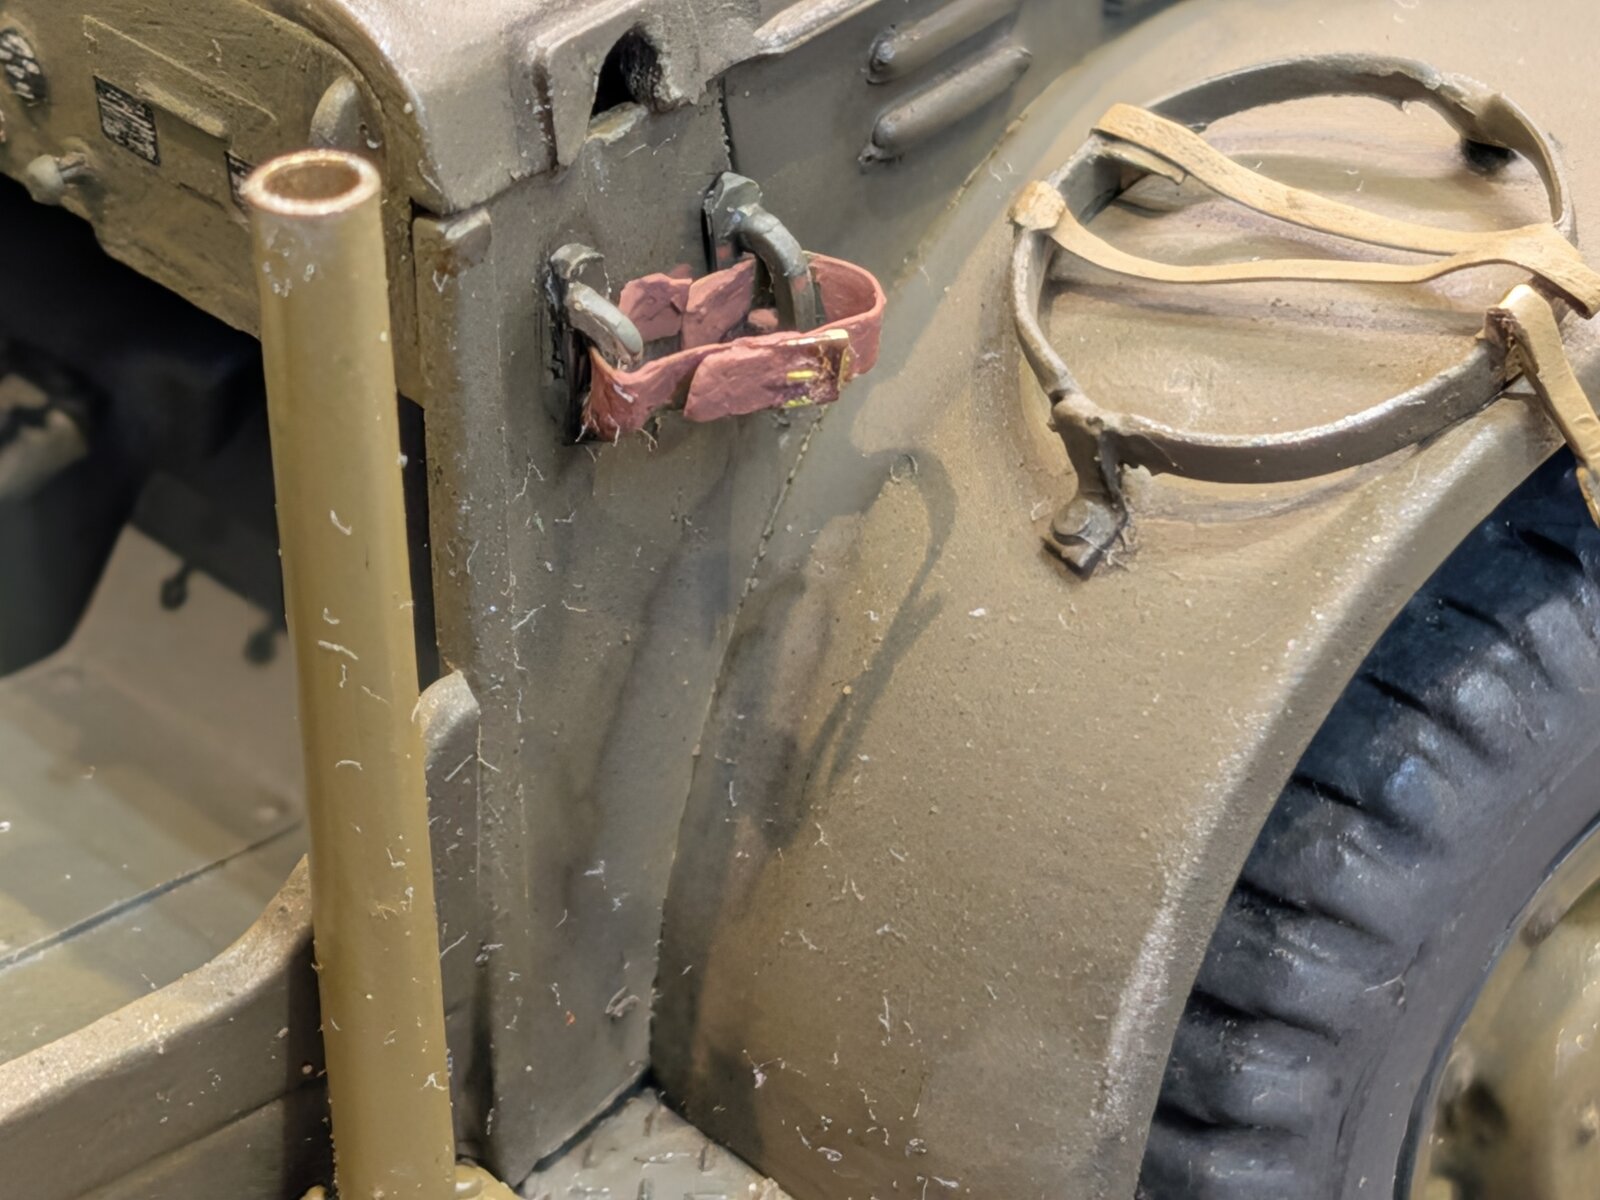
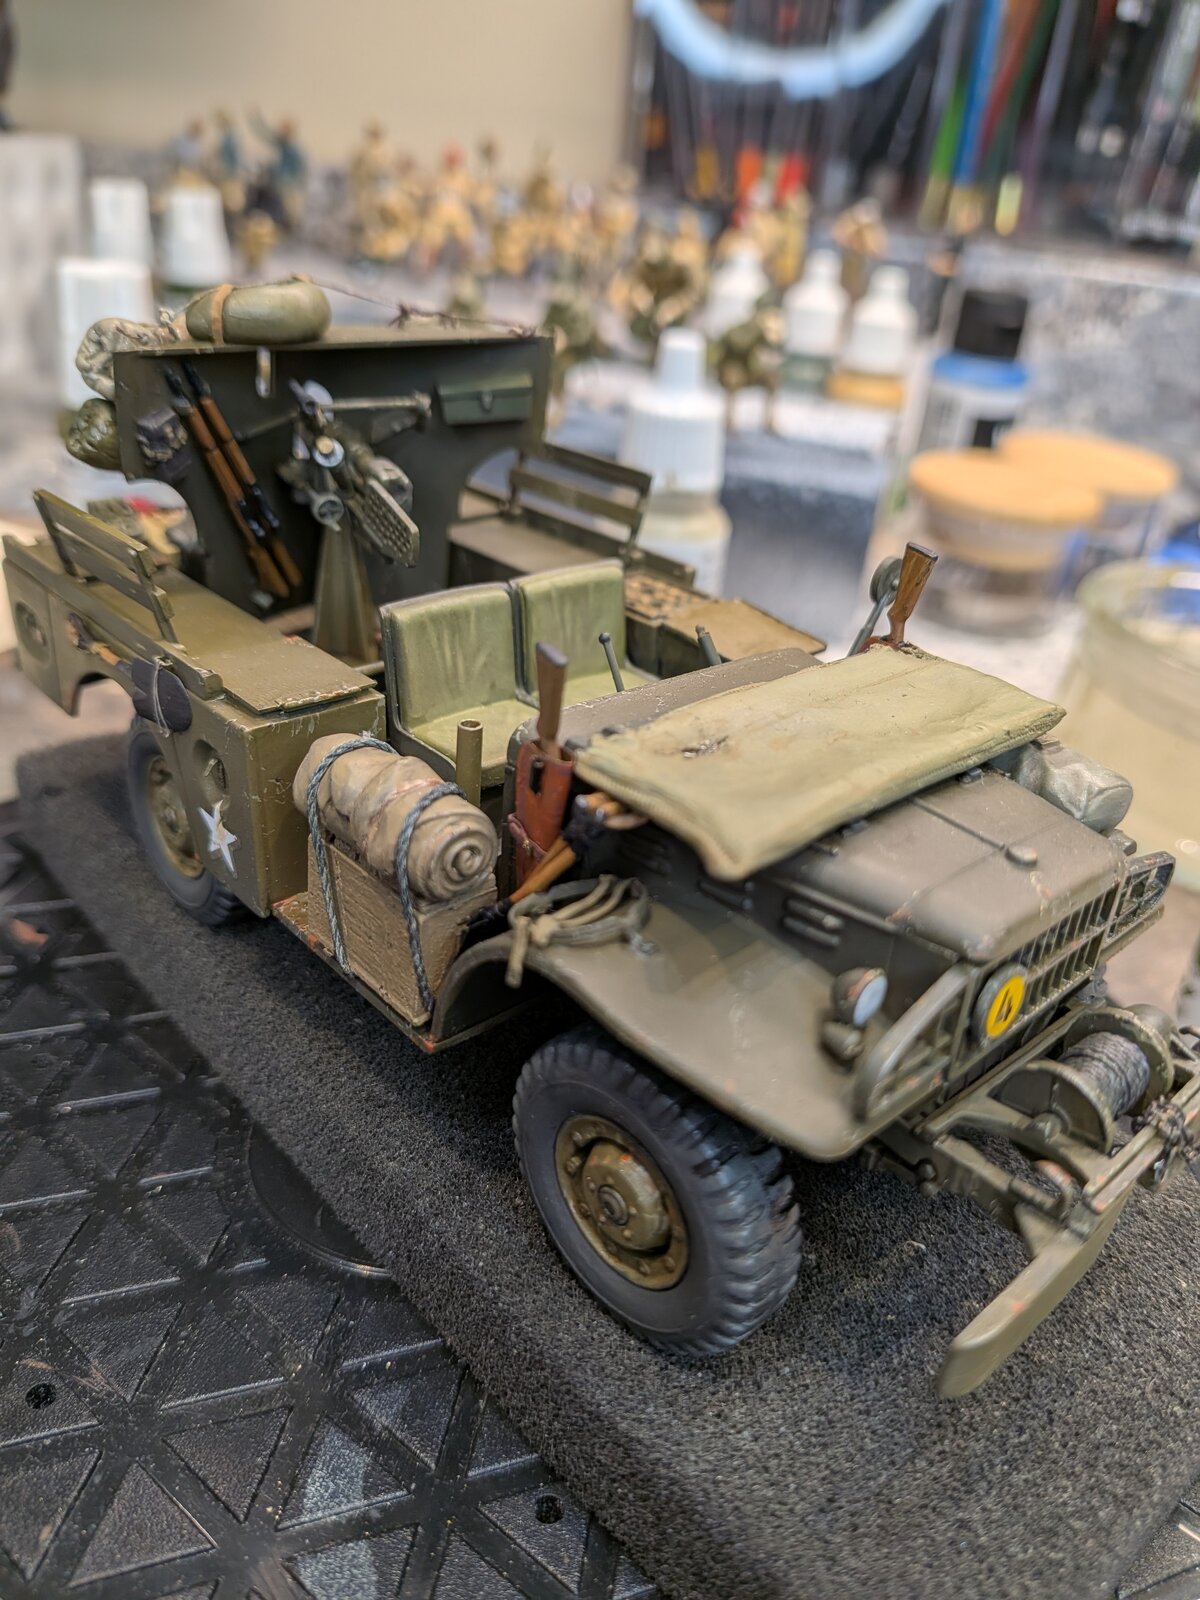
After futzing with different loops, threads, hooks and chains from the tickle trunk, settled on this.
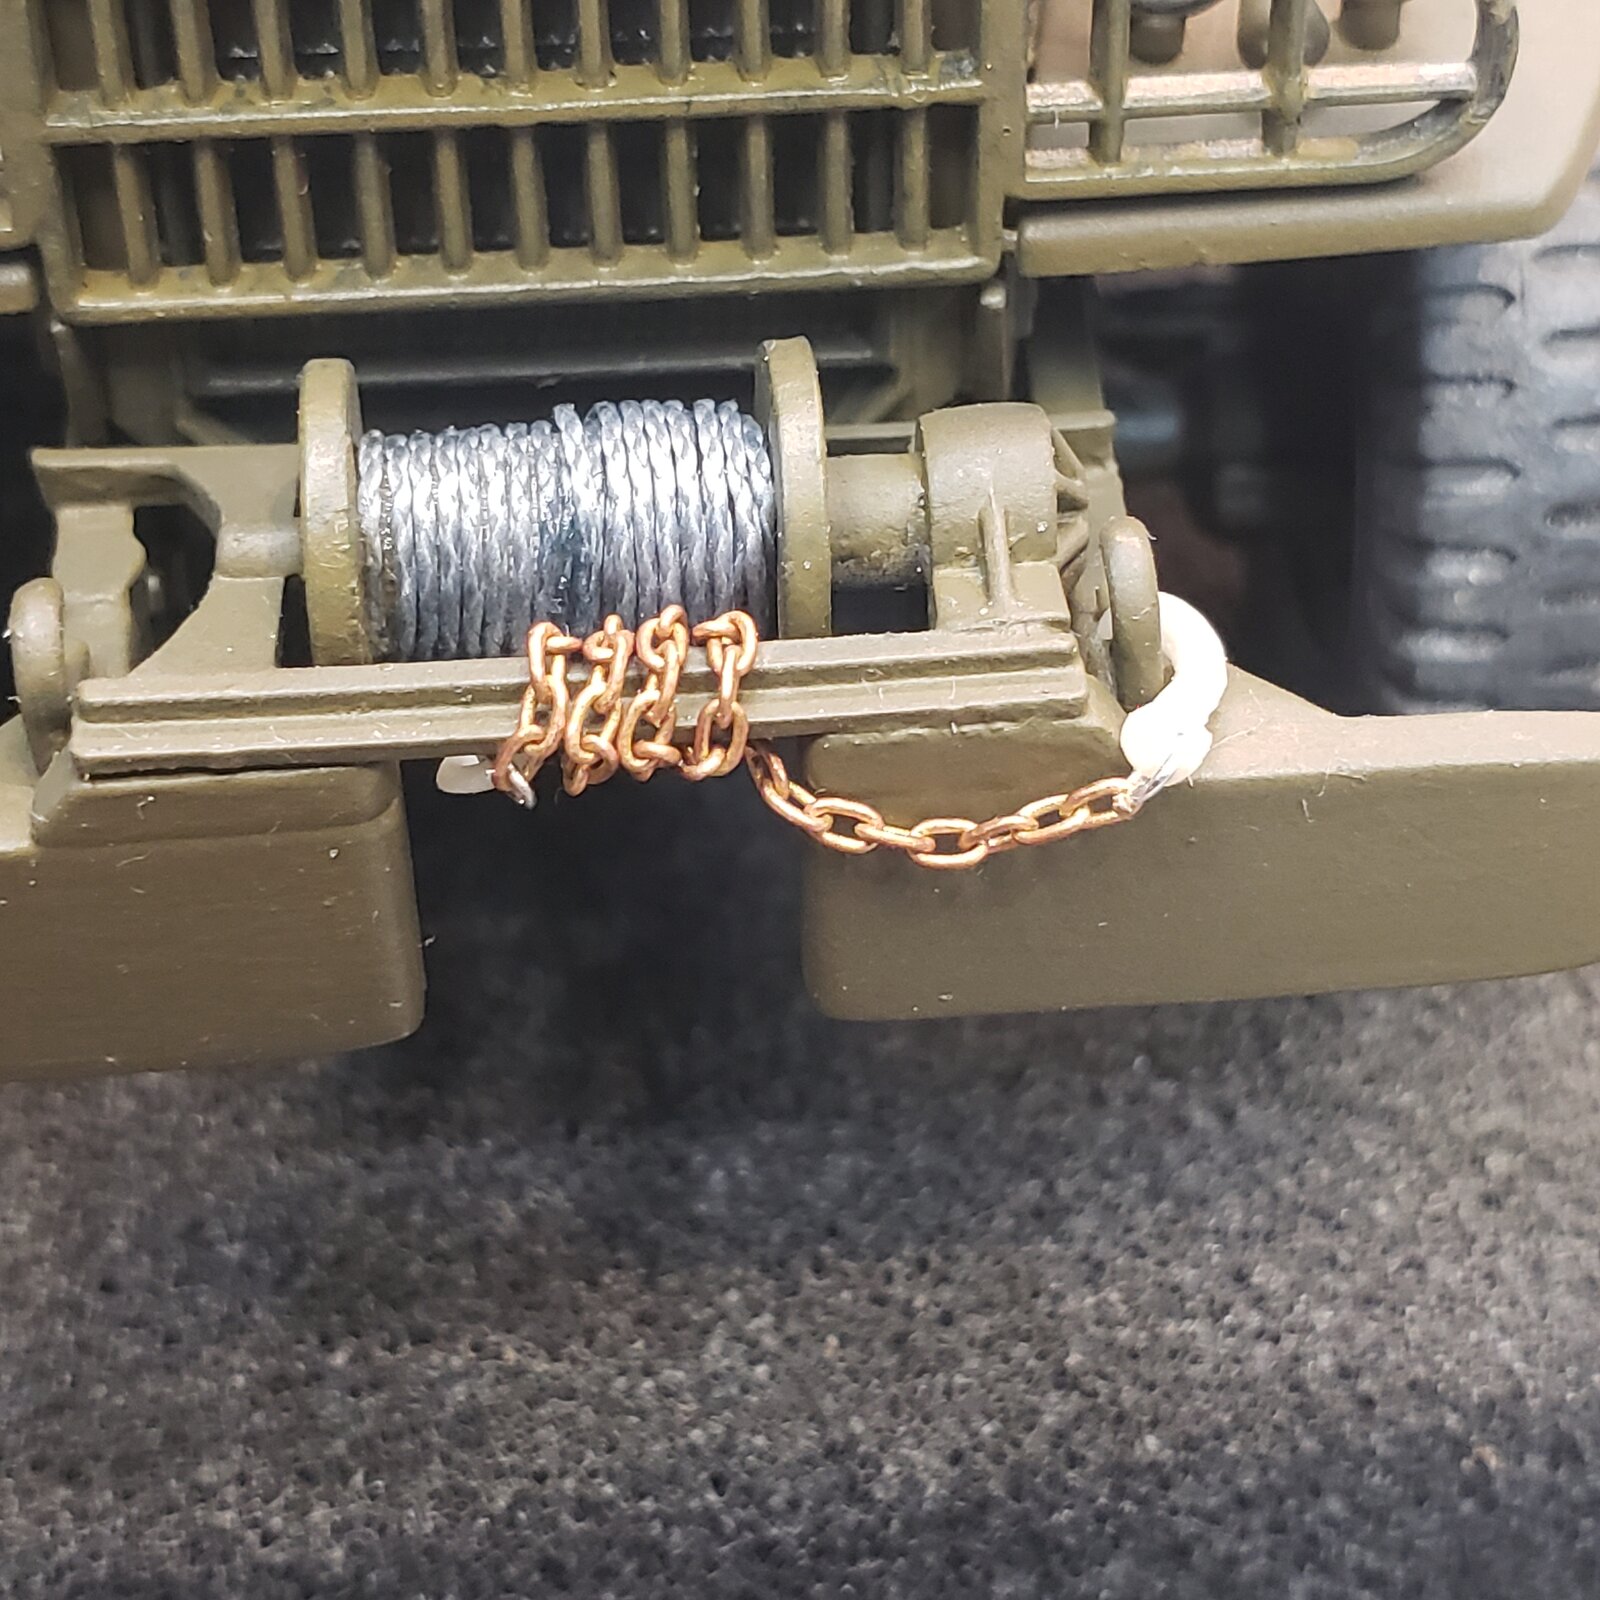
Ref photo had no hook, just looked weird on the model.
Ref photo had no hook, just looked weird on the model.

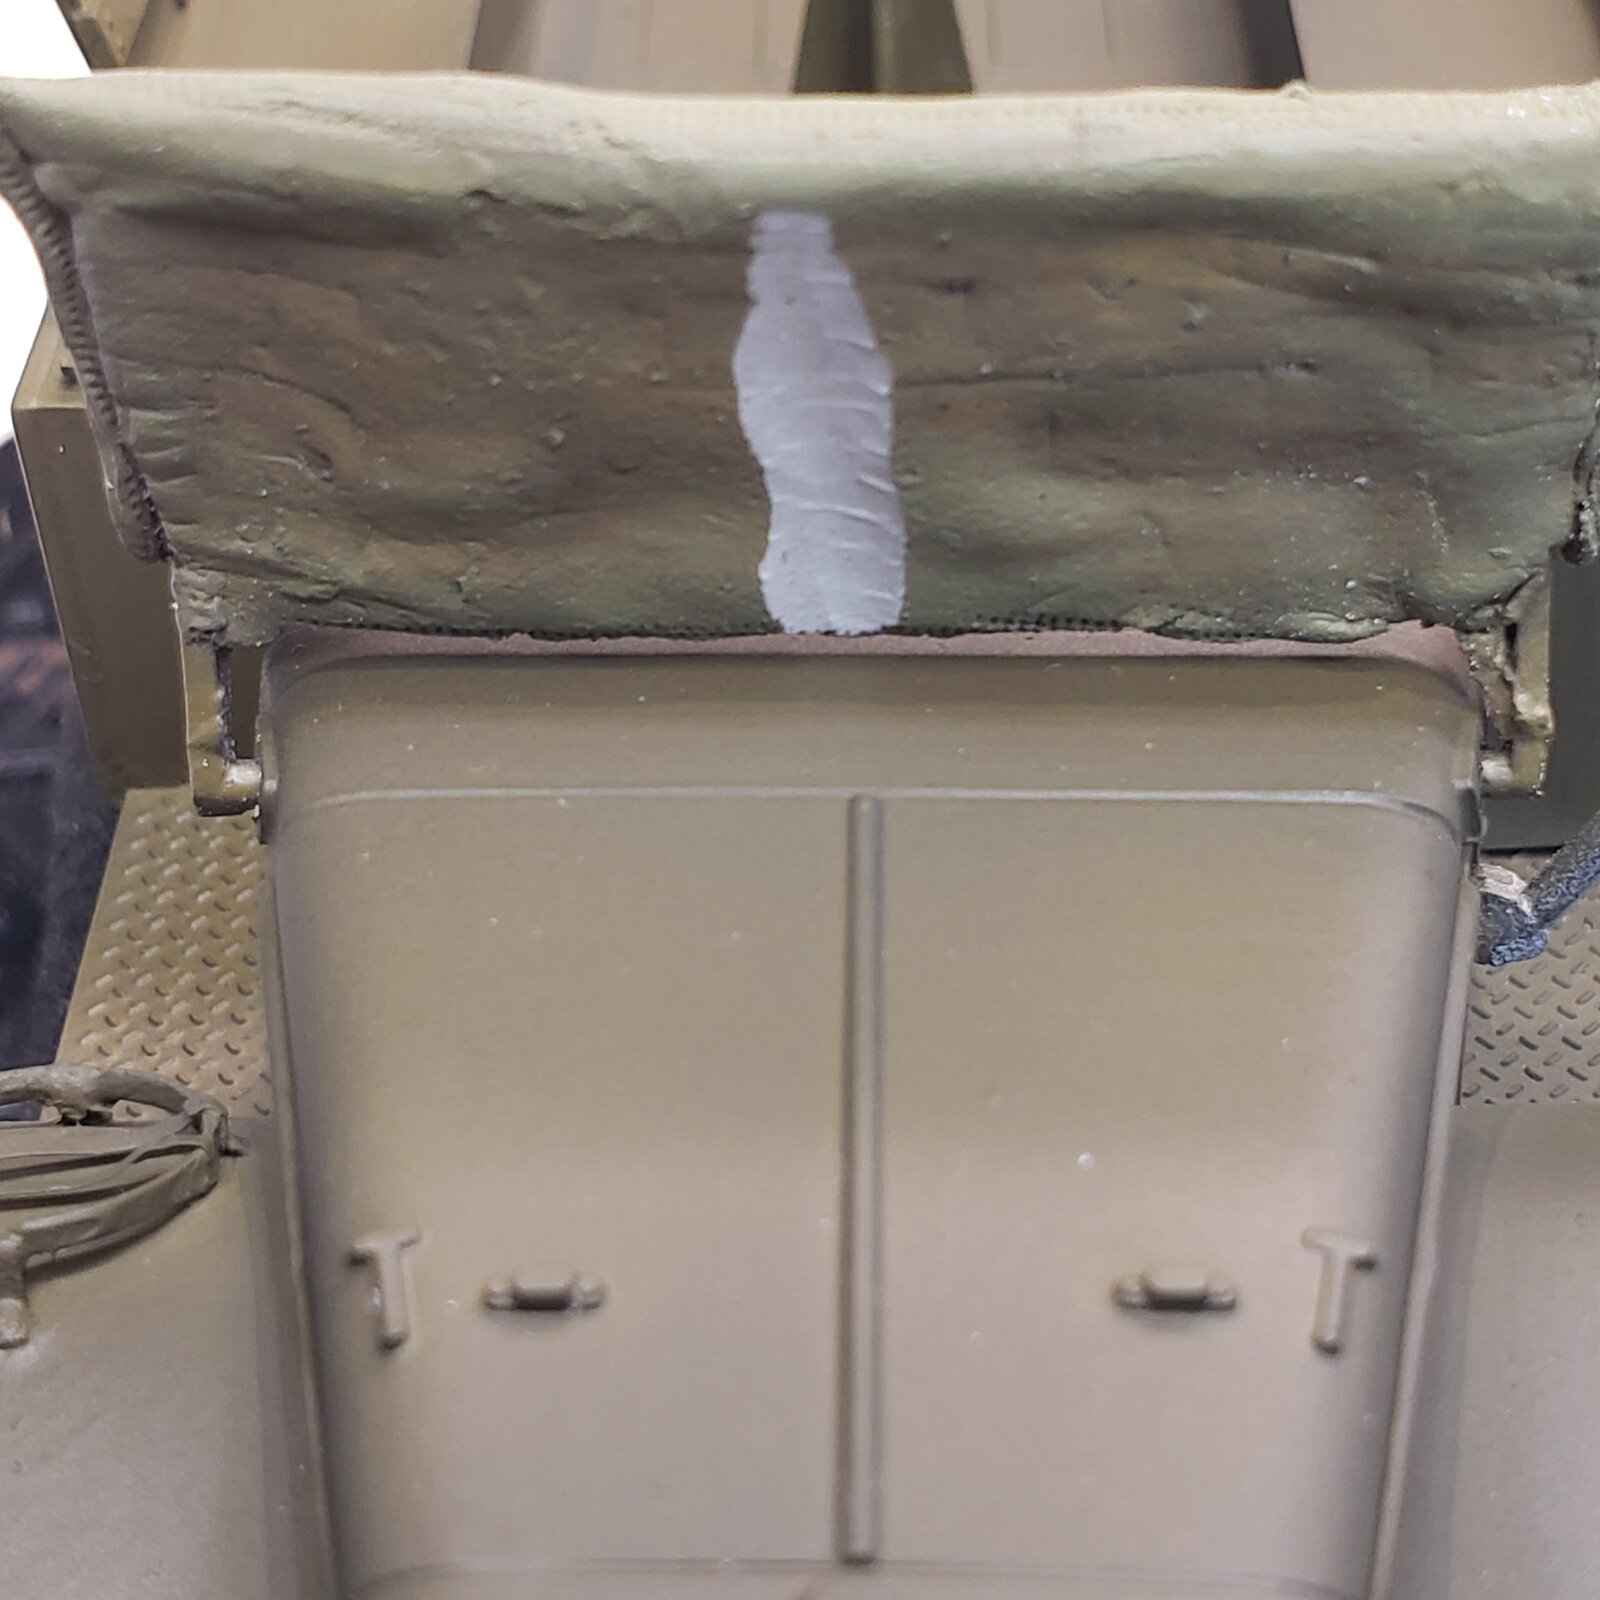
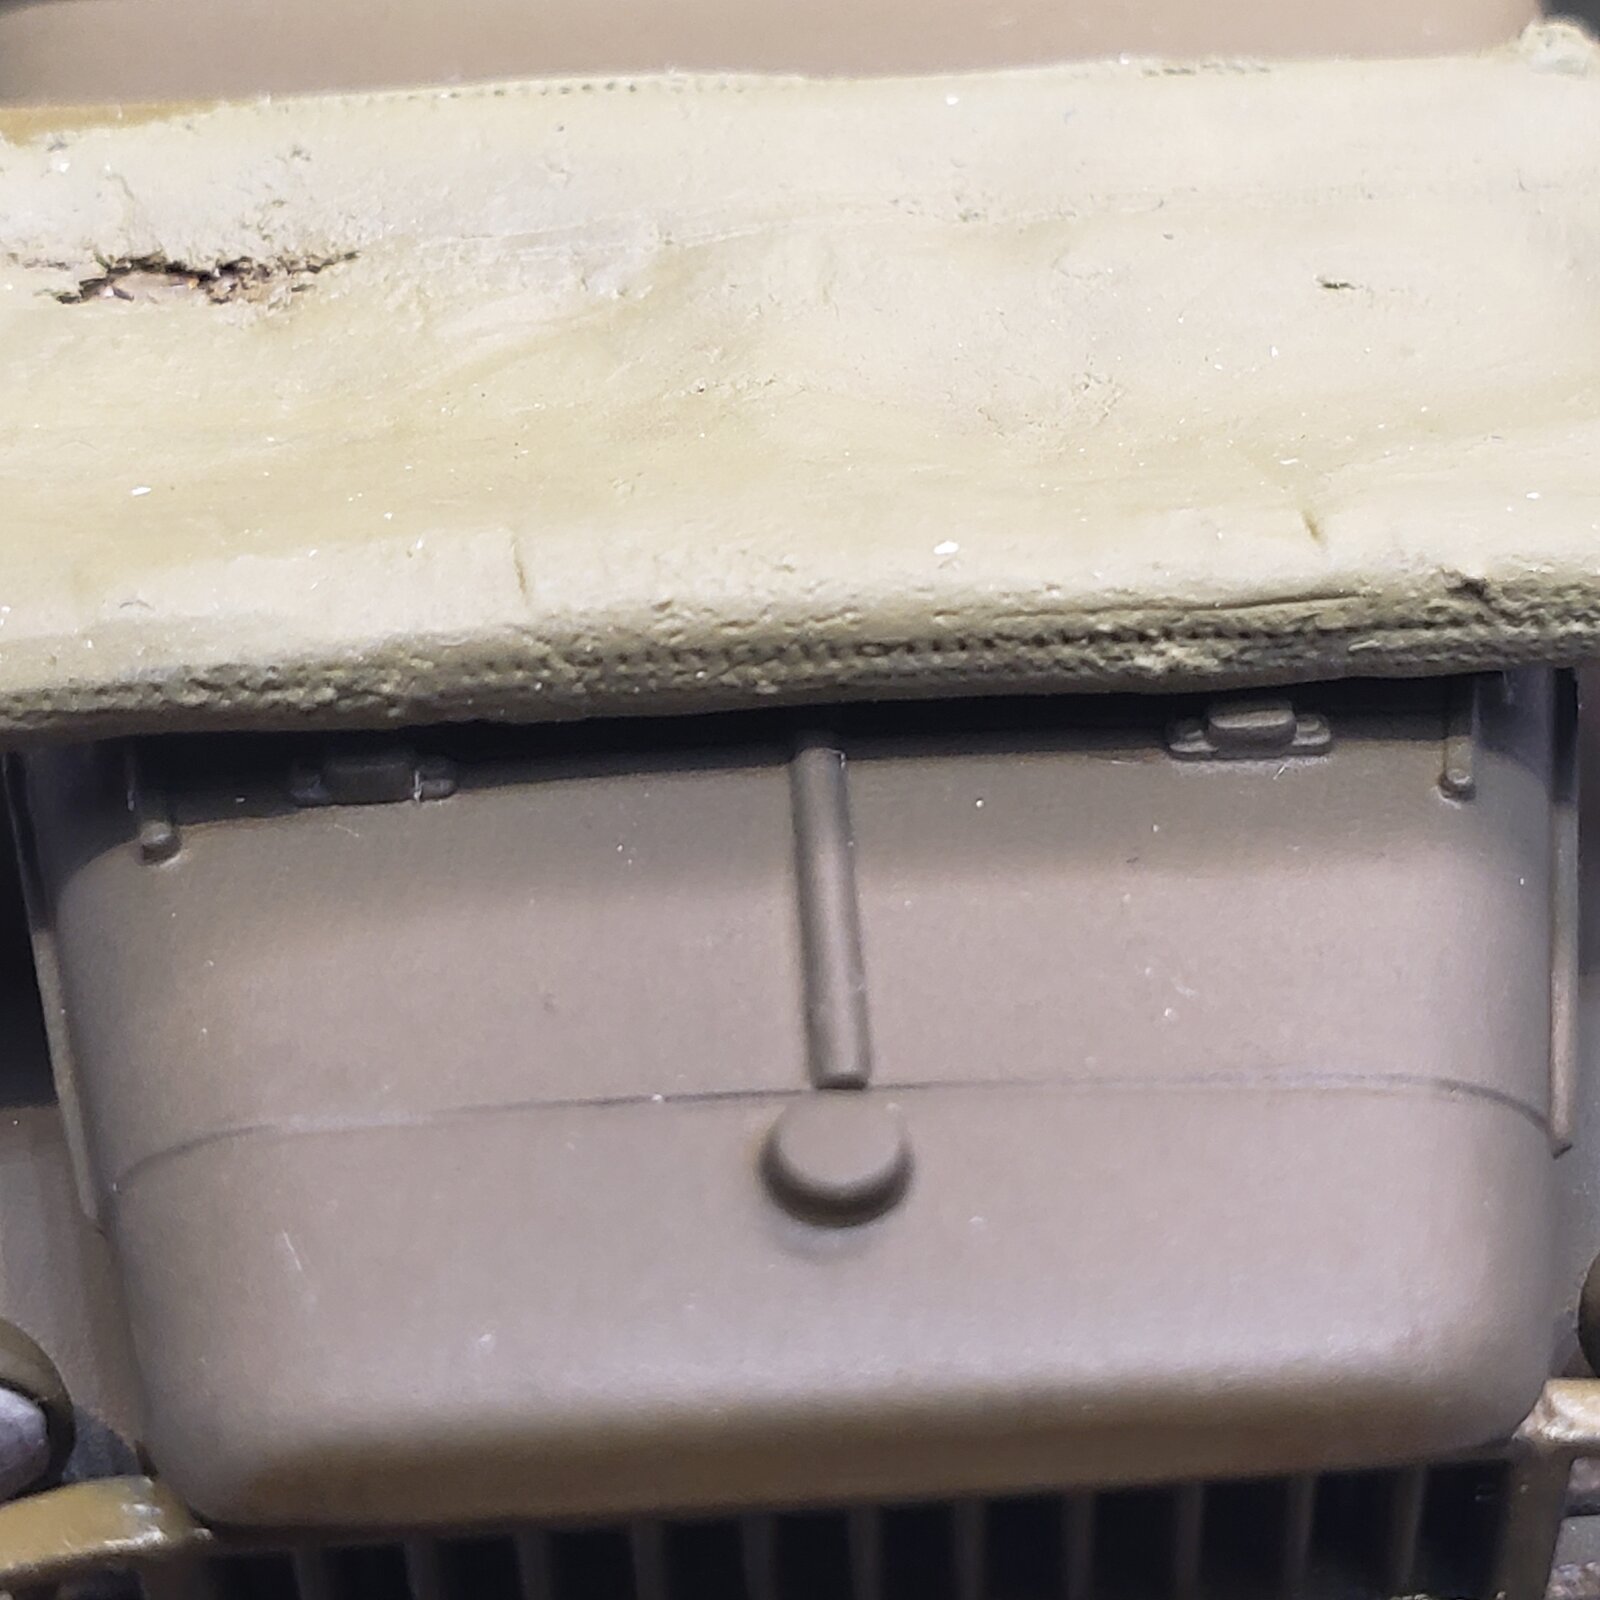

 If you sculpt something like this, always make sure you put it in place before the putty hardens, to ensure it will actually fit where it's supposed to (You can prevent the putty from sticking to the rest of the model by putting a bit of kitchen foil there first.)
Ha, that's experience talkin'!kitchen foil
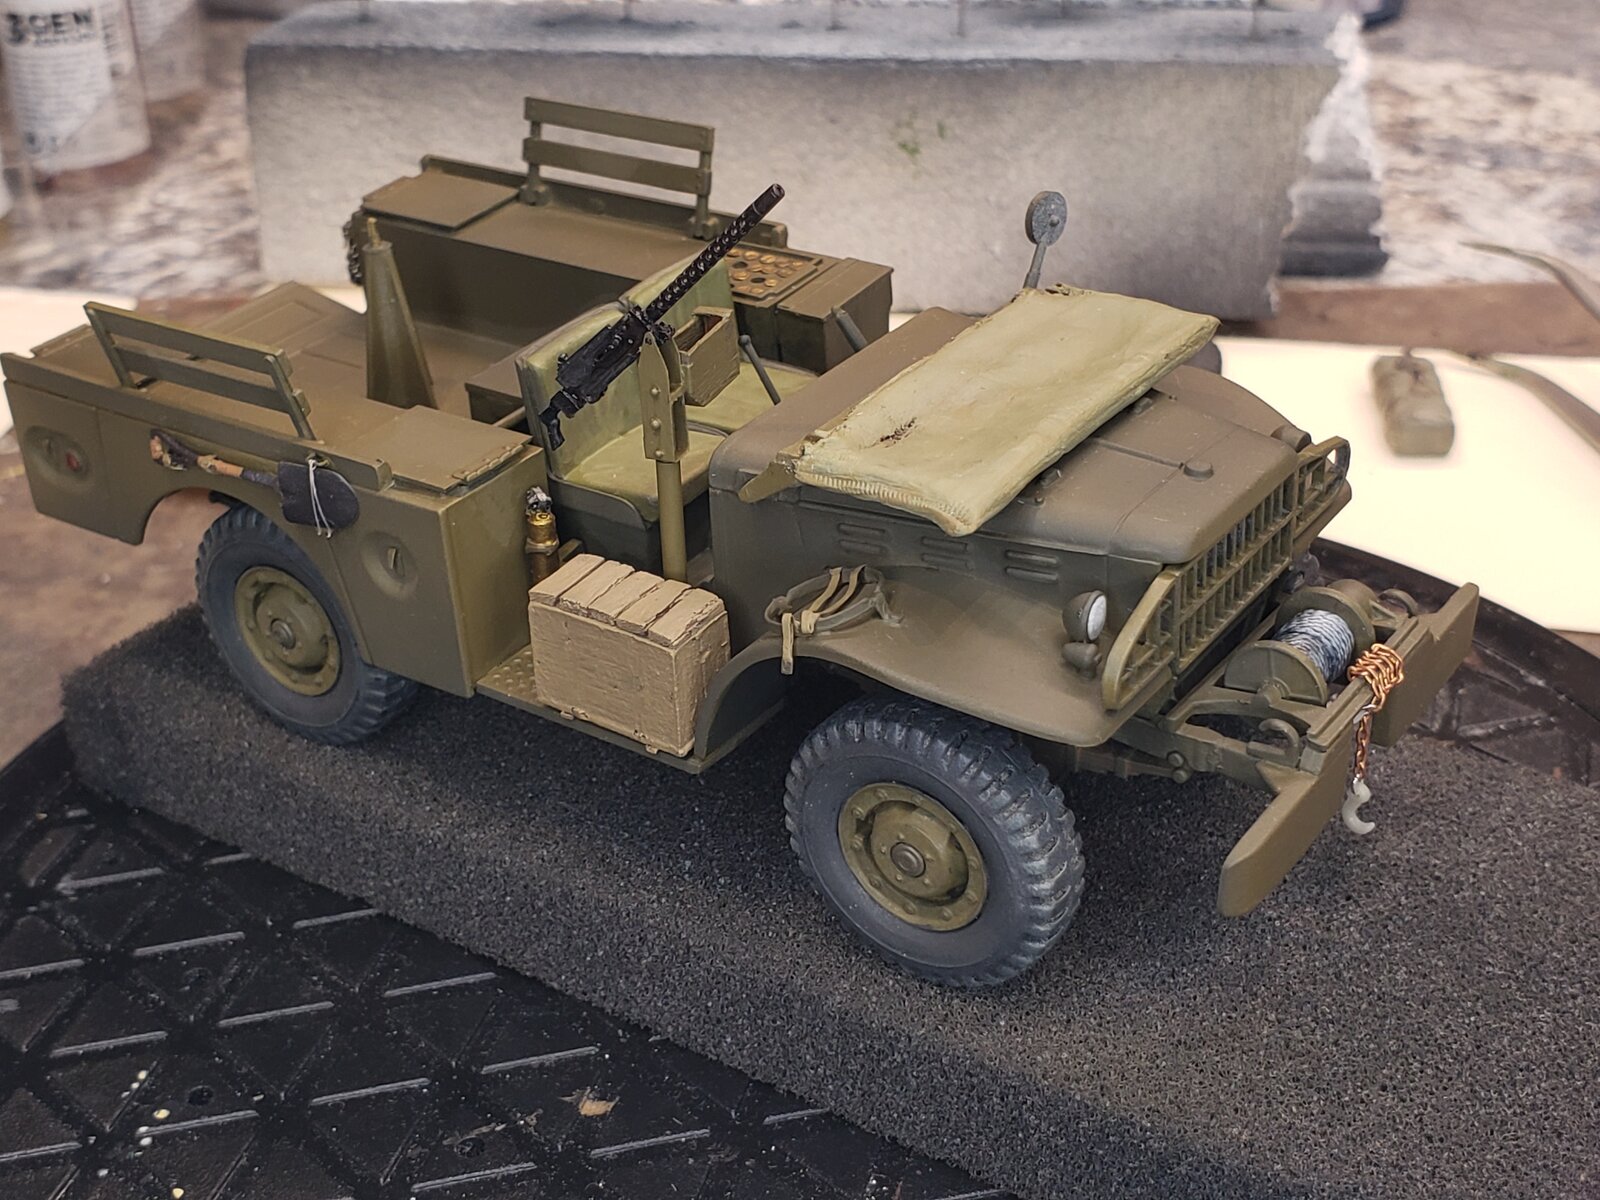
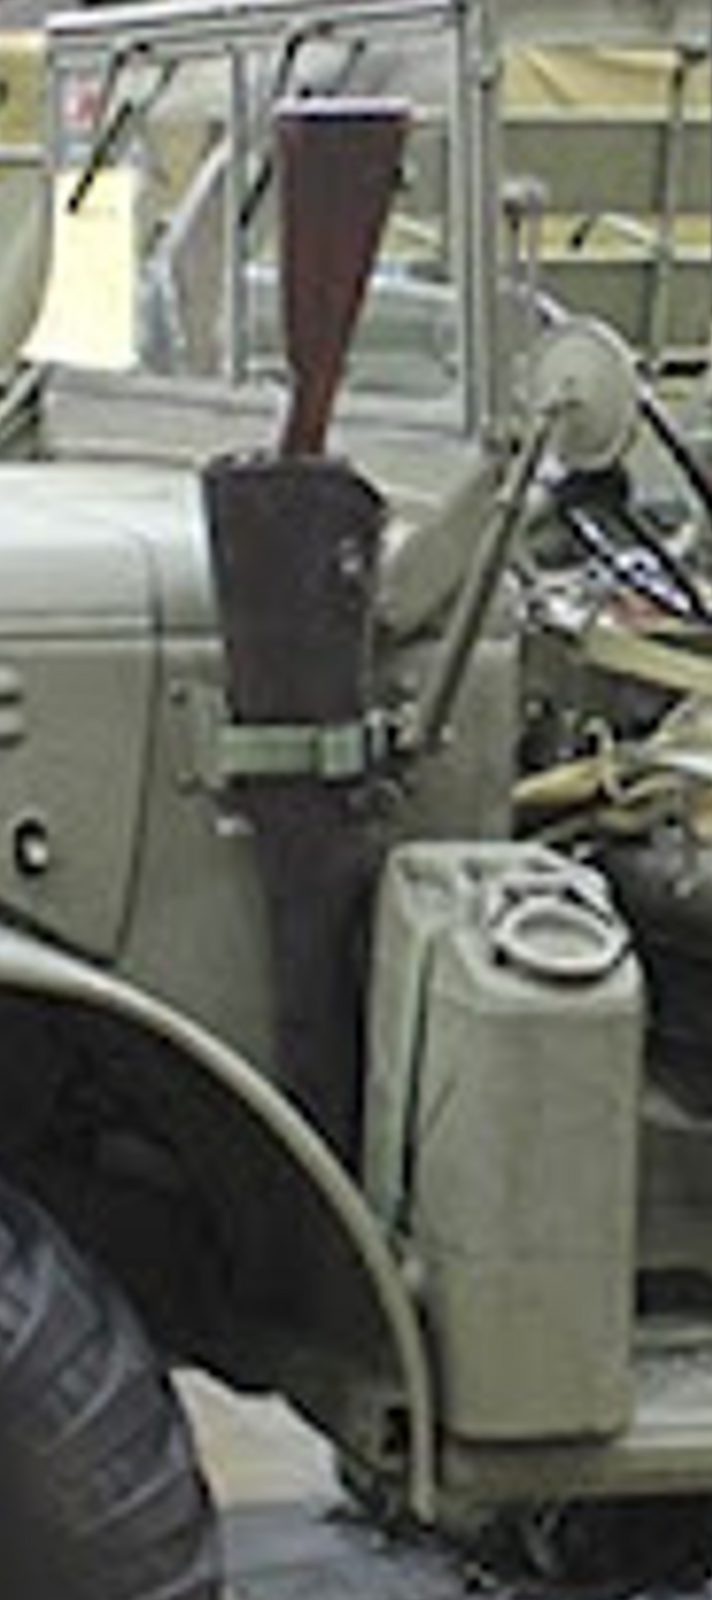
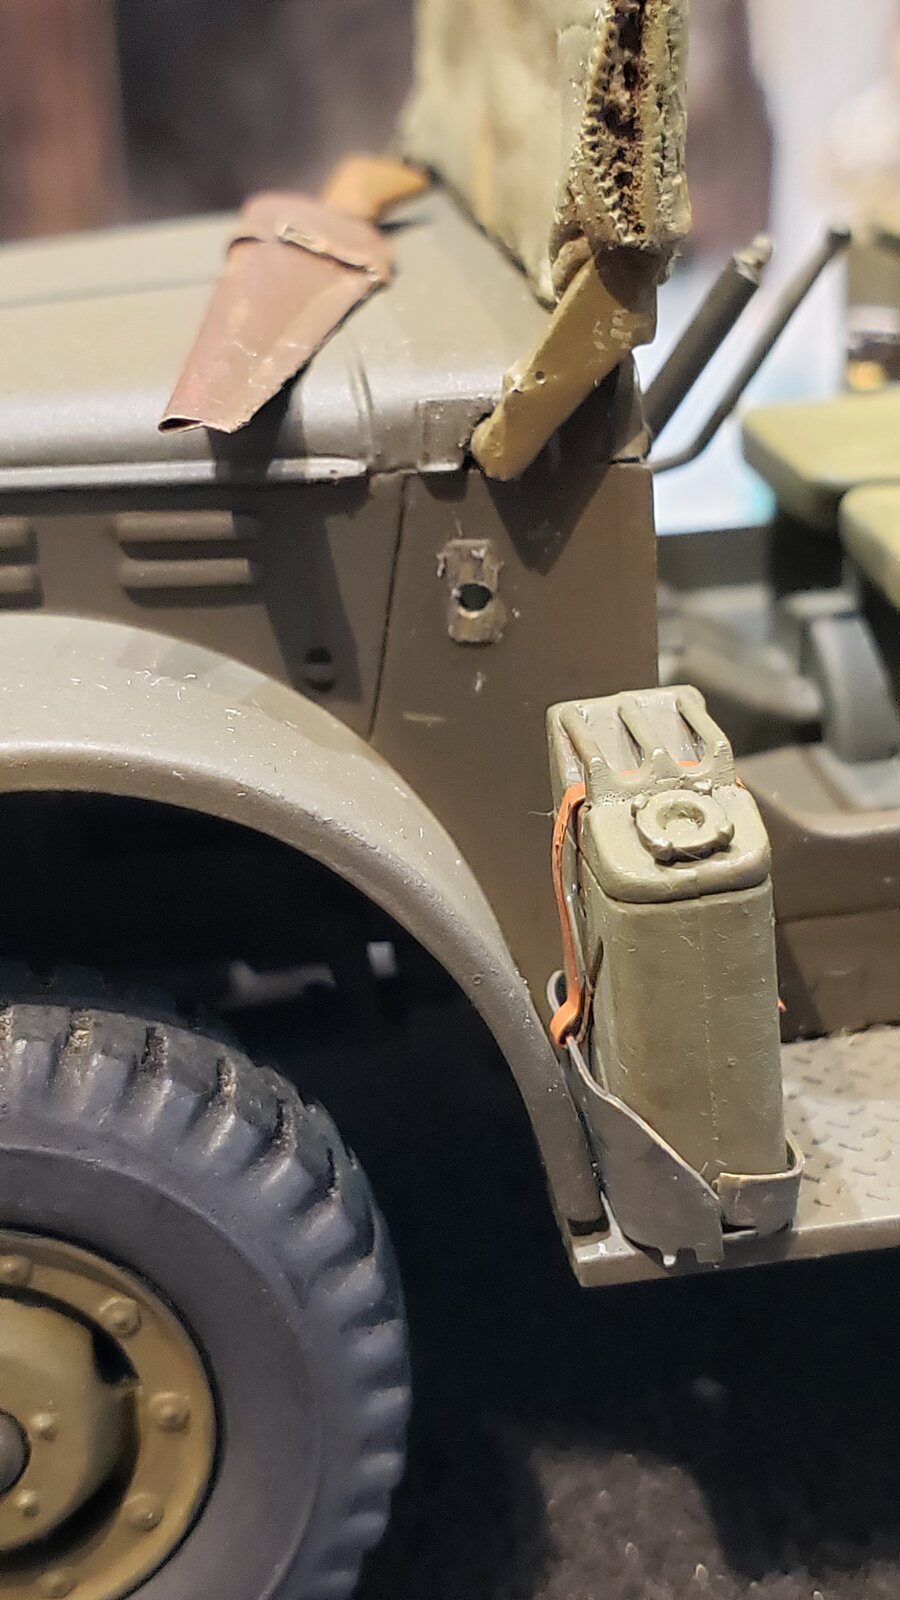
Look, and ye shall find...
– yet more muckups!

I really like the subtle way you weathered the tires. Did you use oils? Care to share your technic?Slow but steady, starting to come together
View attachment 181000
... will have to think about decals soon, perhaps before getting the rest of stowage and gear on...


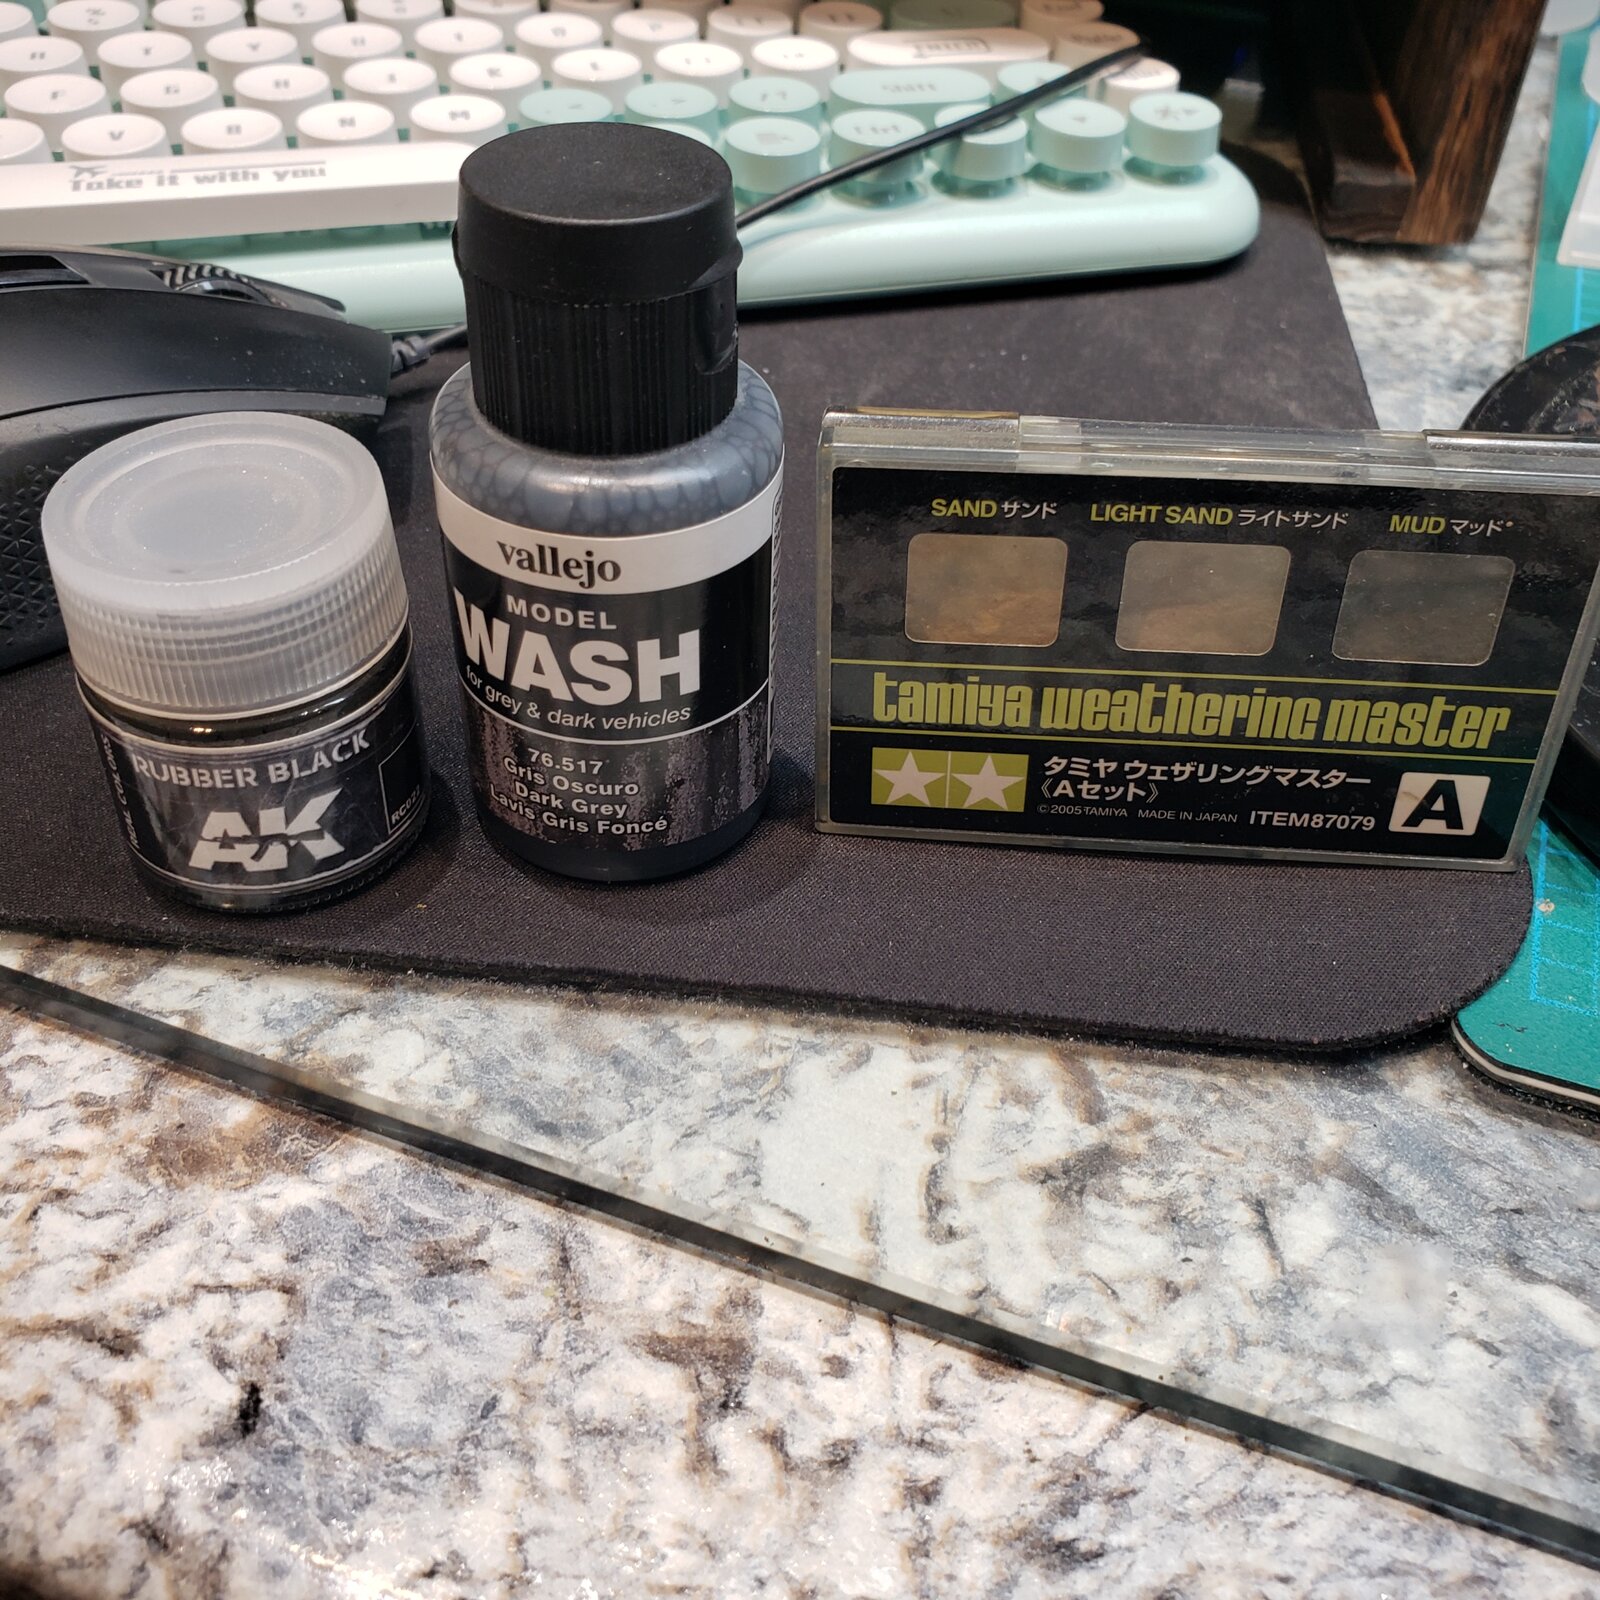
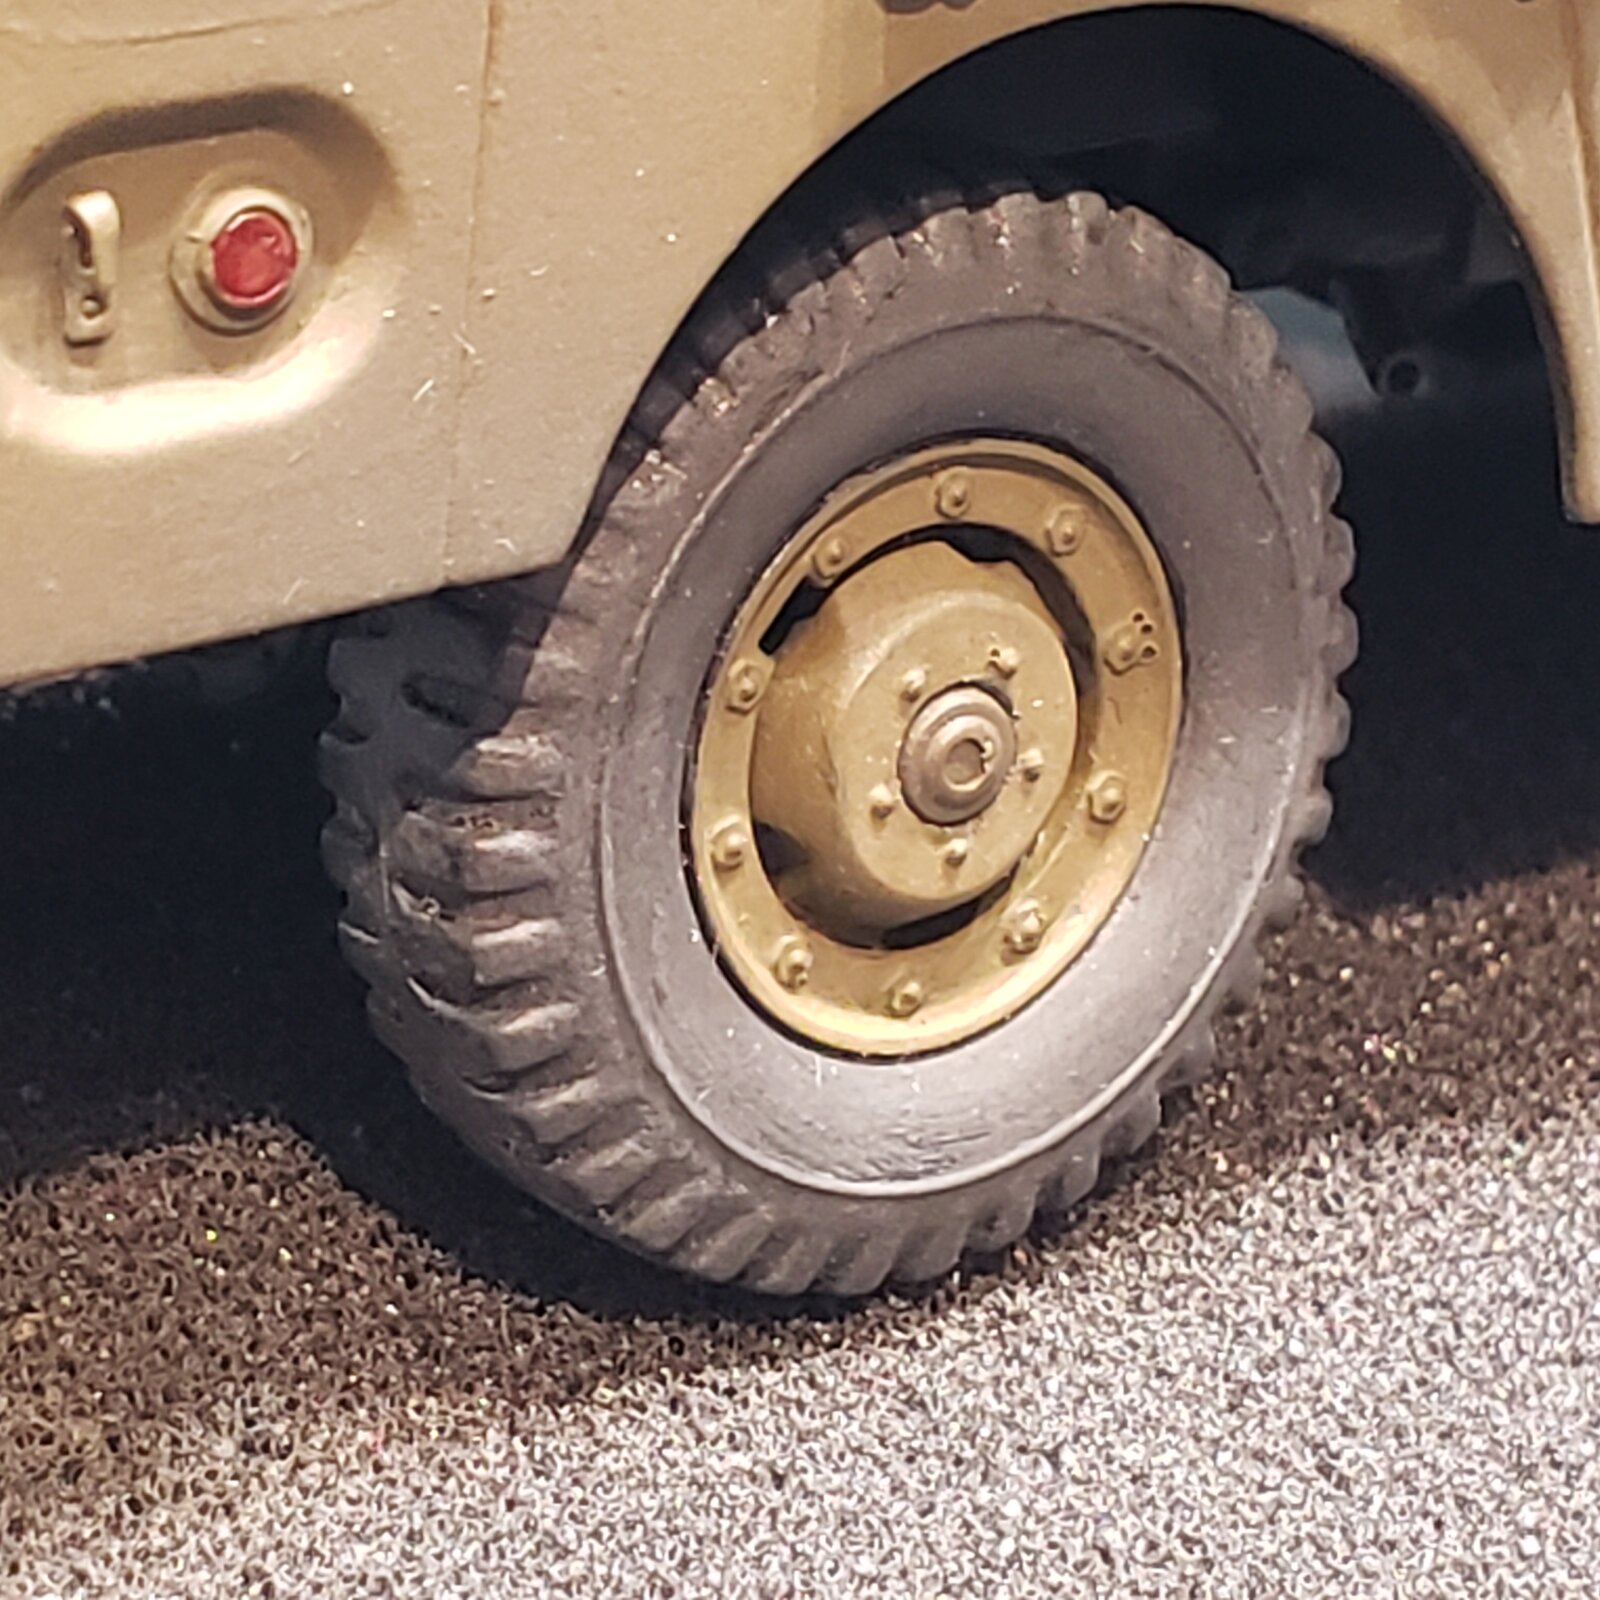
The Tamiya stuff is almost pastel/greasy consistency, their applicator has a sponge end and a brush end. It goes on kinda like drybrushing. Using the sponge you hit the high spots, using the brush you get the dust into the crevices. They have a number of sets. Also great for adding grime and highlights to figures! I love their titanium colour applied sparingly on edges to add metal feel.What is that weathering master stuff? Is it some kind of dust? And you applied the wash, did you just brush it on and let it dry?
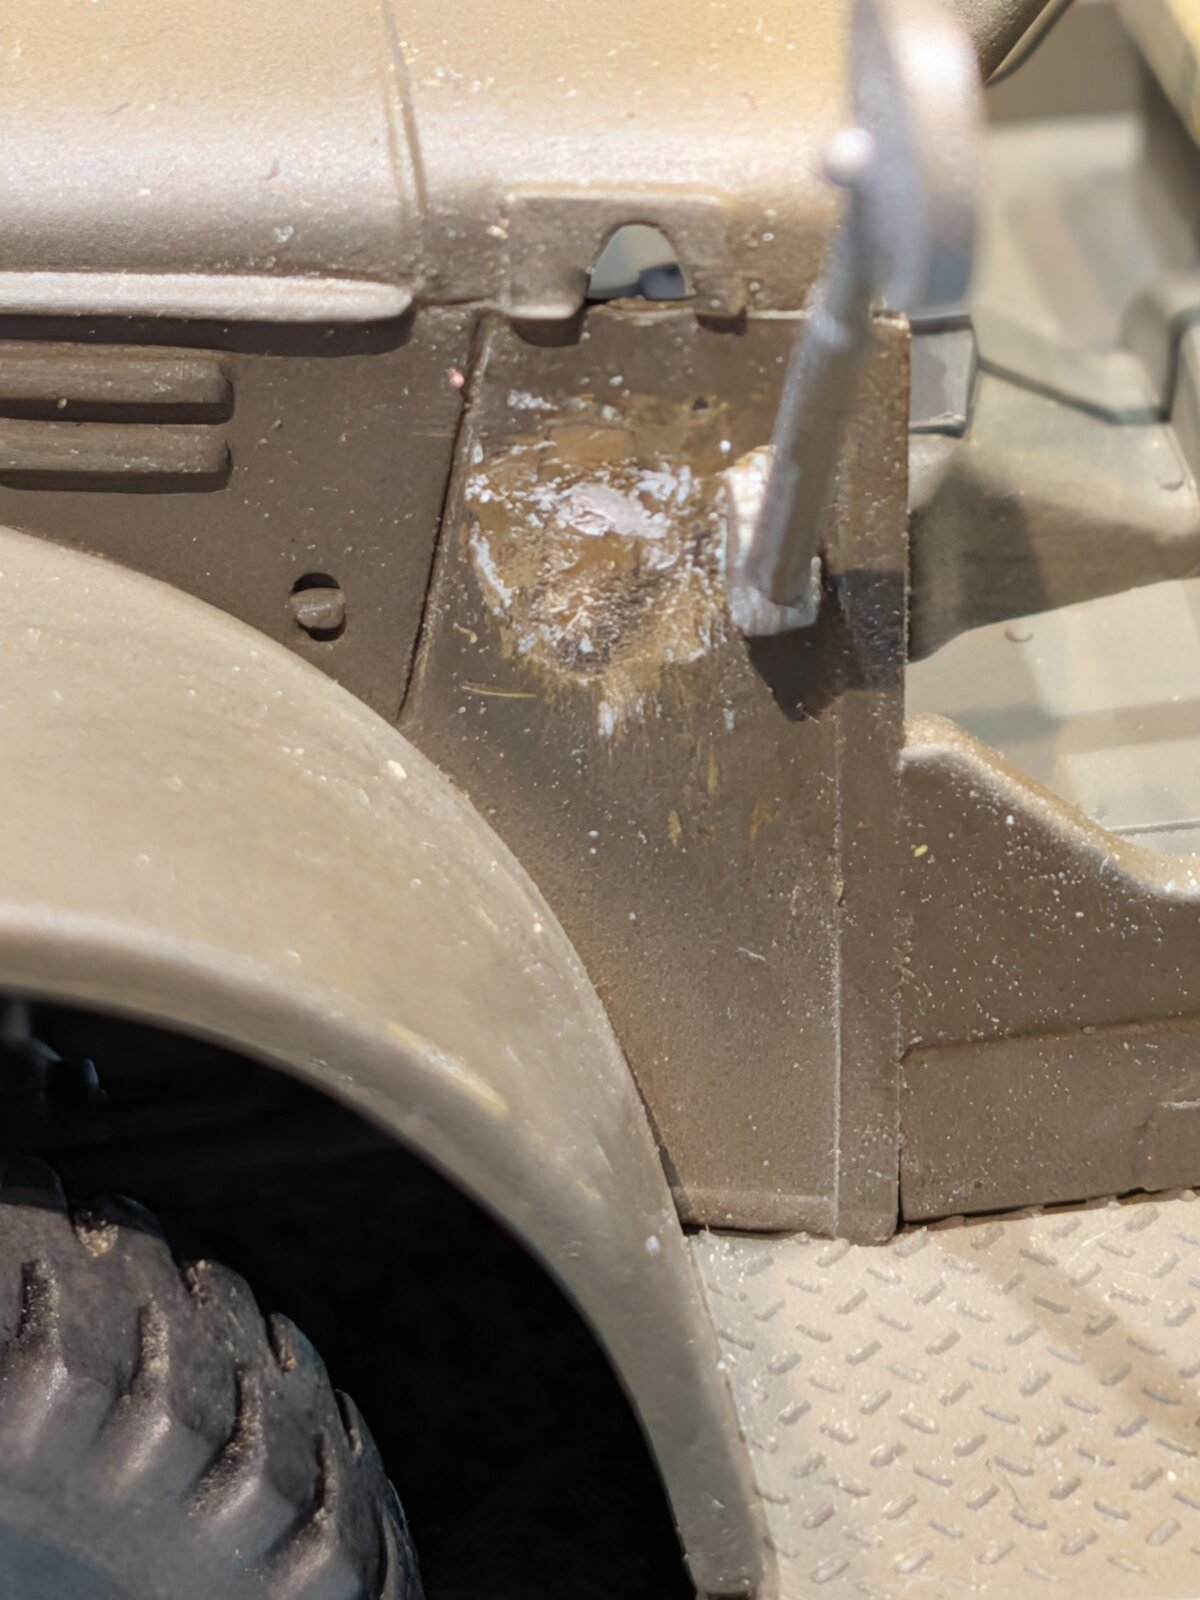
Worked on that a bit last night, filled in the locating hole for the side mirror, and promptly drilled another one!I suppose I'll just have to approximate placement
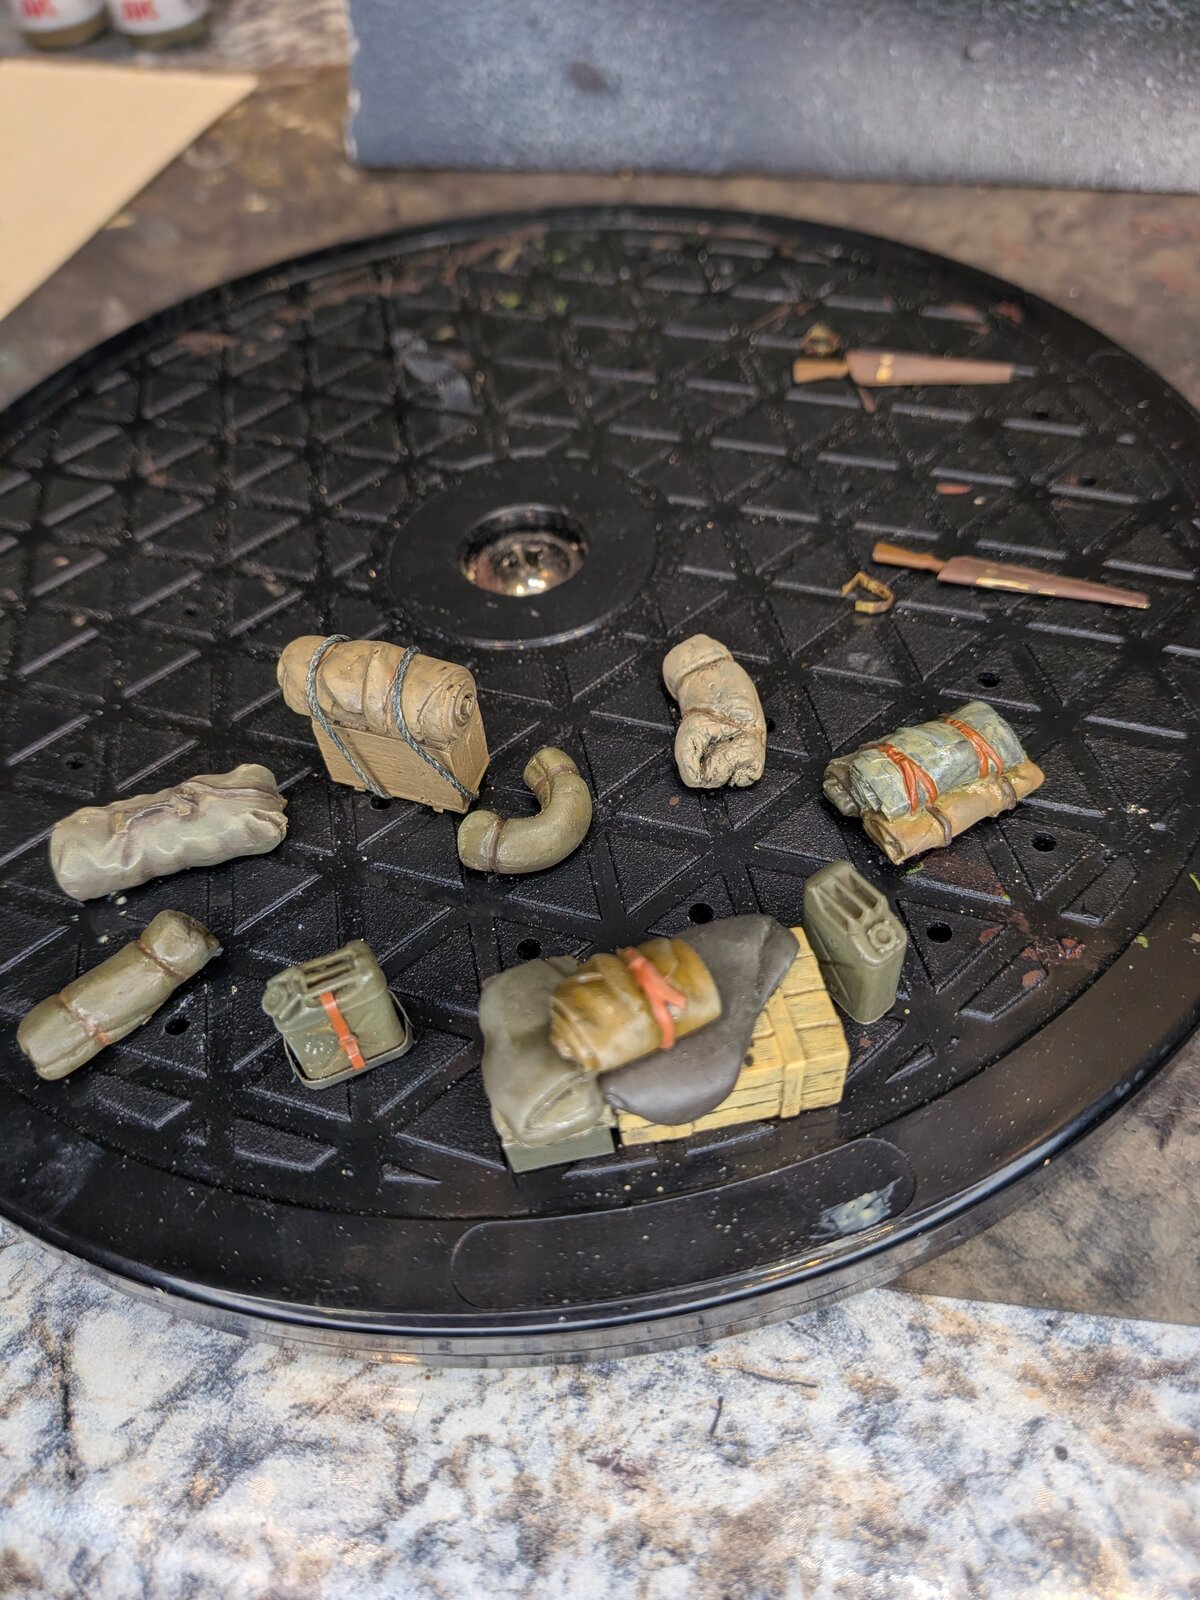

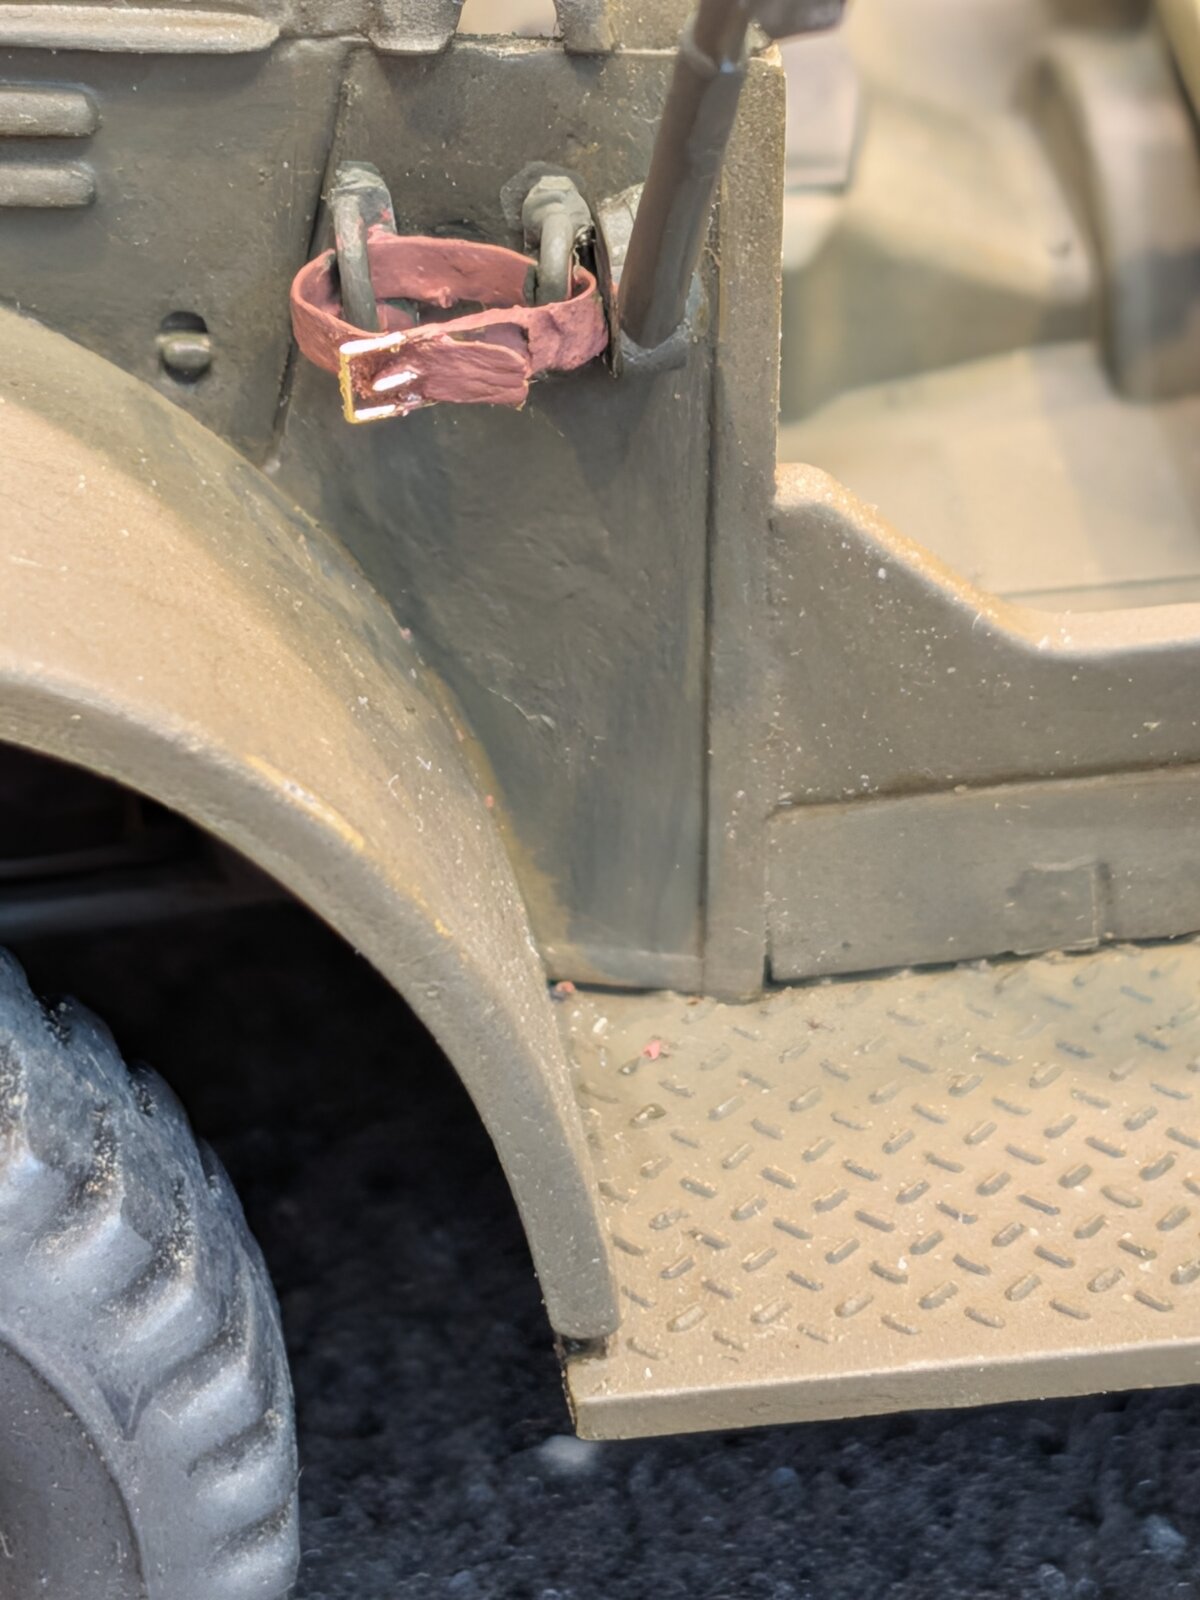
 ... Nice when things work out.
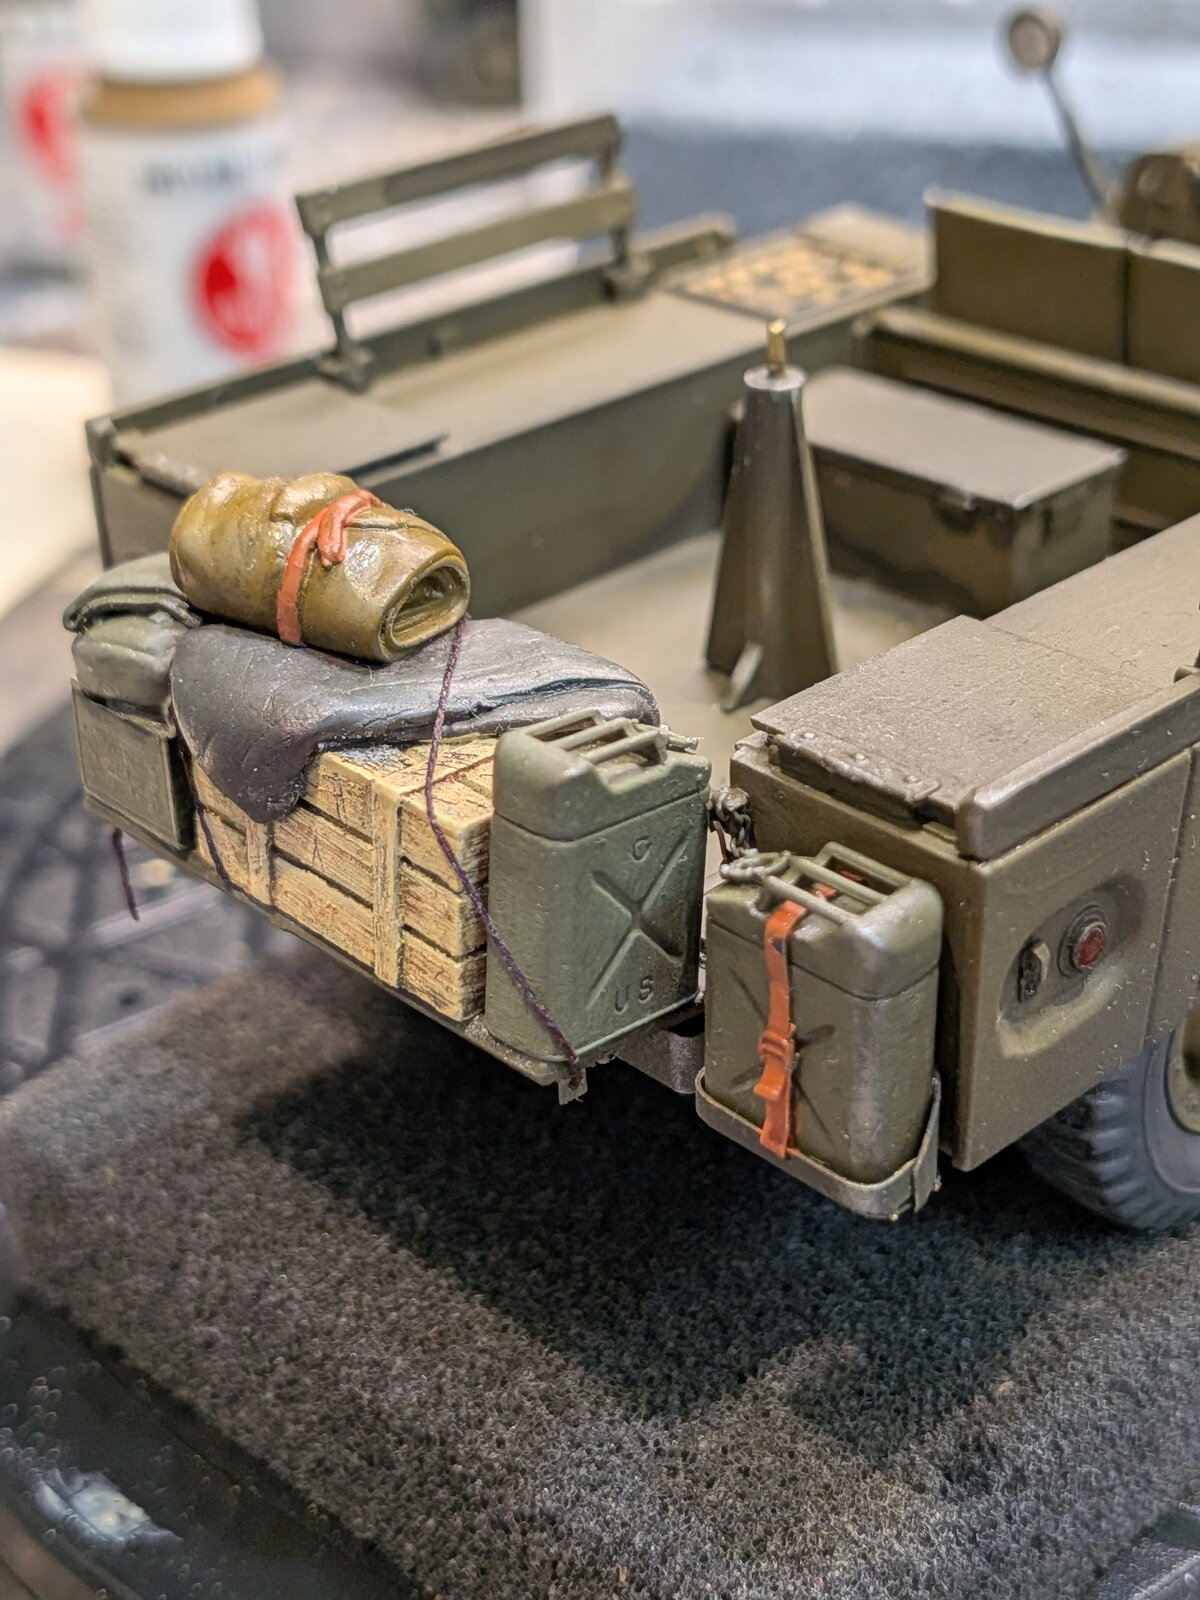
 I would put more thread around the stowage on the tailgate, though — as it is, one bump in the road and the whole lot would come tumbling off. Upward along the side of the jerrycan and then under/through its handles seems like a good start.
Wouldn't want that! Carpet Monster fed well enough as it is...tumbling off

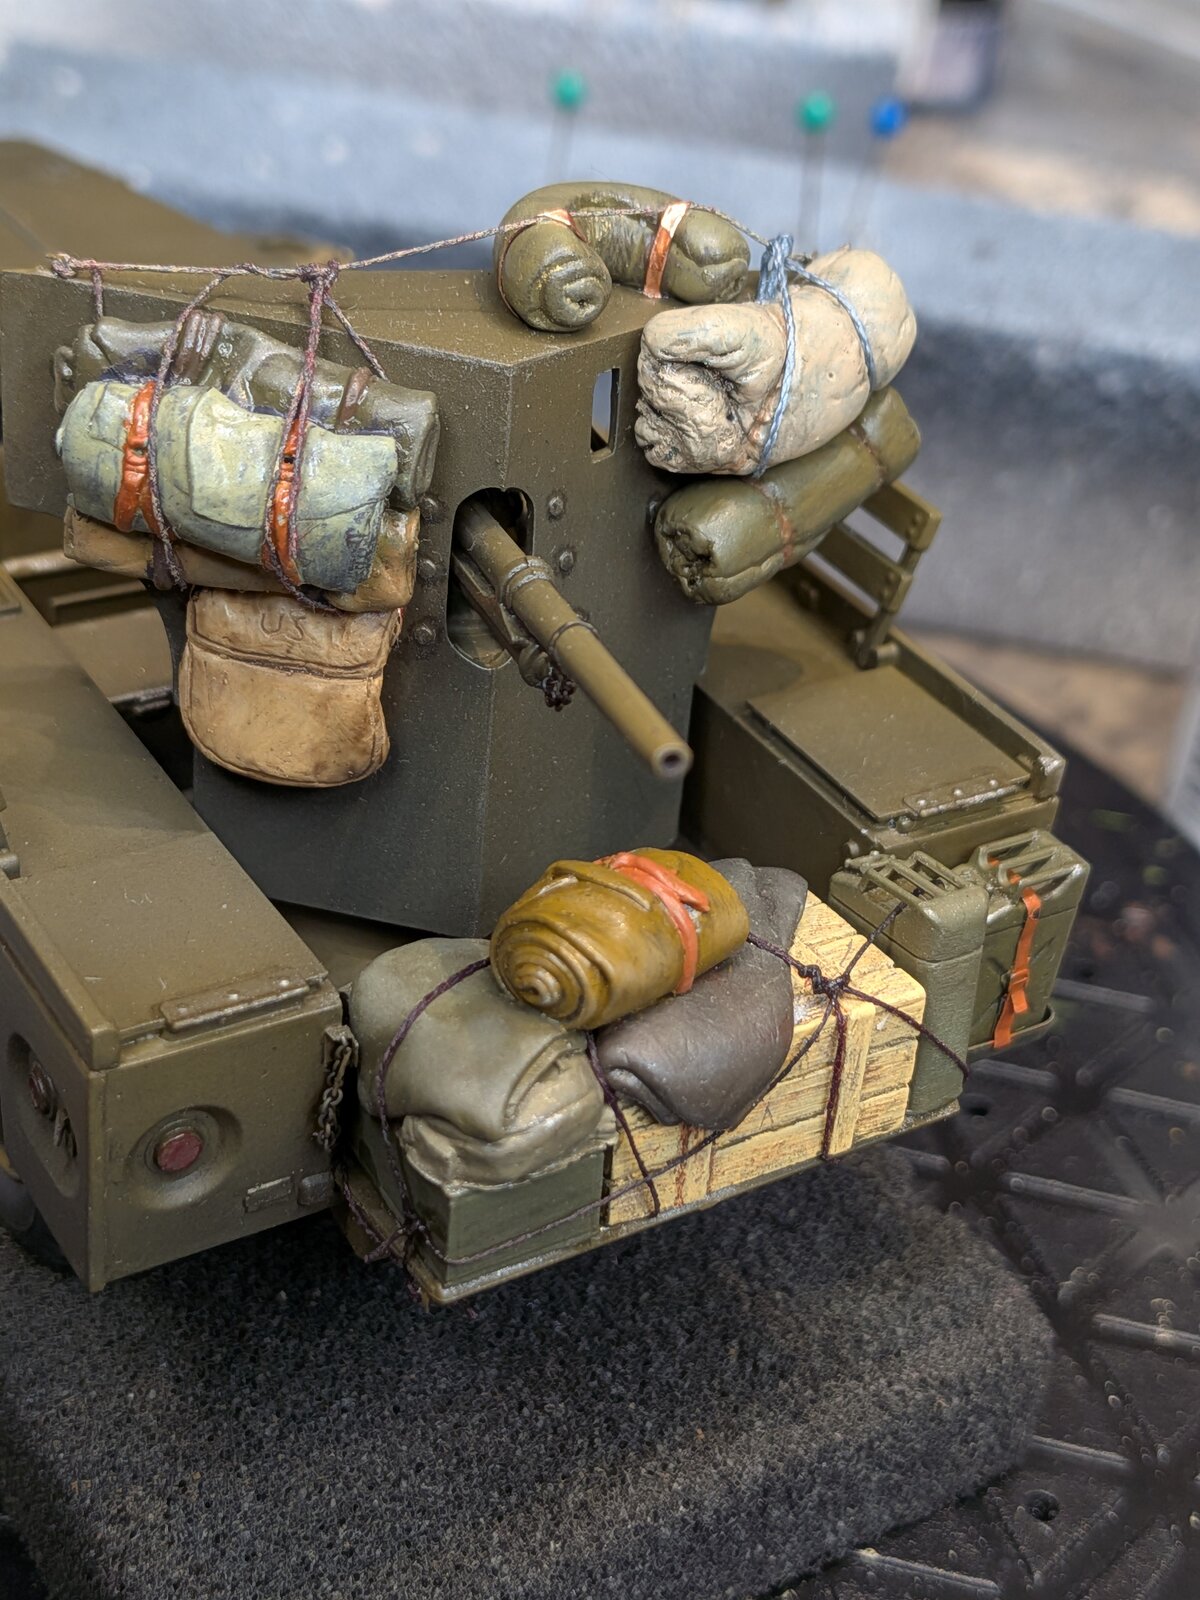
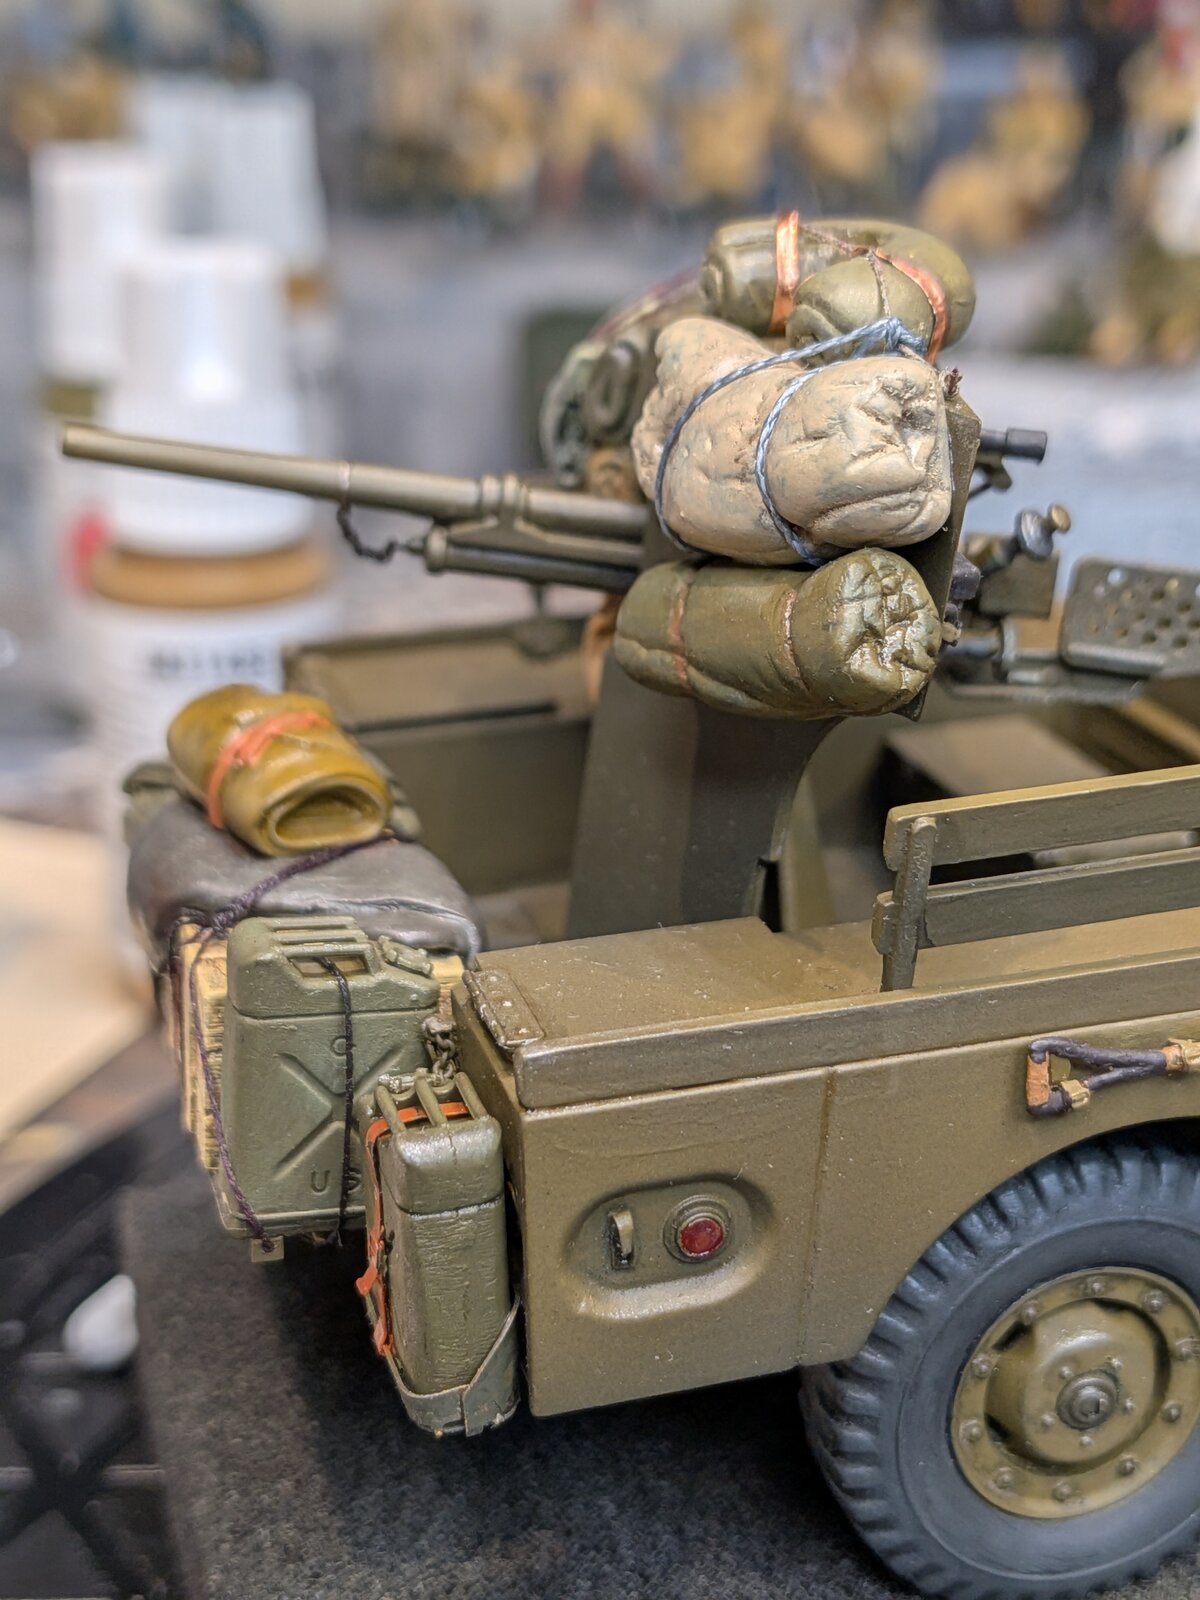
Who knows... The Yanks, now under Patton at El Guettar, must've been looking for anything helpful after their terrible showing at Kesserine Pass just a month earlier.all that crap
Japanese tank armour was better than Italian, which is not exactly saying much … That, BTW, is also why the British sent their obsolete (by North African and European standards) M3 medium tanks to Burma, and why the Australians kept using Matildas until the end of the war.
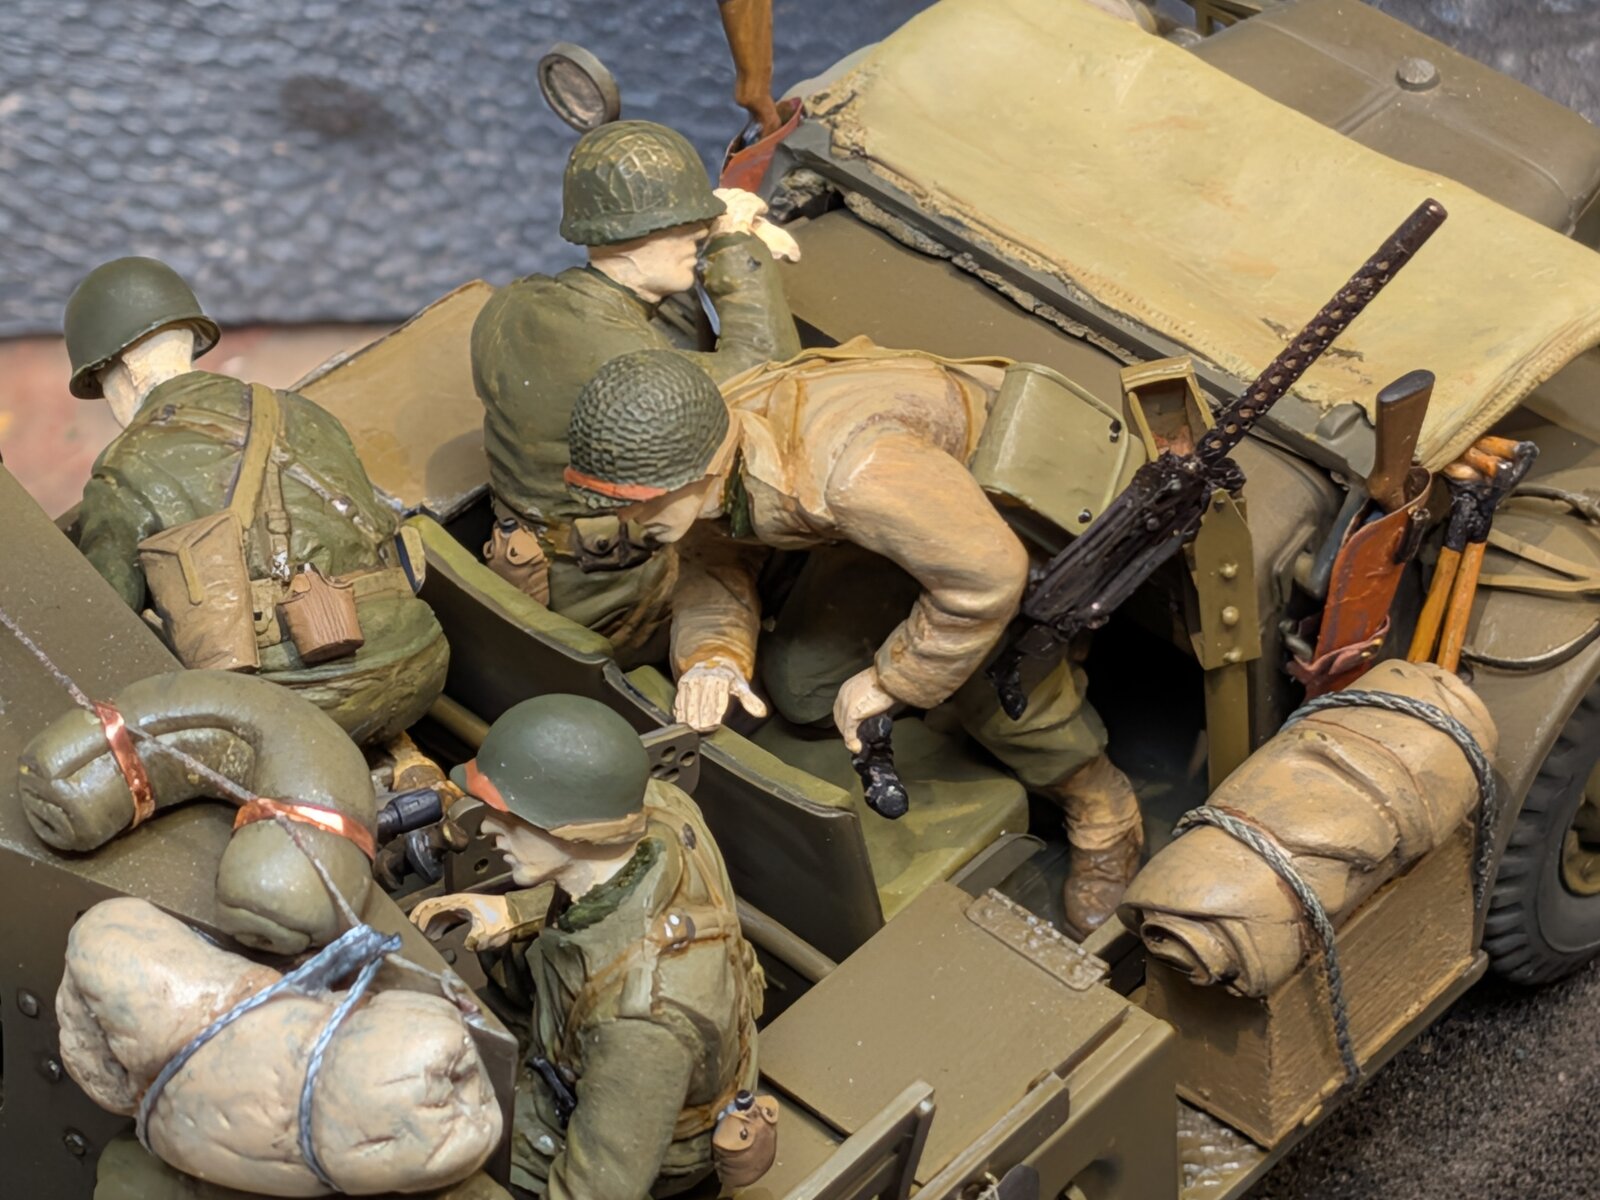
That looks great! What did you use for the rope? I'm going to be "making" rope for a tank build and was planning on using thread coated in glue and painted.... Had to see if the lads still fit!
Still lotsa painting, faces, camo and weathering to come.
Had to shorten the shovels to fit with all the other stuff in there!
View attachment 182294
I have different thread collected over the years... Some 'braided' string in assorted sizes... Some 'scale' rope from accessory vendors... And some rigging and hawser meant for model ships."making" rope
Yes, been doing that too but don't have much stashed yet. I like using yogurt lids as a glue palette.I have different thread collected over the years... Some 'braided' string in assorted sizes... Some 'scale' rope from accessory vendors... And some rigging and hawser meant for model ships.
Depending on the size, and the tightness of the braid, it can serve as rope, or steel cable for a winch.
"Collected over the years" being the operative concept here: as I built more kits, I started keeping an eye out for household stuff like gauze for netting, thin wire from twist ties, appliance cords, garden ties, string, copper tape, lens cleaning cloth, first aid tape, floss, metal duct tape — you get the idea!


![Pampers Sensitive Baby Wipes, Clinically Proven, Fragrance Free, Unscented, Water Based, Hypoallergenic, Multi-Use, Hand Wipes 336 Wipes Total (6X Flip-Top Packs) [Packaging May Vary]](https://m.media-amazon.com/images/I/41KLBHu9CAL._SL500_.jpg)





