Big-John
New Member
- Joined
- Sep 17, 2011
- Messages
- 1,052
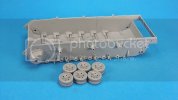
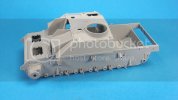
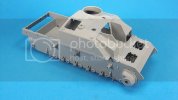
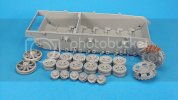
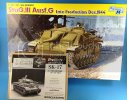
I have been wanting to build this partiular Stug for some time now. With Dragons new release of kit # 6593 It's now possible to build it straight out of the box, almost.
I just can't resist getting this one out and starting on it. It’s not gonna be a fast build as I really want to take my time on the paint steps and plan things out.
The inspiration of this build is a late war Stug III Ausf G that was captured and shipped to the US. It’s been in storage at Fort Knox and has recently been transferred to Fort Benning. It still has its original paint.
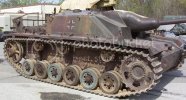
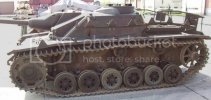
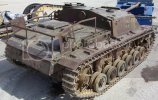
After studding a good part of the night. I have come up with a conclusion of how I perceive this stug was painted.
Being this Stug was built on or after December of 1944, it would have been painted as follows. Primed in Red Oxide RAL 8012, on top of that patches of dunklegelb RAL 7028, olivefruen RAL 6003, and rotbraun RAL 8017 were sprayed in a soft edge pattern. Rotbraun being the most predominant color used. Especially from the fenders down. The only Red oxide I see exposed is where paint has been worn or chipped off.
I just can't resist getting this one out and starting on it. It’s not gonna be a fast build as I really want to take my time on the paint steps and plan things out.
The inspiration of this build is a late war Stug III Ausf G that was captured and shipped to the US. It’s been in storage at Fort Knox and has recently been transferred to Fort Benning. It still has its original paint.


After studding a good part of the night. I have come up with a conclusion of how I perceive this stug was painted.
Being this Stug was built on or after December of 1944, it would have been painted as follows. Primed in Red Oxide RAL 8012, on top of that patches of dunklegelb RAL 7028, olivefruen RAL 6003, and rotbraun RAL 8017 were sprayed in a soft edge pattern. Rotbraun being the most predominant color used. Especially from the fenders down. The only Red oxide I see exposed is where paint has been worn or chipped off.

