KRIEG ADLER

MrT

New Member
Joined
Apr 25, 2011
Messages
1,490
Ok here we go! I will be doing a kitbash of the Sf3D Fledermaus by NITTO. Here are my start up pictures.
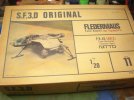
DSC02194.jpg

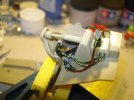
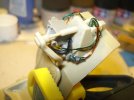
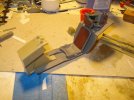
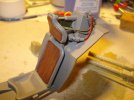
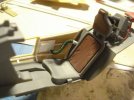
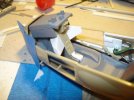
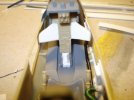
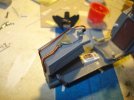
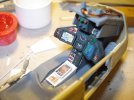
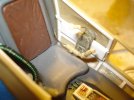
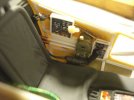
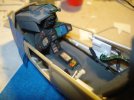
Well work begins as usual with the cockpit. The Fledermaus cockpit is pretty sparse so there is lots of chances for gizmology. Today I have been working behind the seat.
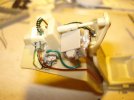
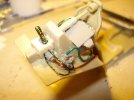
DSC02197.jpg

DSC02198.jpg

DSC02201.jpg

DSC02202.jpg

Some paint added. More later

DSC02203.jpg

DSC02204.jpg

DSC02205.jpg

DSC02206.jpg

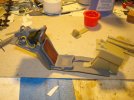
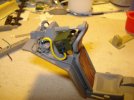
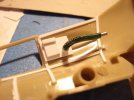
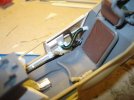
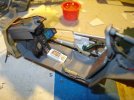
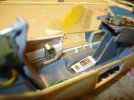
Detailing the cockpit continues with adding the interior framing and other control surfaces to right side of the fuselage. More buttons and switches to come, but this is last nights progress.
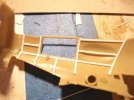
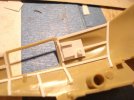
DSC02207.jpg

DSC02209.jpg

DSC02210.jpg

DSC02211.jpg

DSC02212.jpg

More to come so stay tuned.

Terry 8)
 
Very cool project! It's great to see more and more MaK projects here.

I love your superdetailing; you're right, this kit is a real opportunity to add thing. I like the stringers/framing you've added.

Have you decided on a finish yet, merc or Strahl?
 
the Baron said:
Very cool project! It's great to see more and more MaK projects here.

I love your superdetailing; you're right, this kit is a real opportunity to add thing. I like the stringers/framing you've added.

Have you decided on a finish yet, merc or Strahl?

Thanks!

I will being doing one shown in the kit.

8)
 
If I may offer a heads-up, I know of other guys who built the Fledermaus, who found the kit landing gear a little weak and prone to breaking. They replaced the struts with metal rod or tubing, for added strength.

I look forward to your next installment!
 
the Baron said:
If I may offer a heads-up, I know of other guys who built the Fledermaus, who found the kit landing gear a little weak and prone to breaking. They replaced the struts with metal rod or tubing, for added strength.

I look forward to your next installment!

Thanks for the heads up!

8)
 
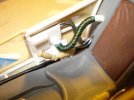
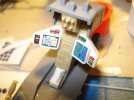
A little more progress last night. Added some more detail to the interior right side. Another panel and some wiring. I also decided to add on to the instrument panel by constructing an additional wing on each side out of sheet styrene.

Terry 8)

DSC02226.jpg

DSC02227.jpg

DSC02223.jpg

DSC02224.jpg

DSC02225.jpg
 
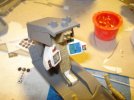
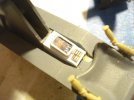
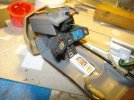
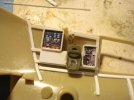
Added the new IP details. The graphic were down loaded from the internet and attached to some styrene. When all is dry I will coat with Future, mast, and paint.

Terry

DSC02229.jpg

DSC02228.jpg
 
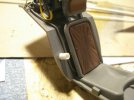
Still working on the cockpit controls. Painted the IP and added a floor console plus other details.

Terry

DSC02235.jpg

DSC02239.jpg

DSC02240.jpg

DSC02241.jpg

DSC02242.jpg

DSC02243.jpg
 
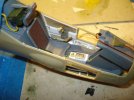
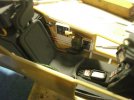
The work goes on. Last night I desided to work on the left side of the cockpit and added the stringers and also a throttle assembly. Here are some pictures. I think you can see what I tried to do.

Terry

DSC02252.jpg

DSC02255.jpg

DSC02256.jpg

DSC02253.jpg
 
Fantastic details on the instrument panel, Terry! I like your application of the images for those video screens, great idea. Great progress!
 
the Baron said:
Fantastic details on the instrument panel, Terry! I like your application of the images for those video screens, great idea. Great progress!

Thanks for looking in!

Here is some more left side action. I did this little bit this morning.

Terry 8)

DSC02261.jpg
 
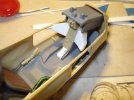
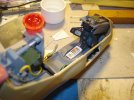
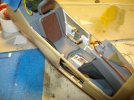
Ok I know I have been tedious about this project and you all are probably bored stiff, :frantic but things are getting closer to being done in the office. More details have been added and center section is in the process of being repainted a darker grey.

Terry

DSC02262.jpg

DSC02263.jpg

DSC02267.jpg
 

Latest posts

Back
Top