4apples
Mobile phone tech
- Joined
- Aug 26, 2011
- Messages
- 18
Hi guys!, back after a looong time of, not having the time to do models. Got a son!, 3 years old now! love him to death, and he seams to enjoy my model building as well

My last build on this site was the Junk series SEG-888. but i have been building some easy Tamiya´s since.
Altso, sorry for spelling errors, english is my second language. Last time i wrote i washed my resin parts in soup ;D
Well, i loooove robots, mechs and all that, so now I'm doing this

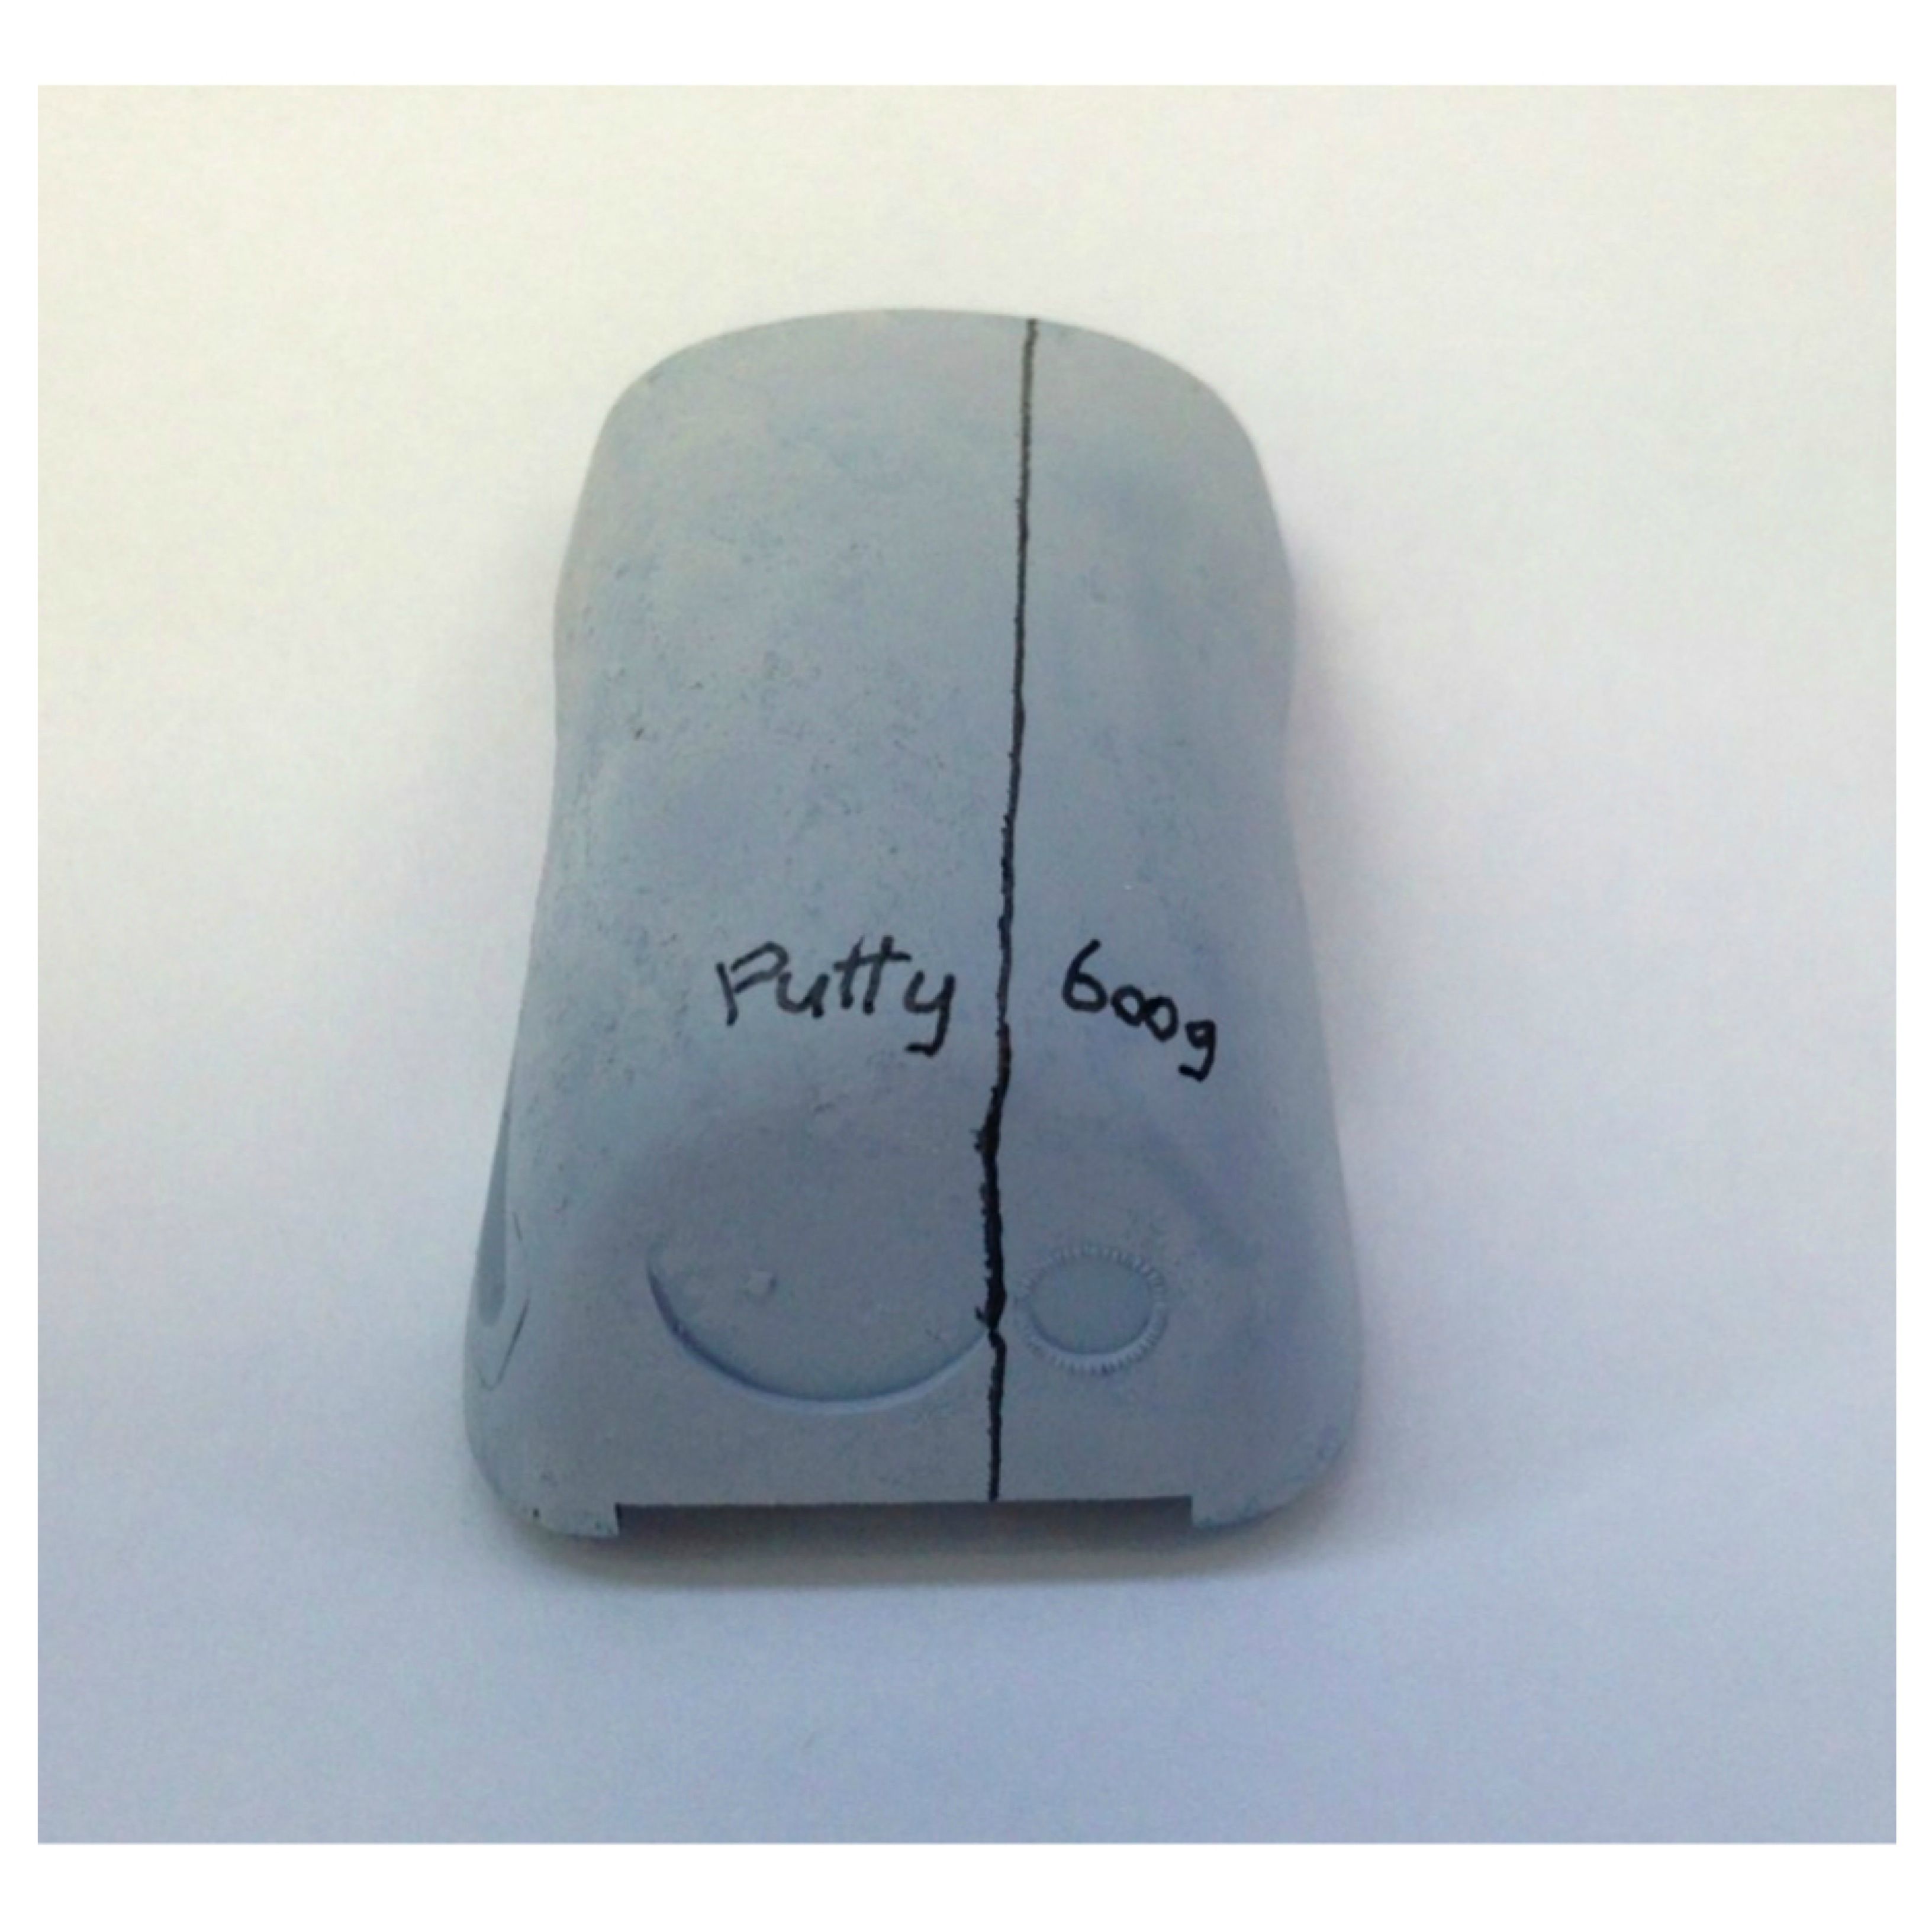
After test fitting the torso, i found that there is a lot of room for wires inside this guy!

So startet LED´ing his head up! i put a 3mm orange diode to light the inside, I'm planning of building him with the top open. The other led, is a 3mm green diode, filed flat, drilled a small hole, addet a optical fiber cable and used some heat shrinking tape to hold it together. soldering iron was used for the bends.

The "head" from the front. i picked the red diode, beacorse i want to show thats its "off" the top will be open, and the pilot will be standing beside it... thats the plan anyways.

The inside, when the top is open, the diode it not shown, but it will illuminate the cockpit. Could have chosen blue, but i think the Maschinen krieger universe is more "retro" then to have blue? if that makes sense :")

His Pew pew. Did that before thinking of the leds ??? And its joined pretty good together!, used Mr. Hobby Surfacer with a brush, then sandpaper grit 800, 1200, 2000. Its shining now!

My last build on this site was the Junk series SEG-888. but i have been building some easy Tamiya´s since.
Altso, sorry for spelling errors, english is my second language. Last time i wrote i washed my resin parts in soup ;D
Well, i loooove robots, mechs and all that, so now I'm doing this
After test fitting the torso, i found that there is a lot of room for wires inside this guy!
So startet LED´ing his head up! i put a 3mm orange diode to light the inside, I'm planning of building him with the top open. The other led, is a 3mm green diode, filed flat, drilled a small hole, addet a optical fiber cable and used some heat shrinking tape to hold it together. soldering iron was used for the bends.
The "head" from the front. i picked the red diode, beacorse i want to show thats its "off" the top will be open, and the pilot will be standing beside it... thats the plan anyways.
The inside, when the top is open, the diode it not shown, but it will illuminate the cockpit. Could have chosen blue, but i think the Maschinen krieger universe is more "retro" then to have blue? if that makes sense :
His Pew pew. Did that before thinking of the leds ??? And its joined pretty good together!, used Mr. Hobby Surfacer with a brush, then sandpaper grit 800, 1200, 2000. Its shining now!