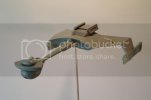
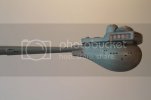
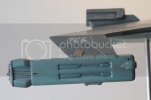
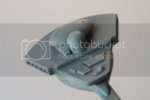
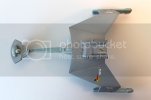
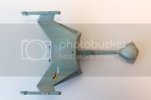
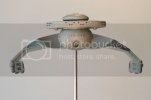
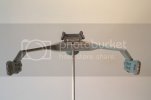
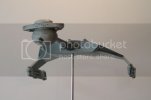
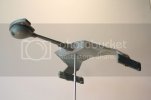
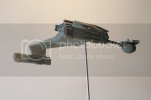
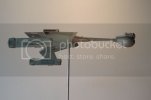
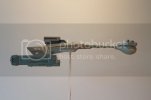
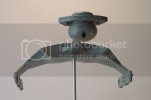
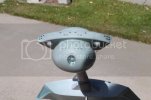
Klingon D7 Battle Cruiser Reissue by AMT

Makes me want to redo my 1/1000 one.
Awesome build, its been great to follow along and see it all come together. Your space shots look amazing. I've always wanted to know how to do that, do you use photoshop or similar?
 
So, the "re-issue" must come with more decals?
A year or so ago, I built a 1989 re-issue, and it had the original decal sheet with 3 or maybe 4 decals. :)
 
ModelMakerMike said:
So, the "re-issue" must come with more decals?
A year or so ago, I built a 1989 re-issue, and it had the original decal sheet with 3 or maybe 4 decals. :)

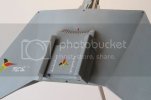
Yes. You get several small decals you never saw on TV. Little single (decal 6) or double (decal 8 ) short red bars for the backs of the nacelles, in front of the impulse deck housing, the rear of the command pod, and the back left side of the taller cylindrical dome on the upper command deck. Oddly enough they give you too many of decal 6 and not enough of decal 8 if you follow the instructions. I ended up using the four decal 6 decals on the rear of the warp nacelles and cutting some of the decal 8's in half for other spots where decal 6 was specified.
Another error concerned decals 4 and 5. They need to be applied reverse from what's shown on the instructions. Decal 5 should go on the port side and 4 on the opposite side. You also get several black arrows (decal 7) for the front top outboard side of the warp nacelles and the corners on the top and bottom of the engineering hull. They give you extra of those for some reason. You also get all the windows.
 
Kila2000 said:
Makes me want to redo my 1/1000 one.
Awesome build, its been great to follow along and see it all come together. Your space shots look amazing. I've always wanted to know how to do that, do you use photoshop or similar?

I wish I knew how to use photoshop. I just have panels of black foamcore board covered with specks of white paint for stars. I position the model in front of the backdrop using a support rod clamped in a portable vice mounted to a heavy block of wood for stability. Then I light it with full spectrum incandescent lamps or sometimes I just use the sunlight coming thru the garage door. My camera is a Canon DSLR usually mounted to a tripod which is a necessity for some of the longer exposures. Once I've saved the images to my laptop I edit them in Paint to remove the support rod. I also use the photo editing software in MS Office to resize them and correct for brightness, contract, and midtones. I'm surprised sometimes at how well they turn out all things considered.
 
I really like the way you have documented each step in your build. It is posts like these that encourage me to document my builds. Keep up the great modeling work!
 

Latest posts

Back
Top