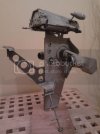
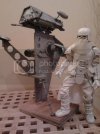
Imperial Single Troop Aerial Platform in 1/6 Scale

Thundergod

New Member
Joined
Jul 26, 2013
Messages
202
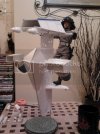
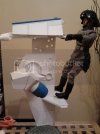
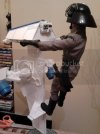
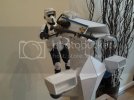
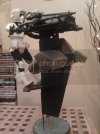
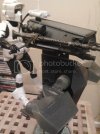
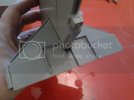
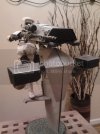
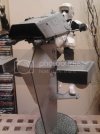
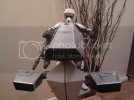
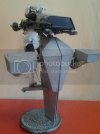
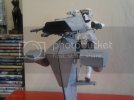
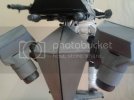
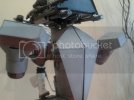
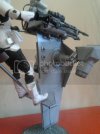
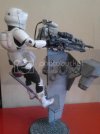
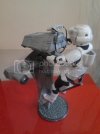
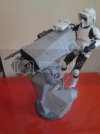
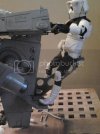
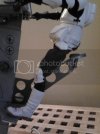
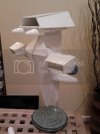
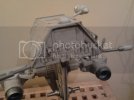
As a fan of the STAP from the Star Wars prequel movies , I thought it'd be an interesting project to conceptualise how the Empire would develop the vehicle . Rather than a combat craft , I see it being used more in a patrol or crowd control role . Certain alterations in design would have to be made to enable the ISTAP to be flown by a human , rather than droid pilot , such as the engines being further out from the "wing", to avoid blasting said pilot off the craft ! The pilot's flying position would be more "straight up" than "hanging on for dear life " and there would be a rudimentary seat/harness to add an element of "health and safety" . The model itself is made from sheet styrene , plastic and aluminium rod as well as parts from a couple of spray "mister" bottles . The dark grey is auto primer , not the final colour !
2014-03-28211424_zpsa2351be9.jpg
2014-03-30215838_zpscaad4a74.jpg
2014-03-30215933_zps39eda9fb.jpg
2014-03-30220000_zps1d3c7335.jpg
2014-04-02095731_zps628fe1ab.jpg
2014-04-03205250_zps896d7f7e.jpg
2014-04-03205258_zpsf02a0a34.jpg
 
Works been slow on the ISTAP the last couple of weeks as the small matter of my car being written off in a collision has taken up all of my spare time ! Anyhow , I got a little work done , mainly adding some detail to the "head" section with styrene strip , as well as the "intakes" of the engines . I found some vinyl medical tape which had a nice texture to it , which I used on these parts as well as to the "standing platform" of the wing section . It doesn't show up too well in the photos , but once it has some paint on , it'll add some interest to these areas .
2014-04-13163745_zps38ebb15a.jpg

2014-04-13163825_zps0e680bf9.jpg

2014-04-13163908_zps635b3d8c.jpg

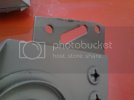
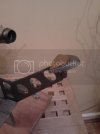
This is the area were the head section is mounted to the wing . It's been cut to the correct size and shape and the holes expanded into slots . When I bring the parts together , I'll probably add a few wires and cables for detail .
2014-04-13163848_zpsb5bb22c7.jpg

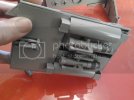
The underside of the head has also been detailed with bits of tubing and a couple of parts from the guts of the spray bottles .
2014-04-13163812_zps48548a59.jpg

I've also started on a rudimentary seat/harness , to make riding the beast at least a little less traumatic for the pilot . ( My idea is to make this look like this was added later by the rider(s) , after a couple of close shaves/bad experiences !) :lol
2014-04-13163933_zps4367ca33.jpg
 
I really like your scratch building
Are those locking washers??
Very nice so far
Cheers
 
Belugawrx said:
I really like your scratch building
Are those locking washers??
Very nice so far
Cheers

In a manner of speaking , yes , they come from the tubing on the spray bottles I used . Here's a quick update of the work I've done tonight .
2014-04-13231759_zps827dfa3e.jpg

2014-04-13231817_zpsd66e7c85.jpg

2014-04-13231829_zpsb4b88e3d.jpg

Now I just need to re-stock on the grey I'm using ( Ford Polar Grey , in a spray can ) and the top coat should be good to go . I'm thinking of some "go-faster striping" in either dark grey or white ( opinions welcome ) before I go to work on the weathering . ;)
 
How about a Fall Assist harness? Like we construction worker's use at heights>
Latch in the front, with short lanyard ...
maybe a quick release (carabiner)on each end!?!
 
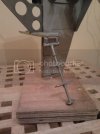
I actually did test fit something like that , but wasn't happy with how it looked . I've tried various set-ups , but ended up over-thinking it and each time it looked too "fussy" . I've settled on a simple support rod arrangement which I'm happy with . Pics will follow soonest ! ;D
 
Got my base colour on the ISTAP and after a good 24 hours drying time started with the weathering process . First of all I gave the whole thing a rub down with a worn sanding pad to roughen up the surface a little as the paint ( being car paint ) was pretty glossy . I mixed up a pastel chalk wash , added a few drops of washing-up liquid and give the whole model a generous wash . After a few minutes and before it had time to fully dry , I wiped the majority off with a damp cloth . Then , over the course of the next hour or so , I used dry paper towels and the worn sanding pad to rub, scrub and polish away the remaining residue . This is where working in 1/6 scale differs from modelling in smaller scale , as you can be quite heavy-handed and it adds to the effect . Next , I'll be using different colour washes to add a little more dirt and grime . Imperial craft and equipment is usually shown as being clean and well-maintained , but in my "back-story" , I see the ISTAP as being a craft coming to the end of it's operational life and being utilised in "back-water" garrisons and the like and this is reflected in it's less than pristine appearance . There is still a bit more construction to be done , as looking at the model , one practicality has occurred to me , how the hell would you get ON the thing ? My answer is to build a small boarding ladder which will fold under the horizontal wing/standing platform and some kind of hand-grips to ease boarding . I still want to add a little more stowage and personalisation to the vehicle and I'll need to sort out some kind of display base or even diorama .


2014-04-17100316_zpsc16fef49.jpg

2014-04-17100336_zps40cfc783.jpg

The repulsor-lift nozzles are fully positionable .
2014-04-17100356_zps01f686e9.jpg

2014-04-17100434_zpsa0079511.jpg

2014-04-17100508_zps89626df1.jpg

2014-04-17100514_zpsce36236f.jpg

2014-04-17101337_zps286c66a3.jpg

2014-04-17101354_zpsbdab84ad.jpg
 
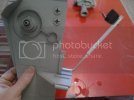
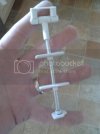
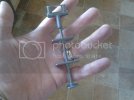
Done some work on the boarding ladder . This is the second version , the first ended up looking like a set of step-ladders !
2014-04-20115259_zps2adbf66e.jpg

2014-04-20151901_zpsb67f7b4d.jpg
Once the paint is dry , I'll mount it to the lower wing . It'll then swing under the wing and be held in place with a magnet .
 
Thanks for the comments guys . I'm taking a short break from the ISTAP until I re-stock my styrene sheet . I need to complete the "dashboard" and add a couple more details before I call it done . More pics at the weekend . ;)
 
After a bit of a longer break than I anticipated , I've returned to the ISTAP build . I've re-done the seat with a styrene frame and a "saddle" made from the stand from one of Revell's "Pocket Kits" . The cushion is sculpted with epoxy putty .
2014-05-22190820_zps0abbac92.jpg

2014-05-22190838_zps6b87b2c5.jpg
 

Latest posts

Back
Top