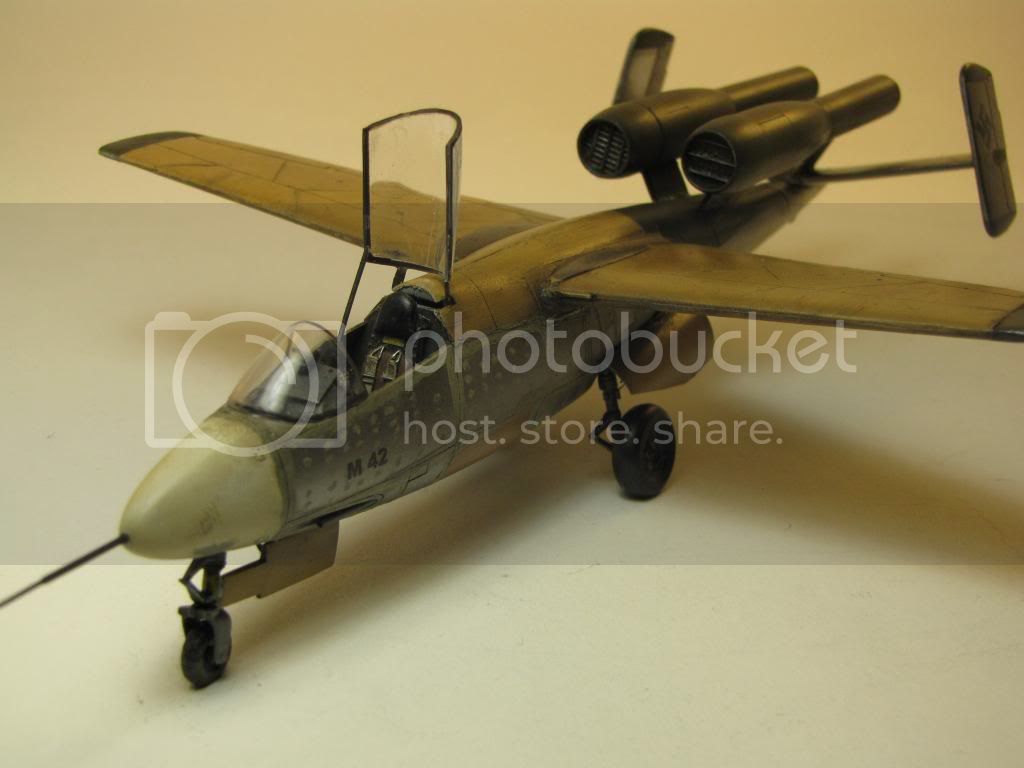
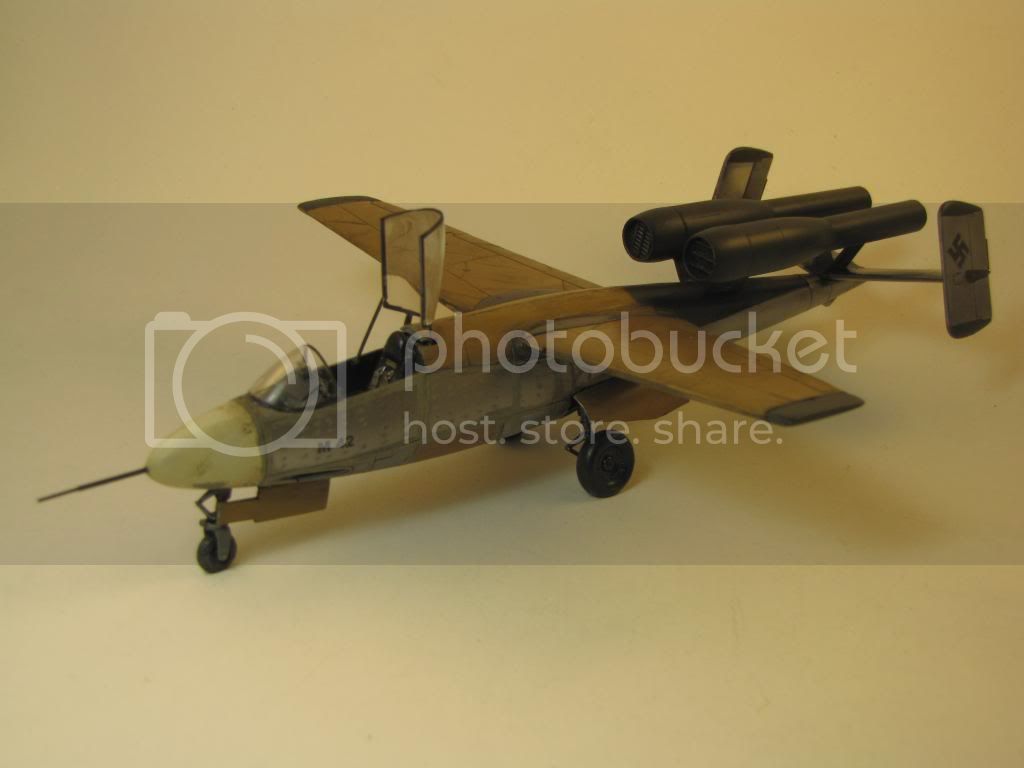
He 162 A-10 Conversion

Scale Model Addict - Model Tips, Guides, Tools & Tech, Tutorials, and Community

Help Support Scale Model Addict:

hilld

Well-Known Member
Joined
Dec 26, 2010
Messages
227
City & State/Province
Humboldt, SK
Here is my entry. We are in 1 48 scale building the Heinkel He 162 A-10 by backdating this Dragon 162D.
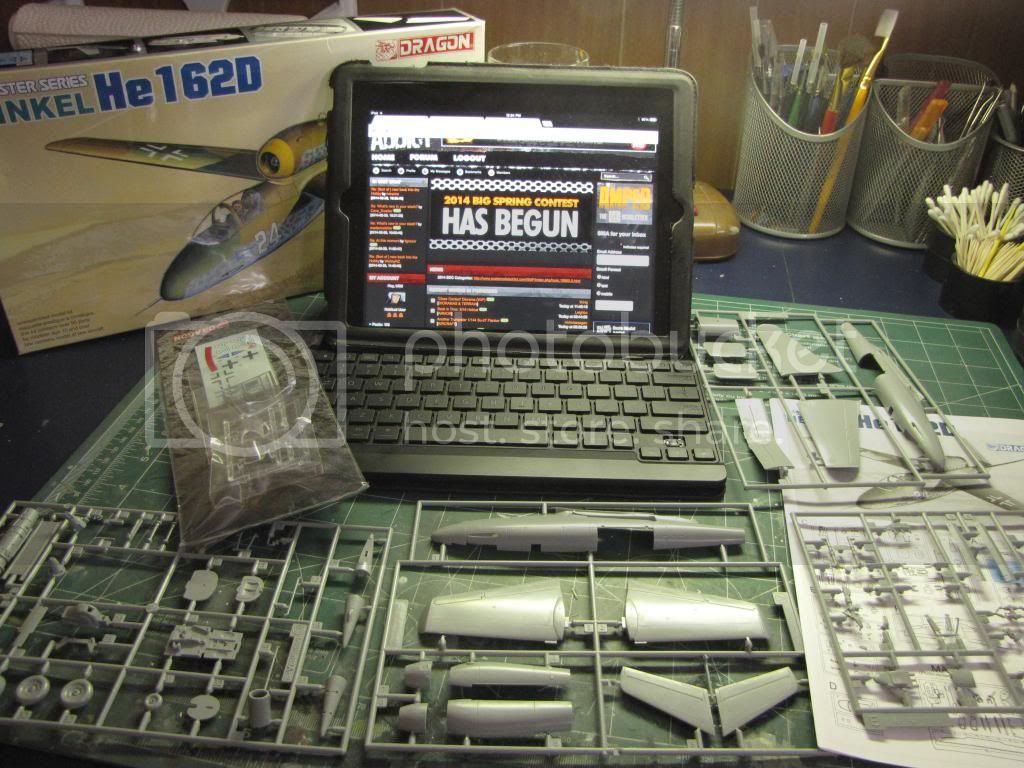
IMG_1179.jpg


Check out my entry video.

https://www.youtube.com/watch?v=o8thOZ8SHQ4


SMA Spring Contest Entry

Enjoy the contest!
 
It has been long time between updates! I feel I have not accomplished a lot but I have a bit more build time upcoming. It is time to roll up the sleeves.

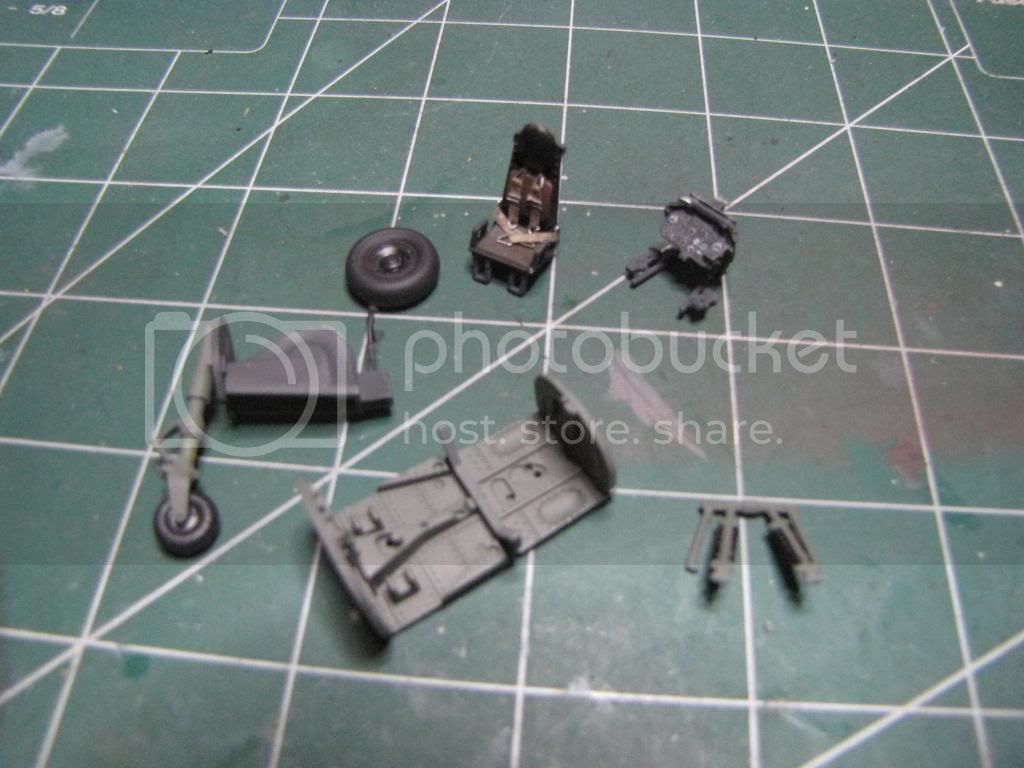
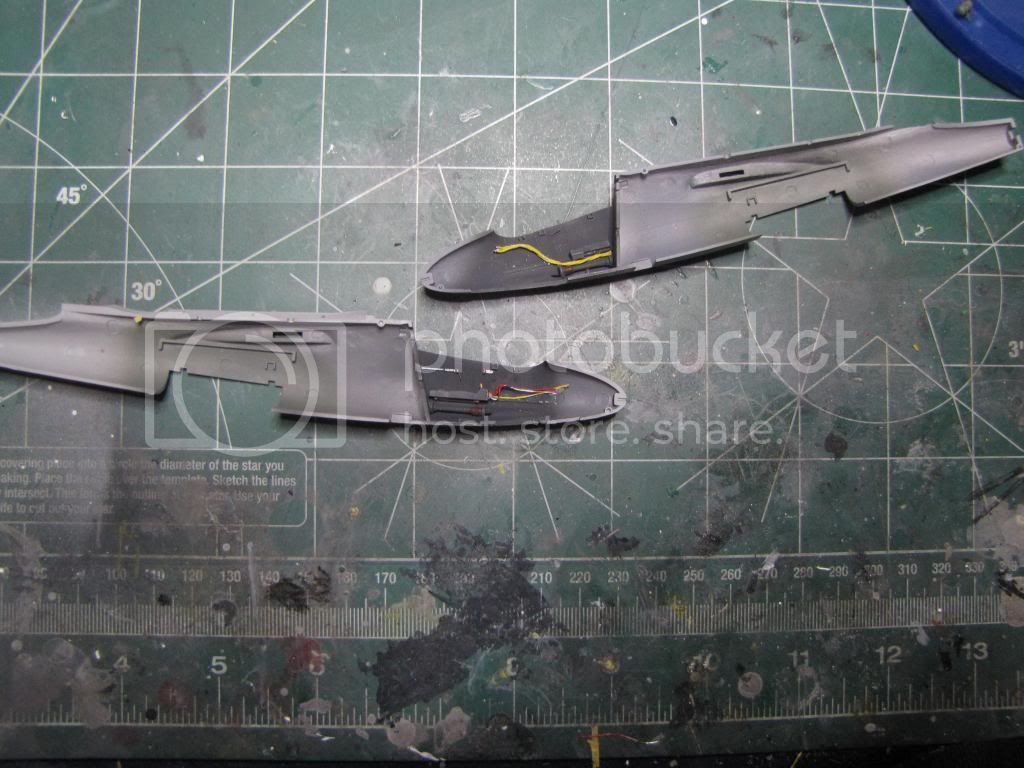
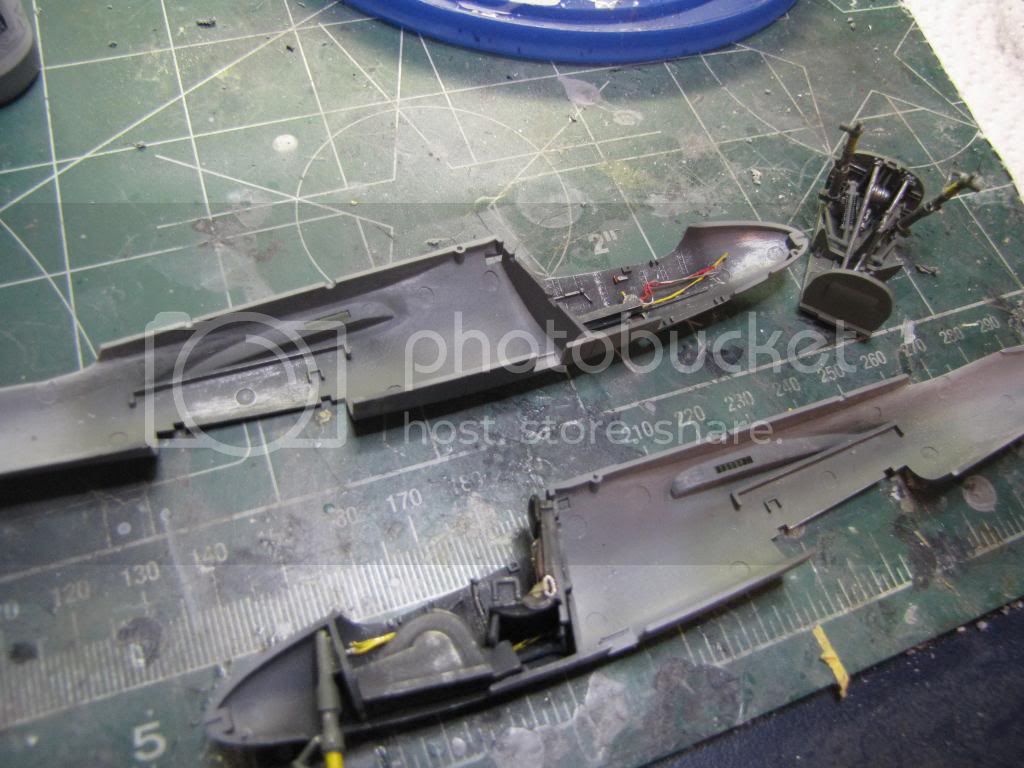
First off, I have been working on the cockpit. The instrument panel and scratch built seat belts where the biggest challenge but both turned out acceptable. Except for some interior weathering , cockpit and wheel well painting is done.

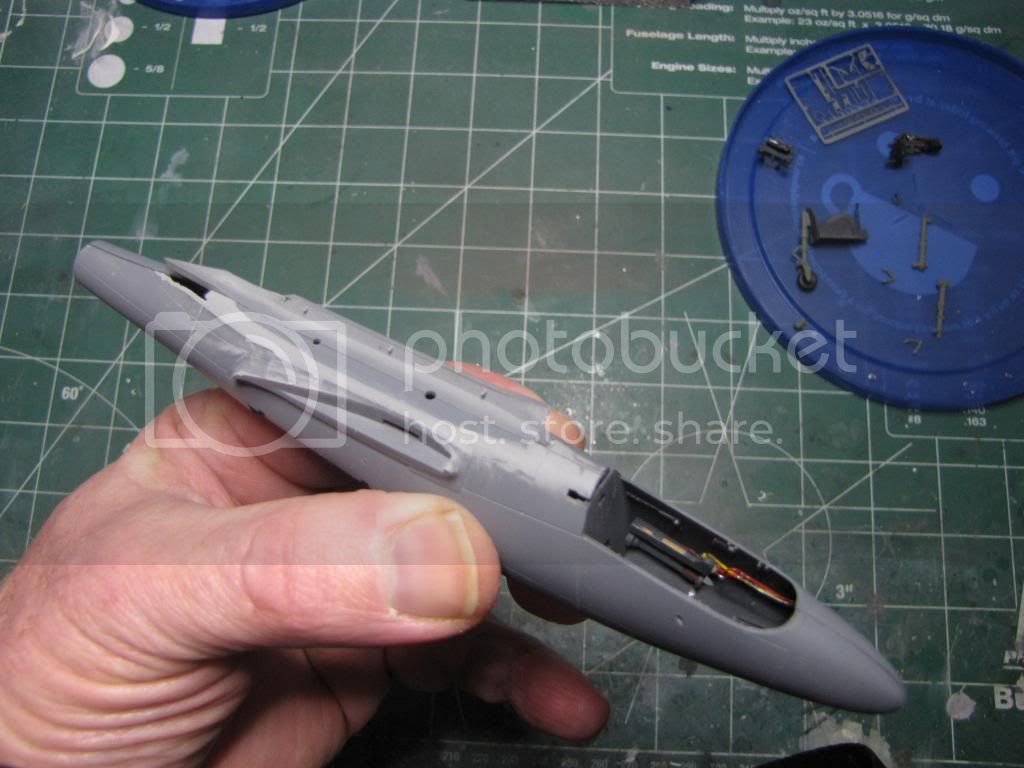
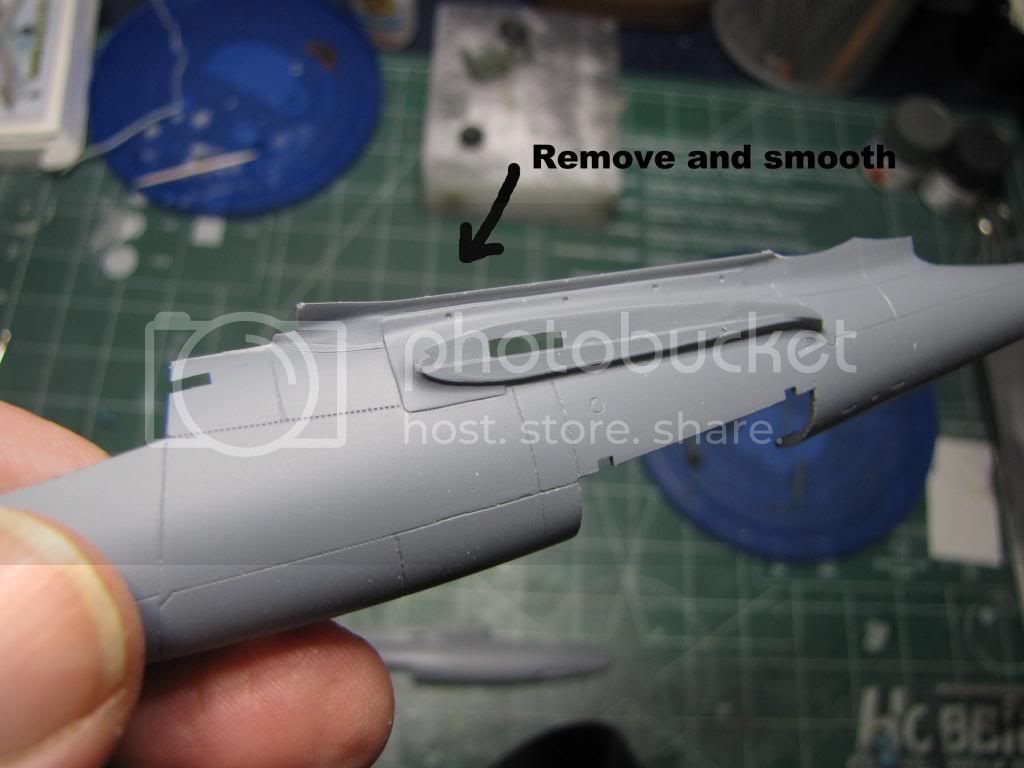
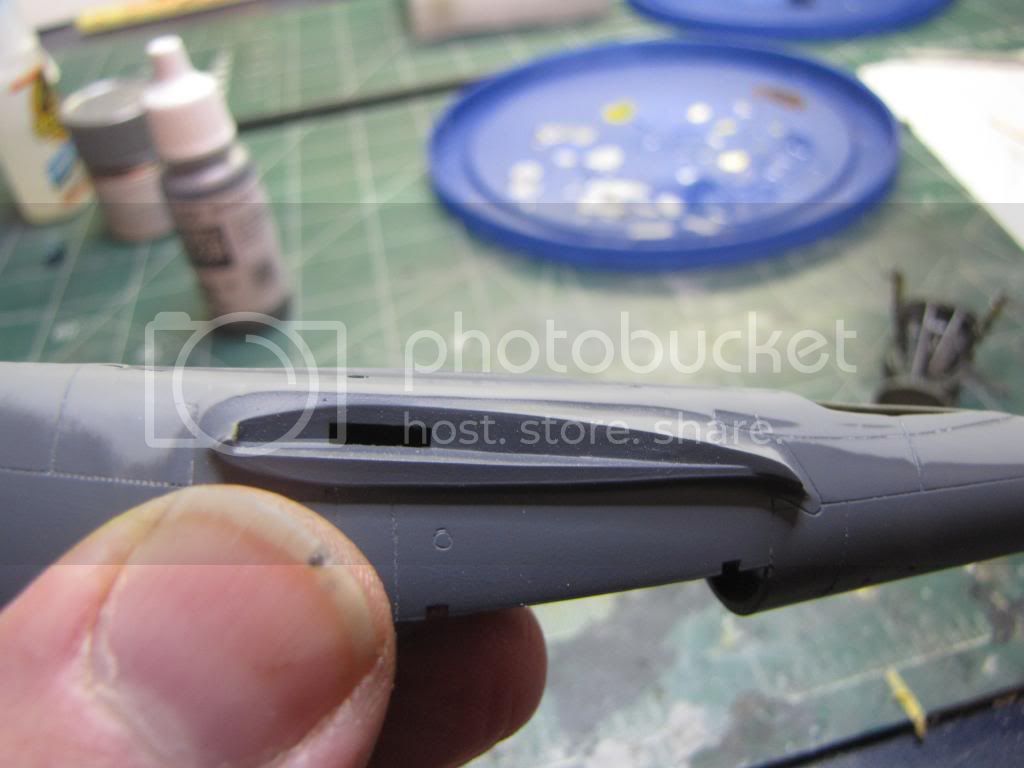
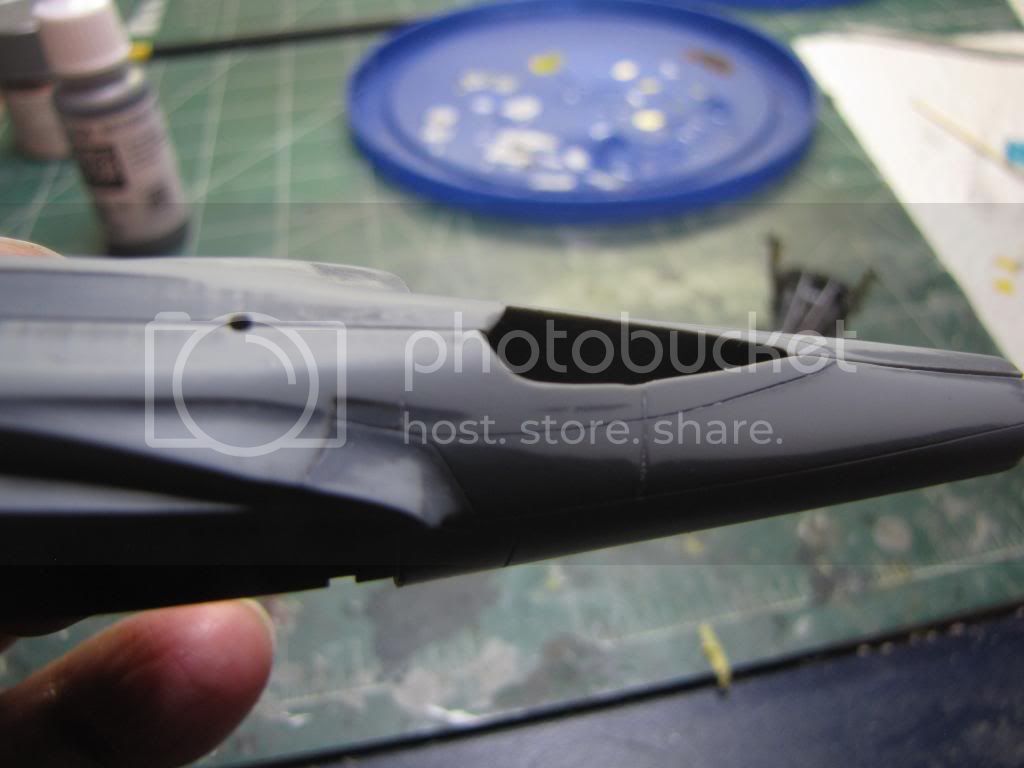
Now for the fun. I am just getting into removing the BMW engine mount on the top of the fuselage. A combination of cutting with my motor tool, grinding and sanding has got the right side close to were I want it. I am just about to start on the left fuselage.

IMG_1229.jpg


5667eb74-8c0e-4500-852f-a5079450b856.jpg


IMG_1235.jpg


773c6235-6921-4579-9445-5d952e4b794a.jpg


Talk to you all soon!
 
I have detailed the cockpit and wheel wells. There are some tiny pieces in the wells! I have also removed much of the engine / fuselage connection. I will be building up a bit of the fuselage directly over the wing and the hole that came out as a result of the removal. Any suggestions for repairing this hole will be welcome!

IMG_1236.jpg


IMG_1238.jpg


IMG_1239.jpg
 
Work continues on the He 162 conversion. In this update we put the fuselage together.

https://www.youtube.com/watch?v=tpYSPiGICvo&

Thanks for checking in.
 
I love all the 162 versions....been needing to build a 48th scale one for a long time. How's the base kit by the way?

Great job!
 
The base kit is A- OK. I found the landing gear bay a bit fiddly but overall it is fitting well. This kit is missing some of the small decals that go on the seat,panel, front wheel strut and wing flaps. Those were included with the earlier. Dragon release.
 
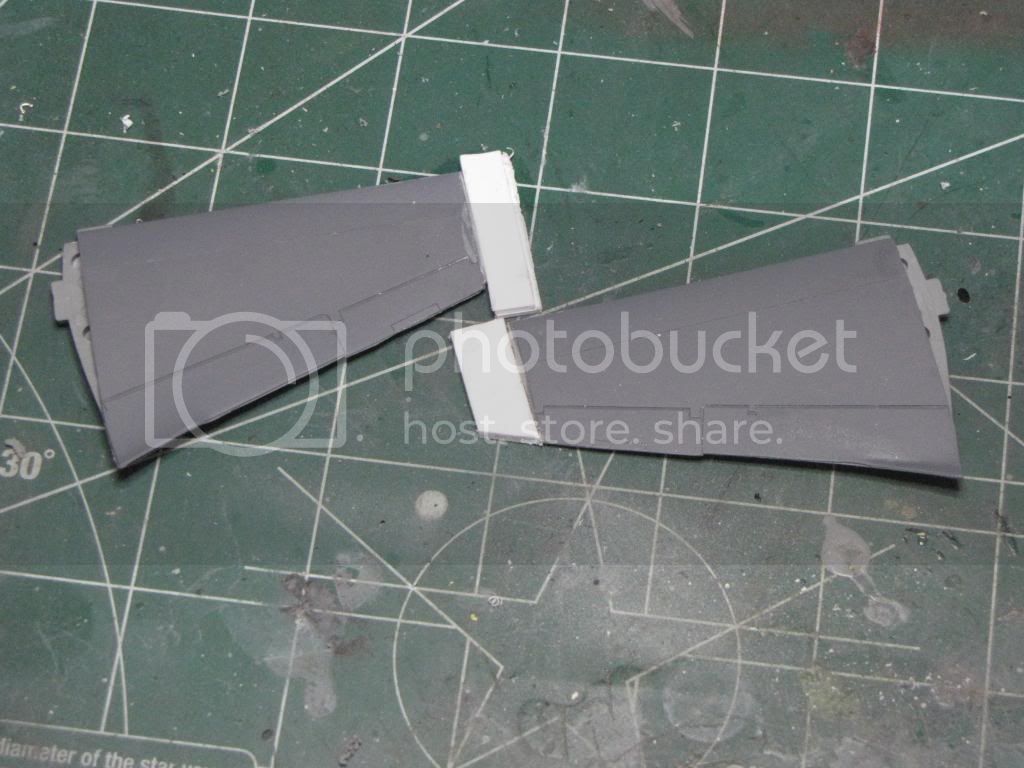
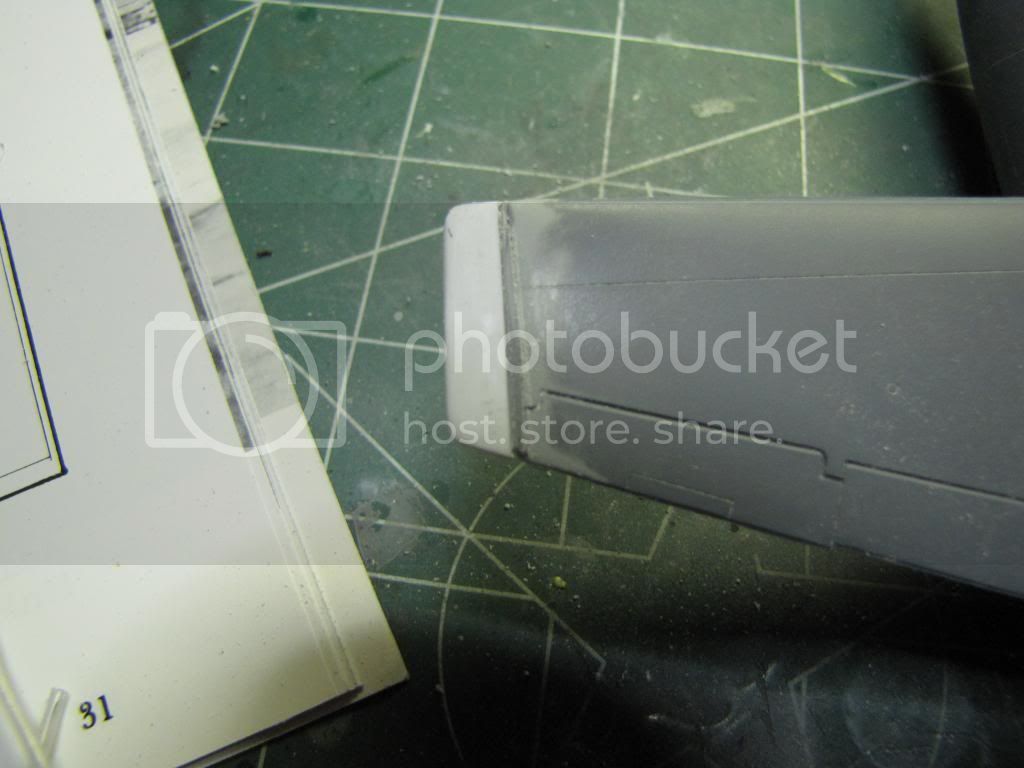
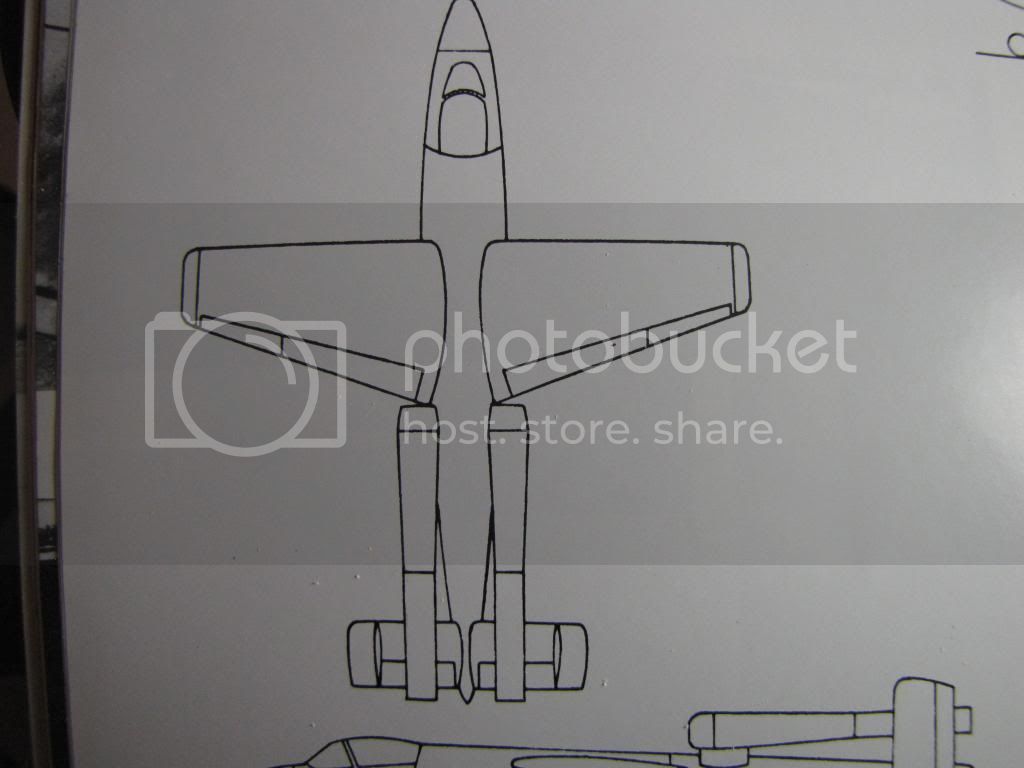
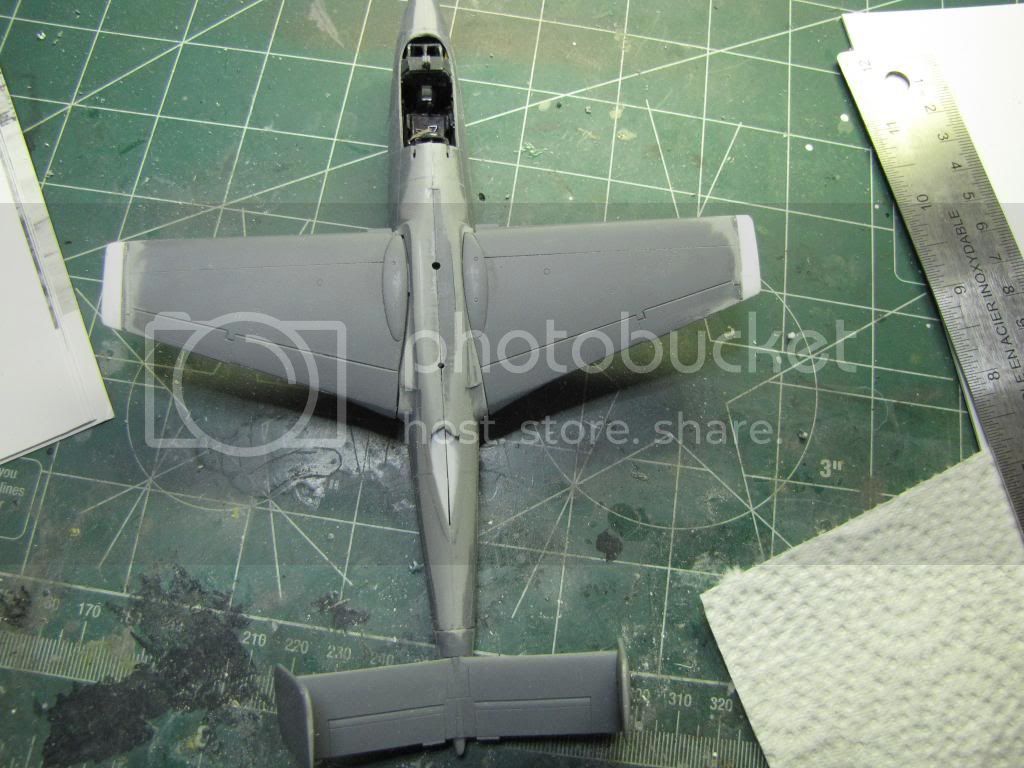
I have done some work on the wingtips. The supplied wings had the drop version that was featured on most 162s but the A -10 had flat wingtips with a bit more squared look to them. I used a saw to cut off the originals. I replaced the tips with some plasticard. The resulting shape matches up nicely with my reference drawing. Since taking these pictures I painted a coat of Mr. Surfacer 500 over the joins to smooth them off. They are just waiting for a little sanding and rescribing.

I doubled up the plasticard to get the right thickness.
IMG_1251.jpg


After some sanding and shaping.
IMG_1260.jpg


Reference drawing.
IMG_1261.jpg


Taking shape!
IMG_1262.jpg
 
Yet another update... we are finished with the fuselage.

https://www.youtube.com/watch?v=ZwewhWuQ8iQ&
 
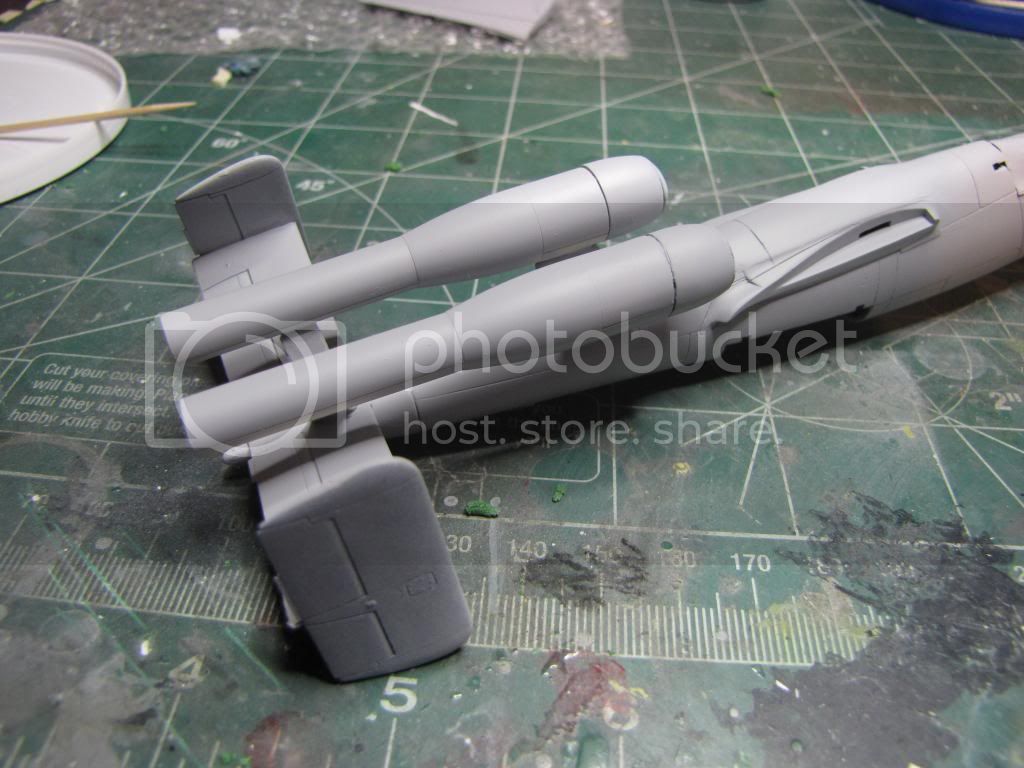
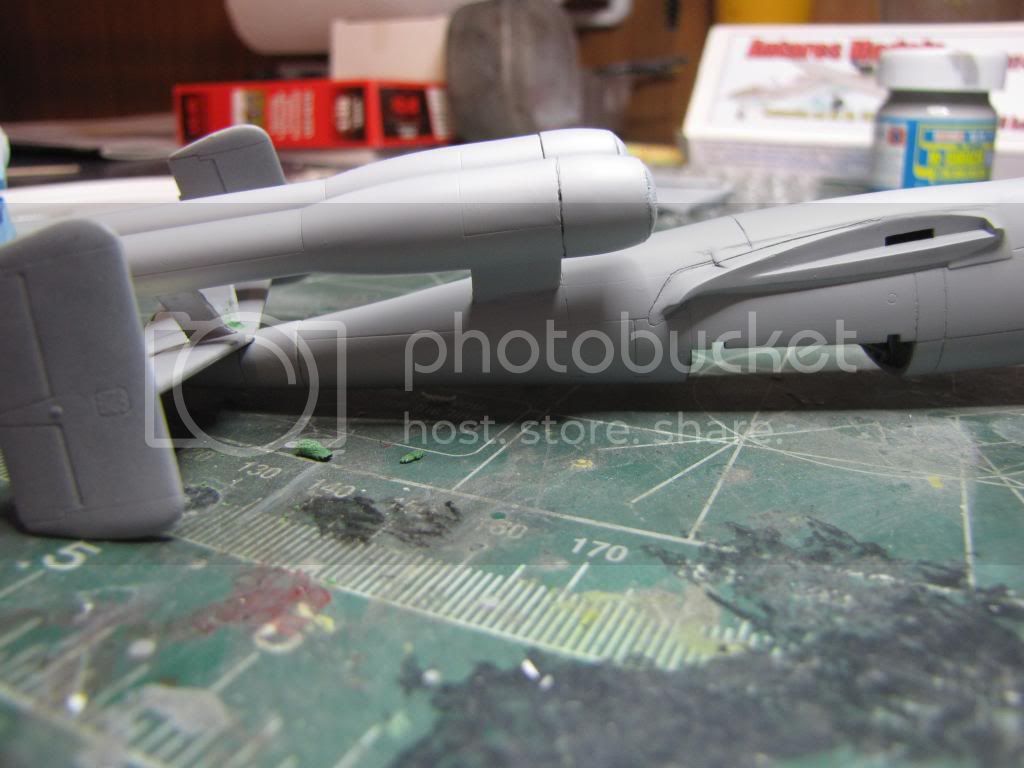
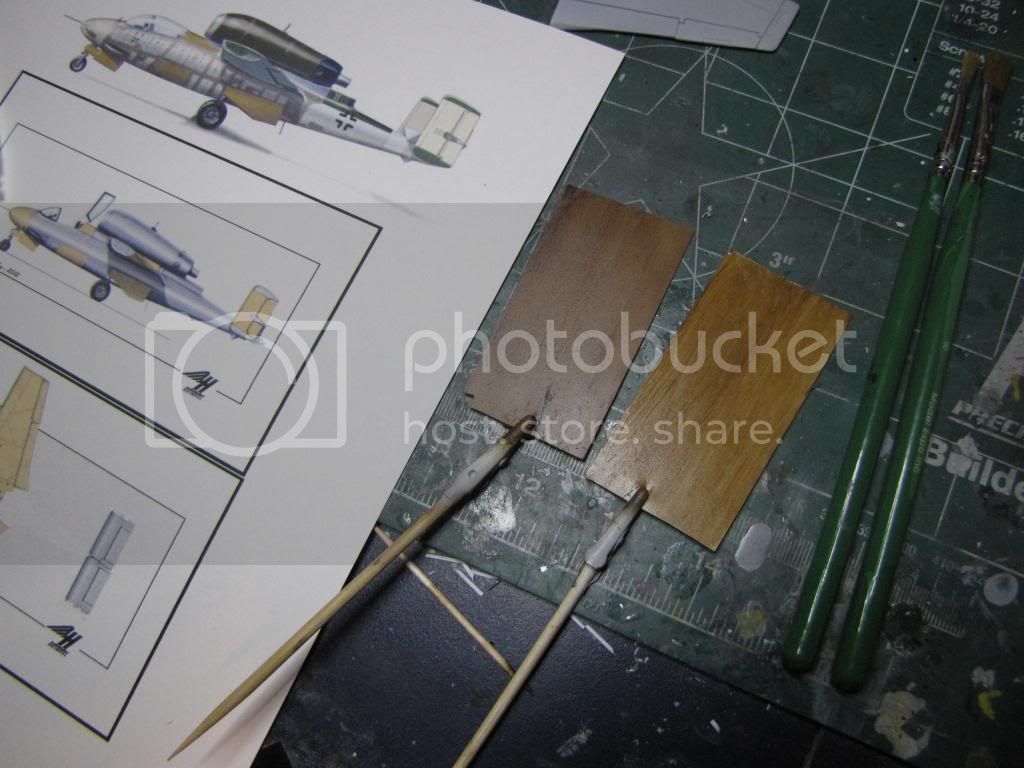
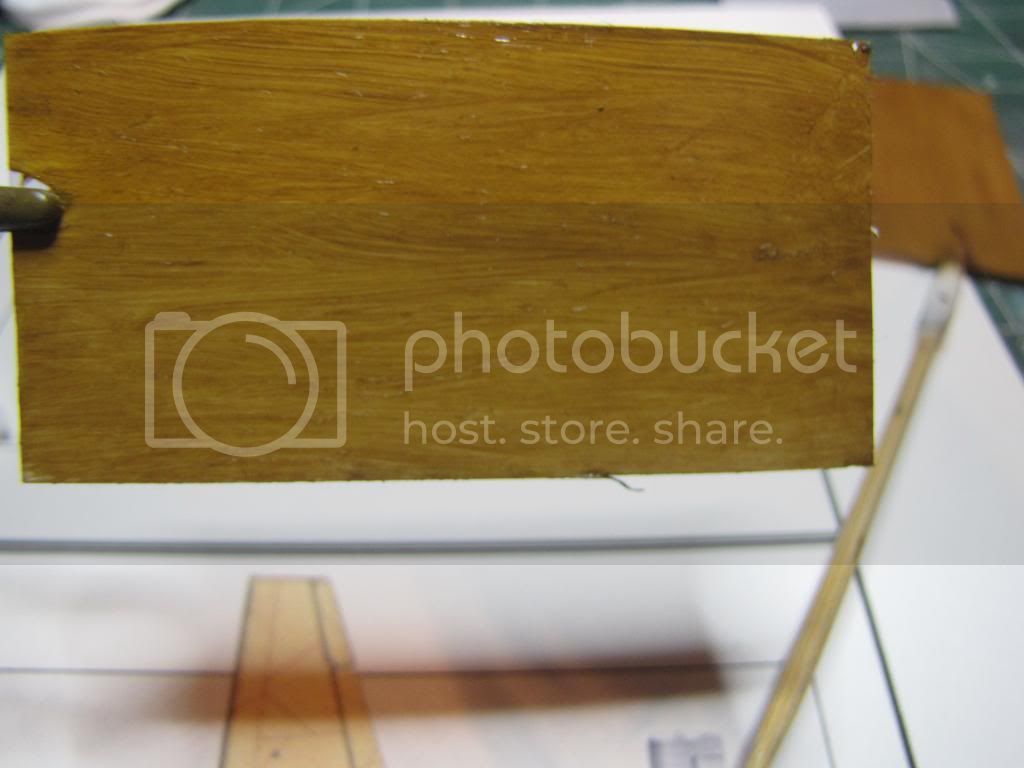
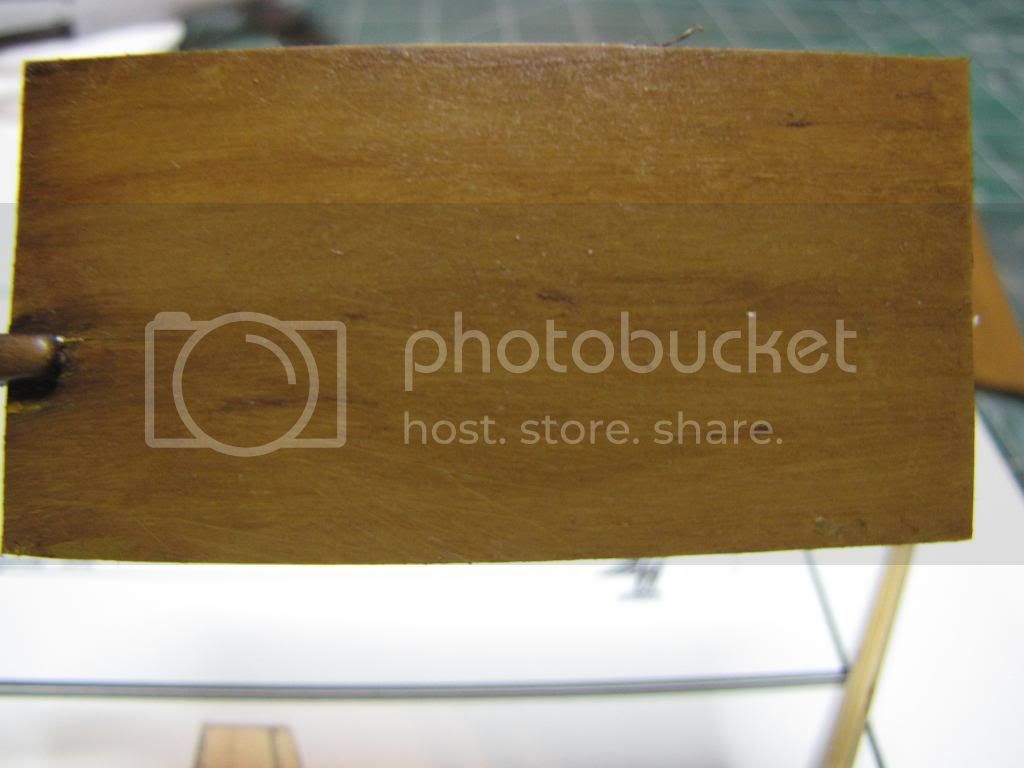
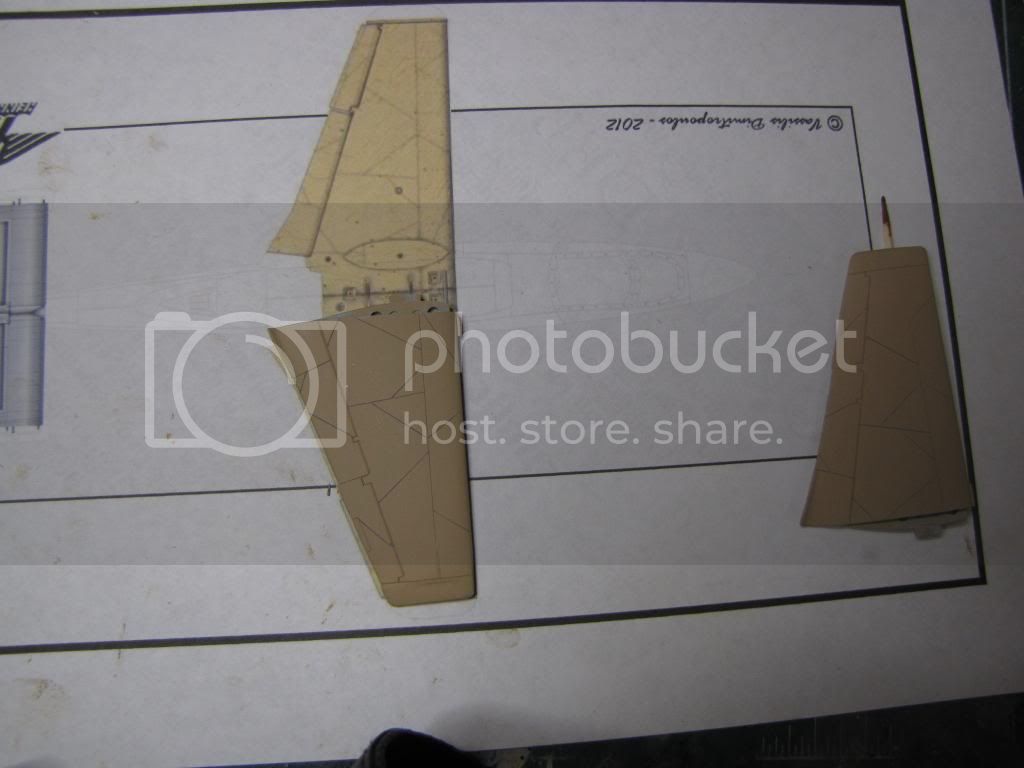
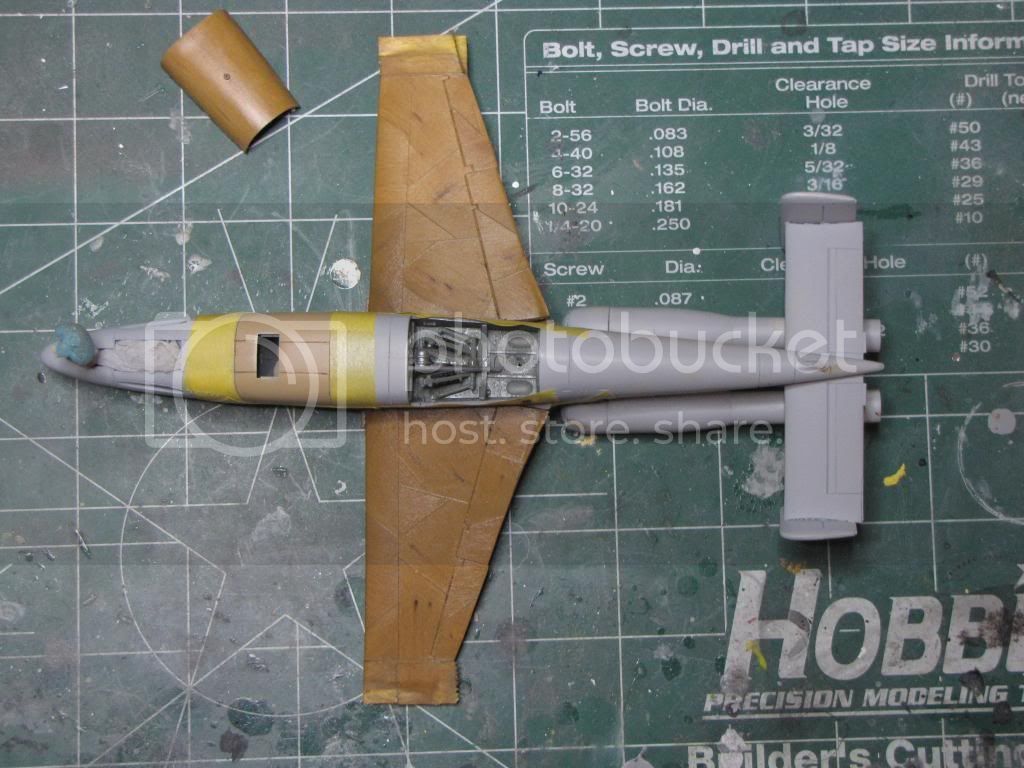
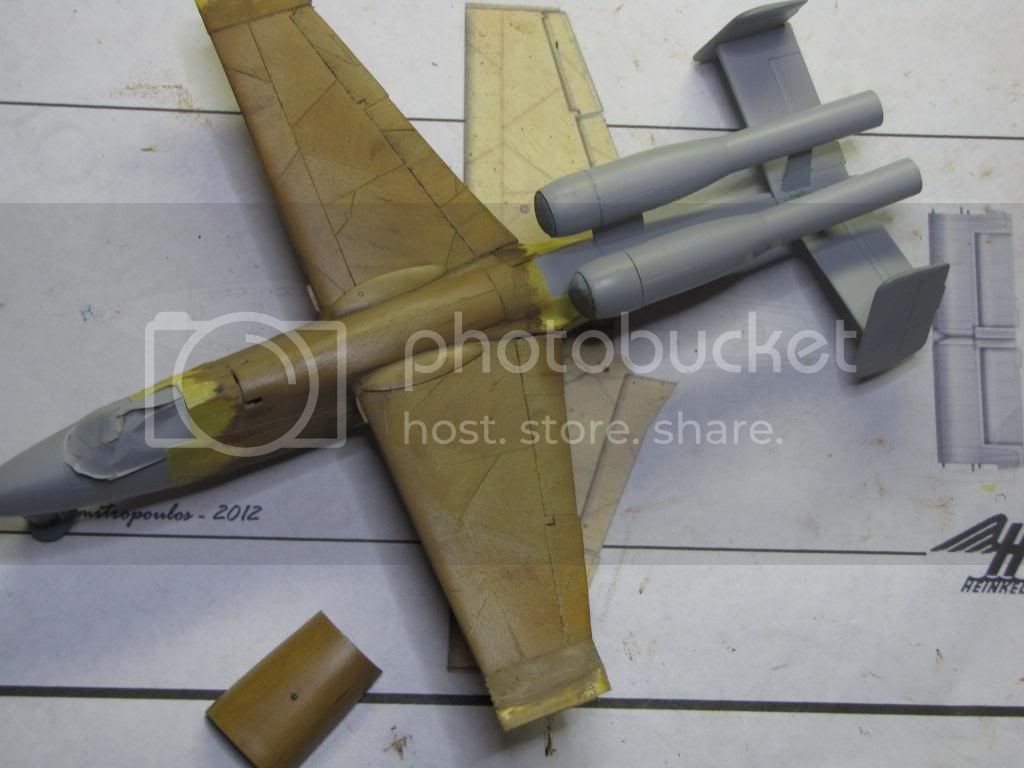
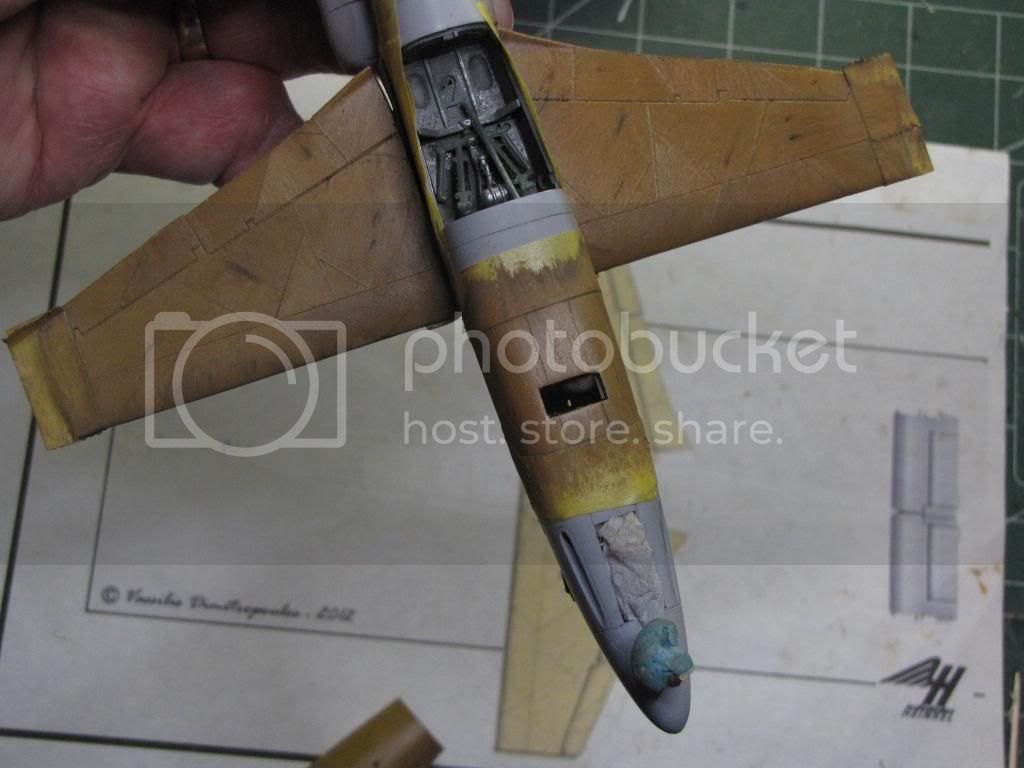
The pulse jet engines have been installed. It was a little tricky getting them lined up and I have a bit of detail sanding to do but overall they are done. I have also been fooling around with some wood-grain finishes. The He 162 featured a lot of plywood, especially the wings. I have decided to paint this prototype version as being nearly complete and partially painted so some wood and aluminium will be showing. The tests that I did were following a tutorial I had found on line. They turned out okay but I need to lighten up the finished product to look more blond.

IMG_1306.jpg


IMG_1307.jpg


IMG_1308.jpg


IMG_1312.jpg


IMG_1313.jpg
 
The pics are some test pieces I painted on plasticard. The results are pleasing but too dark as you can see in the picture with the reference pics in the background. I am going to pick up some lighter tan or yellow oil paints today to see if I can match those lighter tones in the references.
 
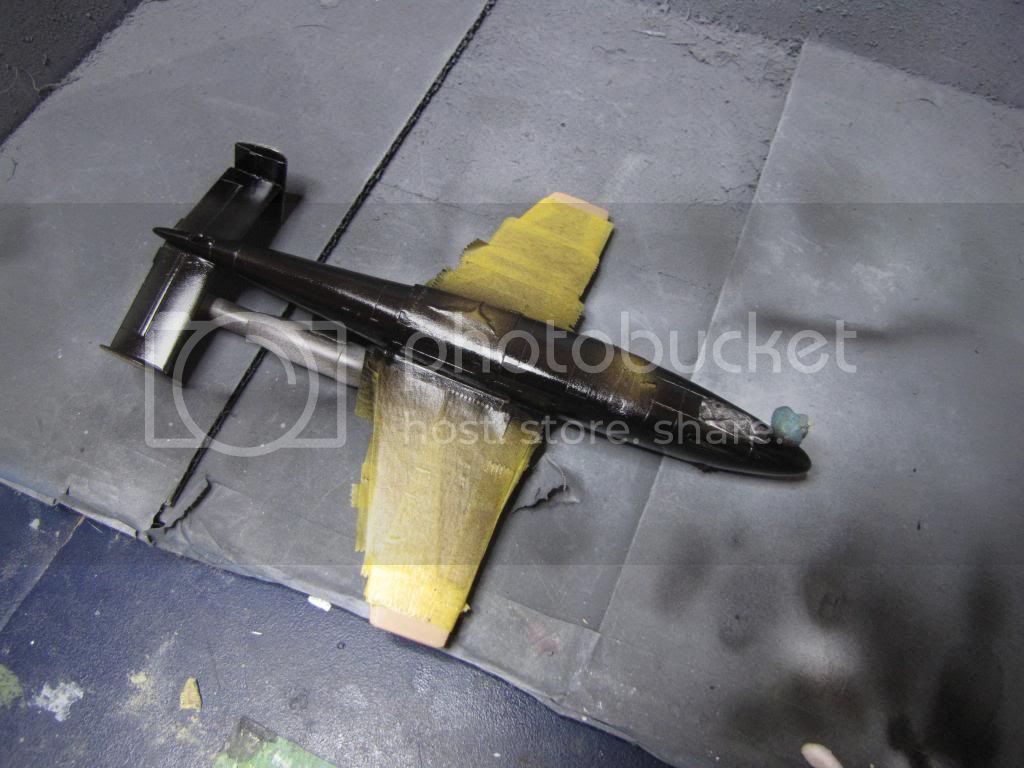
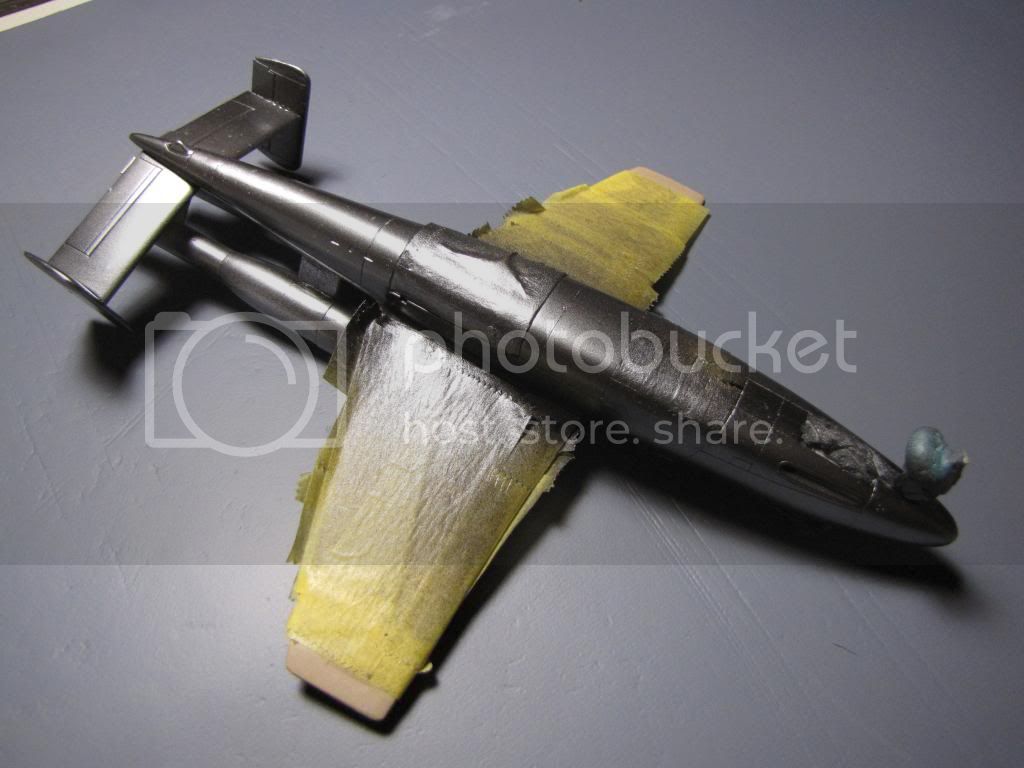
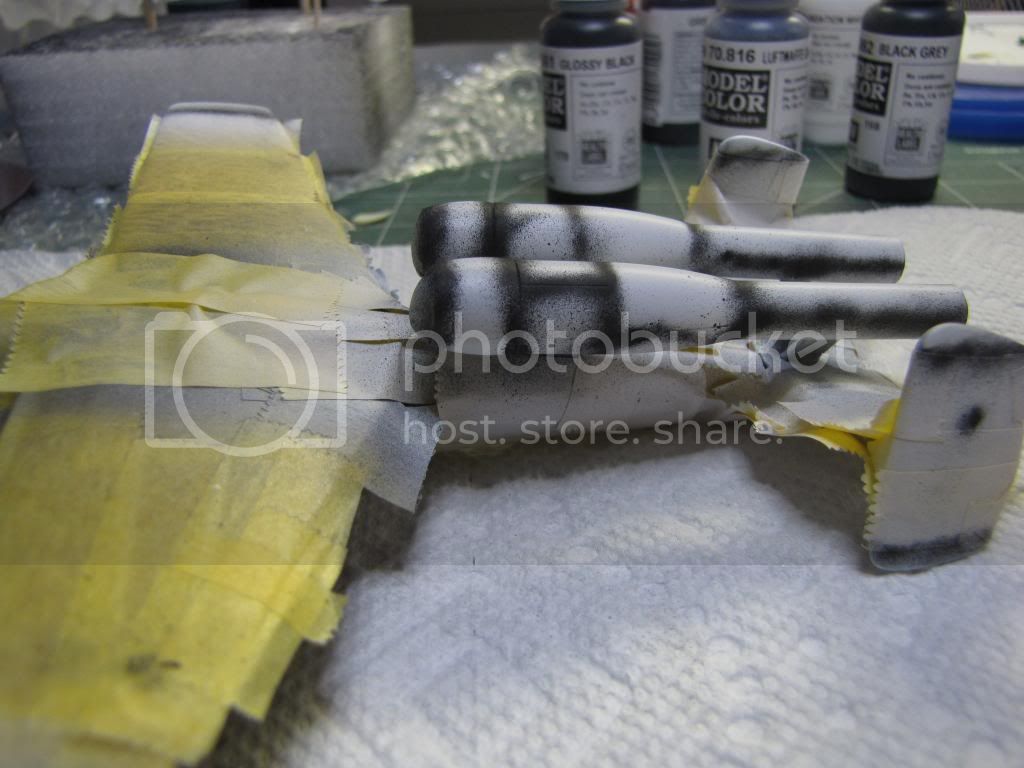
Painting has been coming together over the weekend. Last week, after scribing the plywood edges on the wings I got the wood down on them and lower fuselage. I waited 3 days for the oils to dry and then covered it with a Future/isopropyl alcohol mix and gave that a couple of days. Yesterday I sprayed a black undercoat and then today put down Alclad Duraluminium, and Chrome. I masked that all off and primed the pulsejets and wingtips. After preshading those areas I used Tamiya XF-61 to finish them off.

IMG_1319.jpg


IMG_1327.jpg


IMG_1331.jpg


IMG_1334.jpg


IMG_1338.jpg


IMG_1340.jpg


IMG_1342.jpg


Thanks for dropping by.
 
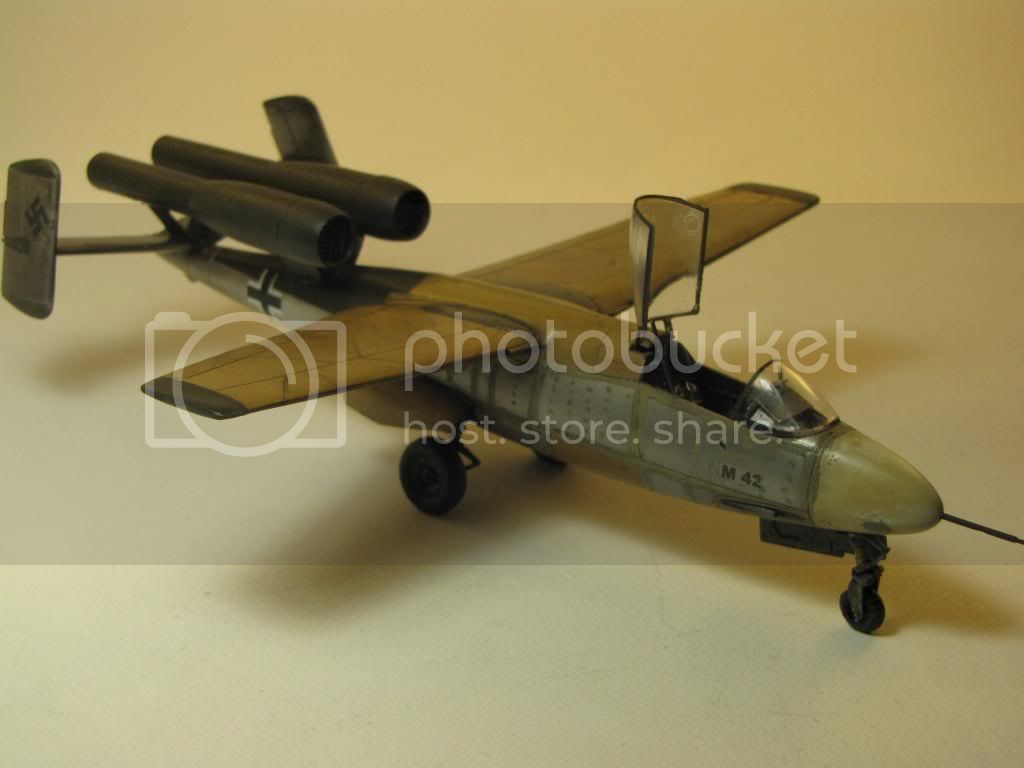
Check out my completion video. The 162 is done!

https://www.youtube.com/watch?v=0rX4GzCYjj0

Some stills to follow.
 
Thanks John and Q. Here are a couple of parting shots!

IMG_1405.jpg


IMG_1399.jpg


IMG_1414.jpg


Lots of great entries. Best of luck to all of you!
 
Back
Top