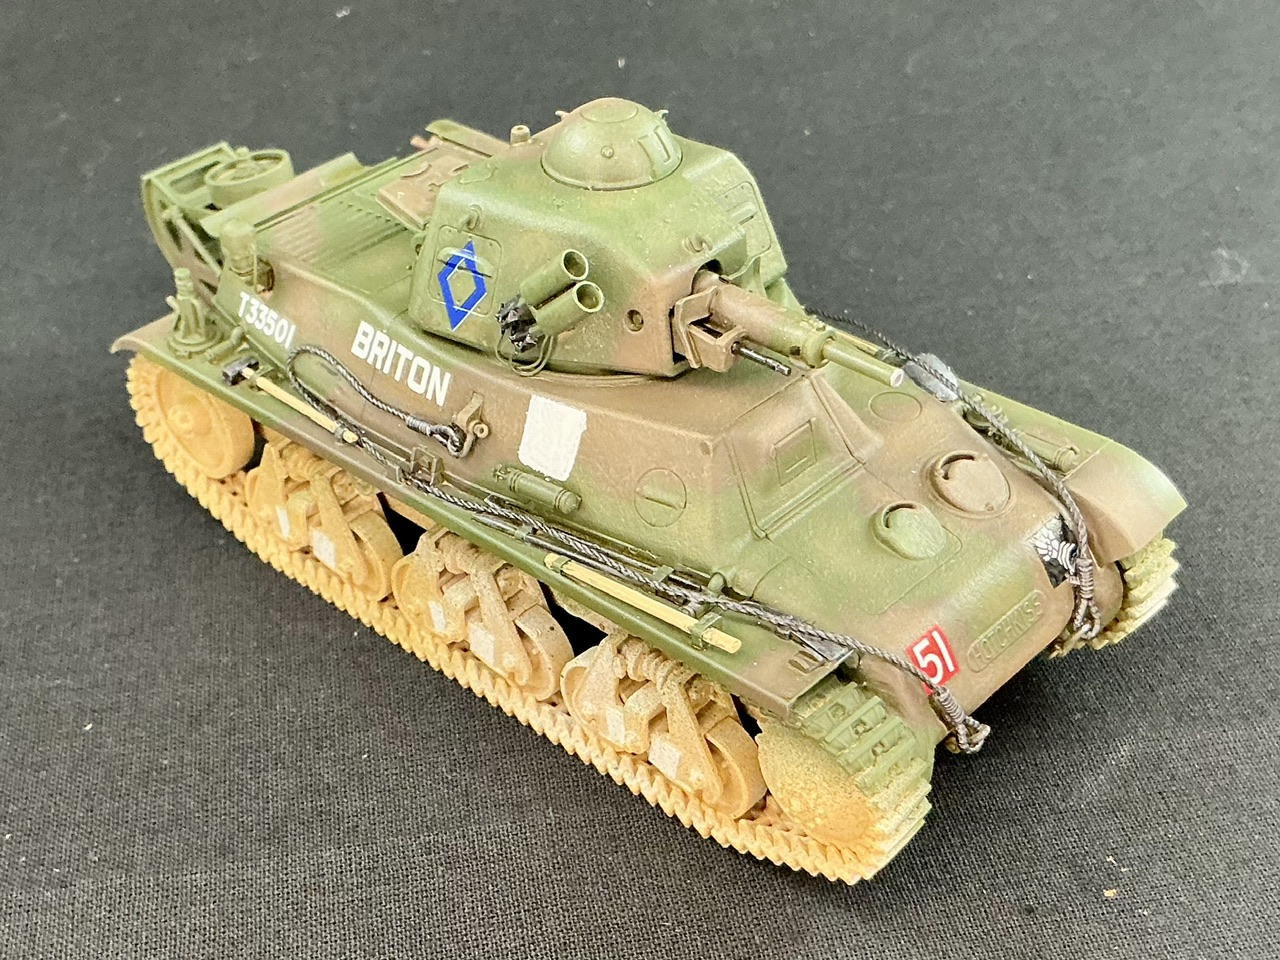
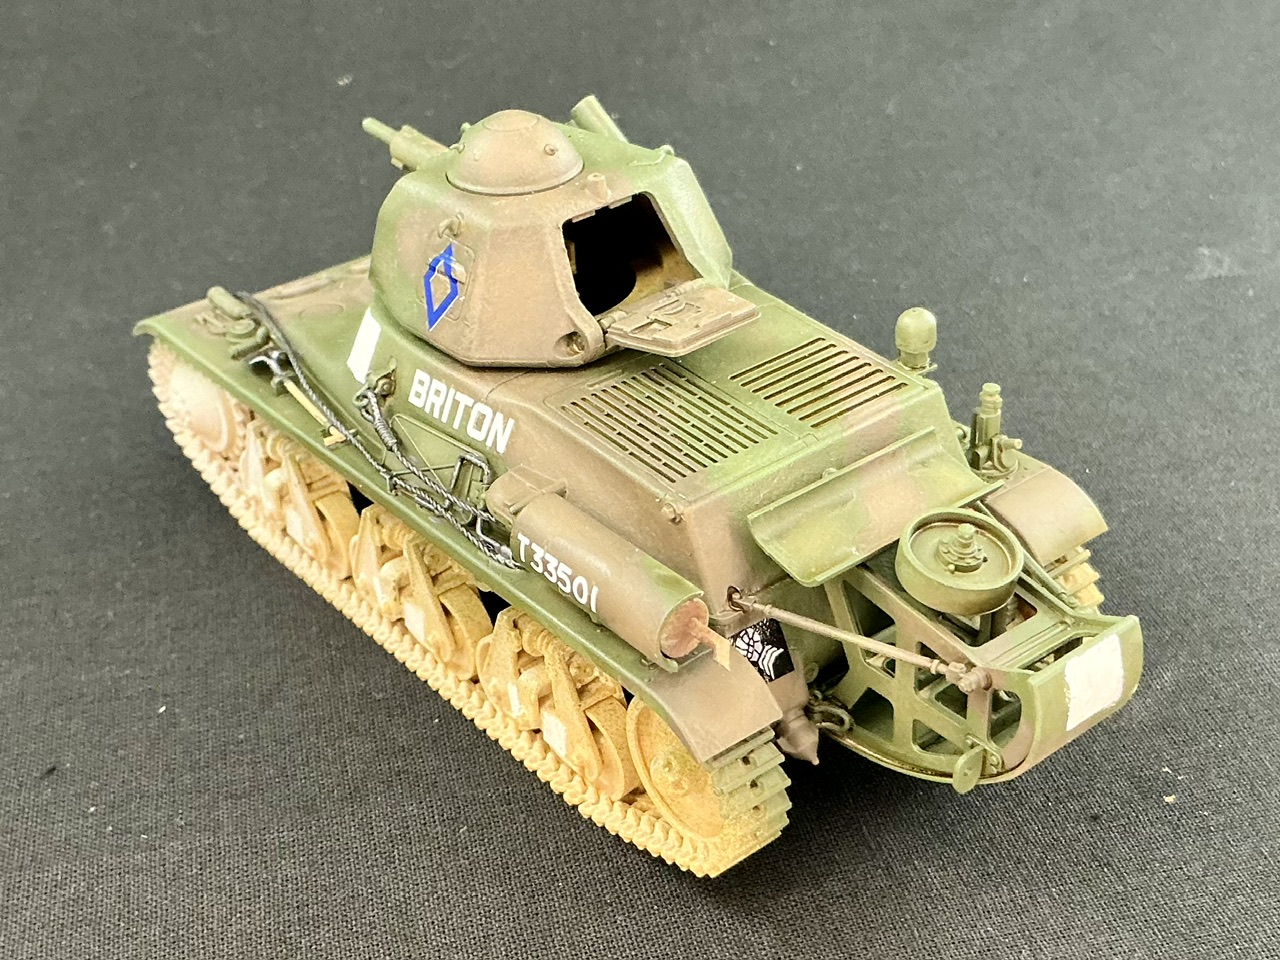
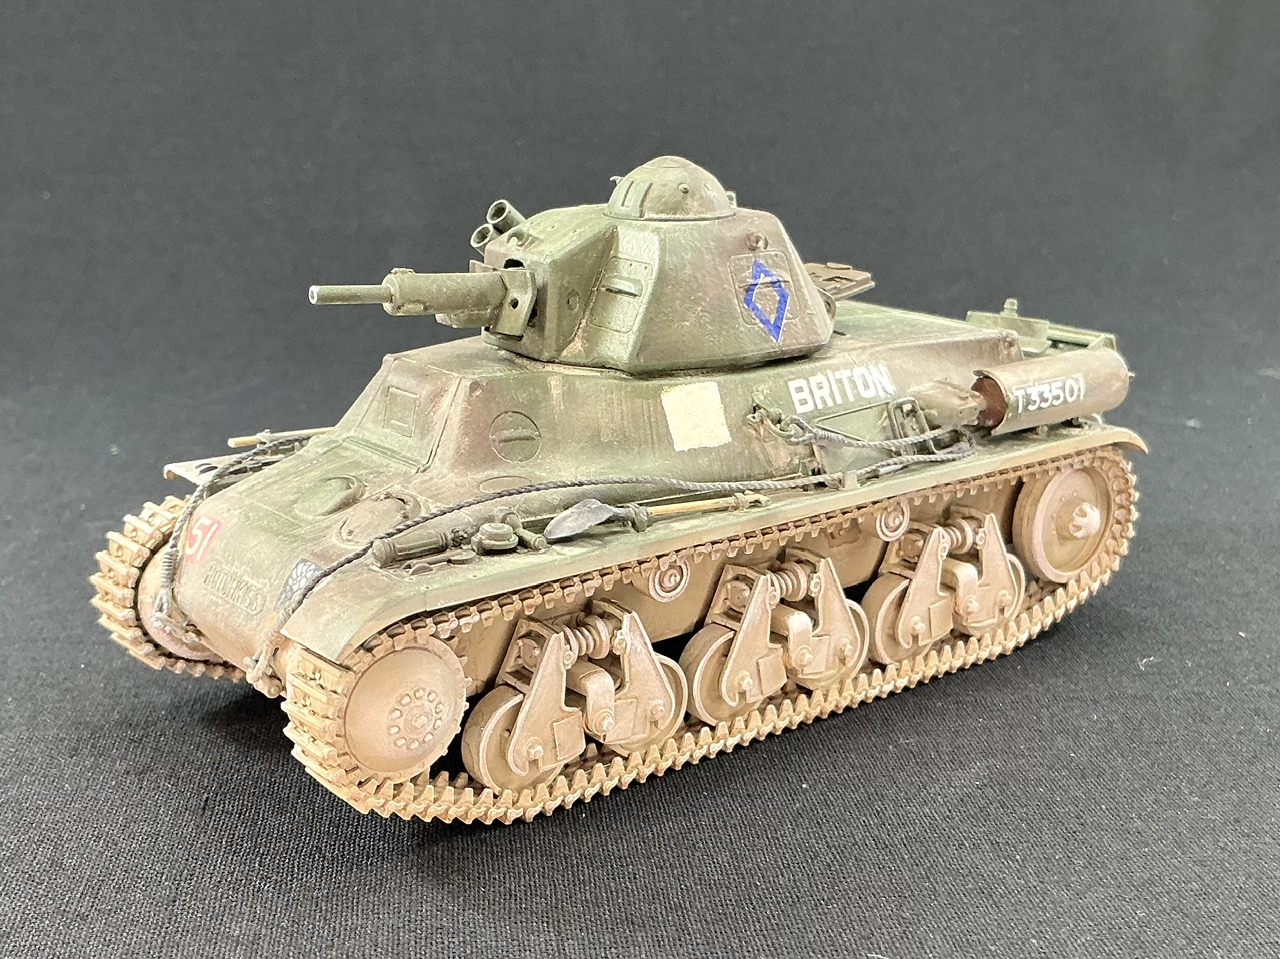
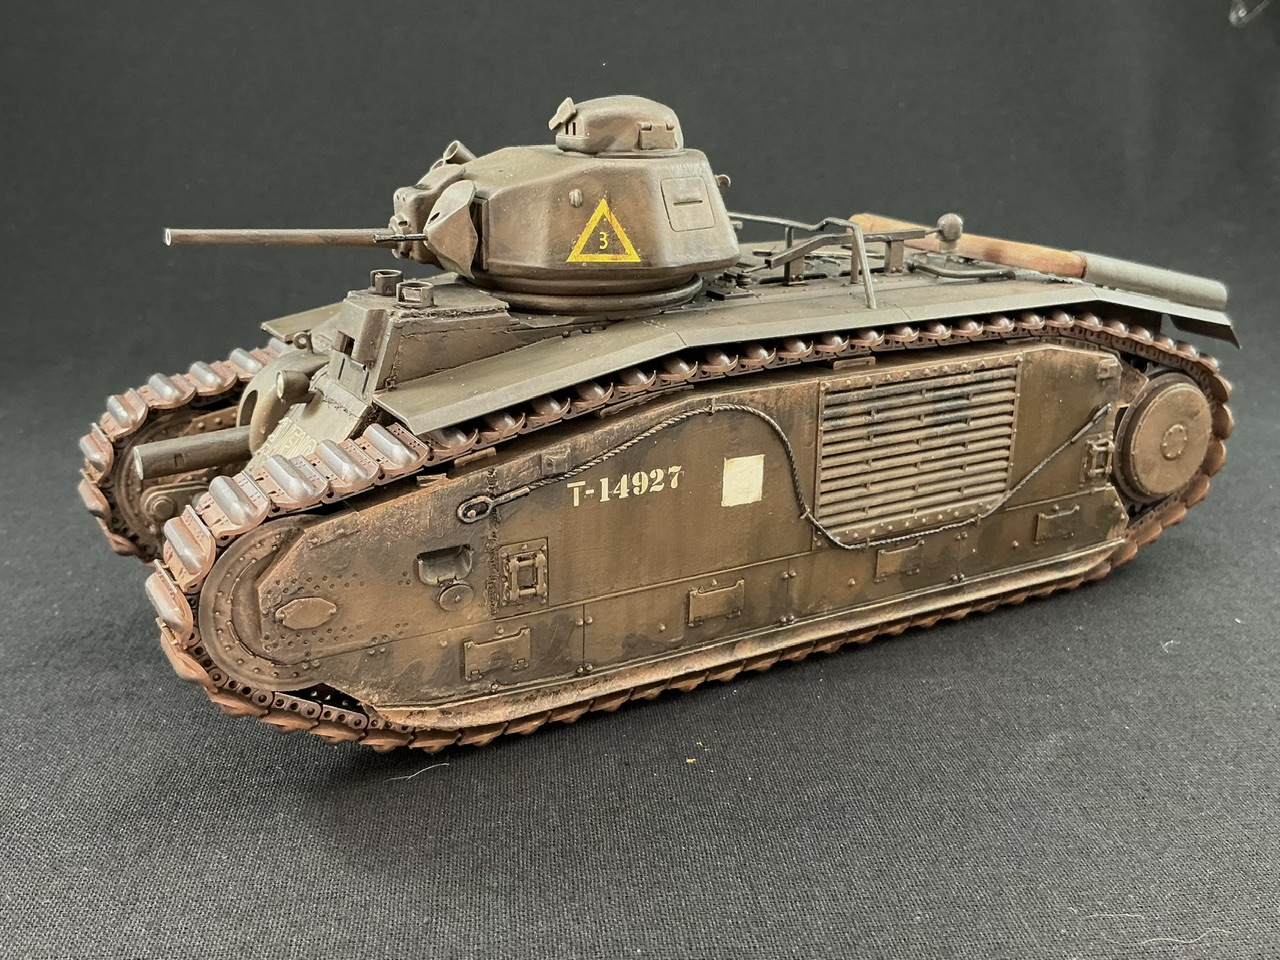
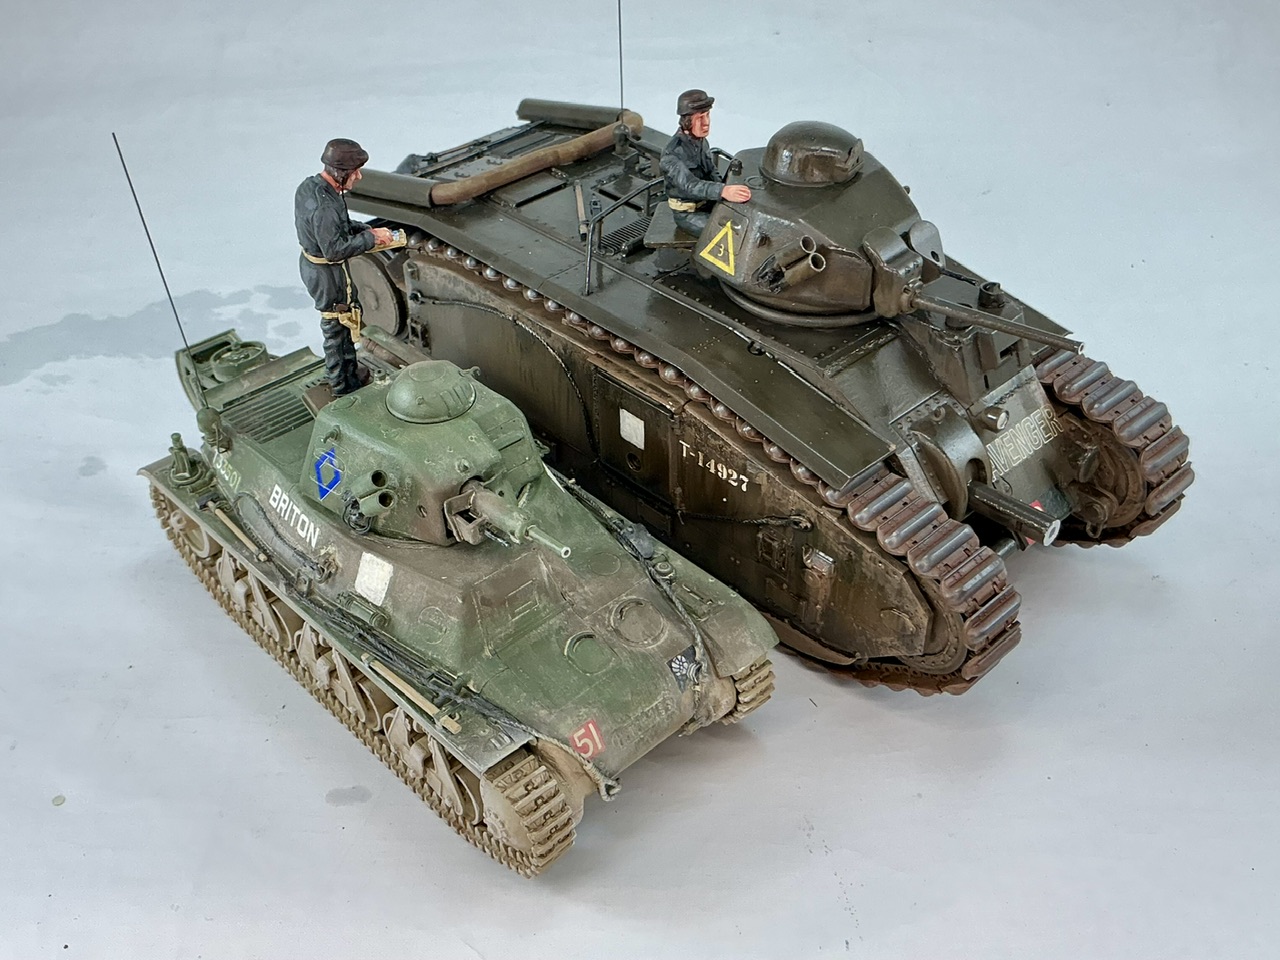
French tanks. But with a difference …

Scale Model Addict - Model Tips, Guides, Tools & Tech, Tutorials, and Community

Help Support Scale Model Addict:

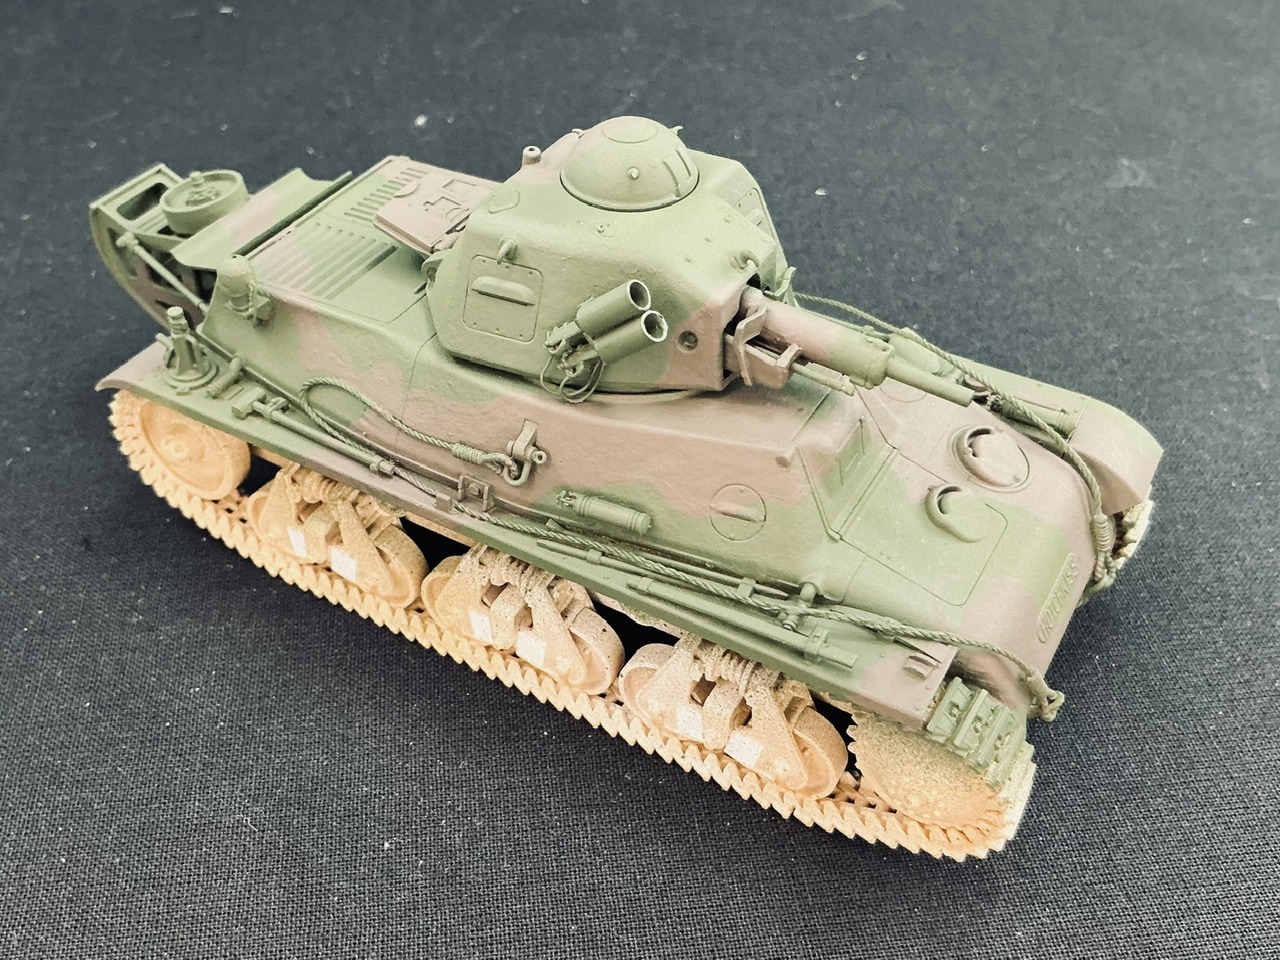
On with the camouflage. On the H39 I used the same Khaki Green No. 3 as I used on much of the B1, but now hand-painted with a fairly small brush:
IMG_2844.jpeg


The contrast between the two is so low that I think I did something wrong, though. It's hard to see in the photo, but it's even worse in the flesh.

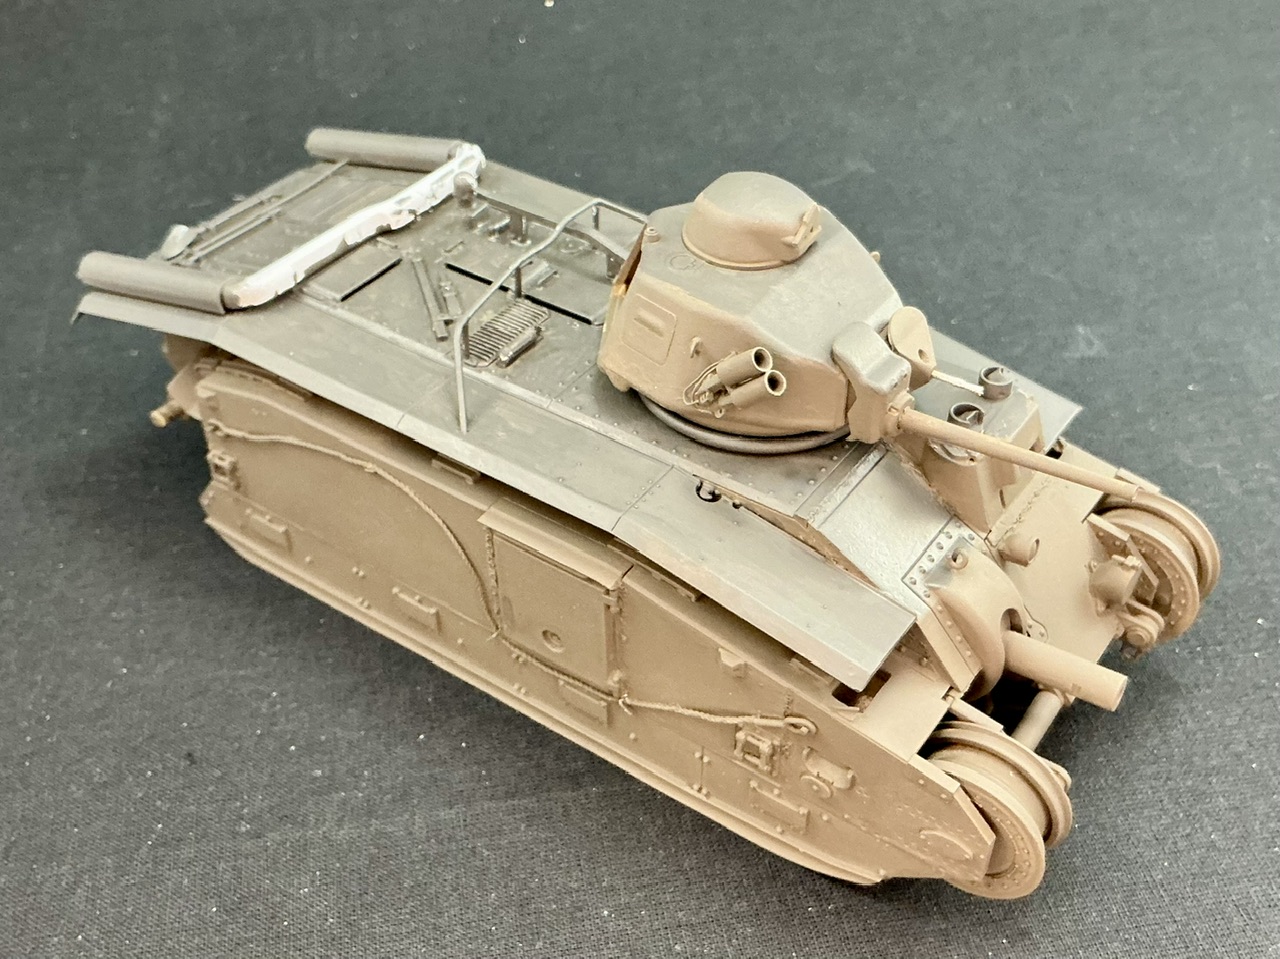
It's a little better on the B1:
IMG_2845.jpeg


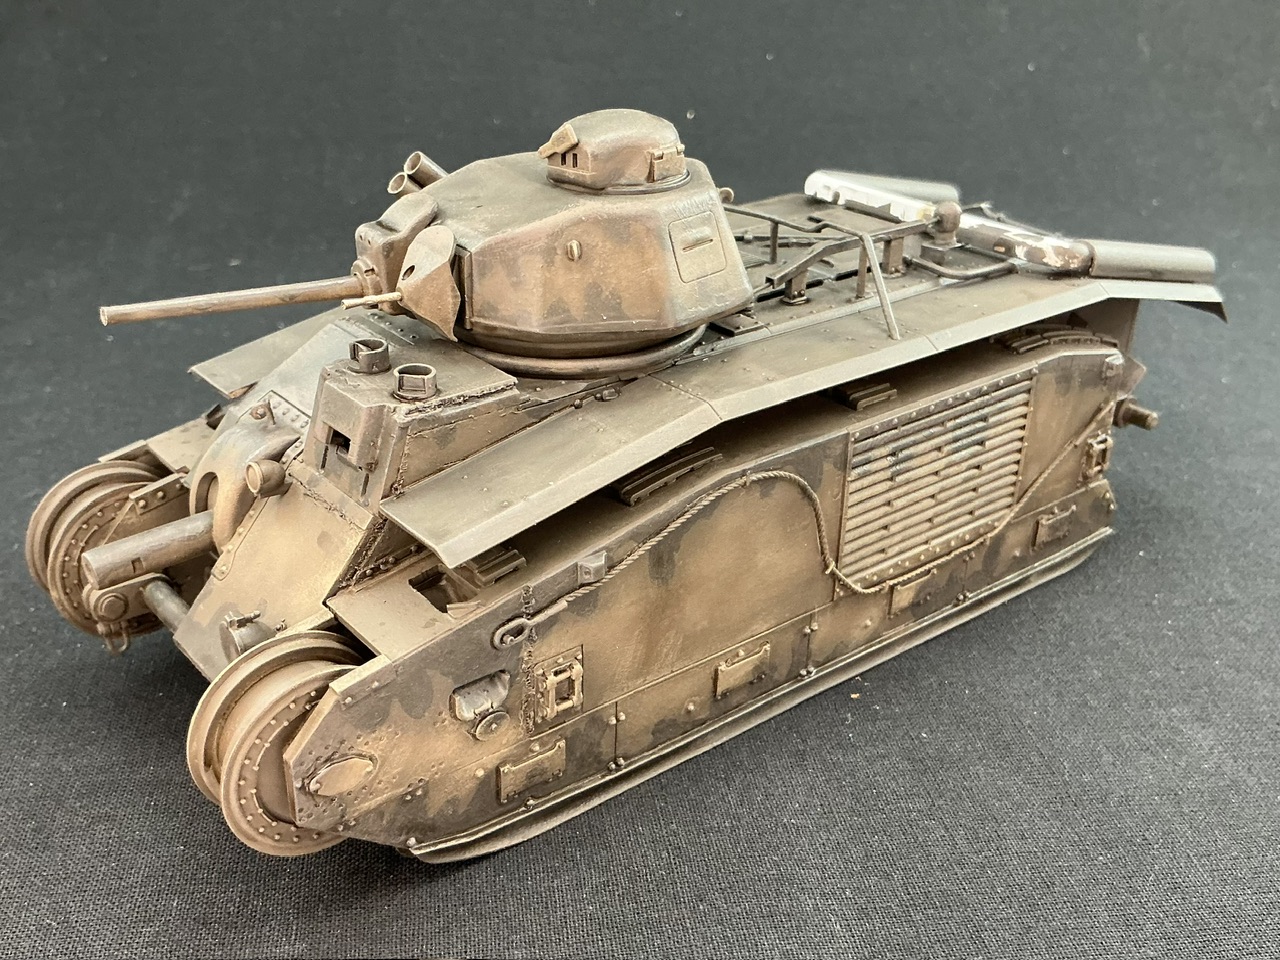
Here, I painted the horizontal surfaces (again with a brush) using an old bottle of Games Workshop Charadon Granite. That colour was especially odd: when I applied it, it was only barely darker than the brown already on the tank, but it got noticeably darker when it dried, ending up pretty close to the SCC 1A sample in Mike Starmer's book. This one definitely isn't done, though, as it still needs the splotches etc. around the edges of the vertical and sloping plates.
 
Sickness, difficulty finding the right colours, an airbrush that didn't want to cooperate … everything together this is once more taking longer than I would like. But by now I didn't just finish the camouflage on the B1 but also added shadows and highlights to both. I will get there eventually :)

IMG_2849.jpeg
IMG_2850.jpeg
 
I hope your return to health happens faster than that!
Early last week, I got what I think was a heavy cold (the COVID test I did was negative) but I'm still coughing quite a lot even though it was otherwise entirely gone over a week ago. In any case I kind of want to get these models, and the M4 (105 mm), done so I can let myself go on to the next one :)
 
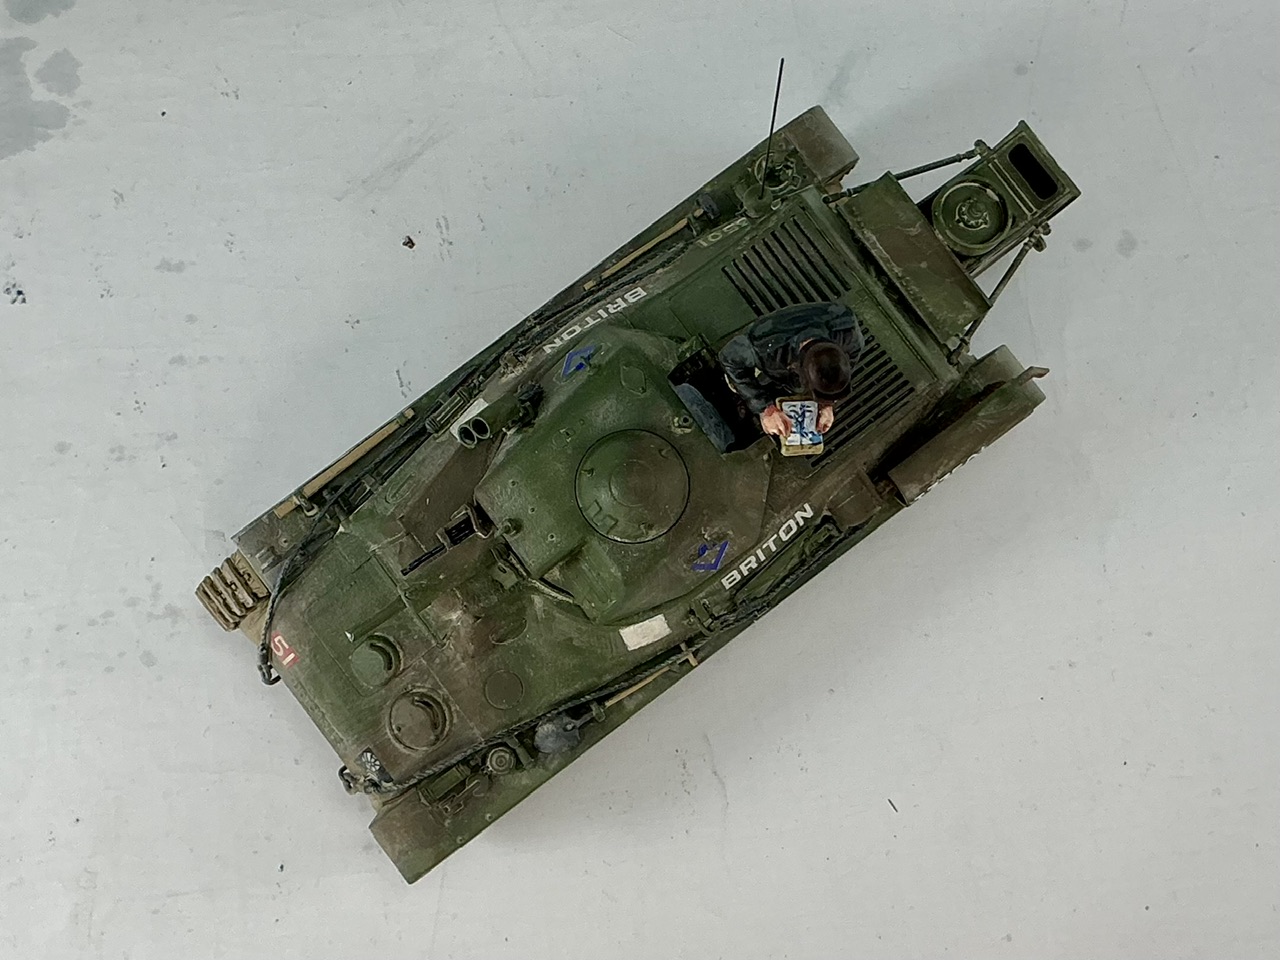
After weeks of not being able to make myself do much at all in terms of modelling, I now put the markings on both of these tanks:

IMG_2907.jpeg
IMG_2908.jpeg
IMG_2909.jpeg
IMG_2910.jpeg


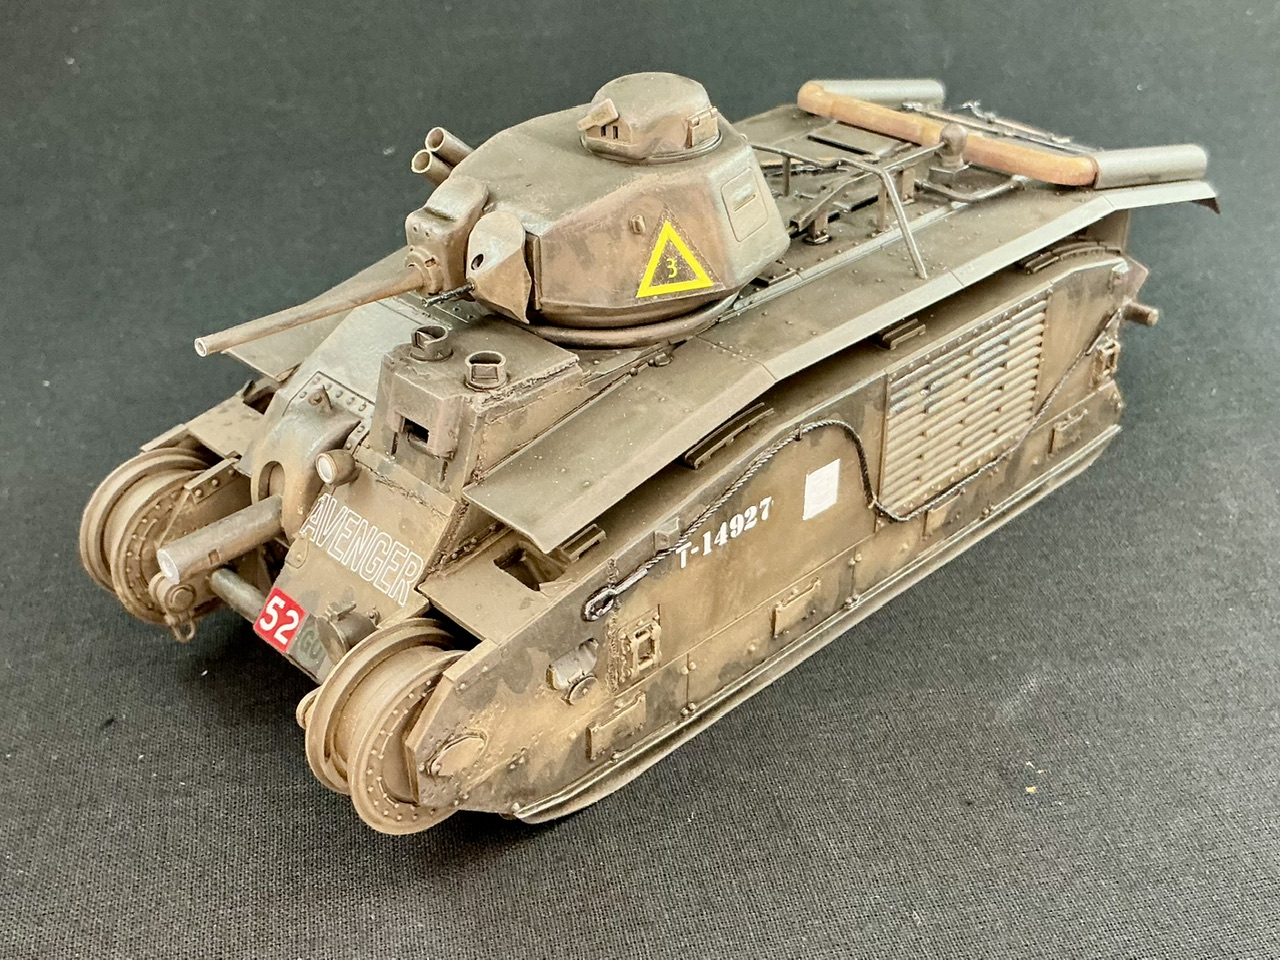
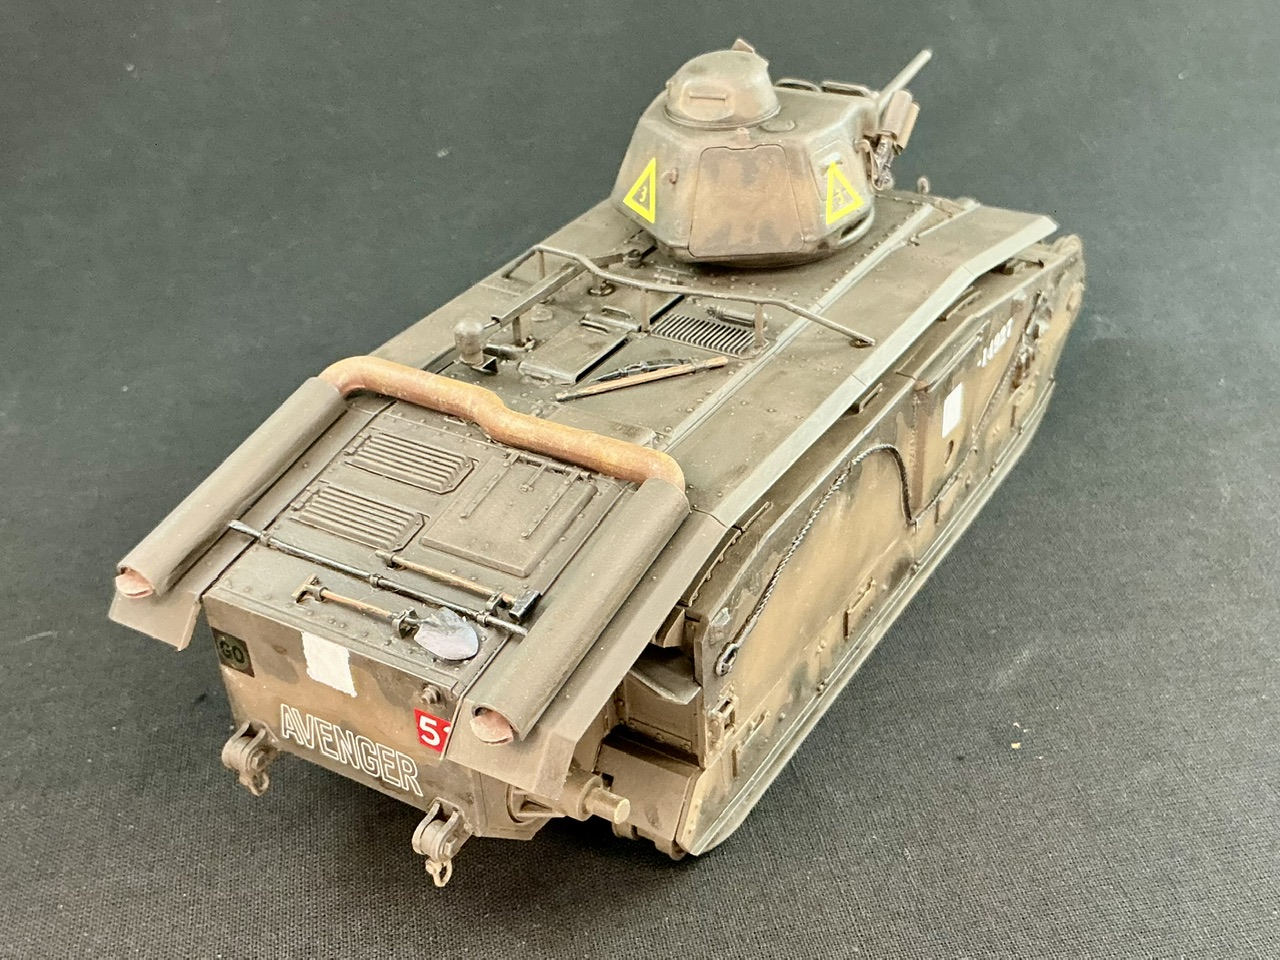
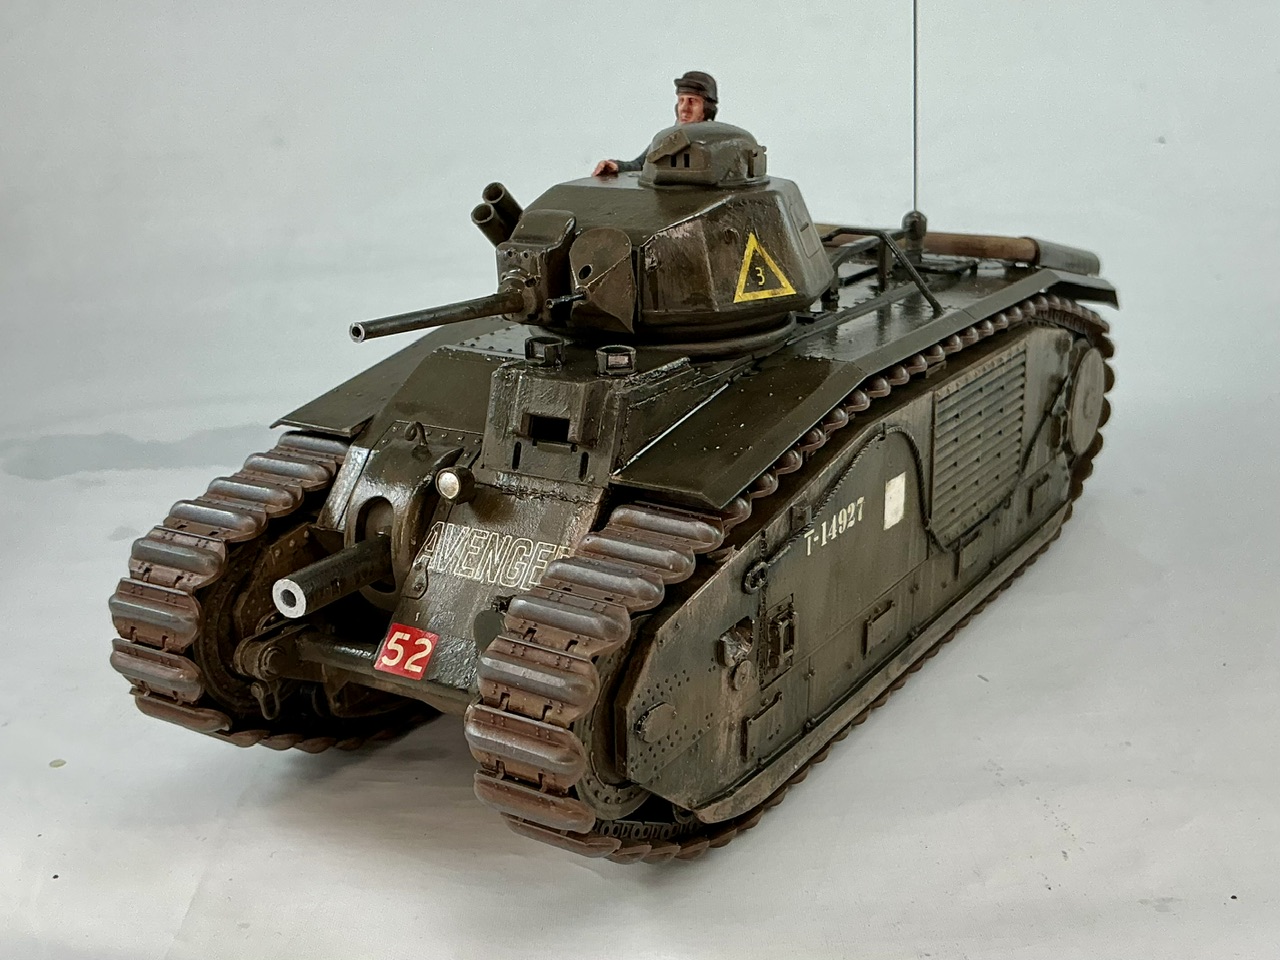
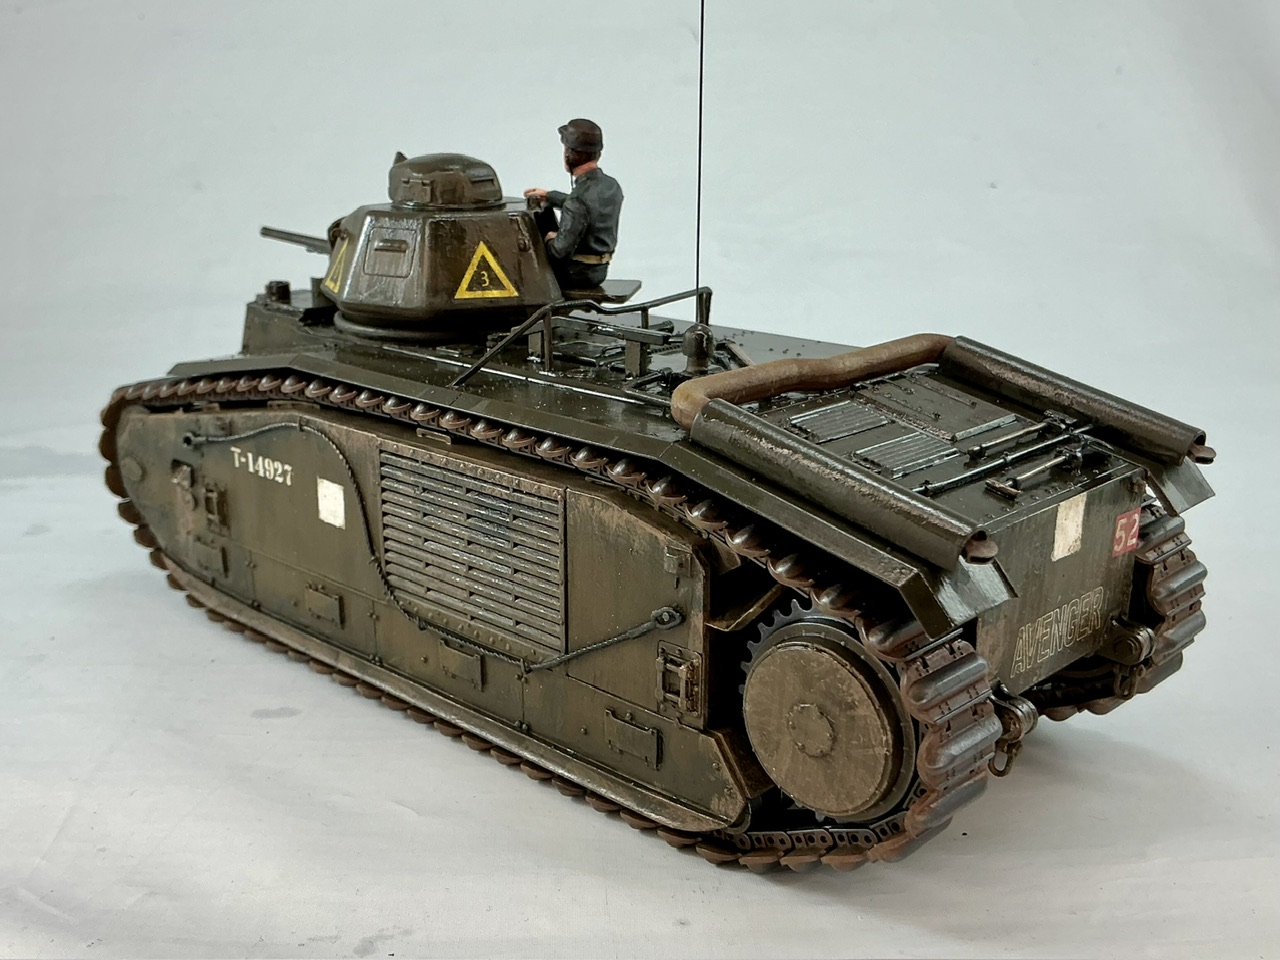
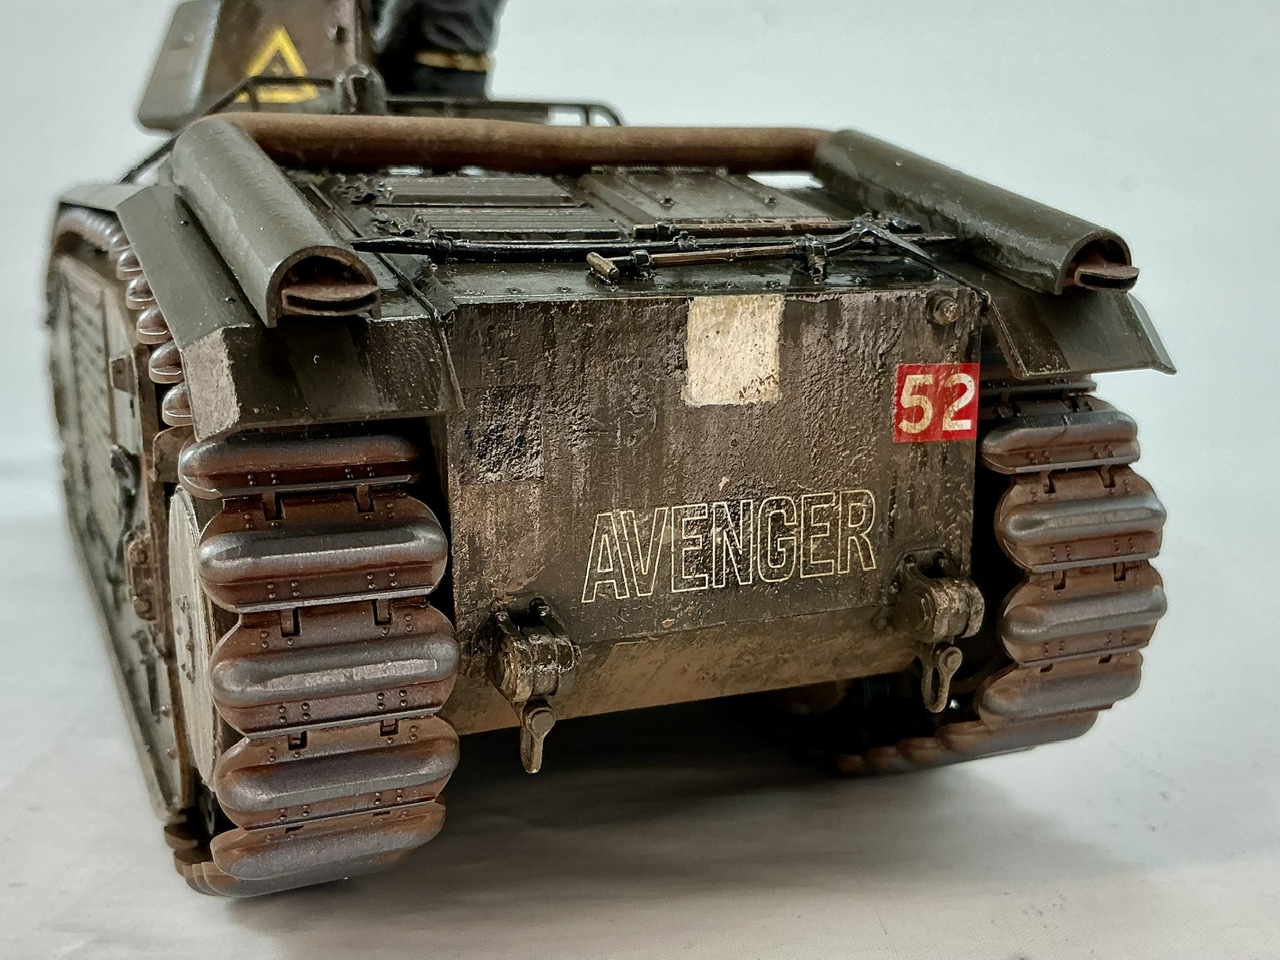
Taken from my big box of old decals, plus hand-painted (with the aid of a piece of masking tape with a hole cut in it) nationality markings — that is, the white squares. In real life, those were abolished after the BEF had been evacuated from France, but in the timeline in which these tanks existed, that of course never happened. There should also be one on the front, but for both I couldn't find a good spot to put one that wouldn't make it an aiming point without a crewman directly behind it.

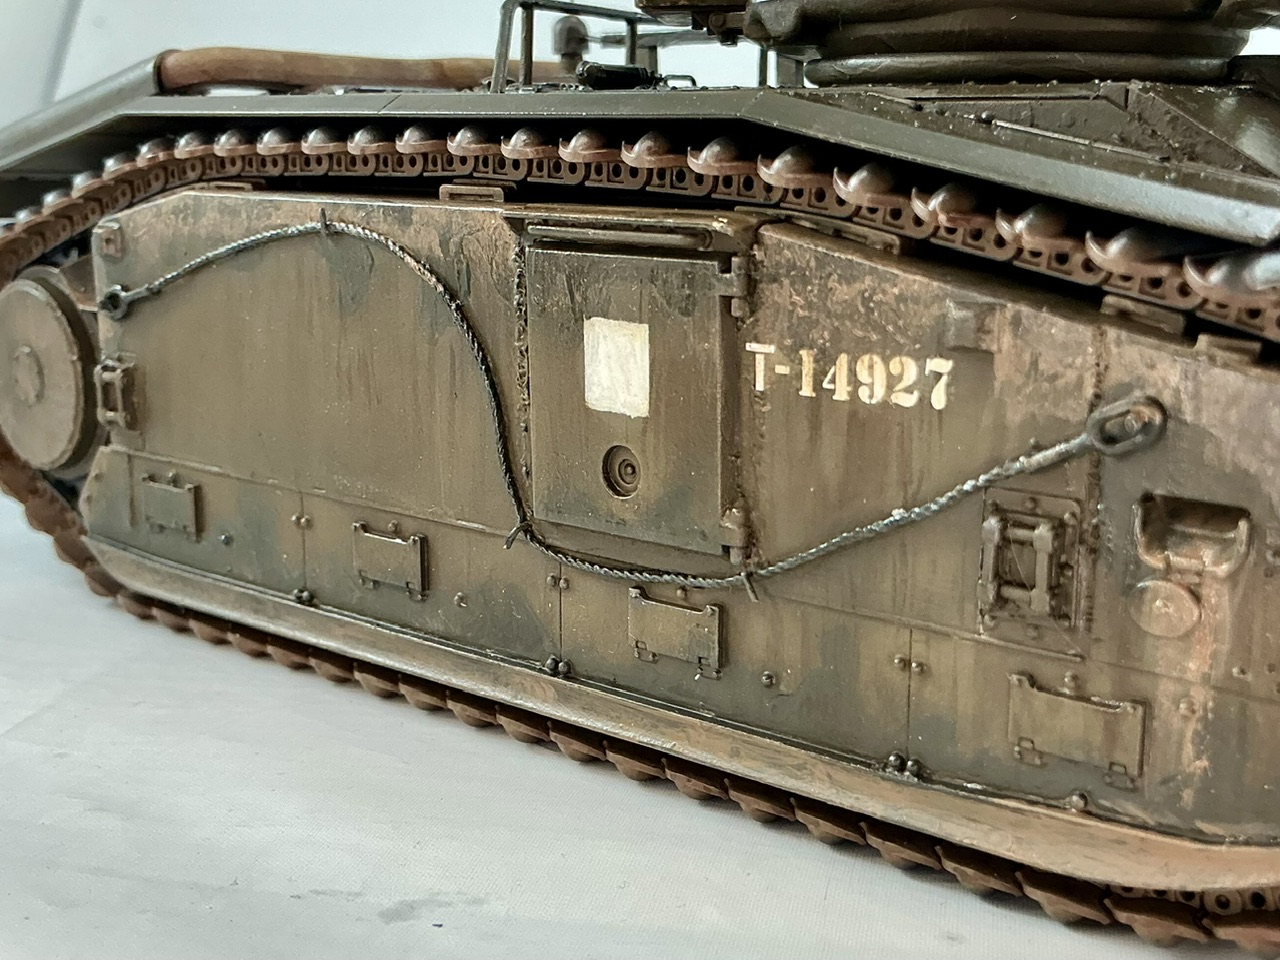
The registration numbers are from much later tanks, but with the last digit cut off, they're suddenly in the right kind of range for early in the war.
 
As an Amazon Associate we earn from qualifying purchases. Product prices and availability are accurate as of the date/time indicated and are subject to change.
The registration numbers are from much later tanks, but with the last digit cut off, they're suddenly in the right kind of range for early in the war.
I approve this approach. Considering changing the registration number on my Douglas Bader build since I screwed something up. Problem solving 101 and screw the rivet-counters right?
 
Problem solving 101 and screw the rivet-counters right?
Well, there's not really that much of a problem here, since of course these tanks never existed in this guise in the real world. Had I been building, say, a Matilda or a Valentine, I would have wanted a registration number in the correct range for the real tanks. But since these are fictional, I can get away with any plausible number. Since by 1941, those typically had five digits, cutting down a six-digit number from 1944–45 works just fine :)
 
Making progress on the H39 now:

IMG_2916.jpeg


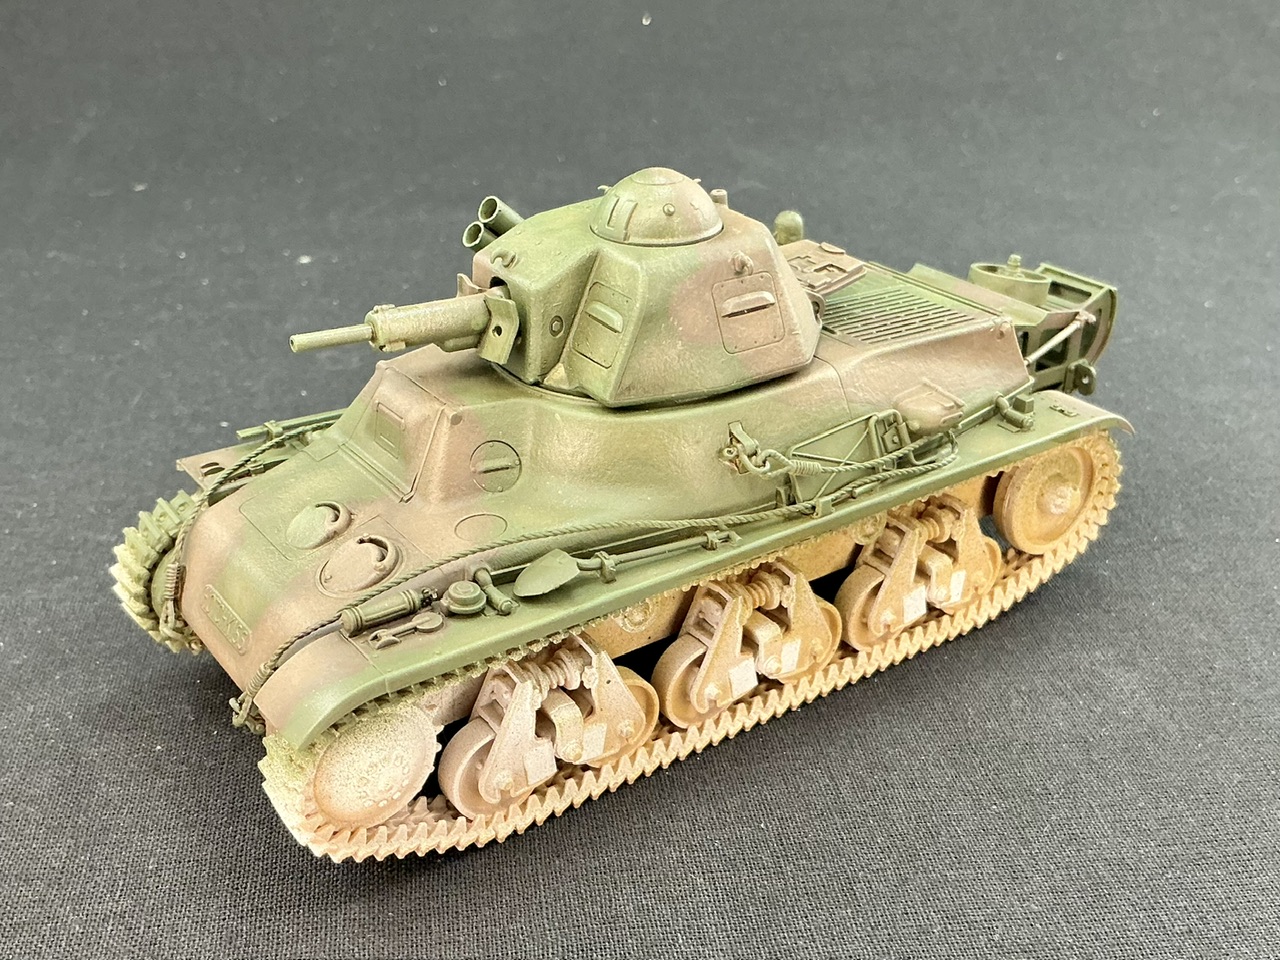
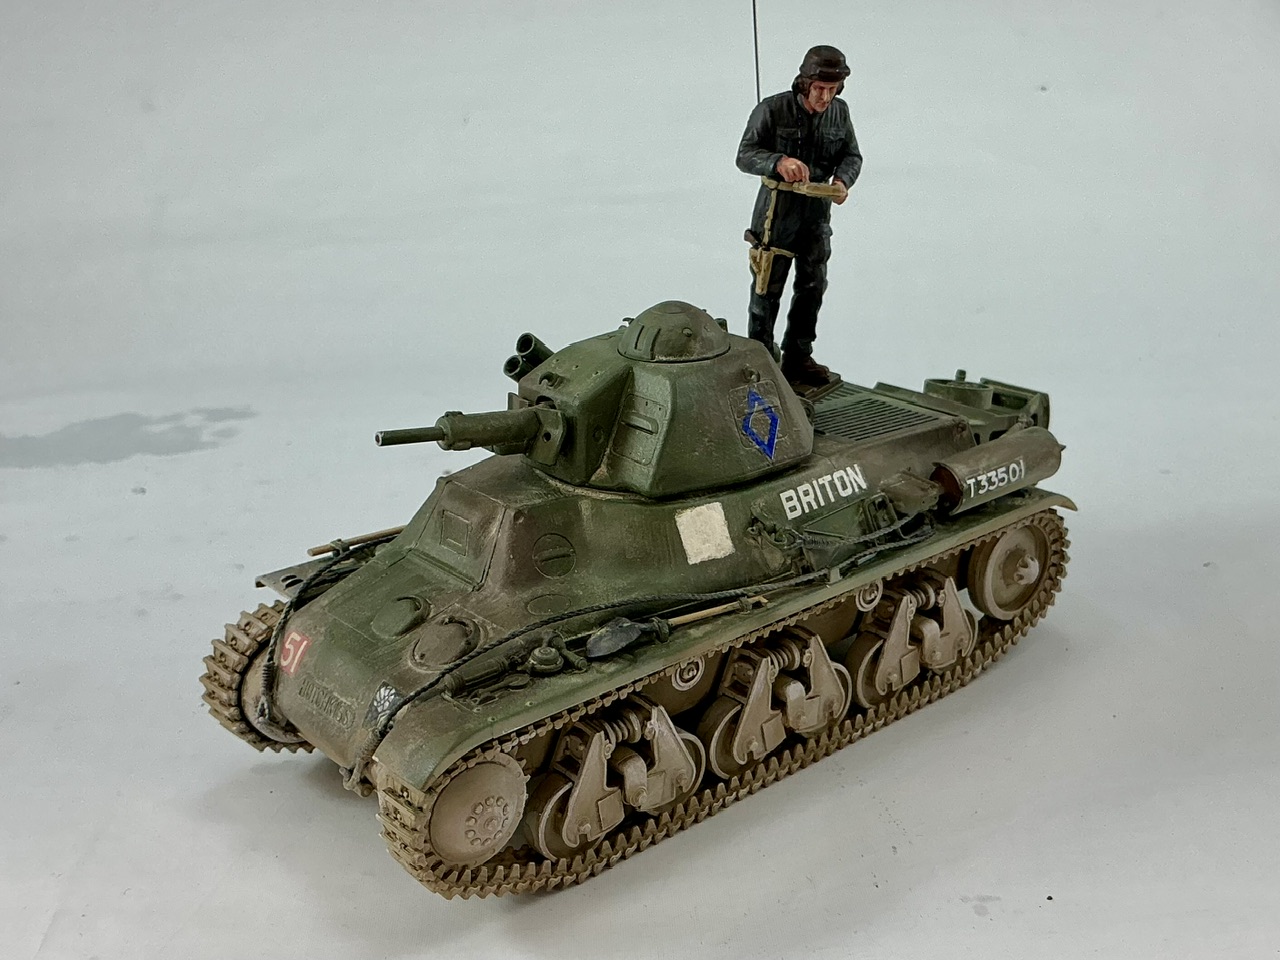
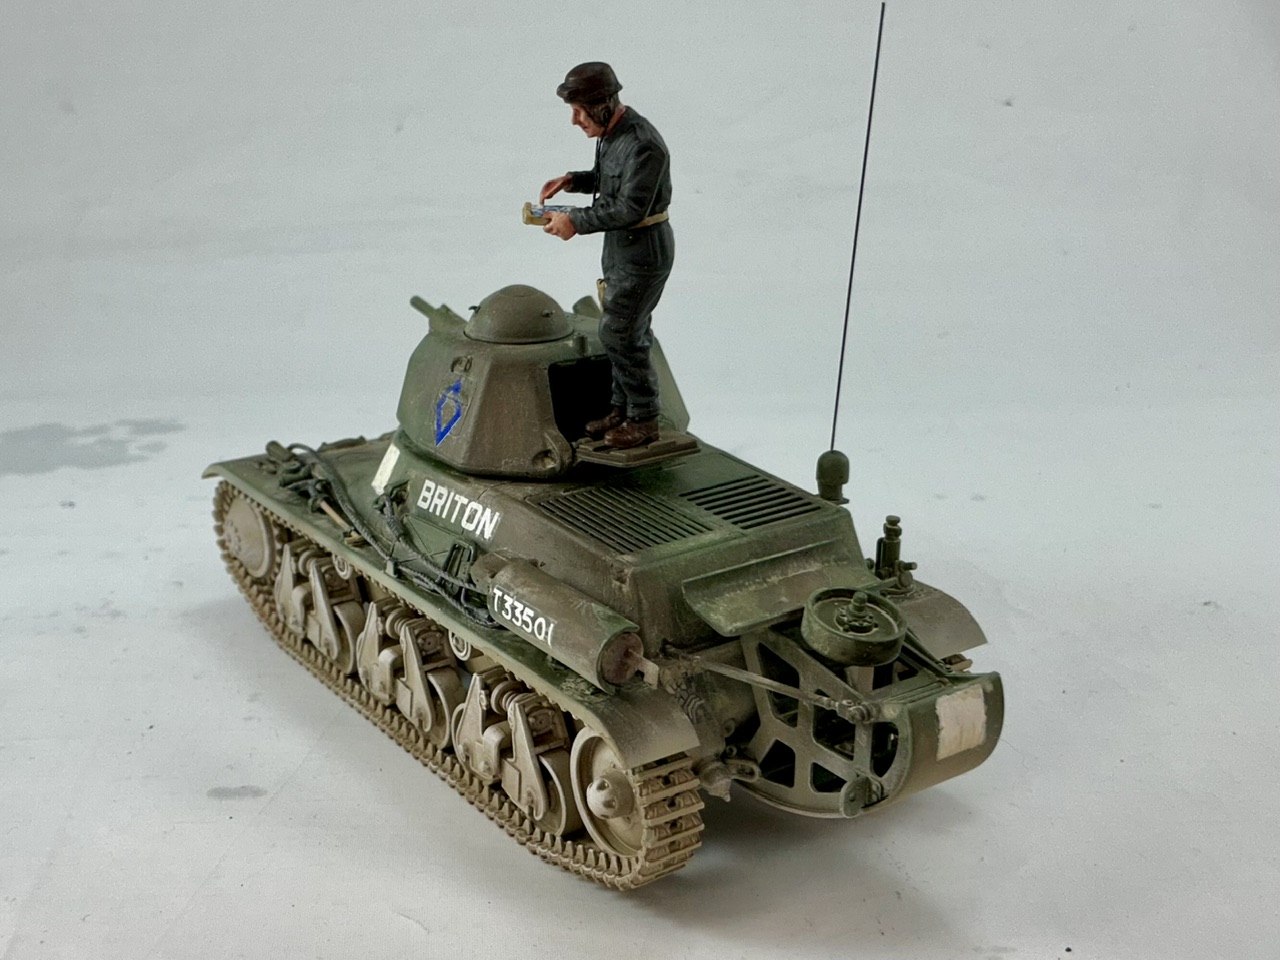
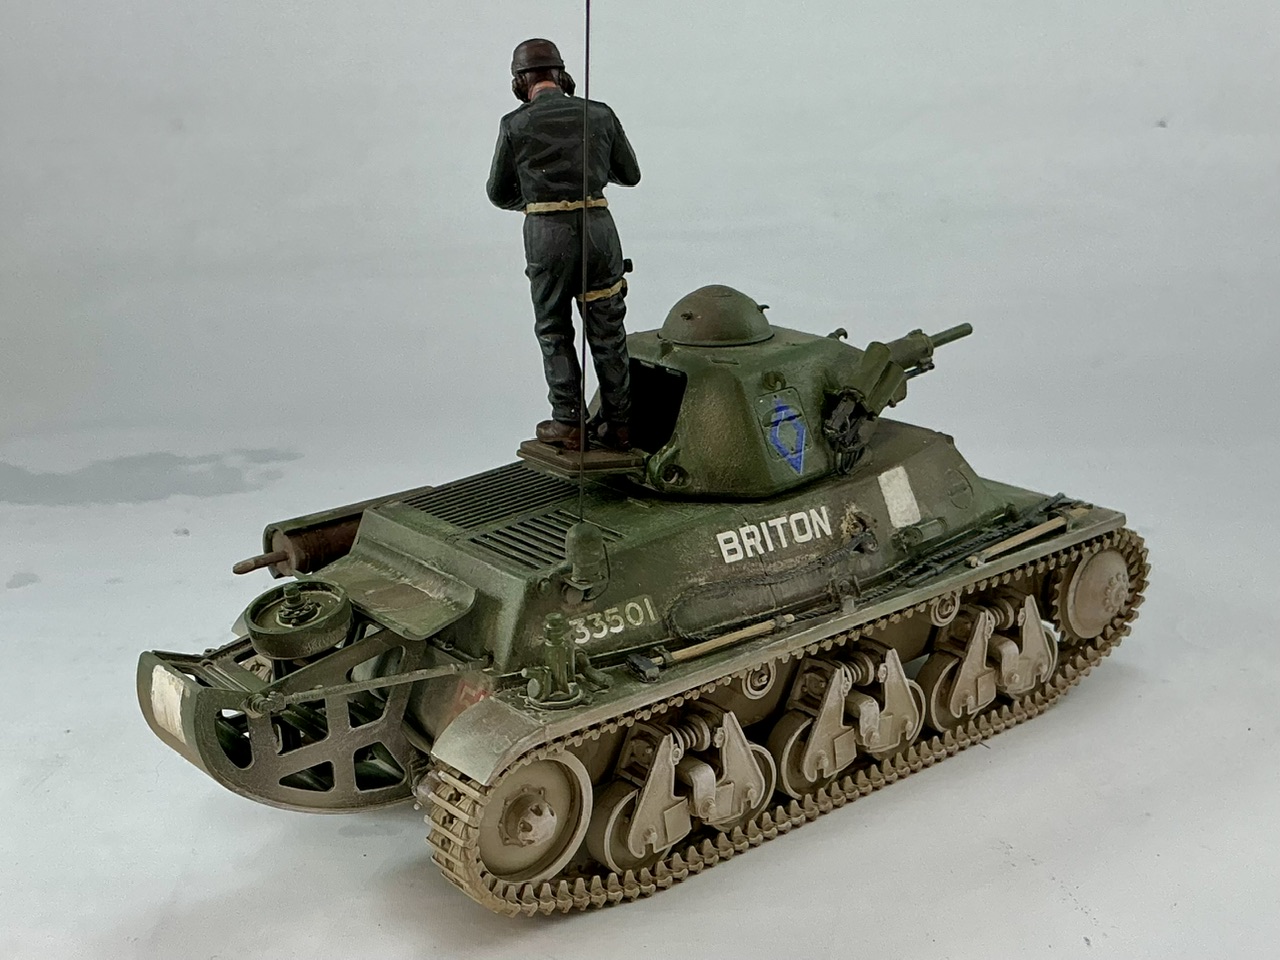
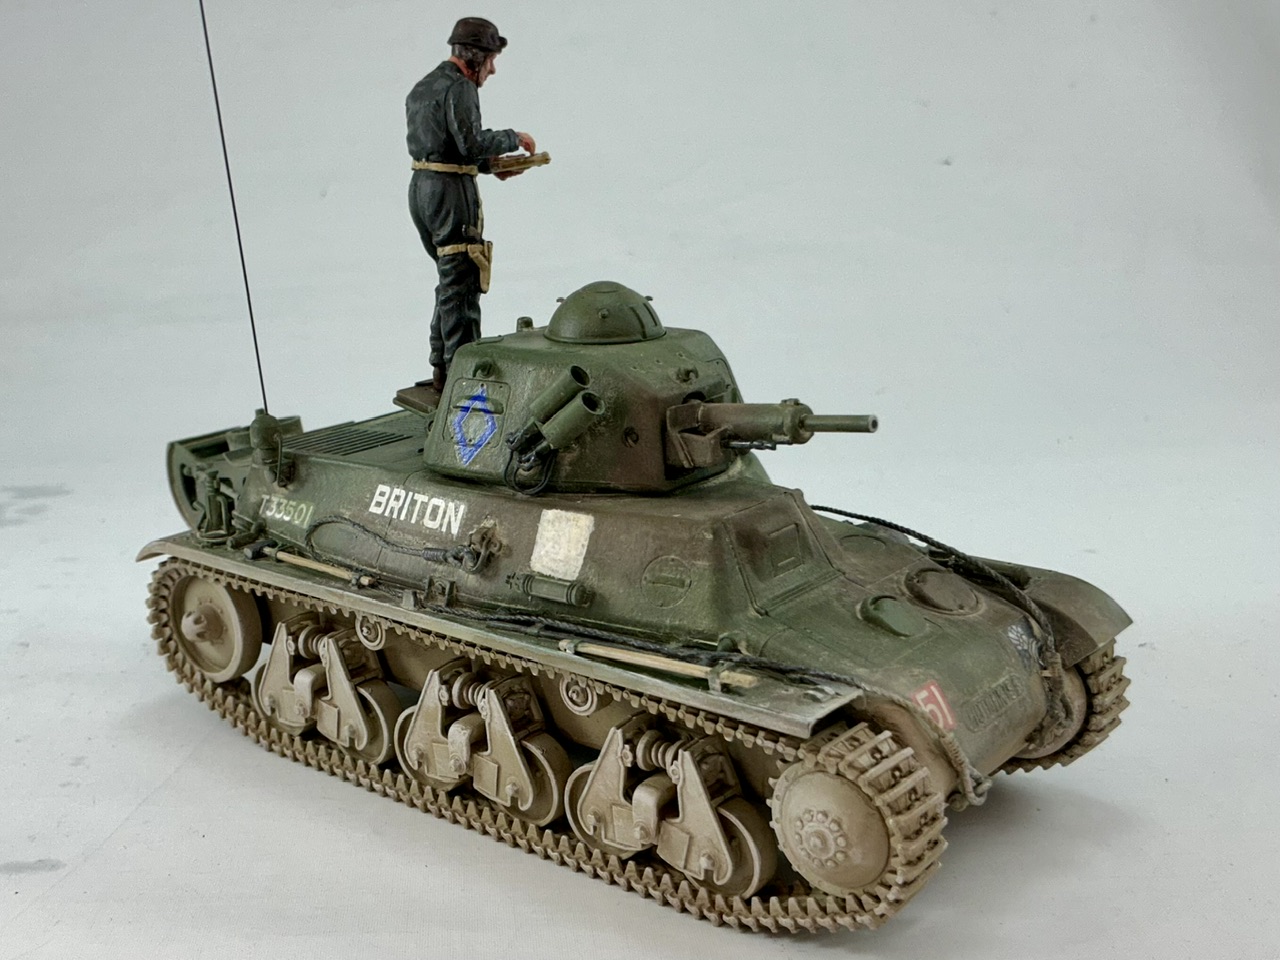
First, I added a wash of Tamiya XF-55 Deck Tan over the whole of the tank, except for the lower hull and suspension, and once it was dry, I sprayed those areas with that same colour. Next I added a wash of XF-57 Dark Earth, and when that had cured, drybrushed with cream white (Rackham Noesis White) followed by pure white. The upper parts, I drybrushed with the basic green and brown of the camouflage. All this is meant to give the impression of a tank coated in dust from a dry summer on the chalky ground of northwestern France.
 
Last edited:
I think I may need to drybrush a bit more firmly, though, to get the basic colours to come through a little more. It's very hard to tell which parts are green and which are brown now.
 
IMG_2925.jpeg


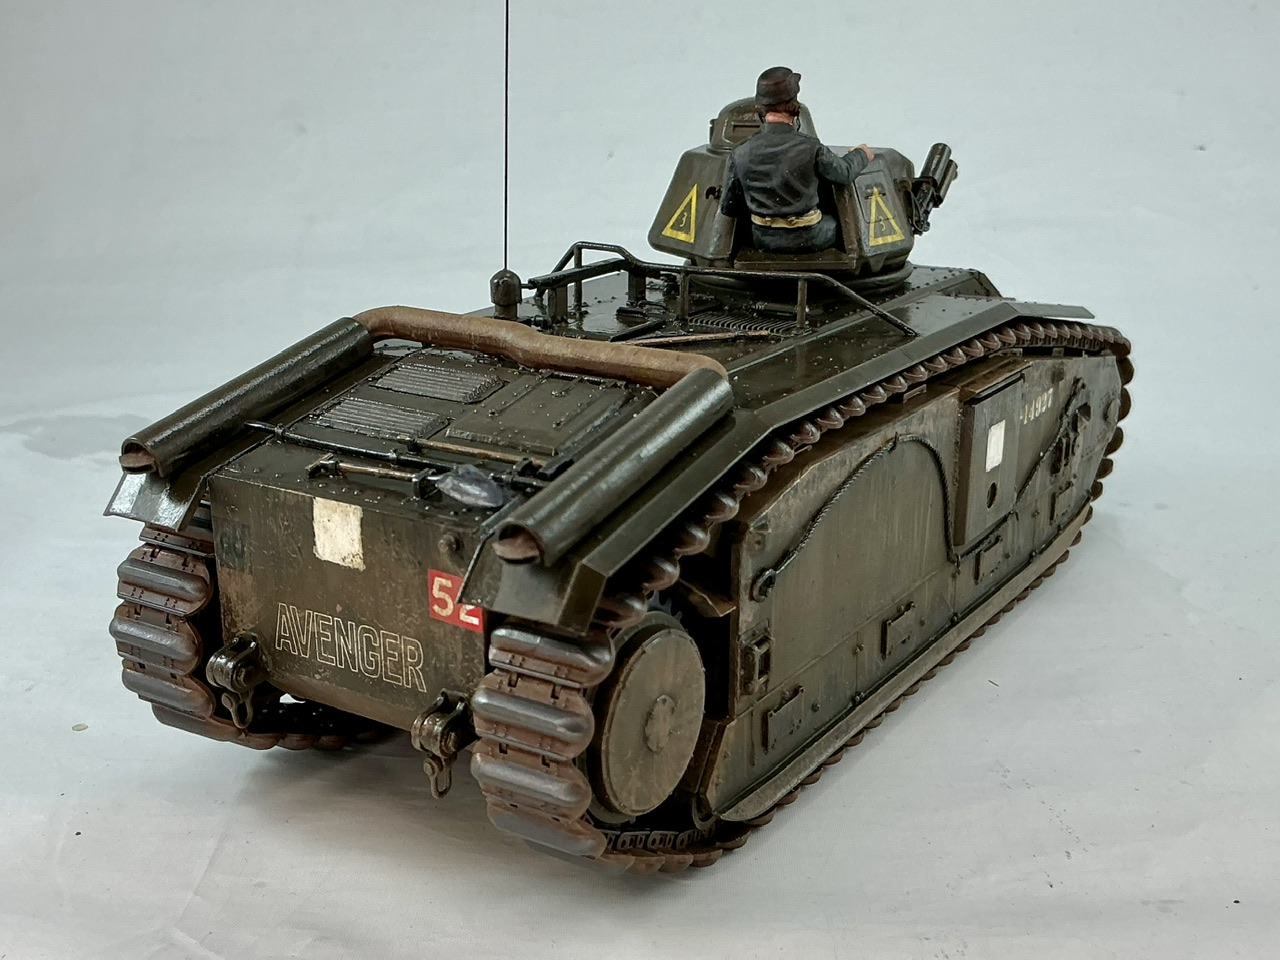
For the B1, I'm aiming for the look of a tank that's out in the rain. On all of the vertical and sloping surfaces, I attempted to make rain streaks by brushing raw umber oil paint, thinned with white spirit, downward with a wide brush. Now, a few days later, it appears to be starting to dry :) Maybe it needs a bit more to increase the effect, but in the mean time, I've added an effect of thin mud running down the tank with Tamiya Flat Earth — except I just realised that I forgot to add it in and below the mud chutes towards the front of each side of the tank. I'll do that in a moment, I guess :)

After that, I installed the tracks, which I had sprayed Flat Earth back when I had just built the model 15+ years ago, and now (before fitting them, of course) I added a wash to shade them and then drybrushed them with Humbrol Polished Steel. I also painted the teeth of the drive sprockets and the visible running surfaces of the idlers and roadwheels with that, then polished all of it with a soft toothbrush.

I think that I want to put a coat of semi-gloss varnish on the upper surfaces to give a wet effect, and also brush that in streaks down the sides etc. so it looks even more like rainwater running off the tank.
 
Probably, yes. What I did was take a little oil paint, thin it a little but not very far, and put the tips of a wide, flat brush into it. Then I wiped that brush vertically down the model (or up, in places like above the tow cables) to try and get streaks. The advantage of oil paint here is that it dries very slowly, so you can keep brushing it out if the streaks are not to your satisfaction, to try and improve them.
 
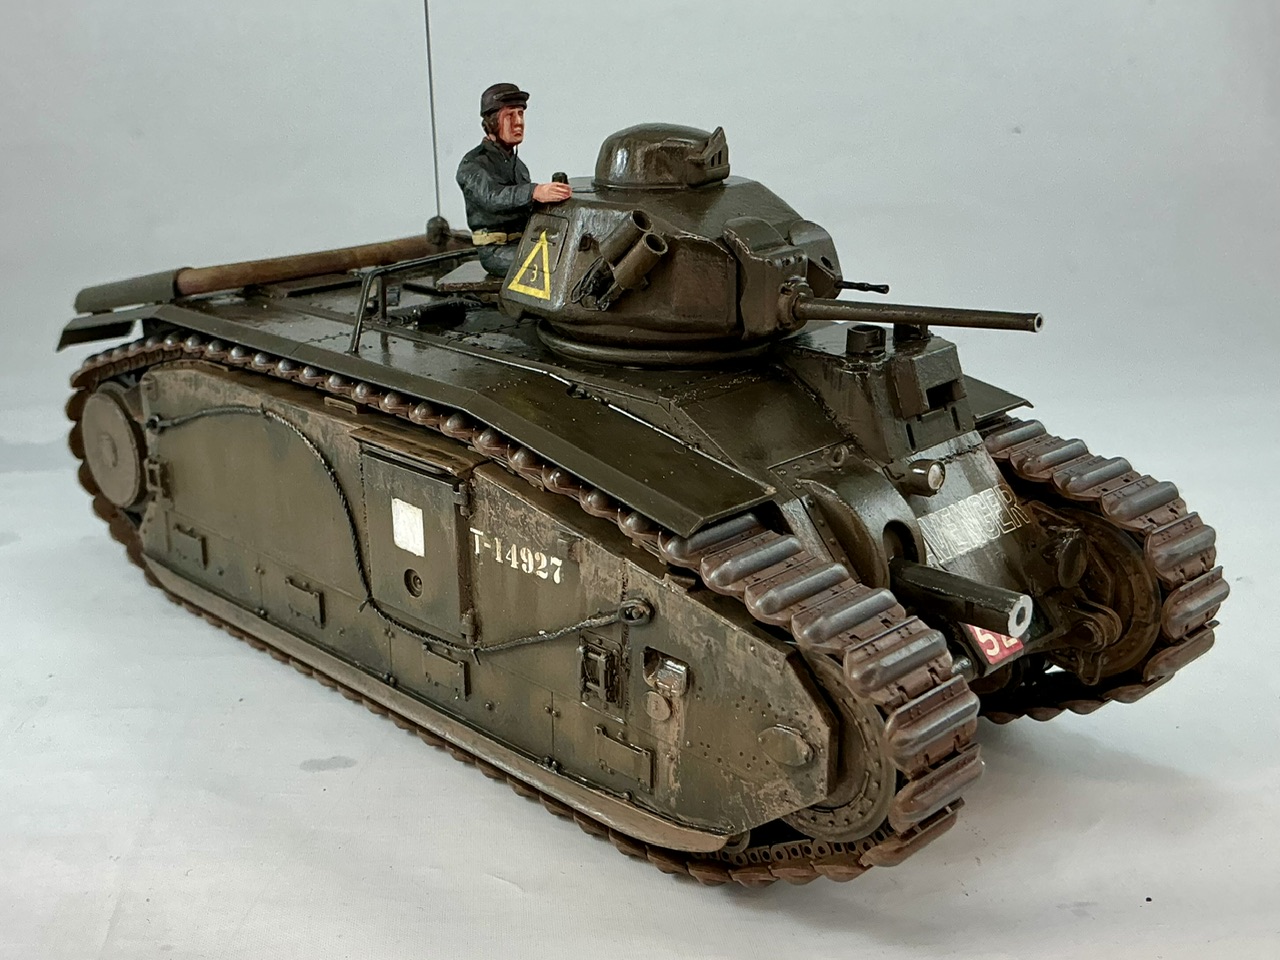
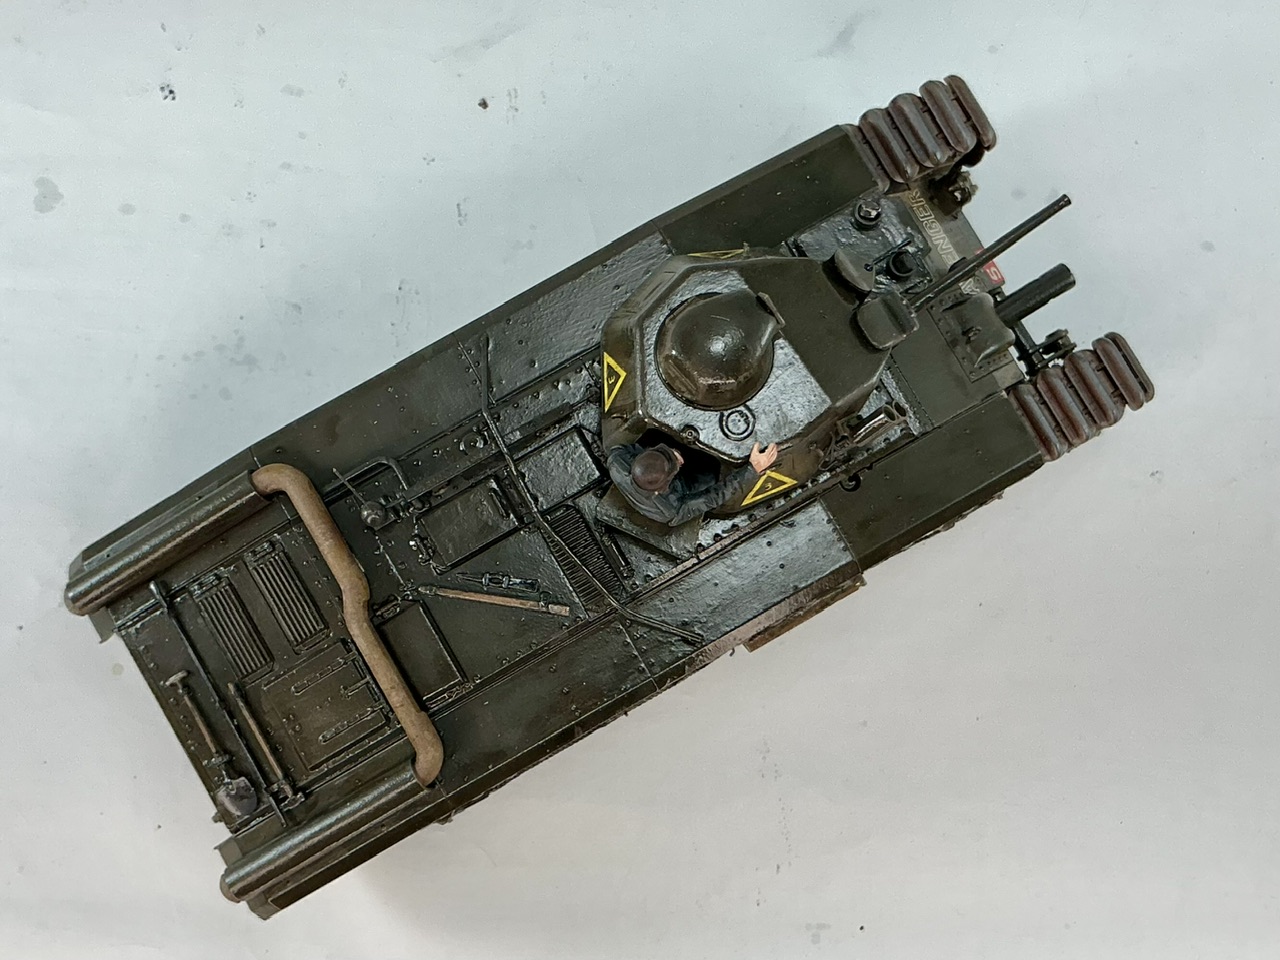
For both tanks, I also built some figures, mainly from the Gecko set with early war British tank crews . Both were painted in the black uniform of the Royal Tank Regiment. But they're rather on the small side: the figure on the H39 is 47 mm tall from the soles of his feet to the top of his helmet, which equates to about 1.65 m …

Anyway, I consider these models finished now :)

IMG_2984.jpeg
IMG_2985.jpeg
IMG_2986.jpeg
IMG_2987.jpeg
IMG_2988.jpeg
 
On the B1, I painted the more-or-less horizontal surfaces with gloss varnish, and also smeared that down the vertical sides. I first used a wide, flat brush to create a lot of little stripes, and then made bigger stripes with a fine brush. You can't see them very well in the photos, but by looking at the model from different angles, the "rain" suddenly appears.

The figure has an upper body from Gecko with Tamiya legs, from the M25 Dragon Wagon.

IMG_2993.jpeg
IMG_2994.jpeg
IMG_2995.jpeg
IMG_2996.jpeg
IMG_2997.jpeg


Some hopefully better pictures of the rain effect:

IMG_2998.jpeg
IMG_2999.jpeg


Both together:

IMG_3002.jpeg
 
Fantastic job! Painting and weathering outstanding!!
Just one comment / question: why on the B1, the main cannon end looks not painted??
 
why on the B1, the main cannon end looks not painted??
Because the muzzles of guns usually aren't painted :) Of course, on the models there is paint there, just a light metallic colour (except the B1's turret gun, which is aluminium so I just scraped the paint off it).
 
Nice! love out of the ordinary vehicles, and I have a few French tanks in the stash...
Leave it to you to set them in out of the ordinary circumstances!

The 'wet look' well done: you just need an uber cool late night jazz track for patrolling after dark in the rain. :cool:
 
Why not customise the turrets and paint them, hey ho! If they are too shiny they will be spotted easier!
 

Latest posts

Back
Top