texastony1946
Member
- Joined
- Mar 15, 2013
- Messages
- 151
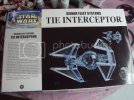
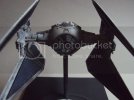
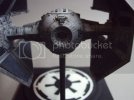
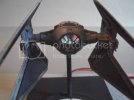
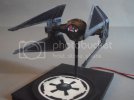
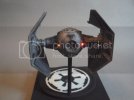
My build of the FINEMOLDS TIE Interceptor. A very detailed little kit. This build was very similar to my TIE fighter
build. I did add some additional fiber optics for the lasers on the tips of the panels. I added an additional light to
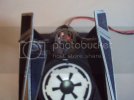
the interior to give a little more of a view of the pilot.
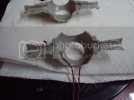
I mounted the SMD's for the ion engines
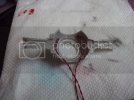
I then discovered that the leads were wrong so I corrected them.
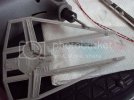
I cut grooves in the panels for the fiber optics. Be careful the panels are pretty thin.
I used a simple push mold to recreate the laser for the panel tips. The lasers were so small I couldn't drill the
barrels out for the fiber optics.
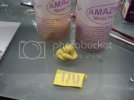
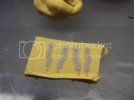
Fitting the small fibers into the grooves.
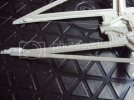
I ended up casting the fibers into the lasers so I wouldn't have to try drilling the barrels.
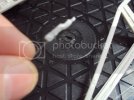
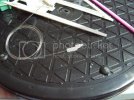
Mounted and clamped the fibers into place.
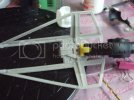
Fibers installed. I used canopy glue to attach fibers, it's messy but did not damage the fiber.
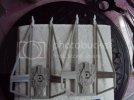
Light test on the recast cockpit. More lighting in this one.
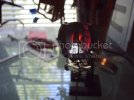
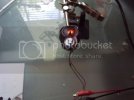
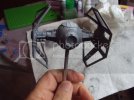
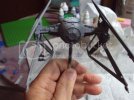
Threading the fiber for the lasers and wiring. I used black primer to light block the interior. I used a 3/16
aluminum rod to attach to base.
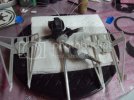
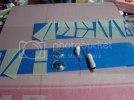
I masked the clear parts for painting.
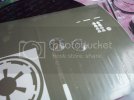
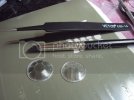
Readied small parts for primer.
Ready for assembly and primer, I use thinned Badger stynylrez primer. This is a very durable primer. You can handle the model and not rub the paint off.
Primered and preshaded.
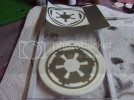
Push mold for base icon.
Tempera wash applied.
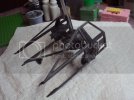
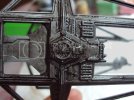
Pilot painted and installed into cockpit.
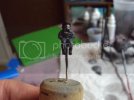
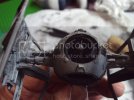
Mask for icon applied to resin casting.
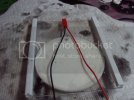
Power connector glued to base.
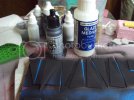
After primer, I sprayed a metalizer thinned with glaze medium.
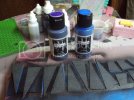
I used blue and magenta ghost tints to add color to the panels.
Preparing the fiber optics for attachment into source. I used a series of different size plastic tubing to connect the fiber to the source. This interlocking pretty much centers the fiber on the source LED.
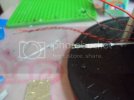
Trimmed and ready for installation.
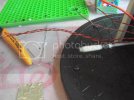
Installed into source.
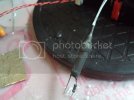
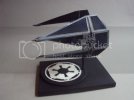
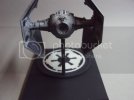
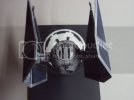
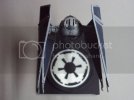
Still photos after panel assembly and mounting to base.
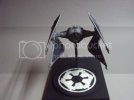
Thanks for viewing.
YOUTUBE video here.
https://www.youtube.com/watch?v=HwYlU21_EZ0
build. I did add some additional fiber optics for the lasers on the tips of the panels. I added an additional light to
the interior to give a little more of a view of the pilot.

I mounted the SMD's for the ion engines

I then discovered that the leads were wrong so I corrected them.

I cut grooves in the panels for the fiber optics. Be careful the panels are pretty thin.

I used a simple push mold to recreate the laser for the panel tips. The lasers were so small I couldn't drill the
barrels out for the fiber optics.


Fitting the small fibers into the grooves.

I ended up casting the fibers into the lasers so I wouldn't have to try drilling the barrels.


Mounted and clamped the fibers into place.

Fibers installed. I used canopy glue to attach fibers, it's messy but did not damage the fiber.

Light test on the recast cockpit. More lighting in this one.


Threading the fiber for the lasers and wiring. I used black primer to light block the interior. I used a 3/16
aluminum rod to attach to base.

I masked the clear parts for painting.


Readied small parts for primer.

Ready for assembly and primer, I use thinned Badger stynylrez primer. This is a very durable primer. You can handle the model and not rub the paint off.

Primered and preshaded.

Push mold for base icon.

Tempera wash applied.


Pilot painted and installed into cockpit.


Mask for icon applied to resin casting.

Power connector glued to base.

After primer, I sprayed a metalizer thinned with glaze medium.

I used blue and magenta ghost tints to add color to the panels.

Preparing the fiber optics for attachment into source. I used a series of different size plastic tubing to connect the fiber to the source. This interlocking pretty much centers the fiber on the source LED.

Trimmed and ready for installation.

Installed into source.

Still photos after panel assembly and mounting to base.


Thanks for viewing.
YOUTUBE video here.
https://www.youtube.com/watch?v=HwYlU21_EZ0
