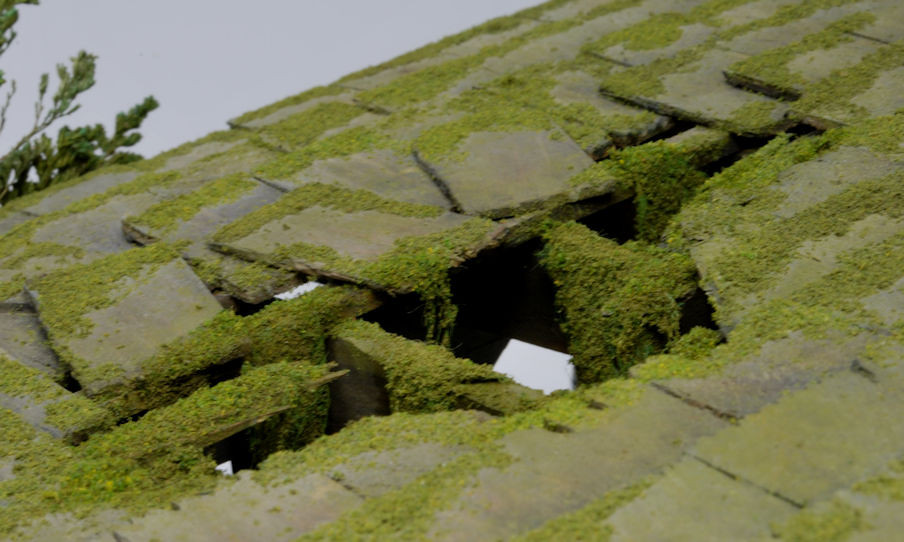
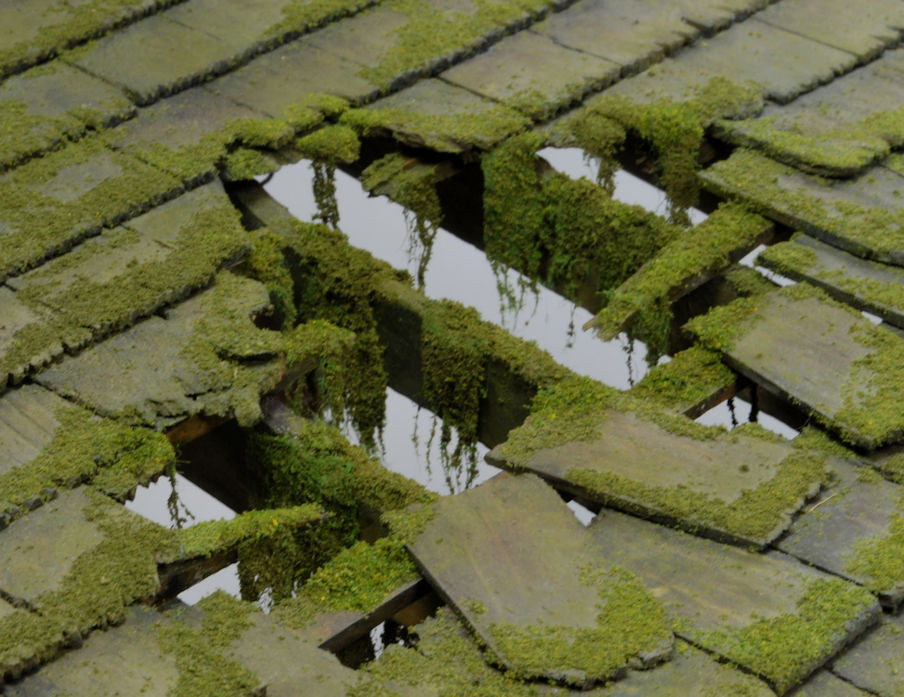
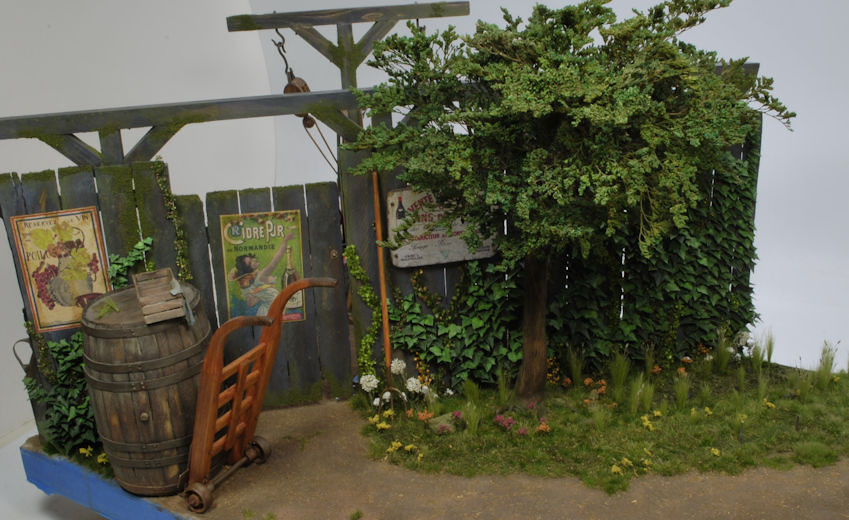
"Easy Pickins"

Scale Model Addict - Model Tips, Guides, Tools & Tech, Tutorials, and Community

Help Support Scale Model Addict:

Excellent thoughts, Gents, thank you very much! Actually, living up here in the boonies we've ran across a very old trash dump and we are constantly finding old nails, rods, horse shoes, etc., in the horse field. Back when this area was first inhabited folks didn't make dump runs, but instead found a place they thought was far enough away and dumped all of their trash. Guys, and this is no Bravo Sierra, my boys and I found a 1960's station wagon cut right down the center, from front to back, next to that pile of junk. Not sure what that was all about, but it's there, lol.

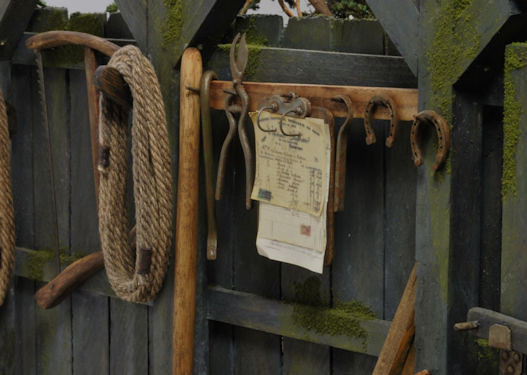
Though we do not personally shoe our horses we still find huge shoes, and even the occasional medium to smaller shoes in the dirt. For a while there the horses were kicking up all kinds of metal stuff, like an older model spiked spur, in their pasture fields. That has tapered over the past few years. For my tiny shoes I ended up using scrap resin chunks and sculpted each one. I was thinking of heavy copper wire, but scraping the groves would be time consuming. I got tired of doing it after #3, so that will have to suffice, HA!

Thanks, WJ, Barley, and Edburt.;)

P.S. Sorry WJ, no lucky horseshoes in this barn, lol, the Germans are there.:oops:
 
Beer Bottle and Clipboards, What the?

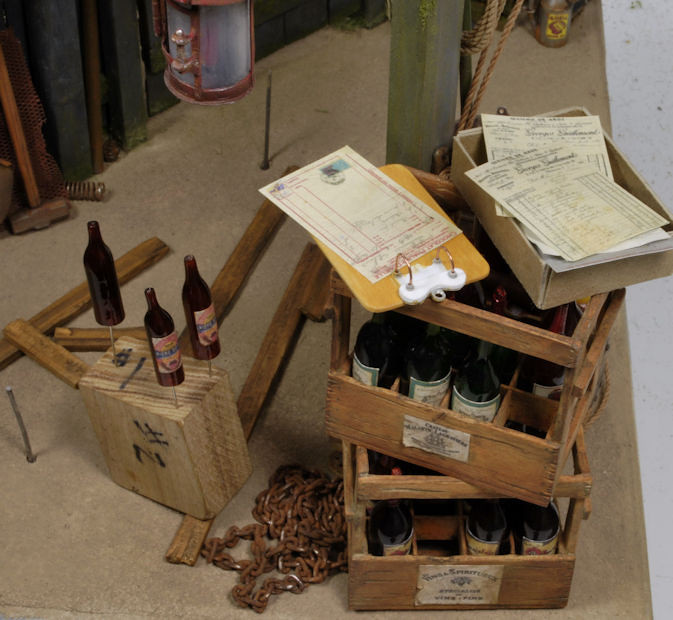
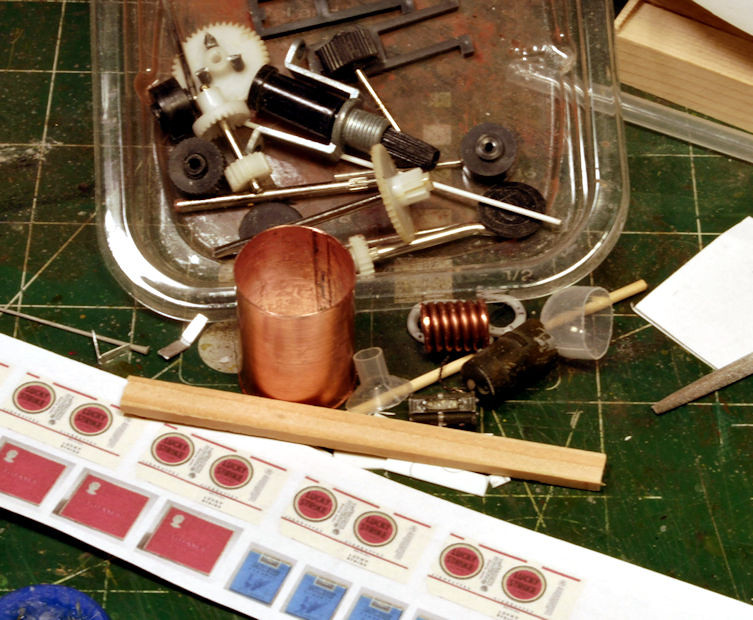
Yep, that about sums it up, alright. Needing more smaller items I've gotten some great suggestions, so back to the bench before anymore grass is placed. I made a loop-type clip board, then realized I also needed a standard spring-type clipboard as well. I printed up vintage French sale receipts from the net, cig pack labels, and some box layouts, but I will forgo the card board box. It doesn't fit in the scene correctly and it's too unrealistic in appearance. I really don't feel like going through the trouble to make that item work, so on to the rest.

_DSC0858b-vi.jpg
_DSC0859b-vi.jpg


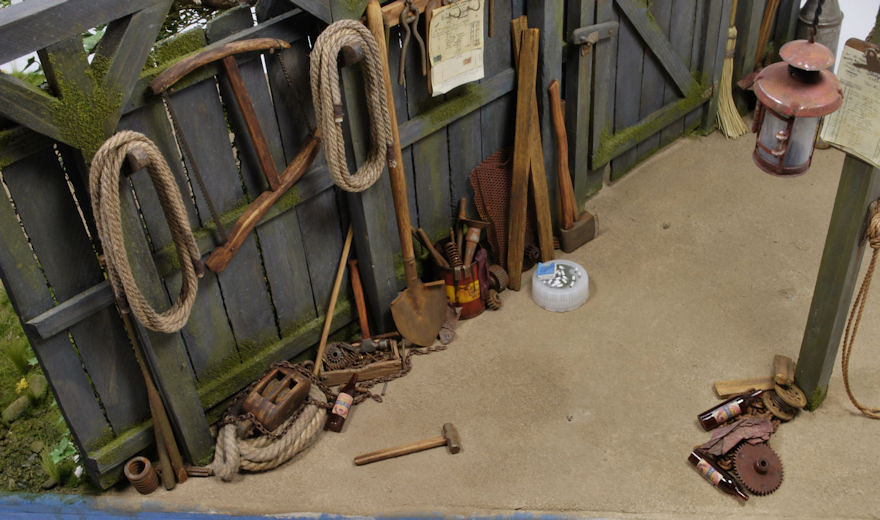
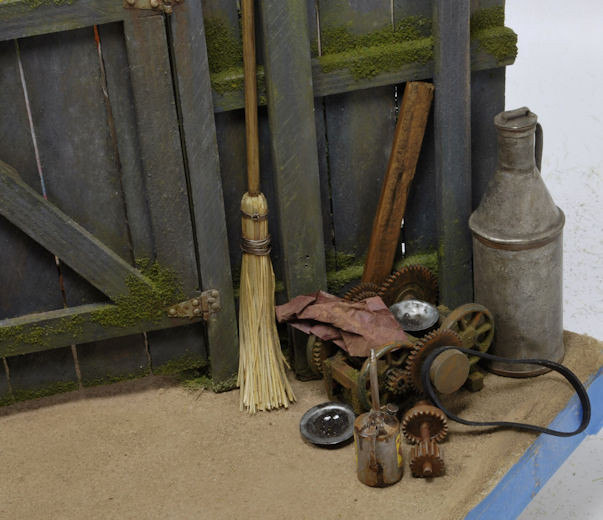
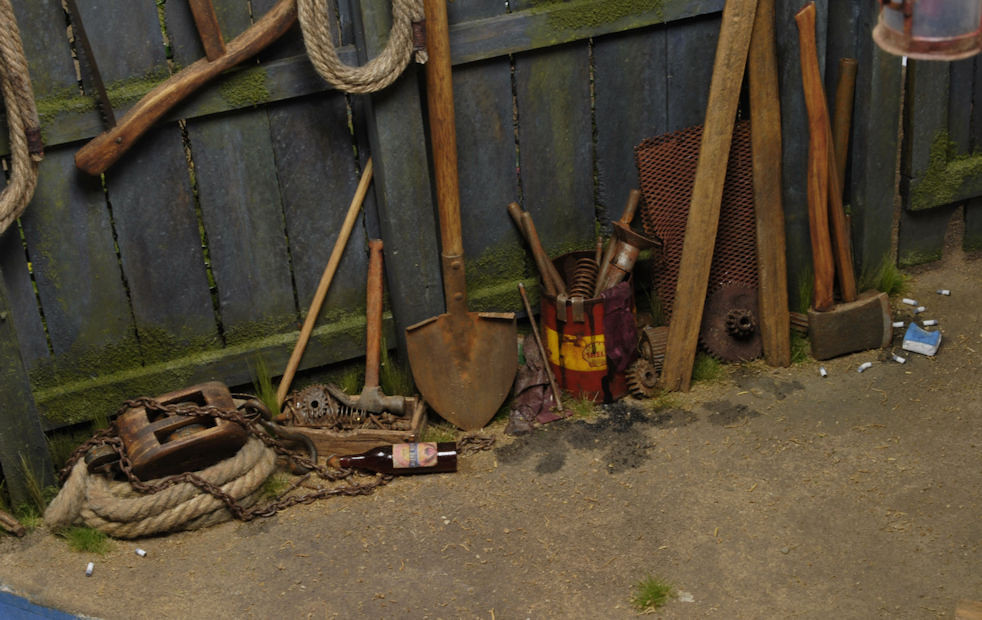
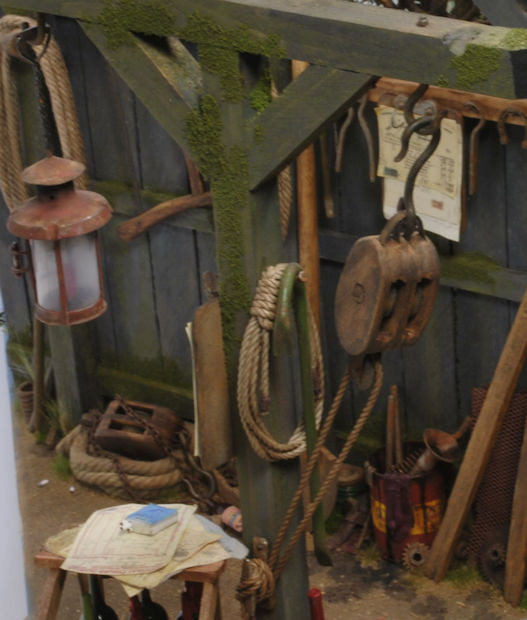
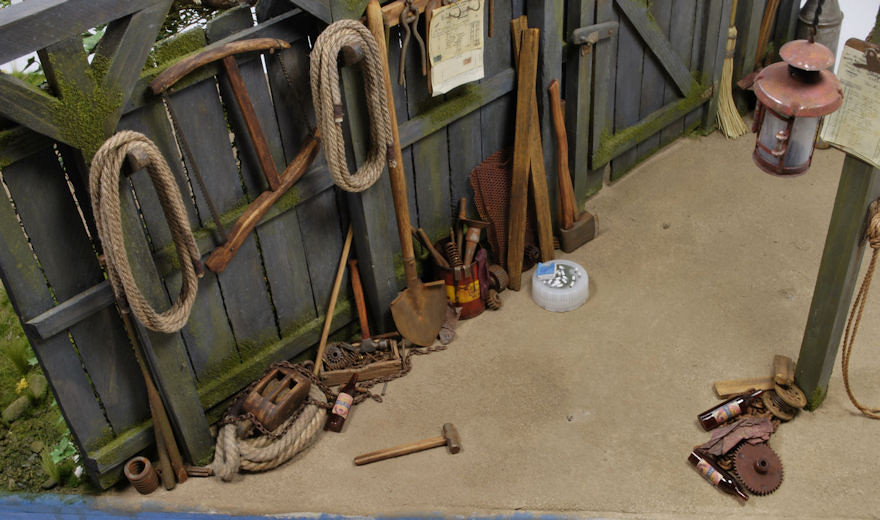
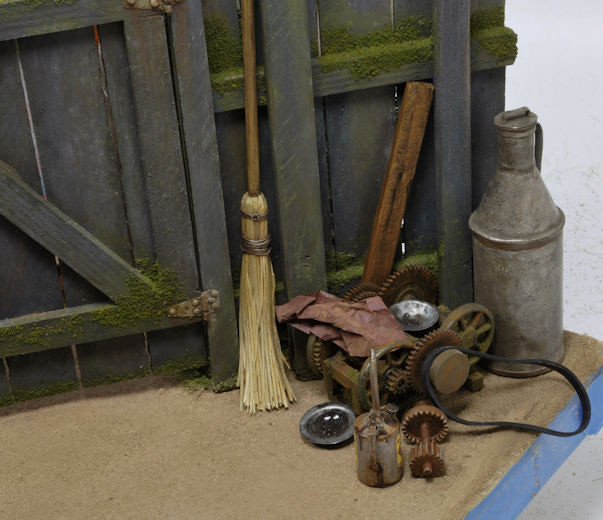
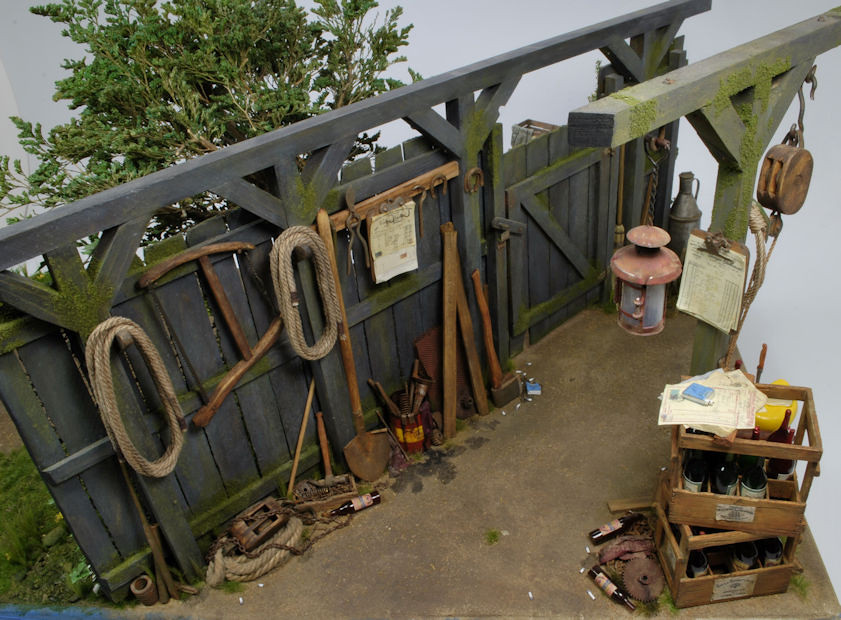
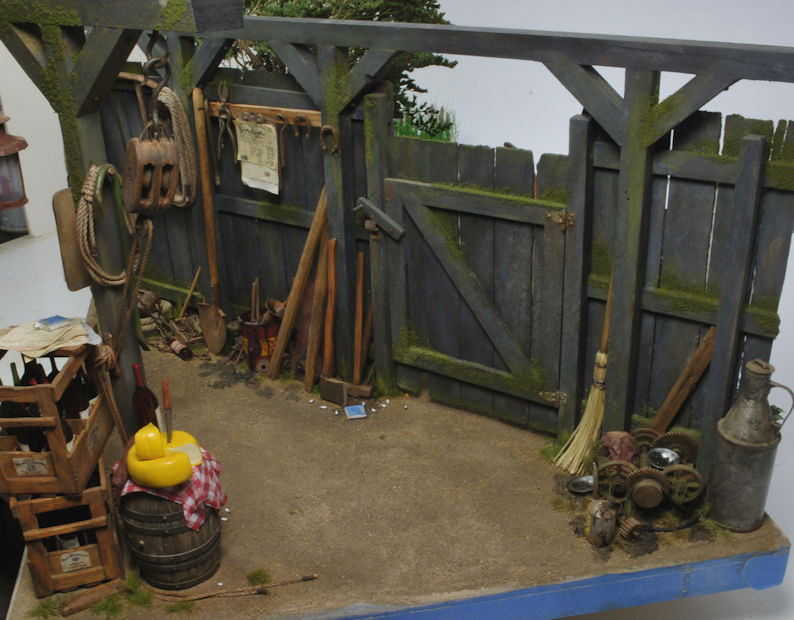
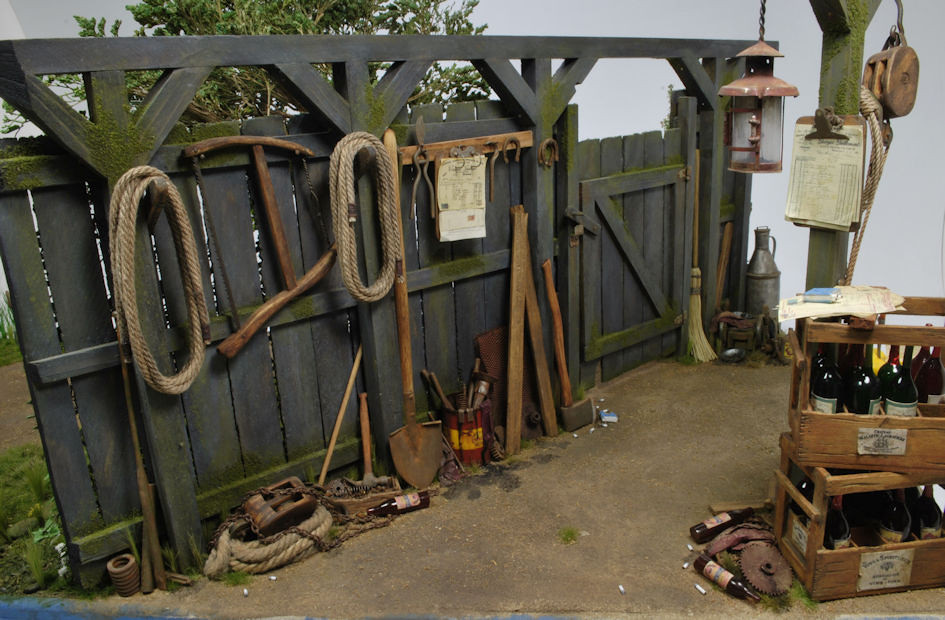
As you can see from the bench photo, I've made a small metal barrel for odds and ends, tools, etc., plus there is a hanging peg-board in there for placing tools across a 2x4 that will be placed between the heavy beams above the second fence rail. Plus, in that mess is a chunk of heavy sprue for a larger heavy pry bar, and more gears, whatever. There is a set of three horse shoes in there too, but they are slightly covered up. Those will hang by the gate entry, one on the ground, and all of them rusted up good. The empty beer bottles will be dropped in innocuous locations to add to a neglected shop appearance.

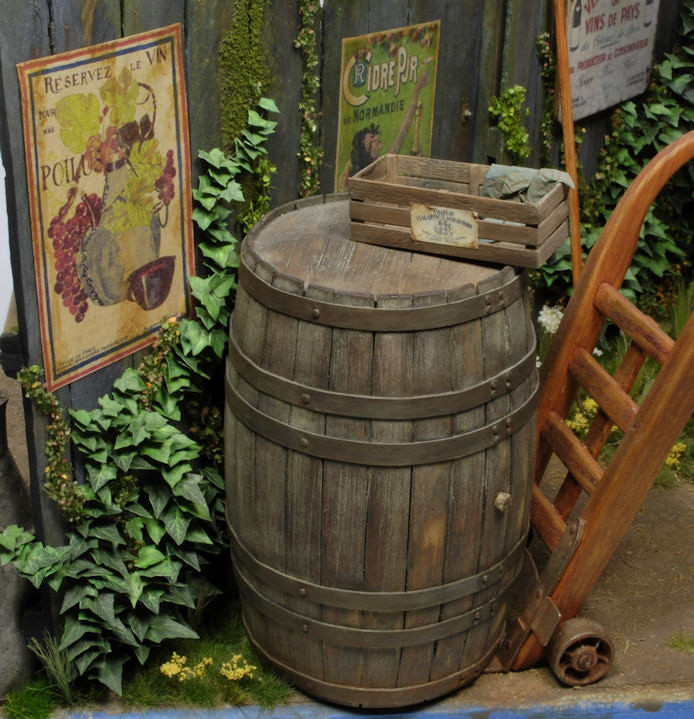
I still need to make several oily rags and get them placed, plus I do have a very small grape box on top of the large wine barrel, not photographed. I've gone through my kid's old toys for broken mechanical items trying to find funky odds and ends that will fit the scene without too much suspicion. I'm running out of easy options, lol.

Lastly, I need to keep in mind the dust factor in the end so that everything has a decent coat of dust, but yet there is still a path through the shop for walking. We've all seen it, a well beaten path through a mess of junk with only enough room to walk safely. This won't be that bad, but close enough to see that this place is very close to being abandon. That's why I wasn't concerned about adding anything atop the wine barrel outside. This winery has probably been shut down or the owner has ceased operations for a time, who knows.

So, if you have any more suggestions, please let me know. Yall have come up with some great ones, so don't stop now, HA!

Thanks for watchin. Cheers, Ski.

P.S. Once this shop is done then the fun begins again. I'll be adding some hanging moss from the rafters once the roof gets installed, following Lazlo Adoba's tutorial.
https://www.bookworldws.co.uk/product/lets-build-diorama2/
https://www.amazon.com/Lets-Build-Diorama-Urban-Scenes/dp/9630685159
https://adobaminiatures.com/index.php?route=product/category&path=24
https://adobaminiatures.com/
 

Attachments

  • _DSC0858b-vi.jpg
    _DSC0858b-vi.jpg
    93.3 KB
hanging moss
Nice!
Especially like the hoop clip board...

My grandfather managed a country beer store in the 50s, and he still had stuff like that around the house... clerk's visor, rubber stamps, metal armband for keeping sleeves and cuffs clean. He had a makeshift anvil on a stump made with railroad tie.

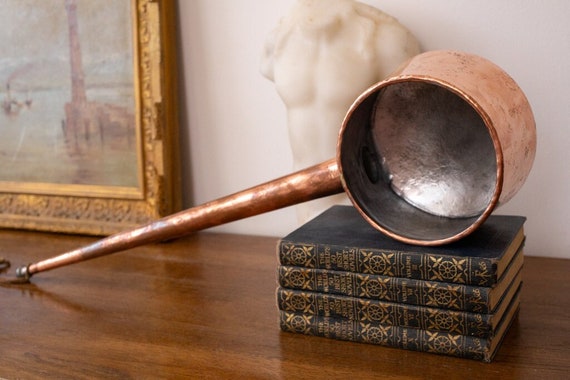
How about parts for a wine press, and a taster's laddle.

il_570xN.6085660514_q7ex.jpg


I forget now if you already had plans for spider webs... and I know from experience that nothing attracts hornets in the fall like beer or wine on the patio, so maybe a partially broken nest in a cranny?

Being France, perhaps some herbs, and lavender?
And cigarettes might be 'Gitanes'... big with Québecois in the 60s.

images (11).jpeg


Cheers!
 
Last edited:
Wow, now that is something I would never have thought of, excellent, Mr. Barley! I do plan on a few spider webs, still working out the details on that. My printer ain't the greatest, but still got a decent pack of smokes printed, kinda sorta, lol.
 
As an Amazon Associate we earn from qualifying purchases. Product prices and availability are accurate as of the date/time indicated and are subject to change.
Really nice scratching going on there Ski !
The smallest stuff is always the most fun.
We used those clipboards in our hardware store....ooooh a spilled box of nails would be cool...streched sprue, one end onto a hot knife for a second... just sayin'...lol
Keep it up, love seeing updates (eye candy)
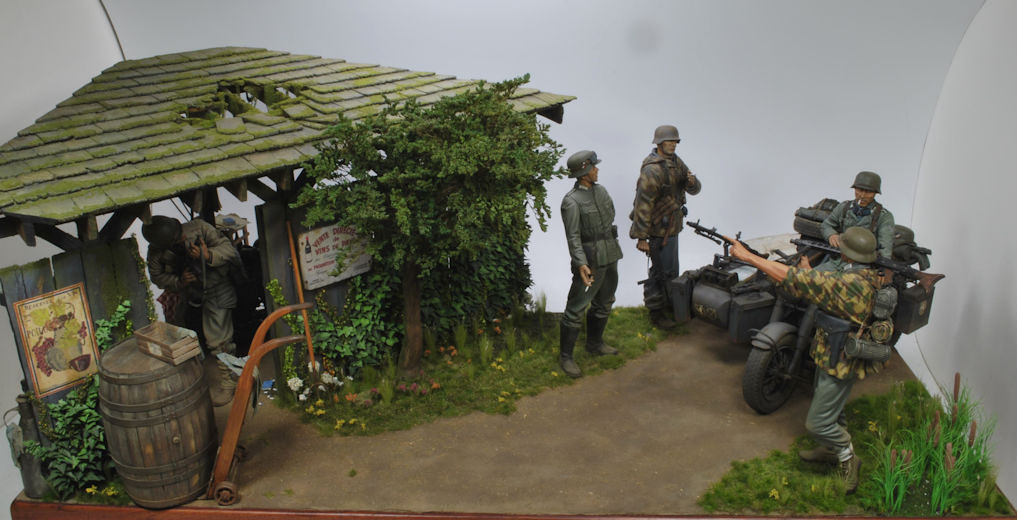
 
Your work never fails to amaze me.

My best accomplishment at scratch-building is the use of evergreen to fill gaps. This stuff is equal amounts of inspiring/terrifying mixed with a heavy dose of inadequacy.
Ah, never be timid to stretch the edge of the envelope, Edbert, that's half the fun;) Thanks, Brother!
Loving all the little details
Thanks, Blake!
Really nice scratching going on there Ski !
The smallest stuff is always the most fun.
We used those clipboards in our hardware store....ooooh a spilled box of nails would be cool...streched sprue, one end onto a hot knife for a second... just sayin'...lol
Keep it up, love seeing updates (eye candy)
Excellent idea, got just a few nails to drop around. This is a ton of fun doing these little dio items, but I'm itchin to get er done, without rushing it, if that makes any sense, lol.

Thanks, Gents!
 
Base Work Completed

Well, almost. I just need to make hanging moss for some of the rafters and secure the lid. However, before the lid can be secured the Ranger needs some dirt and dusting before he gets locked in, as well as securing the Harley to its mount. This is getting closer to the finish line.

Here we have the general placement of all the gear and tools, etc., before gluing in place. Everything appears to have worked in concert with the Harley and Ranger, so there were not any alterations to the final positions of anything. It all seemed to mesh just fine.

_DSC0866b-vi.jpg
_DSC0868bb-vi.jpg


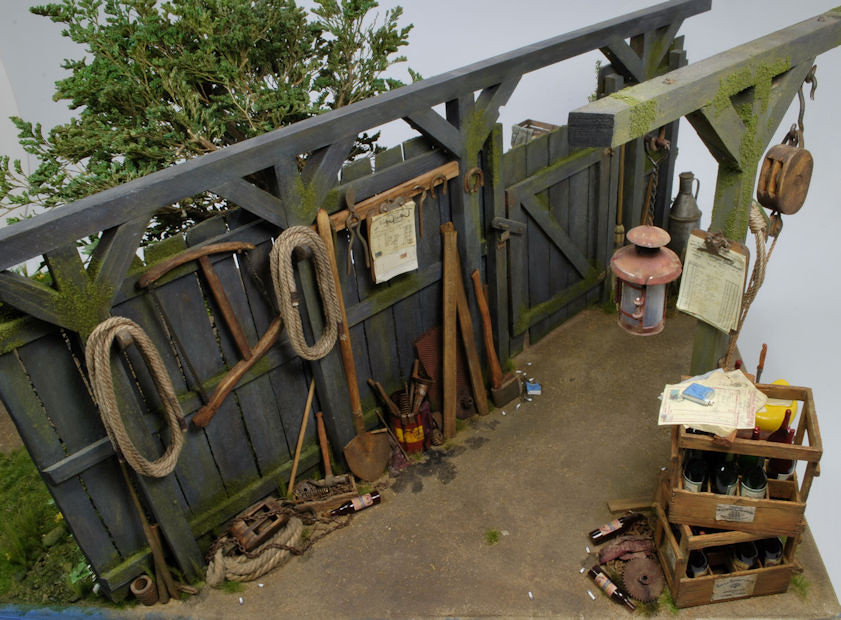
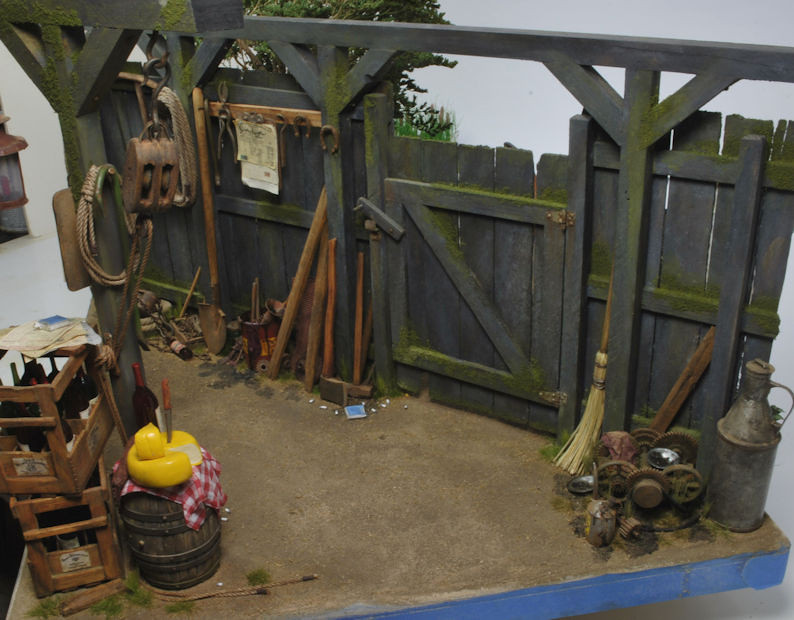
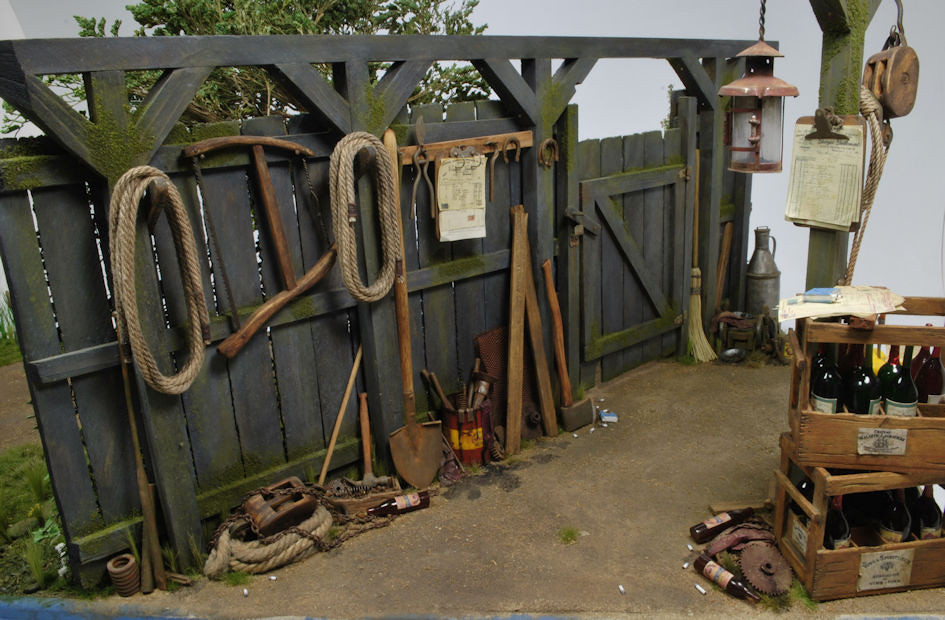
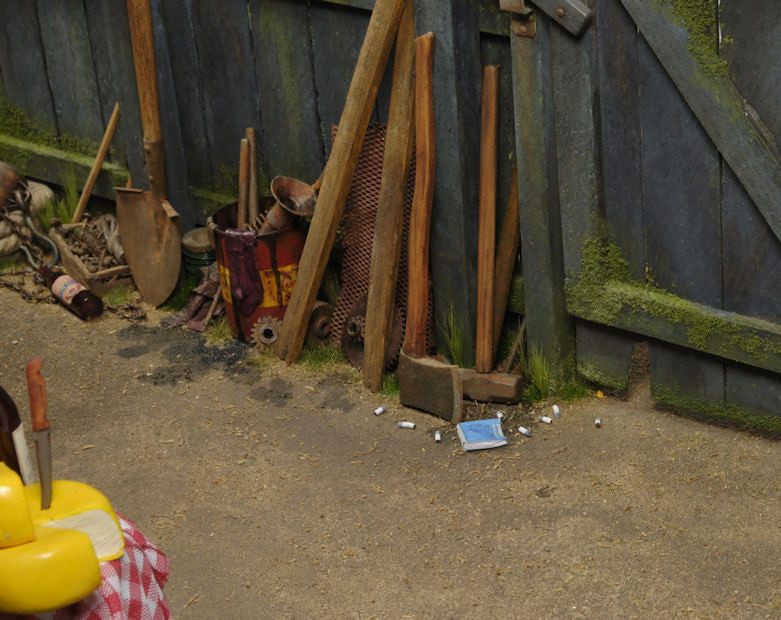
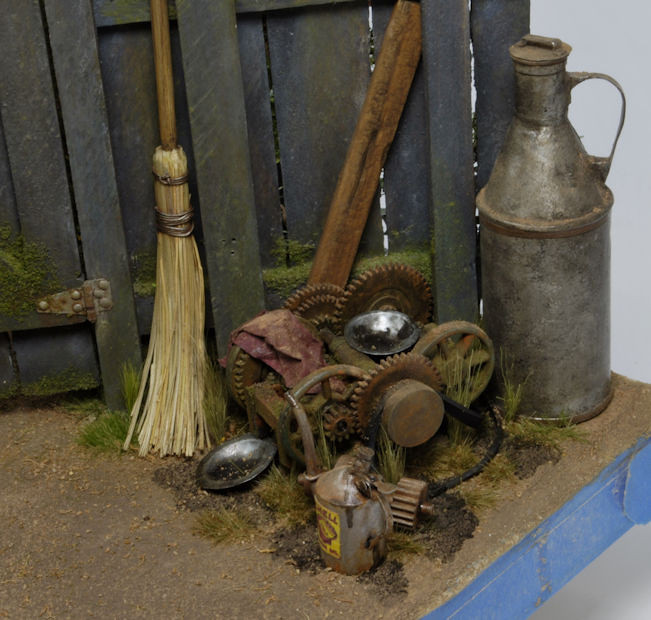
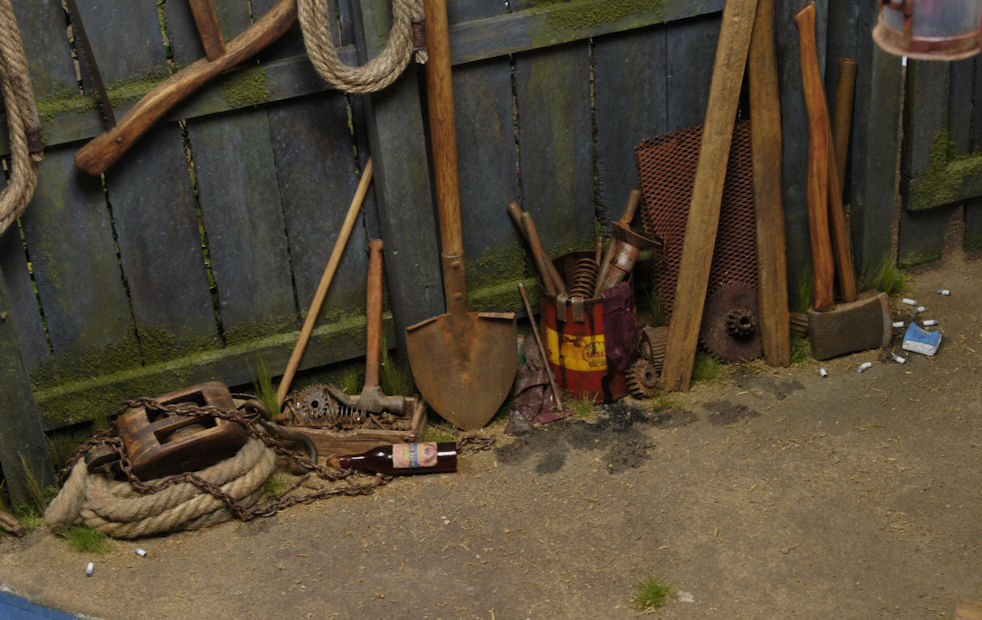
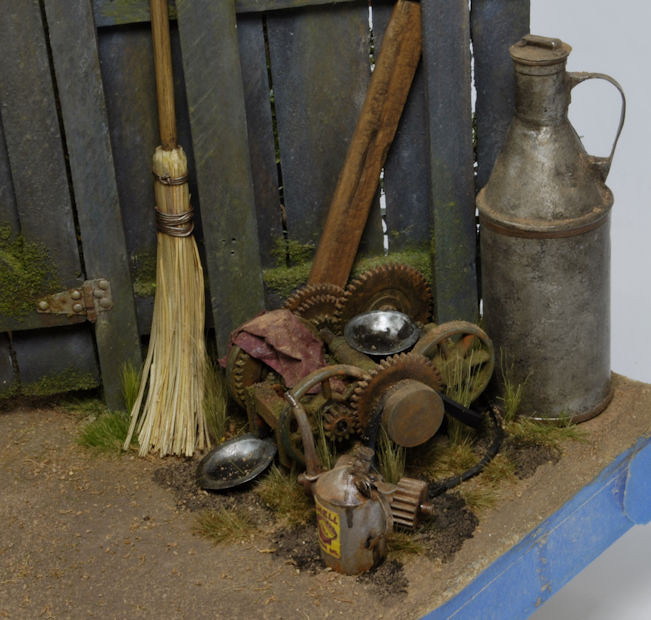
Now you can see the final appearance of the lean-to, loaded with all the gear and tools, but you can also see the oils spill marks on the ground, the small amount of grass poking through the fence at the bottom, and some debris from the tree and yard out front. I made use of some coconut shell shavings for the debris; it worked just fine.

_DSC0870b-vi.jpg
_DSC0875b-vi.jpg


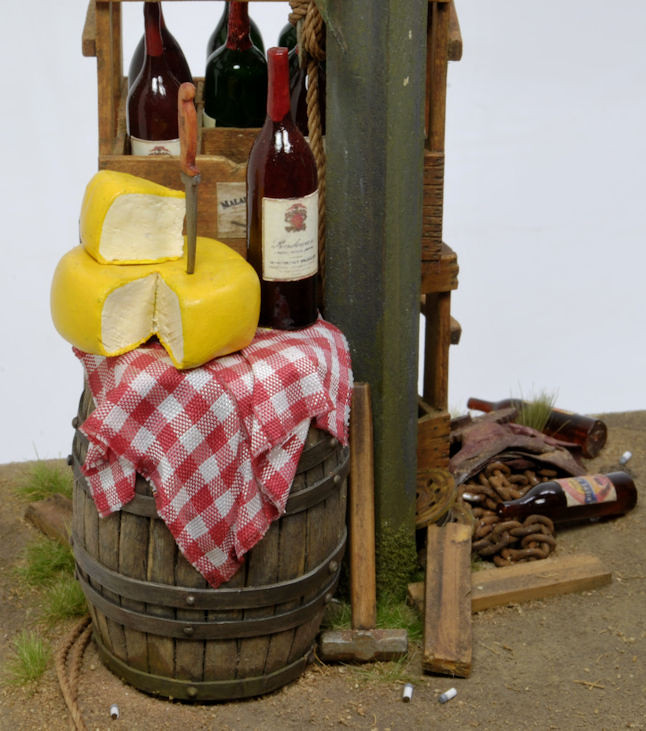
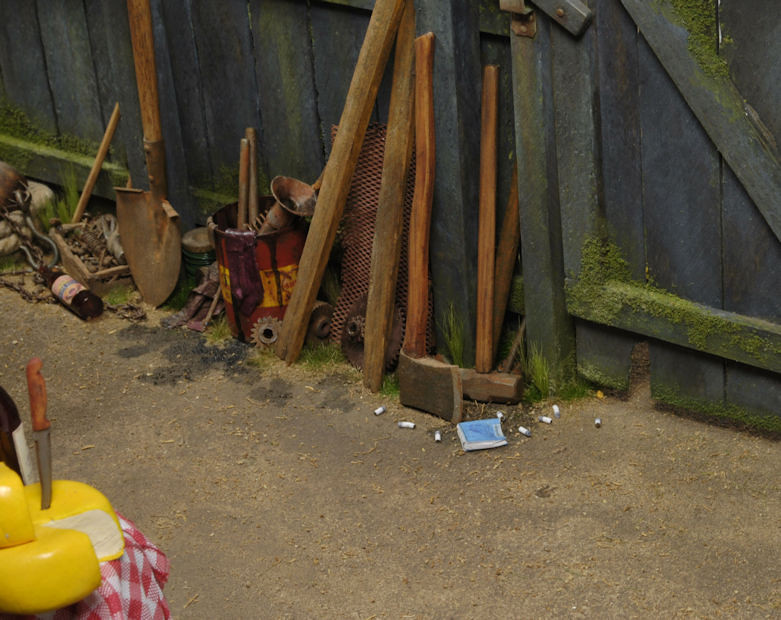
You will also notice the cigarette butts and empty cig pack on the ground and a few empty beer bottles. I am attempting to catch the appearance of neglect in this shop, as if nobody has paid any attention to it for some time.

_DSC0873b-vi.jpg
_DSC0880b-vi.jpg


A closer look at the debris and oil spill marks, plus the half dead grass clumps, etc.

_DSC0877b-vi.jpg
_DSC0878b-vi.jpg


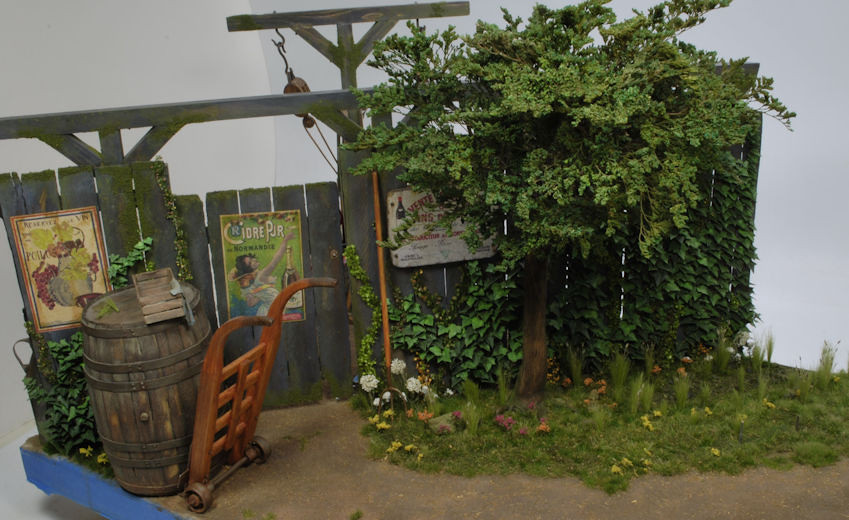
One last look at the finished outside of the lean-to and roadway. It's not easy to see here in these photos, but the roadway and floor of the shop have a darker tone to emulate a damp atmosphere. This all happened when I shot spritzes of 90% rubbing alcohol to secure the pigments. That was another unintended consequence that actually worked to my advantage. So, we Ruck On!

_DSC0883b-vi.jpg


After the hanging moss has been made and all of the figures have been dirtied up and secured, final pics will be taken and this huge pig of a dio will settle into its future home, it's final resting place in the curio cabinet that I built specifically for large base dioramas many moons ago. Wow, what a long time coming, but we're almost there.

Thanks for watchin and holler if you see something I might have missed at this late stage of the game, lol.

Cheers, Ski.
 

Attachments

  • _DSC0866b-vi.jpg
    _DSC0866b-vi.jpg
    115.8 KB
  • _DSC0870b-vi.jpg
    _DSC0870b-vi.jpg
    149.6 KB
  • _DSC0873b-vi.jpg
    _DSC0873b-vi.jpg
    158.3 KB
  • _DSC0877b-vi.jpg
    _DSC0877b-vi.jpg
    122.5 KB
Detail Photos

I neglected to add a few close-ups of some of the other details that are less obvious. Some of these areas will be difficult to get a decent photo once the lid is installed.

_DSC0892b-vi.jpg
_DSC0890b-vi.jpg


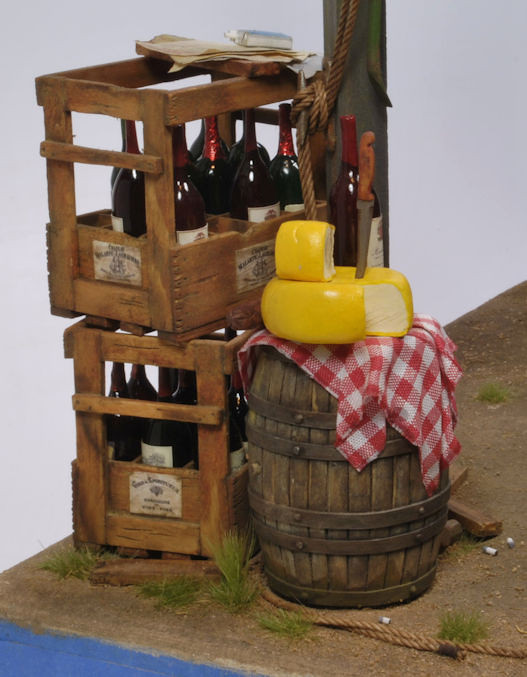
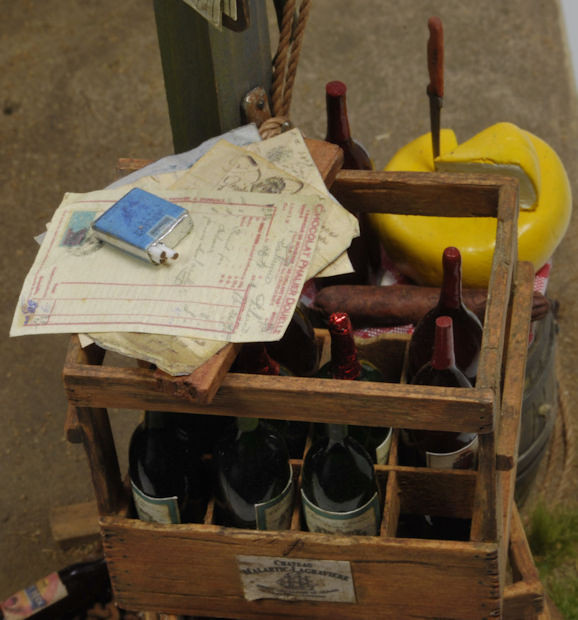
The cheese and sausage are obvious lunch booty the Ranger has acquired from the local area. However, he has been interrupted and has not had a chance to partake of his loot, not yet, and he's not willing to share. But he will enjoy his lunch in short order, after he clears this quiet little neighborhood of those pesky uninvited guests.

_DSC0888b-vi.jpg
_DSC0906b-vi.jpg


It is a well-known fact that some women love chocolate with their wine, so why not add the invoice, right?

_DSC0894b-vi.jpg
_DSC0901b-vi.jpg


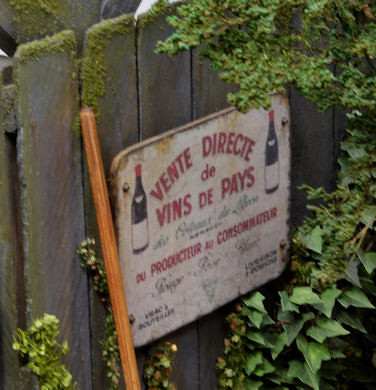
The sign on the fence is an indication that this guy, the owner, was a local wine directory for visitors to this area, that is, if I remember my French correctly. Those of you who are fluent in French will be able to read it and correct me if I'm wrong. The photo isn't the greatest, my bad.

_DSC0910b-vi.jpg


Moss work coming up mue pronto. Cheers, Ski.
 

Attachments

  • _DSC0894b-vi.jpg
    _DSC0894b-vi.jpg
    75.8 KB
  • _DSC0888b-vi.jpg
    _DSC0888b-vi.jpg
    79.3 KB
  • _DSC0892b-vi.jpg
    _DSC0892b-vi.jpg
    69.9 KB
My theory is if you like a full bodied red wine, you will probably like extra dark chocolate... and it is only logical that the two pair very well.
Round that out with well aged cheese and a baguette, balsamic and salt.
All the food groups covered, say no more!
I think I got it pretty well covered then, minus the vinegar and salt, but ya gotta add the sausage with the cheese.;) The Ranger is gonna enjoy his lunch.
Man you have done a great job on the diorama. I love all of the details.
Thank you, WJ!
Awesome stuff Ski

Really enjoying the walk thru
Youbetchya, Brother, and thank you.
 
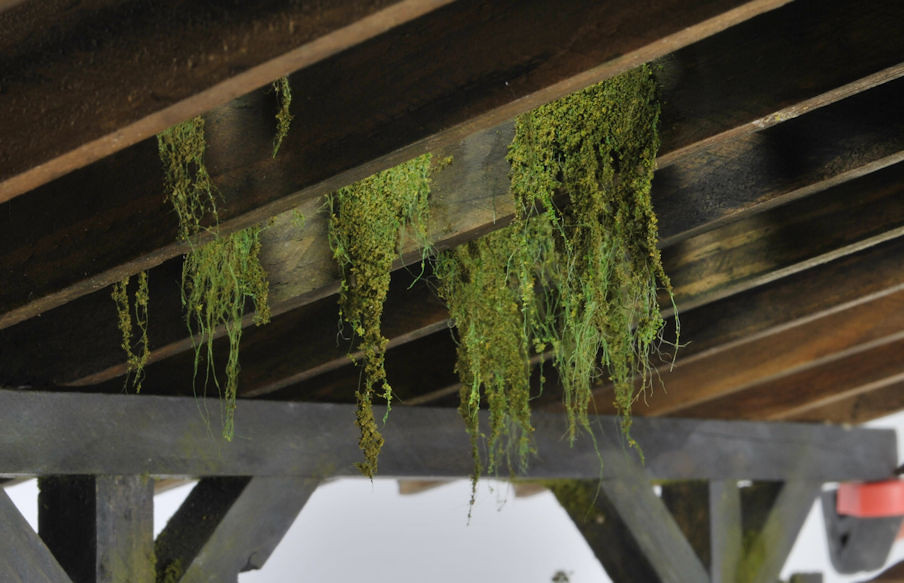
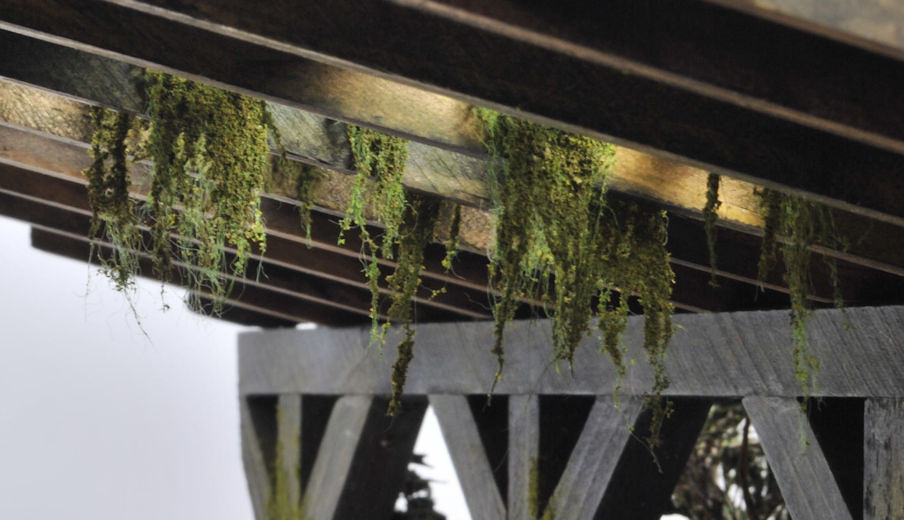
Hanging Moss Effect

Here we have the hanging moss effect completed. I think this will work fine considering it won't be a main focal point. When working and shaping these strands you'll find they stick to everything, every tool, every surface. Trying to keep them separate without breaking what you've already done takes a little careful working and practice. The camera was having a hard time focusing, so some of these pics a slightly blurry.

_DSC0912b-vi.jpg
_DSC0914b-vi.jpg
_DSC0919b-vi.jpg


I used cotton wading, or what could be considered a bandage plug, of 100% cotton carefully separated and pulled apart. Following Laszlo Adoba's instructions on painting and adding the small amount of flock, this was only a matter of learning how to handle it.

_DSC0918b-vi.jpg
_DSC0920b-vi.jpg


In an effort to not over-do the effect, or leave it too spares, figuring out what looks real and what doesn't, that was the big question. What is enough, or not enough? Personal preference takes precedence, so have fun with it. I am pretty happy with the underside photos as it is now, so I'm calling this portion done.

I can see this effect coming in handy for quite a few projects with derelict structures, mid-evil scenarios, old abandon Louisiana plantation houses, etc. Your imagination is the limit, so this effect is worth investigating on your own.

Figure and rig prep is next on the list, so onward to finish this up. Thanks for watchin.

Cheers, Ski.
 

Attachments

  • _DSC0912b-vi.jpg
    _DSC0912b-vi.jpg
    365.9 KB
  • _DSC0914b-vi.jpg
    _DSC0914b-vi.jpg
    112.4 KB
  • _DSC0918b-vi.jpg
    _DSC0918b-vi.jpg
    109.8 KB
Lol, that would be a lot of work, sheesh! I did add a few cob webs, not an easy task. Nothing worked as prescribed by others, so I winged it. They will show in the final set of photos.
 
Base Work Completed

Well, almost. I just need to make hanging moss for some of the rafters and secure the lid. However, before the lid can be secured the Ranger needs some dirt and dusting before he gets locked in, as well as securing the Harley to its mount. This is getting closer to the finish line.

Here we have the general placement of all the gear and tools, etc., before gluing in place. Everything appears to have worked in concert with the Harley and Ranger, so there were not any alterations to the final positions of anything. It all seemed to mesh just fine.

_DSC0866b-vi.jpg
_DSC0868bb-vi.jpg


Now you can see the final appearance of the lean-to, loaded with all the gear and tools, but you can also see the oils spill marks on the ground, the small amount of grass poking through the fence at the bottom, and some debris from the tree and yard out front. I made use of some coconut shell shavings for the debris; it worked just fine.

_DSC0870b-vi.jpg
_DSC0875b-vi.jpg


You will also notice the cigarette butts and empty cig pack on the ground and a few empty beer bottles. I am attempting to catch the appearance of neglect in this shop, as if nobody has paid any attention to it for some time.

_DSC0873b-vi.jpg
_DSC0880b-vi.jpg


A closer look at the debris and oil spill marks, plus the half dead grass clumps, etc.

_DSC0877b-vi.jpg
_DSC0878b-vi.jpg


One last look at the finished outside of the lean-to and roadway. It's not easy to see here in these photos, but the roadway and floor of the shop have a darker tone to emulate a damp atmosphere. This all happened when I shot spritzes of 90% rubbing alcohol to secure the pigments. That was another unintended consequence that actually worked to my advantage. So, we Ruck On!

_DSC0883b-vi.jpg


After the hanging moss has been made and all of the figures have been dirtied up and secured, final pics will be taken and this huge pig of a dio will settle into its future home, it's final resting place in the curio cabinet that I built specifically for large base dioramas many moons ago. Wow, what a long time coming, but we're almost there.

Thanks for watchin and holler if you see something I might have missed at this late stage of the game, lol.

Cheers, Ski.

took me a second to realize that first pic was not just a real pic of your backyard!
 

Attachments

  • _DSC0866b-vi.jpg
    _DSC0866b-vi.jpg
    115.8 KB
  • _DSC0877b-vi.jpg
    _DSC0877b-vi.jpg
    122.5 KB
  • _DSC0873b-vi.jpg
    _DSC0873b-vi.jpg
    158.3 KB
  • _DSC0870b-vi.jpg
    _DSC0870b-vi.jpg
    149.6 KB
Calling it Done!

After 13 long years, off and on, this baby is finally finished. I've eliminated every item from the punch list and can't see doing any more to it. No sense in beating a dead horse, right? I'll be taking final photos within days and posting all the detailed shots when they're cleaned up. My photo bench is being stretched for this base, it's taxing my ingenuity to get decent shots without going out of bounds. Not only that, I've got 1/2" clearance to fit this beast into the curio cabinet when I'm done, it's a very tight fit.

_DSC0923b-vi.jpg


This has been a fun run, and sometimes a bit frustrating, but mostly a good time. I always said from the beginning that I don't recall seeing any 200mm dios posted anywhere, so why not do one myself. I think that still hold true, but who knows. At any rate, I am happy to see this through to the end.

Thank you all for your continued support, encouragement, and suggestions along the way. Final photos coming soon.

Cheers, Ski.
 
Awww! I've only been following since December, so not ready for this movie to end!
Looking forward to the pics.
Awe, and then some!
Sorry, Brother, but you can always go back and look at the re-runs, HA! It's been a wonky last few days, haven't had chance to Tung oil the trim yet, so hopefully the pics will start this weekend. Thanks for watchin, Barley!
 
Standing by to stand by,............ I attempted to set up the photo bench realizing this base is 5" longer than the Hue dio, so outside shoots are a must. However, it was 32* and frosty this morning. Standing by for better temps and the correct morning light.
 

Latest posts

Back
Top