Eastern front RSO/03 & PaK38

Leighbo

Active Member
Joined
Sep 15, 2011
Messages
1,033
Hi guys

I just can't resisit the temptation to start a new project!

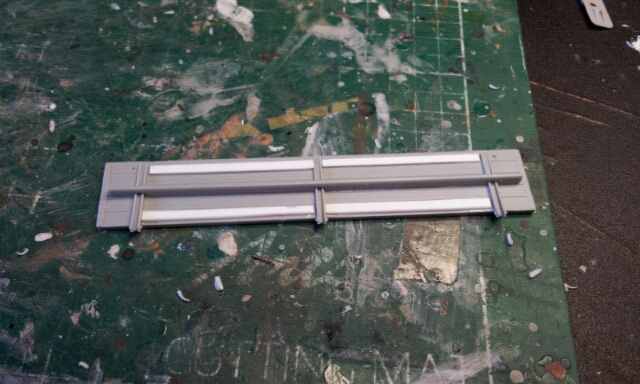
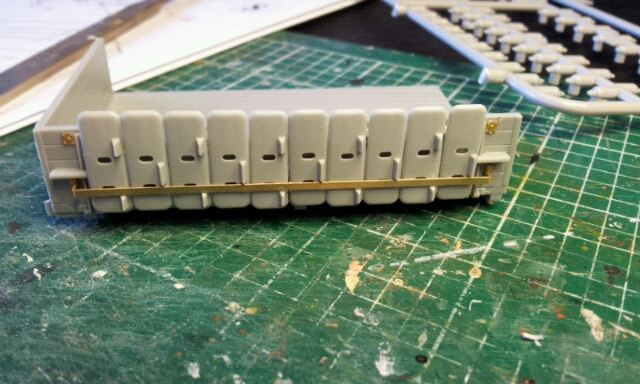
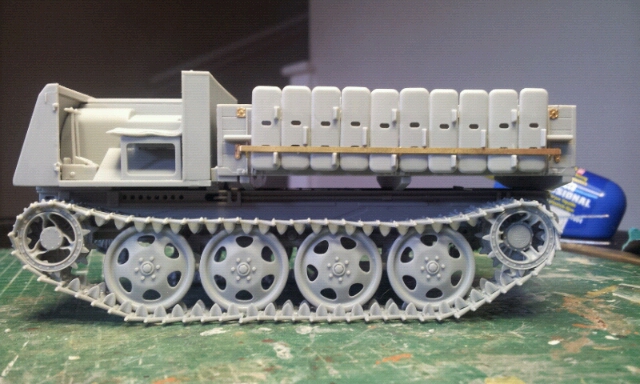
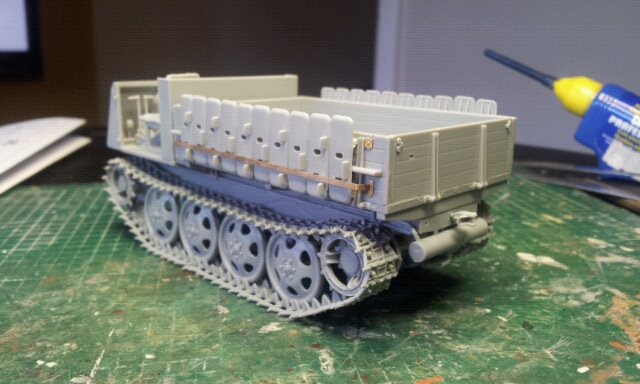
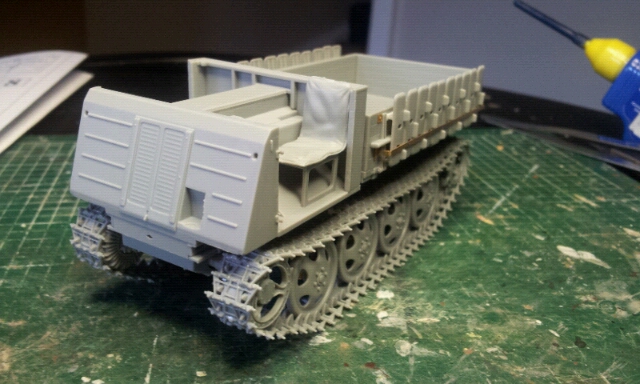
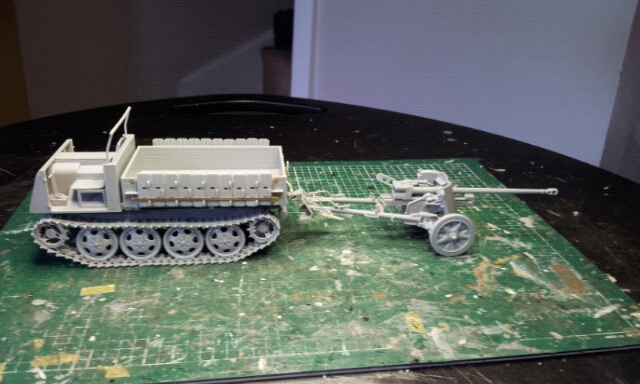
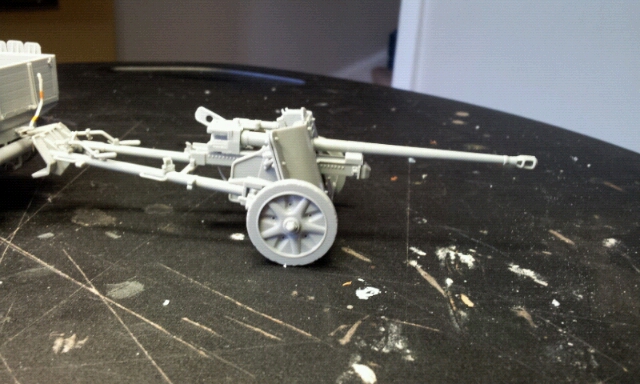
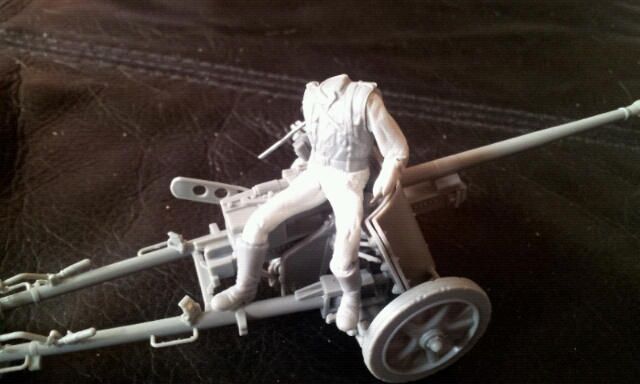
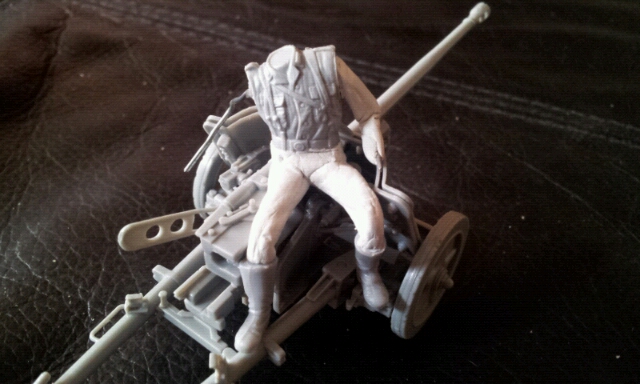
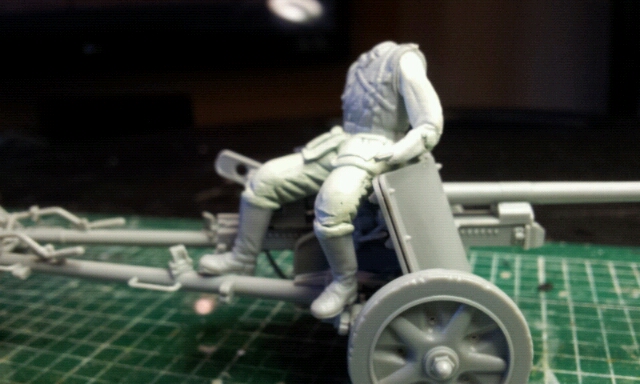
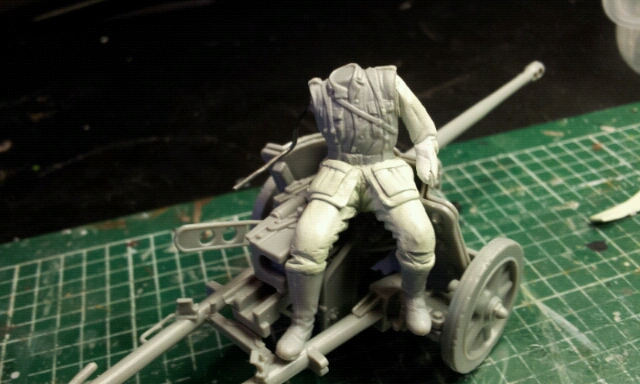
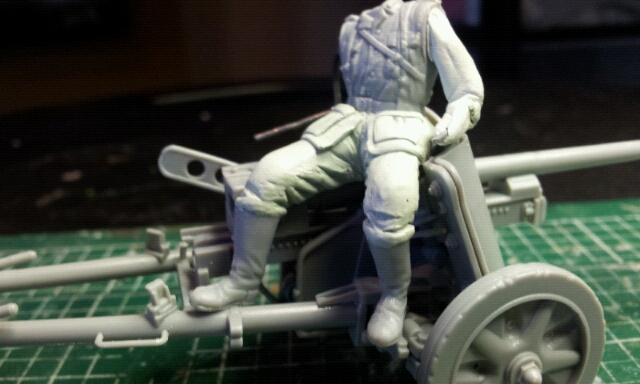
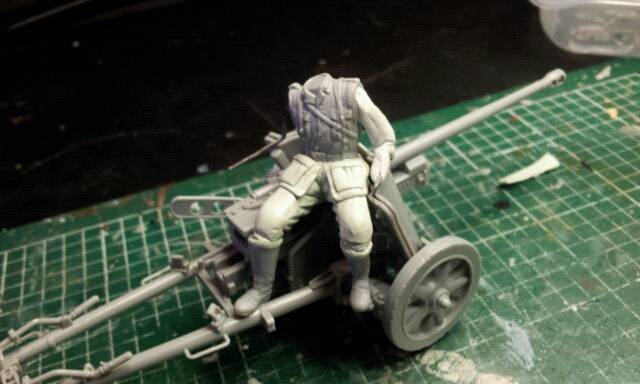
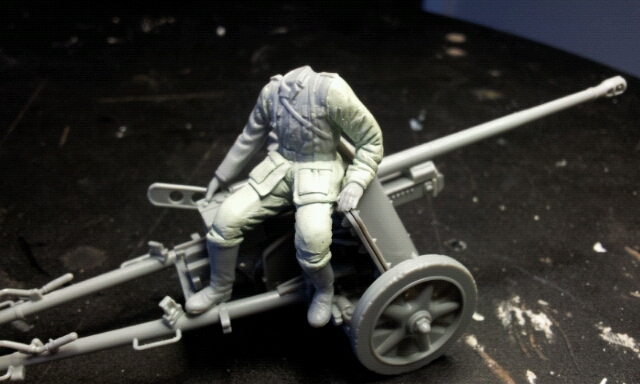
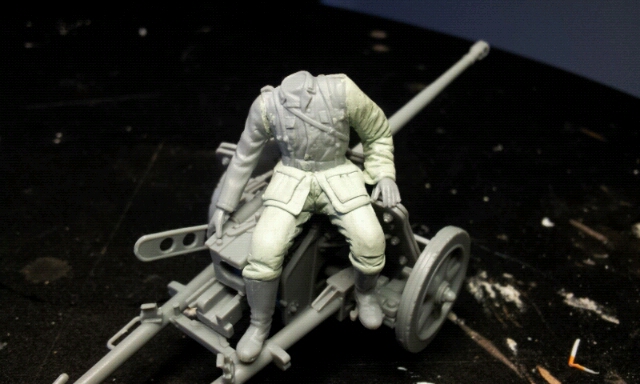
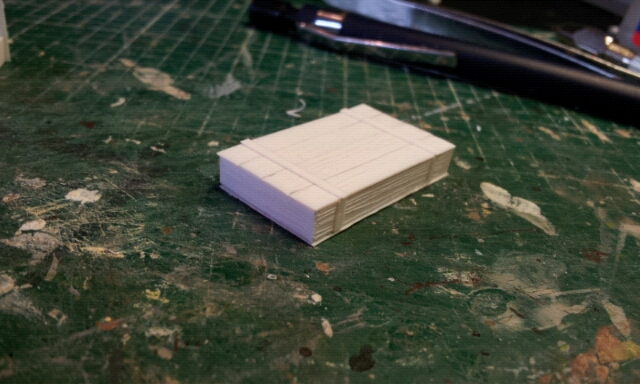
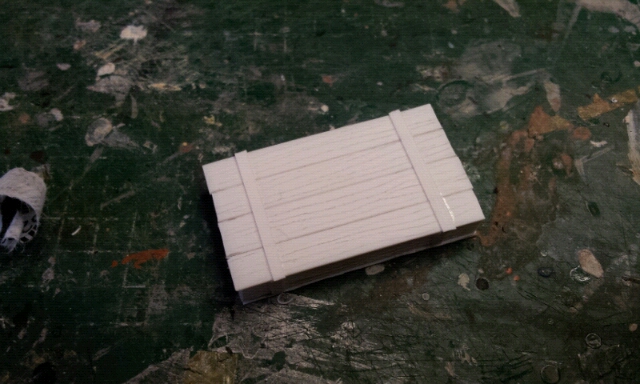
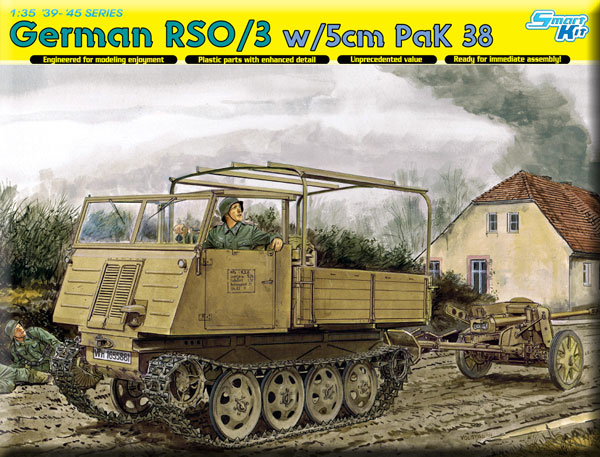
This is the Dragon RSO/3 & PaK38 kit from Dragon, purchased at a knock down price of £25! I wanted (like a lot of you out there) the RSO/1 kit, but at £45 just for the RSO + extra for the gun I compromised.
rso%25203.jpg

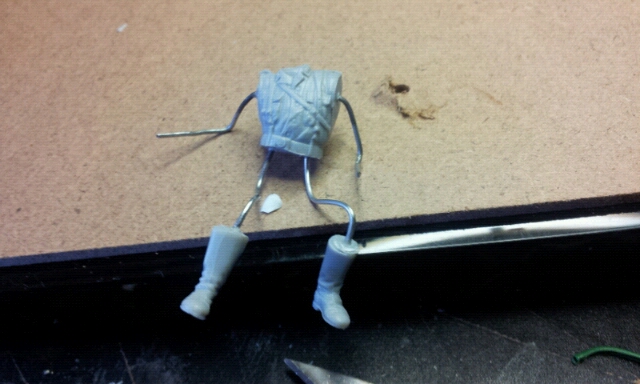
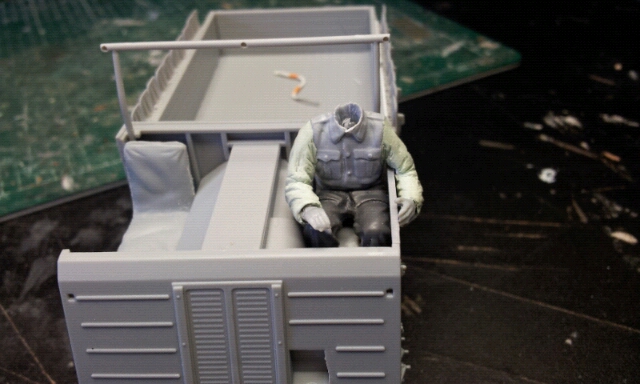
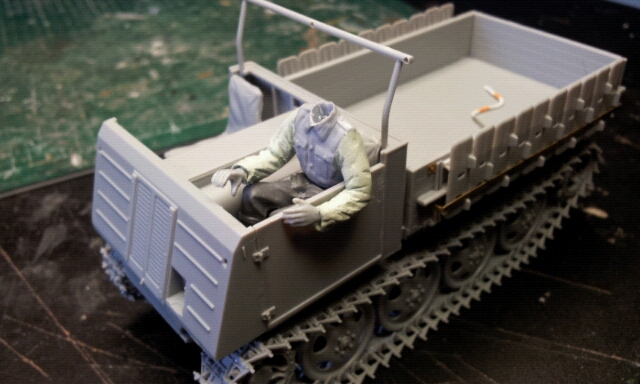
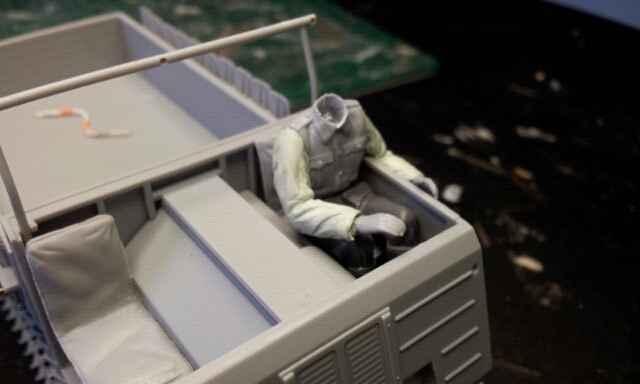
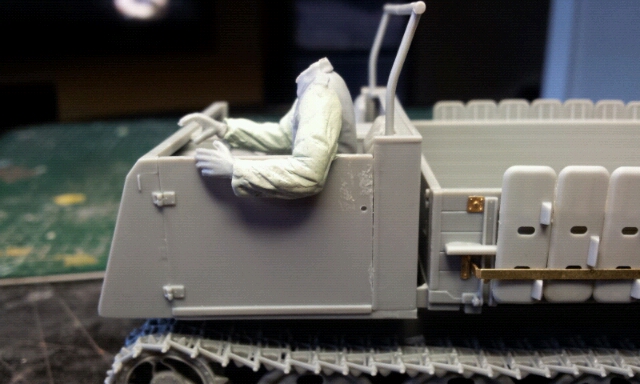
The real reason for the kit is that i want to challenge myself to have a go at sculpting some limbs for the troops I will have in the load bed and if i'm brave enough sitting on the gun too!

I often find that I try to fit the vehicle to the figure and not the other way around so in the interest of realism I am trying my hand at sculpting.

I intend to make the skeleton with wire, use milliput to make up the bulk and then create the detail with a 50/50 mix of green stuff and milliput, which I have been told will give fine detail but remain sandable.

If anyone has any tips to share regarding the sculpting I am open to offers as I've never attempted them before.

The base will be a typically muddy eastern front scene, so a good opportunity to mucky it up!

Thanks for looking
 
Awesome Stuff Leighbo this will be fun, ive been thinking of trying my hand at this scupting lark too we shall see.

duno if you caught my reply in your other build about how awfull this kit is :) well the lower half is Brutal, a jig would make life so much easier, any how Cant wait to see this come together
 
Cheers Spud

Yeah I did catch your post and I listened to your advice and left out the engine all together like you suggested, but it was still a pain in the backside.
Who writes Dragons instructions for them, Martians?
It took a bit of dry fitting just to get the bottom tub right, but its looking correct now.

I might even use the engine as stowage in the back yet!

I like that you're using me as a guinea pig for the sculpting! I'll keep you posted as to how I get on
 
lol, i ment just let the drive shaft out :) the engine can still be seen in the drivers cab as its next to the seats :)
 
Nice kit something different I've seen this at hannants and had my eye on it so i will be watching closely bud
 
Hi Guys, thanks for the comments

Unfortunately the Heinrich build too a back seat this week as I got sidetracked with the RSO!

The Dragon kit ended up making a great looking detailed model, but what a NIGHTMARE! The instructions were rubbish as usual and took a lot of guessing at things, build steps were in the wrong order, there were loads of confusing options, need I continue...

I decided to leave the engine and most of the running gear out and as you can't see any of it once its all together (sorry Spud but you can't see the engine at all, thankfully!)

I cheated a bit on the rails which hold the winter tracks as I couldn't bend the photoetch correctly and just cut plastic rails to the same size
20120728_090617.jpg

which you can't see when doen anyway...
20120728_090626.jpg

20120729_093131.jpg

20120729_093112.jpg

20120729_093105.jpg

The same instruction issues went for the gun build but I struggled through and it turned out well
20120729_094909.jpg

20120729_094934.jpg

Then onto the bit I had been waiting for, trying my hand at sculpting, gulp!
I started with a body from the spares box and cut some wire to length for the limbs. I then used a pin vise to drill holes for the wires in the body and cut some boots from some more spare legs.
20120729_131938.jpg

After roughly setting the pose I used milliput to bulk out the limbs
20120729_174137.jpg

20120729_174145.jpg

and then used a 50:50 mix of milliput and green stuff and some cheap sculpting tools to create the detail
20120729_194444.jpg

20120729_194453.jpg

20120729_194436.jpg

20120729_194432.jpg

Once the legs have dried I will start on the arms.
It was quite nerve wracking for a start, but using some decent reference pictures and taking my time I am quite pleased with the results.
Also you get ages of drying time so if you cock it up then you can start over again, im actually looking forward to doing it again (good job becasue I want to do 5 or 6 figures!)

As always any comments welcome and thanks for looking
 
ah you got lucky with the Engine not been seen, glad i wasn't the only one who suffered :D but you done a cracking job all the same Leighbo, The fig looks great too
 
Cheers Spud
yeah the kit was definitely a pig to put together, im amazed that it actually ended up looking good.
 
Leighbo said:
Cheers Spud
yeah the kit was definitely a pig to put together, im amazed that it actually ended up looking good.

a testament to dragons engineering i recon :)
 
Thanks Ken, Im pleased for a first attempt

It is well engineered Spud, i think they engineer mistakes into the instructions at the same time to test our modelling skills!
 
clean looking build love the pack at the back and the figure looks quality never tried to convert a figure but you've nailed it might try my self on a scrap figure....
 
Thanks Geegad

I was a bit nervous about the sculpting, but it was quite enjoyable when I got started, you get loads of drying time (2 hours+) so if you cock it up you can start over.

The green stuff was less than a fiver delivered and will probably do 100 figures, and the sculpting tools were about the same price.

Takes a bit of getting used to but I would reccommend giving it a go
 
Hi Guys

Another small update, whilst looking for a hand to use for the right arm, I found the perfect fit right arm! Saved a job anyway.

Once fixed I started on the left arm.
20120730_202057.jpg

20120730_202122.jpg

I think it looks okay, but will probably need a light sanding when dry to take off some of the sharp edges

Its all part of the learning process
 
Quick update on this build.

Been a bit frustrating this week, I orered some etch Pak38 ammo cases nearly 2 weeks ago and haven't had them yet. I need to place them in the back of the RSO before I can drape the figures over them!

The only things I did manage to achieve was making some crates from bits of foamboard and plastic sheet...
20120804_162214.jpg

20120804_162203.jpg


And built a driver figure, making the arms from the same technique used before
20120805_184317.jpg

20120805_184302.jpg

20120805_184306.jpg

20120805_184329.jpg

Hopefully my order will come this week and I can get on with this build!

Thanks for looking
 
nice crates Leighbo, and the fig is looking good too, ive started on my two for my sig.33 first guy is done and working on the other now, its good fun and great learning experience :)
 
Cheers Spud,

I saw your figures and didn't have chance to post, they're looking sweet man.

How is it going just using the green stuff on it's own?

I was advised to mix GS and milliput so that it was easier to sand when dry, can you sand GS okay? Or do you not need to bother? I found that I needed to get rid of a few rough spots when it was dry.

Sculpting limbs is not too difficult when you get started and quite enjoyable too.

Loving the SIG by the way, its one mean looking chariot!
 

Latest posts

Back
Top