Dragon 1:35 54cm MORSER "LOKI" GERAT 041

Like Norm has mentioned, there could be multiple colors inside. a primer red or gray color on the floor with the ivory (elfbien ?) like white on the walls and ceiling. Things like the transmission could be a German gray/green (panzergrau/olivgrun?)etc.

I don't really know my German stuff all that well so I could be slightly mis-speaking but I have read enough of those threads to have an idea. ;D
 
Thanks all!

Spent a couple oh hours on the Web looking up interior colors. It looks like most interiors were painted the Buff color (Vallejo 976) according to what I could find. Around '43,'44 they stooped painting the interiors, and left them in Primer. The Buff color will look white when a flash is used, so that's why most of the interior shots make it look white. Found a site that had a photo of a Panzer whit the turret off, and no flash was used. That's the site that gave the color as Vallejo 976. I will have to mix some, as I don't have that color, but I do have the Vallejo color chart to match it with.

Should be posting some photos tonight.

Greg
 
Update photo's,

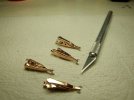
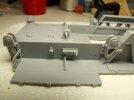
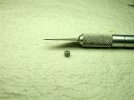
Wee parts! 32 thousandths. Amazed at the fact that injection molding has come this far.
DSCF0217.jpg

And that I got them installed with out losing 1 of them.
DSCF0219.jpg

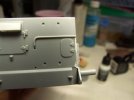
Left rear.
DSCF0221.jpg

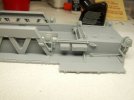
Left front, Engine hatches, and Driver compartment.
DSCF0223.jpg

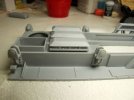
Right rear.
DSCF0226.jpg

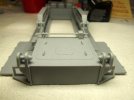
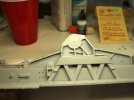
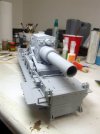
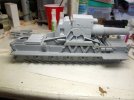
Gun Carriage in place on upper hull.
DSCF0231.jpg

From the front.
DSCF0234.jpg

From the rear.
DSCF0236.jpg

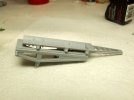
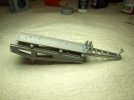
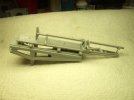
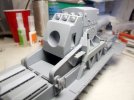
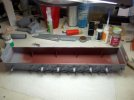
Loading tray. 9 parts so far, and 10 to go, till the tray is done.
DSCF0239.jpg

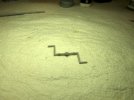
Gear for the hand crank shell ram, more Little parts!
DSCF0244.jpg

This is all I have on film, more is done. the shell tray is almost all together. Gun tube glued up, along with most of the housing for the Gun, and recoil works. Still waiting for parts coming in the mail, so I can attach Photo etched parts, and assemble tracks.

Painting needs to start today, as this model is going to have to be done in stages. Some areas will have to be done before more parts can be added. And I think I will be detailing the one until the last day. Glad I am retired, or this would not get done in time.

More to come.

Greg
 
Quaralane said:
Your eyes are better than mine, if you're dealing with parts that small

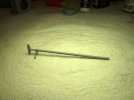
I have to use a 4X magnifier to work on this model at all times. Take a long time to find the small parts, even more to put them on. The 4 handles tool Me an hour to do.
 
Update:

Painting under way! Photo etch parts going on, and some photo's of some of the work.

Tiny trats make a bigger part.
DSCF0245.jpg

DSCF0246.jpg

DSCF0247.jpg

DSCF0249.jpg
17 parts make up the loading tray.

Gun breach
DSCF0251.jpg

Recoil mechanism.
DSCF0252.jpg

DSCF0254.jpg

DSCF0255.jpg

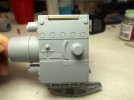
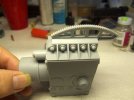
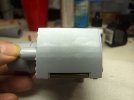
Seam almost gone. Need to primer to see what might need more work.
DSCF0253.jpg

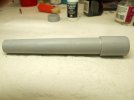
Barrel seam in the same state.
DSCF0256.jpg

More seams.
DSCF0260.jpg

Dry fitting parts.
DSCF0261.jpg

DSCF0262.jpg

DSCF0263.jpg

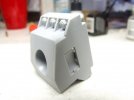
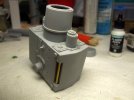
Engine air intake.
DSCF0268.jpg

DSCF0270.jpg

DSCF0271.jpg

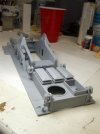
Interior hull area primed.
DSCF0276.jpg

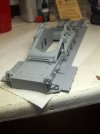
Driver compartment primed.
DSCF0274.jpg

Driver compartment is now painted an off white color. Need to detail the compartment parts, and install. Need to paint some parts steel, and then start primer coat. Exhaust need painting and detailing. Tomorrow will see alot more done on this Beast.

C Ya!

Greg
 
No joy in Mudville tonight......

Can not make the deadline. The beast is primed in German gray, and still in sub assemblies. Tracks are one quarter done. Exhaust is about half done as far as detailing goes, then has to be added to the upper hull. after it has the base coat of dark yellow done. Then the upper walkway cab be added to the upper hull, along with the handrails. Then all the parts get a coat of dark yell, and the recoil mechanism can be assembled. Then the Gun can be mounted to the Carriage, and the upper hull to the lower hull. Camouflage can be done then, and details, and weathering added. Then the tracks need to be assembled, painted, detailed, and weathered. Then clear coat, and add decals, then seal with a flat sealer, and add some weathering powders to complete.

Basically it is taking Me 3 times longer than I expected, and that's most likely do to My eyesight, and having to use a 4X magnifier all the time to see what I am doing. Also do to the fact that I did not realize how many parts this beast had to it, and how complex it is to assemble. And the fact that My single action airbrush is 35 years old and wanting to die on Me. I was hoping to win a new one.

Oh well, live and learn.

Good luck to all of You out there, may you all win something. There are a lot of great builds out there, keep up the good work.

Greg

PS: I will be posting updates on this Beast in the Armour area after the contest.
 
Sorry to hear you didn't make the deadline.
But I'm VERY glad to hear you'll be finishing her
 
I feel your pain, I entered this same model in the all open catagory. it took three months to build and was over my head at a lot of points. Cant wait to see your finished product, not a lot of these being built.

p.s.

it fits inside a "Testors" tractor trailer display case
 
Centurion said:
I feel your pain, I entered this same model in the all open catagory. it took three months to build and was over my head at a lot of points. Cant wait to see your finished product, not a lot of these being built.

p.s.

it fits inside a "Testors" tractor trailer display case

Thanks for that tip. Model has been on hold since I blew up My air compressor, and I just picked 1 up today. Need to put it together, and get back to painting. Maybe some photo's by Monday.
 

Latest posts

Back
Top