Jakko
Well-Known Member
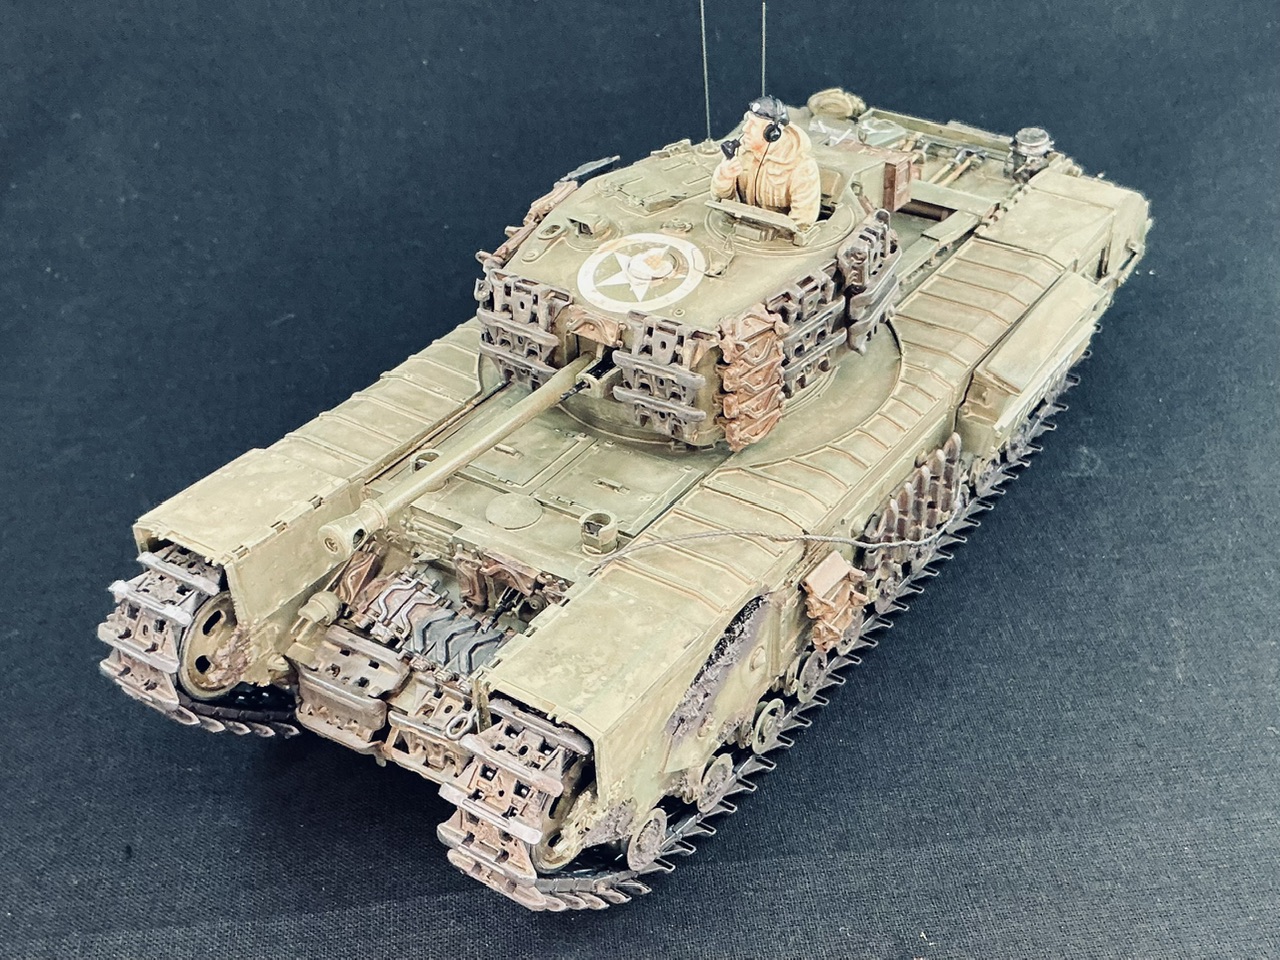
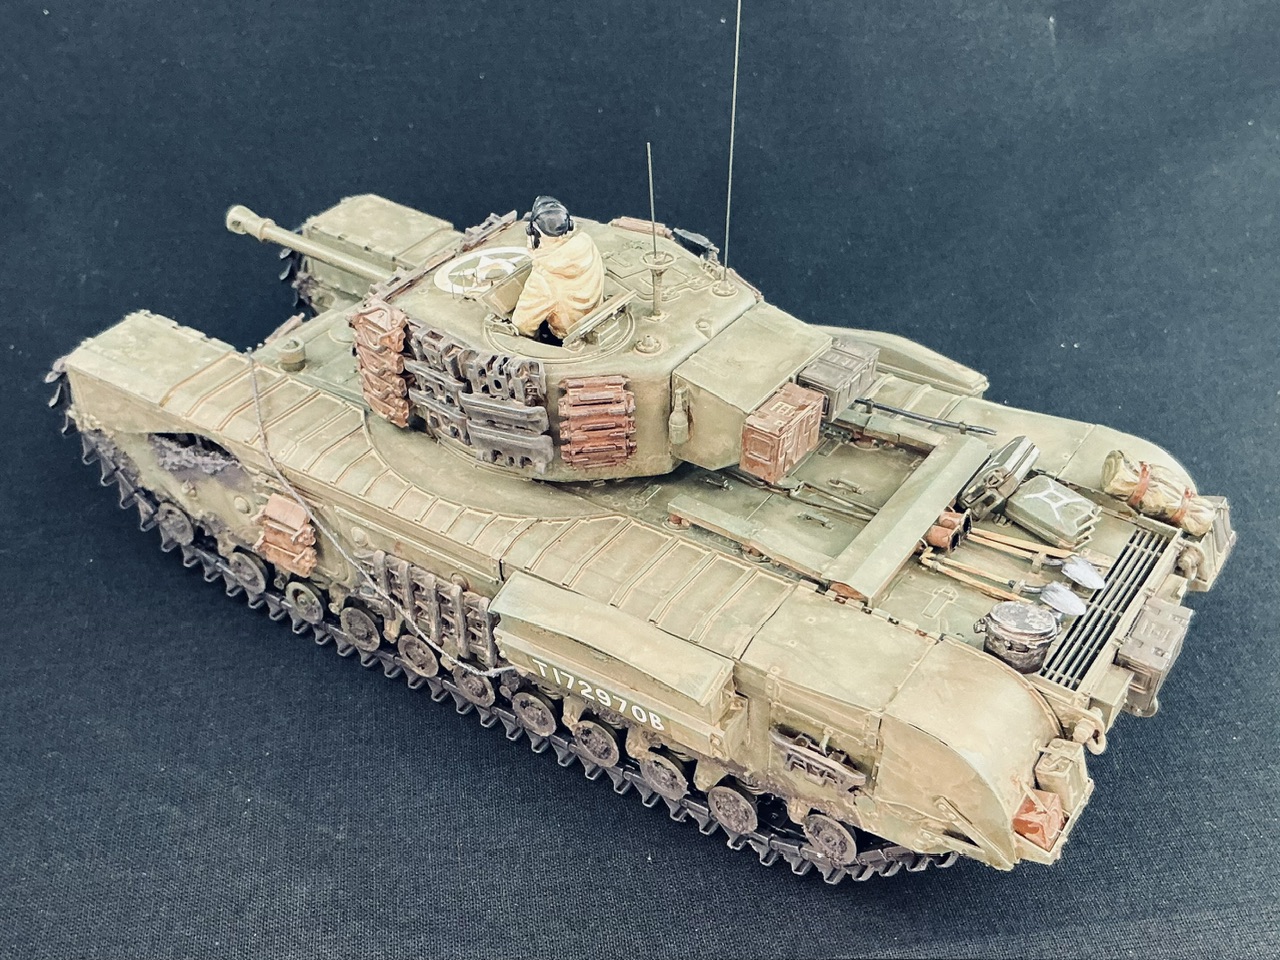
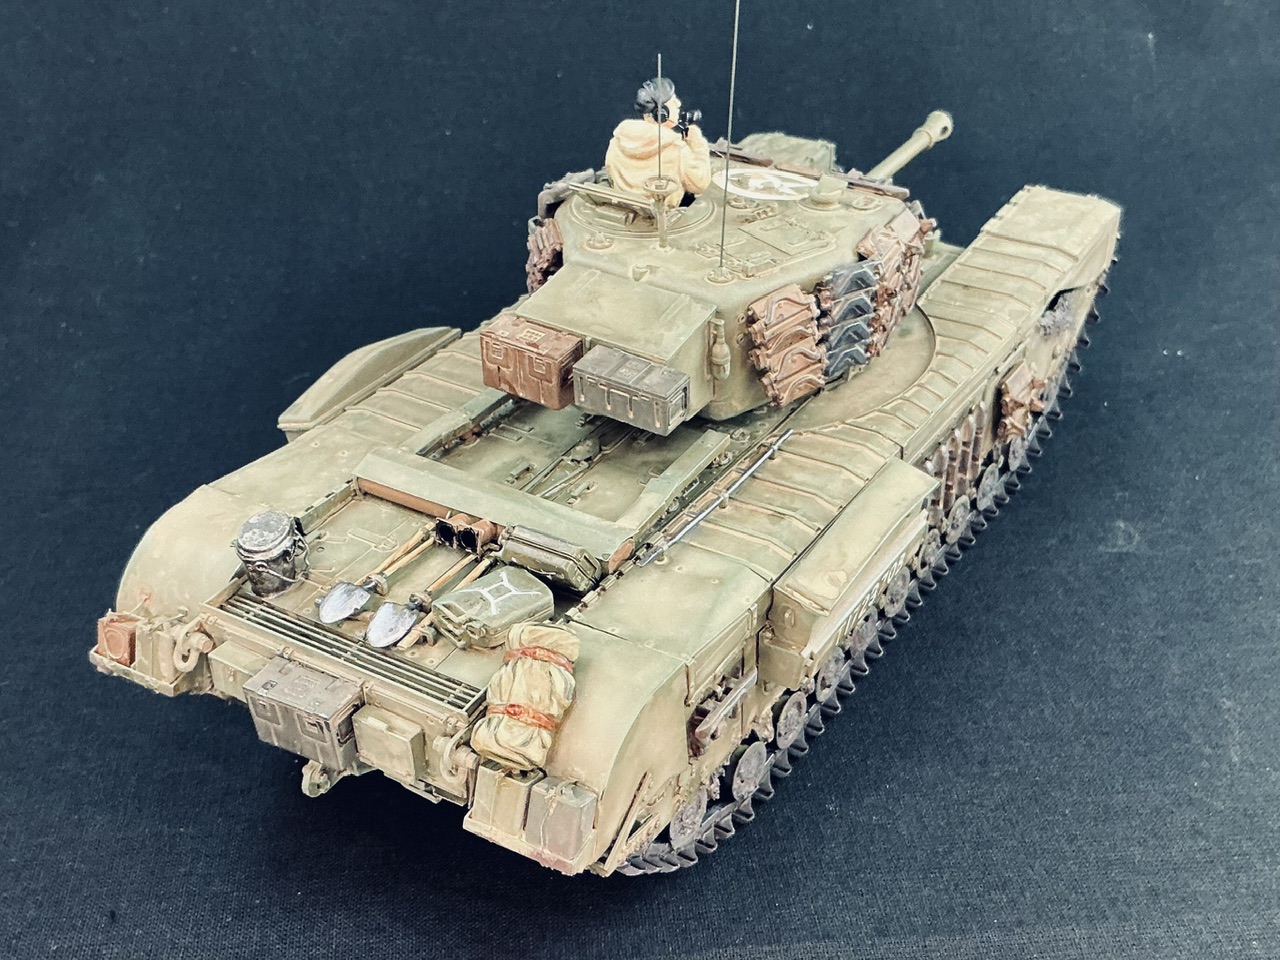
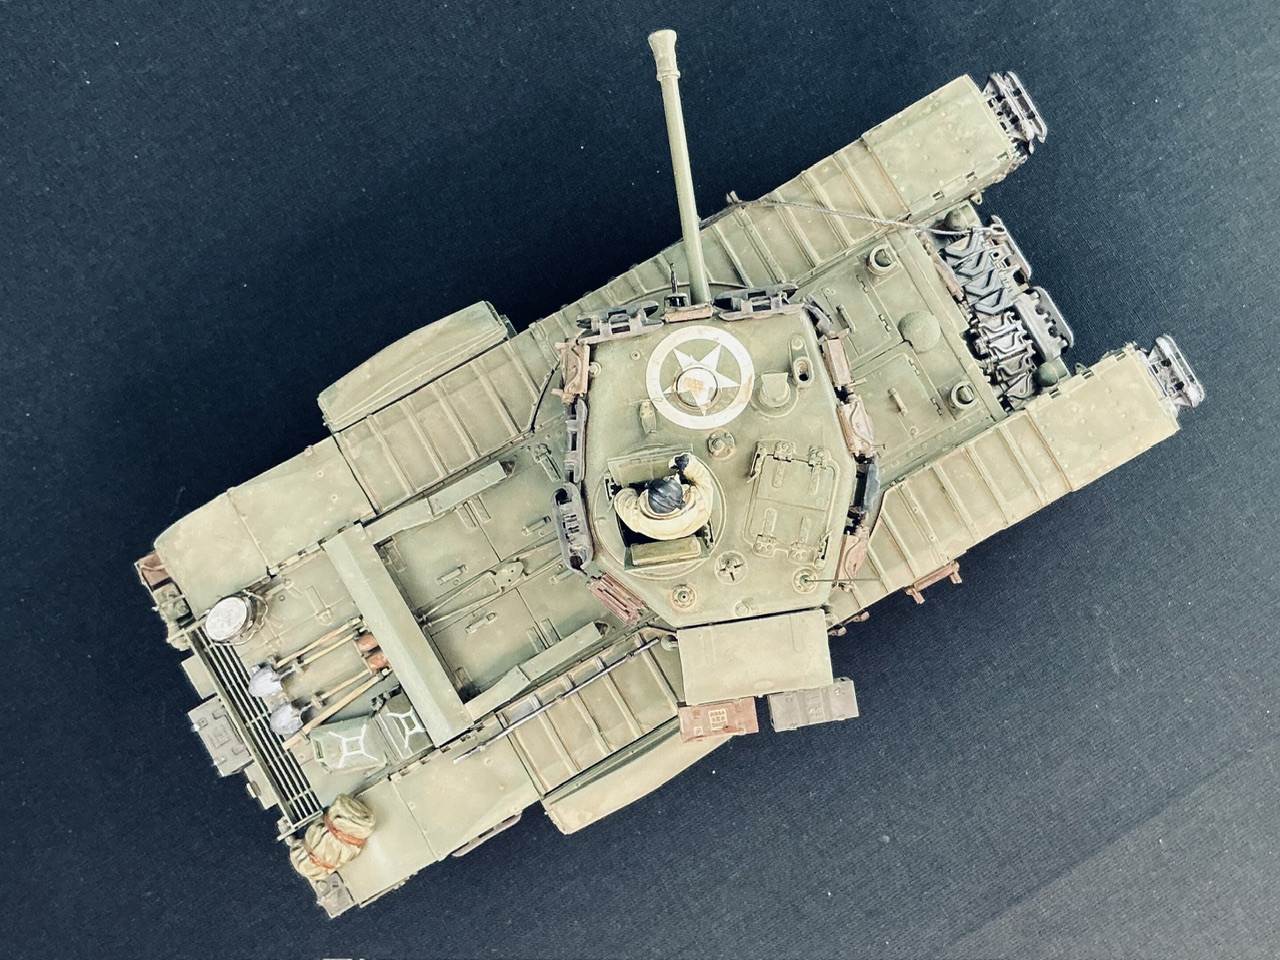
In July this year, I bought an AFV Club Churchill Mk. VI:
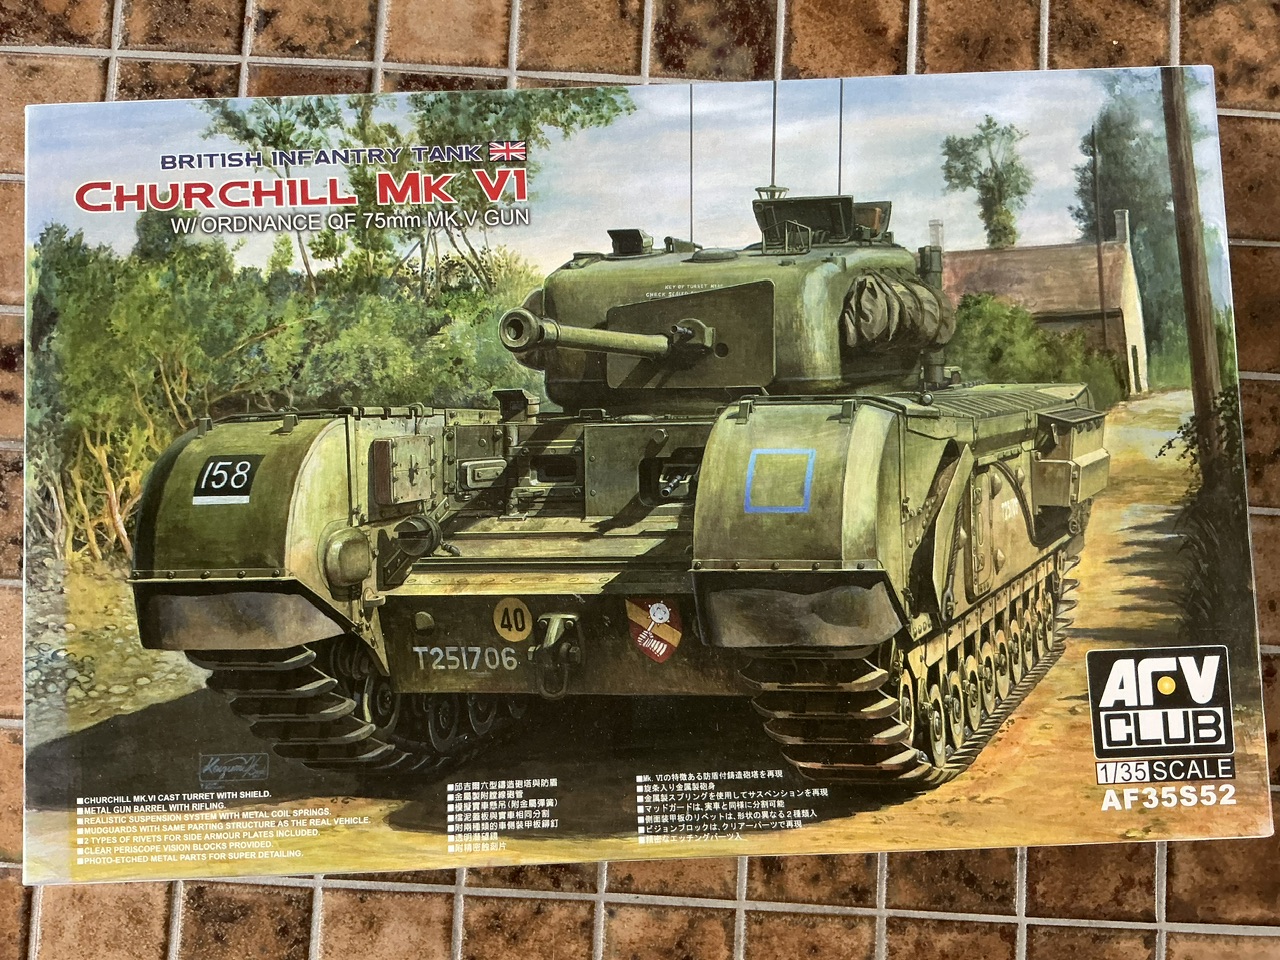
Somebody on Scalemates put it up for sale for 5 (yes, five) euros plus postage, and to my surprise, nobody had bought it by the time I noticed it. On inquiring about it, the seller said it was assembled and complete, but not painted. Hey, for a fiver, I'm in
When I got it home from the shop where I had to pick up the parcel, I found the model like this:
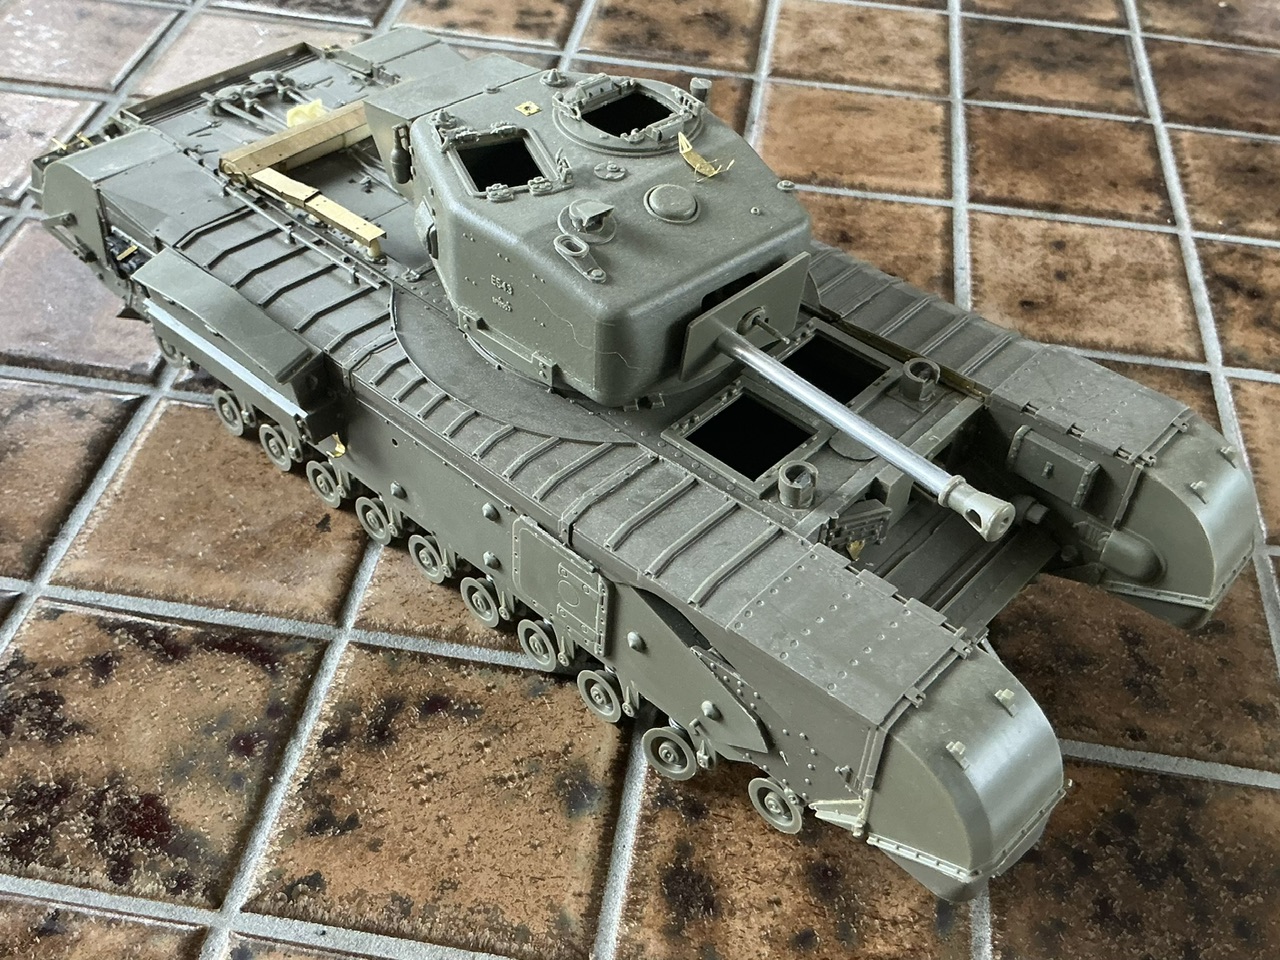
Essentially straight from the box other than replacement resin exhaust pipes with etched covers, which was a nice surprise. It was built well enough, no sloppy mistakes or other glaring problems, so I put it aside for a few months before actually getting round to it. By mid-September, I felt like tackling the corrections that this kit needs. You see, AFV Club made a rather obvious mistake with the turret ring: the real Churchill Mk. VI is almost indistinguishable from a Mk. IV unless you really know what to look for. One external difference is that it has a wider turret ring than the Mk. IV, because an extra armoured collar was added around it. AFV Club did add that, but also made the turret ring taller at the same time, which it shouldn't be. Here is the turret as the previous owner assembled it per the kit instructions, together with the leftover Mk. IV turret base that also comes in the kit:
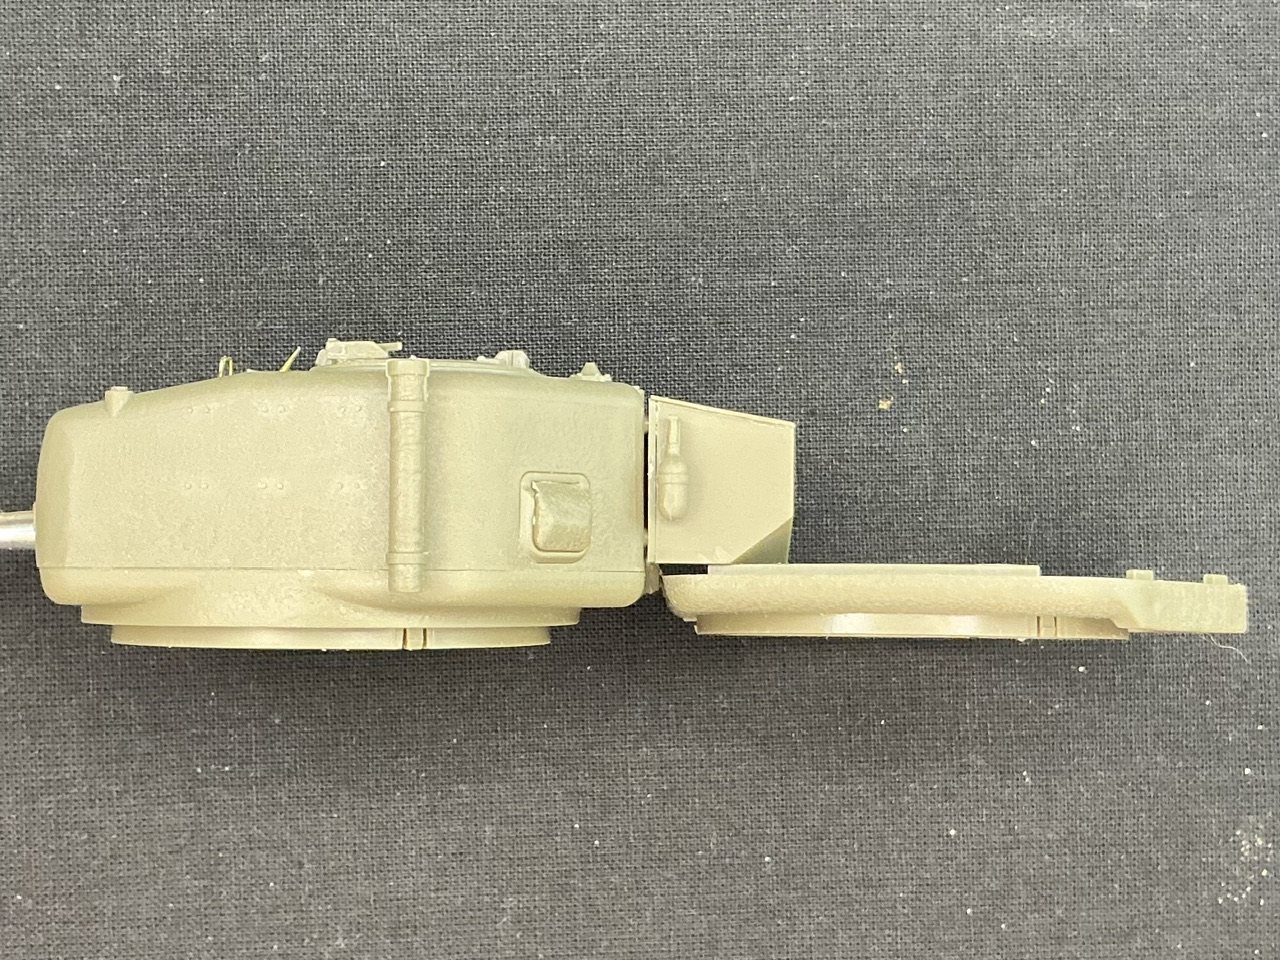
Basically, it should have the thicker turret ring as on the left but with the height of the part on the right. Fortunately, the model had been assembled with less cement than I would have used myself, allowing me to take the turret to pieces with relatively little effort:
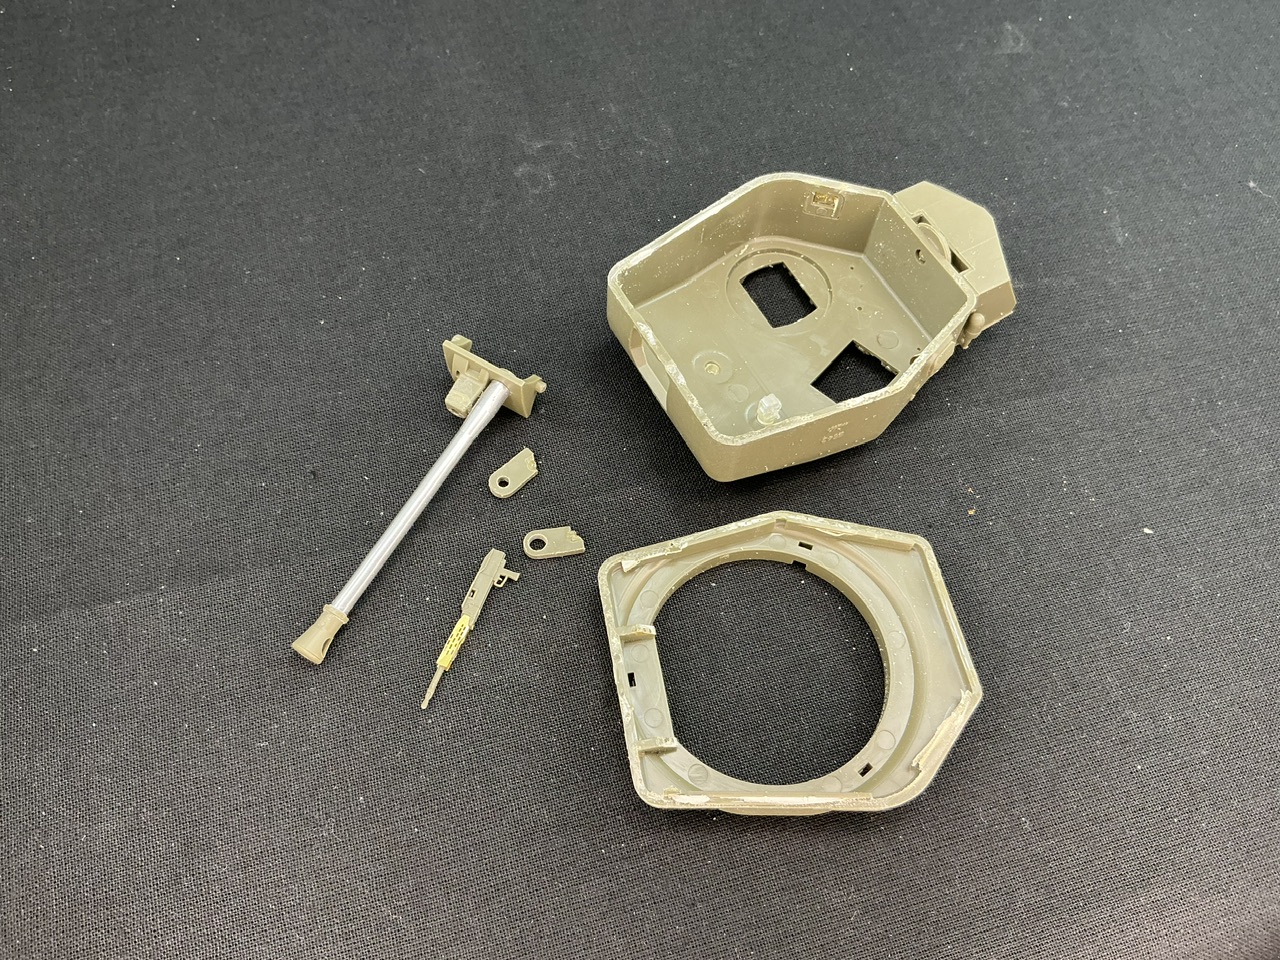
Once that was done, I modified the Mk. IV lower part:
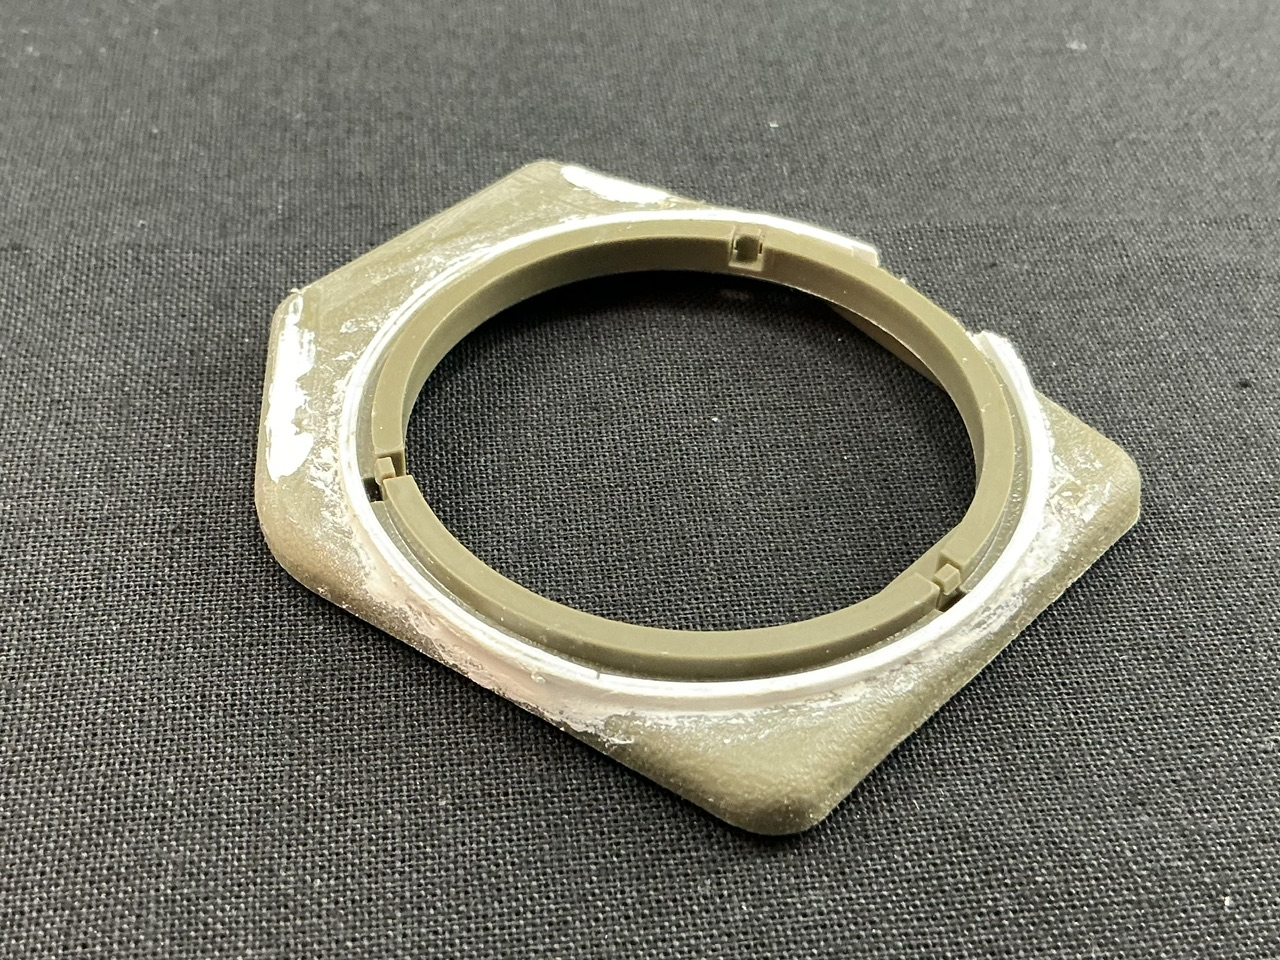
That is, I removed the bumps at the rear and filled the resulting holes, then added a wider turret ring made by laminating two lengths of 0.5 mm by 1 mm plastic strip around a former of approximately the right diameter. (Using two strips rather than one of the full thickness has two advantages: a rectangular strip is easier to bend than a square one, and by glueing them together around the former, they will hold the shape much better without the need for heat-forming.) Once dry, I also brushed some thinned putty around the strip to blend it into the rest of the turret.
While I had the turret apart, I also did a small conversion that nobody will spot unless they really know their Churchills
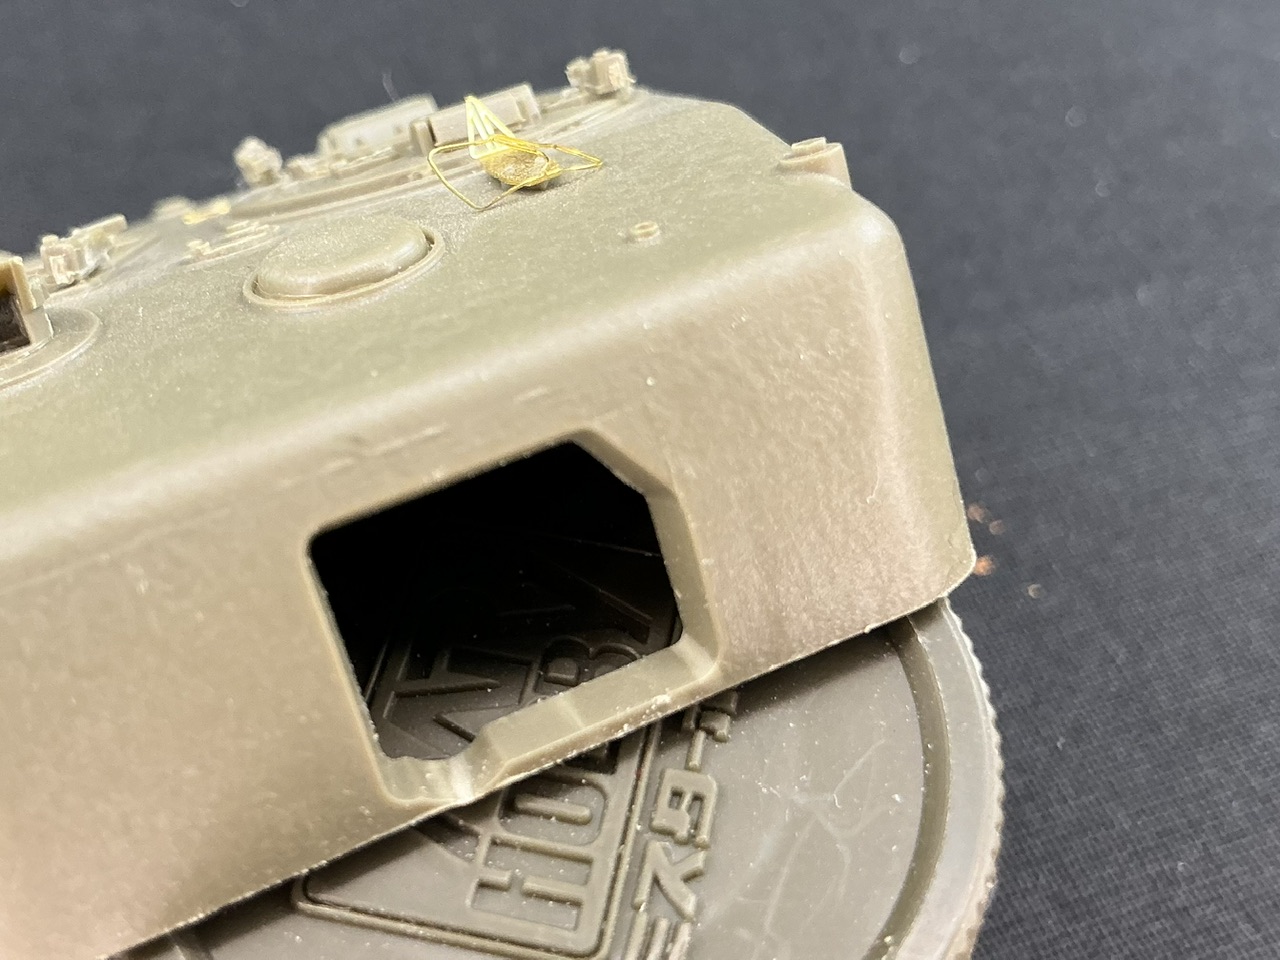
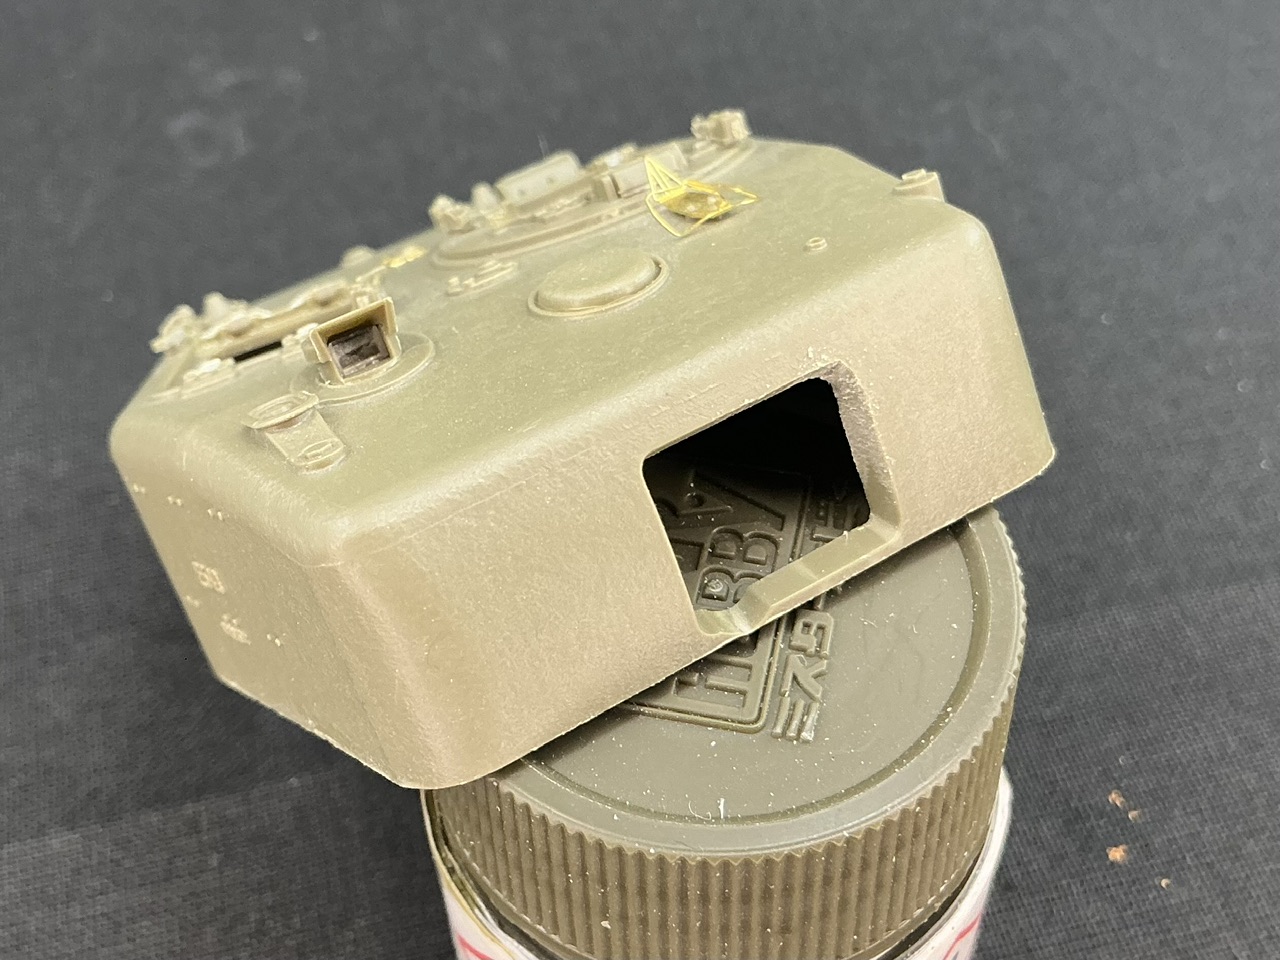
The hole in the front has a cut-off upper corner in the kit, but I squared it off. The one with the fillet in the corner is correct for the Mk. VI, while the square hole is a feature of the Mk. V, which had a 95 mm howitzer instead of a 75 mm gun. However, there are photos of Churchills with 75 mm guns and a square hole, suggesting that some Mk. V turrets were used to build Mk. VI tanks. (The reason for the square hole is that the gunner's telescope is higher up in the mantlet on the Mk. V, so the fillet would interfere with it. A Mk. VI with a square hole suffers no drawbacks from that, other than a slightly greater vulnerability to enemy fire, of course, which is why it should have the fillet in the first place.)
BTW, I also purchased a set of AFV Club Churchill tracks for this model, as I didn't want to use the soft plastic ones it comes with. They just don't sit right on a Churchill with its long-pitch links. You only need 50 links per side, though, not 70-something as the instructions tell you — well, if you leave the track covers on, anyway. Nearly the whole upper run is out of sight, so I don't see the point in adding it
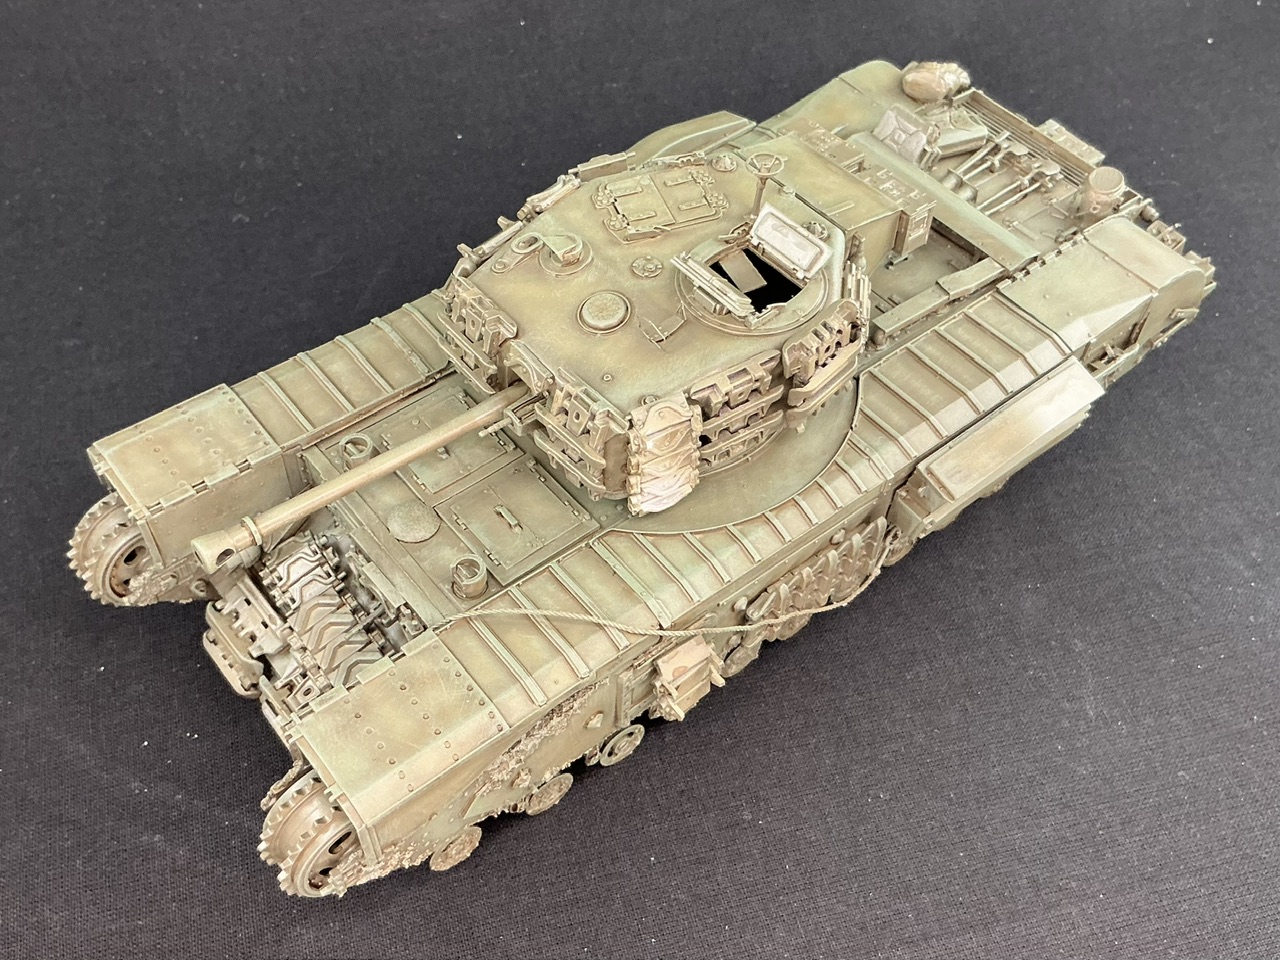
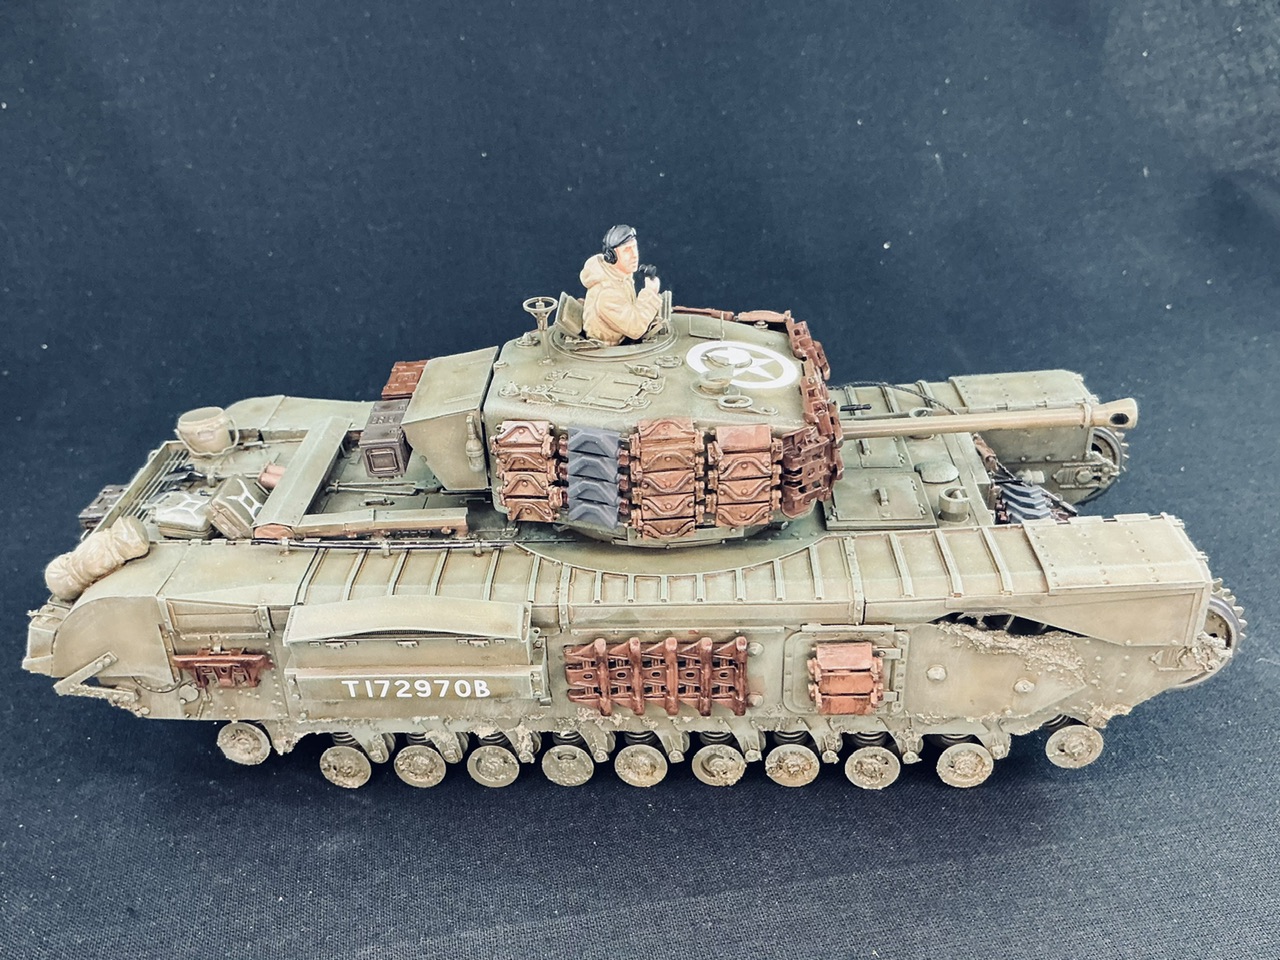
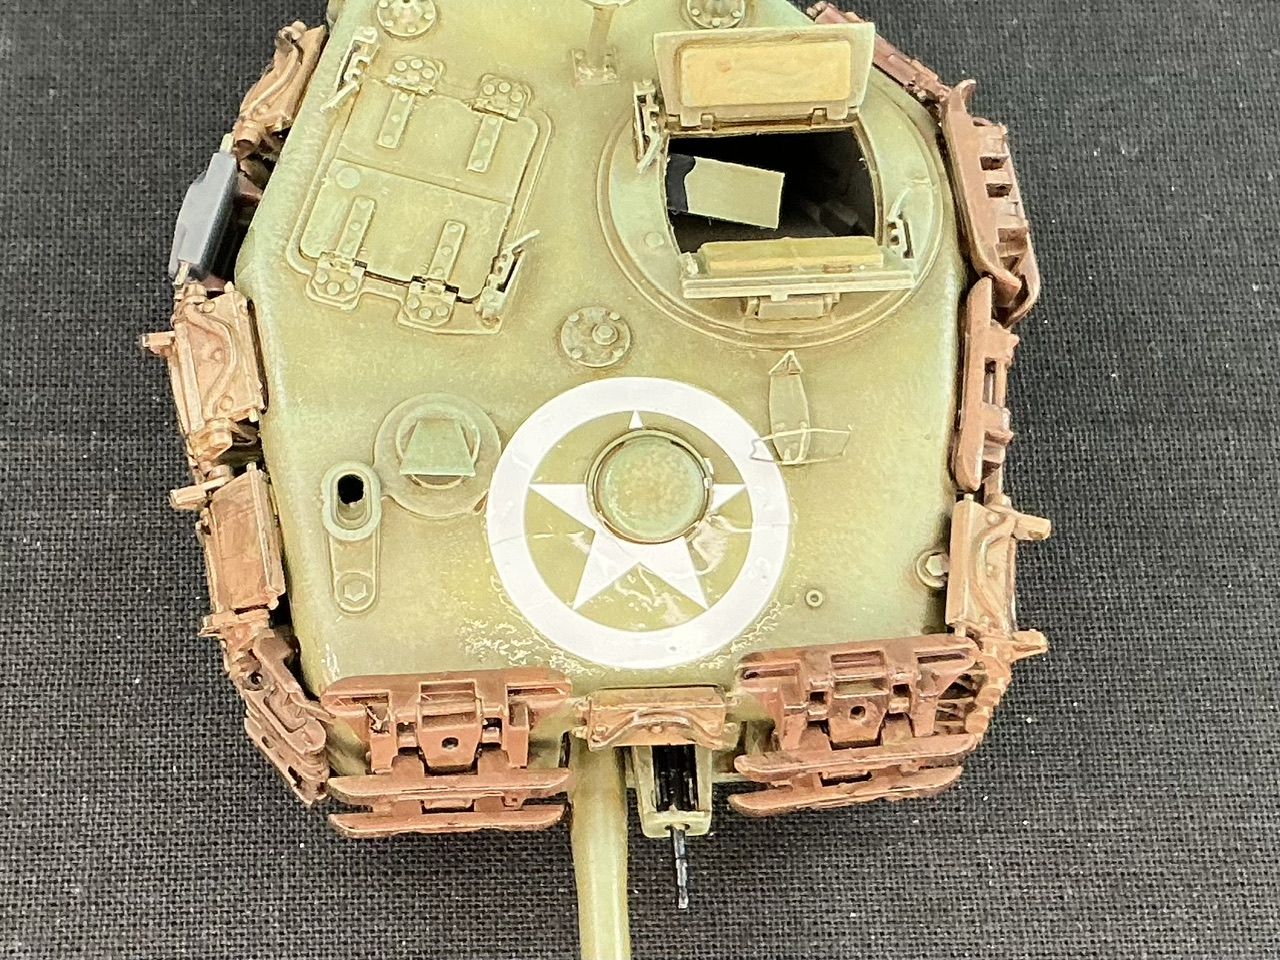
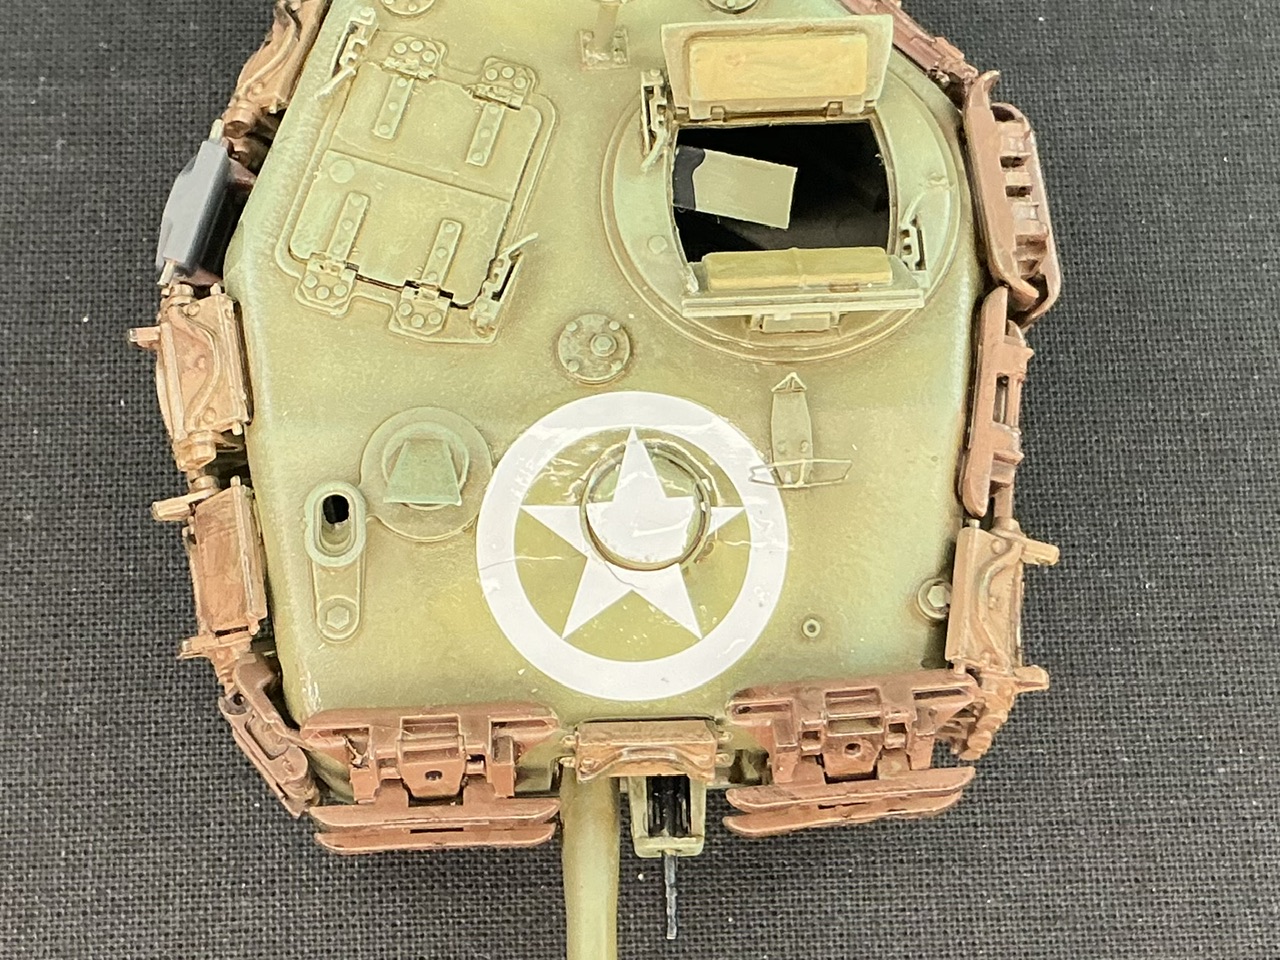
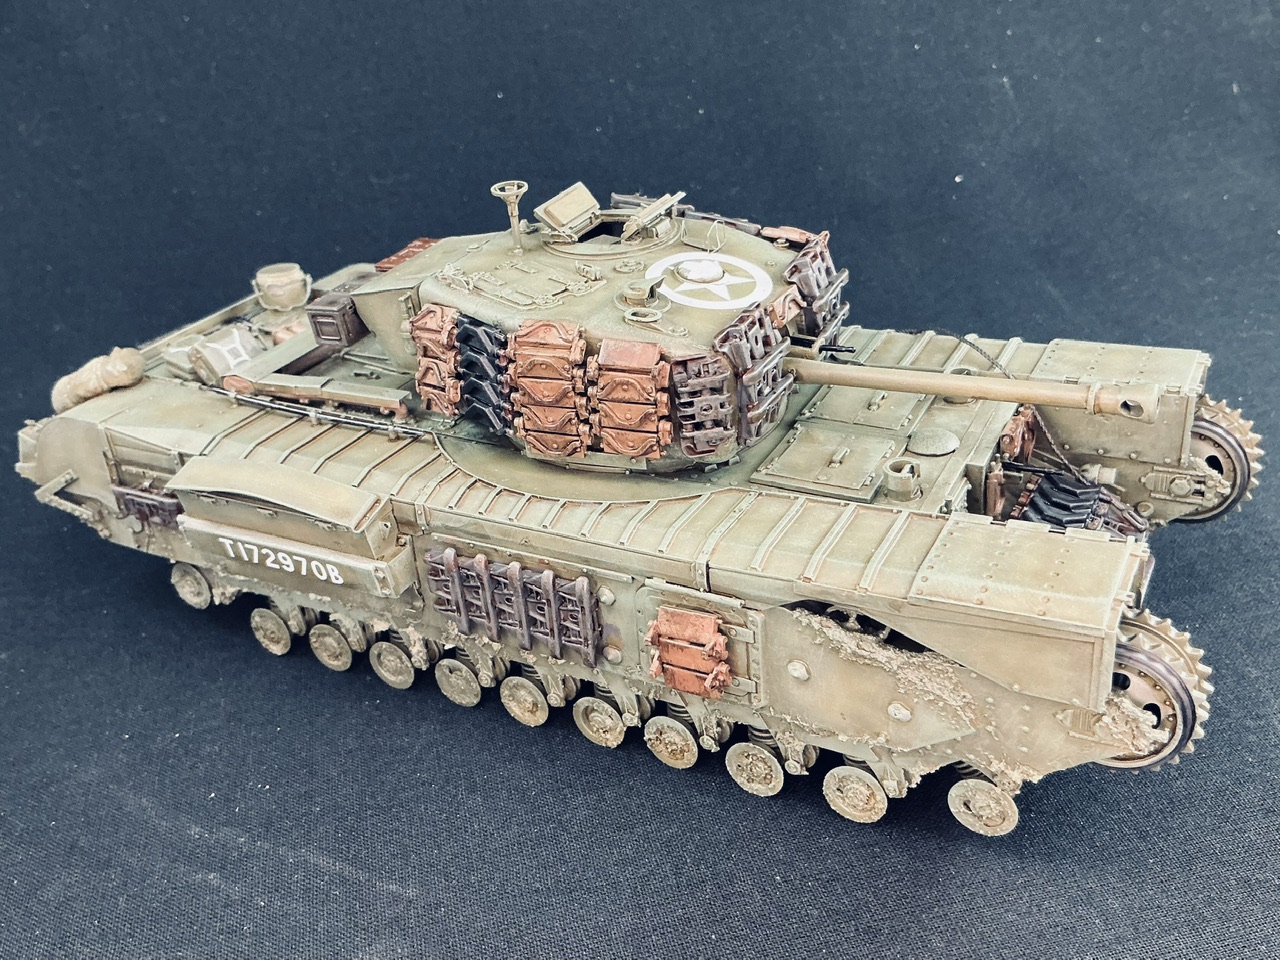
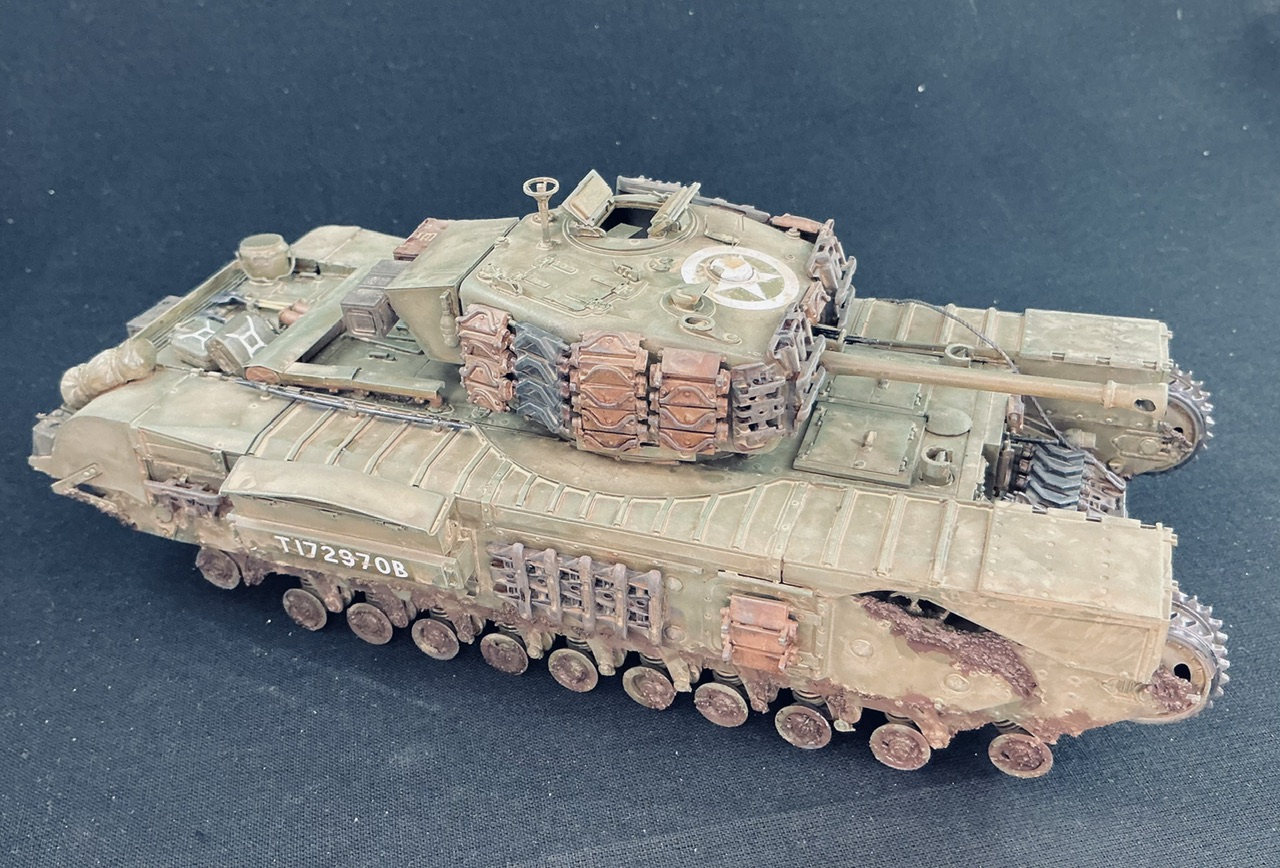
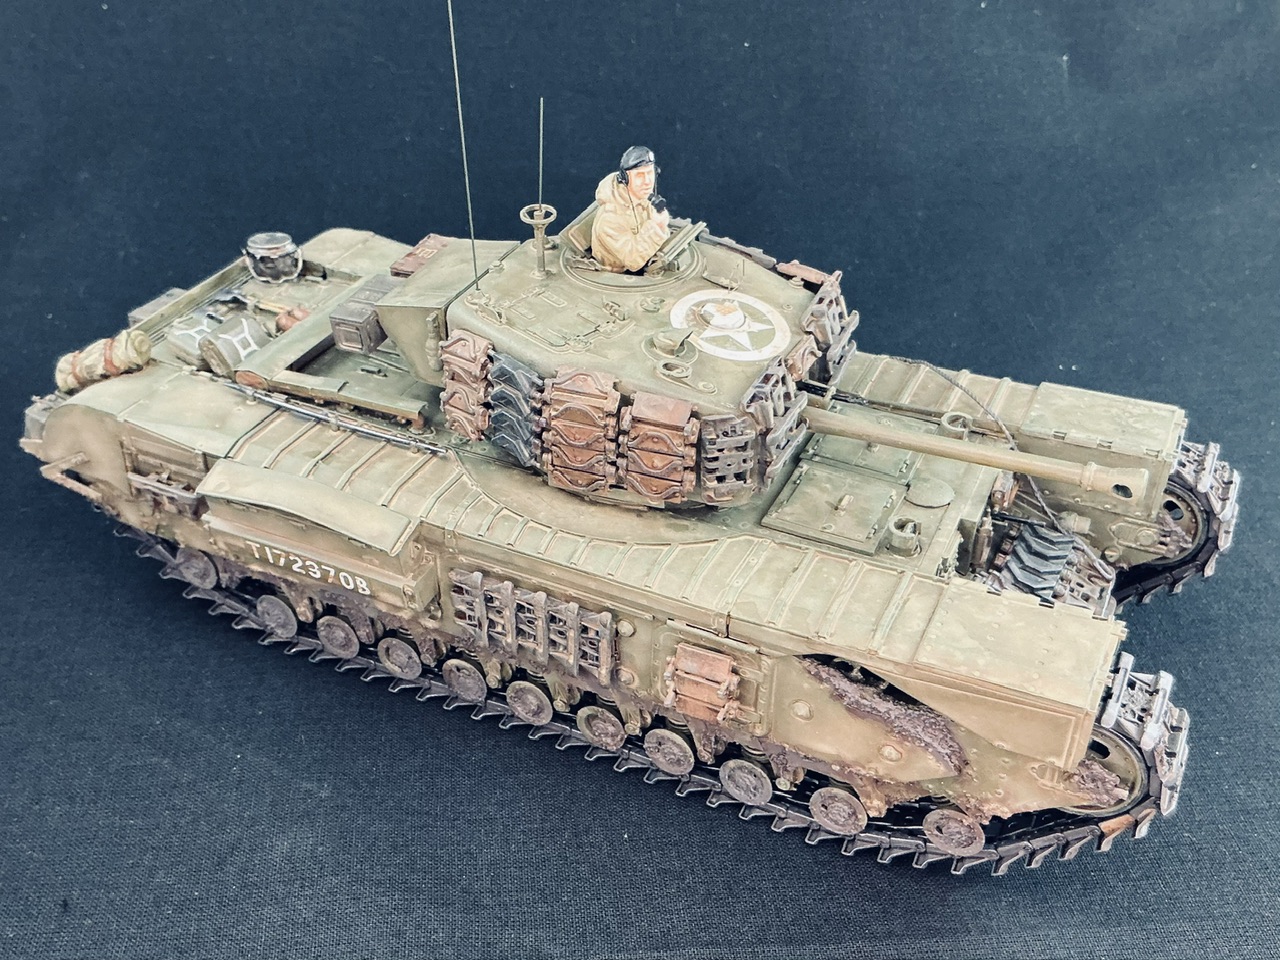
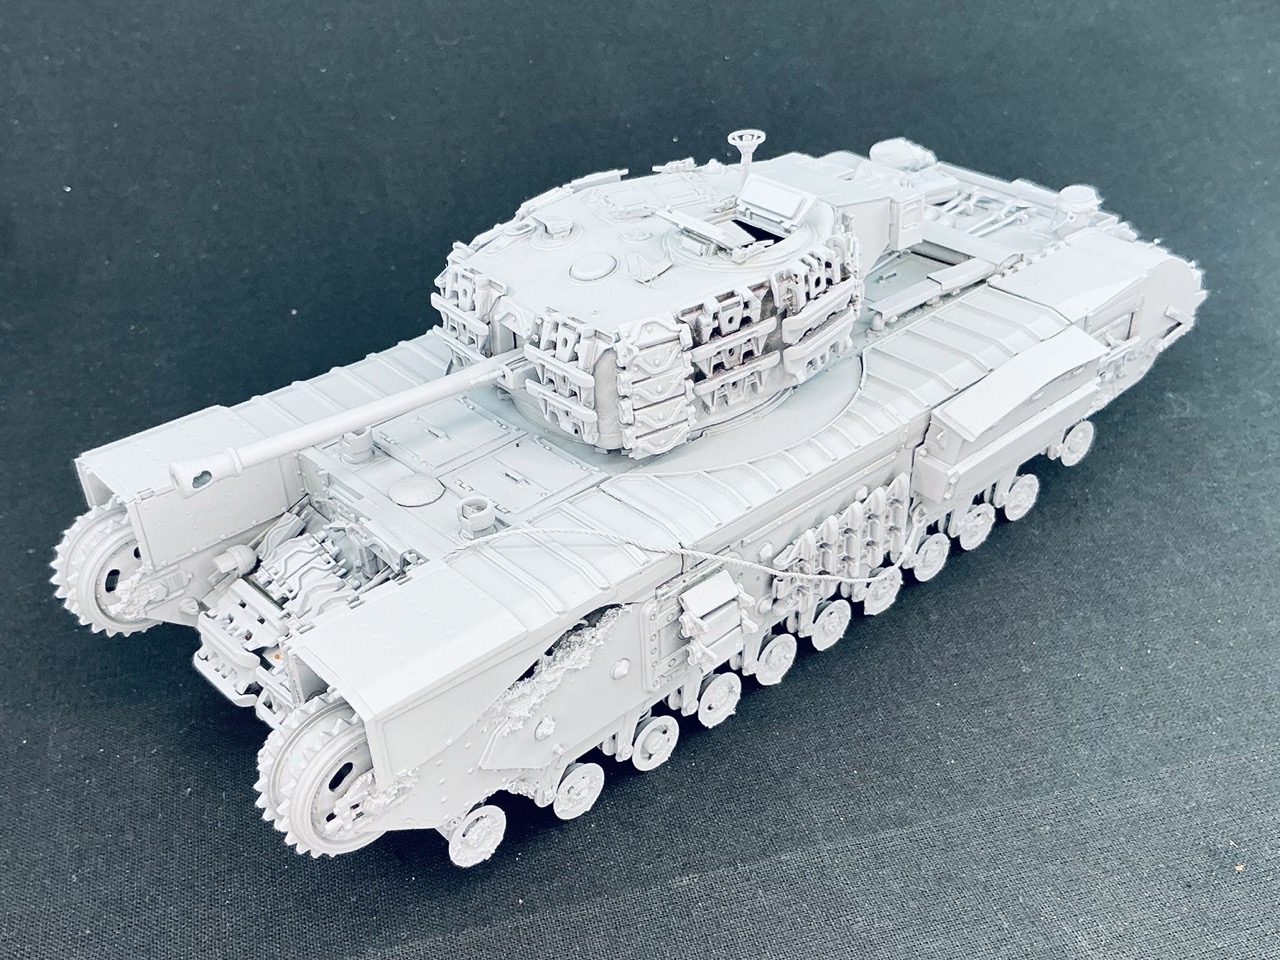
And from there, the model languished until yesterday … I had already decided I wanted spare track armour on it, because this features very heavily on British (and Canadian) tanks from late 1944 until the end of the war. Digging through some of my spares boxes, I came up with a good, representative assortment of Sherman and Churchill tracks for hull and turret:
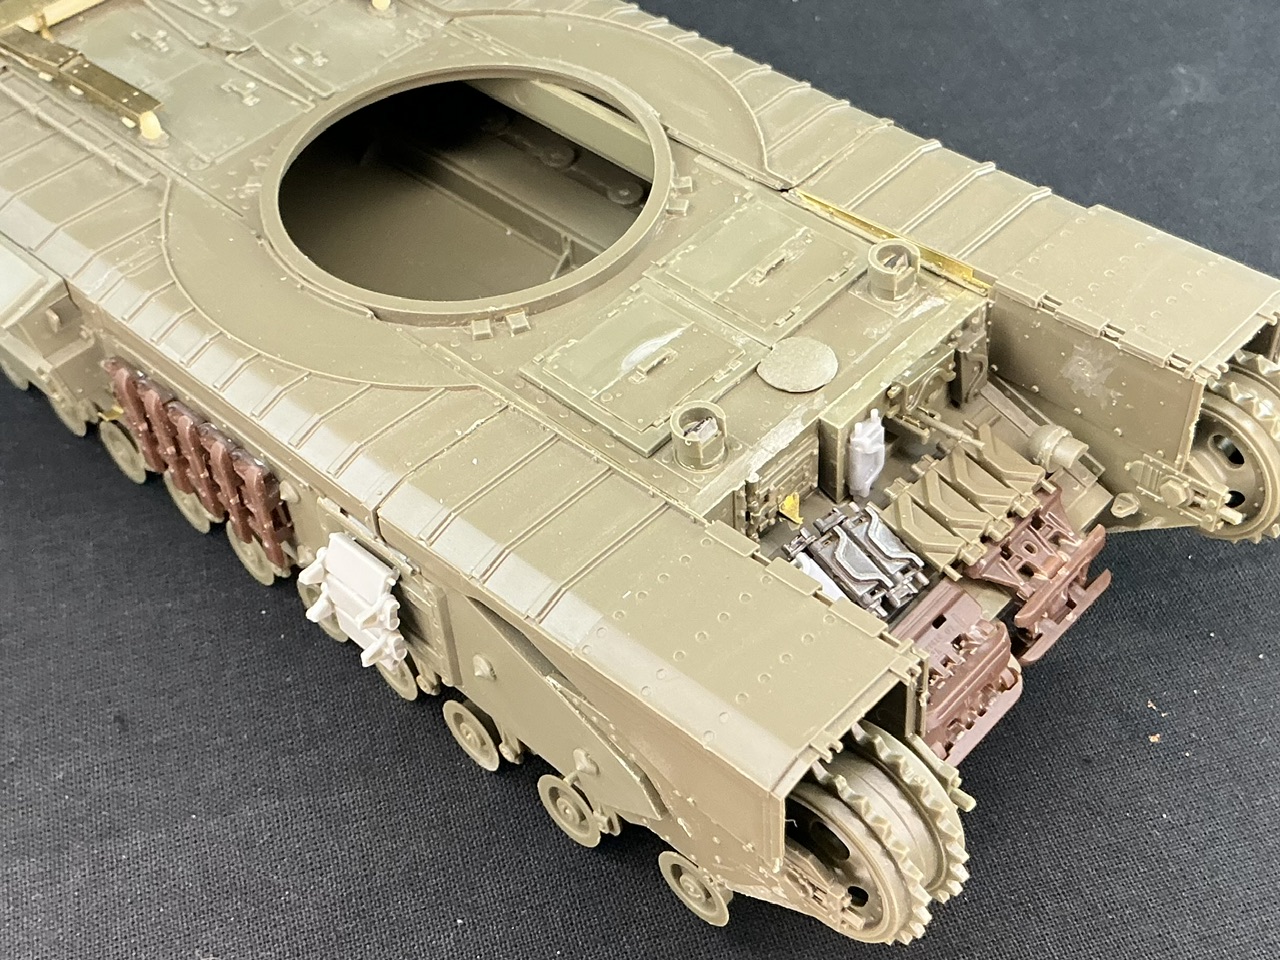
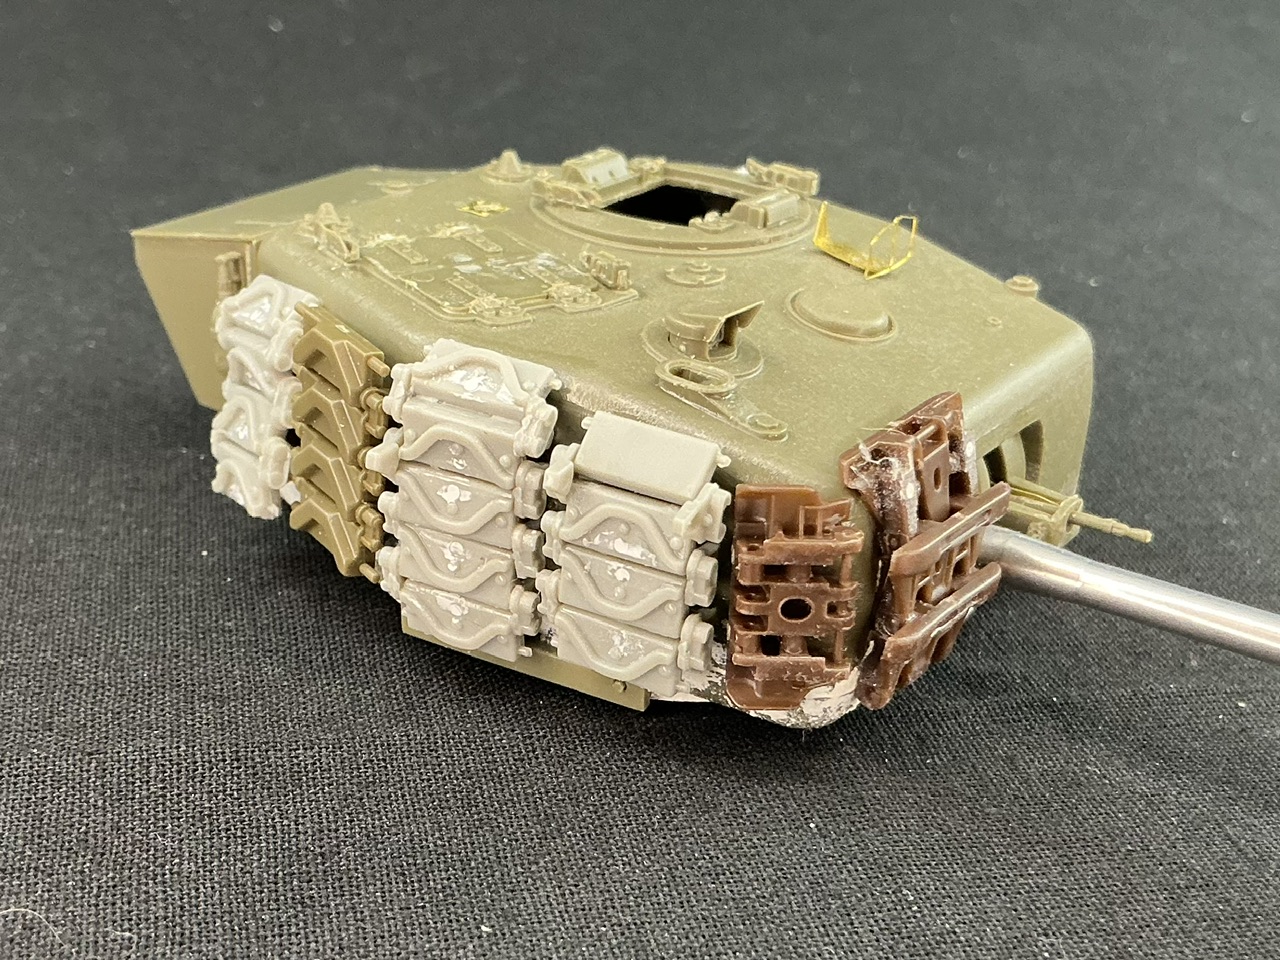
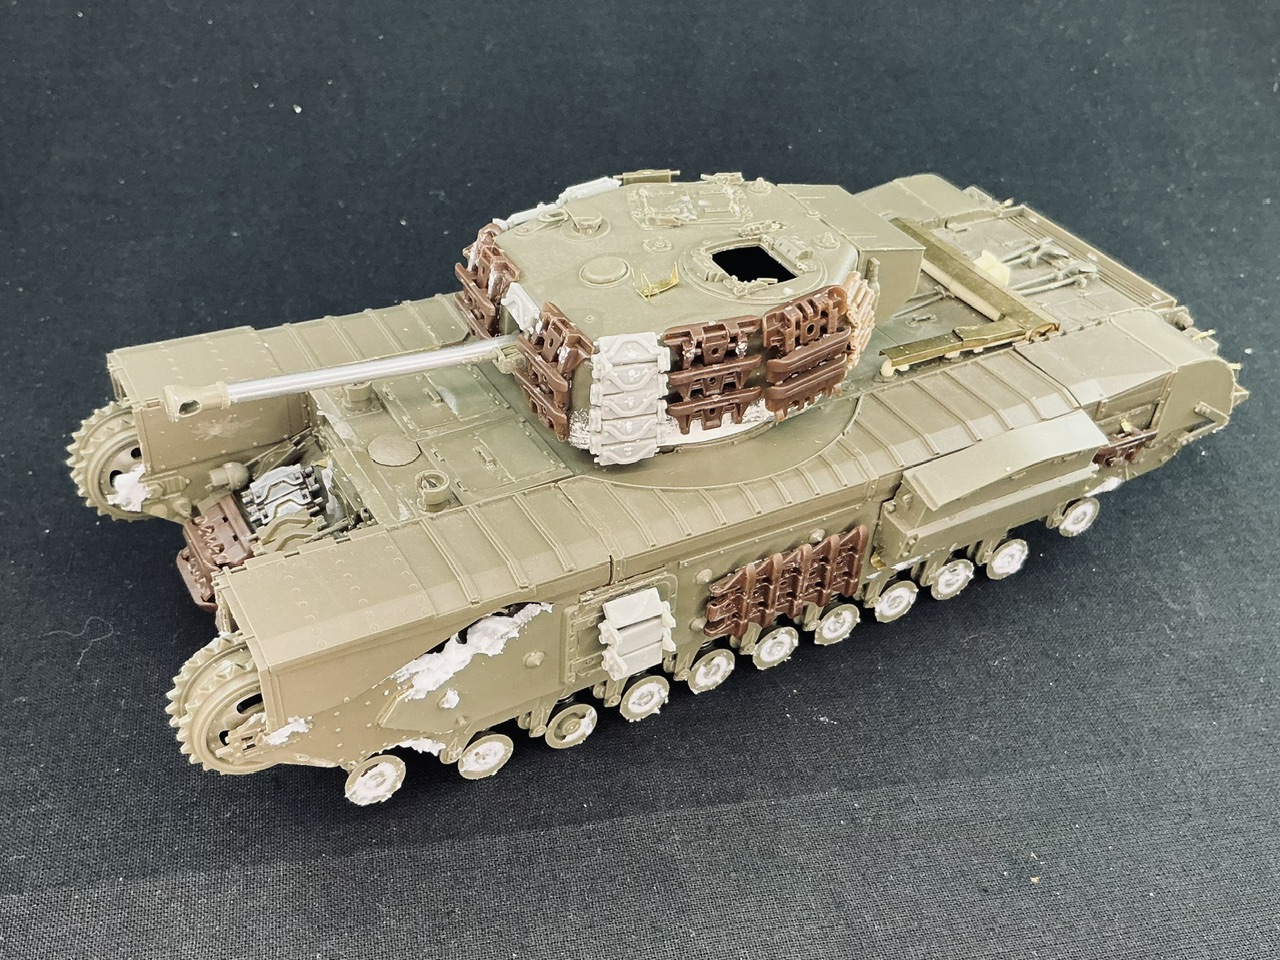
I had kind of wanted some Panther or Tiger tracks on the turret, but as I don't have any, I had to put more Churchill and Sherman links on instead The Churchill tracks are all from AFV Club, while most of the grey Sherman ones are from Dragon that someone gave me this summer — and just building these couple made me glad I never bought a Dragon Sherman kit that comes with them … Awful things to make. Other Sherman tracks on the model are from Tamiya, Asuka and Panda Plastics. I didn't try to replicate a tank from a photo, but arranged the tracks to look much like they do in photos of different tanks.
The white stuff in the last photo is coarse, textured, acrylic gel from an art supply store, applied with a spatula and a stiff brush to look like mud. It will dry semi-transparent, and probably shrink a little so I may have to add a second coat once it dries (it's still very wet in the photo).
Somebody on Scalemates put it up for sale for 5 (yes, five) euros plus postage, and to my surprise, nobody had bought it by the time I noticed it. On inquiring about it, the seller said it was assembled and complete, but not painted. Hey, for a fiver, I'm in
When I got it home from the shop where I had to pick up the parcel, I found the model like this:
Essentially straight from the box other than replacement resin exhaust pipes with etched covers, which was a nice surprise. It was built well enough, no sloppy mistakes or other glaring problems, so I put it aside for a few months before actually getting round to it. By mid-September, I felt like tackling the corrections that this kit needs. You see, AFV Club made a rather obvious mistake with the turret ring: the real Churchill Mk. VI is almost indistinguishable from a Mk. IV unless you really know what to look for. One external difference is that it has a wider turret ring than the Mk. IV, because an extra armoured collar was added around it. AFV Club did add that, but also made the turret ring taller at the same time, which it shouldn't be. Here is the turret as the previous owner assembled it per the kit instructions, together with the leftover Mk. IV turret base that also comes in the kit:
Basically, it should have the thicker turret ring as on the left but with the height of the part on the right. Fortunately, the model had been assembled with less cement than I would have used myself, allowing me to take the turret to pieces with relatively little effort:
Once that was done, I modified the Mk. IV lower part:
That is, I removed the bumps at the rear and filled the resulting holes, then added a wider turret ring made by laminating two lengths of 0.5 mm by 1 mm plastic strip around a former of approximately the right diameter. (Using two strips rather than one of the full thickness has two advantages: a rectangular strip is easier to bend than a square one, and by glueing them together around the former, they will hold the shape much better without the need for heat-forming.) Once dry, I also brushed some thinned putty around the strip to blend it into the rest of the turret.
While I had the turret apart, I also did a small conversion that nobody will spot unless they really know their Churchills
The hole in the front has a cut-off upper corner in the kit, but I squared it off. The one with the fillet in the corner is correct for the Mk. VI, while the square hole is a feature of the Mk. V, which had a 95 mm howitzer instead of a 75 mm gun. However, there are photos of Churchills with 75 mm guns and a square hole, suggesting that some Mk. V turrets were used to build Mk. VI tanks. (The reason for the square hole is that the gunner's telescope is higher up in the mantlet on the Mk. V, so the fillet would interfere with it. A Mk. VI with a square hole suffers no drawbacks from that, other than a slightly greater vulnerability to enemy fire, of course, which is why it should have the fillet in the first place.)
BTW, I also purchased a set of AFV Club Churchill tracks for this model, as I didn't want to use the soft plastic ones it comes with. They just don't sit right on a Churchill with its long-pitch links. You only need 50 links per side, though, not 70-something as the instructions tell you — well, if you leave the track covers on, anyway. Nearly the whole upper run is out of sight, so I don't see the point in adding it
And from there, the model languished until yesterday … I had already decided I wanted spare track armour on it, because this features very heavily on British (and Canadian) tanks from late 1944 until the end of the war. Digging through some of my spares boxes, I came up with a good, representative assortment of Sherman and Churchill tracks for hull and turret:
I had kind of wanted some Panther or Tiger tracks on the turret, but as I don't have any, I had to put more Churchill and Sherman links on instead
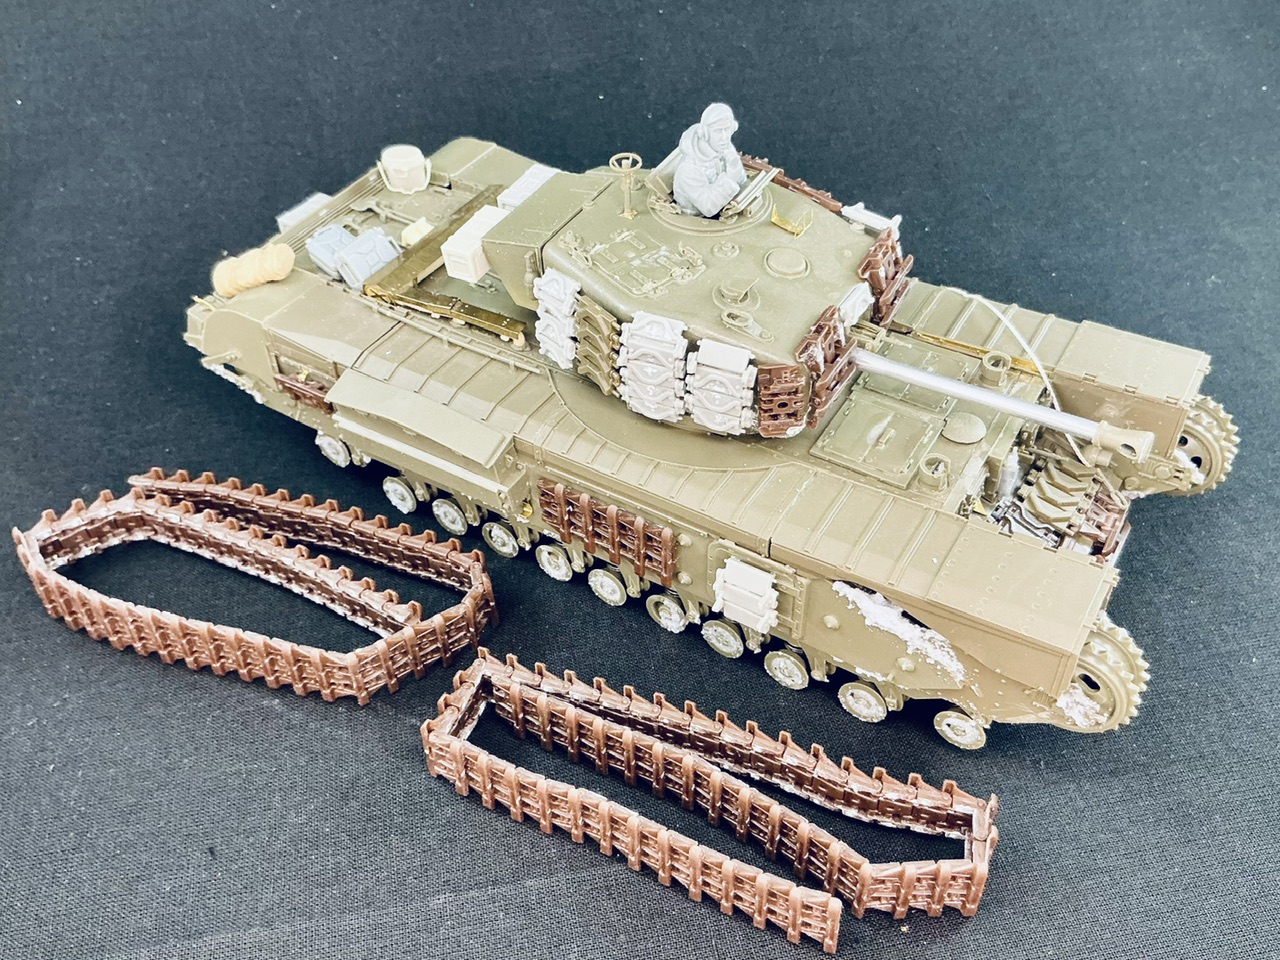
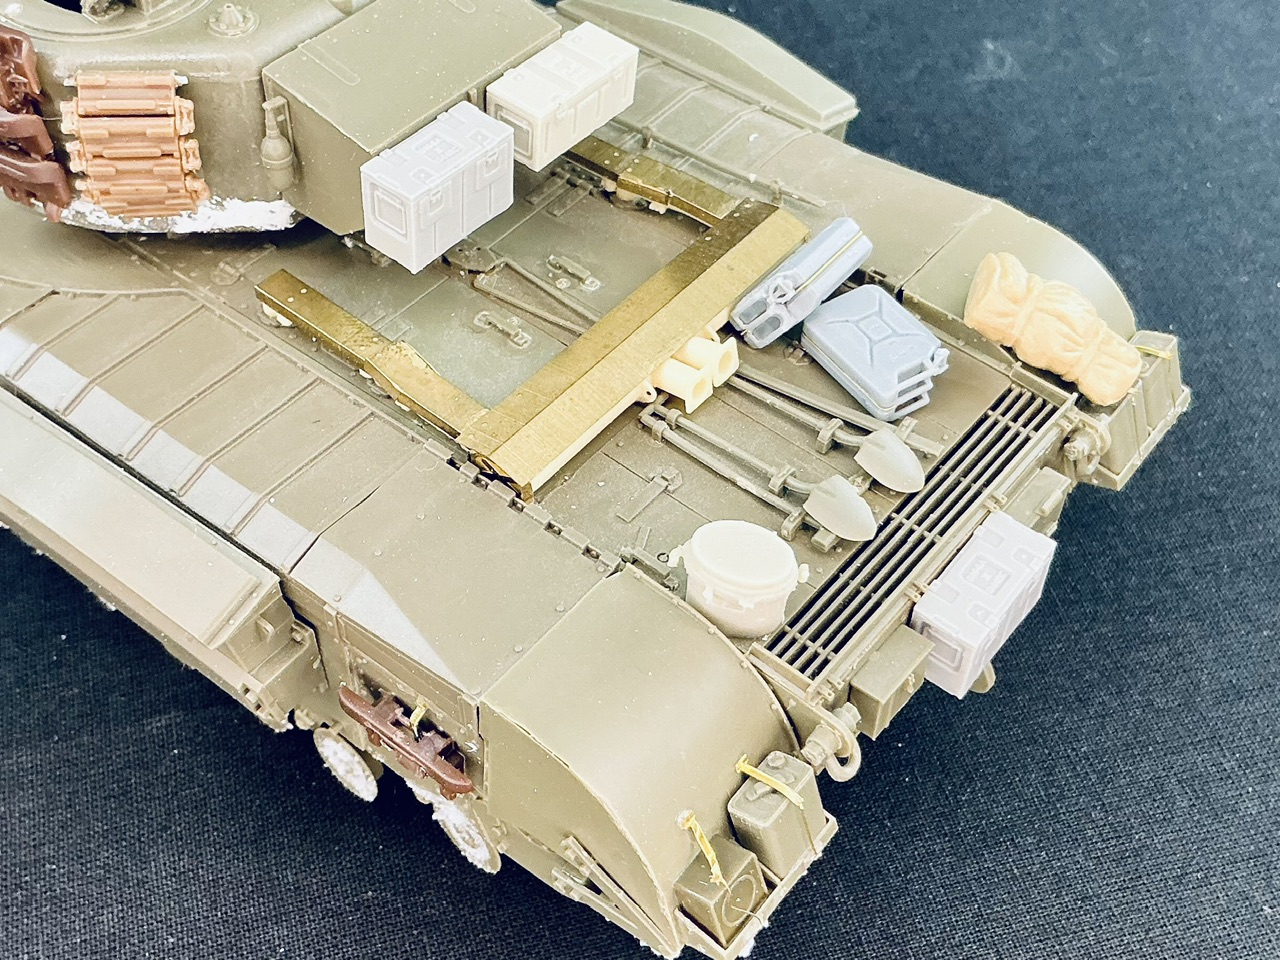
The Churchill tracks are all from AFV Club, while most of the grey Sherman ones are from Dragon that someone gave me this summer — and just building these couple made me glad I never bought a Dragon Sherman kit that comes with them … Awful things to make. Other Sherman tracks on the model are from Tamiya, Asuka and Panda Plastics. I didn't try to replicate a tank from a photo, but arranged the tracks to look much like they do in photos of different tanks.The white stuff in the last photo is coarse, textured, acrylic gel from an art supply store, applied with a spatula and a stiff brush to look like mud. It will dry semi-transparent, and probably shrink a little so I may have to add a second coat once it dries (it's still very wet in the photo).
Last edited:


![Pampers Sensitive Baby Wipes, Clinically Proven, Fragrance Free, Unscented, Water Based, Hypoallergenic, Multi-Use, Hand Wipes 336 Wipes Total (6X Flip-Top Packs) [Packaging May Vary]](https://m.media-amazon.com/images/I/41KLBHu9CAL._SL500_.jpg)






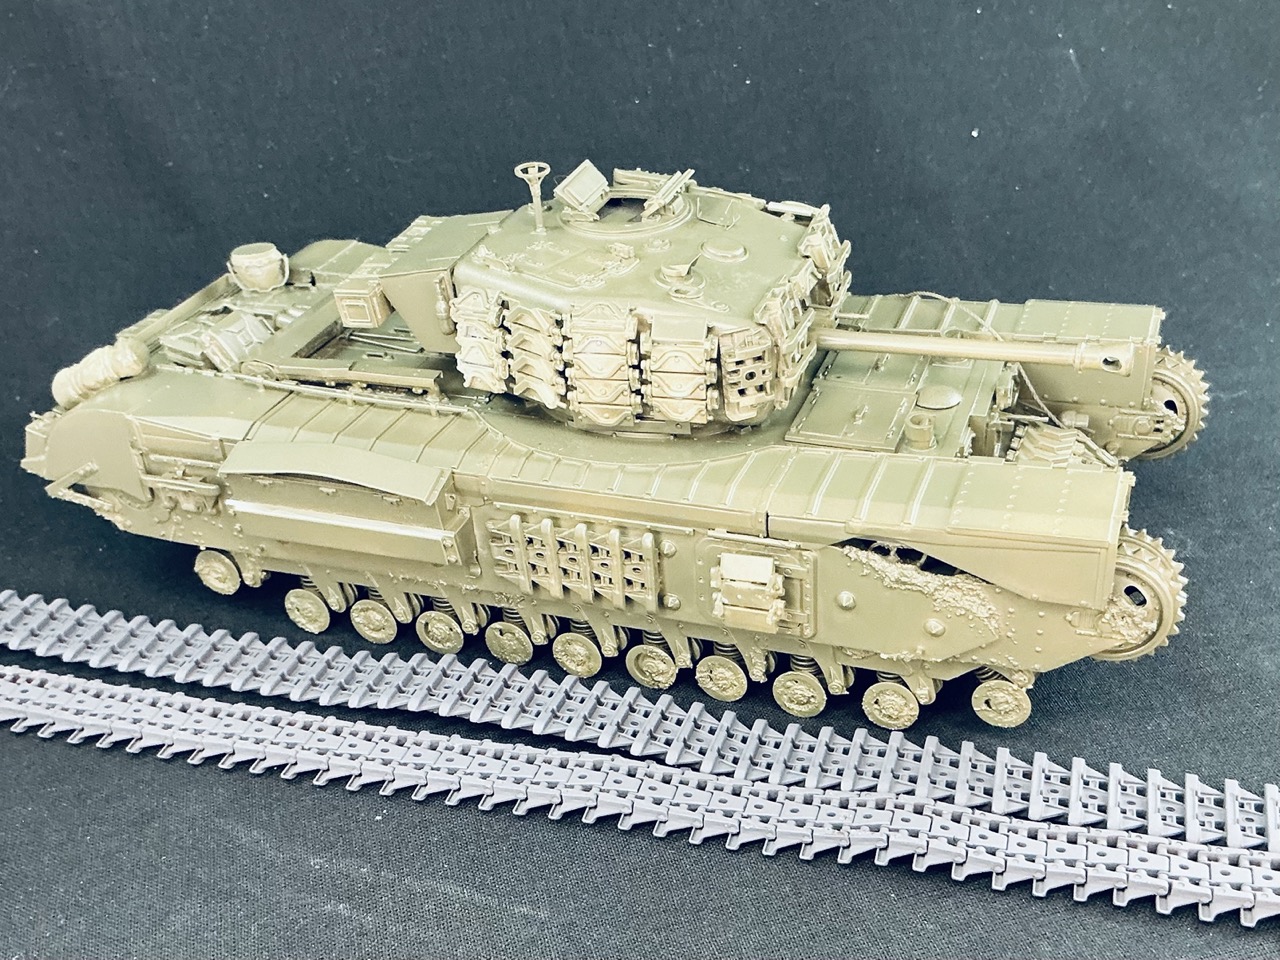
 The tracks have been sprayed Tamiya Medium Grey.