Another Belly Tanker

Scale Model Addict - Model Tips, Guides, Tools & Tech, Tutorials, and Community

Help Support Scale Model Addict:

Holz44

Well-Known Member
Joined
Jun 8, 2025
Messages
209
City & State/Province
North Carolina
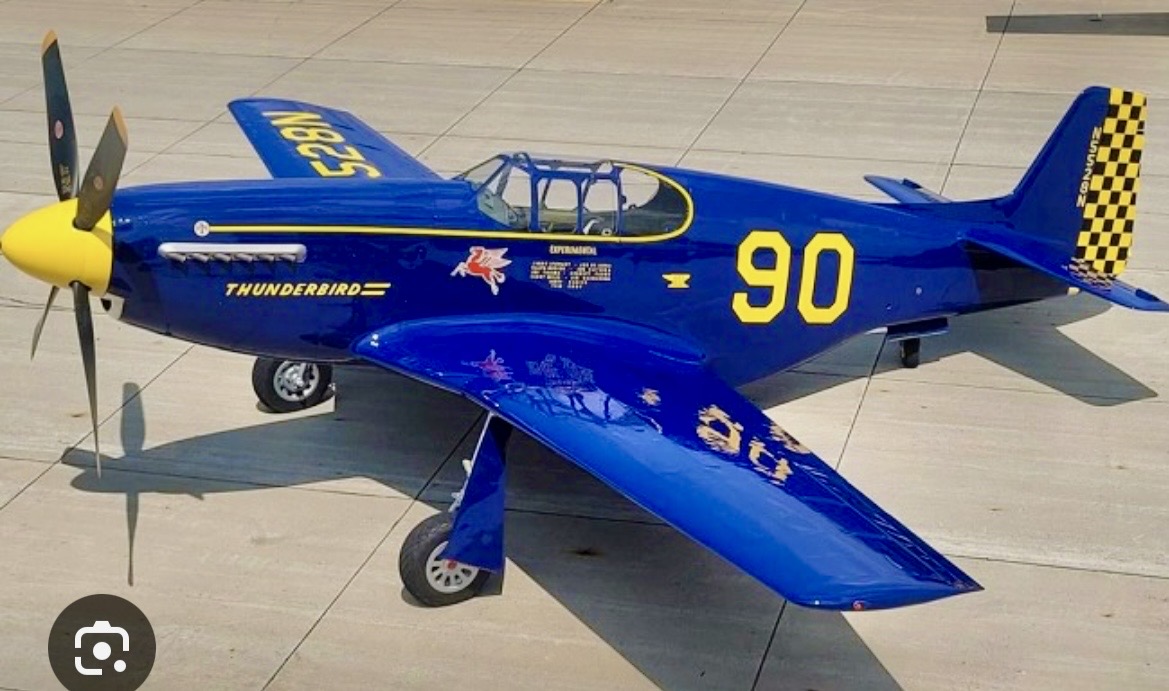
I haven't built a non-aircraft model since the '60s but was inspired by the Belly Tanker Lakester racers that showed up on our Forum, so I bought one and want to match it with a 1940s era Unlimited Aircraft in a simple diorama.
I'm starting the "tanker" first and show some of the work along the way. Since resin and printed models are new to me, I'm sure there'll be some interesting moments along the way.
29894FE8-C373-4BD7-9B5D-EED630DB9C02.JPG

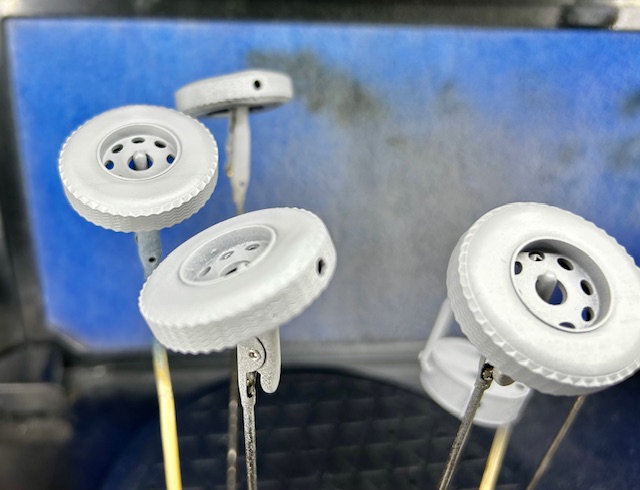
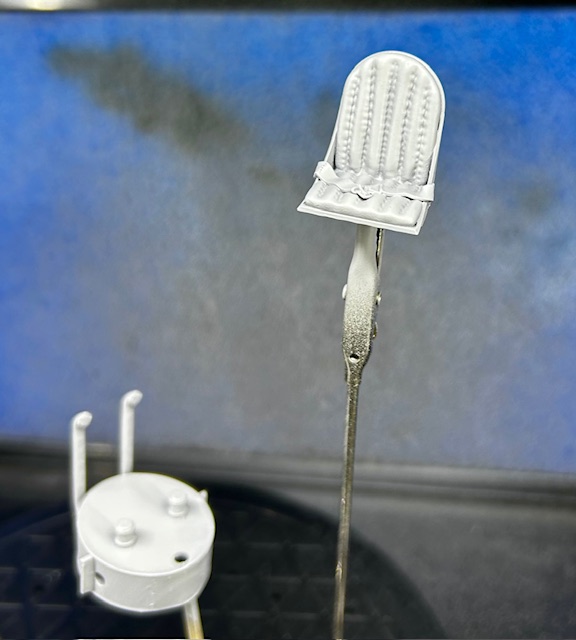
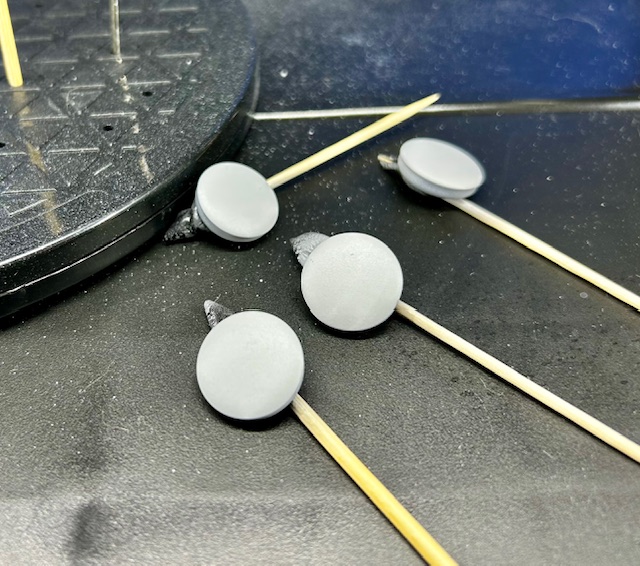
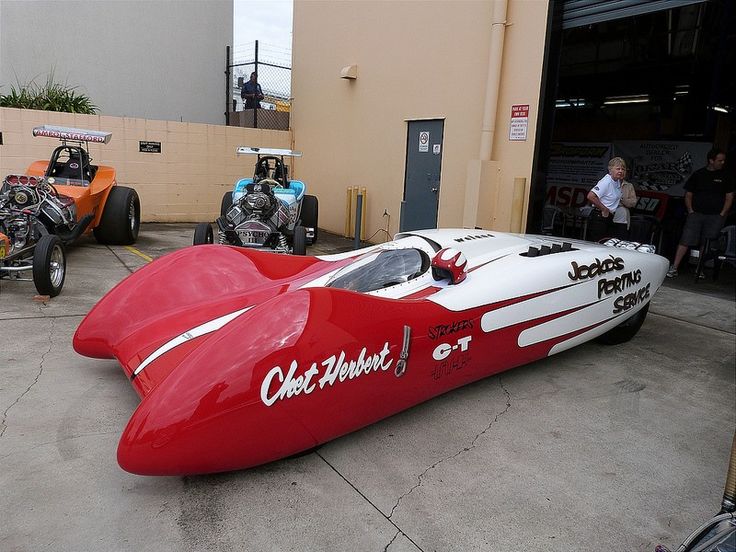
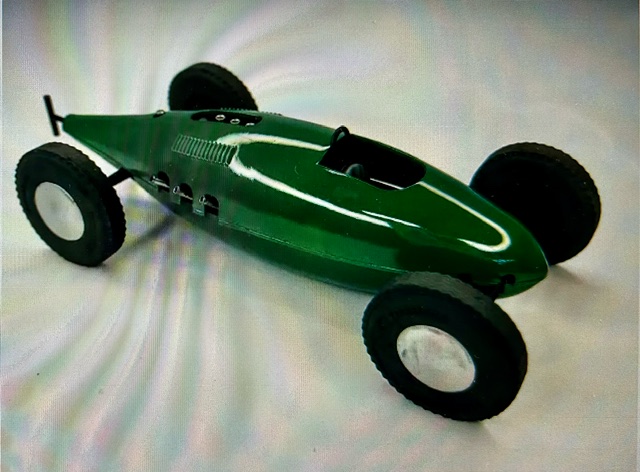
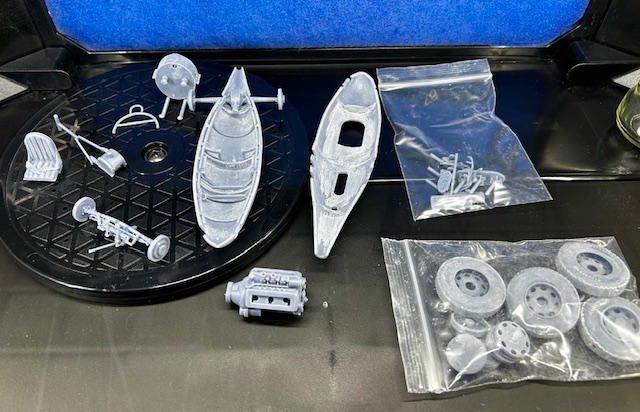
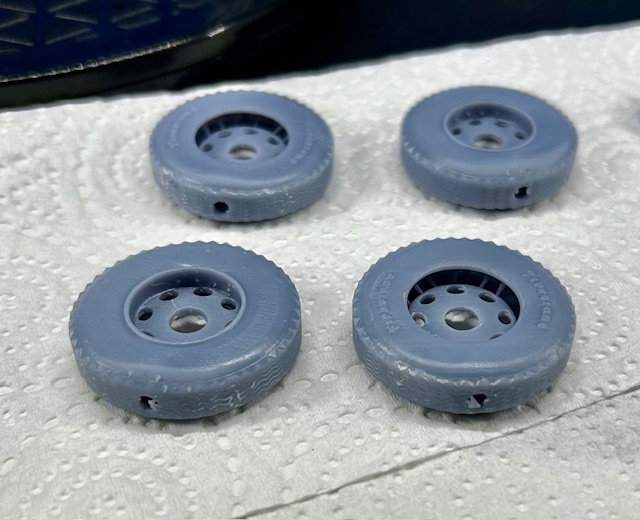
Here's a finished version of the kit , and here's some shots of my parts being sorted, cleaned up and then some were just primed.
IMG_2249.jpeg
IMG_2281 (1).jpeg

IMG_2285.jpeg
IMG_2284.jpeg
IMG_2286.jpeg

More later as I progress............
 
I haven't built a non-aircraft model since the '60s but was inspired by the Belly Tanker Lakester racers that showed up on our Forum, so I bought one and want to match it with a 1940s era Unlimited Aircraft in a simple diorama.
I'm starting the "tanker" first and show some of the work along the way. Since resin and printed models are new to me, I'm sure there'll be some interesting moments along the way. View attachment 183611
Here's a finished version of the kit , and here's some shots of my parts being sorted, cleaned up and then some were just primed.
View attachment 183612View attachment 183613
View attachment 183614View attachment 183615View attachment 183616
More later as I progress............
Go man go, looking forward to the progress. The more i see the moon caps on it makes me want to go to the lathe and turn me a set for mine.
 
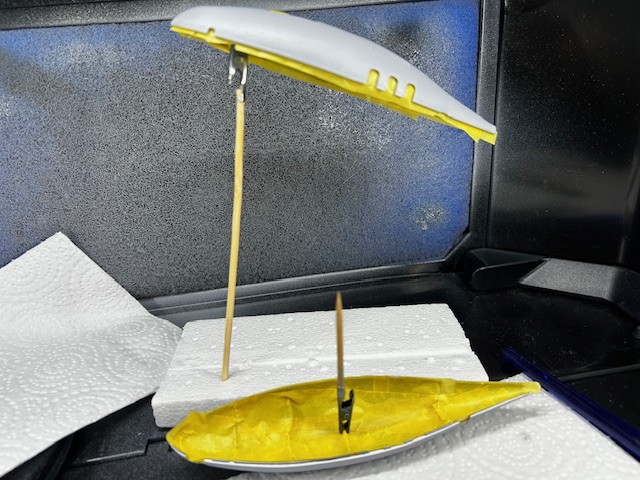
Some update on the Tanker build. Working with this brittle media is challenging but doable, detail is great! Sanding and a good primer coat seems essential.
IMG_2395.jpeg

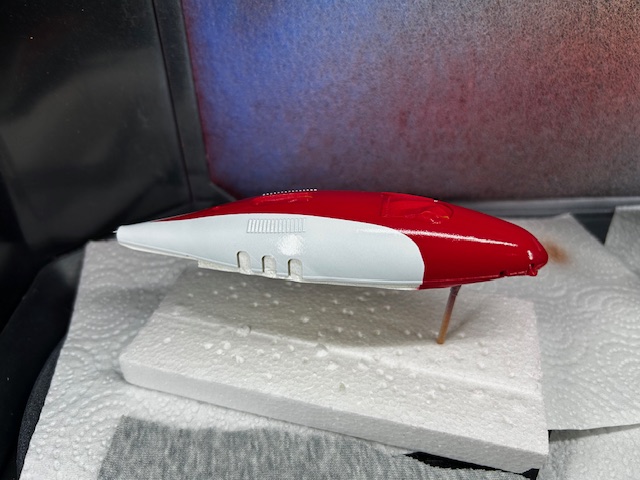
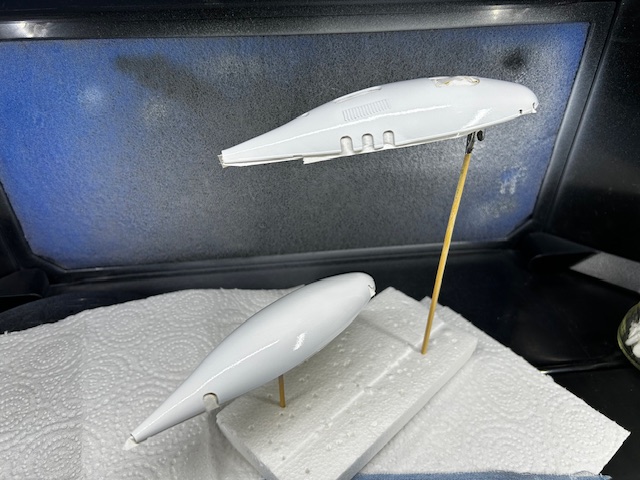
The belly "halves" have been primed inside and out. The interior has been sprayed a flat aluminum and after setting, they're all taped up for the outer solid gloss white color.
IMG_2400.jpeg

Sprayed 7-8 light coats of white. Will be coming up with a red tear drop of some sort over the nose section.
IMG_2399.jpeg

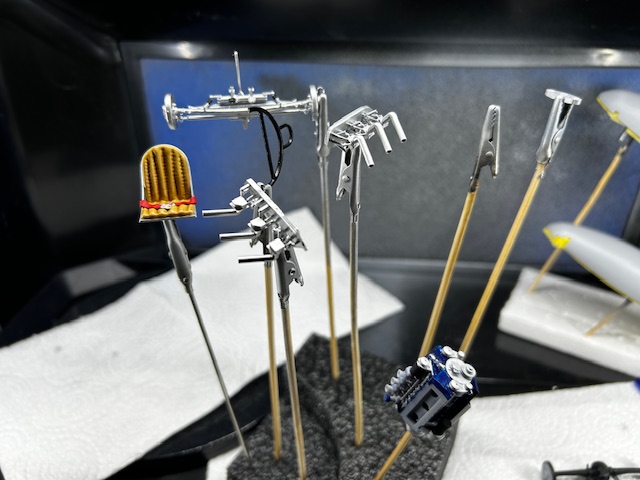
Other bits and pieces being prepped and painted. Coming together nicely.
IMG_2378.jpeg
 
Last edited:
As an Amazon Associate we earn from qualifying purchases. Product prices and availability are accurate as of the date/time indicated and are subject to change.
You over estimate my taping and painting skills Sensei !
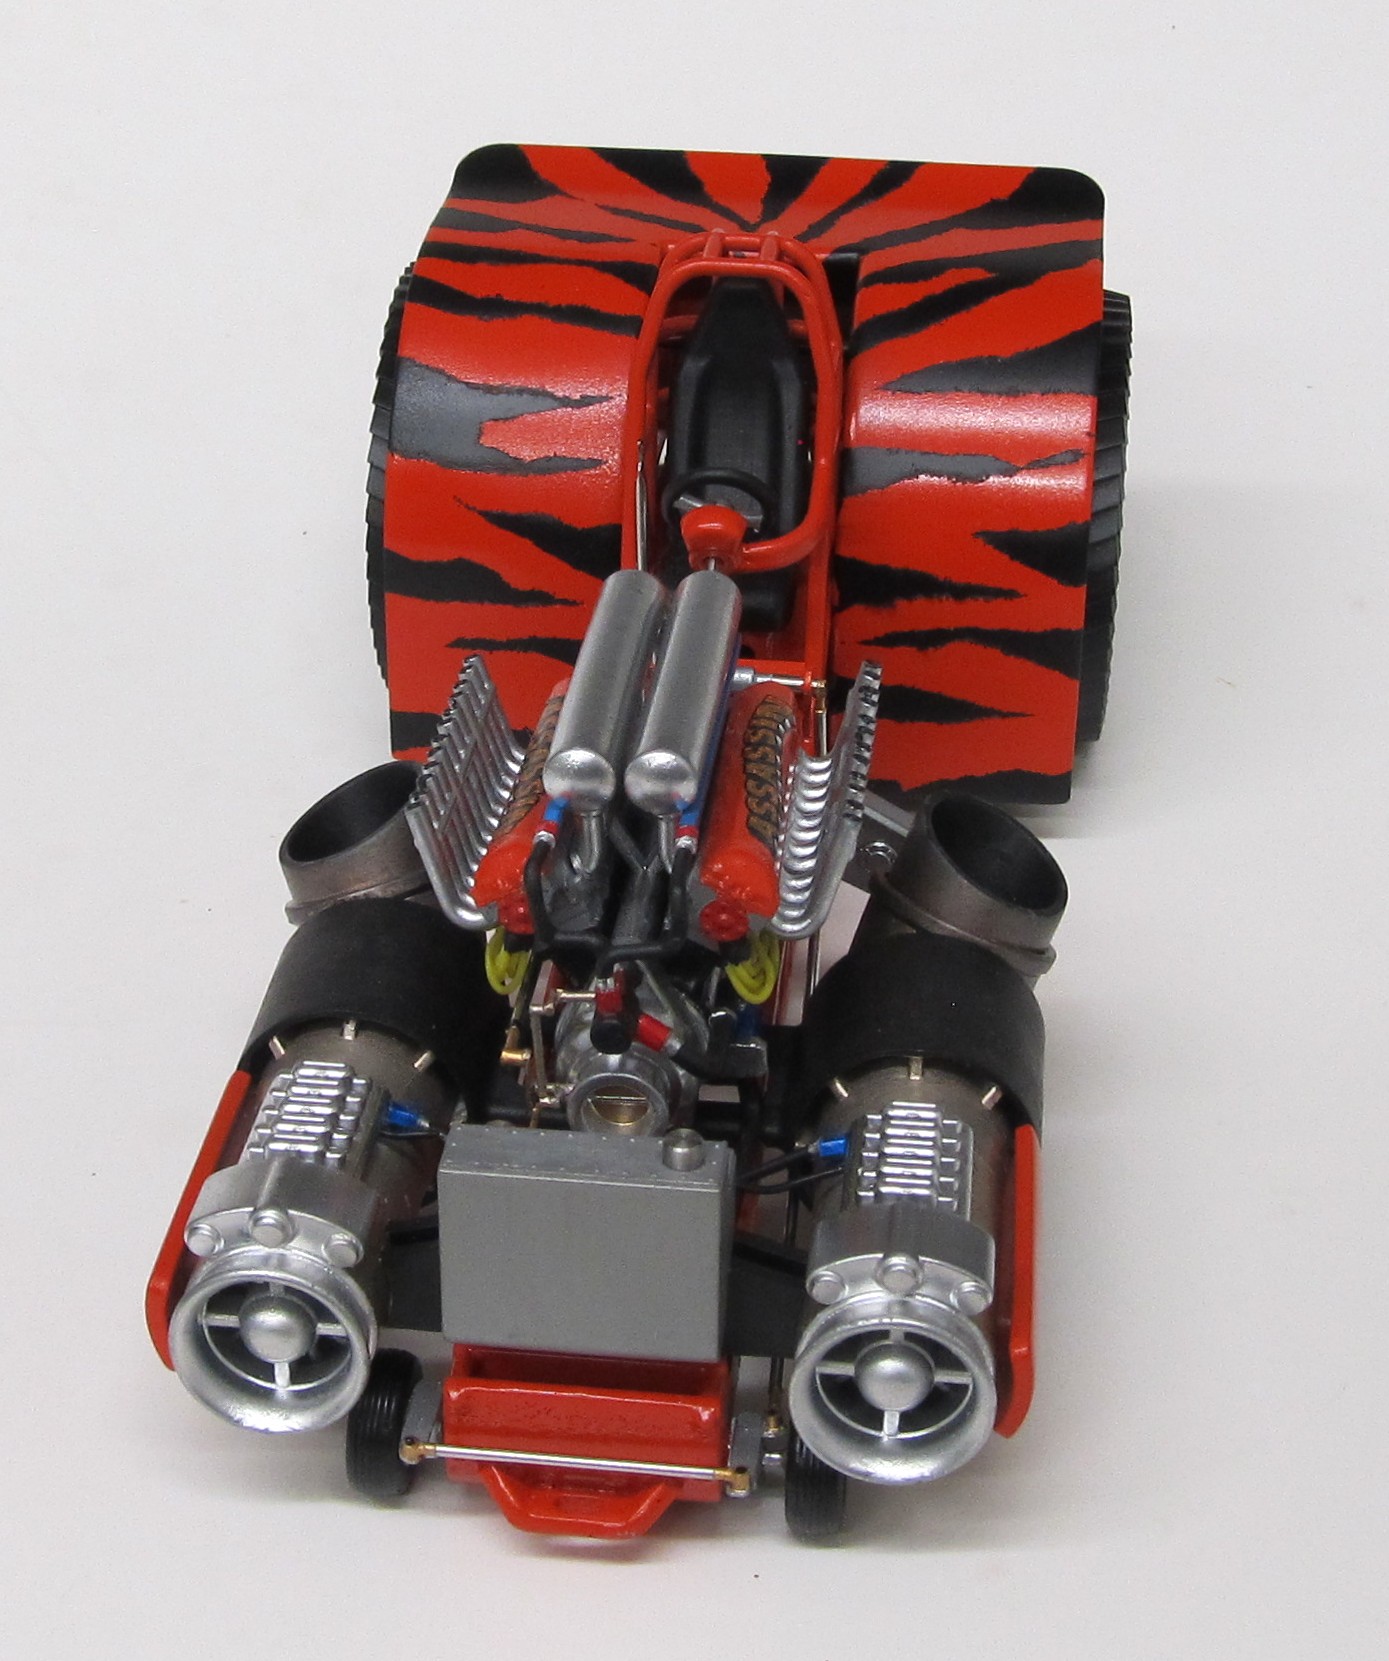
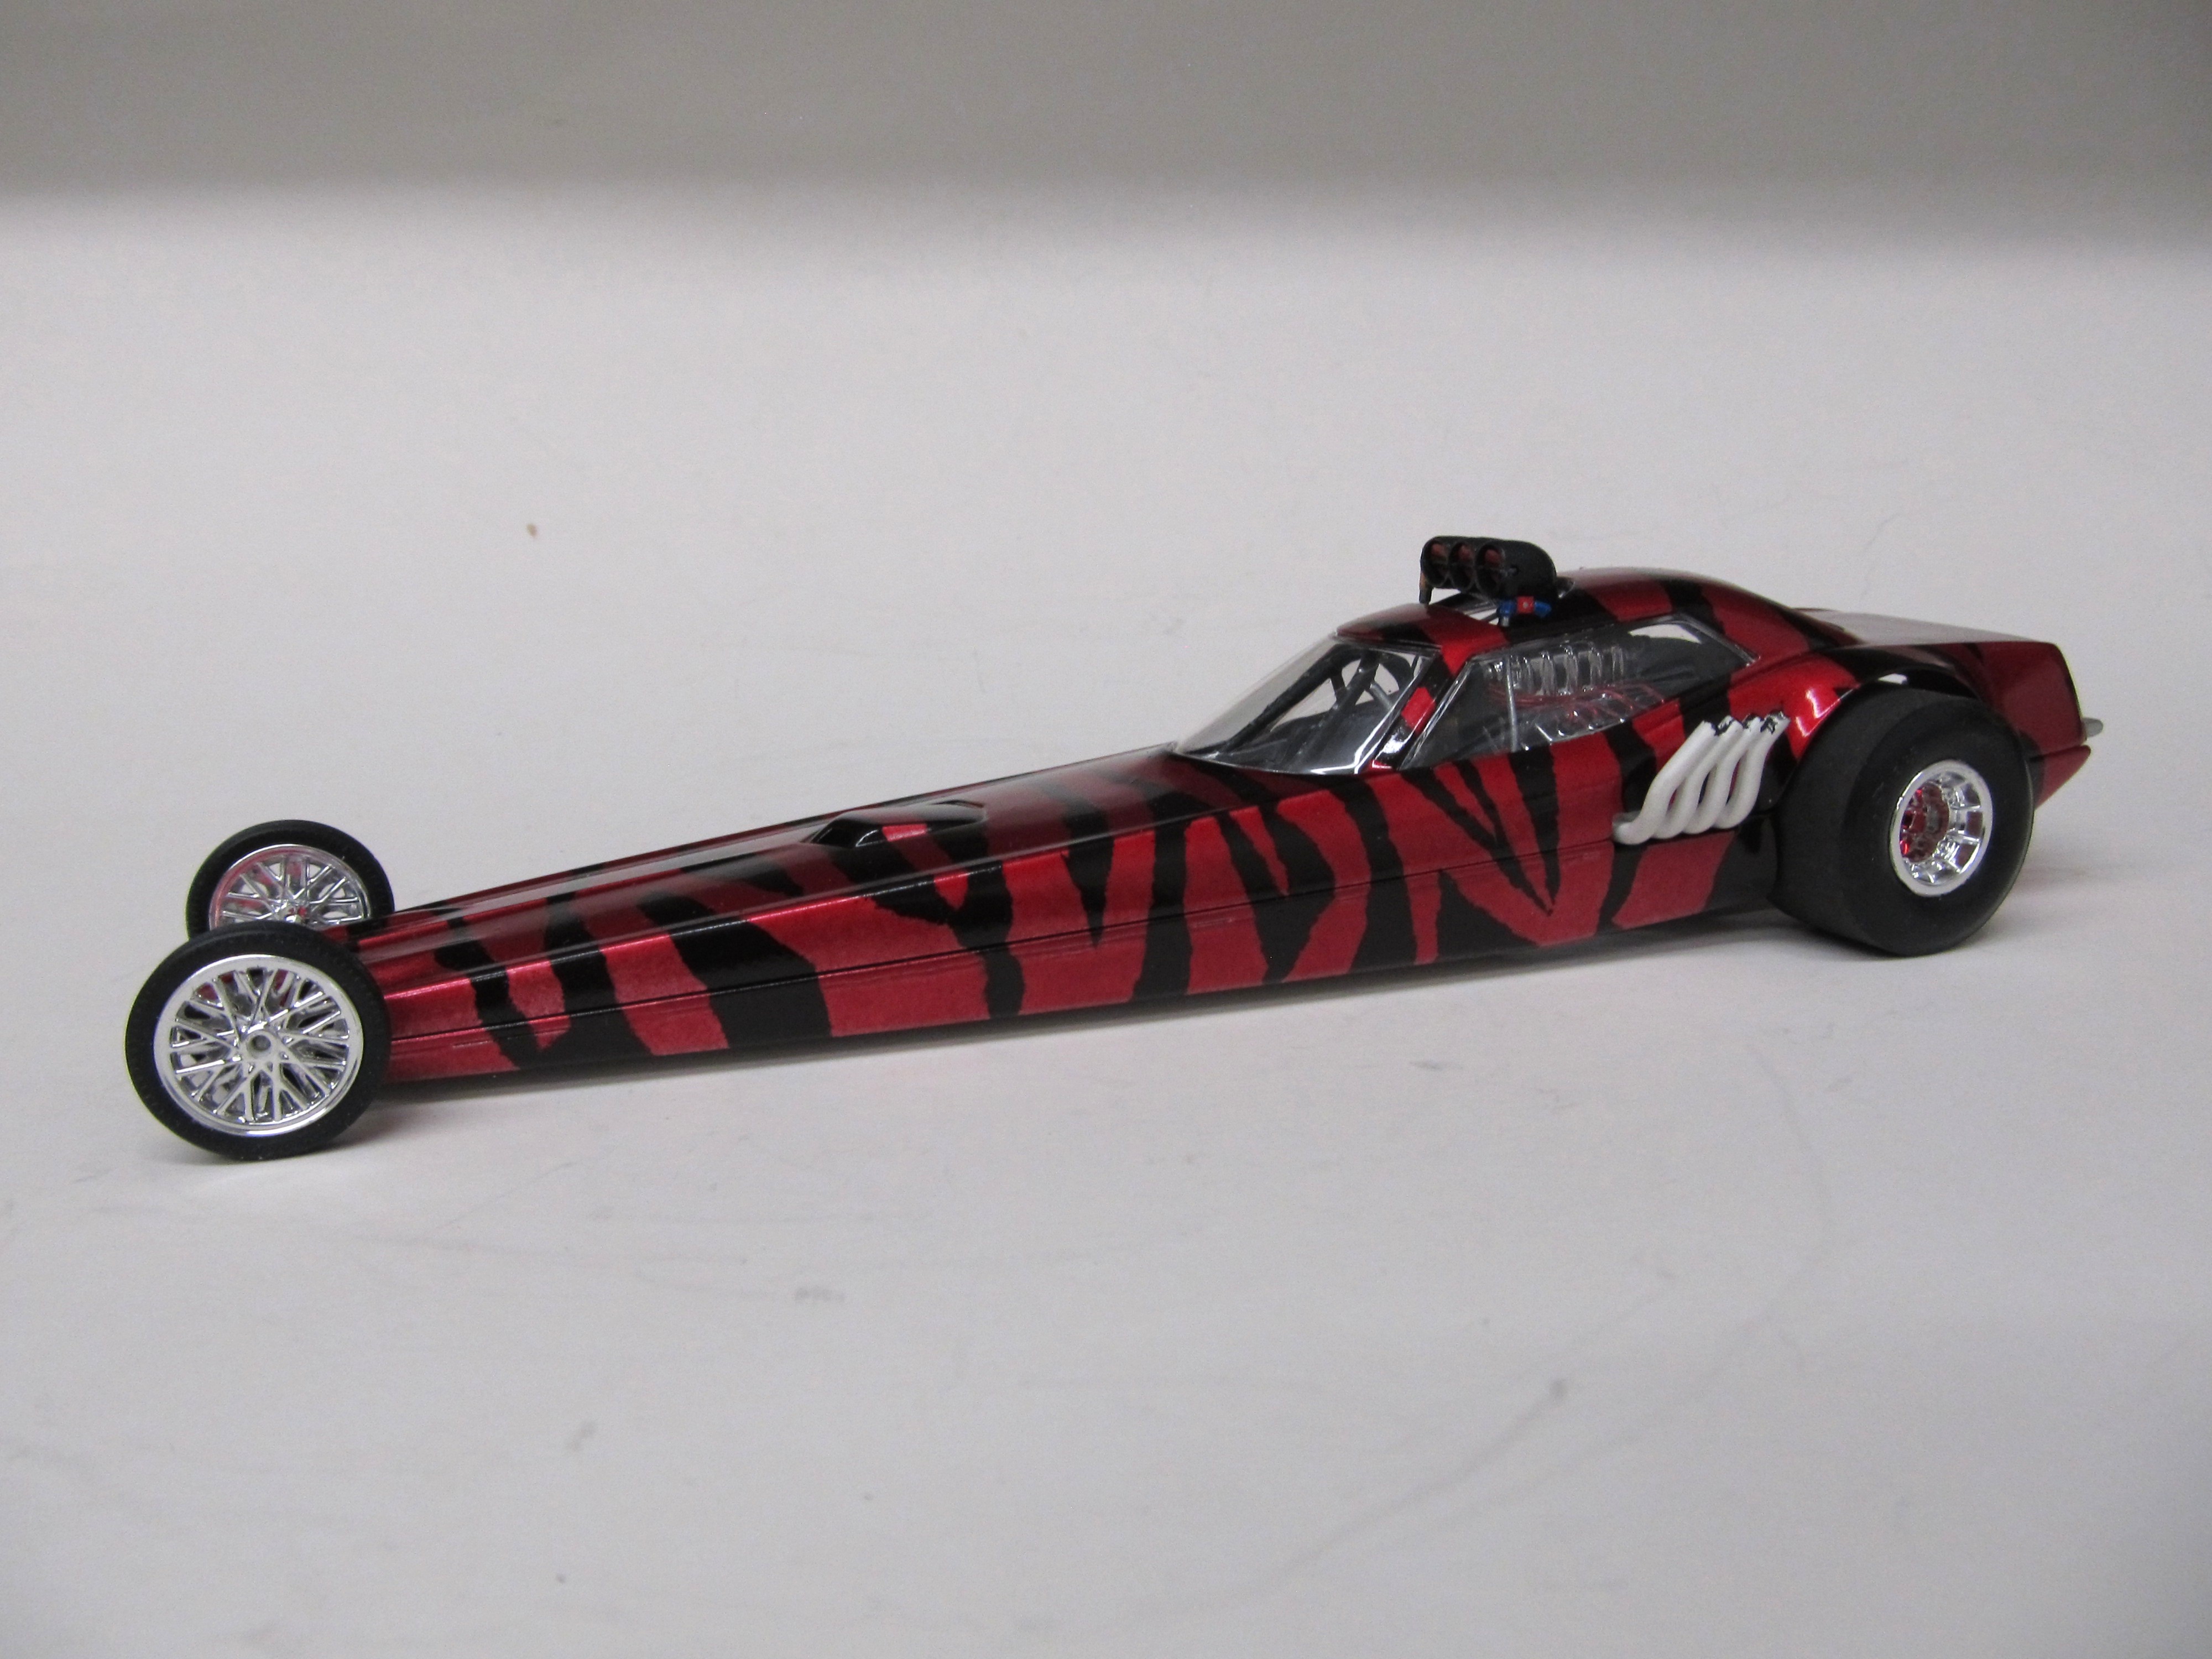
Ok maybe a look like the pint is ripping off the body, just torn pcs of tape are easy to do. Paint the body to about half way from the nose back in red, then mask off the nose and lay the torn tape how ever you like, shoot what ever red is showing with some primer again, then shoot the white. Let it dry pull the tape and you will have the look of the white paint being pealed away exposing the red under it. Thats how i did tiger stripes on the puller.
IMG_2846.JPG
IMG_2045.JPG
 
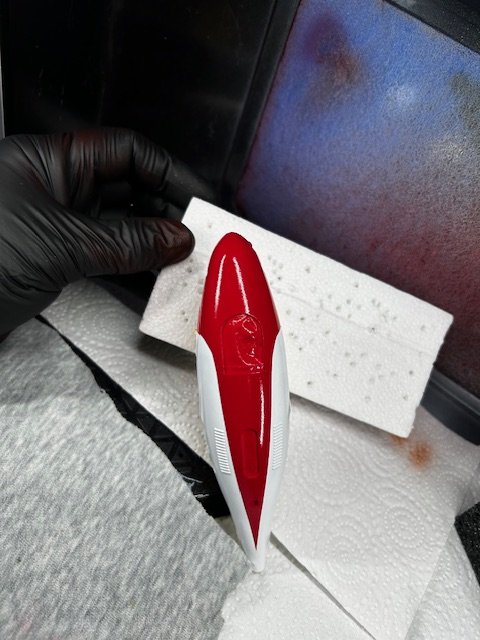
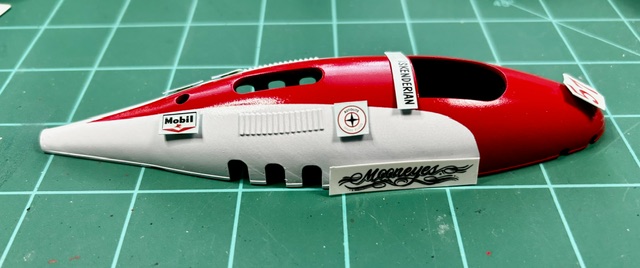
Was able to get a little time in painting. Some detail parts and the top tank scallop/teardrop. Not the prettiest but I'm happy with it so far.
IMG_2393 (1).jpeg

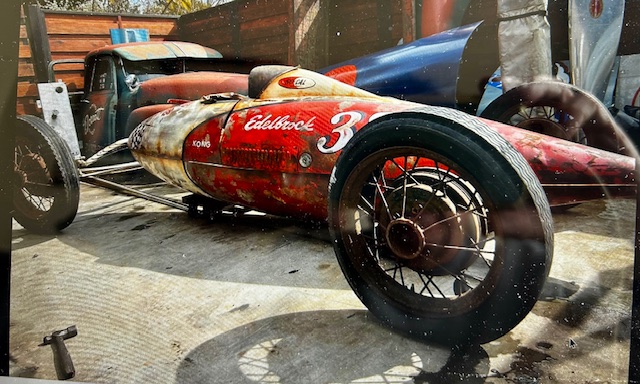
Here was the inspiration. A basic color design that could come out of any neighborhood garage.
IMG_2425.jpeg
IMG_2426.jpeg

Will do a little more this week............
 
Was able to get a little time in painting. Some detail parts and the top tank scallop/teardrop. Not the prettiest but I'm happy with it so far.
View attachment 185880
Here was the inspiration. A basic color design that could come out of any neighborhood garage.
View attachment 185881View attachment 185882
Will do a little more this week............
Perfect! with the wheels on pipes sticking out and some light decaling it will be beautiful.
 
I'm new to "printed" media that I'm assuming is resin in composition. Anyway, I washed the parts after trimming and sanding some. I sprayed Mr. Finishing Surface primer thinned with Mr.Color Leveling 50/50. I let that dry for 2 days. I work almost exclusively with Tamiya Acrylics simply for easier cleanup, abundant sources and consistency I my technique. White was Tamiya X-2 and red was Tamiya X-7, each mixed 50/50 with Tamiya X-20A thinner. I sprayed approximately 7-8 coats of each, letting each coat "set" about 5 minutes between sprays.
With all the conversations about AB cleanup............ I use Acetone after each color and disassemble the needle and nozzle.
Getting very close to finding time to finish detail painting of components and assembly into the lower tank.

In the time it took me to write this, I'm sure Racer has finished two Gassers and one custom Show car! The man is a BEAST at knocking out projects! 😃
 
I'm new to "printed" media that I'm assuming is resin in composition. Anyway, I washed the parts after trimming and sanding some. I sprayed Mr. Finishing Surface primer thinned with Mr.Color Leveling 50/50. I let that dry for 2 days. I work almost exclusively with Tamiya Acrylics simply for easier cleanup, abundant sources and consistency I my technique. White was Tamiya X-2 and red was Tamiya X-7, each mixed 50/50 with Tamiya X-20A thinner. I sprayed approximately 7-8 coats of each, letting each coat "set" about 5 minutes between sprays.
With all the conversations about AB cleanup............ I use Acetone after each color and disassemble the needle and nozzle.
Getting very close to finding time to finish detail painting of components and assembly into the lower tank.

In the time it took me to write this, I'm sure Racer has finished two Gassers and one custom Show car! The man is a BEAST at knocking out projects! 😃
The paints not even dry on the Fiat and i have a 30s chevy on the bench getting measured up for another altered chassis.😁
 
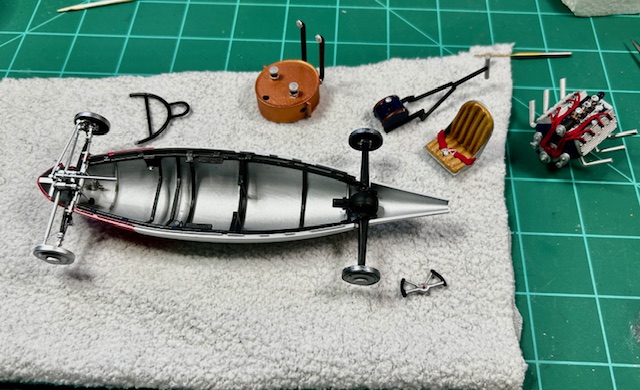
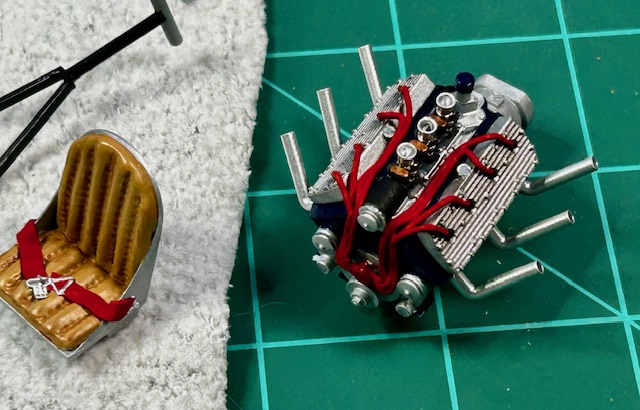
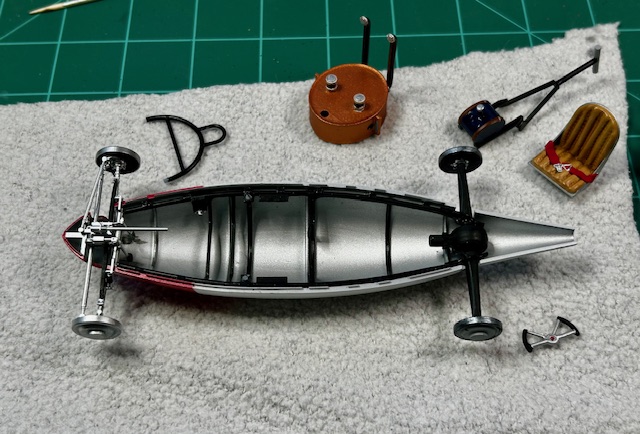
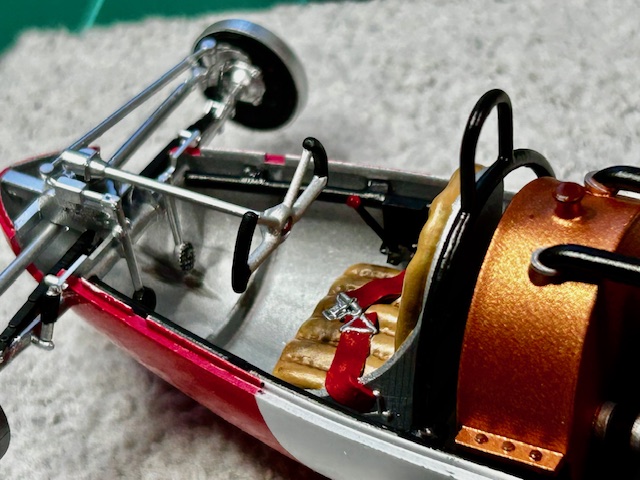
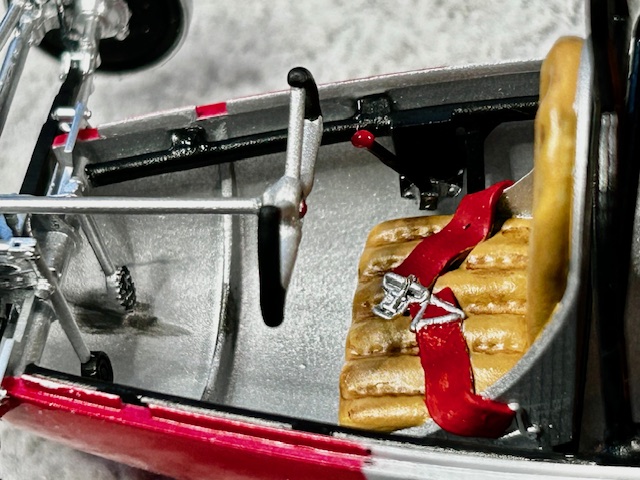
Final assembly is started, doing some fitting, shaping, scrapping paint to glue parts together and then touch up paint, Going together nicely as is really a very good kit for anyone that wants something "different" in there collection.
Waiting on an engine drive belt and a few decals and the Tanker should be done soon, then back to aircraft for a while.
IMG_2486.jpeg
IMG_2487.jpeg
IMG_2488.jpeg

A couple more pictures later today.
 
Final assembly is started, doing some fitting, shaping, scrapping paint to glue parts together and then touch up paint, Going together nicely as is really a very good kit for anyone that wants something "different" in there collection.
Waiting on an engine drive belt and a few decals and the Tanker should be done soon, then back to aircraft for a while.View attachment 187327View attachment 187328View attachment 187329
A couple more pictures later today.
Wow looks like i better get some stuff in the mail.
 
Just some minor work done this week. Neither NAPA or Advance Auto Parts has a drive belt that fits so just a little delay there. Once it arrives I can install engine, water tank, oil tank and push bar.
I was wanting to apply "salt" to the tires as to replicate running on the Salt Flats, and some of you guys suggested powdered sugar to simulate that effect. My question is how well does that hold up and stay applied to the tire if it's moved around a couple times. Also, which adhesive do you suggest? I was going to roll the tire carefully across a surface with salt or sugar on it.
IMG_2492.jpeg
IMG_2493 (2).jpeg
IMG_2496.jpeg
 
Disclaimer: I've not done dioramas yet, but thinking and reading up on techniques, so interested to see what you decide on.

From what I've read, and my own experience with ants finding their way to the kitchen — in this locale anyways — sugar might not be my first choice.
I don't know how salt would hold up over time either, as it gets very humid in the summer here.
I've seen talc suggested, as its fine scale is often appropriate, though like with other powders, treat it with hairspray or matte fixative to keep it from absorbing humidity.

Modelers like @RacerX have lots of experience with this specific effect, so let's see what they have to say!
 
Just some minor work done this week. Neither NAPA or Advance Auto Parts has a drive belt that fits so just a little delay there. Once it arrives I can install engine, water tank, oil tank and push bar.
I was wanting to apply "salt" to the tires as to replicate running on the Salt Flats, and some of you guys suggested powdered sugar to simulate that effect. My question is how well does that hold up and stay applied to the tire if it's moved around a couple times. Also, which adhesive do you suggest? I was going to roll the tire carefully across a surface with salt or sugar on it.
View attachment 187728View attachment 187729View attachment 187730
Your belt is in the mail tomorrow, just got time last night to make some blued tubes to add to the goody bag. ;)
 
Disclaimer: I've not done dioramas yet, but thinking and reading up on techniques, so interested to see what you decide on.

From what I've read, and my own experience with ants finding their way to the kitchen — in this locale anyways — sugar might not be my first choice.
I don't know how salt would hold up over time either, as it gets very humid in the summer here.
I've seen talc suggested, as its fine scale is often appropriate, though like with other powders, treat it with hairspray or matte fixative to keep it from absorbing humidity.

Modelers like @RacerX have lots of experience with this specific effect, so let's see what they have to say!
Powdered sugar works fine, humidity should not bother it in the short amount of time it will be out to do the job, I just had a discution in another forum on this subject. here is a way to test, lay out a thick line of sugar on a plate and leave it on the kitchen table over night, this will tell you if humidity is a problem. :)I guess i will do a post on it and the technique i used, if you have some Barly please try it and tell us what you get in your part of the great white north, cause here in mole hill woods of NC i left a line out for a day and night after the discussion and it was still powder in the morning.
 
Sorry for no posts on the finishing of this build! Been distracted with various things.
I've practiced putting different materials on some spare tires to simulate salt and may have decided what to use, along with a technique. Will post the finished photos soon........................... I hope.
IMG_2536.jpeg
 
Sorry for no posts on the finishing of this build! Been distracted with various things.
I've practiced putting different materials on some spare tires to simulate salt and may have decided what to use, along with a technique. Will post the finished photos soon........................... I hope.View attachment 190344
db6afccac70dc671b5ecf06b36b5d3f3--wells.jpg

🤣No hurry brother , when ever your ready. 🤘
 
So sorry that I haven't kept[t up with this post! No real excuses other than "Life" and other things came up that needed attention. We've all been there!
So, a quick rundown to the finished project........
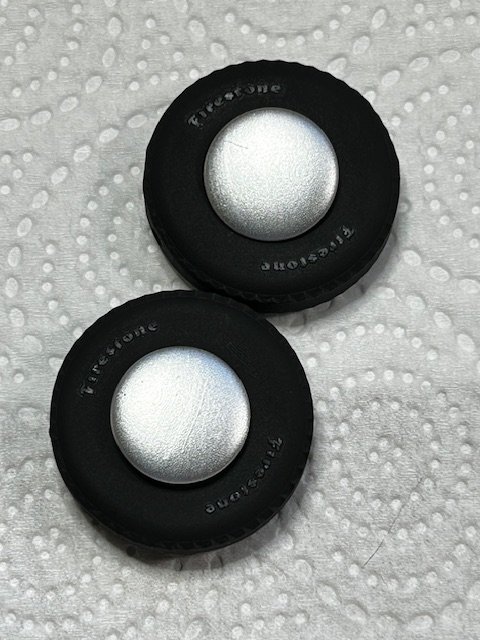
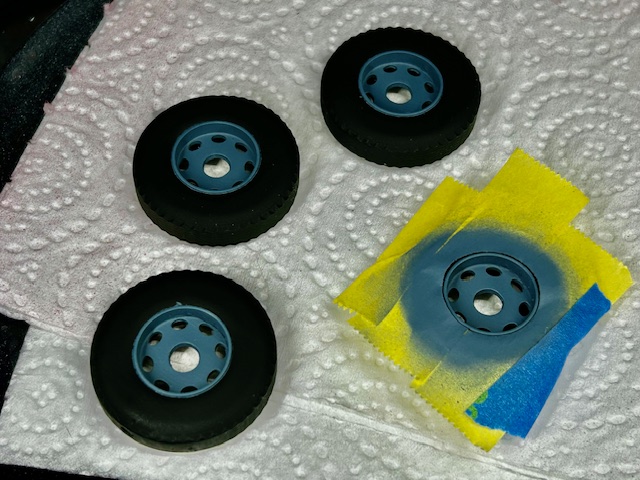
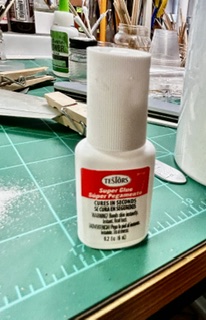
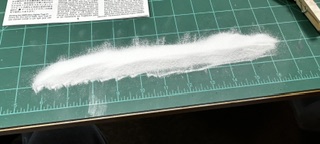
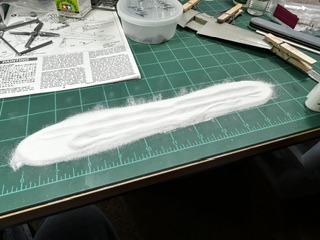
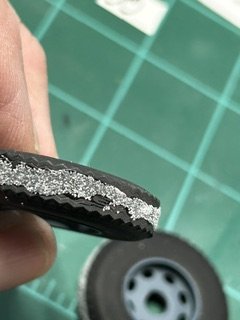
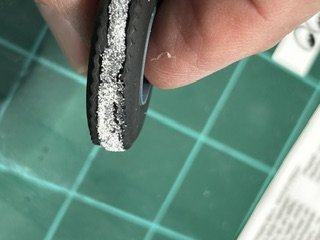
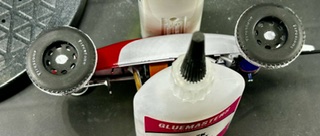
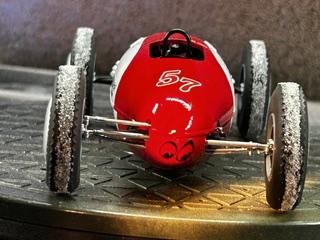
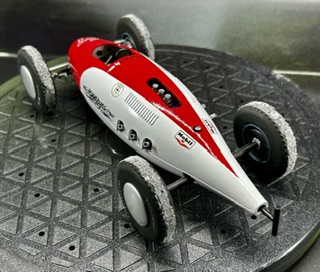
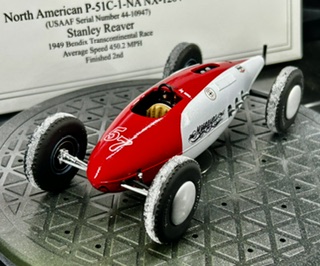
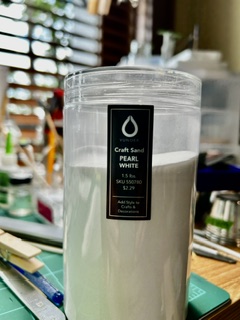
I experimented putting "salt" on spare tires using sugar, sand, salt, etc and wasn't happy with size, consistency and worrying about bugs going after salt or sugar. I finally settled on getting decorative sand from Hobby Lobby and am satisfied with the end result.
I applied a thin coat of Testors glue on the tire tread and then "rolled" the tire through a Tony Montana size line of sand.
IMG_2740.jpeg
IMG_2742.jpeg
IMG_2741.jpeg
IMG_2743.jpeg
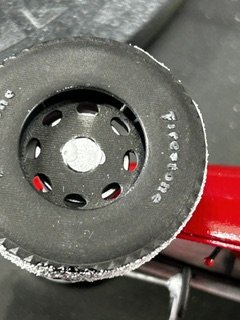
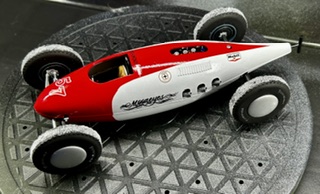
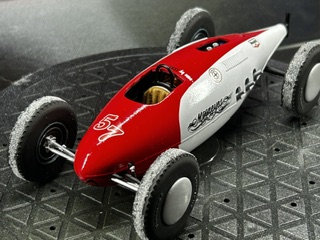
There were still some places on the tire that didn't get adequate sand coverage, so I touched up those spaces and sprinkled sand onto the tire. It came out pretty good. I then placed the tires on the brake drums and put only a couple drops of PVA glue to hold in place. I did this just in case I wanted to remove the wheels at a future date if necessary. I then snapped into place the wheel covers. All that went very well.
IMG_2759.jpeg
IMG_2760.jpeg
IMG_2762.jpeg

IMG_2763.jpeg

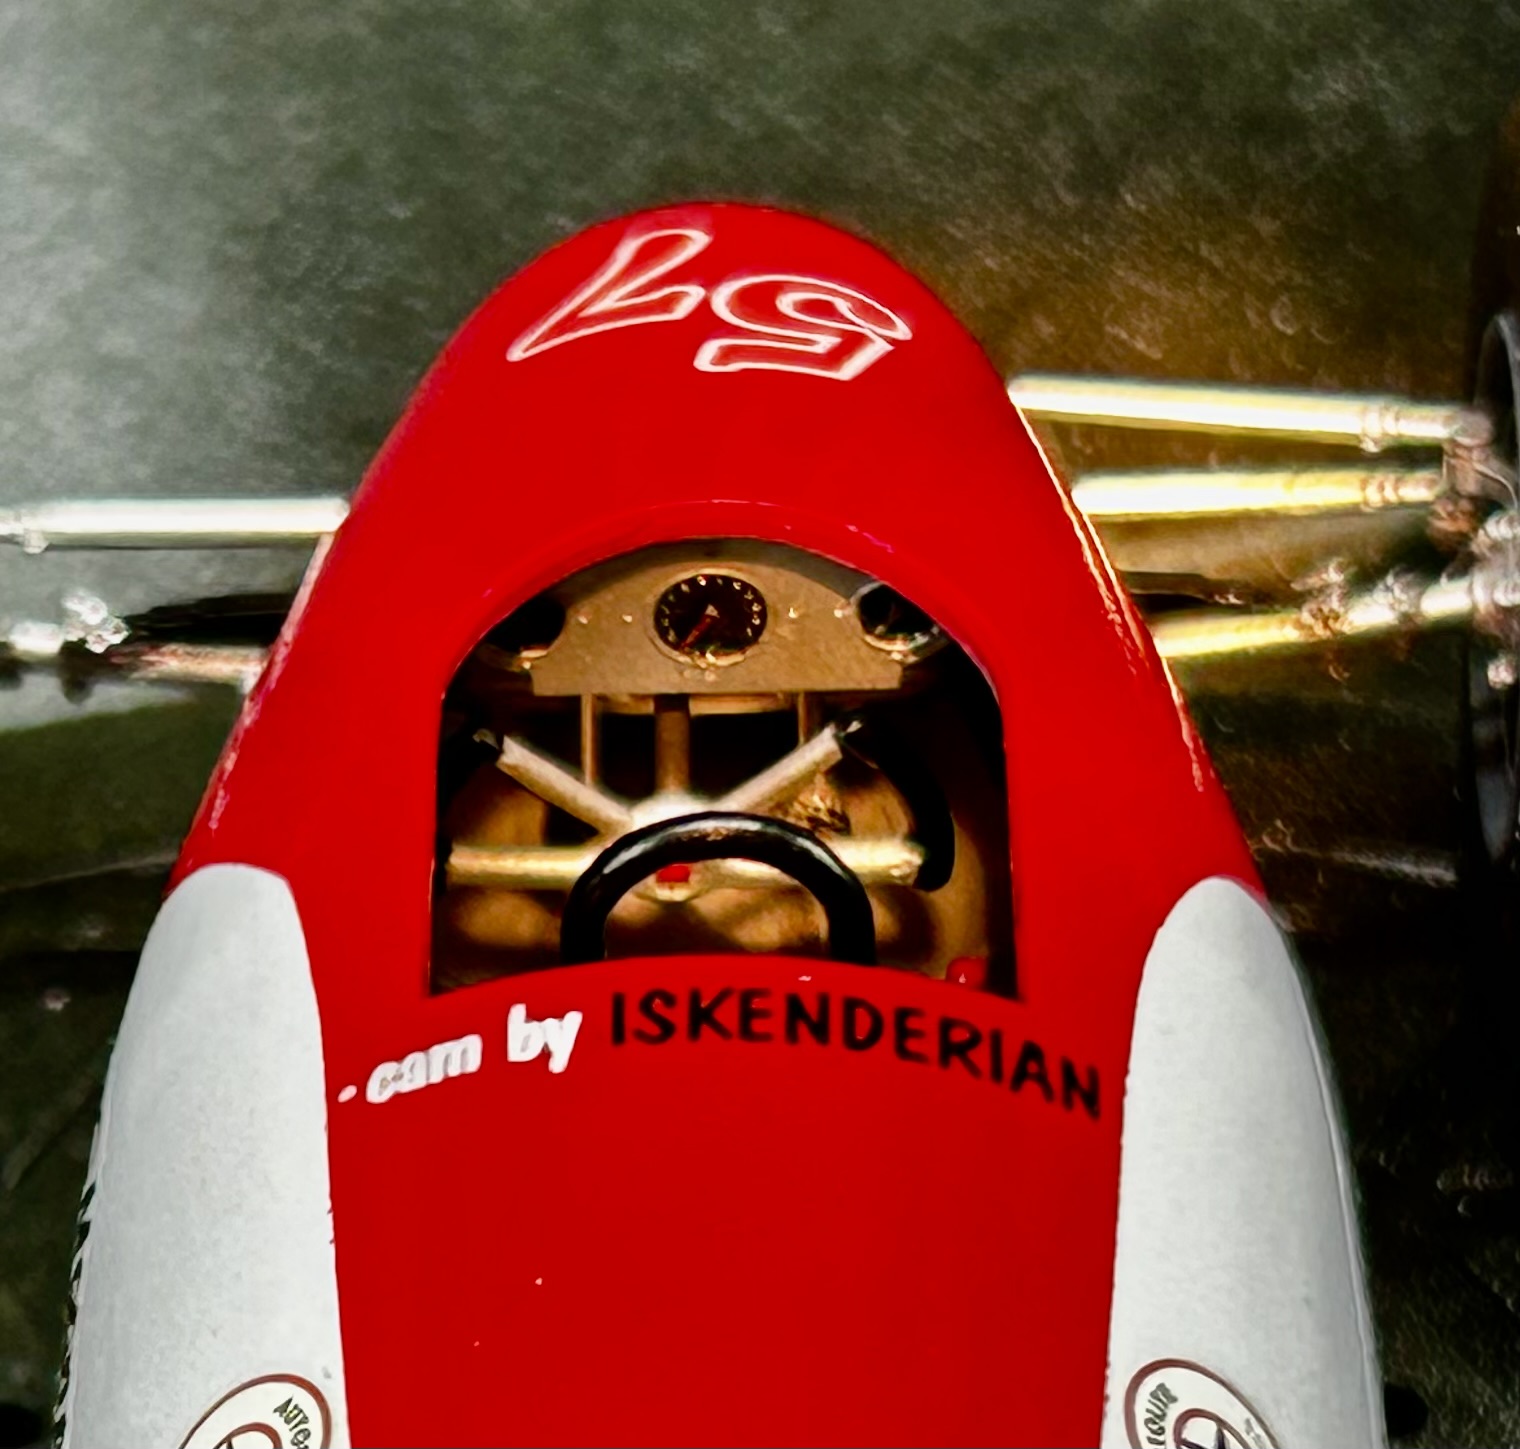
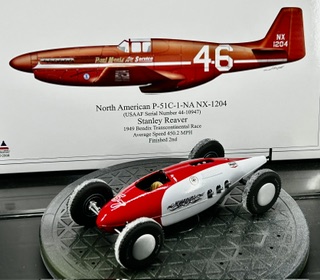
I had previously applied all the decals I wanted and I think they came out very well. Thanks to Racer X for assistance and inspiration!
IMG_2774.jpeg
IMG_2773.jpeg

Oh Oh! Can only attach 10 images...........
 
Here's the rest!
IMG_2782.jpeg
IMG_2778.jpeg
IMG_2775.jpeg

IMG_2771.jpeg
IMG_2772.jpeg


I had a great time combining my passion for WW II aviation stuff and a hot rod heart. I'm very pleased with the whole thing and plan on mounting the Tanker on a "salt flat" base with a P-51C flying low overhead using a clear plastic pedestal to represent speed racing in the late 1940s.

Thanks for being patient............... on to the next one
 
Here's the rest!
View attachment 193781View attachment 193782View attachment 193783
View attachment 193784View attachment 193785

I had a great time combining my passion for WW II aviation stuff and a hot rod heart. I'm very pleased with the whole thing and plan on mounting the Tanker on a "salt flat" base with a P-51C flying low overhead using a clear plastic pedestal to represent speed racing in the late 1940s.

Thanks for being patient............... on to the next one
It came out perfect! i like the sand idea , nice you can add more if you want to. The whole build came out beautiful. The paint and decaling is proper for the year and the fact they had little or no real sponsoring. It seems like an easy build when you get it and see the parts, but then it tests you, and its worth it.
 

Latest posts

Back
Top