Bear43
Well-Known Member
- Joined
- May 19, 2023
- Messages
- 481
Coming along nicely Bear.Rainy day progress.
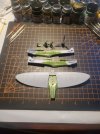
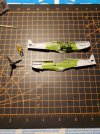
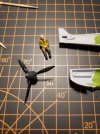
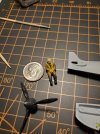
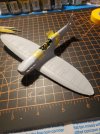
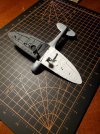
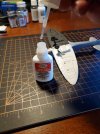
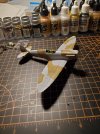
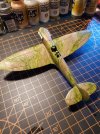
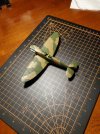
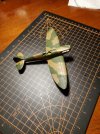
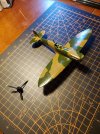
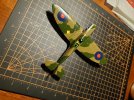
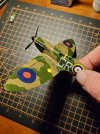
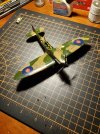
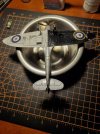
Nice work and I'm loving the neat and organised bench. PanthermanI got the landing gear sorted. At Hobby Lobby I saw some Testors super glue and gave it a try. I was surprised by it having a brush! After that set up I started painting the top side. This is after the first coat of the Vallejo Dark Earth. Prior to painting I sketched the pattern with a pencil
")
A fellow neat freak........I'm not alone.Thanks Panther. I'm like you in that I have to have an organized bench or it drives me crazy
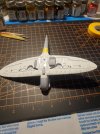
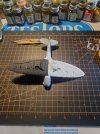
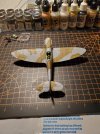
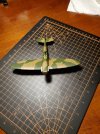
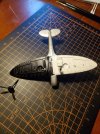
It's coming together nicely. PanthermanWork has been keeping me very busy but I am slowly making progress on the paint. It is shaping up nicely.
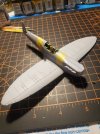
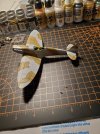
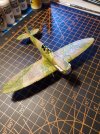
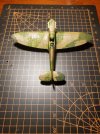
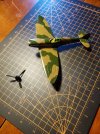
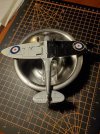
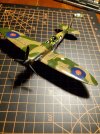
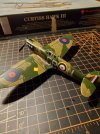
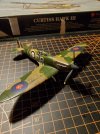
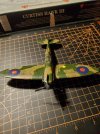
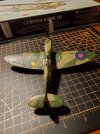
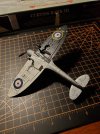
Looking nice, nearly there. PanthermanI put a dent in the decals tonight. Belly decals are all on, just a few top and side decals left. I do need to address issues with the wing roundels. Lower roundels cover an ejection port and the upper roundels don't want to lay down in the center of the loading hatches because of all the raised detail there.