Academy 1/72 P-51B

Scale Model Addict - Model Tips, Guides, Tools & Tech, Tutorials, and Community

Help Support Scale Model Addict:

VegasAWACER13

Well-Known Member
Joined
Aug 2, 2025
Messages
435
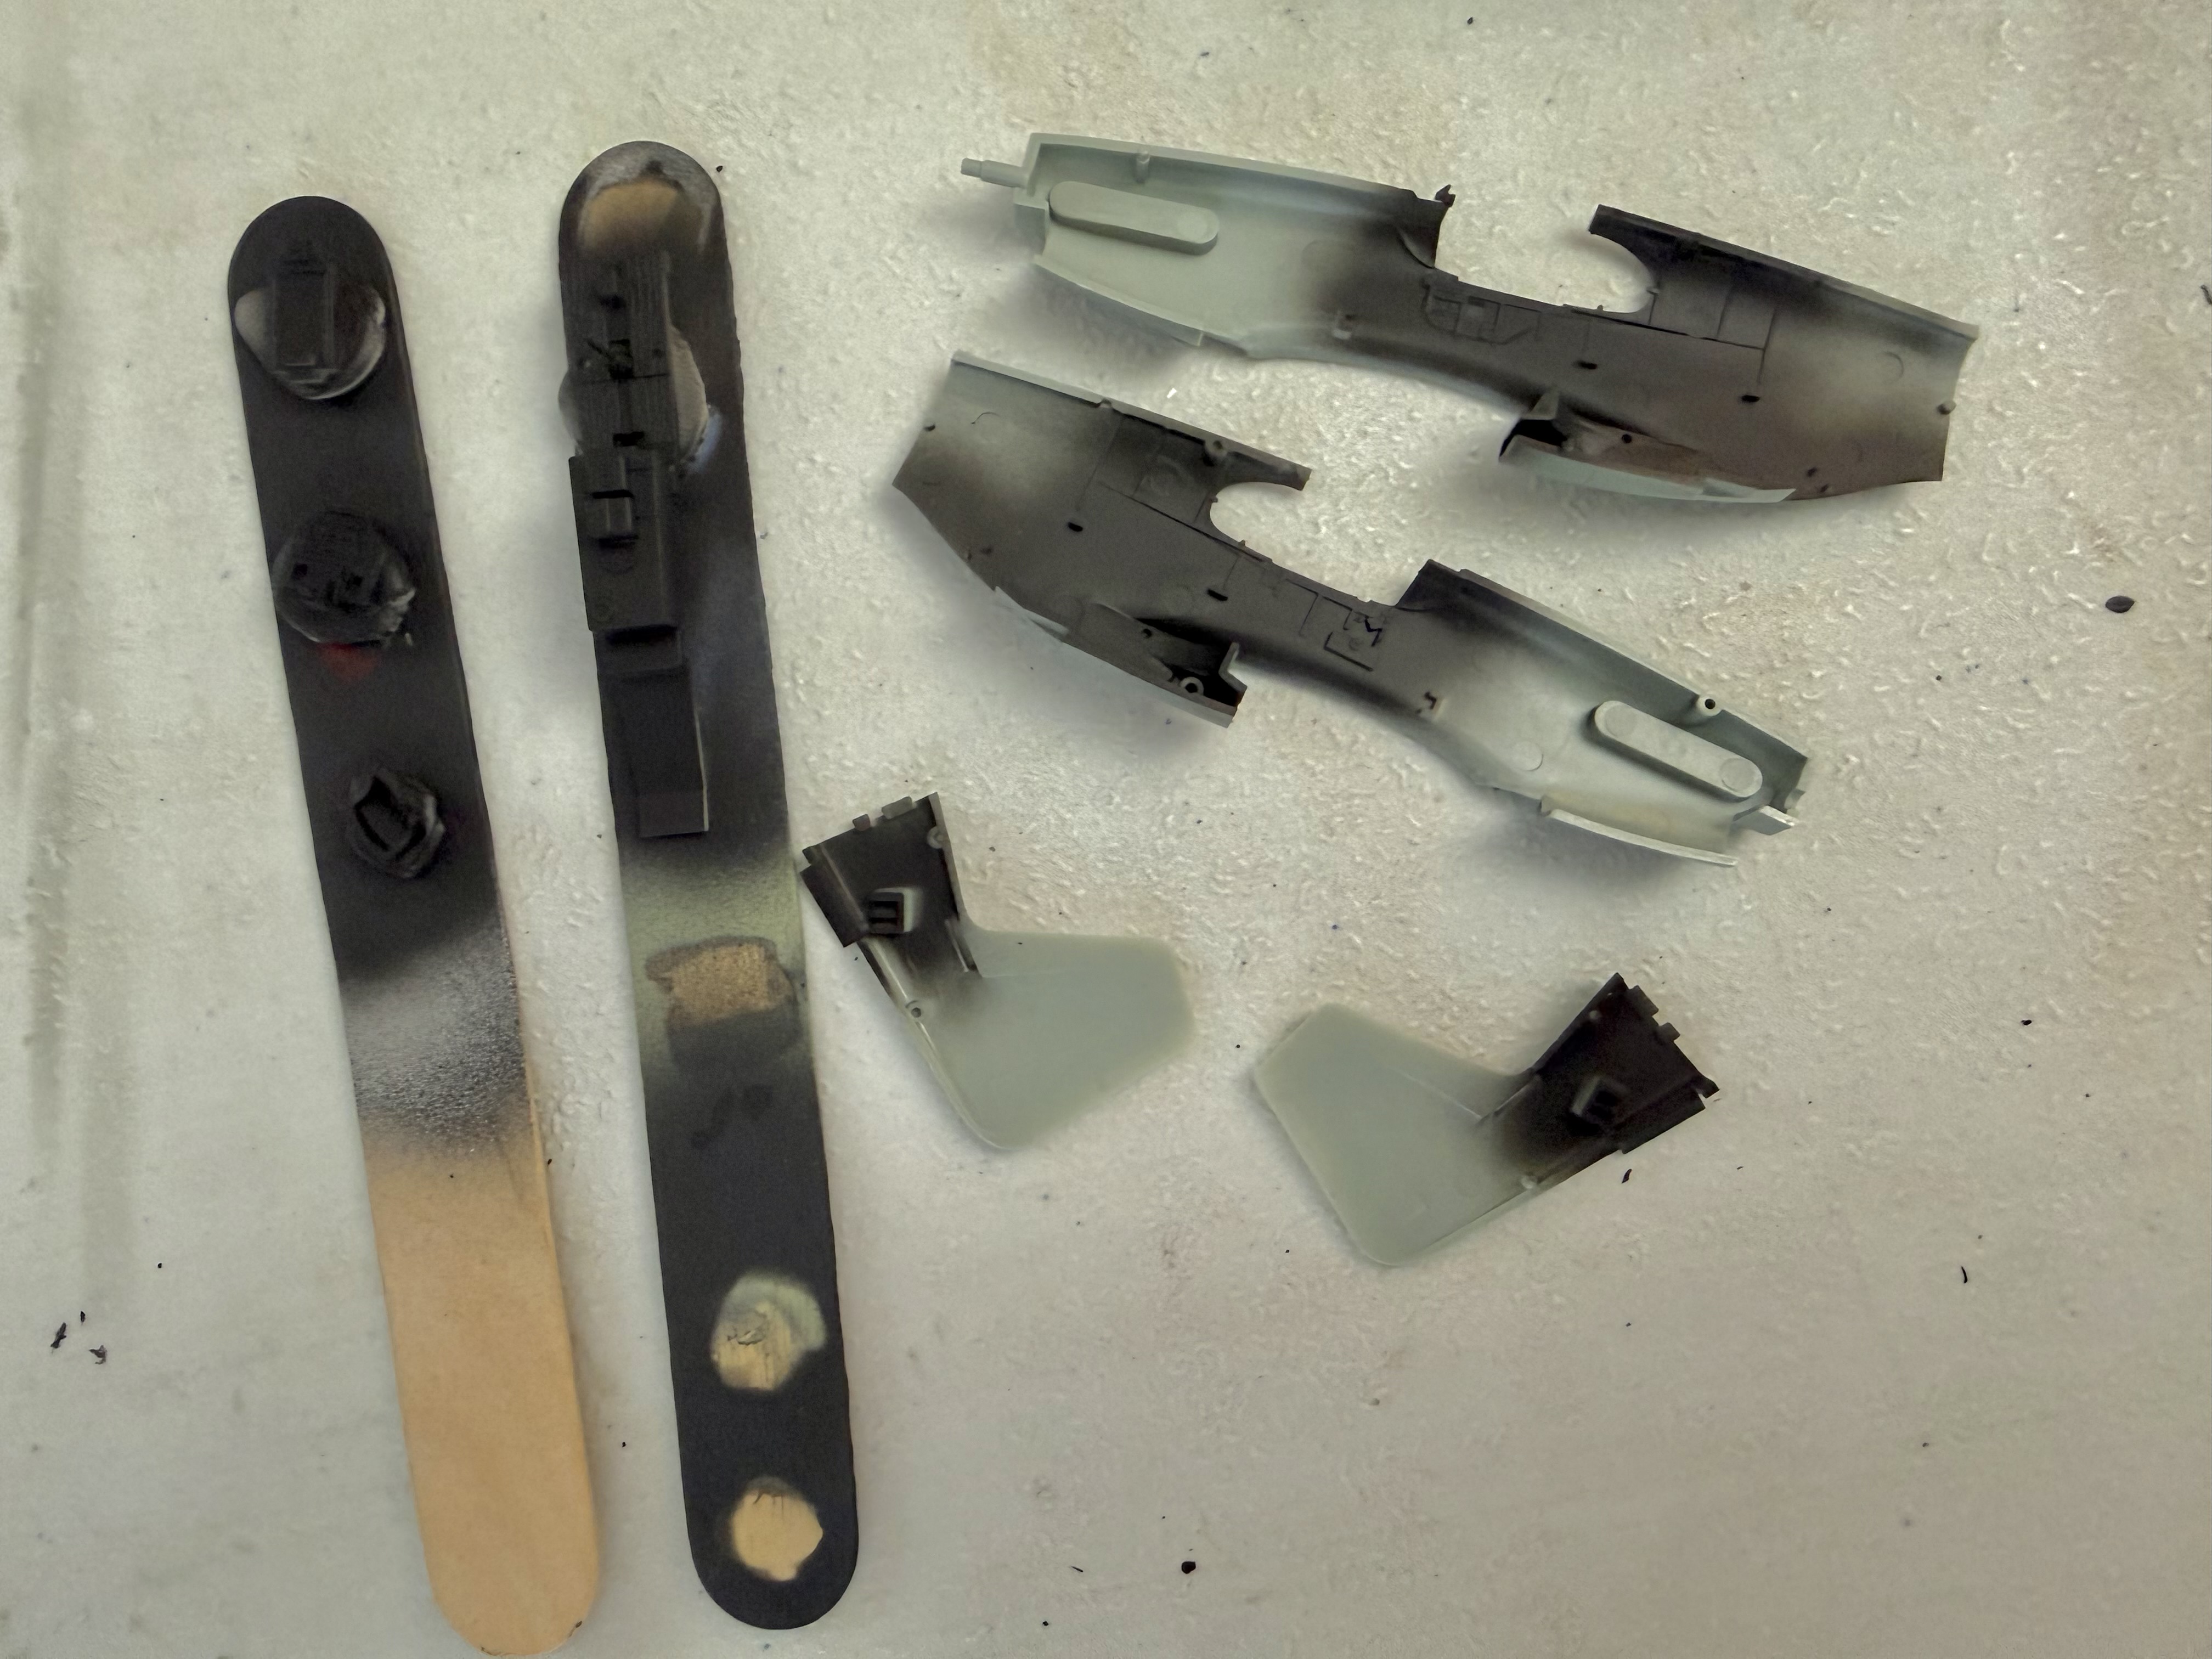
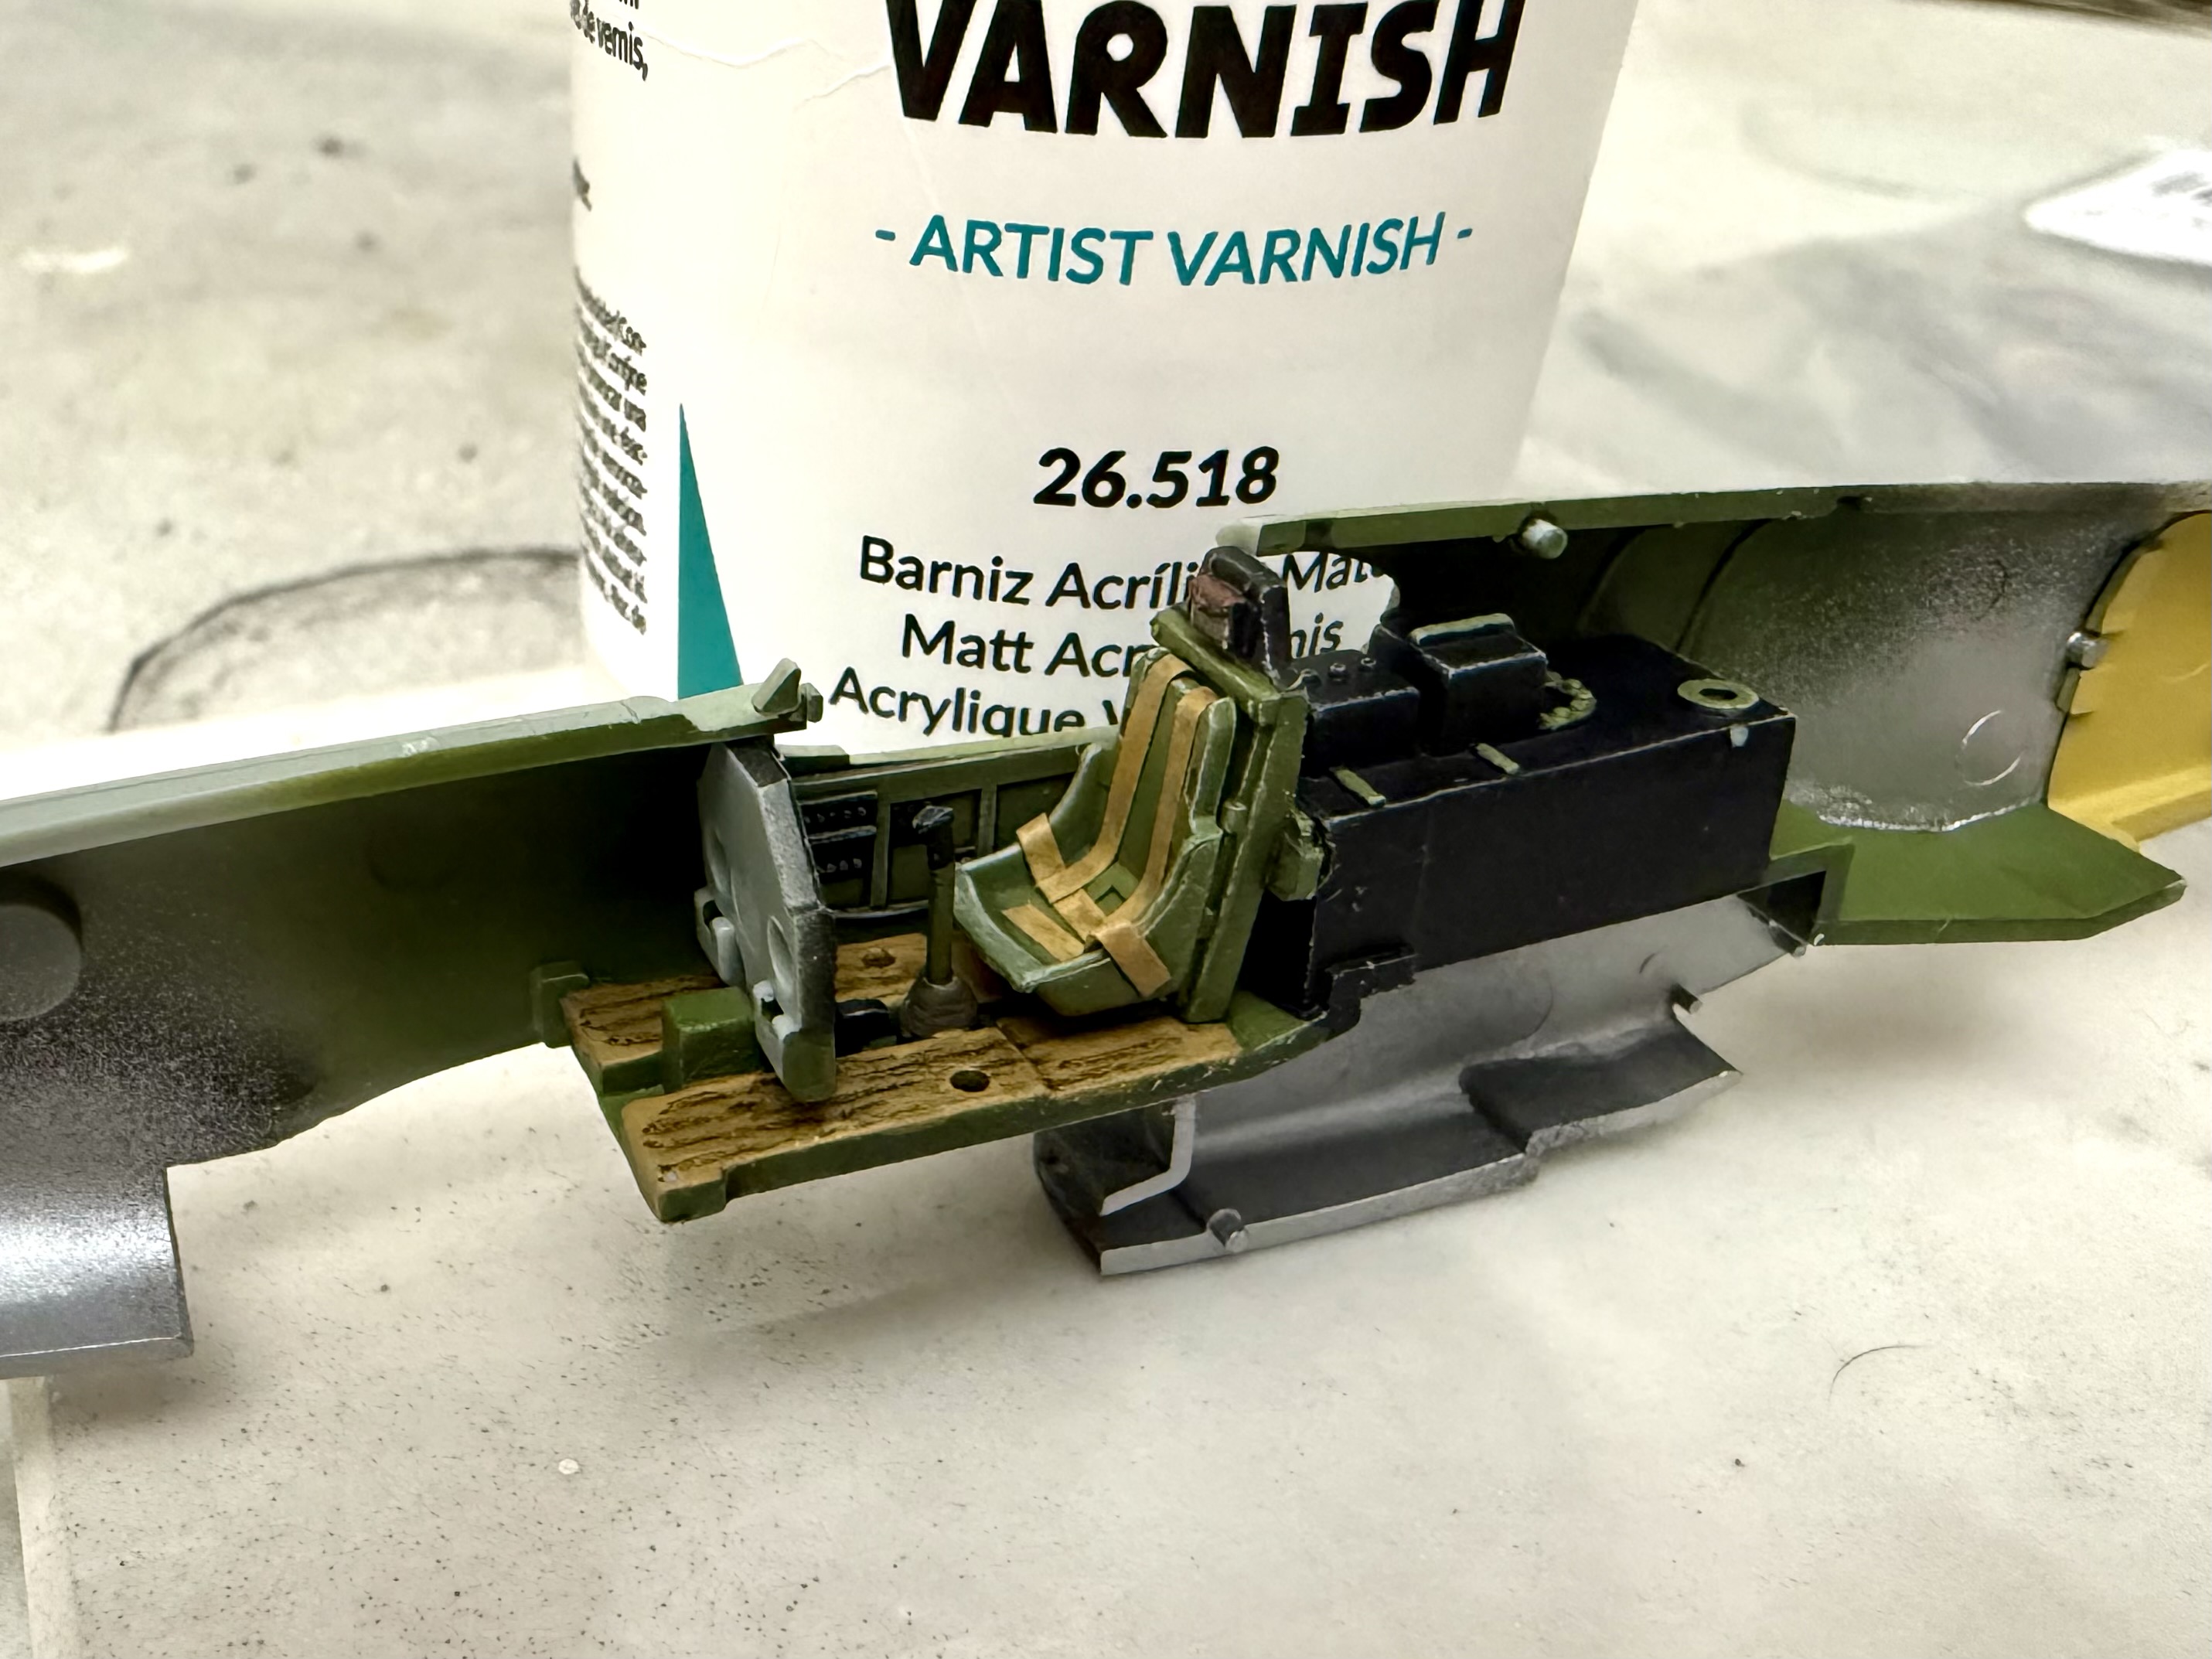
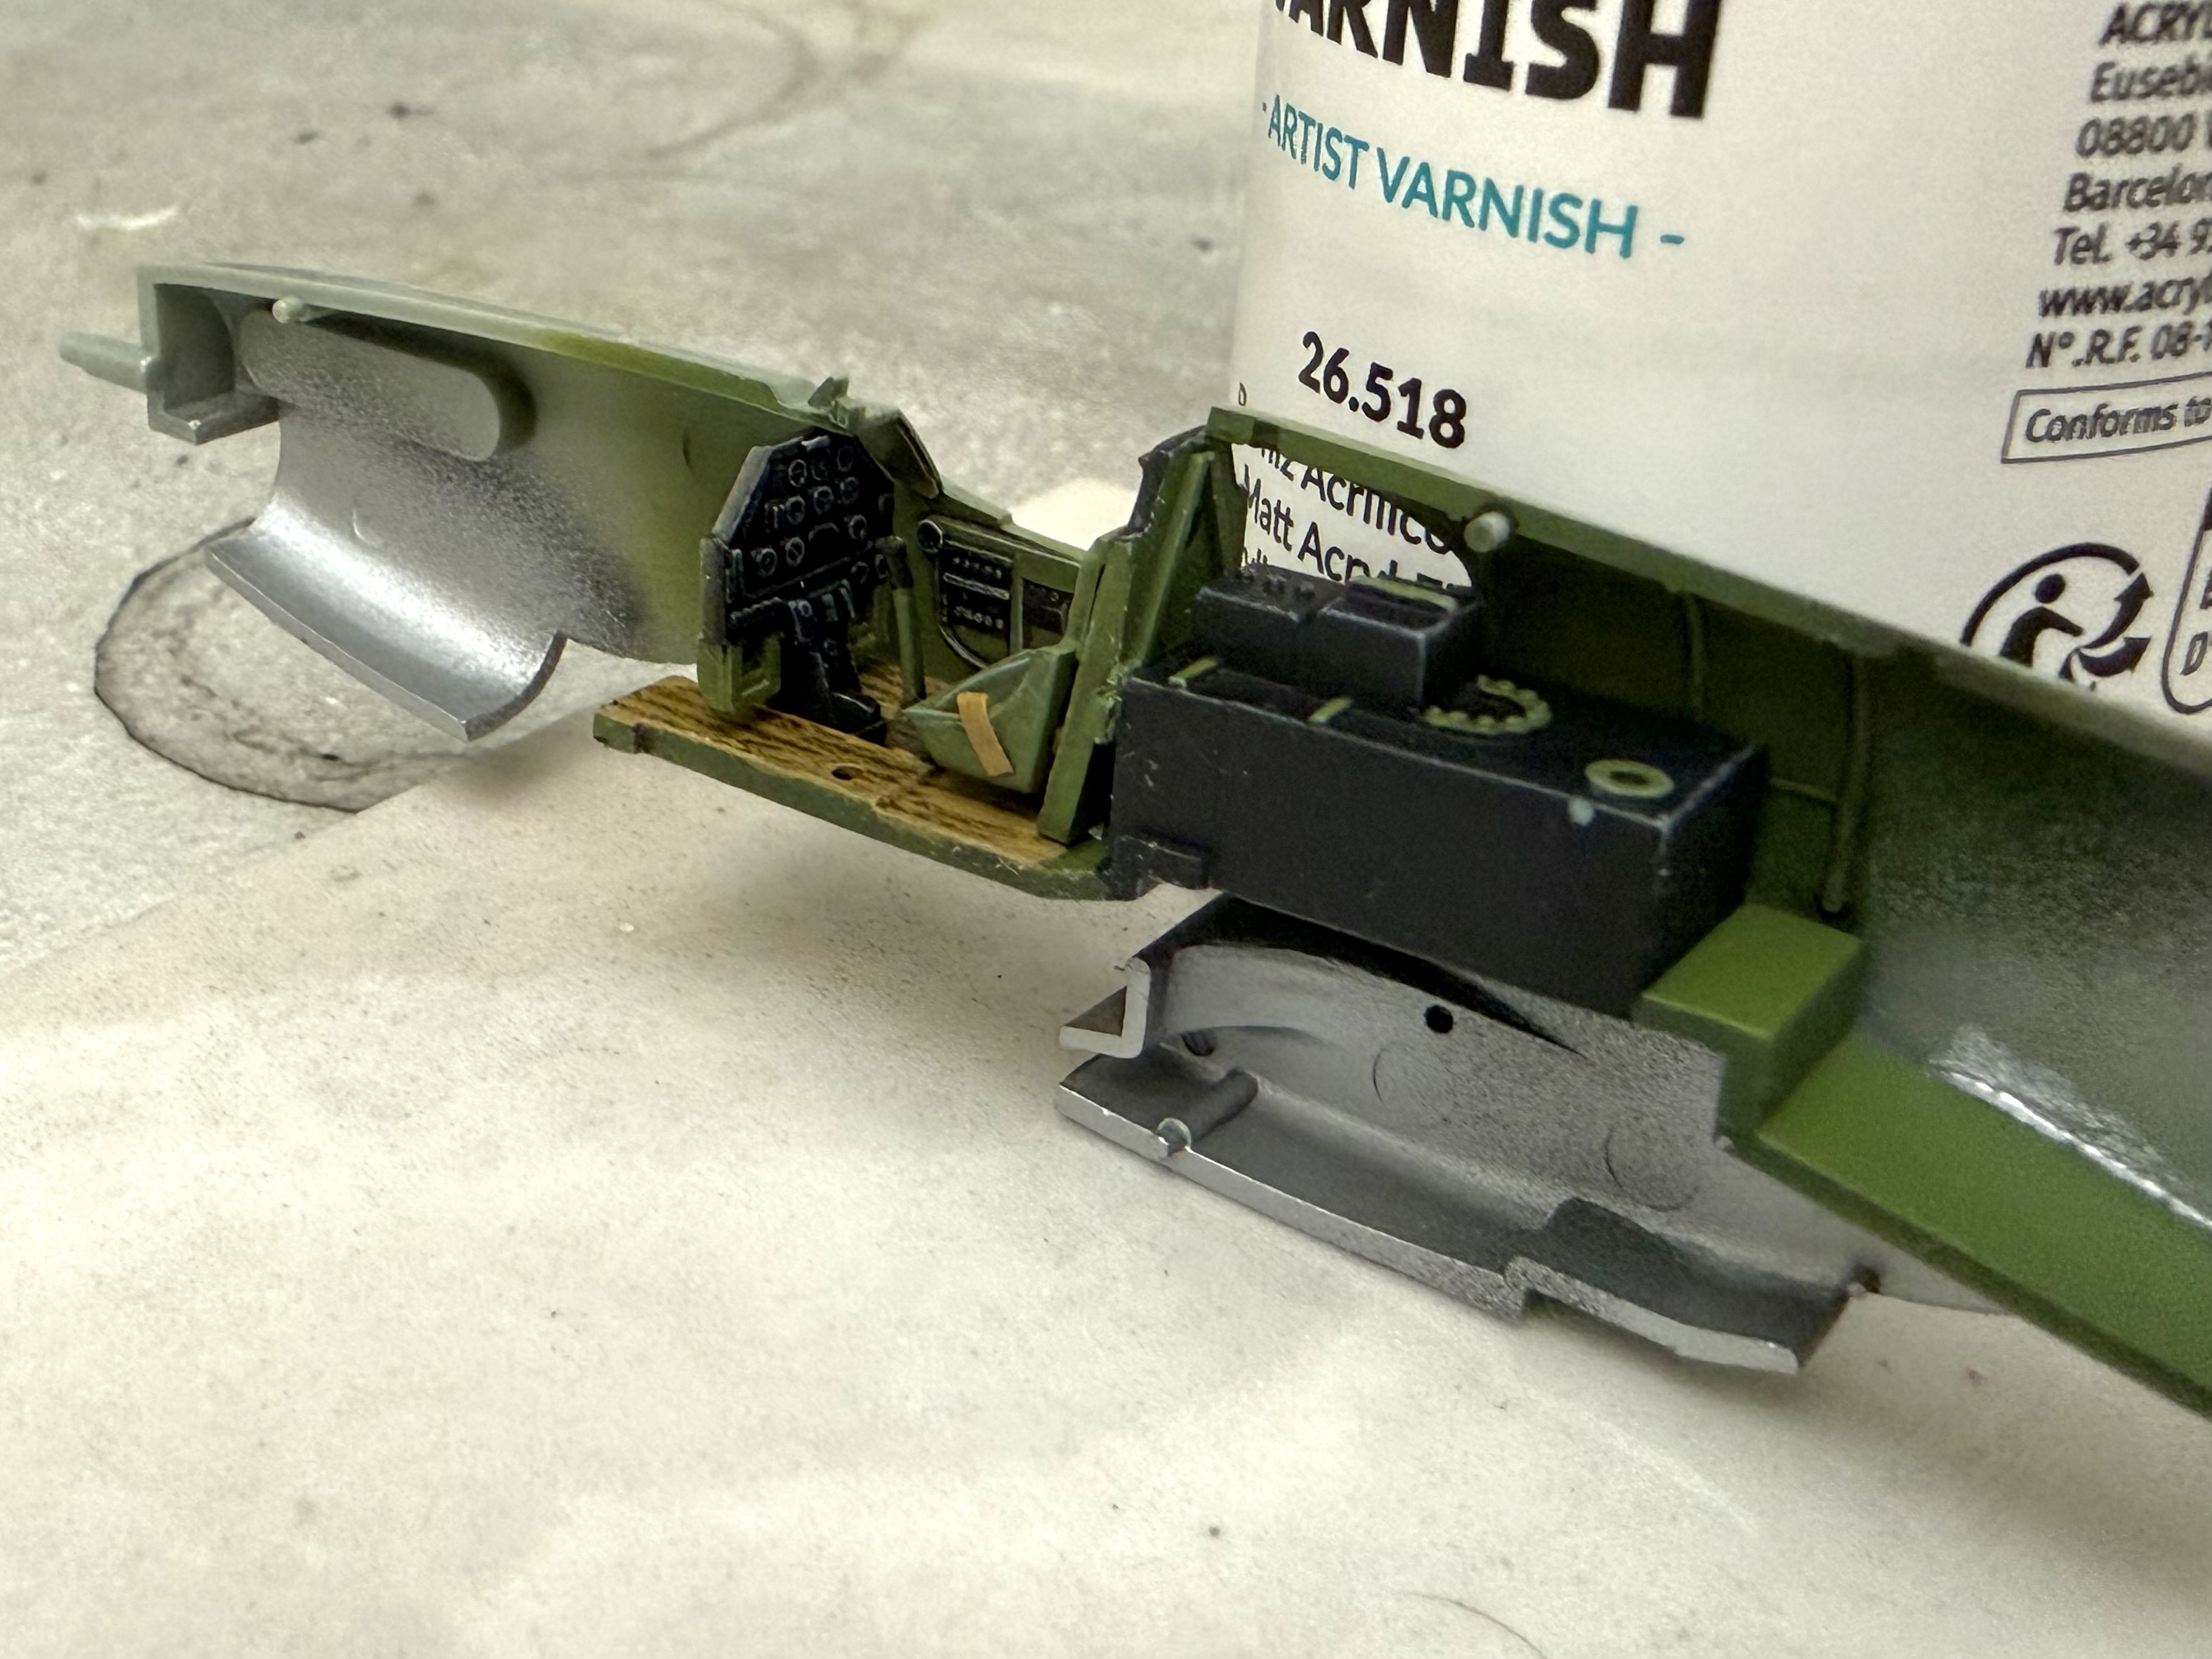
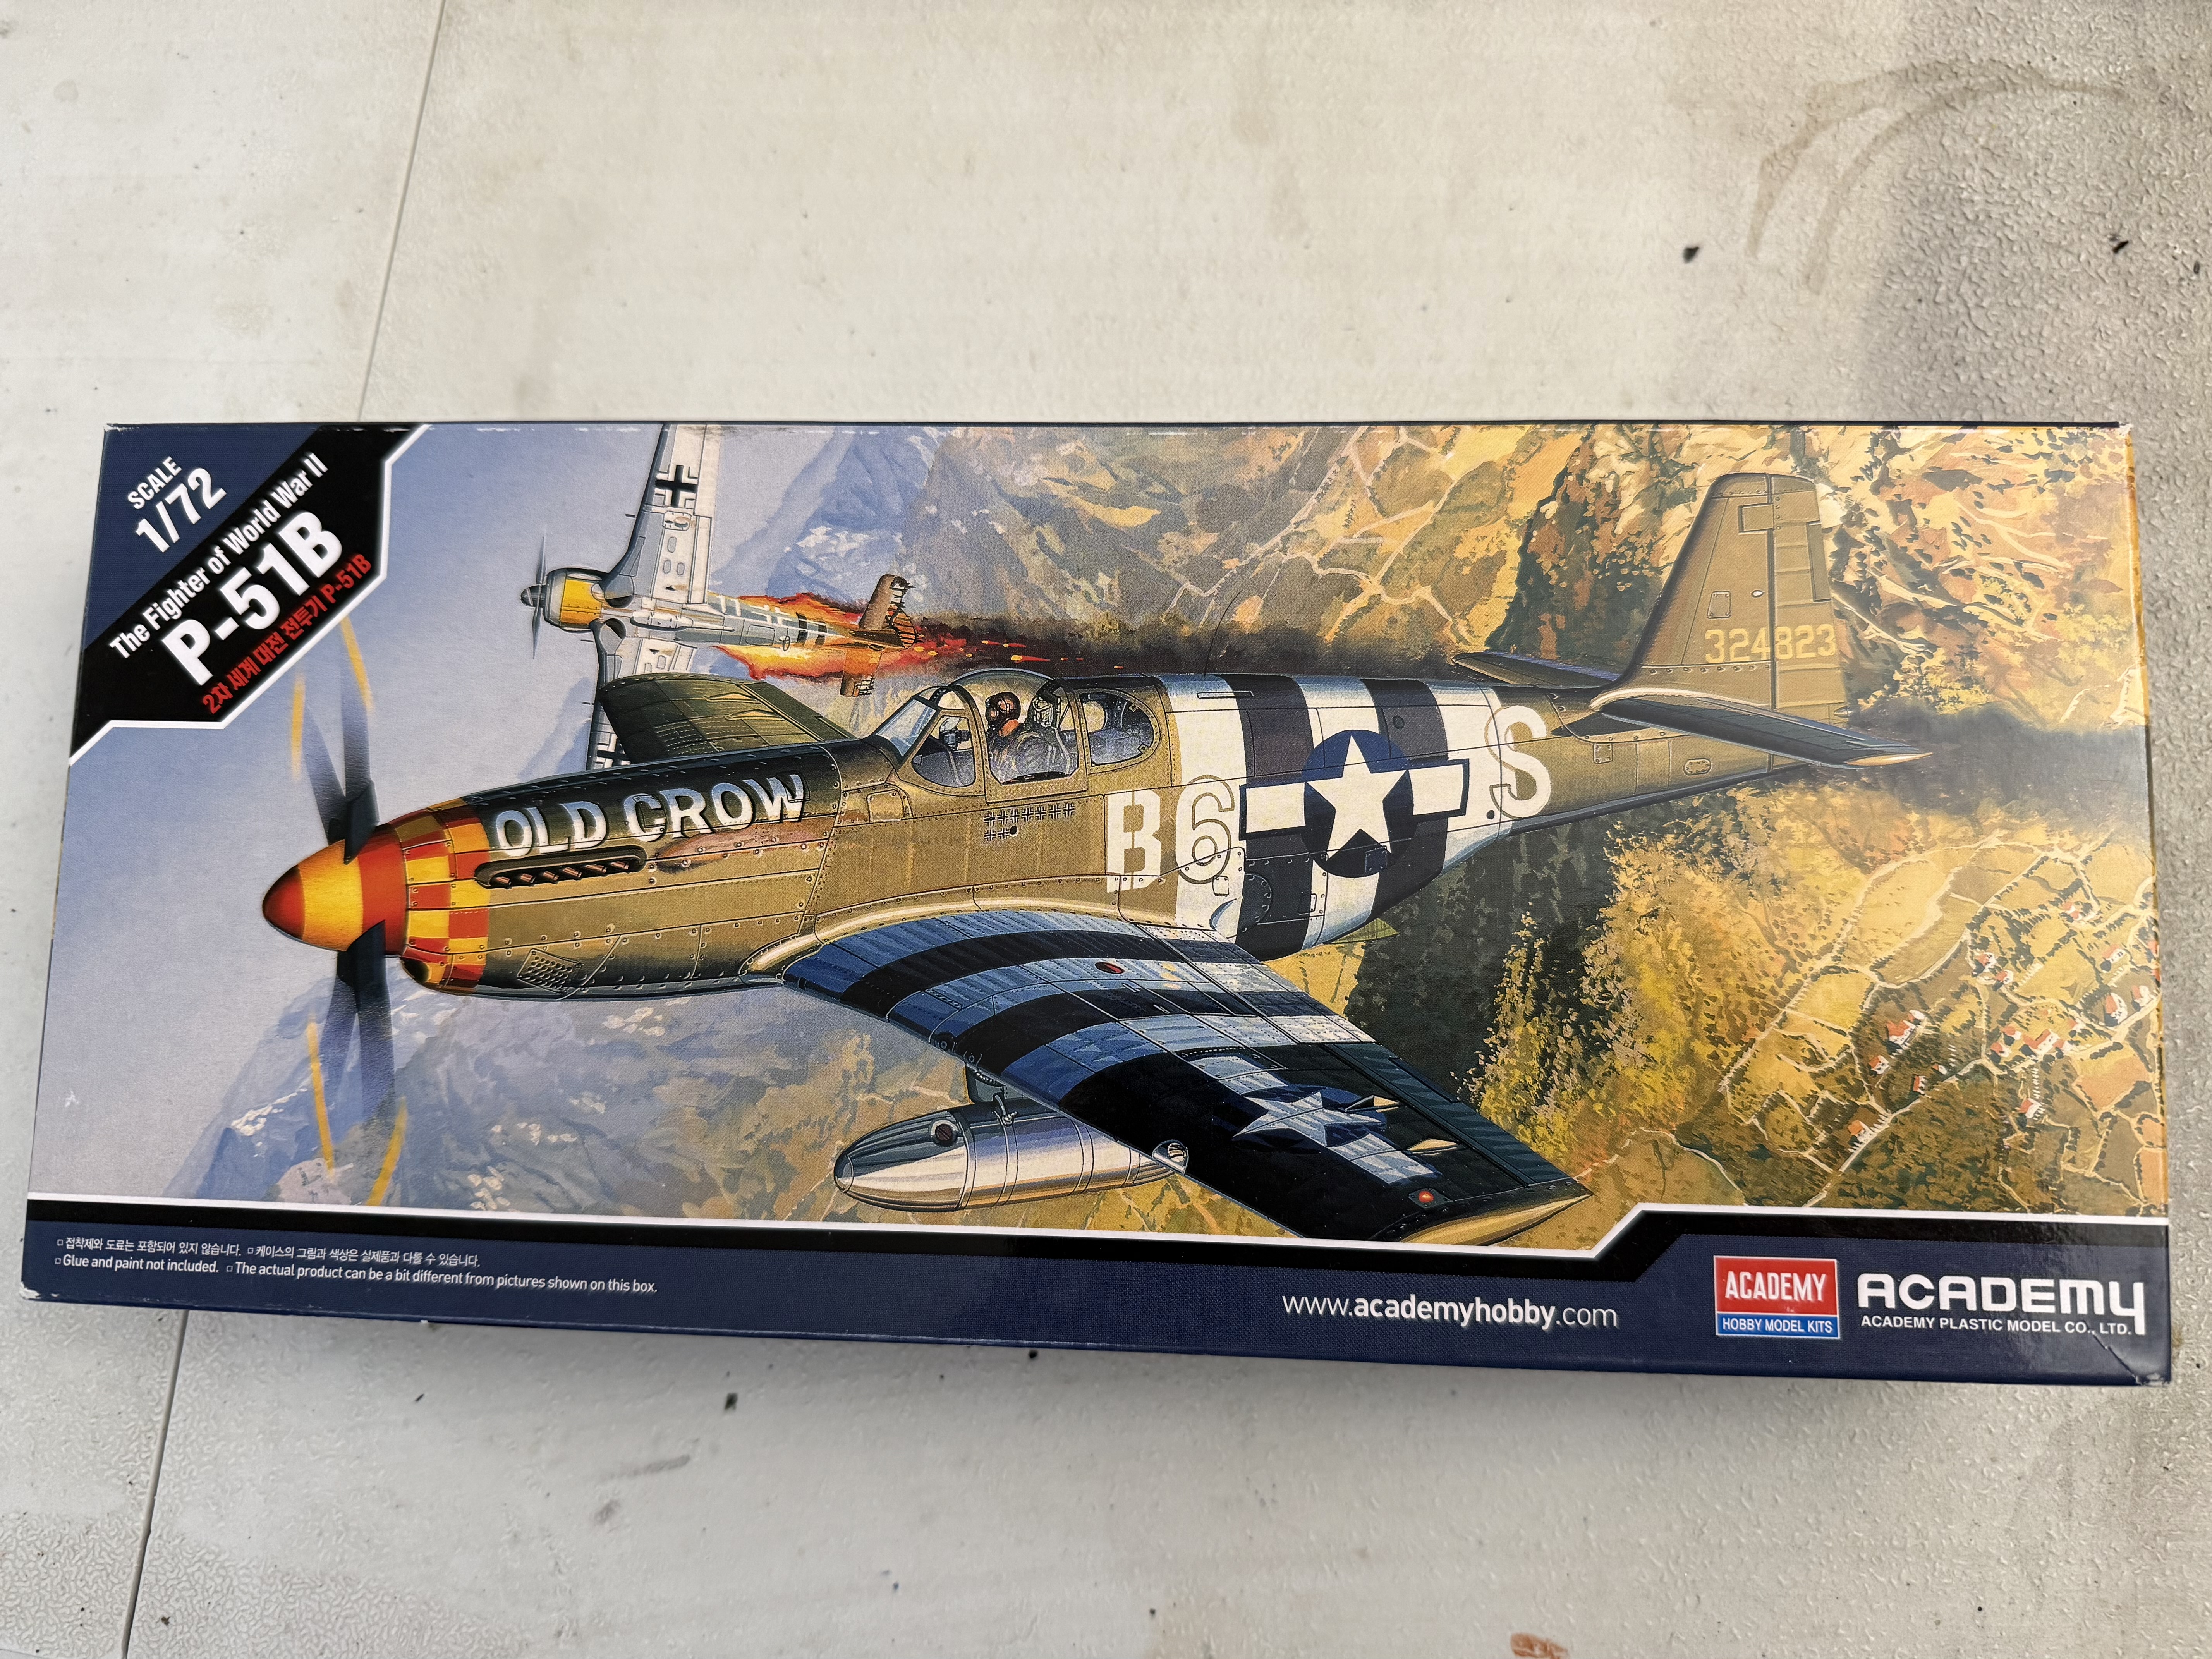
Picked this kit up for $14. Been jonesing to build a Mustang and thought it would make a fun side project. Never built an Academy kit before.

It has three marking options. Feel like I pretty much have to go with Bud Anderson's Old Crow, though I really don't want to go with full invasion stripes. I'm thinking I'll just put them on the lower surfaces.
IMG_9302.jpeg

IMG_9303.jpeg
 
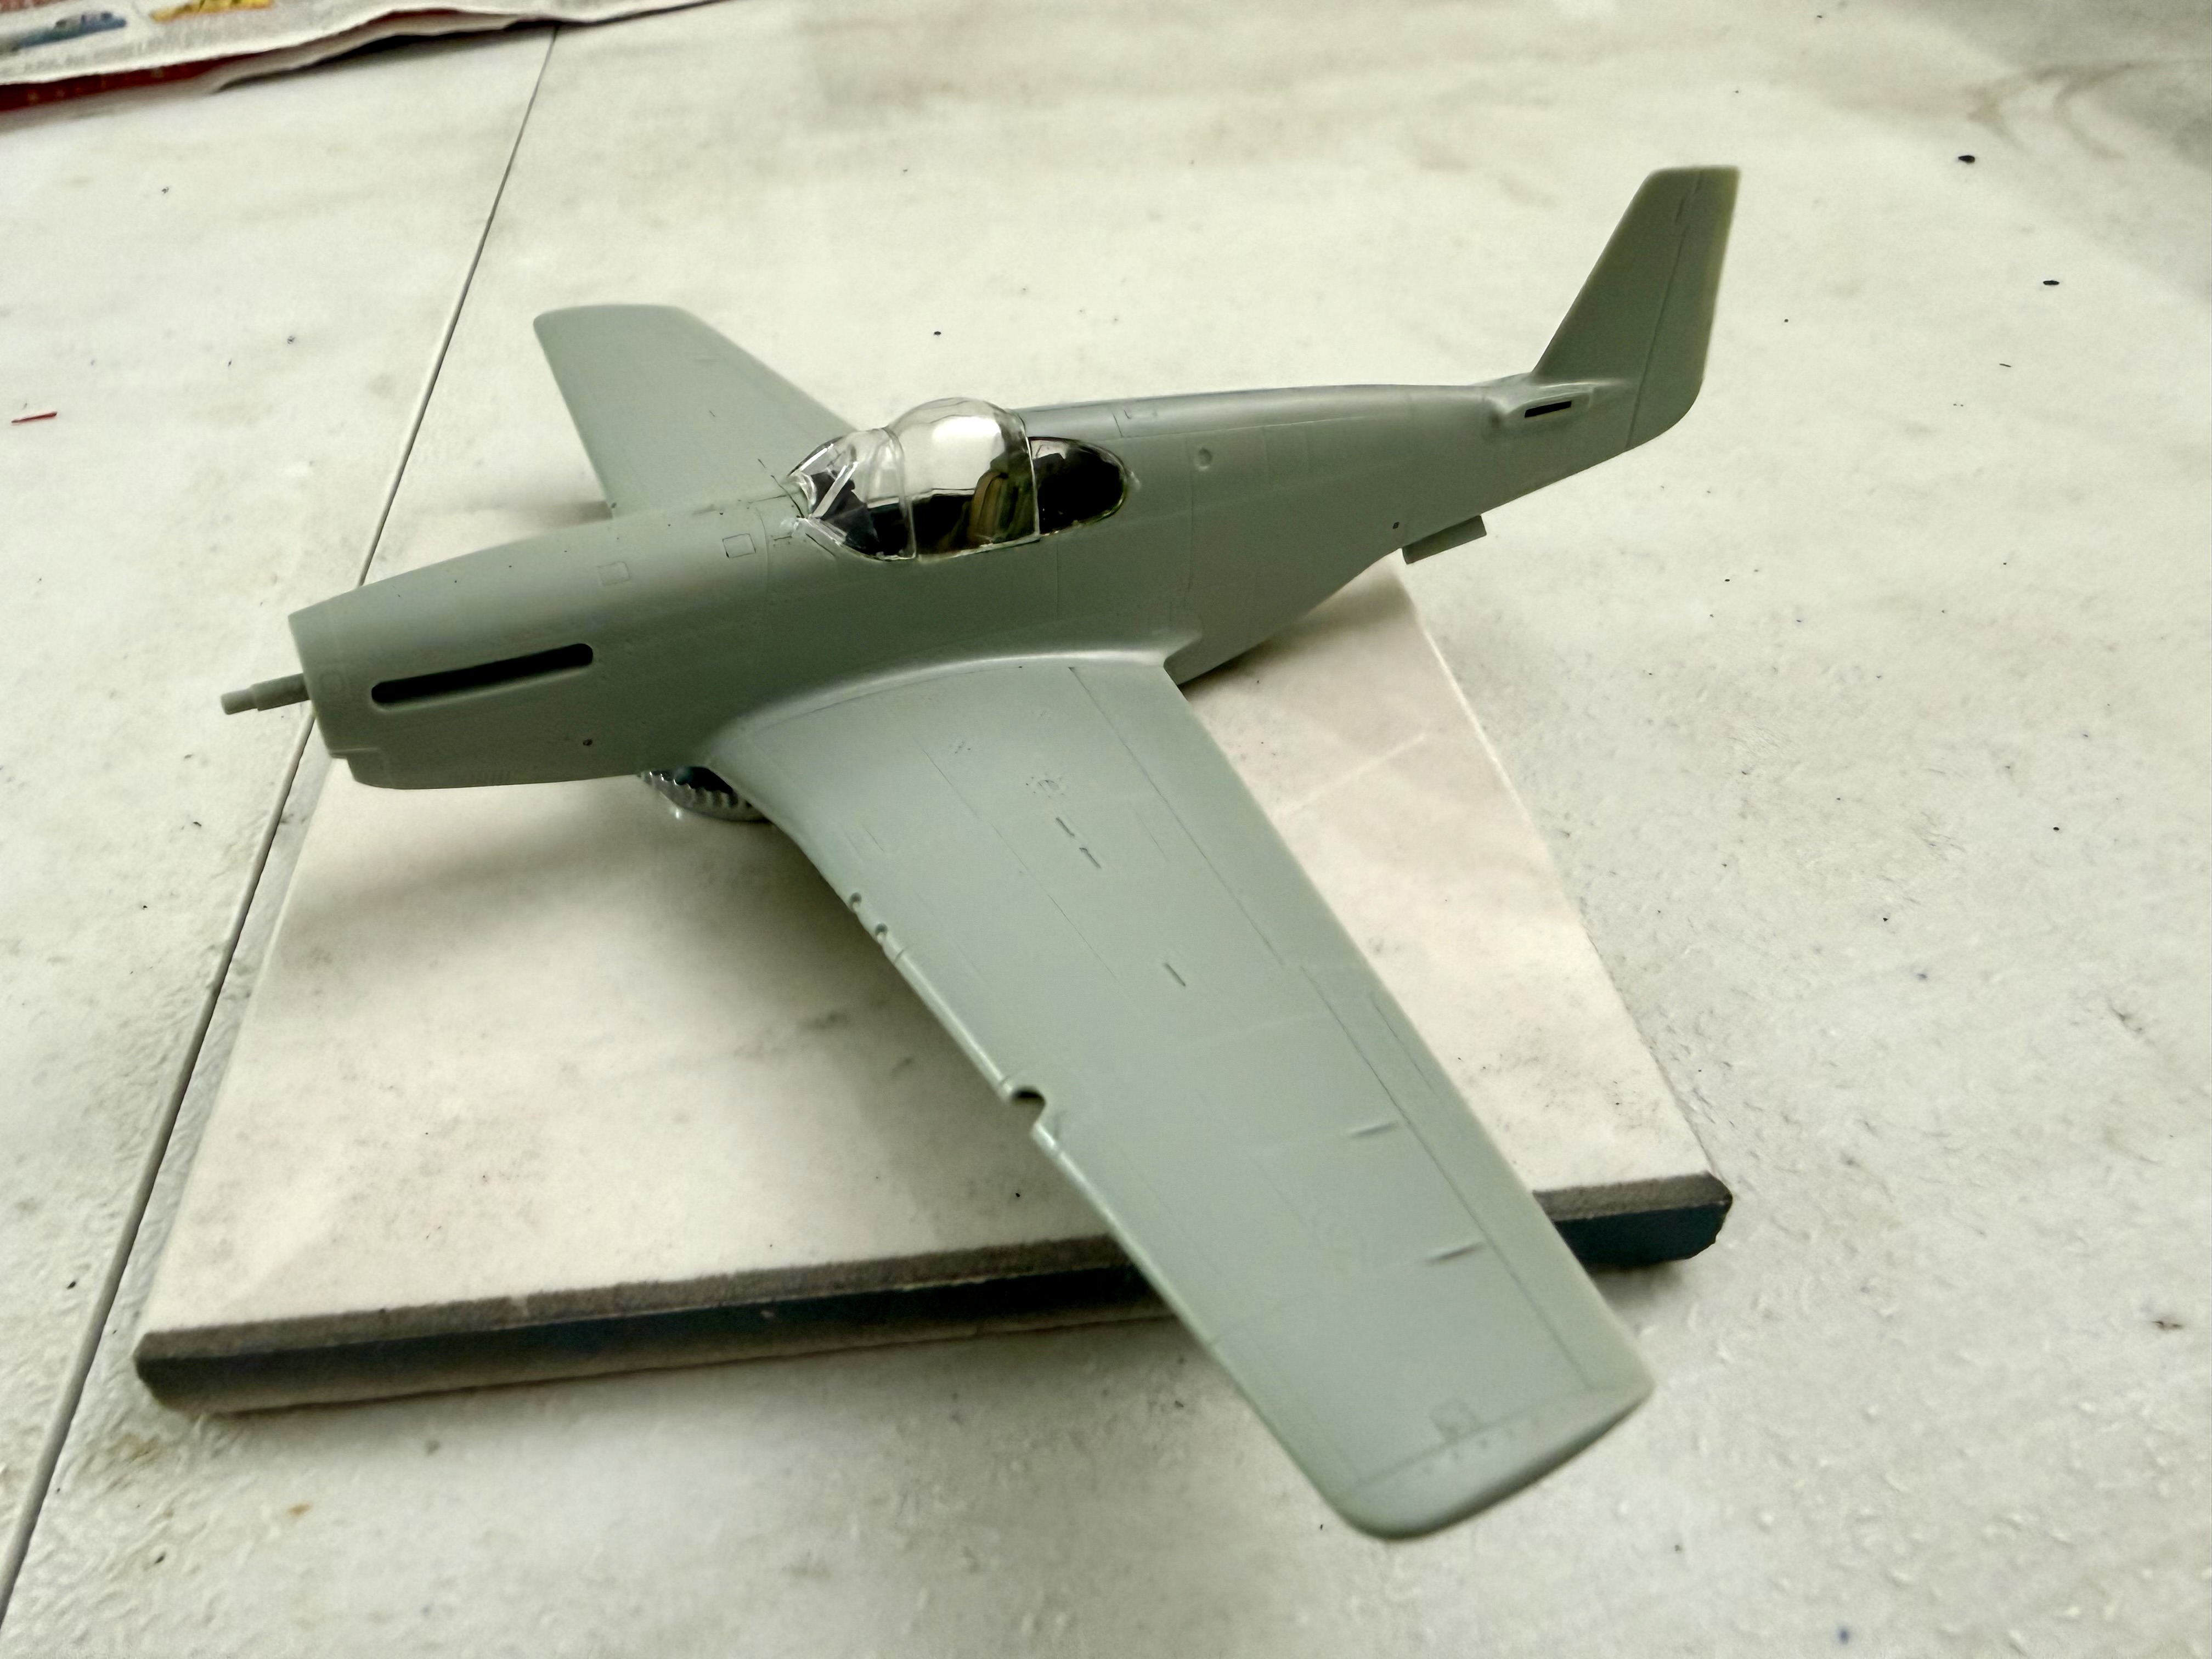
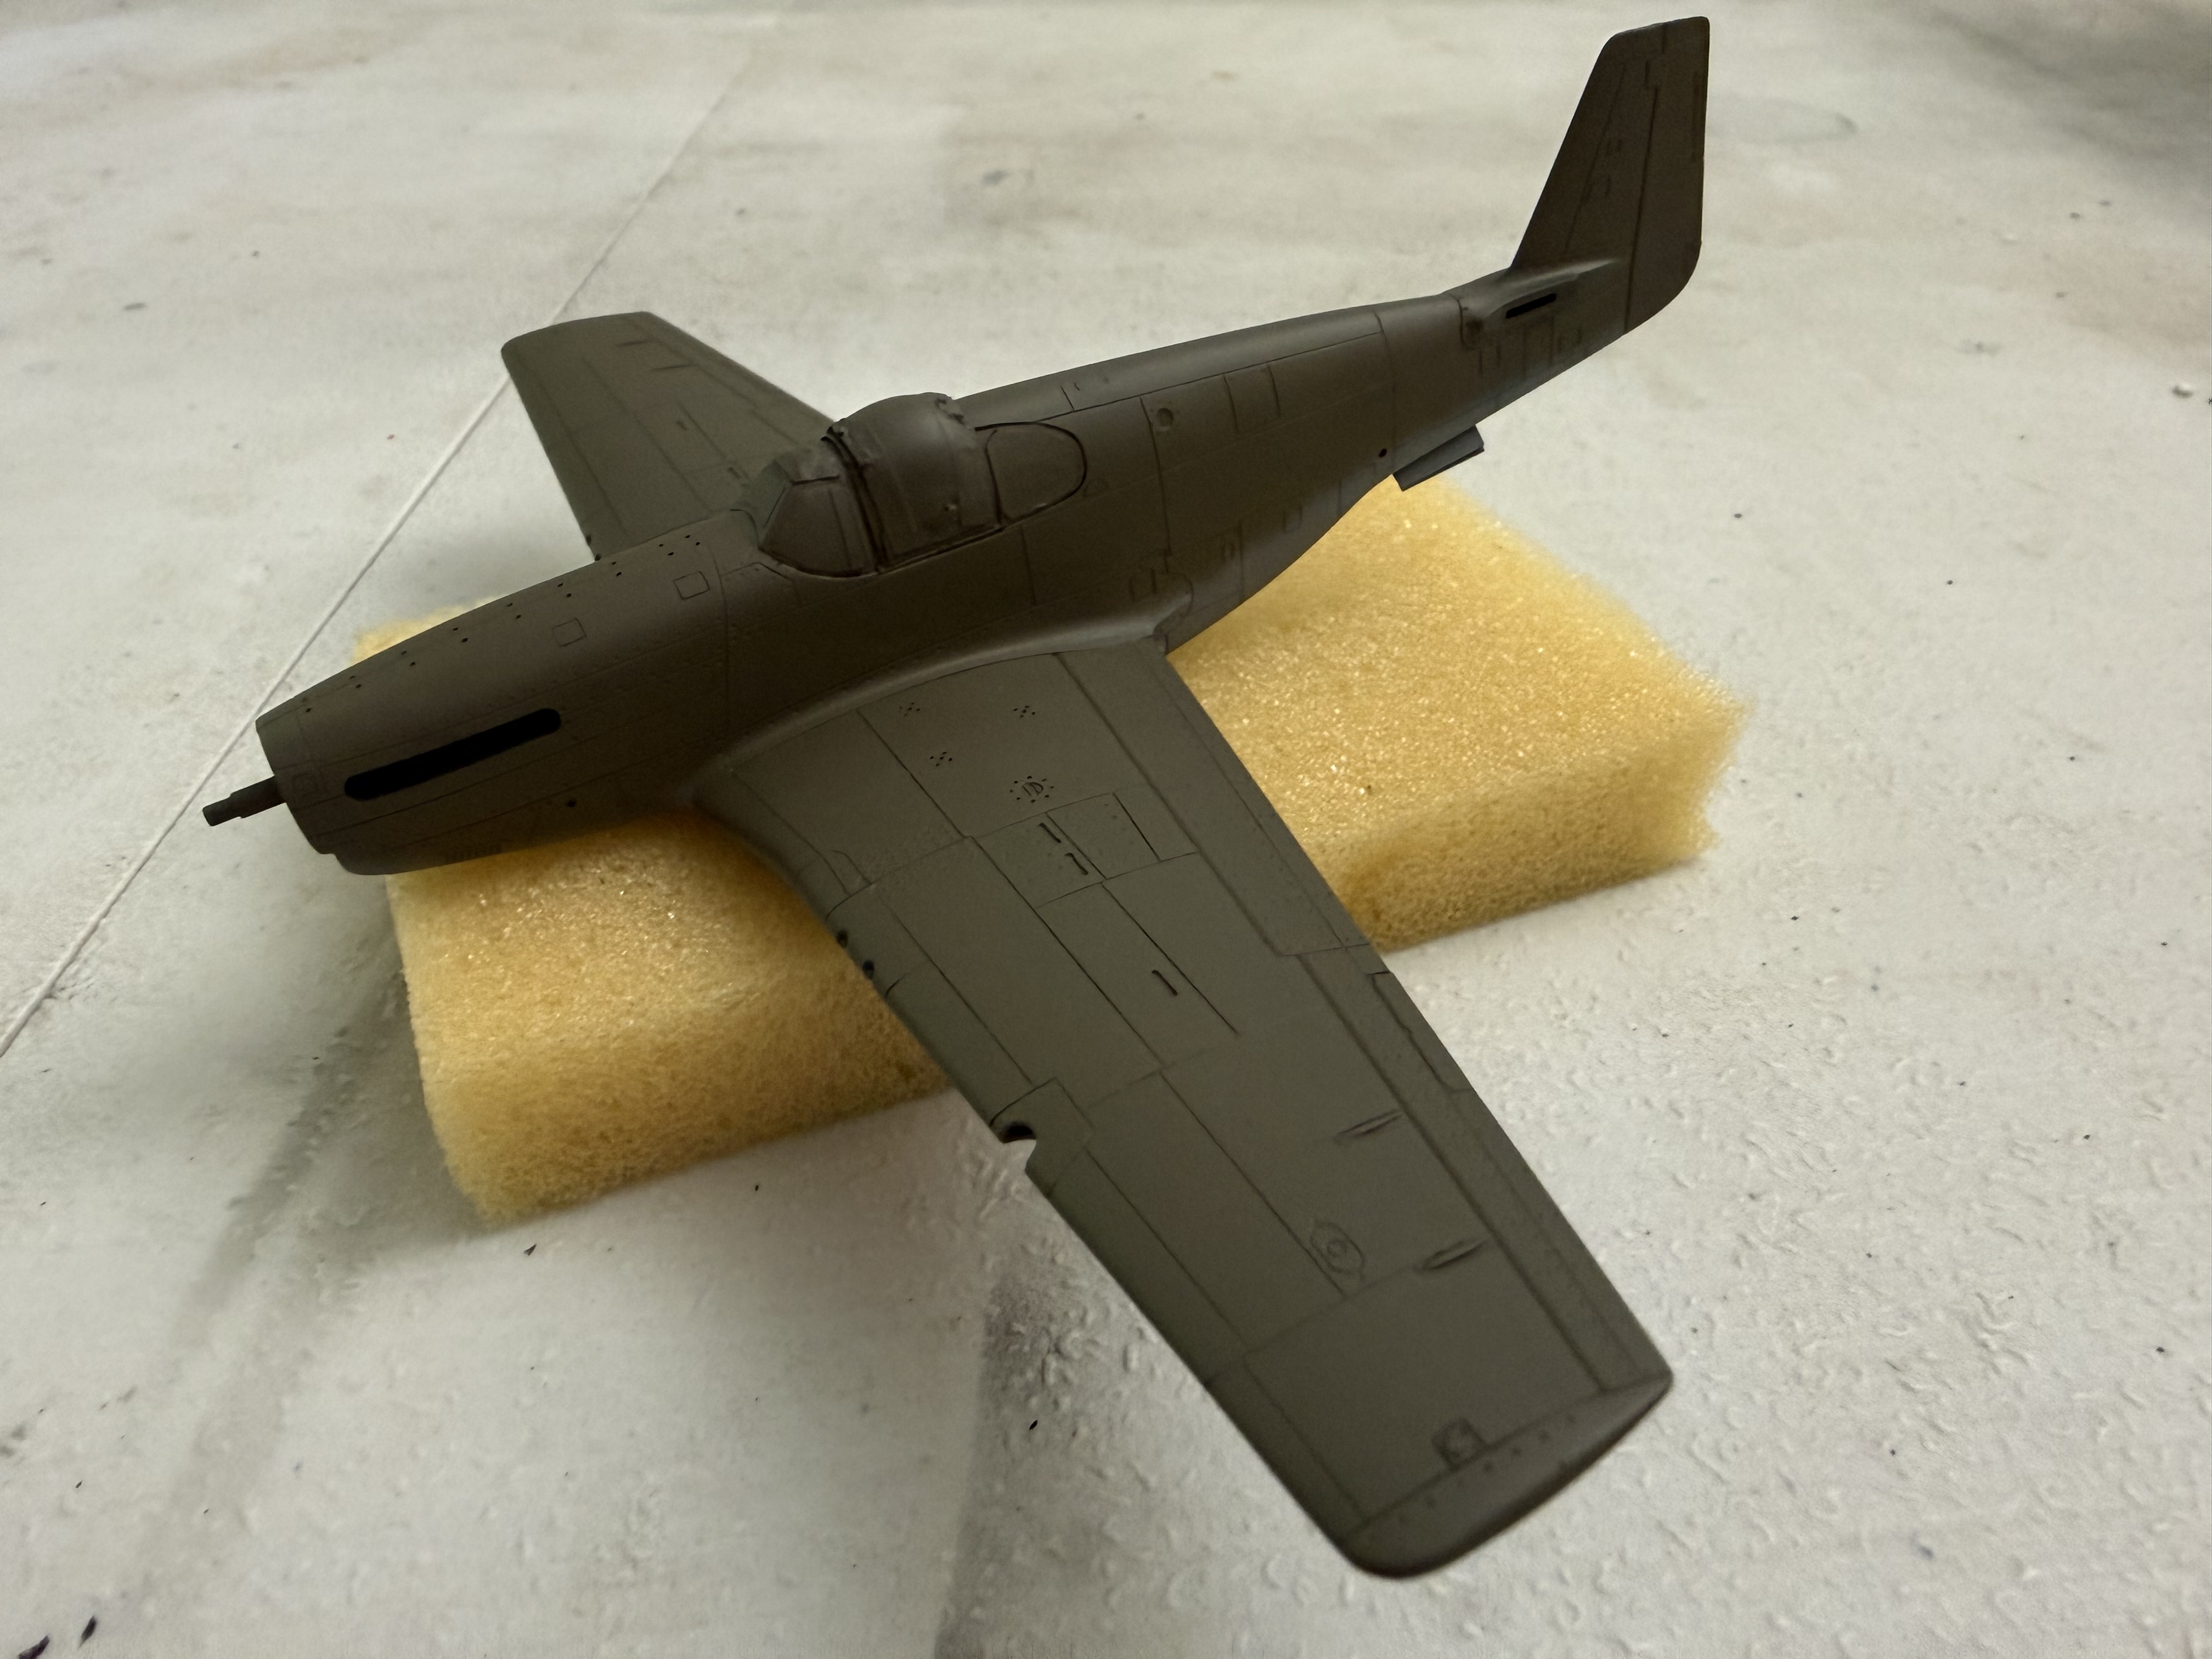
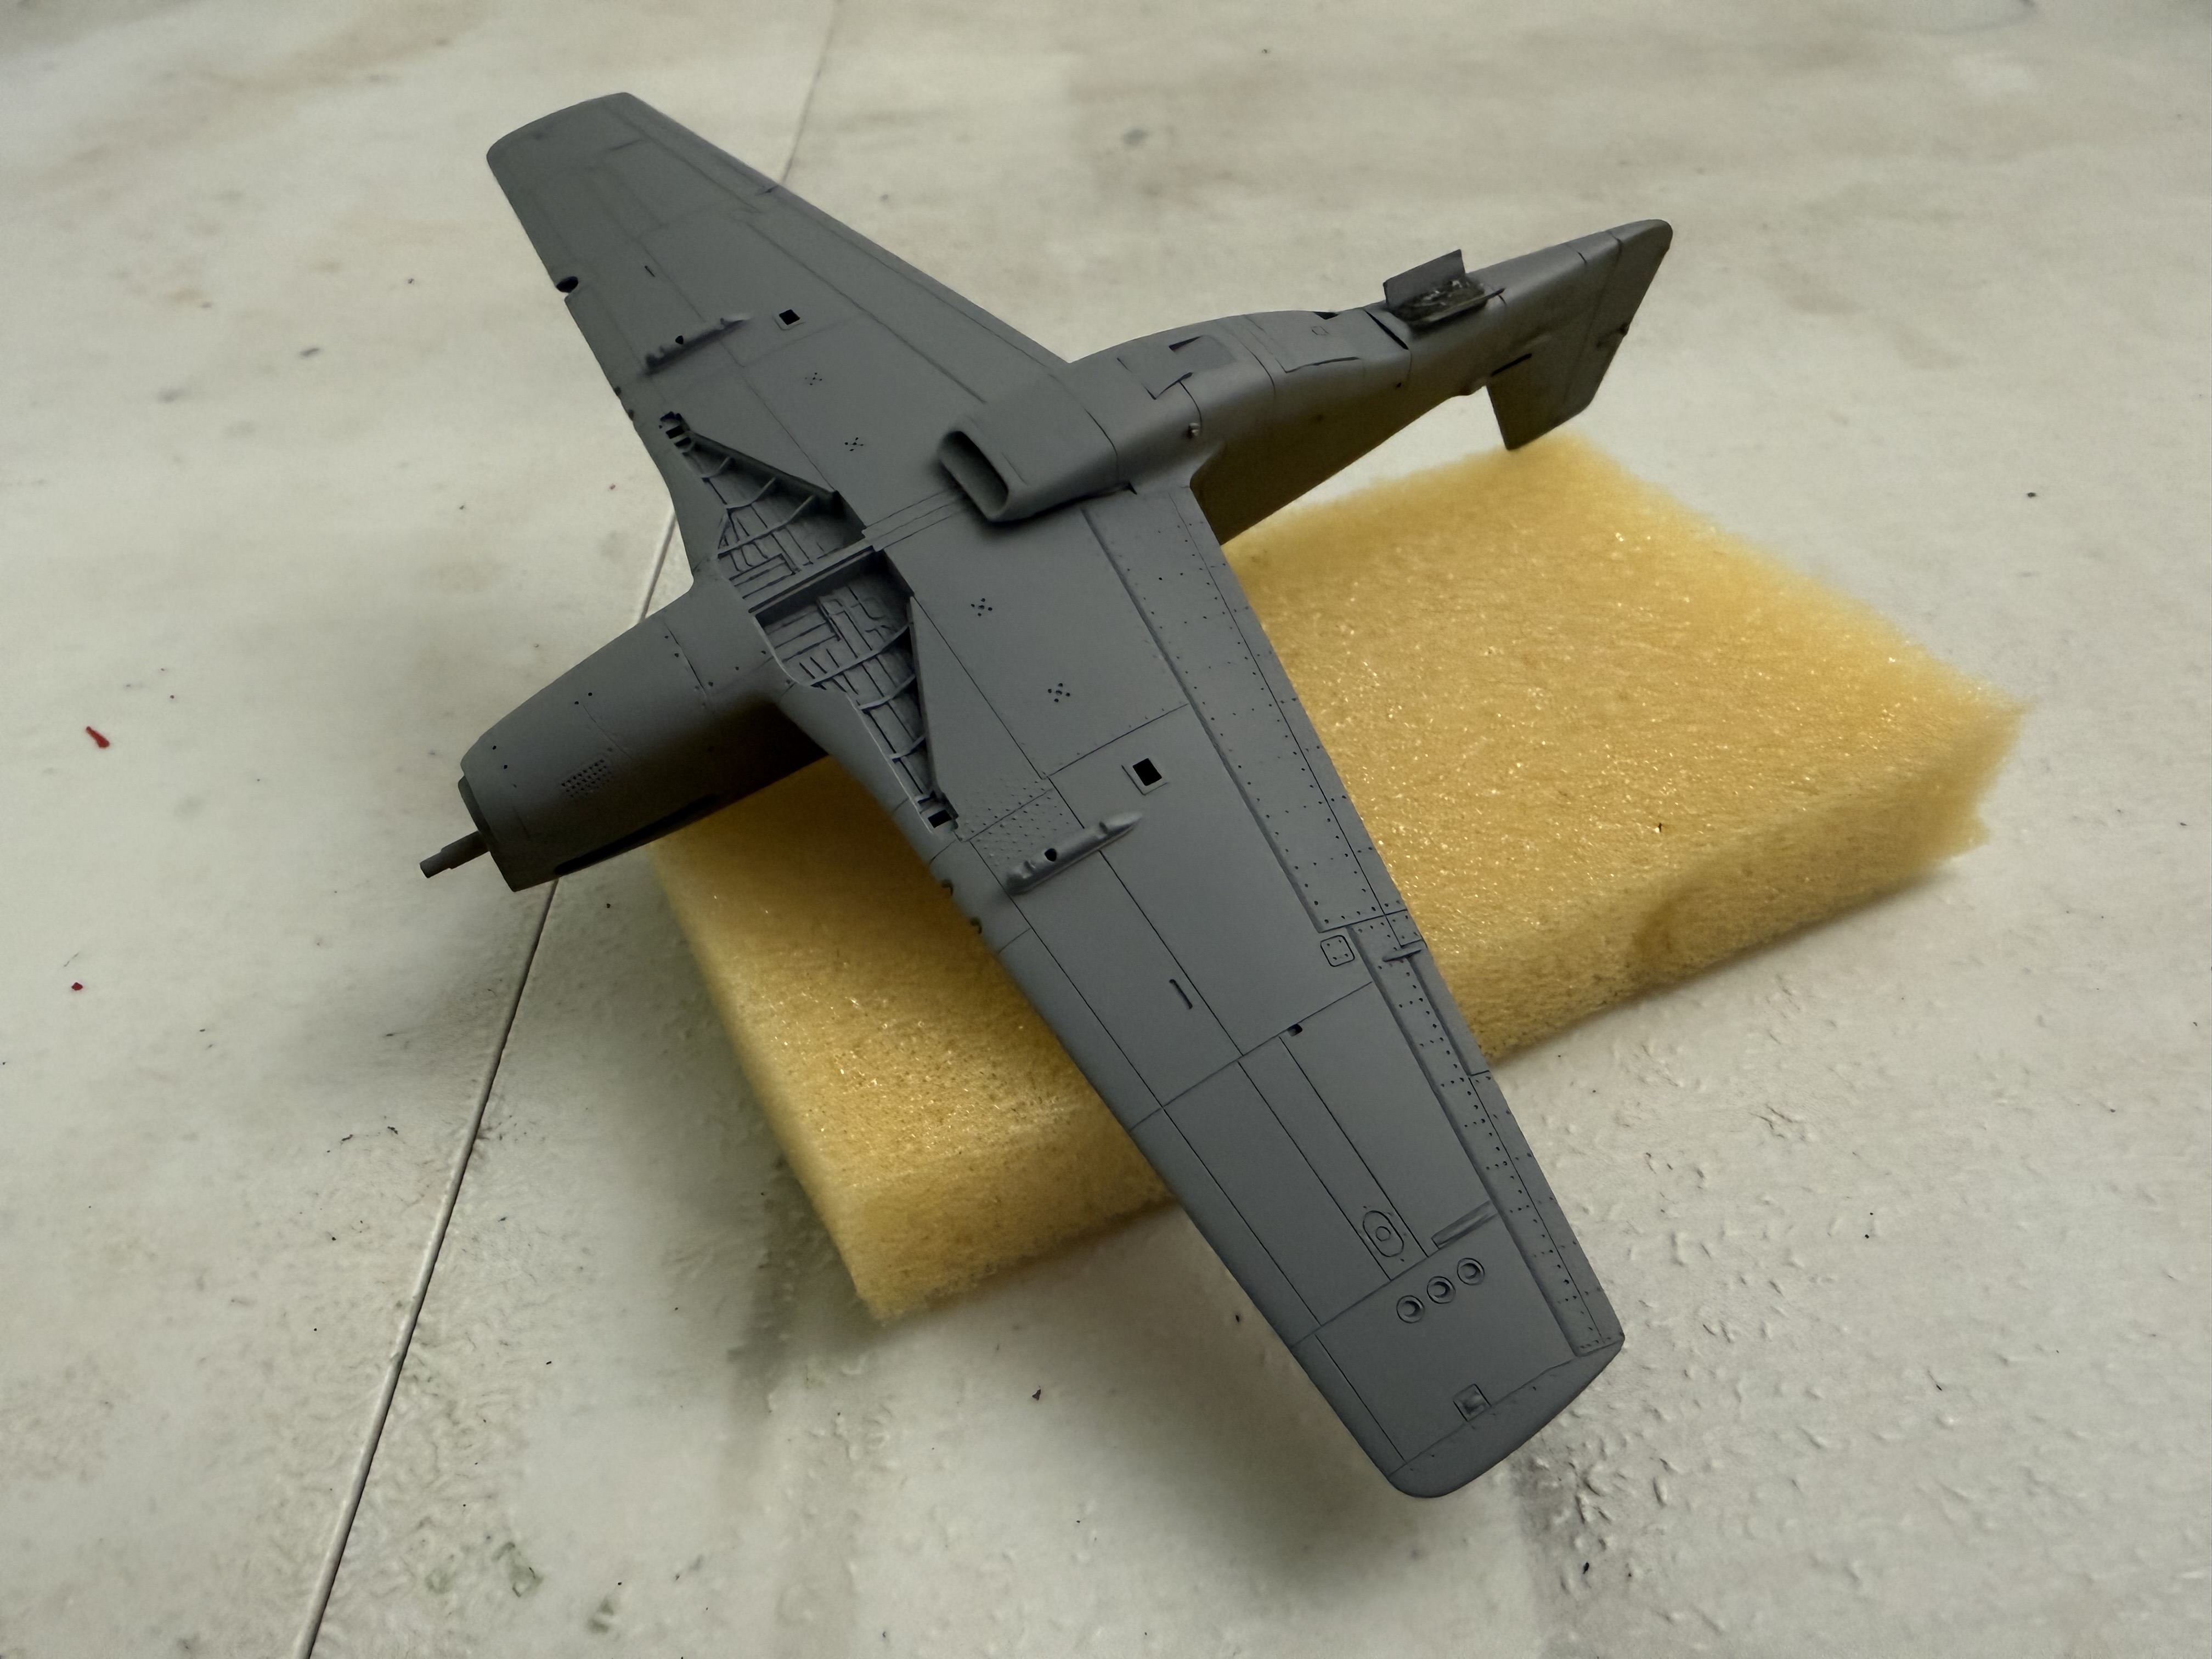
This is about ready for primer. Just need to mask up the canopy, which I'm going to do by hand. I wasn't going to spend almost as much as I paid for the kit on a masking set. The only issue so far is that the shape of the Malcolm hood is a shade out of proportion. But whatever. It's a $14 kit.

IMG_9534.jpeg
 
Last edited:
That's a nice little kit that - I built one a few years back. You could of course paint it without invasion stripes - it wouldn't have had any a few day's before D-Day.
 
That's a nice little kit that - I built one a few years back. You could of course paint it without invasion stripes - it wouldn't have had any a few day's before D-Day.
I like the way you think! 😄

That's a great point and it's tempting to go that route. On the other hand, I've never done invasion stripes and I have a 1/48 build coming up that will need them and I want done right. So I'll probably take this opportunity to practice.
 
Got the main paint done. Decided to just freehand the color demarcation line. A little out of scale but it seemed to be fairly well feathered on 357th FG reference photos, and it meant I didn't have to wait a day for paint to dry in order to mask it.

Not my best work on canopy masking. There are some mean curves and the framing was so lightly molded on that it was almost impossible to see through the masking tape. I also probably need higher quality blades for the task. Oh well. This is a build for fun so not too worried about it.

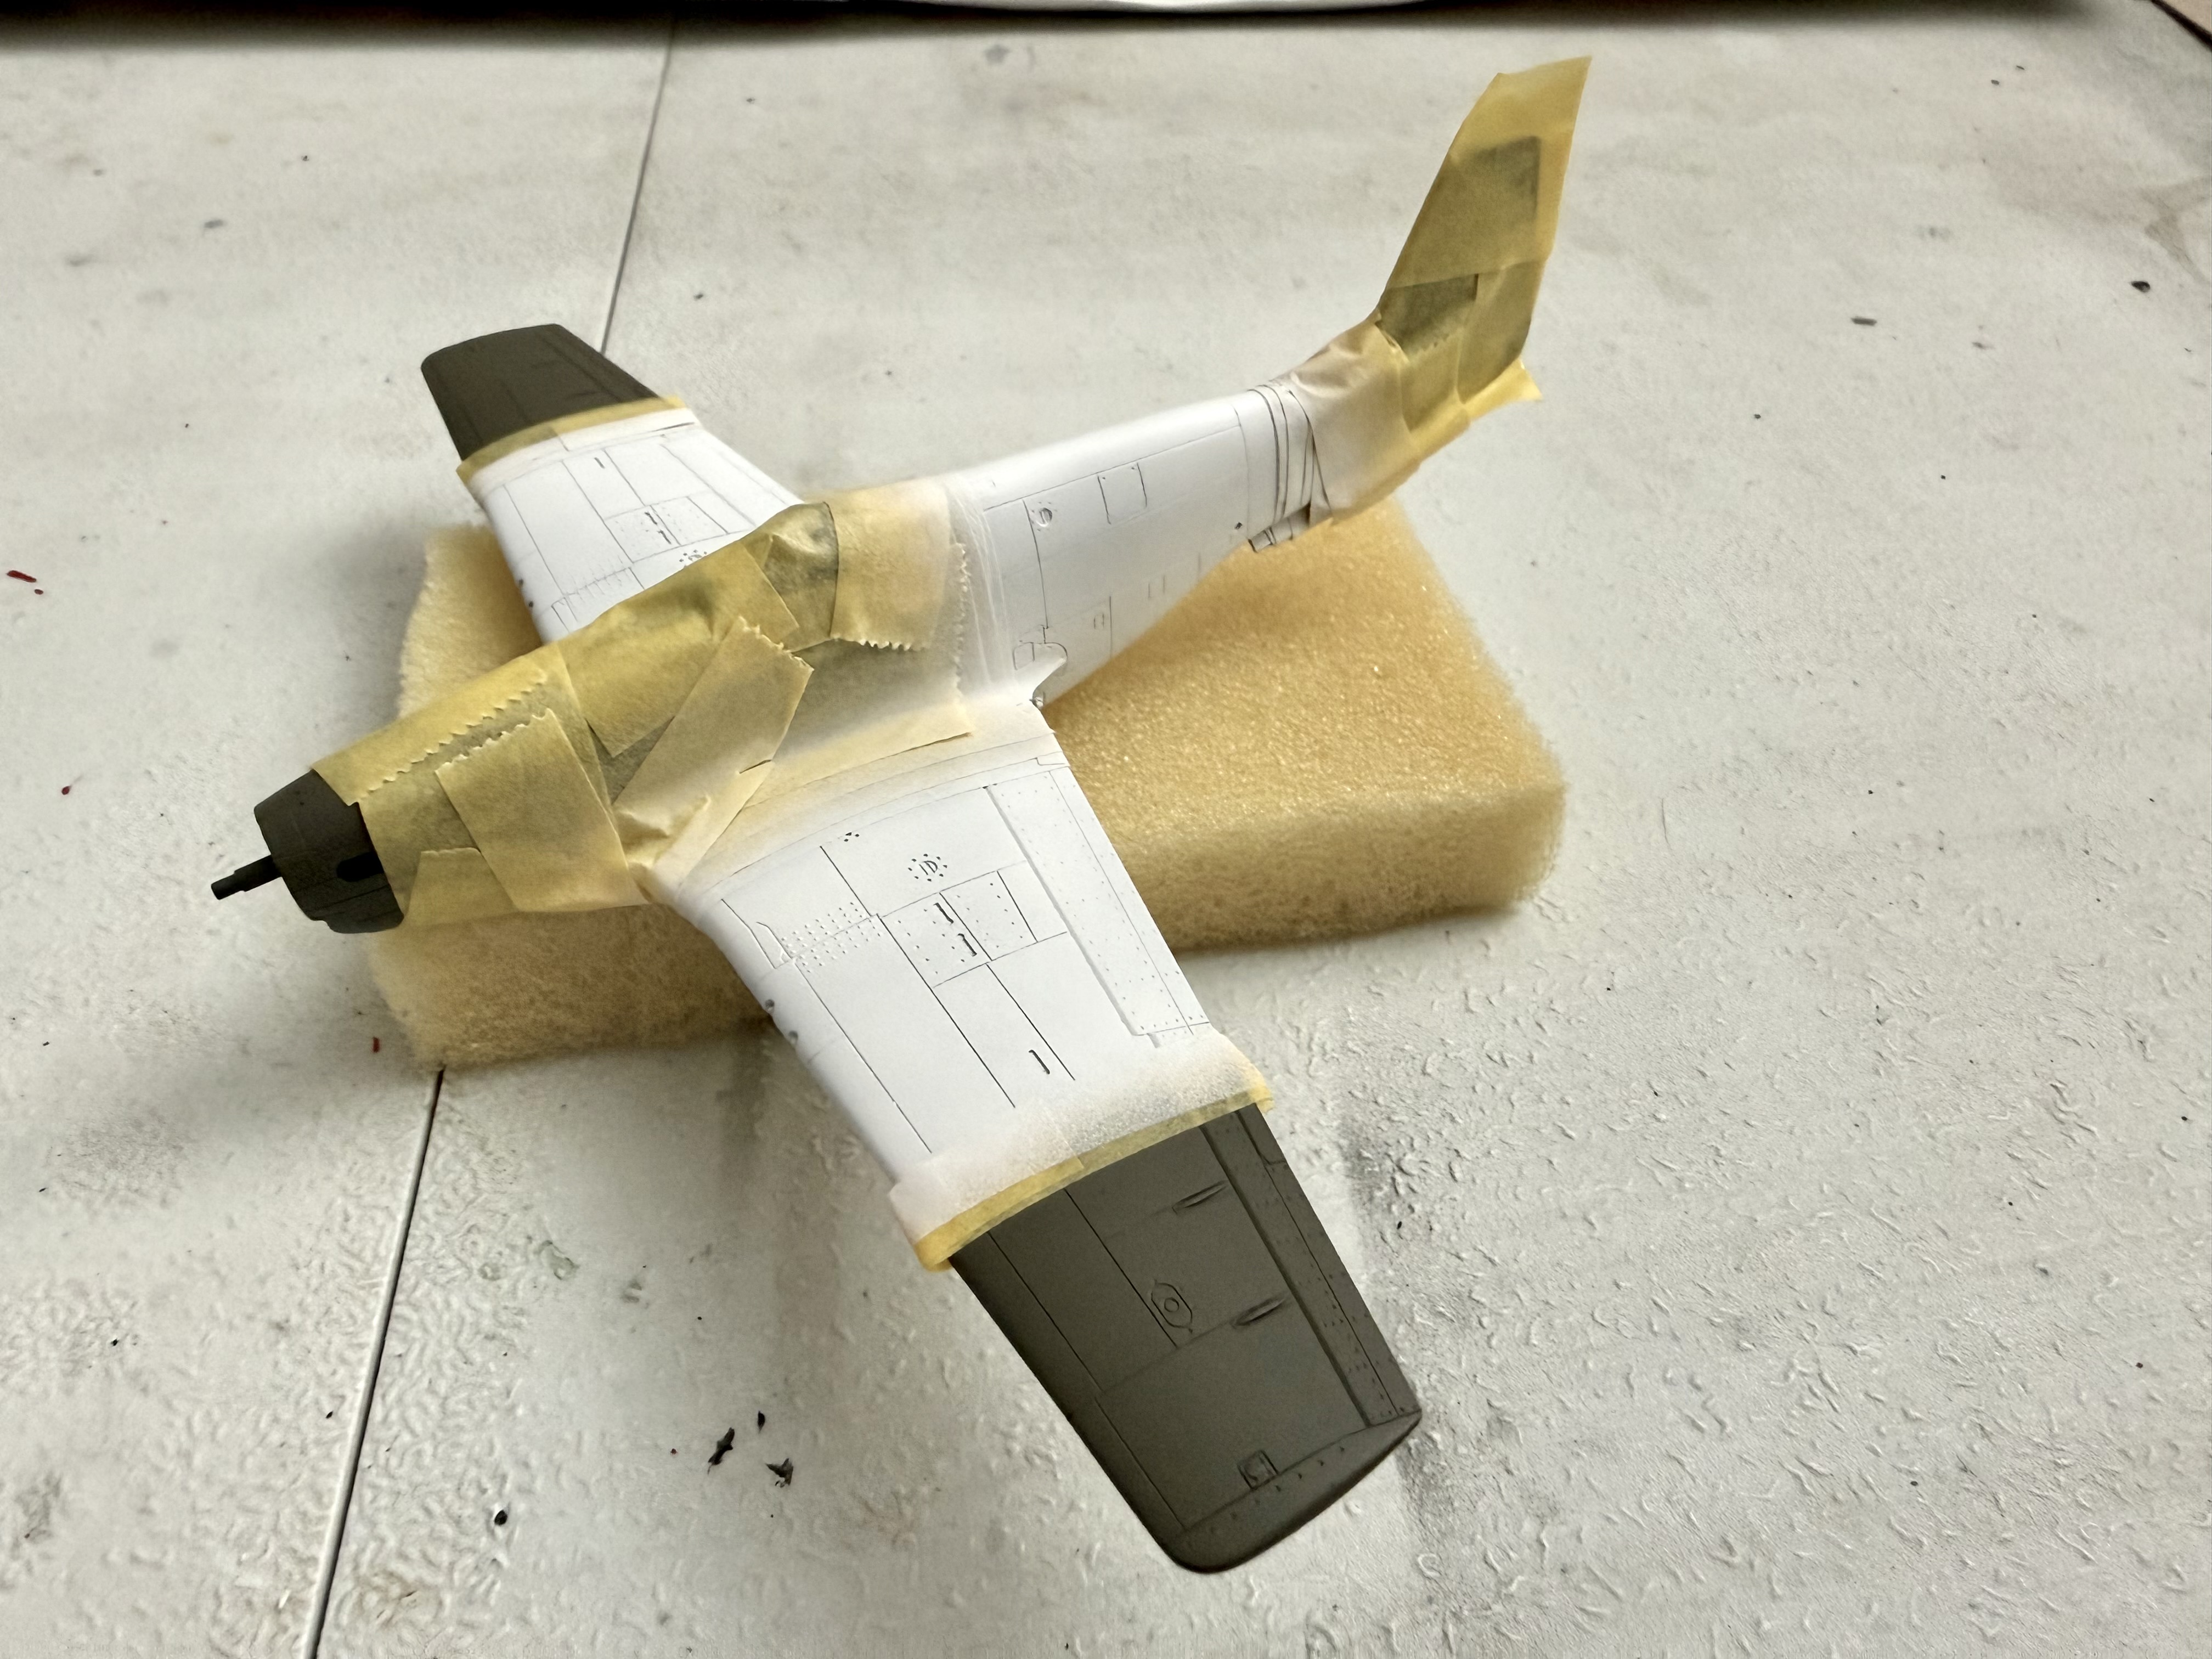
Next up will masking for the D-Day stripes.


IMG_9580.jpeg
IMG_9581.jpeg
 
As an Amazon Associate we earn from qualifying purchases. Product prices and availability are accurate as of the date/time indicated and are subject to change.
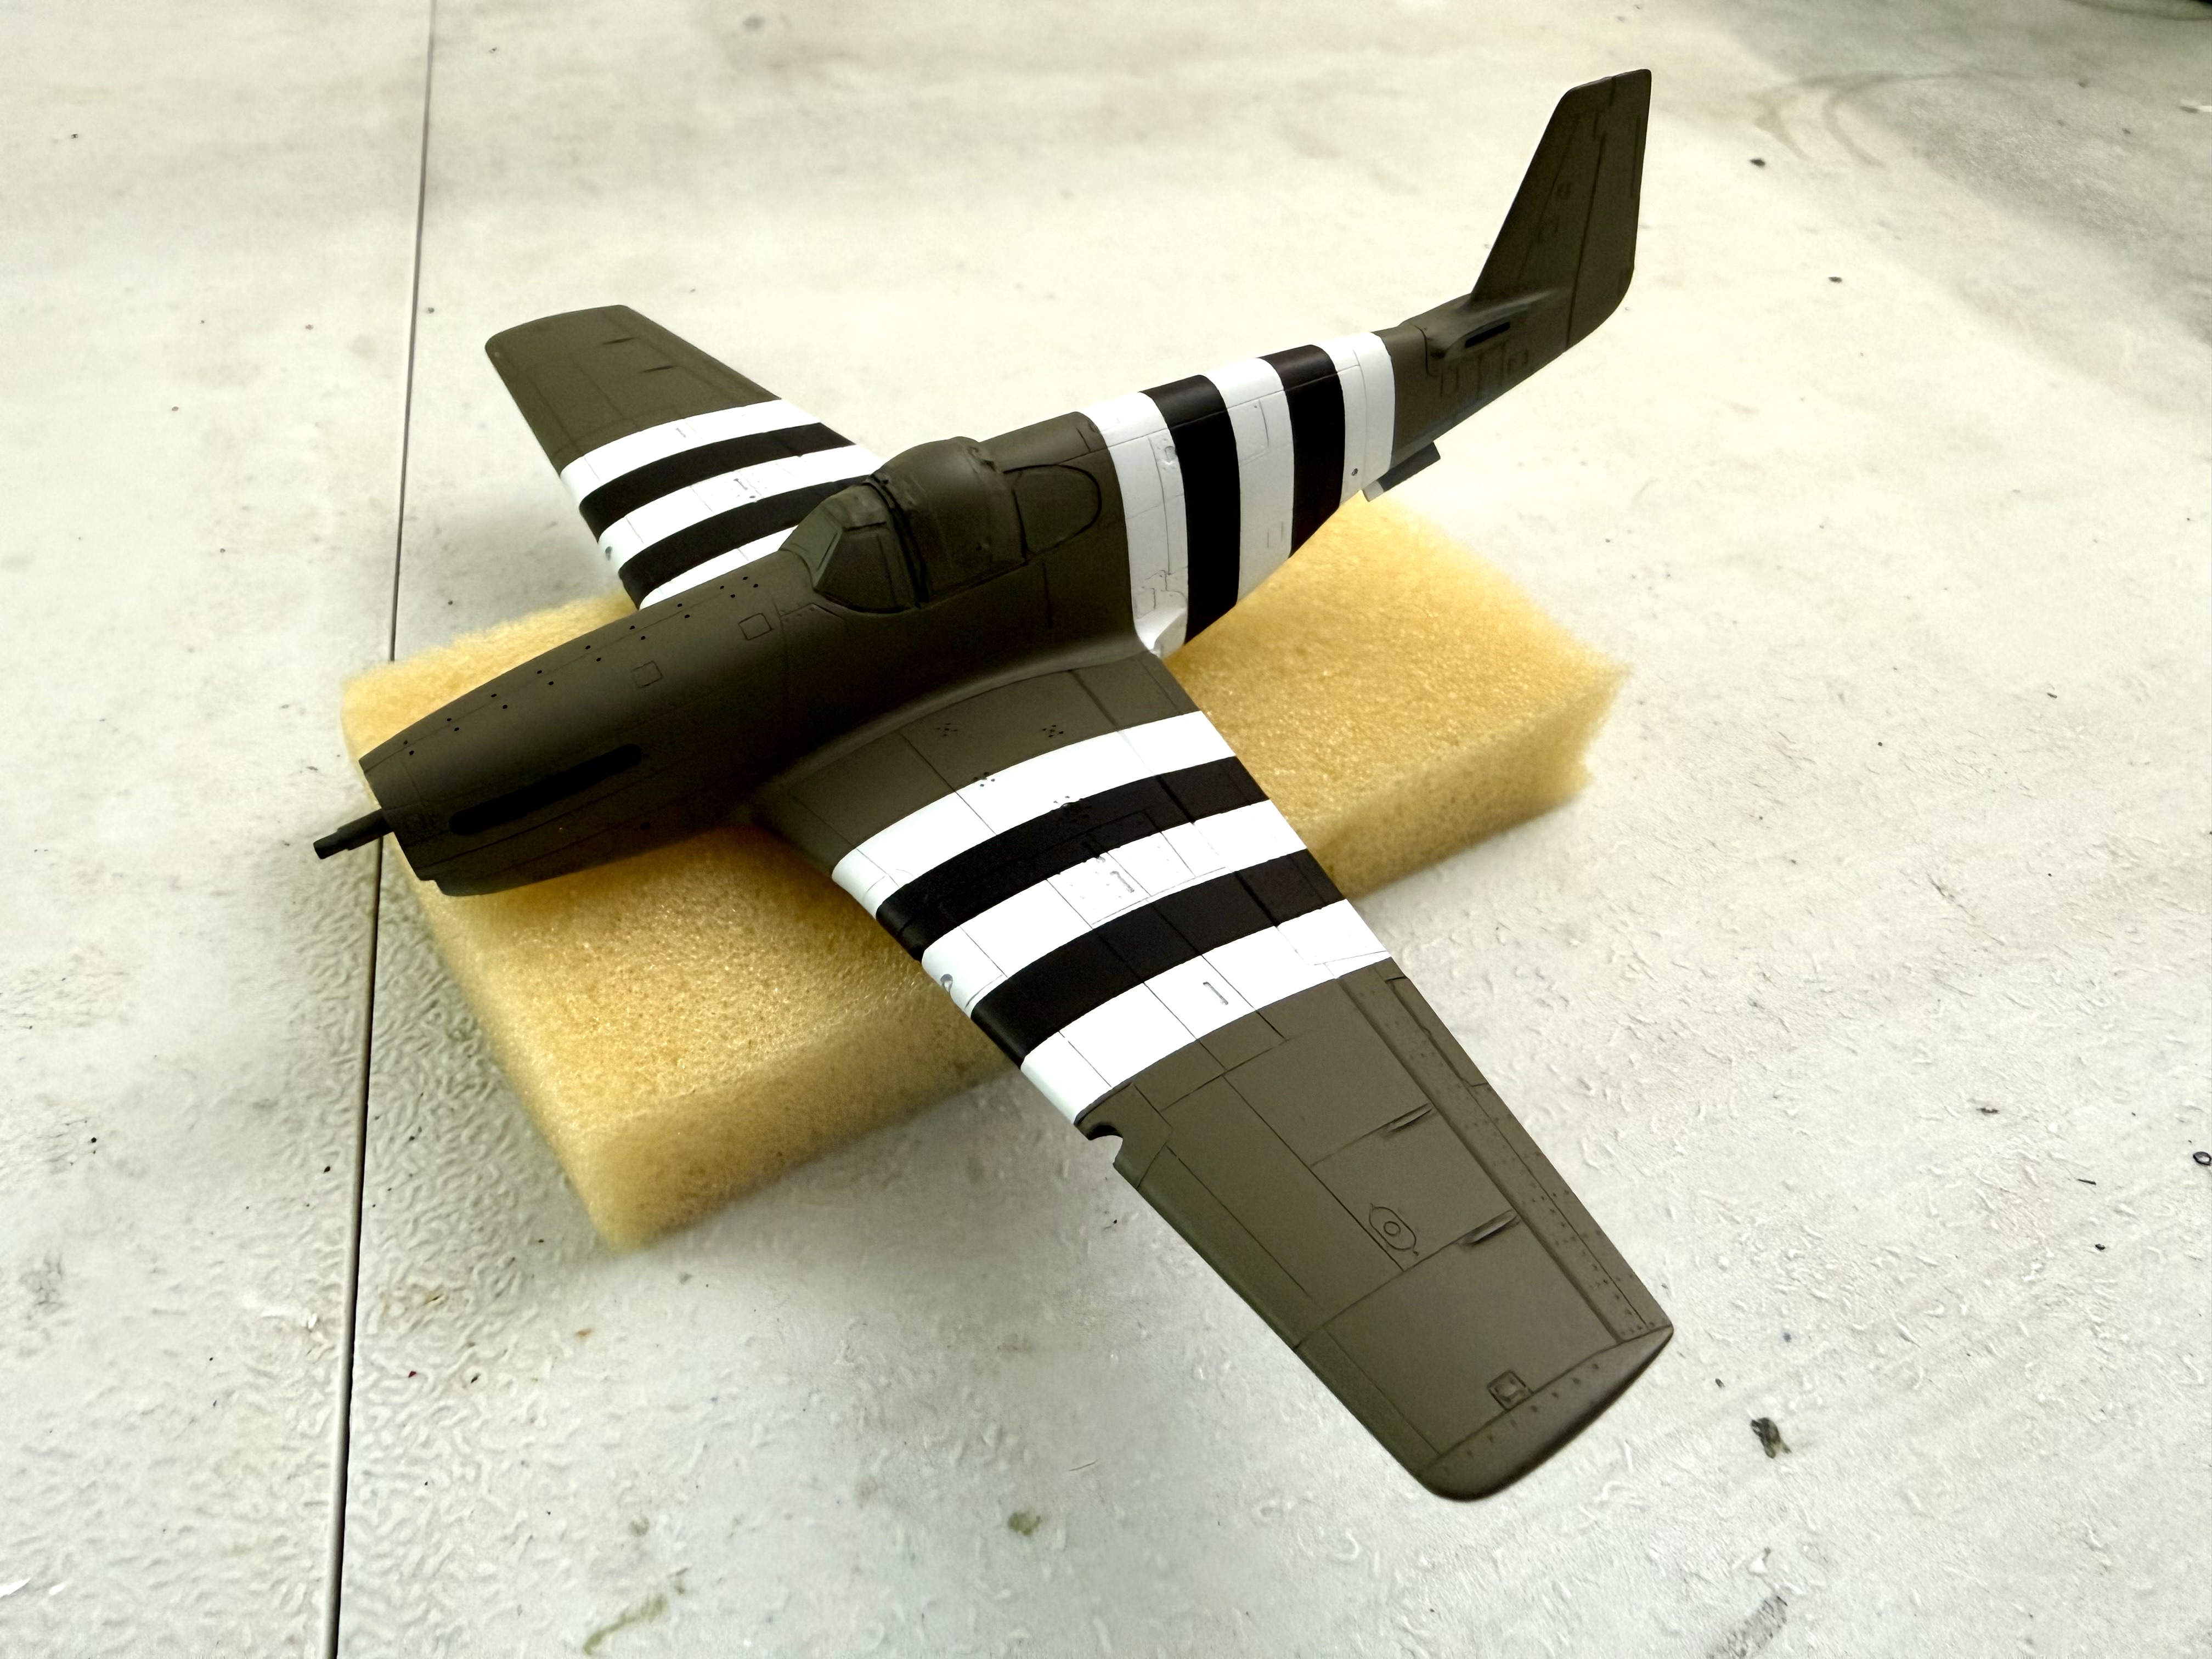
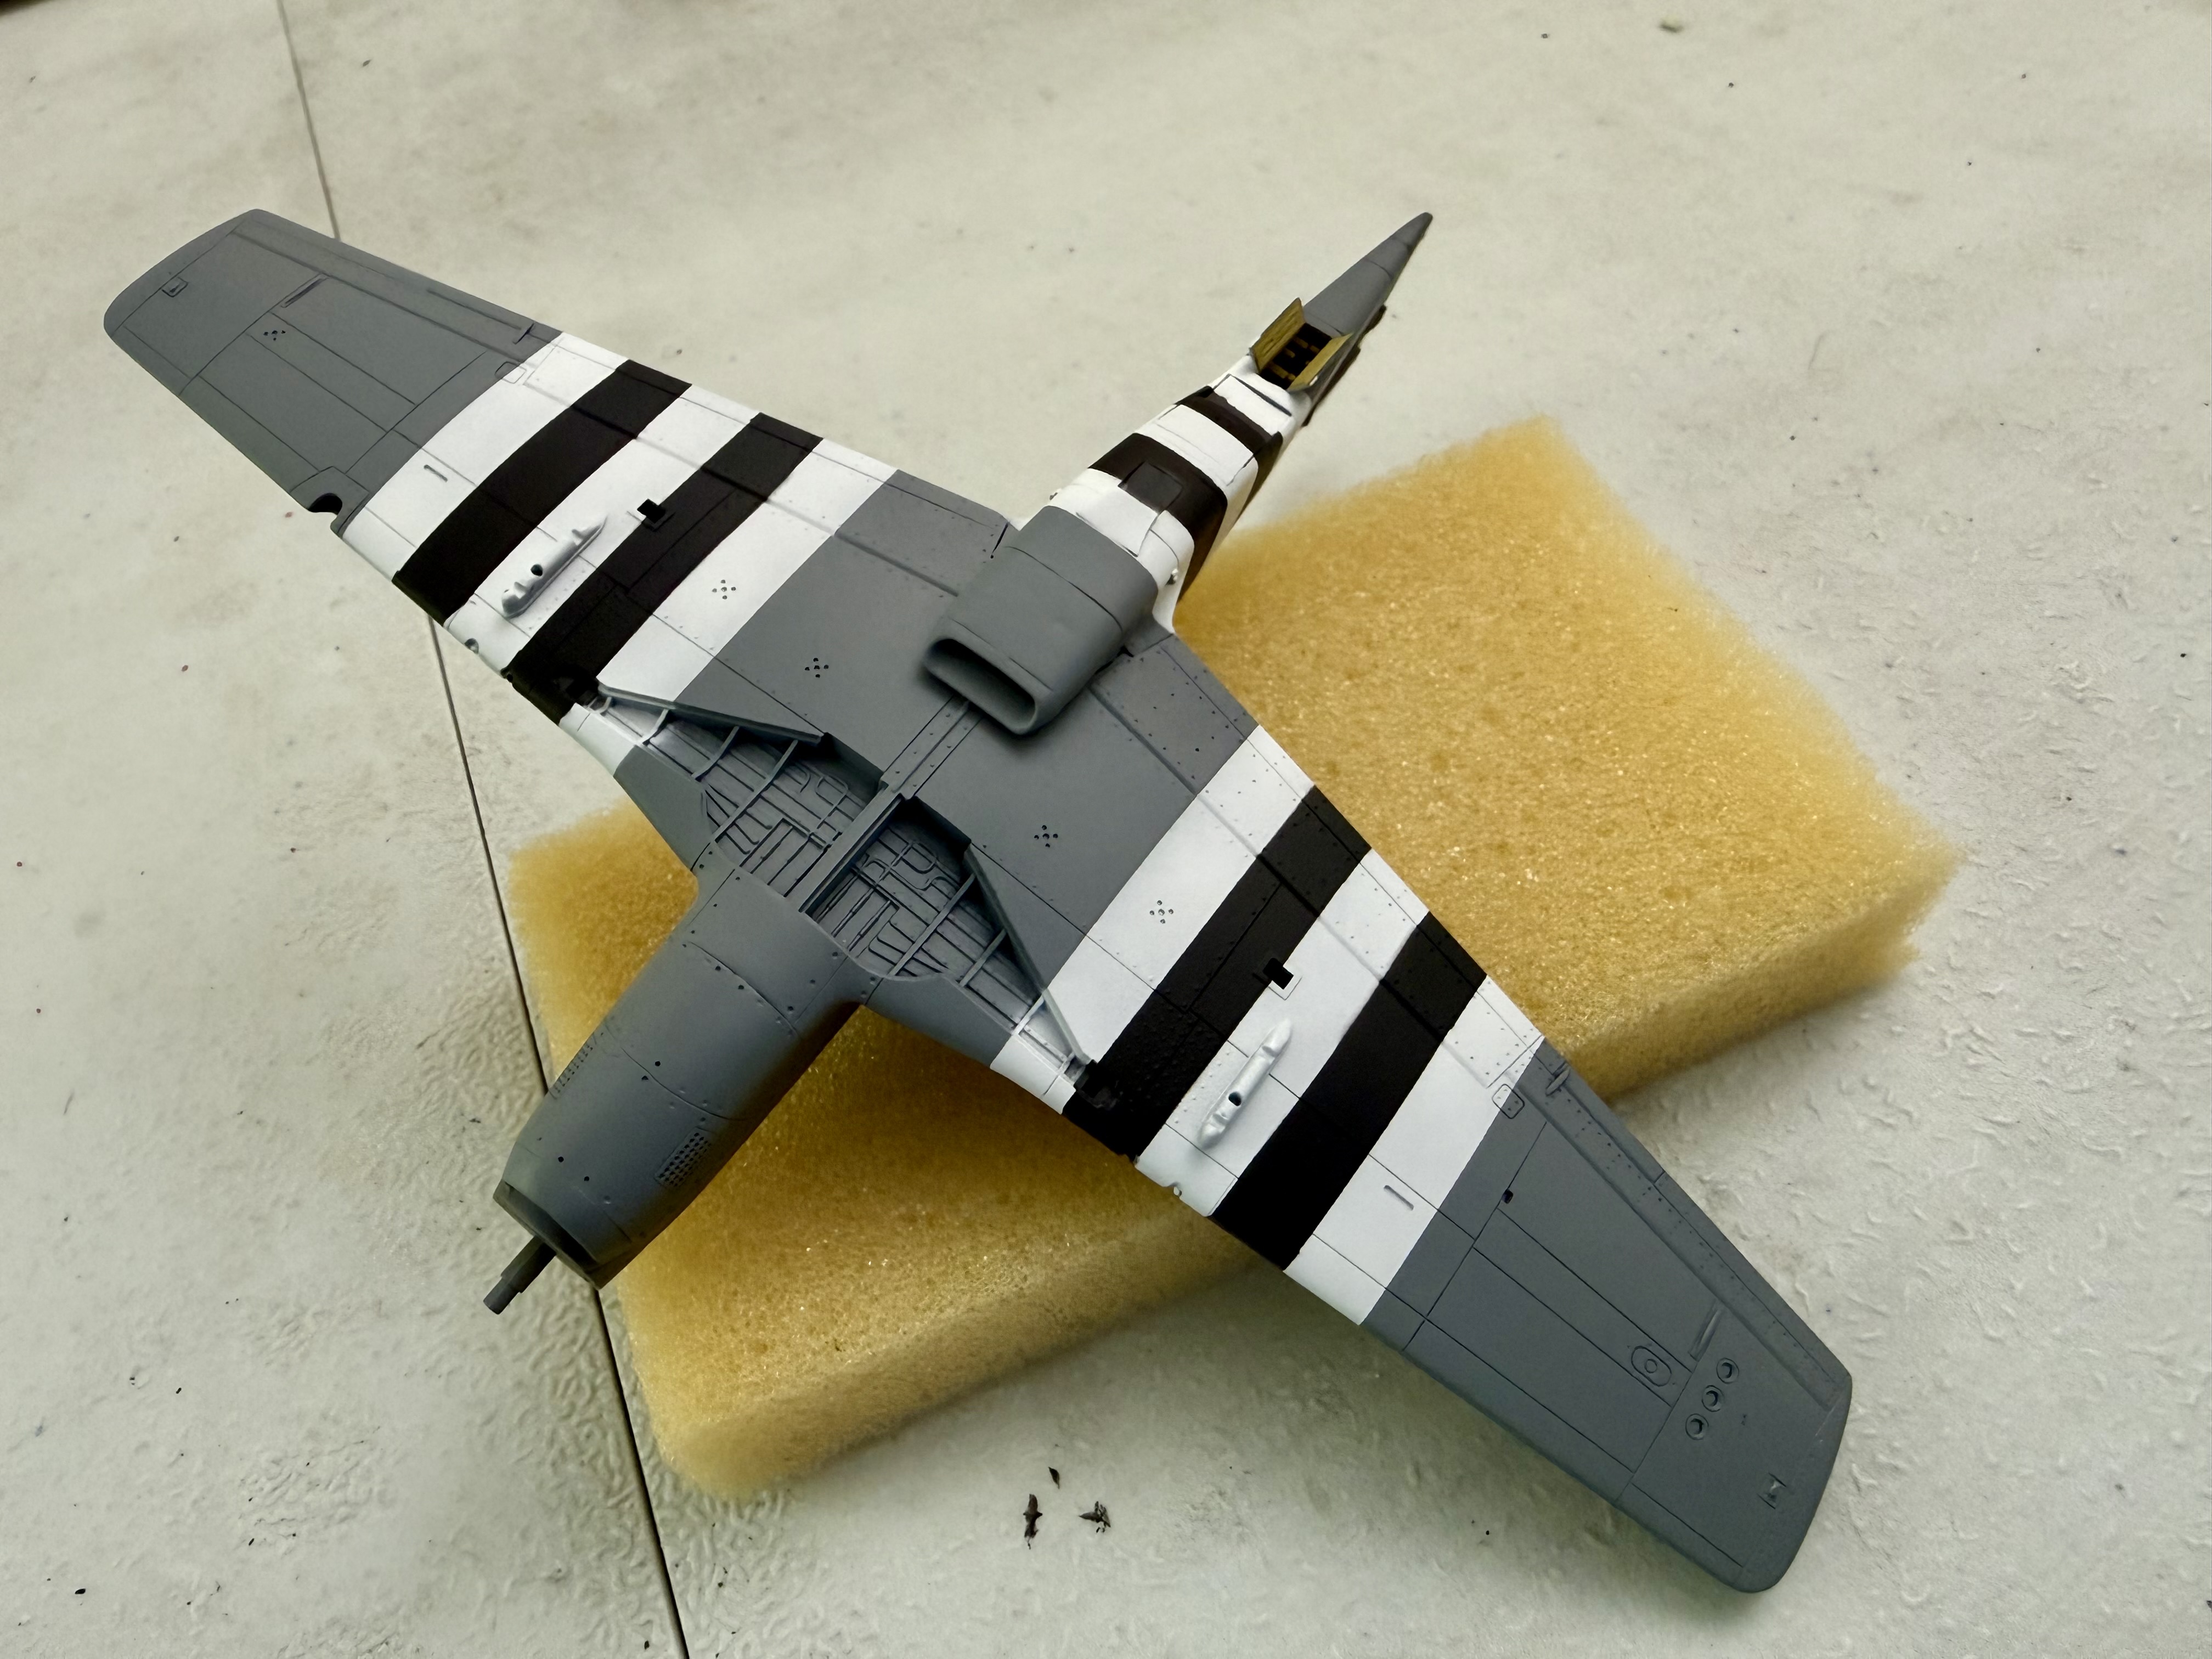
Phase I of invasion stripes! 😱

I've really come to dislike spraying white. I feel like it takes a lot more effort—and more paint—to get right. I usually don't have to reload the airbrush mid-job, but I did this time. Ah well. Onwards and upwards.

IMG_9583.jpeg
 
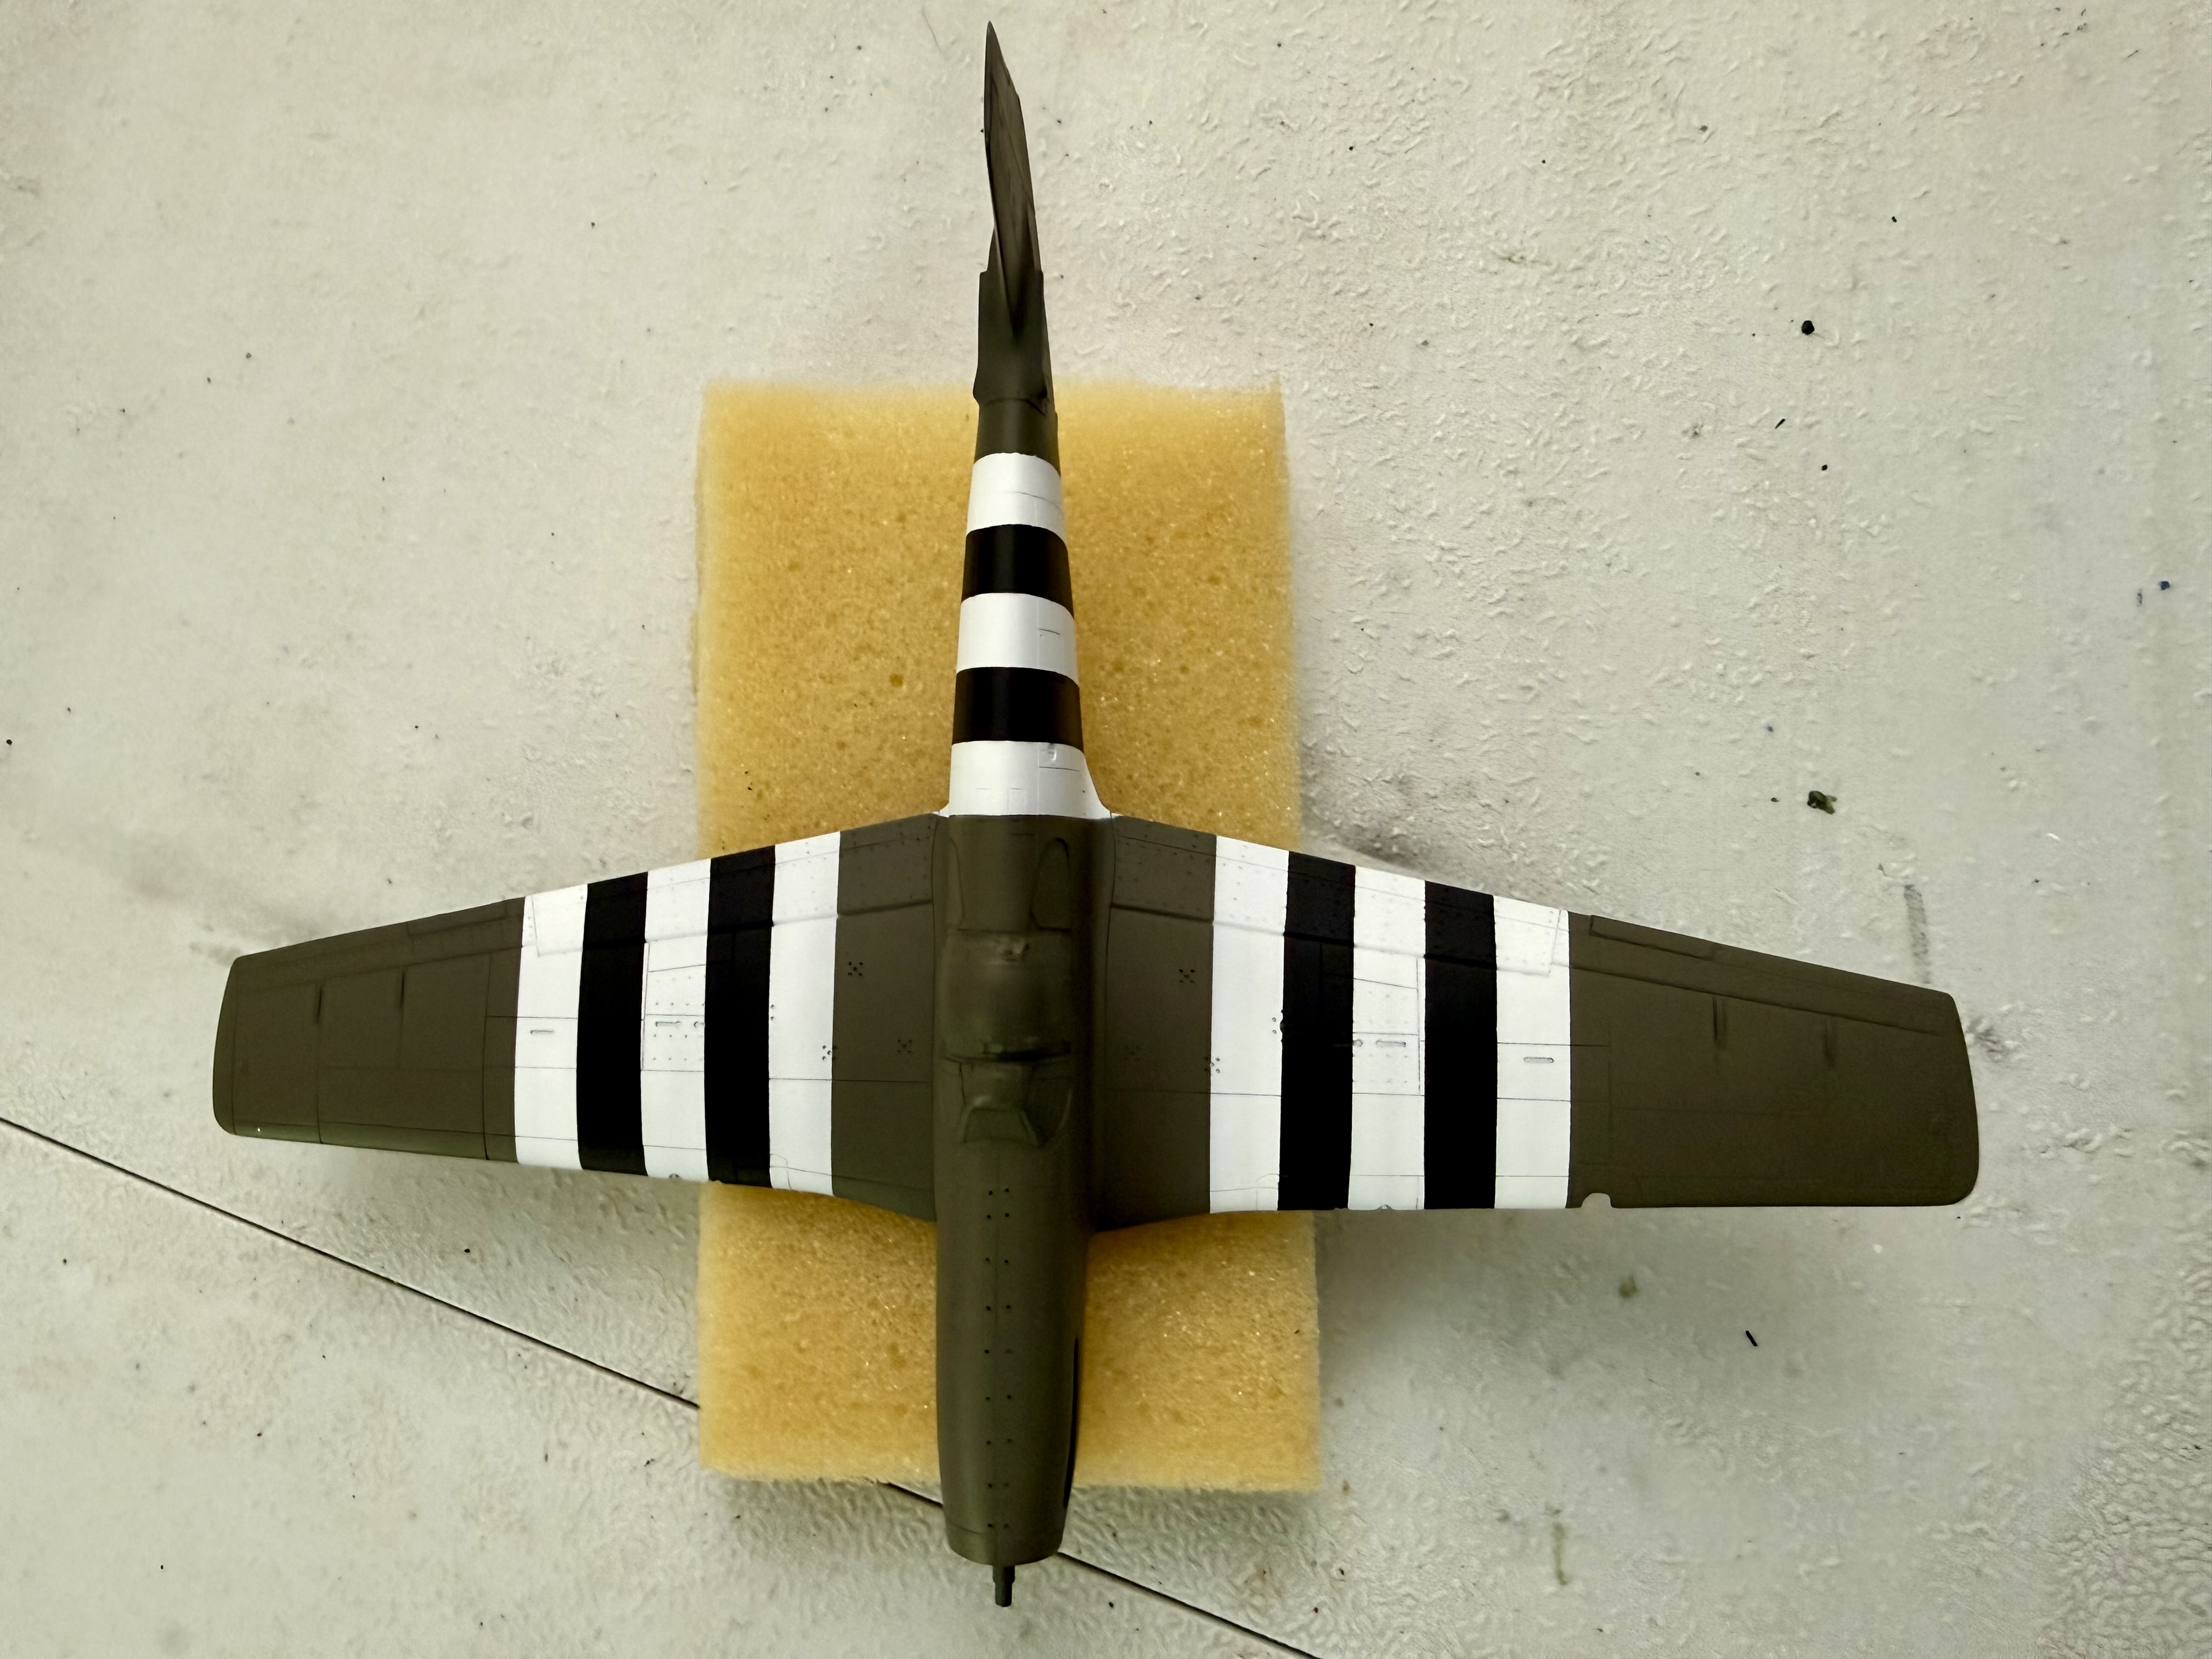
On the couple of models I painted with invasion stripes, I started with them: prime the model white, mask off the white stripes, spray the black, mask the black stripes off too and then spray the rest of the model.

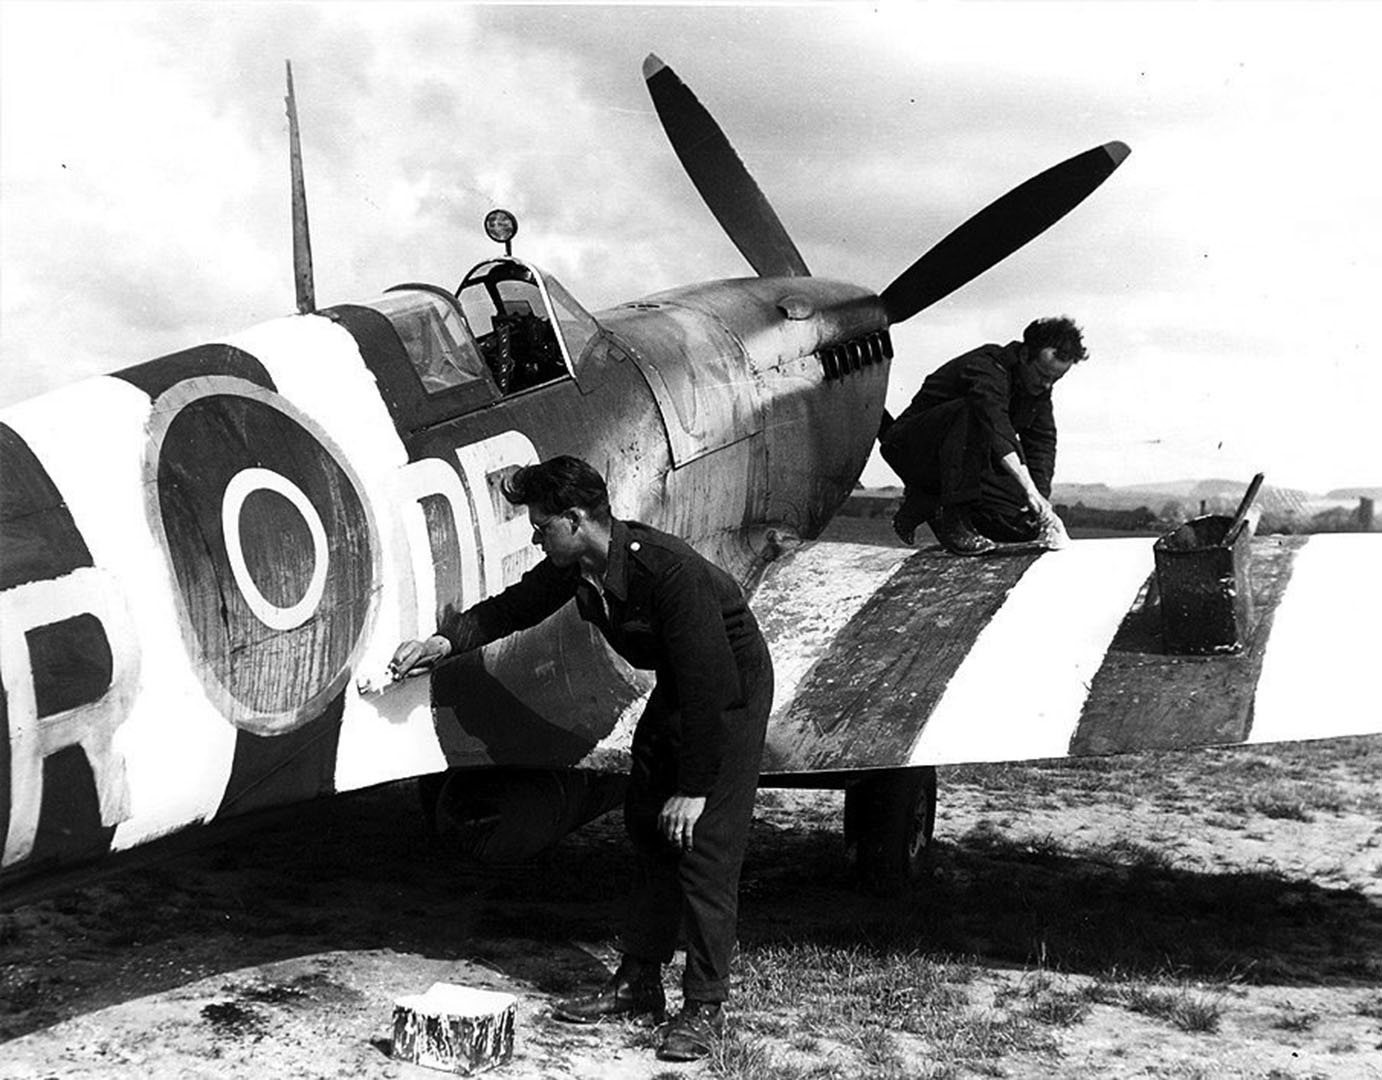
Your white areas also look very wide to my eye. On real single-engined planes, each stripe was to be 18 inches wide, starting 6 inches inboard of the circular part of the wing roundel. The vertical bars were aligned 18 inches in front of the forward edge of the tail fin. This gives you guys in countries used to Imperial/American units a distinct advantage because in 1:72 scale you can just get out quarter-inch masking tape for them :) The whole set should be exactly 1.25″ wide/long in 1:72 scale.
 
Last edited:
On the couple of models I painted with invasion stripes, I started with them: prime the model white, mask off the white stripes, spray the black, mask the black stripes off too and then spray the rest of the model.

Your white areas also look very wide to my eye.
Not a bad idea, painting the stripes first. Thanks for the tip!

The white areas may look a little wider than they actually are due to the edges of the masking tape. I used the decals the kit came with as a reference. It included decals for the stripes, and they had each stripe at 6mm wide, which happily corresponds to one of the available widths of Tamiya masking tape. So they do in fact measure 1.25 inches. 😃

More or less. I wasn't expecting to get them perfect…
 
Last edited:
6 mm tape is 0.35 mm narrower than ¹⁄₄″ tape, though, and in 1:72 scale the difference is noticeable if you compare it to photos of a real plane — as I discovered when I used 6 mm tape and the inner edge of the stripes ended up clearly too far outboard.

Of course, there's an easy excuse if you didn't make them too accurate:

Invasion Stripes (Spitfire Mk. IX).jpg


:)

That's a photo taken on 5 June 1944, IIRC, when a lot of planes suddenly had to have the stripes painted on, and so chances are nobody bothered to do it neatly. Soon after, they would have been redone properly.
 
6 mm tape is 0.35 mm narrower than ¹⁄₄″ tape, though, and in 1:72 scale the difference is noticeable if you compare it to photos of a real plane — as I discovered when I used 6 mm tape and the inner edge of the stripes ended up clearly too far outboard.
Awesome info. Thanks for sharing. I'll definitely reference this on future builds. I'm not taking this one too seriously. Mainly using it as trial run for future kits that I do want to take seriously. I've got a Spitfire Mk XII in the stash that will need stripes and I'll want to do those well.

Having said that, I've seen photos of aircraft from the summer of '44 with some pretty heinously applied stripes. Quick field mods are often done pretty haphazardly. 😃
 
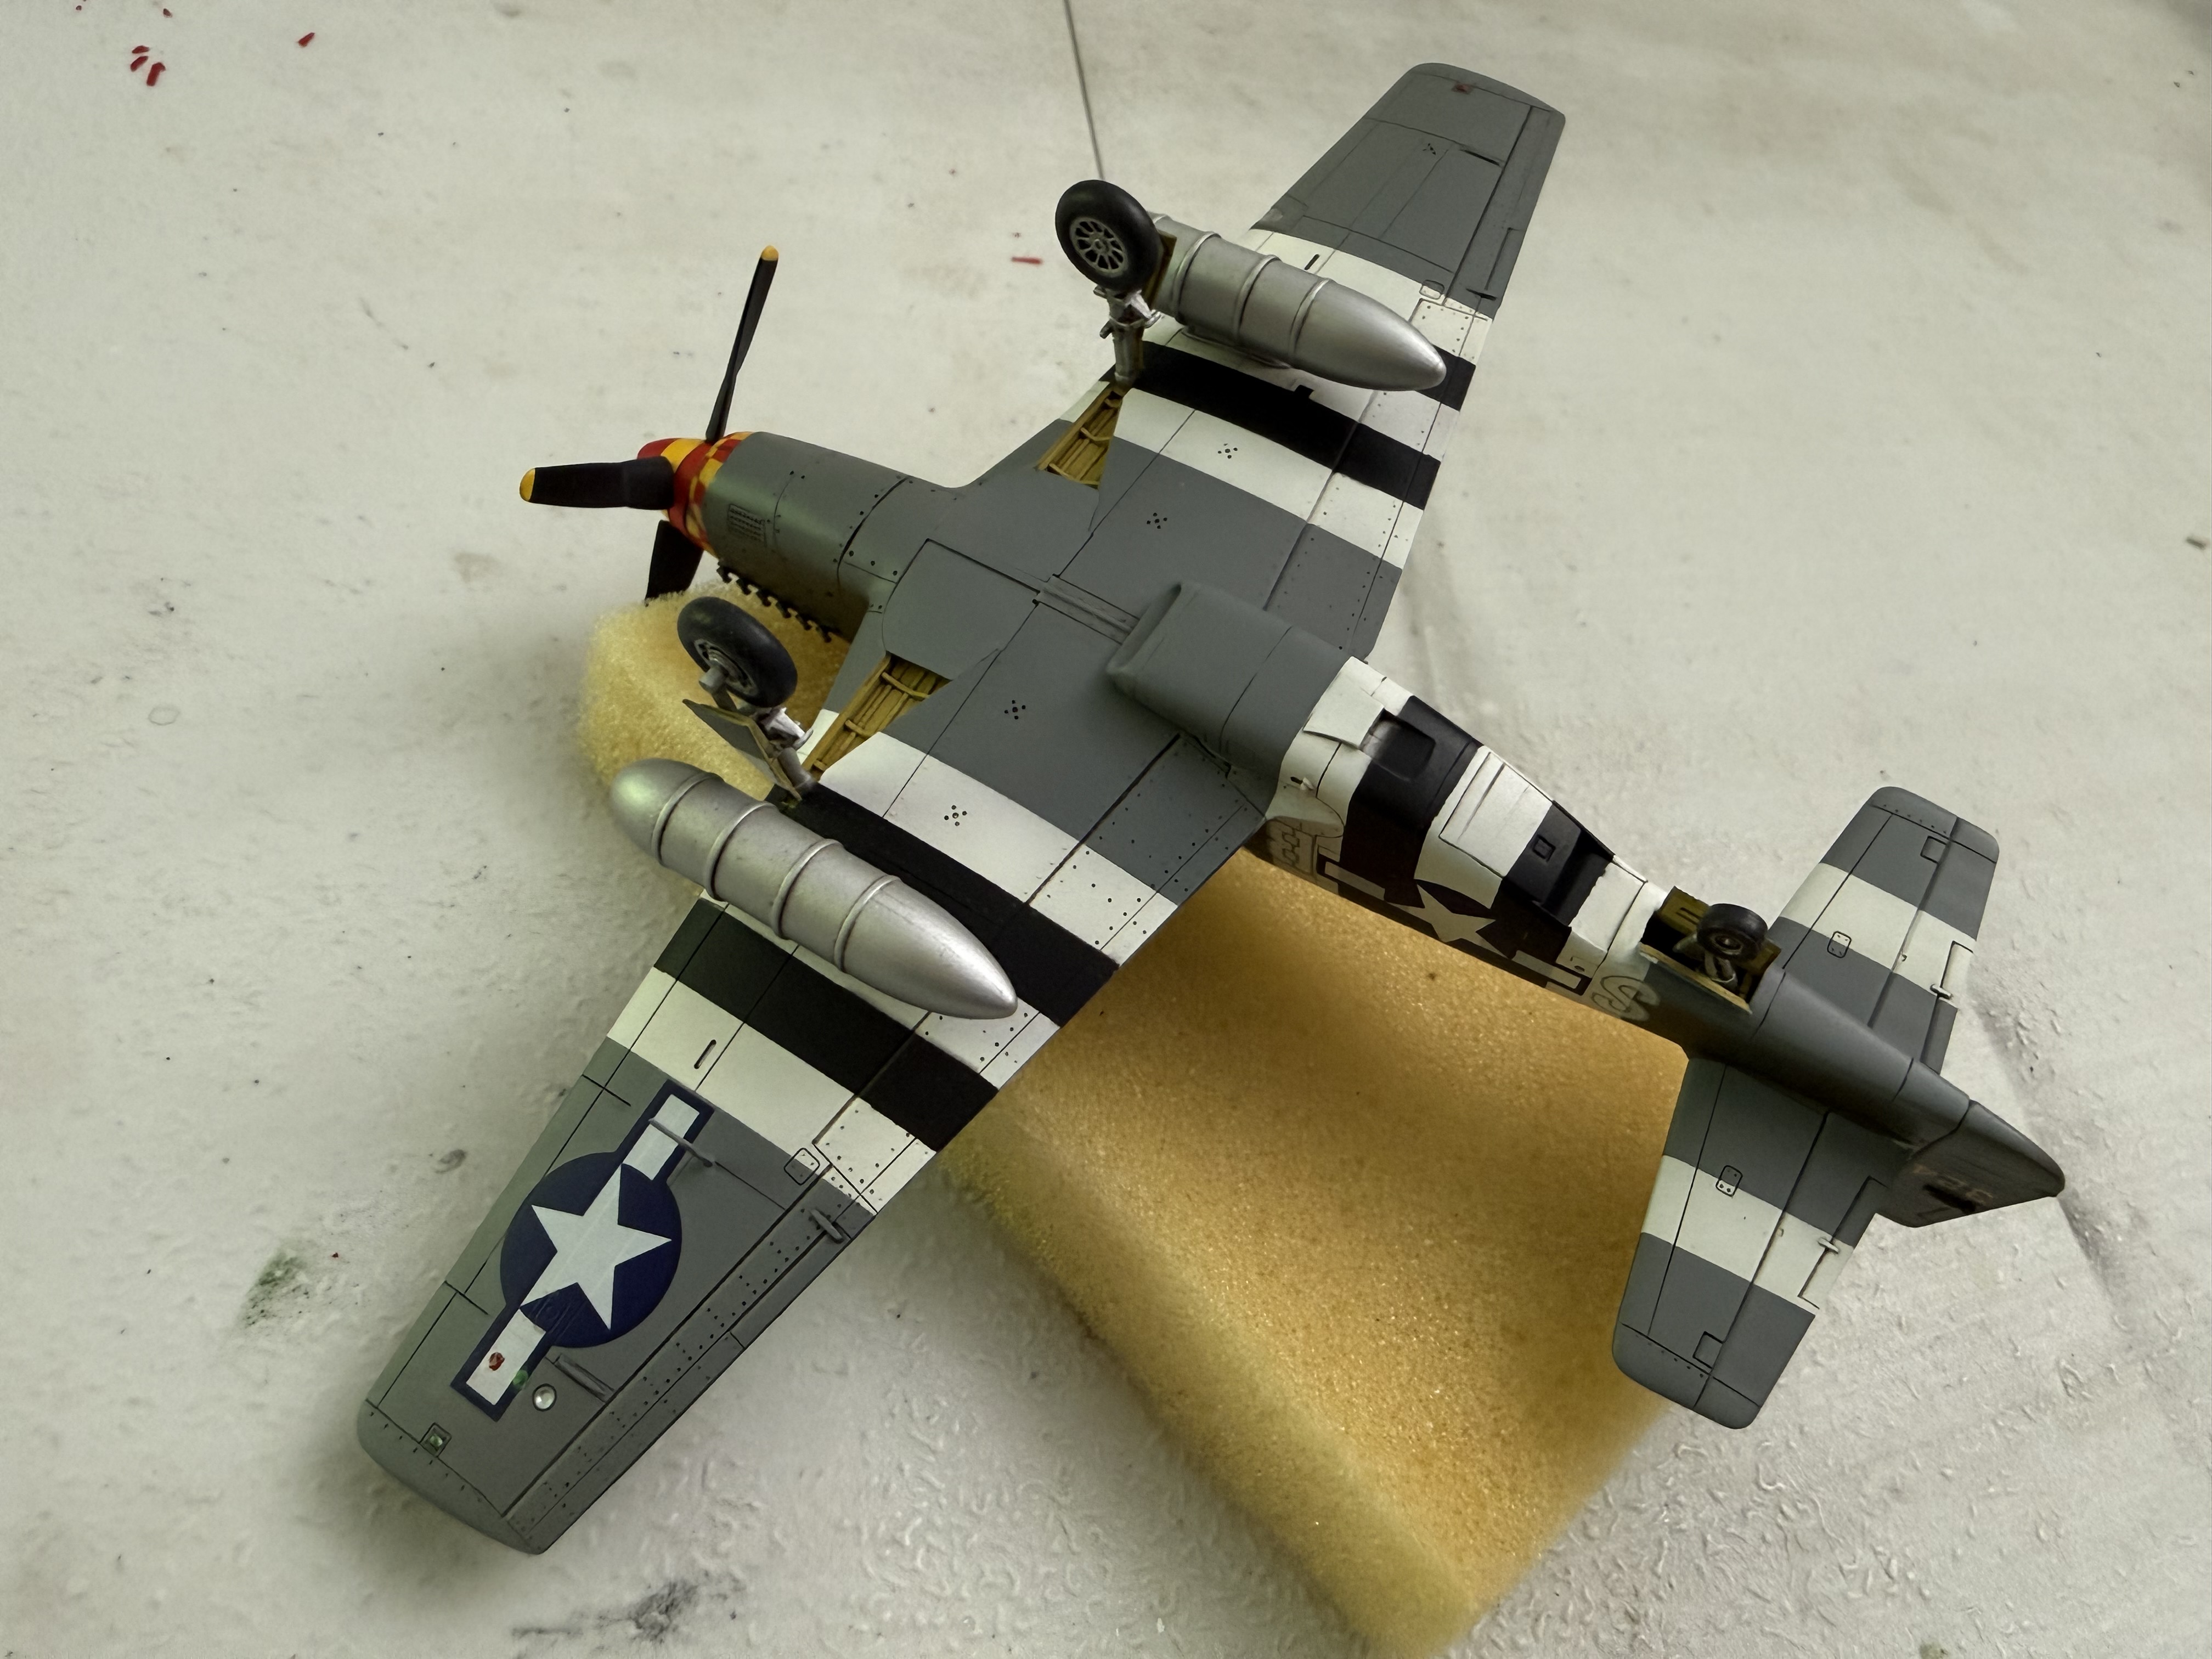
Well, that was quite a bit of complex work. I tend to think full invasion stripes make the aircraft look like a flying candy cane but I'm glad I took the time to give a try on this one (stripes on just the lower surfaces look cool though). Far from perfect, but I knew it wouldn't be. Good enough for this build and a lot of lessons learned for next time (when I'll just be doing the lower surfaces lol). Top looks way better than the bottom, as I was getting tired of matching up the compound curves and concluded no one would ever be looking at the ventral side anyway.

Just need to put some chromate yellow in the main gear bays and I'm ready for gloss coat.

Good times.

IMG_9587.jpeg
IMG_9589.jpeg
IMG_9591.jpeg
 
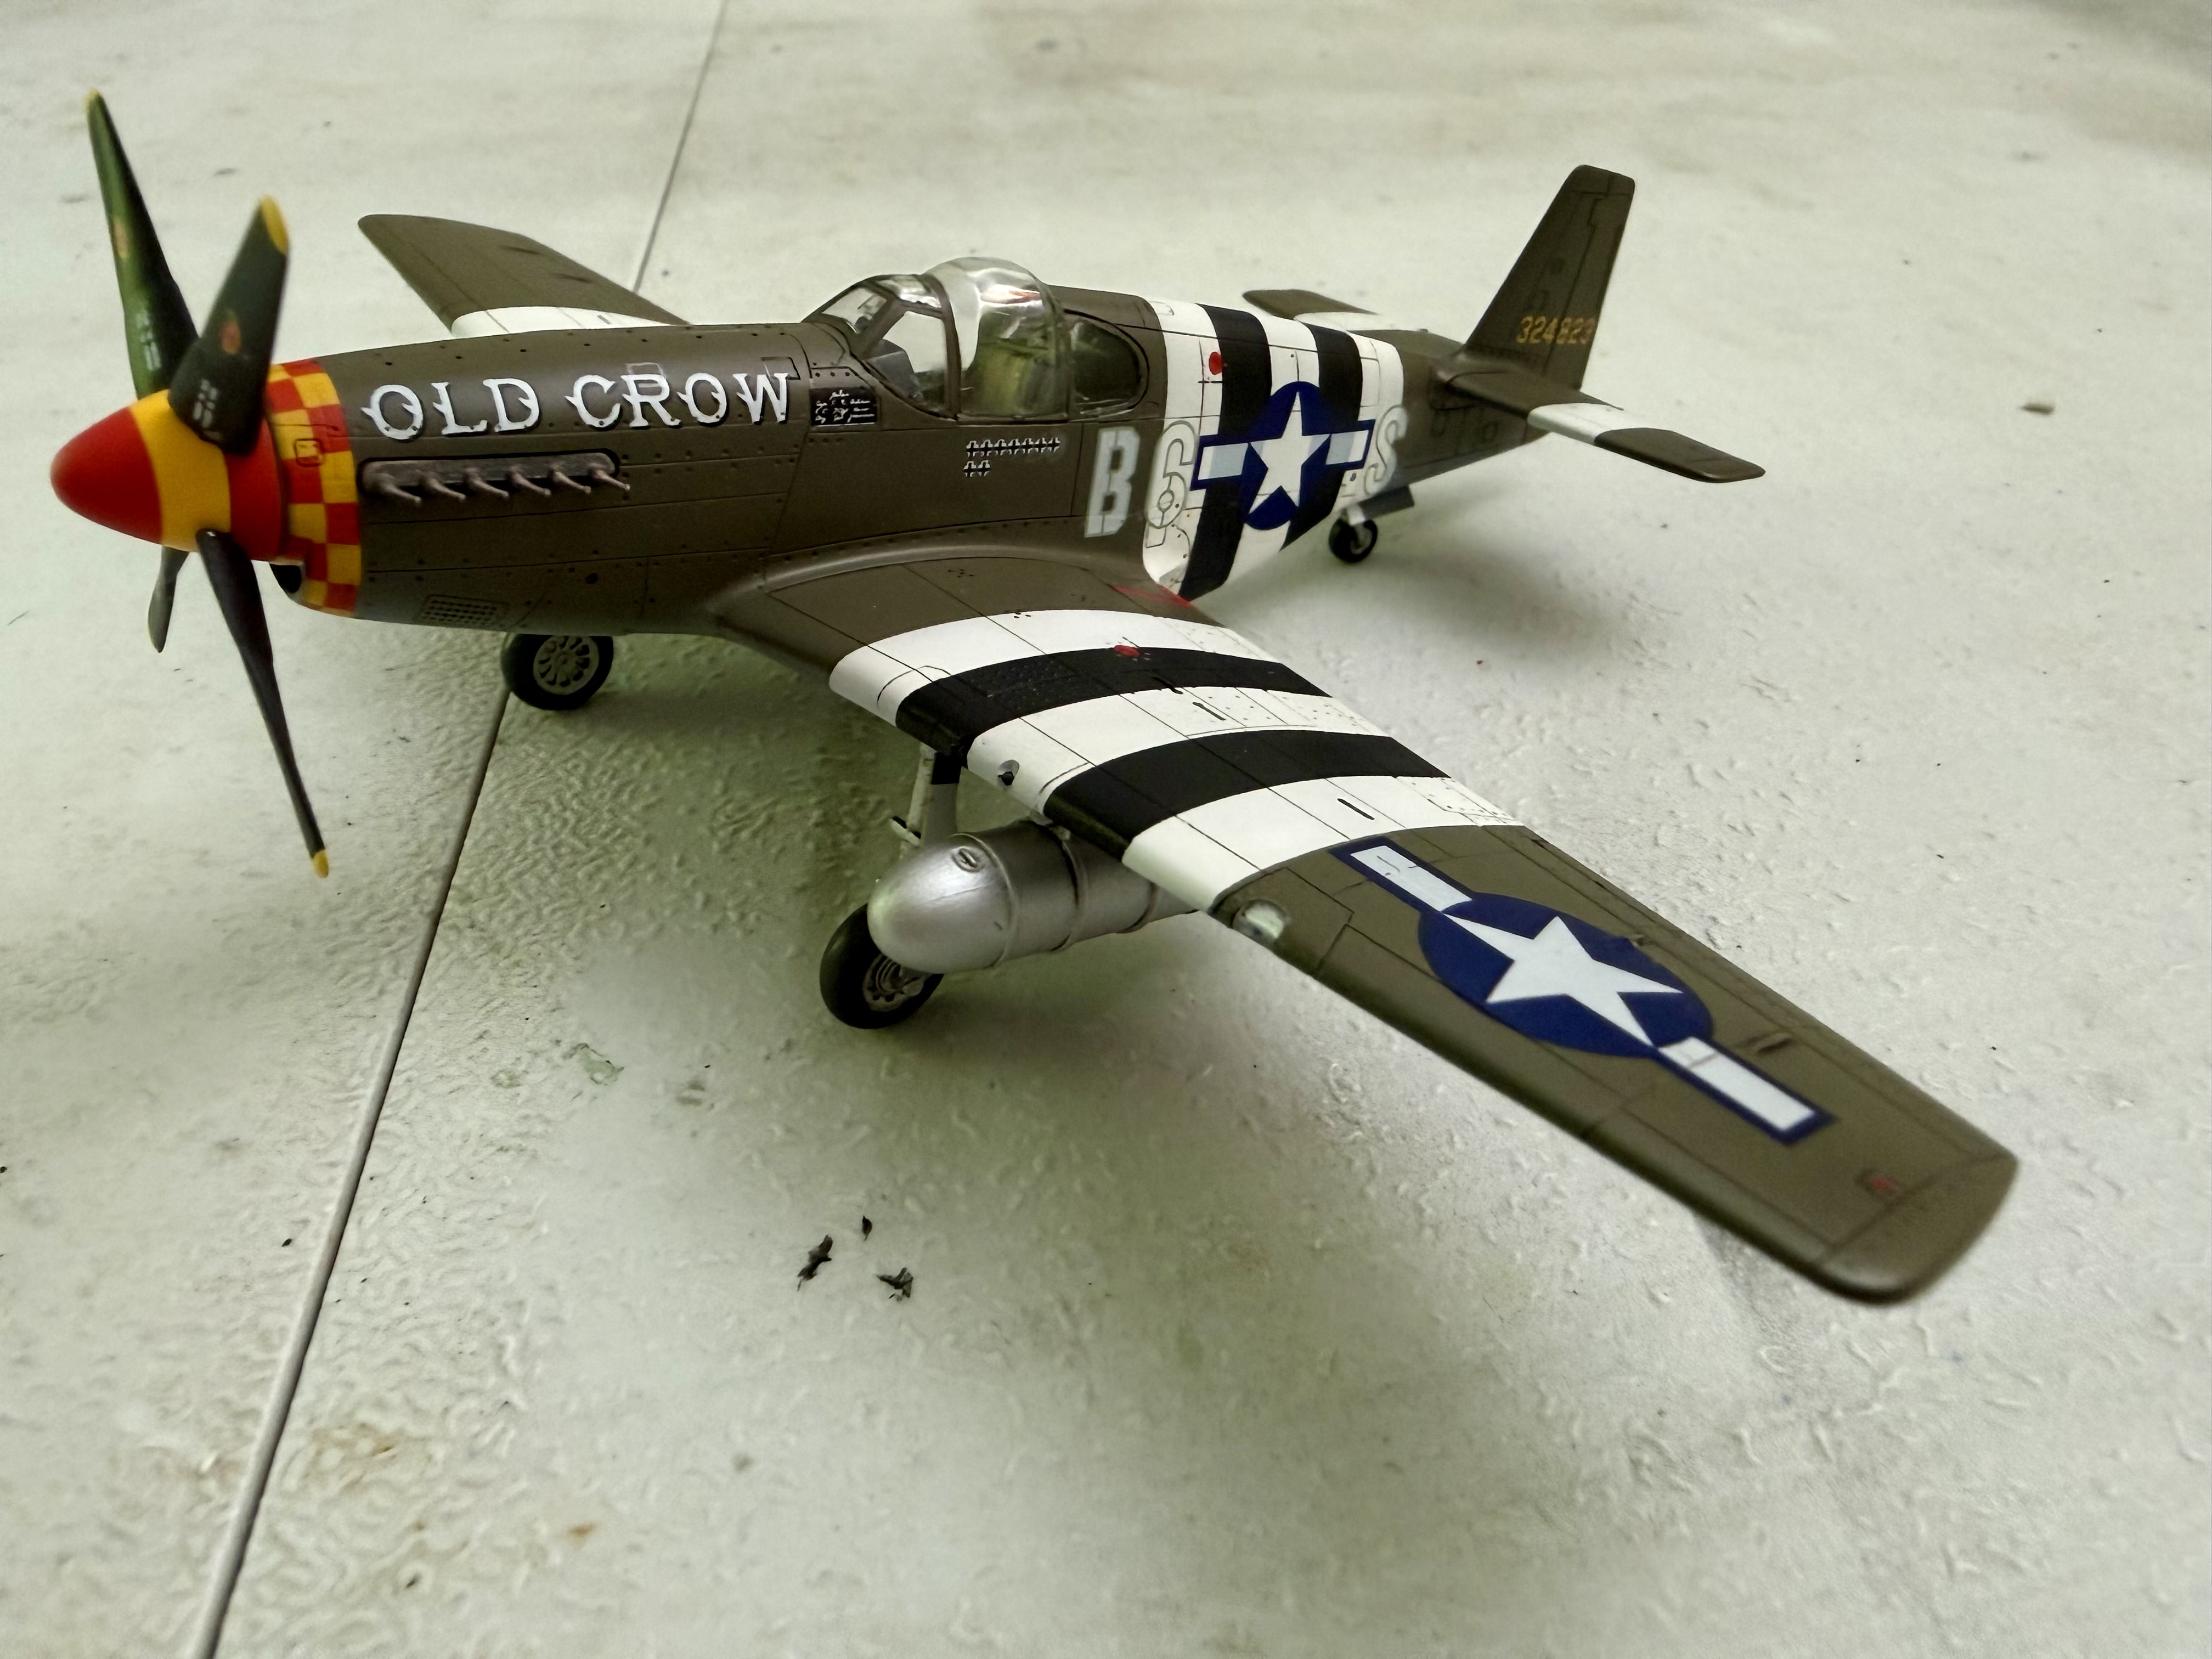
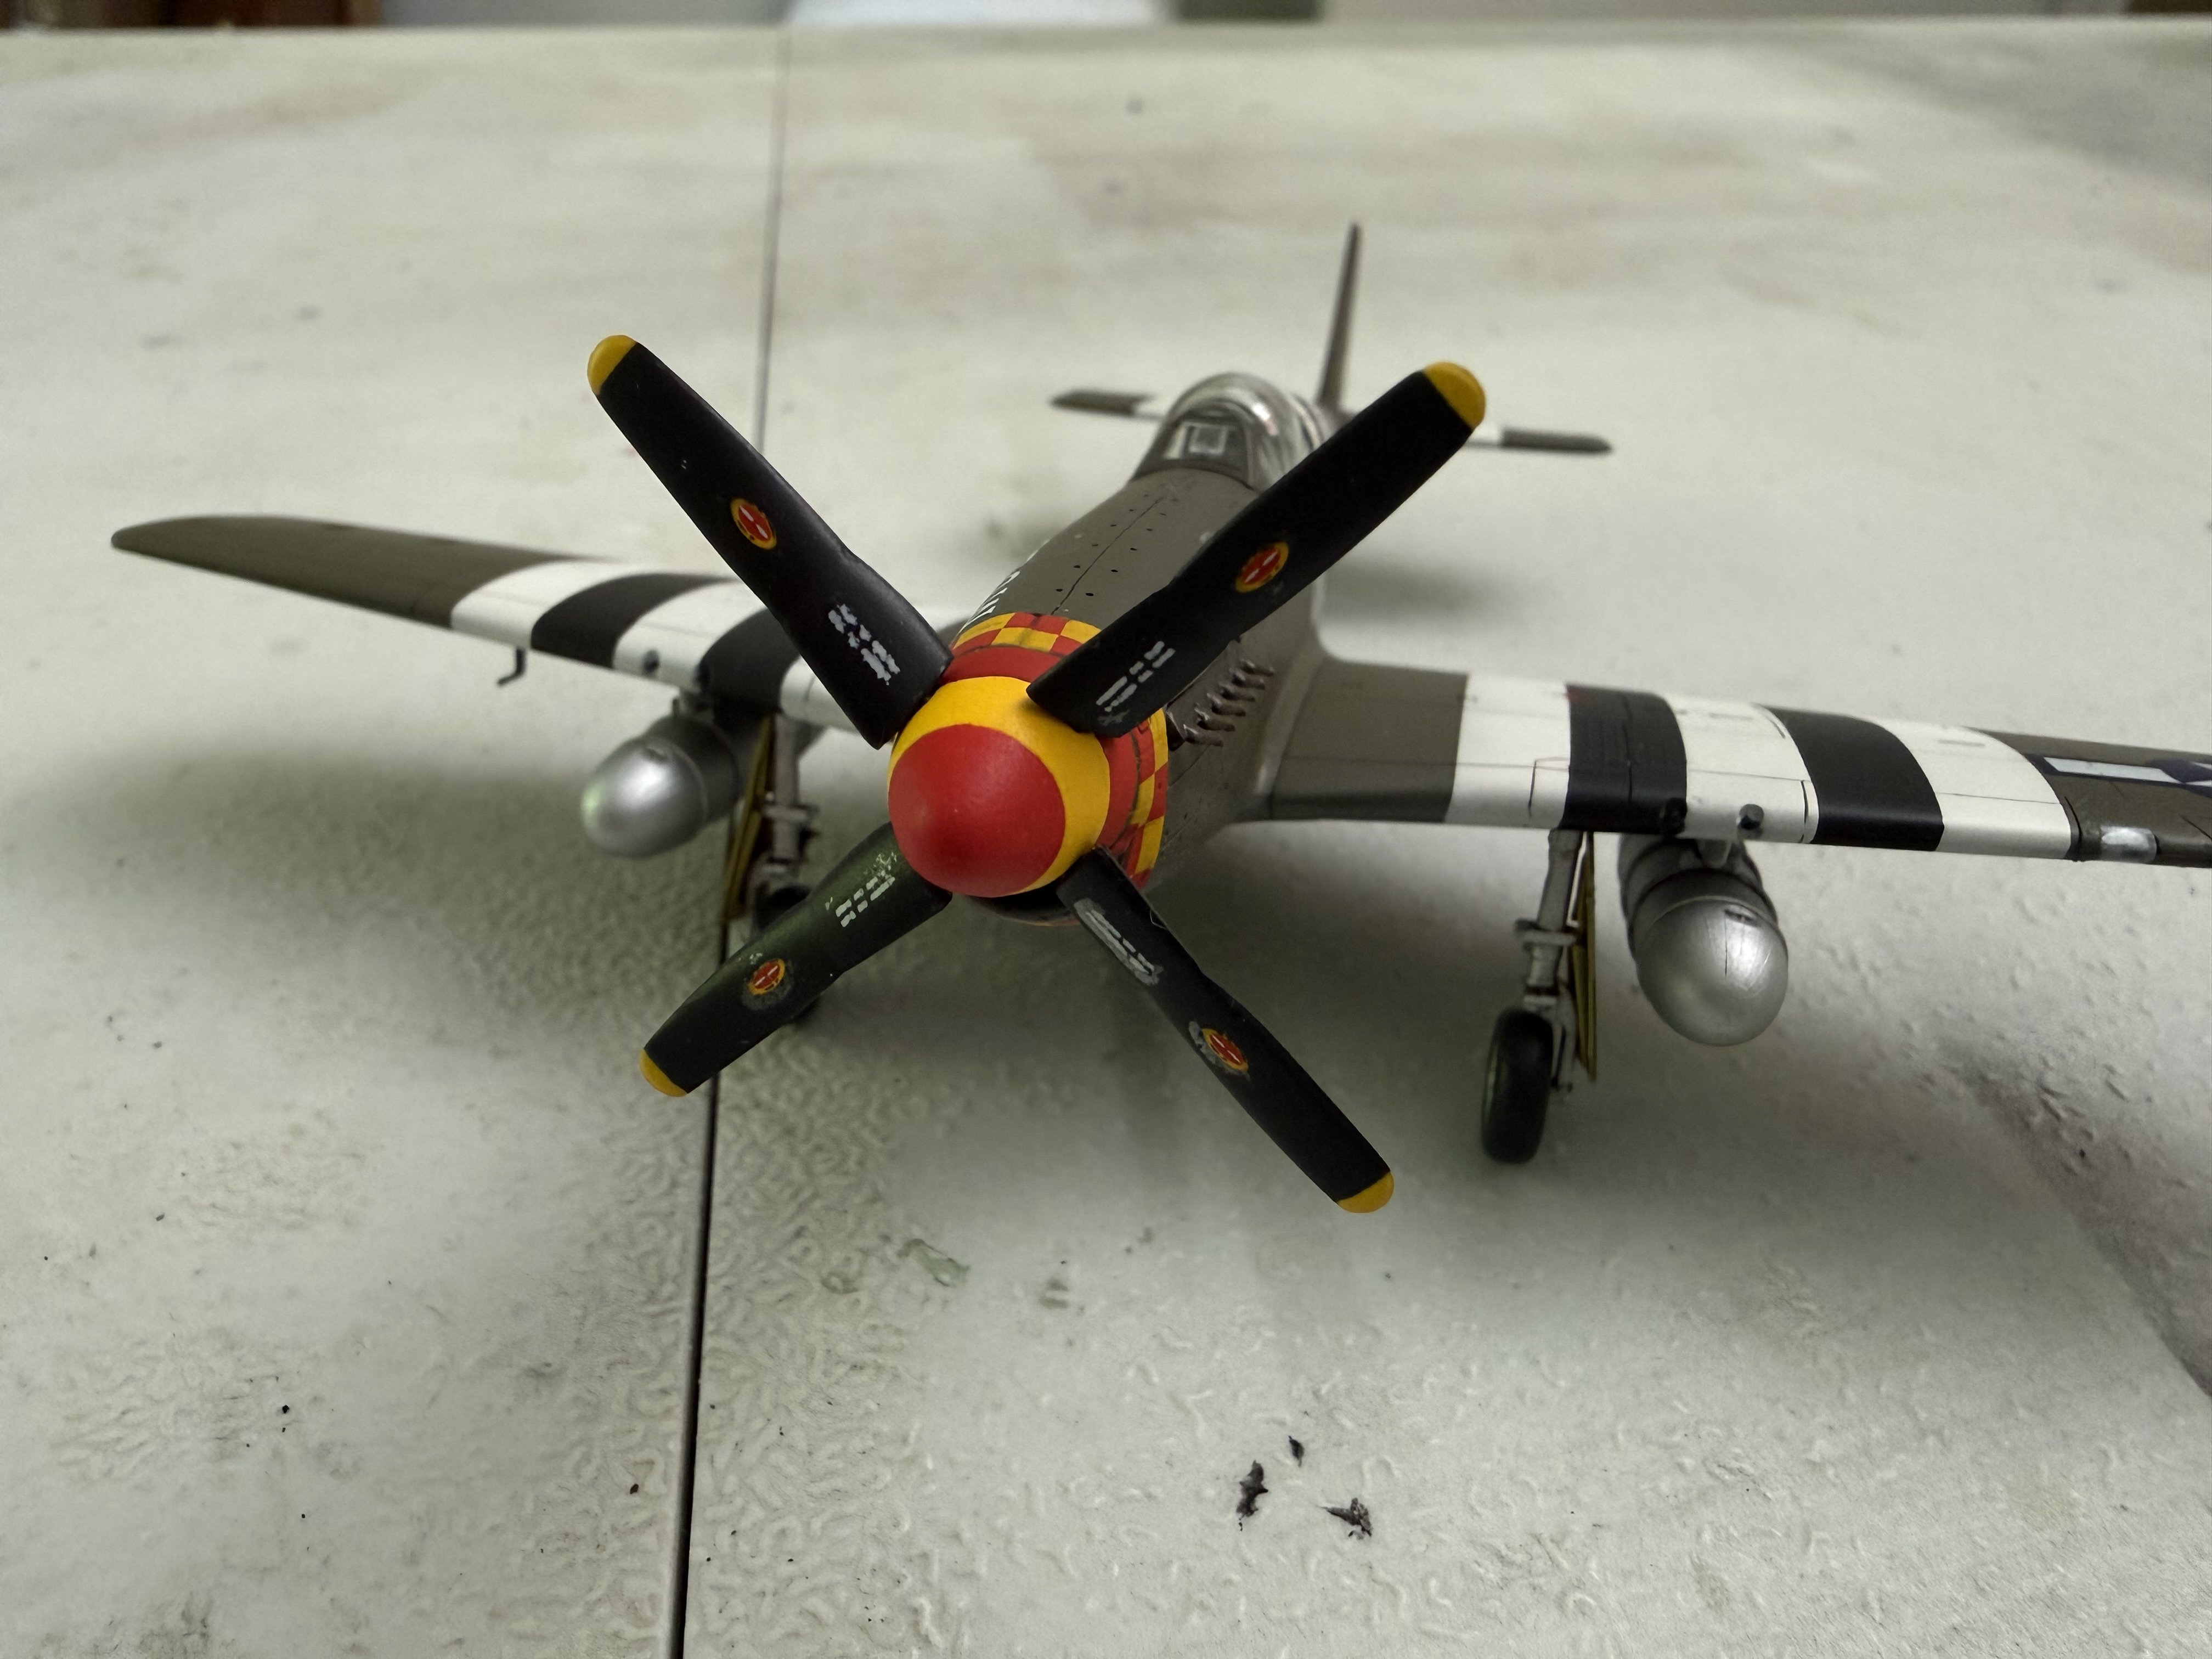
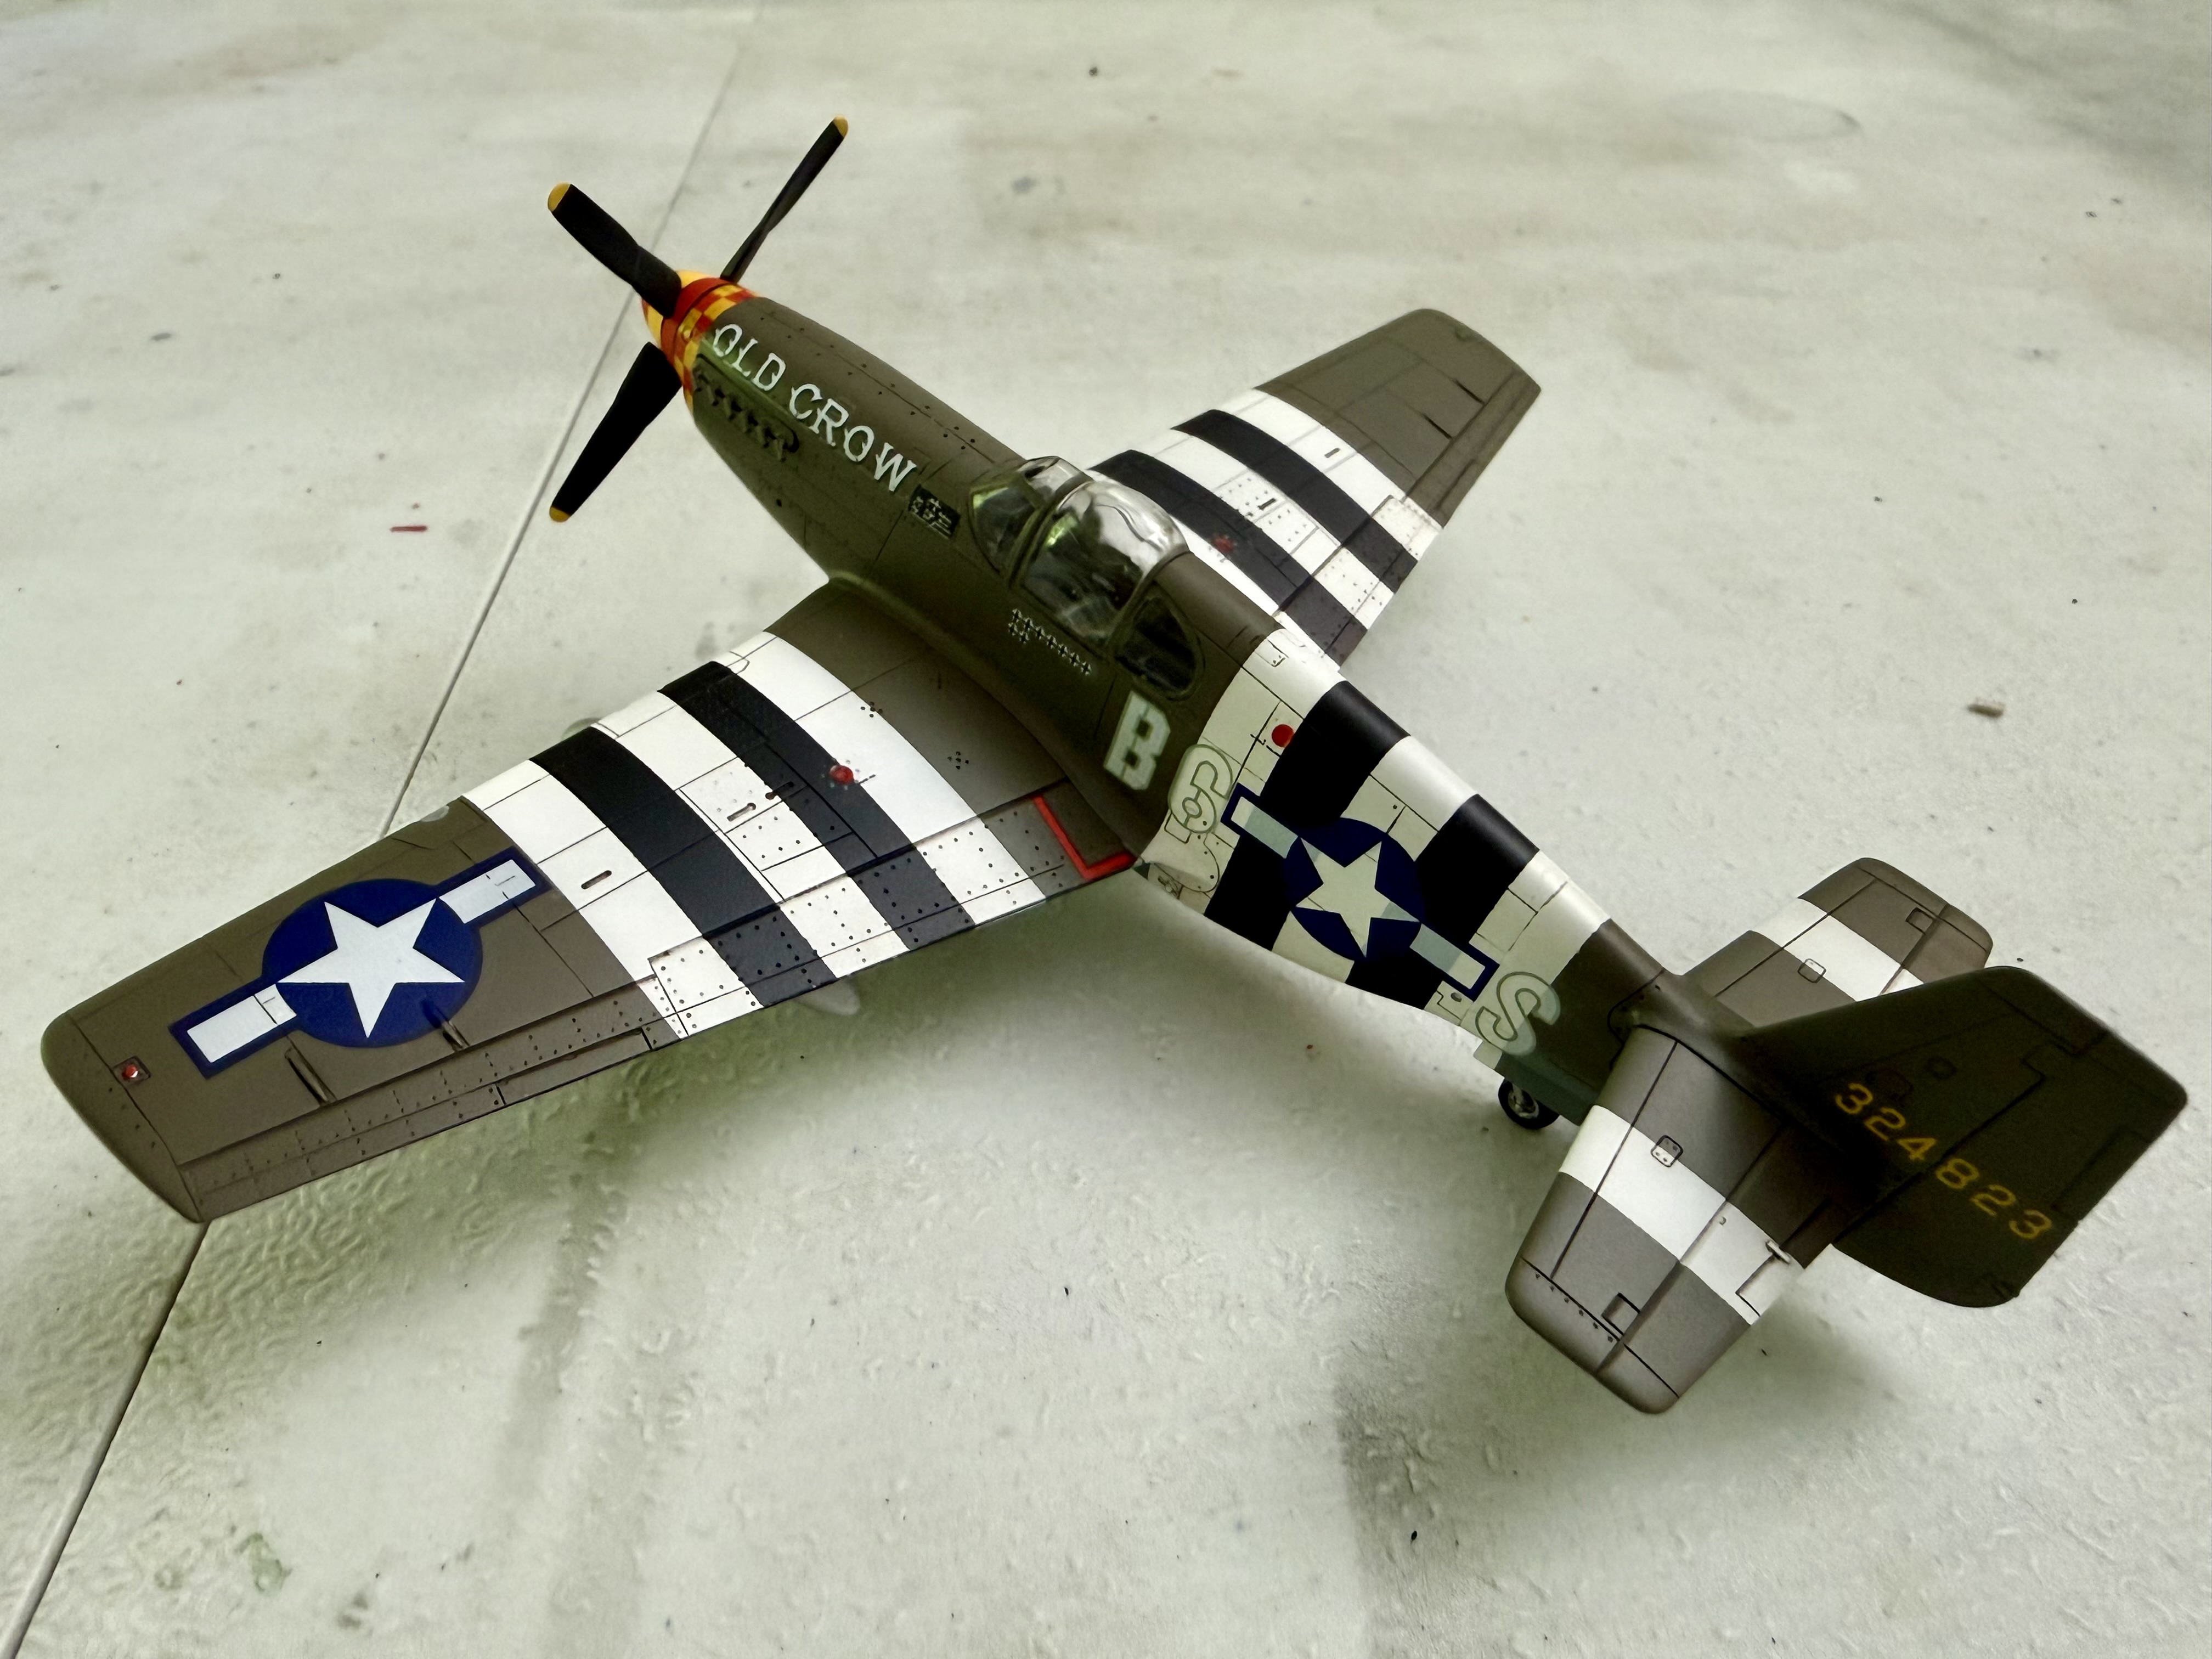
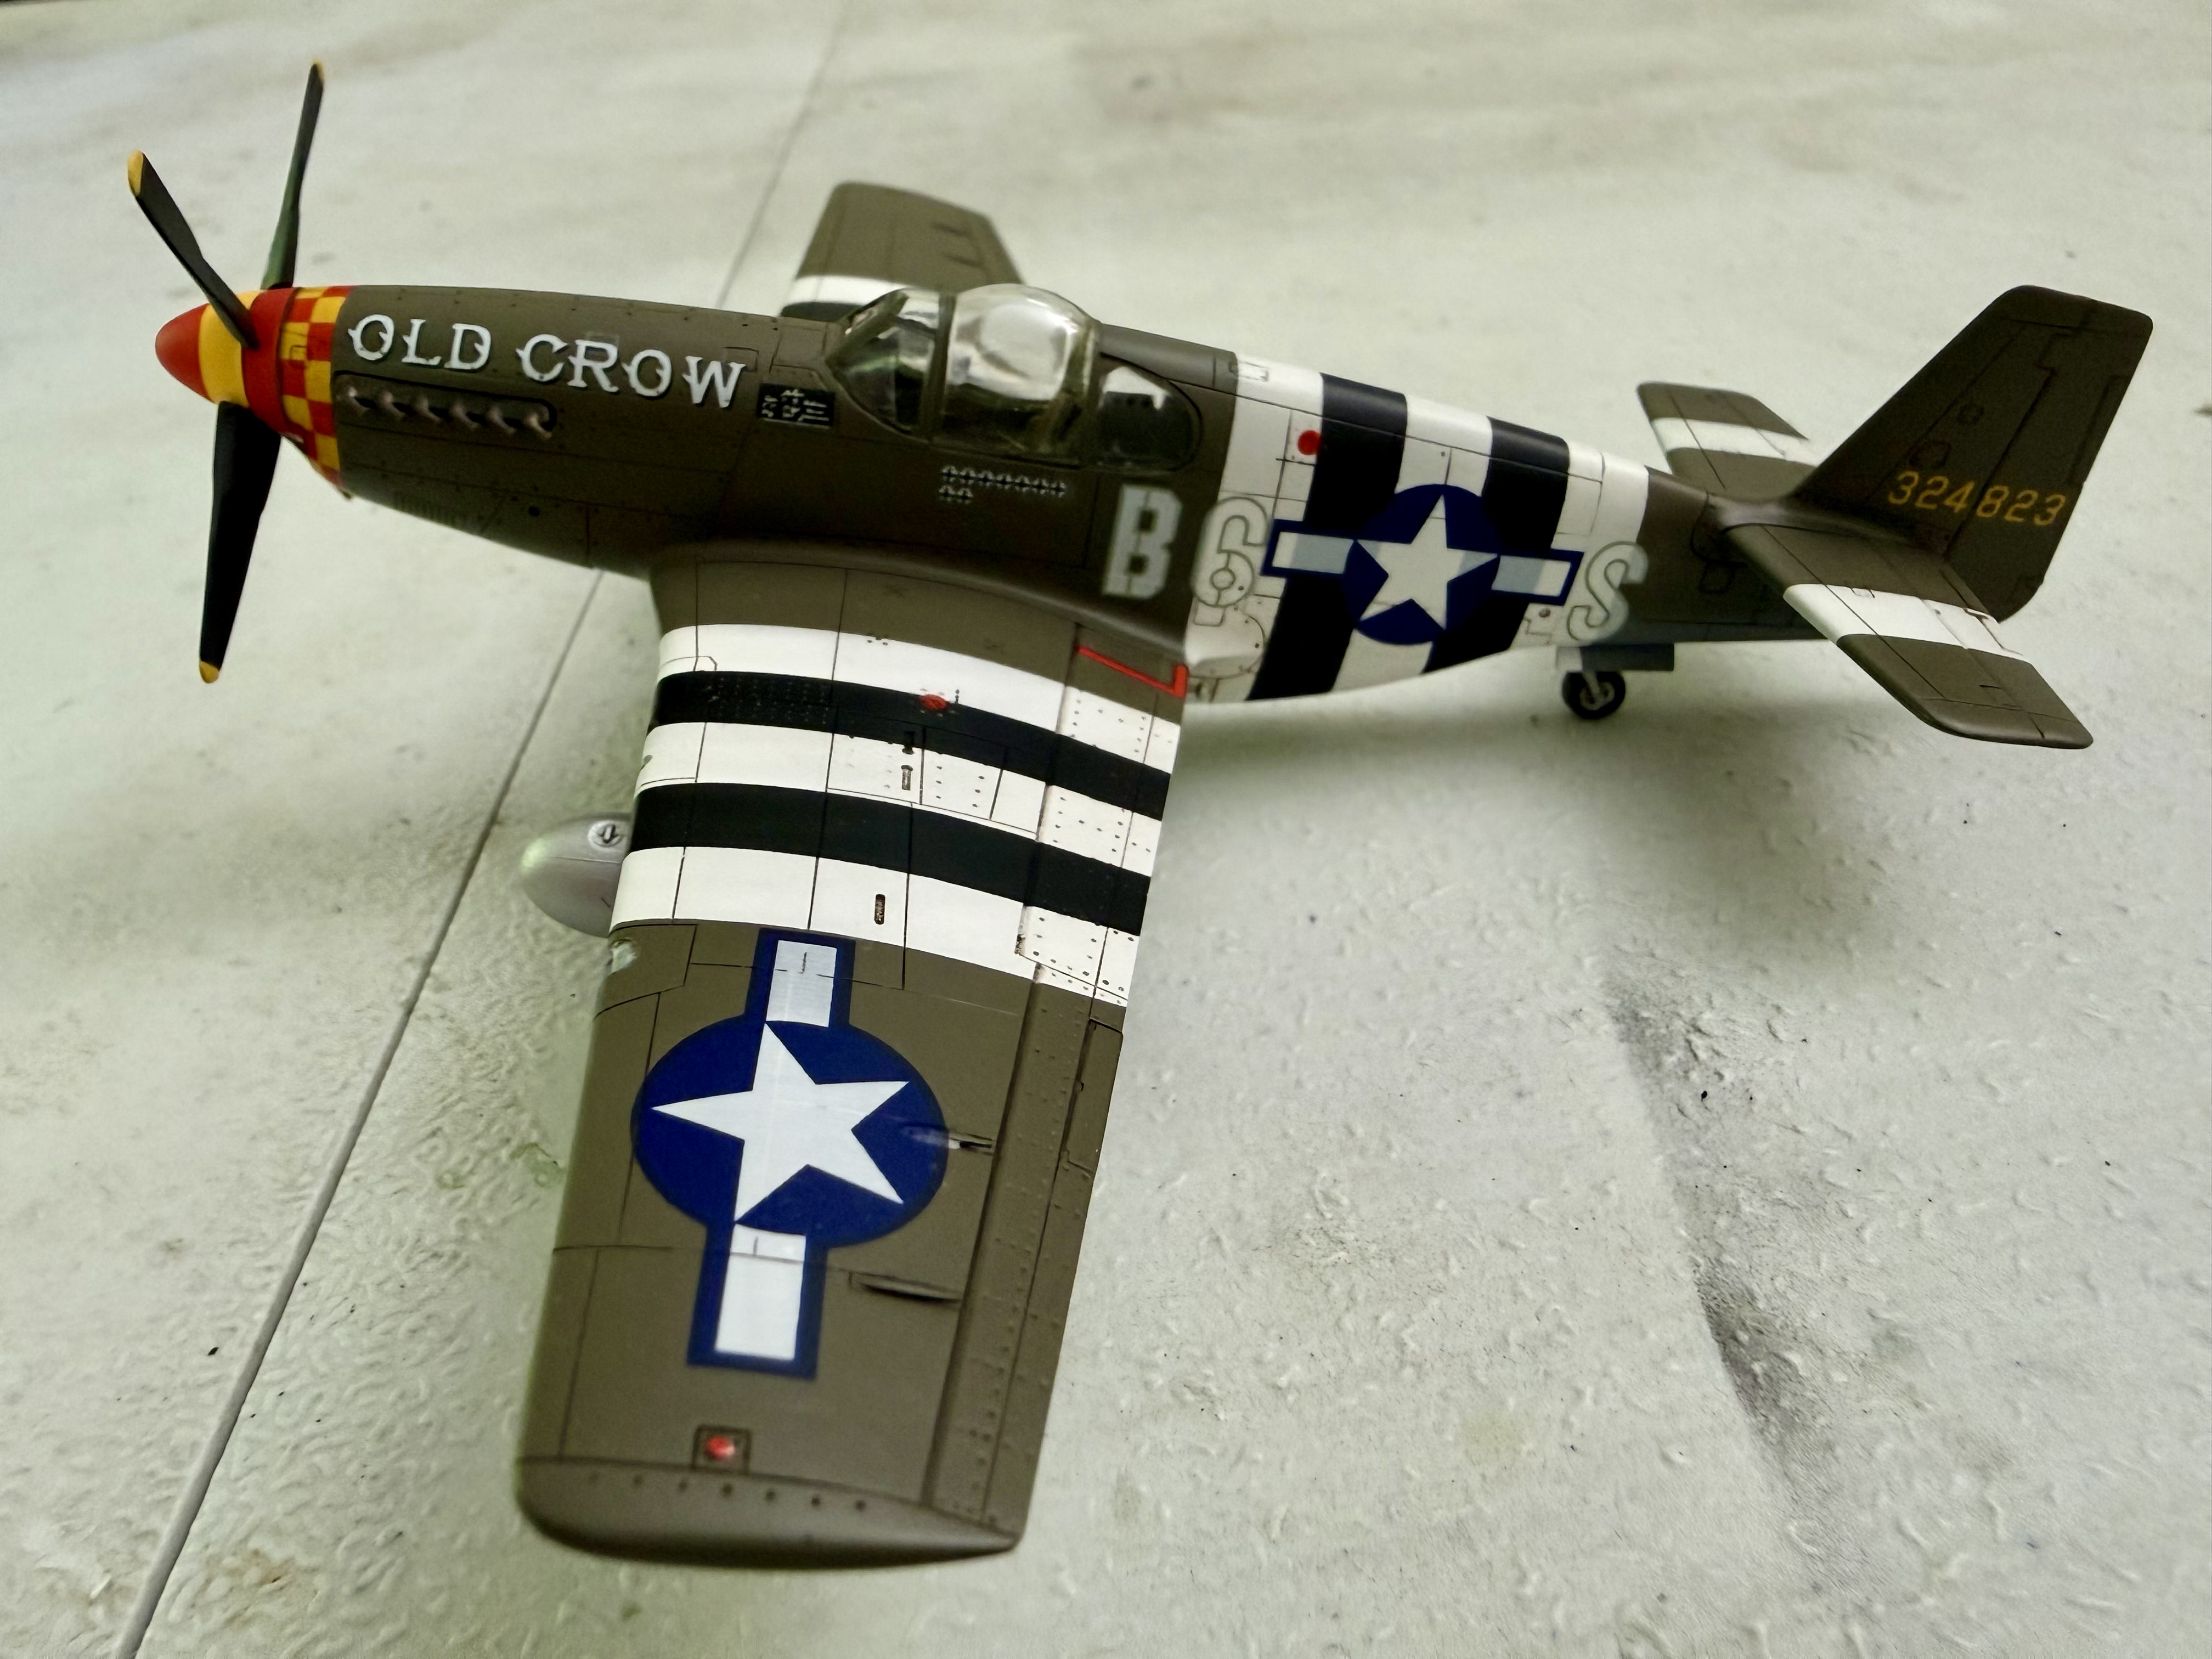
It took a little longer than expected to get this one over the finish line, but Old Crow has been moved into the finished column. It was a very fun little kit. My only issue with it is that the canopy is out of proportion, and the main piece is very thick, so it's hard to see through.

Besides adding simple seat belts, I also cut a new gunsight, because the one on the kit was basically nonexistent. Fit on the parts was pretty good overall. The part that gave me the most trouble was painting the spinner. It was one of the last things I did and it took three attempts. Who knew putting a circle on a cone is so tricky? A couple of minor screwups along the way but it's all good. I do still need to add a touch of transparent yellow (which I don't currently have) to one of the landing lights, and the decal for the red and yellow checks was every bit as challenging as I thought it would be. When I do another 357th FG P-51 in 1/48 I'm painting those on.

I met Gen Bud Anderson about ten years ago. He was such a gentleman, so humble and unassuming. It was a privilege to shake his hand. So when I saw this kit with markings for one of his Mustangs, it was a must. I plan to build a more fitting tribute in 1/48 scale at some point, but for now, I'm happy with how this turned out. Thanks for looking!

IMG_9613.jpeg
IMG_9614.jpeg
IMG_9615.jpeg
IMG_9618.jpeg
IMG_9617.jpeg
 
Very nice. I like how you added highlights and shadows to the details.
And the paint hues work well together, confidently combined and applied.
I like the look of the P-51, proportions offering a nice balance of toughness and grace.
 
Very nice. I like how you added highlights and shadows to the details.
And the paint hues work well together, confidently combined and applied.
I like the look of the P-51, proportions offering a nice balance of toughness and grace.
Thanks so much for the kind words! It was a fun one. I'm not sure what it is about OD over gray. My brain tells me it should be boring but I just dig it.
 

Latest posts

Back
Top