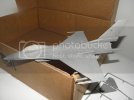
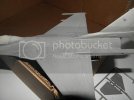
Academy 1/48 F-16

yanpol

New Member
Joined
Aug 25, 2012
Messages
101
Hi everyone, I started building Academy´s 1/48 F-16C (my photography skills are even worse than my modelling skills, so I'm sorry for the crappy photos. Also, English is not my native tongue, so please forgive any grammar and spelling mistakes).
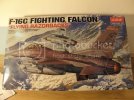
1_zps5a32b86d.jpg

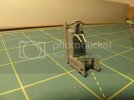
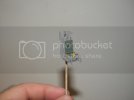
As usual, I started with the cockpit. For what I've seen, the kit's ejection seat is a decent representation of the real thing:
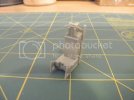
2_zpsa331e124.jpg

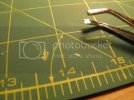
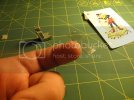
As a (very modest) exercise in scratch building, I made the seat's handle out of styrene sheet.
3_zps71989c6d.jpg

4_zps9db510e2.jpg

5_zps8452ea99.jpg

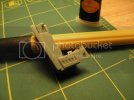
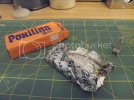
I also tried to make the seat's padding out of epoxy putty:
6_zpsc8f52526.jpg

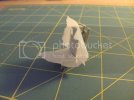
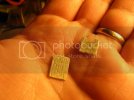
I used masking tape to make a pattern, which was applied on a thin layer of putty. Once cut, I "draw" the details with a Nº 11 blade.
7_zpseefec012.jpg

8_zpsd7a0f0c5.jpg

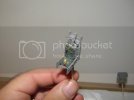
This is how the seat looks so far (again, I'm sorry for the photos):
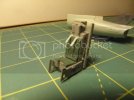
9_zpsb5724ec6.jpg

10_zps484f022c.jpg

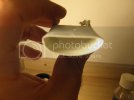
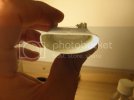
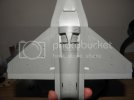
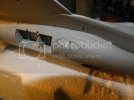
The air intake has some fit issues. As you can see, there are some nasty ejector pin marks on the wheel well (still not sure how I'm gonna eliminate them). The inside of the intake will need a lot of filling and sanding.
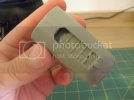
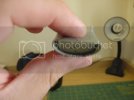
11_zps7f1554e6.jpg

12_zps59becc83.jpg

After many failed attempts, I gave up on scratch building the instrument panel and will use the kit's decals.

Thanks for looking.
 
Nice work so far. I have the Hasegawa version of this kit which I want to start soon.

Watching closely.
 
Looking good ,nice additions to the seat ...worthwhile doing :) ,looking forward to the rest of the build .

BTW, you're English is just fine ;)

Chris.
 
rookie, Quaralane, Chris S, thank you very much for your comments guys.

rookie: I've read somewhere that once built, this kit should be indistinguishable from Hasegawa's F-16; I started to build it once I stopped laughing. Having said that, I like Academy kits; I think their quality/price ratio is one of the best, and an able modeler can do a very, very nice job with them (Chris S's F-4 is proof of that).

Chris: as long as everyone understands what I'm trying to say, I'm happy ;D

Anyway, some minor updates:

The seat is almost done, I have to airbrush our substitute for Future and do an oil wash.

13_zps7afefec2.jpg

14_zps1497ea42.jpg

Although the air intake's interior could be bettered, under normal light all the imperfections you can see in the photos aren't noticeable.

15_zps805ae124.jpg

16_zps2c776168.jpg

Thanks for looking.
 
Quaralane, smokeriderdon, thank you very much for your comments.

I ran into some trouble, and any advice will be much appreciated.

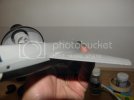
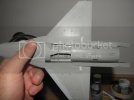
This is how the wings fit into the fuselage:

17_zps33a495c9.jpg

18_zps6c73bec9.jpg

19_zpse76f6fda.jpg

I believe the problem lies with these tabs:

20_zps43513f07.jpg

According to the instructions, I should glue the top and bottom halves of the fuselage and then glue the wings. I'm thinking on gluing the wings to the top half and then try to glue the bottom half (the wings' fit with the upper half is OK, and if there are going to be any fit issues, I rather have them in the underside). I'm also thinking on removing those tabs altogether, glue the wings and rebuild them with plasticard.

What would you guys do? Thanks in advance for your help.
 
If removing the tabs would do the trick, then that would be the far easier route in my opinion. Without the model in hand, I can't say for sure though. It has been 20 years since I built my last 16, so that's the best I can say.

That was a lot of help, wasn't it? ::) LOL
 
looking good like the scratch seat looks so much better..and good luck with the tabs
 
Looks like your off to a great start so far. The seat looks top notch. I'm excited to see what you do with the rest!
 
I have this same model but the early A version, from what I understand, not much difference between the two kits so following along with this build is going to be helpful!
It looks like a really decent kit upon open the box but then issues arise I see....
Not a "shake and bake" type project!
 
smokeridon: removing those tabs did make everything a little bit easier.

geegad, letsgobrwons82: thank you very much for your comments.

Mr.Max: I believe this kit is a re-release of the one you've got. Those wings will give you a lot of work, but I have to say that everything else fitted rather nicely.

Anyway, I wasn't able to do much work, so this will be a very small update. Hopefully, I will have it primed by the end of next week.

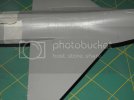
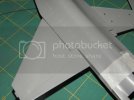
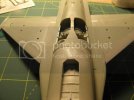
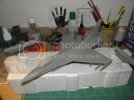
So, I removed the tabs I mentioned earlier, glued both halves of the fuselage and then glued the wings to the upper fuselage. Then I glued the upper and lower parts of the wings together. This way, the topside looks decent.

21_zps326a5ab9.jpg

22_zps974cc225.jpg

The underside, on the other hand, is a complete mess. This is what it looked like after gluing everything together:

23_zpsf1c21a57.jpg

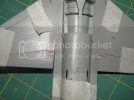
And this is what it looks like after using superglue to fill all those seams, sanding and trying to rescribe whatever I could.

24_zpsbb8c965d.jpg

Hopefully, some of it will be hidden by the fuel tanks and missiles.

Thanks for looking.
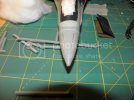
 
Hi everyone, a small update, just to keep this thread alive. This kit is requiring much more work than I had anticipated. It's not a frustrating build (yet), but I'm starting to wonder if the extra effort is worth it, especially when I see how sloppy the underside is. Anyway, on to the photos:

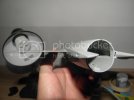
This is how the air intake fitted onto the fuselage.

25_zps7869470d.jpg

26_zps94594186.jpg

The intake under five tons of putty

27_zps8b312a04.jpg

And this is how it turned out (good enough for me)

28_zpsd364246a.jpg

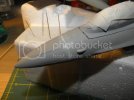
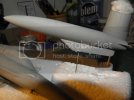
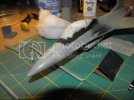
The radome also had some fit issues, so I had to apply putty and do a lot of sanding, which obliterated those nose cone strips, which I tried to replace with copper wire.

30_zps943a0a29.jpg

29_zps666dc932.jpg

Don't let the photos fool you, they look a lot worse in person :). If everything goes as planned, I'll have it primed by tomorrow evening.

Thanks for looking.
(As always, please overlook any spelling/grammar mistakes).
 
Looks like you doing a great job dealing with a not so easy build. One step closer to paint. ;D
Looking forward to your next update.
 
Surprised the fit is so bad, not my experience with the academy kits that I've built. Anyway it's looking good, a coat of primer will really give you an idea of how things lie.
 
JMac, Quaralane, thanks for your comments, guys.

rookie: I've built Academy's MiG-29 and it wasn't this bad. I certainly hope this kit is the exception to the rule, because I've got three other Academy kits in my stash.
 
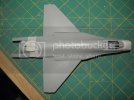
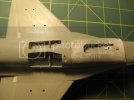
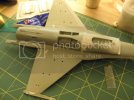
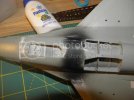
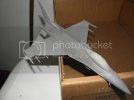
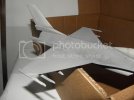
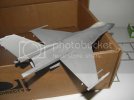
Hi everyone. Well, I primed it and found some spots that needed attention.

31_zpsfc458bdf.jpg

32_zps7b017d57.jpg

33_zpse8cfc507.jpg

I primed it again, it looks only marginally better, but better nonetheless.

34_zpsf388d571.jpg

35_zps4a917b34.jpg

A little fuel:

P6200193_zpsf451b97a.jpg

Winter break starts in a week, so I hope I'll finish this build before the end of the month.
 
Small update. My first attempt at post-shading/bleaching went much worse than I expected.

36_zps6c3bbc02.jpg

37_zpsd609edf5.jpg

38_zps7a39b346.jpg

39_zps91e62b9f.jpg

40_zps8c70ea87.jpg

And that guy on Youtube made it look so easy...

I'll give it another try tomorrow.
 

Latest posts

Back
Top