A-1H Skyraider

Scale Model Addict - Model Tips, Guides, Tools & Tech, Tutorials, and Community

Help Support Scale Model Addict:

Holz44

Well-Known Member
Joined
Jun 8, 2025
Messages
209
City & State/Province
North Carolina
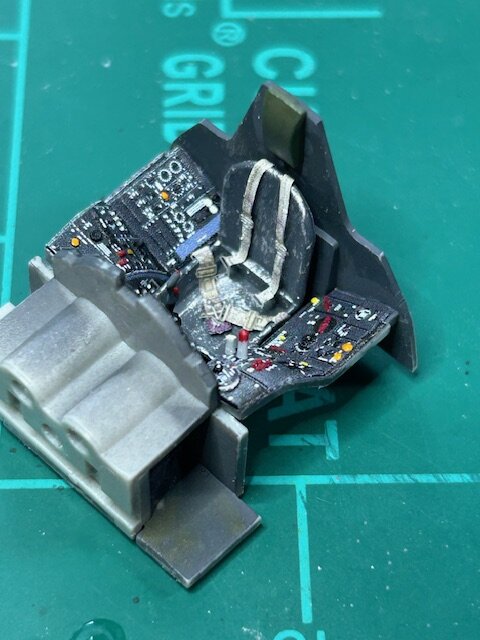
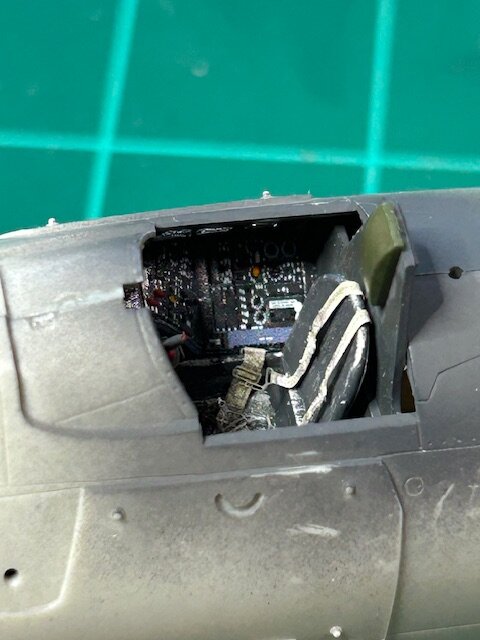
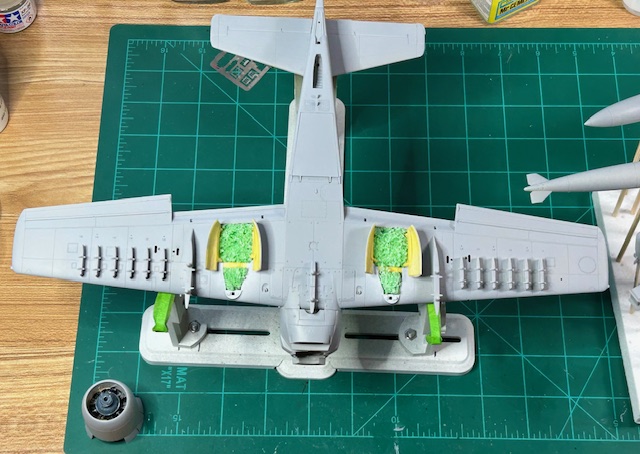
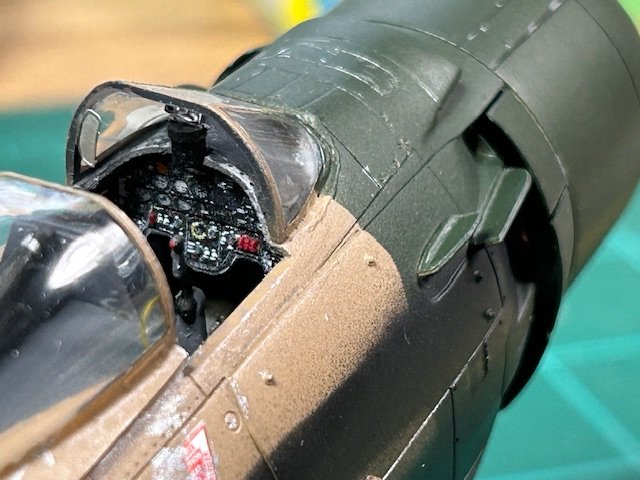
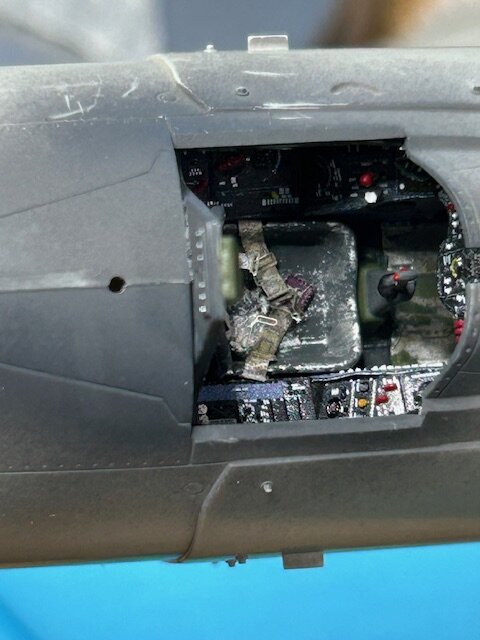
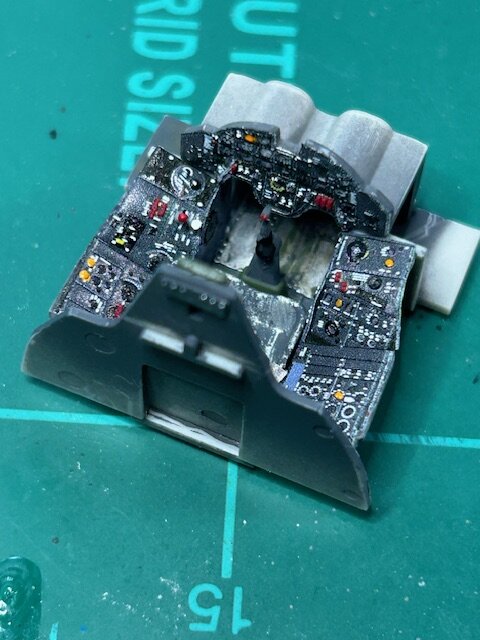
Just started this 1/48 Tamiya kit, only my second Tamiya. I used an Eduard 3D cockpit aftermarket kit which went together very easy. I've done my own detail work in the cockpits before but wanted to try and make it easy this time. Had to grind away the original panel details to apply the Eduard pieces, but I think it came out OK. The cockpit opening is much smaller than some WW II planes so some details (foot pedals) aren't seen to well. First time using PE seat belts... won't be my last! Delicate but nice. I left the gun sight off until later so I don't break it. Now where did I place that thing for safe keeping?? Anyway, this is all new to me "posting" and documenting and sharing ideas. Fun new things. I don't mind input and will be seeking some of your techniques to ease my builds. Here's a few photos. More later. Cheers

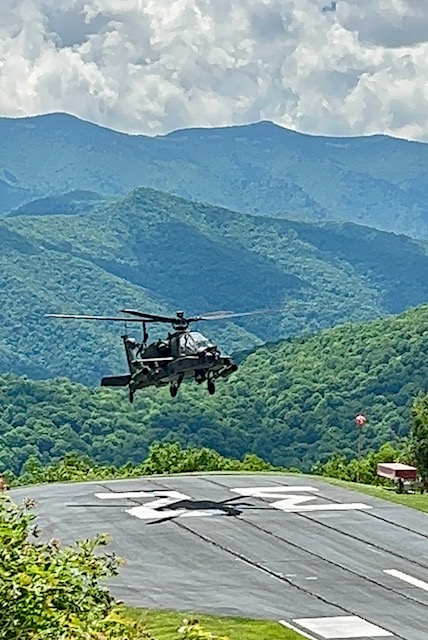
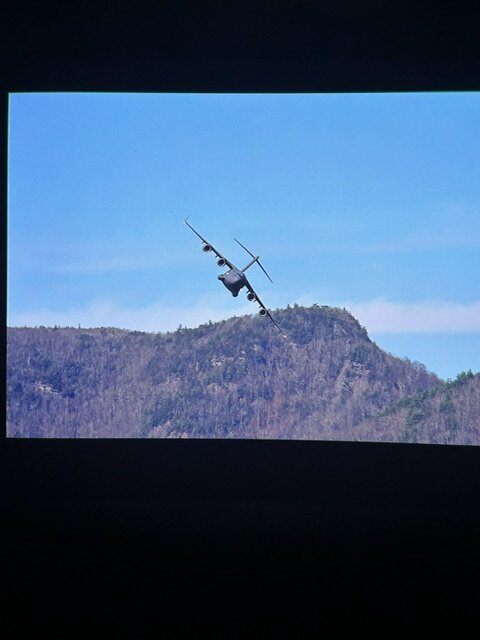
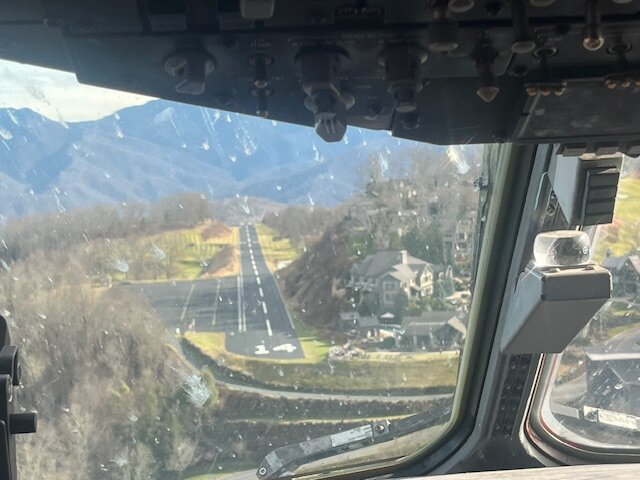
The Gunship photo was taken last June on this pilot's last day in service. The military likes to practice high altitude, high density landings on the airstrip in our community, 4432' elevation. Always happy to see them!
IMG_1202.jpg


IMG_1197.jpg


IMG_1199.jpg


IMG_1200.jpg


0480A464-E850-4361-B5D9-30BE197E7750.JPG
 
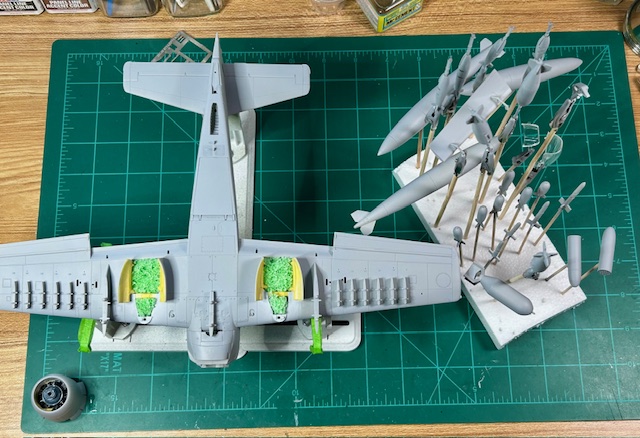
I use small sponge material in wheel wells and cockpit areas. Cut it just a bit larger than the actual opening and carefully stuff into the space. Be careful in cockpits that have gunsights, control stick and other delicate knobs. Get sponge from kitchen supply area in grocery store or from packing material from items ordered online.
 
As an Amazon Associate we earn from qualifying purchases. Product prices and availability are accurate as of the date/time indicated and are subject to change.
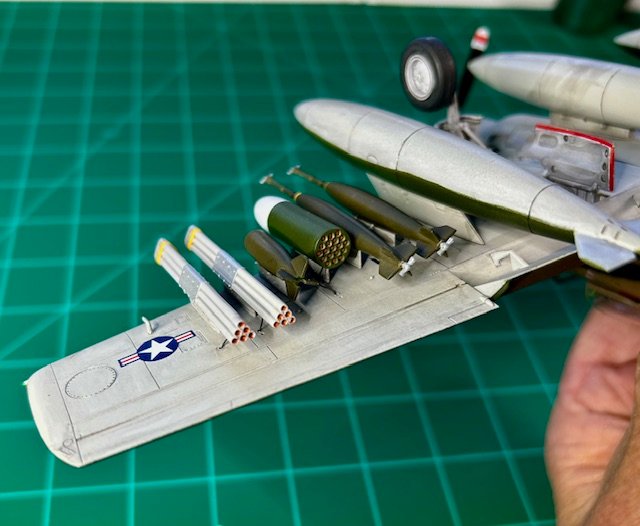
I'm doing mine as an Air Force A-1 H out of Thailand in 1969-70. SEA camo and a boatload of ordnance for a "Sandy" mission. Worked on prop and munitions today. Having issues with silver, aluminum and other metallic paints running through my airbrush so I'm held up a bit with starting major painting. No problem, just part of modeling. Phil. 4:13
 
Awesome progress, Steve. I was always impressed with the "girth" of the Skyraider in person. Just like so many from WWII, these birds were huge in comparison to some of the modern jets. Ya never realize it till ya get up close, amazing.
 
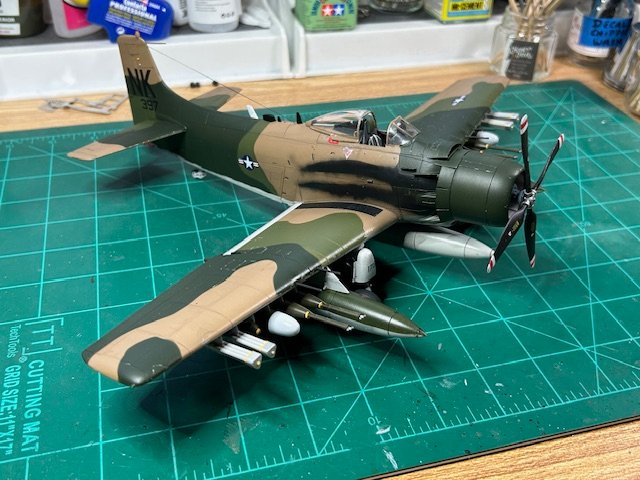
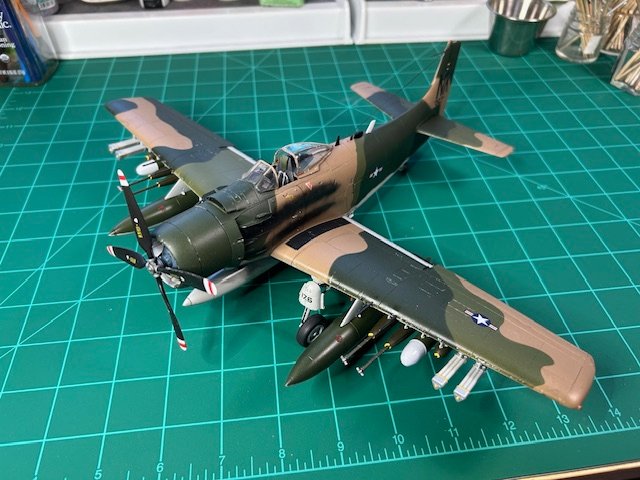
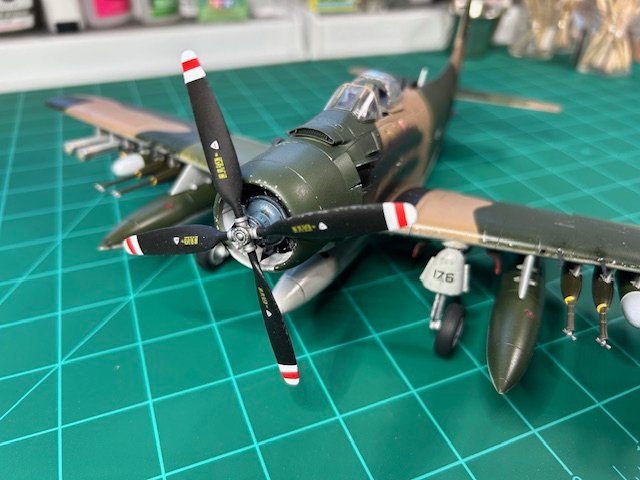
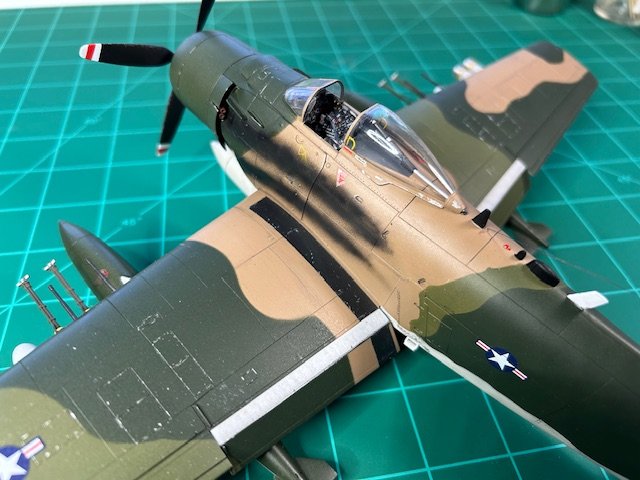
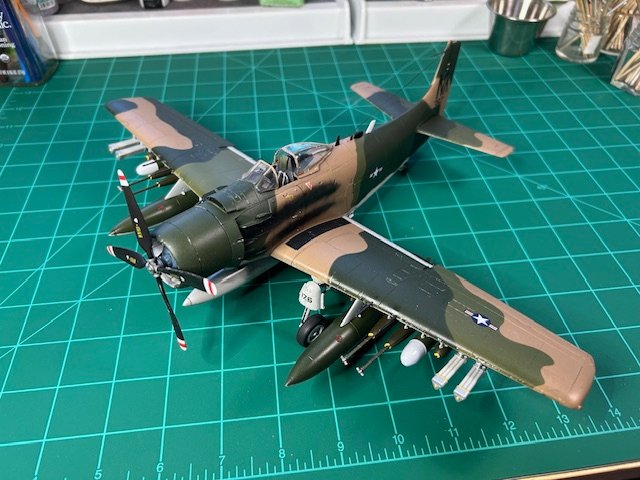
Finally finished the Skyraider this last weekend. I certainly don't move at warp speed like some of you guys, but simply enjoy the process and time spent replicating great aircraft.
I added some Eduard PE parts around the cockpit, some fuse wire under the wings at certain weapons stations, mild chipping and staining. I already want to build another one to improve areas I feel I can improve in. Airbrush work is challenging but very exciting - knowing what is possible by looking at all y'alls work. I'm happy with the end results and it has already found a new home with a Friend alongside an F-105 I did.
Thanks for all the input from the "Gang" out there. Many of you are inspiring. Here's some photos.

IMG_1879.jpg


IMG_1892.jpg


IMG_1894.jpg


IMG_1895.jpg


IMG_1871.jpg


IMG_1888.jpg


IMG_1892.jpg
 
Thanks, but that exhaust needs a lot more practice! Also want to have better edges between the camo colors. I had good results in the past with putty to soften the edge, but would like to do it all with airbrush technique. Patience
Everything comes with practice. You should have seen the first exhaust trail I painted...oof it was bad.
 
I think the camo edges look good. I'd be happy with that. How did you do it this time?
I used AK Camouflage Elastic Putty rolled out into tubes to create the desired shape. BUT, I do find that AK Camo tends to flatten out in short time creating a sharper edge when airbrushing. If you want to have a softer edge, I have used Play-Doh rolled into larger diameter tubes and then spray at an angle that sort of fades the paint edge over the other.
 

Latest posts

Back
Top