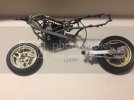
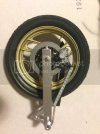
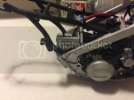
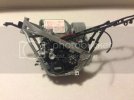
1988 YAMAHA RZ500LC 1/12

Jqaprilia4601

New Member
Joined
Feb 4, 2014
Messages
66
Good morning gents.

I love my motorcycles, so as I have decided to enter the South African National champs comp, i decided that I would be better off sticking to what I know.

I only started photos half way through this build, but will be uploading as I go along now.

Any comments or critics welcome
 
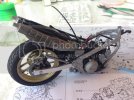
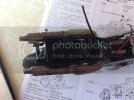
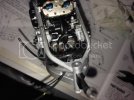
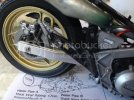
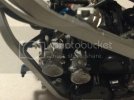
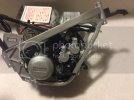
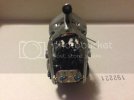
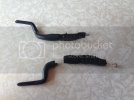
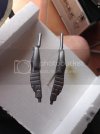
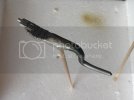
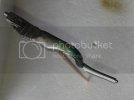
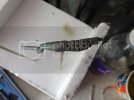
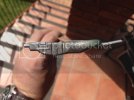
I added some detail to the model in the form of some batery cabels and some throttle cabels, the throttle cabels, were quite a chalange. I had to add in some 0.5mm copper rod, that was then coverd by some rubber tube, which was then all fiited into one larger rubber tube.

One single tube will then be run from the thick tube to the throttle assembly on the handel bars.
hope you blokes like it ;D

DB198EC6-15A6-4E57-8A1C-33B68B772B32_zps4rcqrfup.jpg

707D9EE3-28DB-47EE-A4D3-069A94253441_zpswwskzq3l.jpg

BE834CDF-B8CB-49C1-9AFF-756243EDE8B4_zpsxn7c4cwn.jpg

5C3CA50C-C1AB-48E5-9E95-7D9B8631D40C_zpsrsvhw7v2.jpg

CDB53186-B473-482C-AAC5-9BD7593FBE3C_zpsxj7jxofo.jpg

Thanks for watching
 
Thank you Quaralane for the kind words... I got some good bench time in this weekend so here's an update:


got the first of the two sets of pipes assembled and painted


IMG_0583_zpse3069c89.jpg

now the kit call's for black pipes, so boring!!!!
IMG_0584_zpsf73dec51.jpg

after some whethering... these usualy get quite grudgy as the seat cowl is rearly taken off
IMG_0585_zps051311db.jpg

now the original back boxes were steel and ally, but I thought a bit of aftermarket piping would be fitted if this was my bike, so added some pipe heat stain....not the best but ok for a first go....
IMG_0586_zps8995c195.jpg
IMG_0588_zps4fabb7b8.jpg
IMG_0589_zps223d16dd.jpg
IMG_0590_zps798f3a26.jpg
 
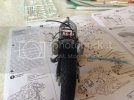
so after making sure thy look nice, I fitted them to the bike. Now this was a bit dificult as the batery cabels I had added were getting in the way of fitment, lucky for me I had not completed the running of the cabels as yet, so could still move them around ;D
IMG_0591_zps2292f5df.jpg
IMG_0592_zps3535f7af.jpg
IMG_0593_zpse94e55f8.jpg

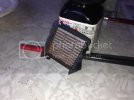
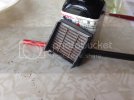
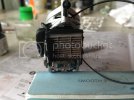
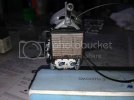
Then I went onto painting and fitting the raidiator. Just finished the ally paint, still have to do the black in the photo below.
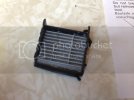
IMG_0594_zpscfa2e9ae.jpg
Black finished up as well, and some whethering added.
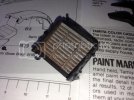
IMG_0595_zps0a8c815e.jpg
IMG_0596_zpsd09d1eda.jpg
IMG_0597_zpsc094ed93.jpg

Then I fiited the single throttle cable that will go to the handel bar. The map call's for just a strait pipe from under the tank ??? ??? so daaft!!
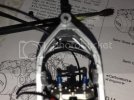
IMG_0598_zpsff8ee5bb.jpg
IMG_0599_zpsbe41dc2a.jpg

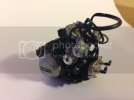
then fiited the air box on the one side, the other side will be left off as I would like to show the work on the carbs.
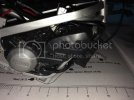
IMG_0600_zps8418a965.jpg
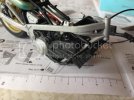
Fitted the radiator with all it's hosses aswell
IMG_0602_zpsf543b0ca.jpg
IMG_0603_zpsaa03f0c9.jpg
IMG_0604_zpsb04290b2.jpg
IMG_0605_zps33231a18.jpg
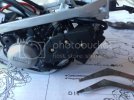
Then added the rear sets
IMG_0606_zpsa56418aa.jpg
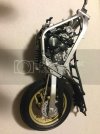
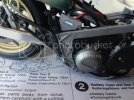
and started with a bit of whethering of the frame, still a long way to go.
IMG_0607_zpsbb0ca97f.jpg
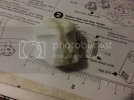
Then as a last lil bit I started with the body work. went together quite well, but there was still a seam, I had no putty...but remember reading on here somwhere that polistyreen desolved in glue works wonders as a filler....well I can tell you that it does, desolved some in methelyne chloride and applied it. Bit dificult to work with but works wonders in a pinch.
IMG_0609_zpsf037d45b.jpg
IMG_0608_zps4aa966ca.jpg

Had a go at sanding it and no worries what so ever. will post some pics of the final sanding as soon as I am done.

Ciao......thanks for whatching.
;D
 
Good day gents, got some bench time in so here go's..

Finished the sanding and priming....then got some paint on...
IMG_0919_zps44c78ea7.jpg


Got the second set of pipes primed and painted as well..


Then flat sanded all the parts and started laying on the decals...


Went ok, had a few wrinkels got most of them out with HUMBROL's decal fix..


Thats it for now folks...thanks for looking..

Ciao Cioa ;D

 

Latest posts

Back
Top