blakeh1
Well-Known Member
Excellent blending


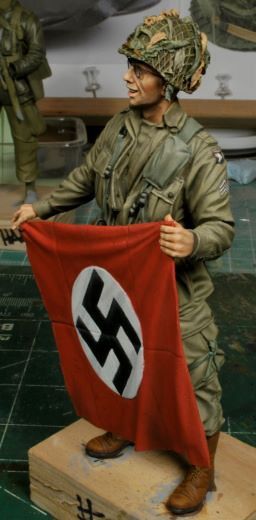
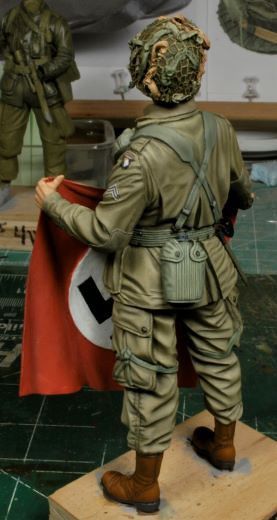
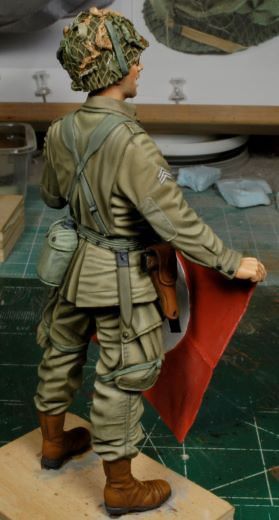
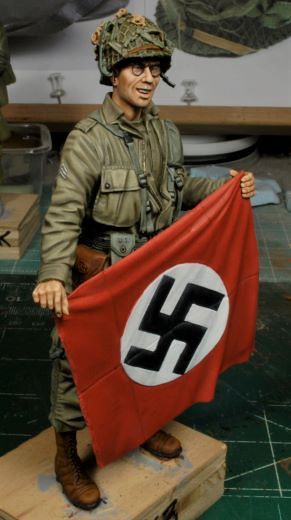

Once again, amazing work.Leg Workout
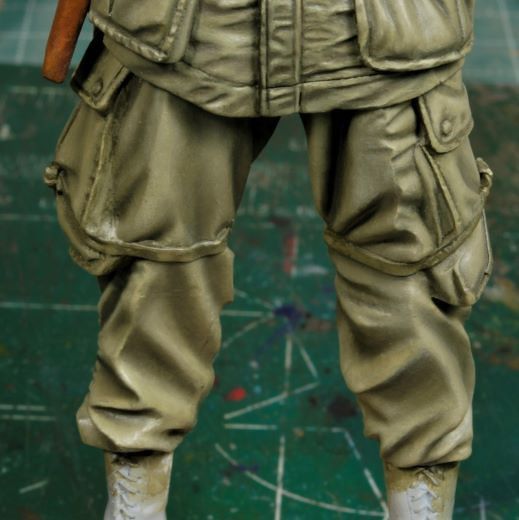
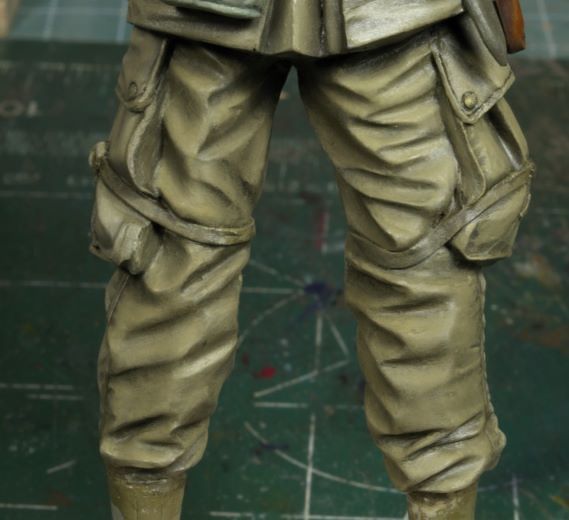
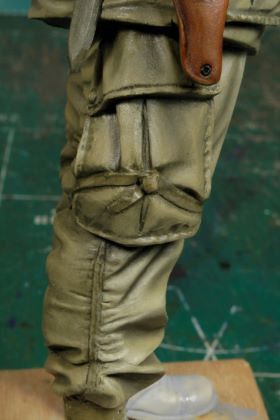
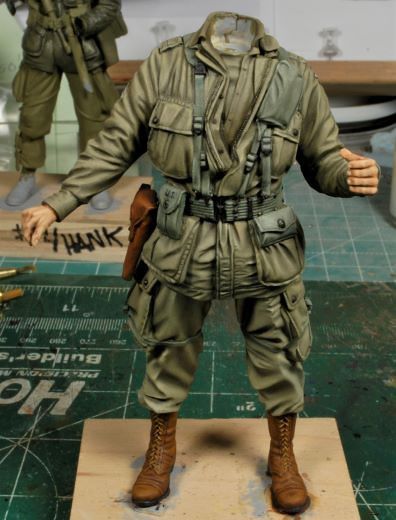
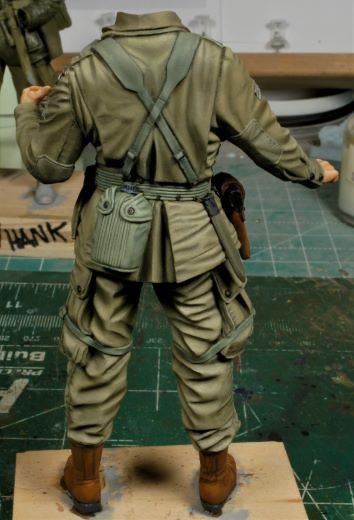
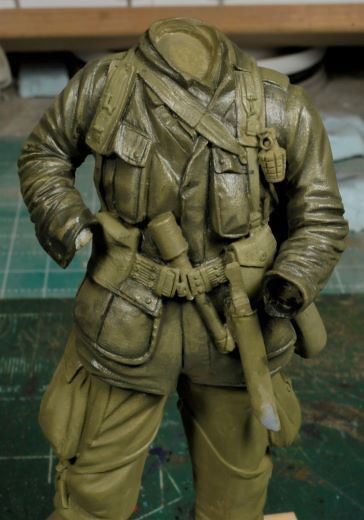
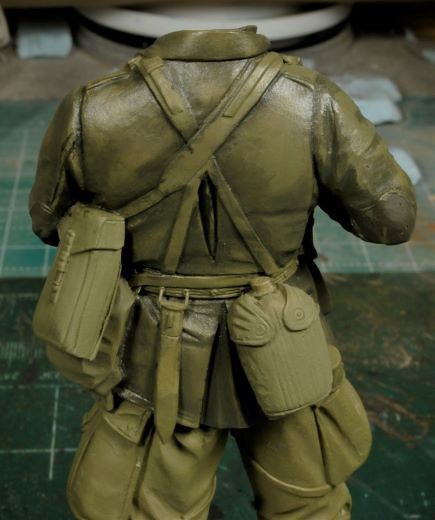
Now that the work area is larger, and less complicated without so many folds in the pants, this portion moves along much faster. Pre-shading can be seen on the front, back, and sides.
View attachment 97861 View attachment 97862
View attachment 97863 View attachment 97864
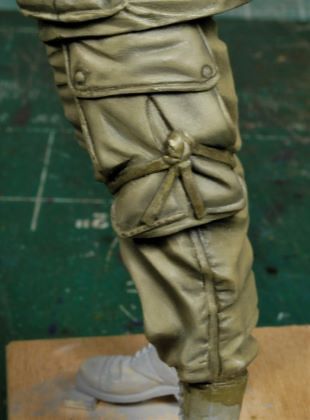
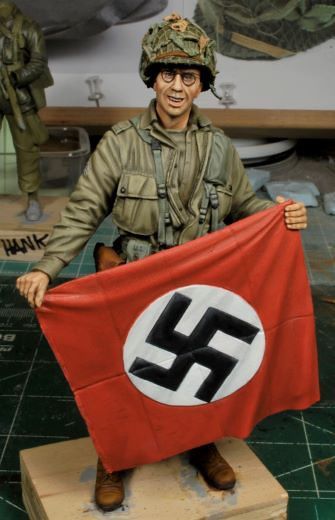
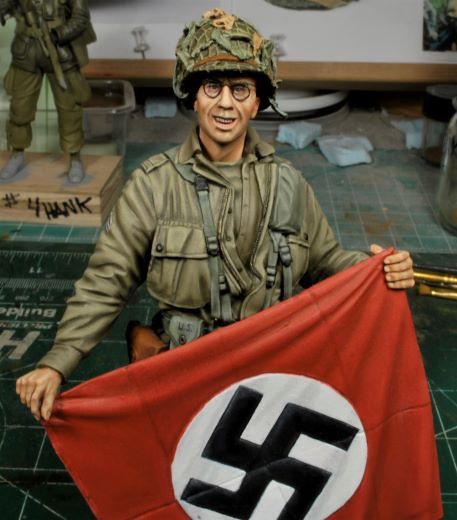
The end results with the boots and leg straps completed. Freddie's head is ready to take possession of his body.
View attachment 97865 View attachment 97866
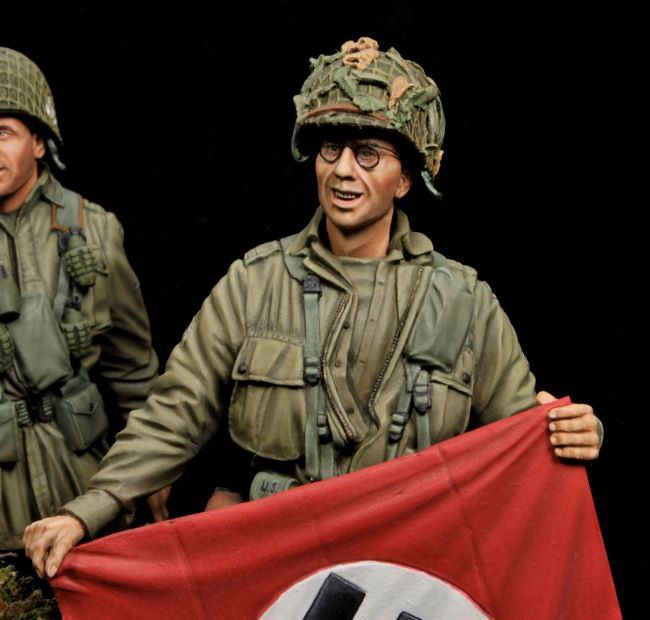
With the flag mounted and Freddie completed he will be placed in the curio cabinet awaiting the finish of the rest of the crew.
View attachment 97867 View attachment 97868 View attachment 97869
View attachment 97870 View attachment 97871 View attachment 97872
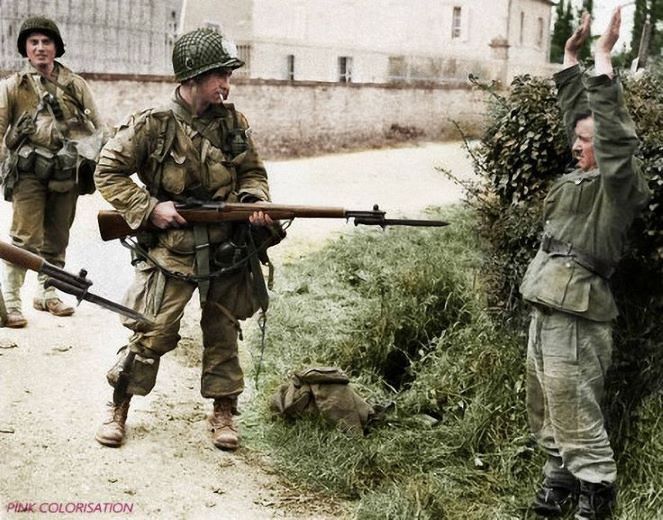
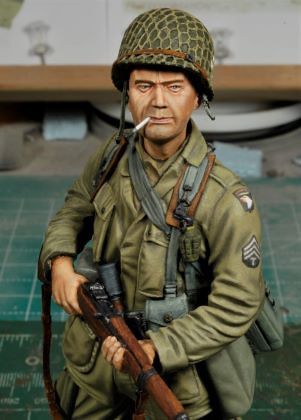
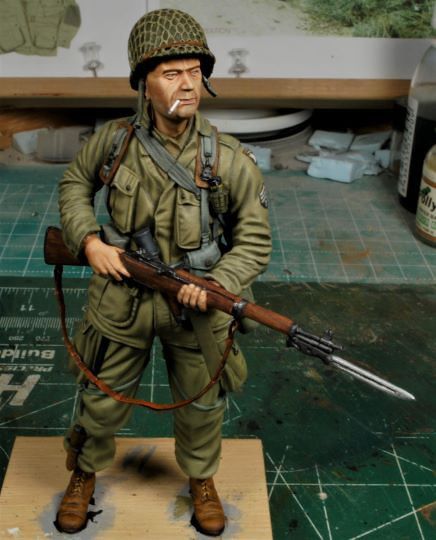
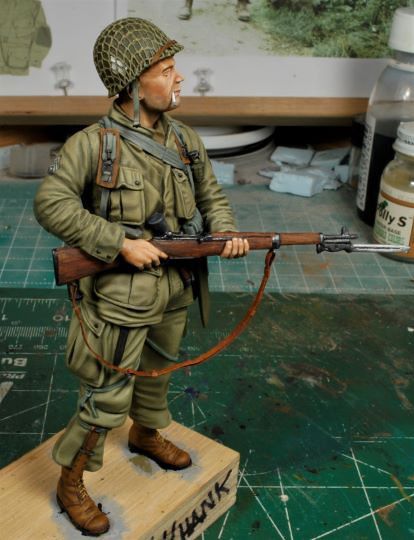
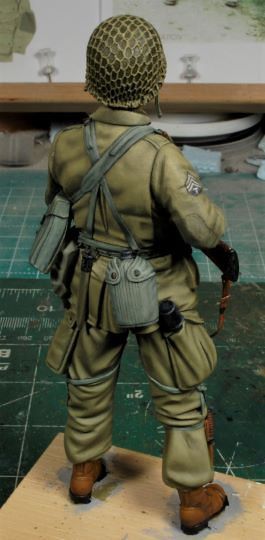
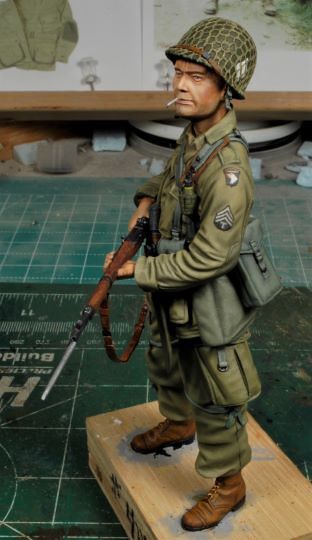
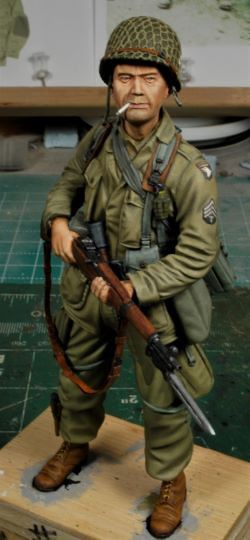
Hank is on the plate, "Batter Up!" I would ponder to guess this historical photo was the inspiration for Hank. Hank has been sculpted pretty close to this original, IMHO.
View attachment 97873
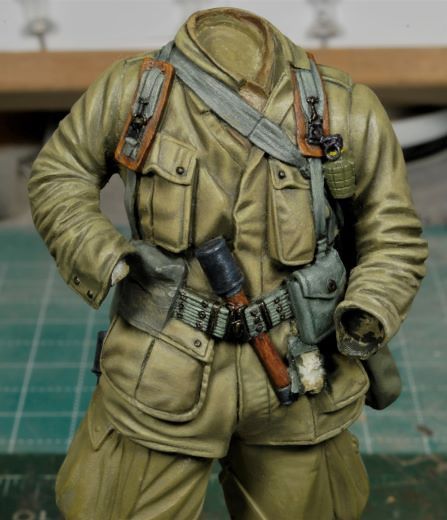
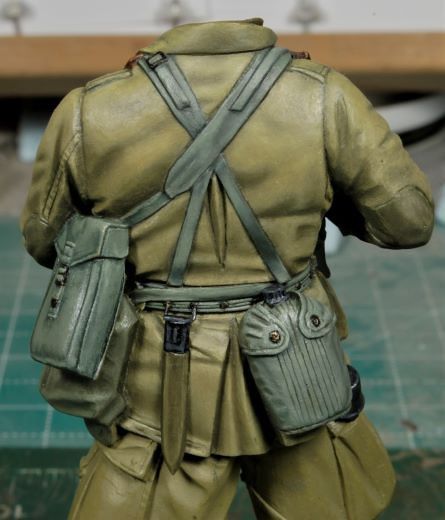
Pre-shading has been worked into the entire upper torso and blending of the tones begins.
View attachment 97874 View attachment 97875
More to follow soon and thanks for watching. Cheers, Ski.

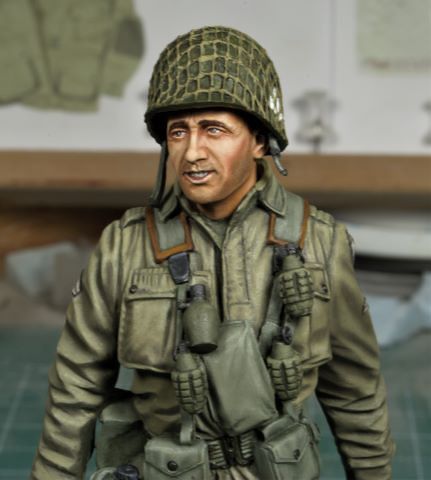
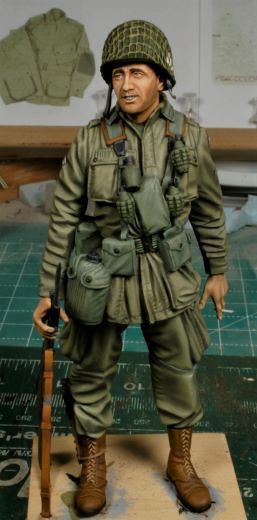
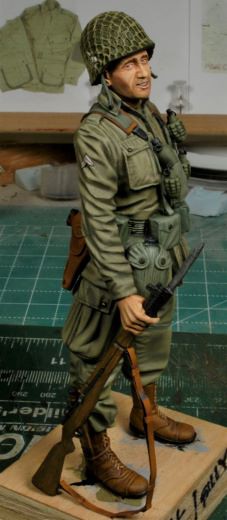
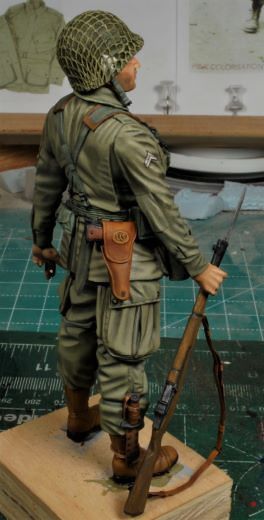
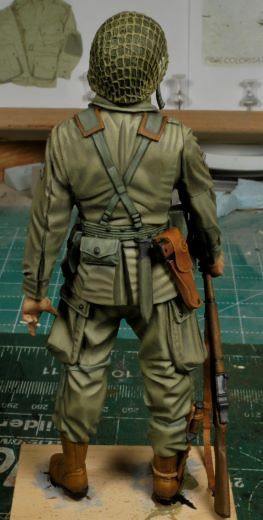
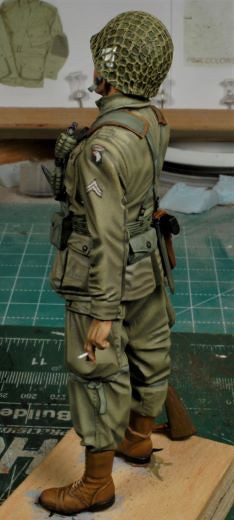
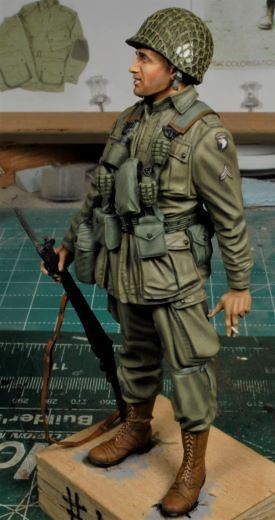
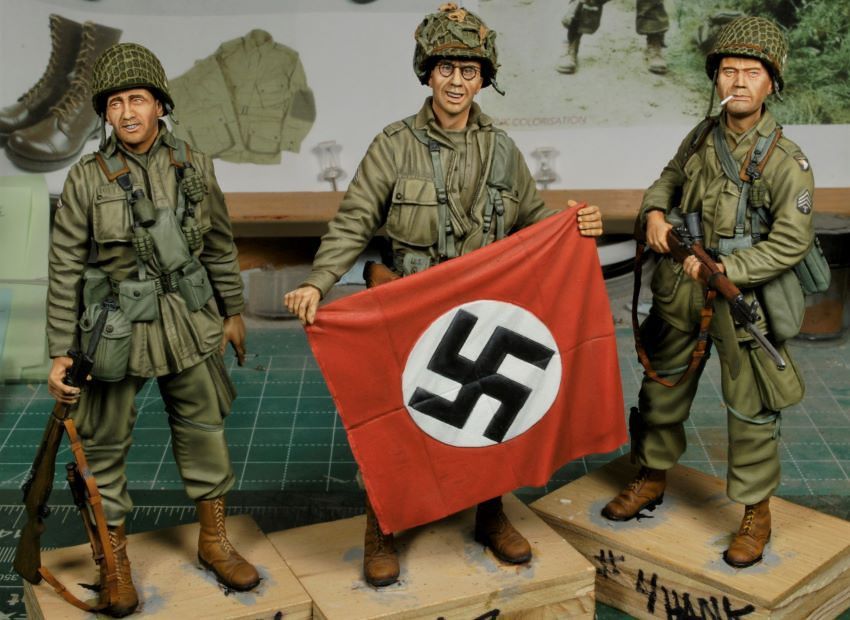
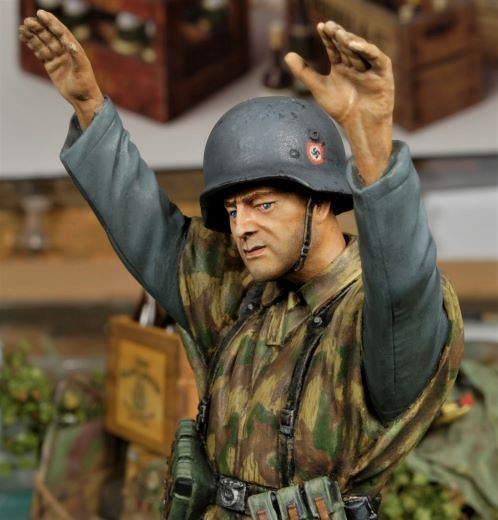
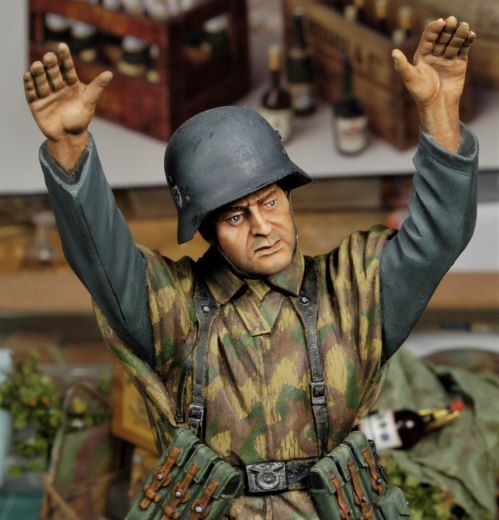
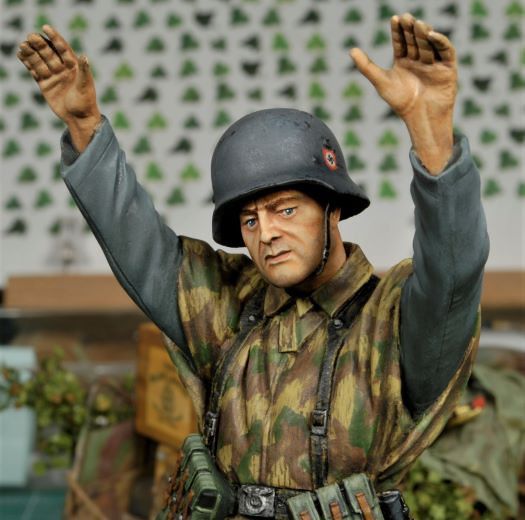
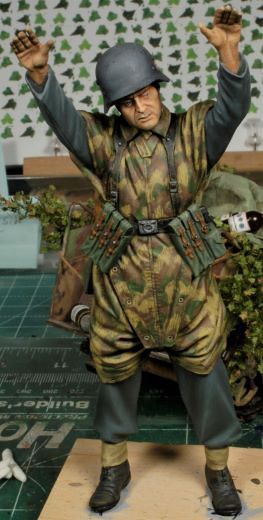
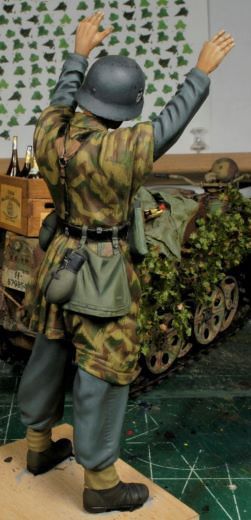
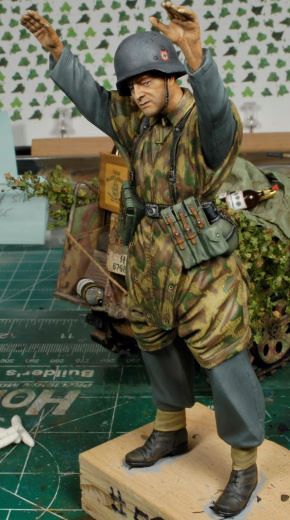
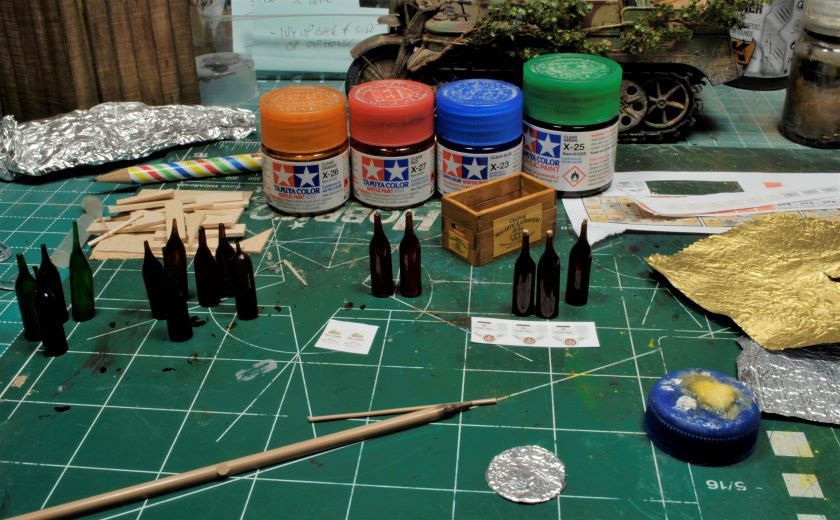

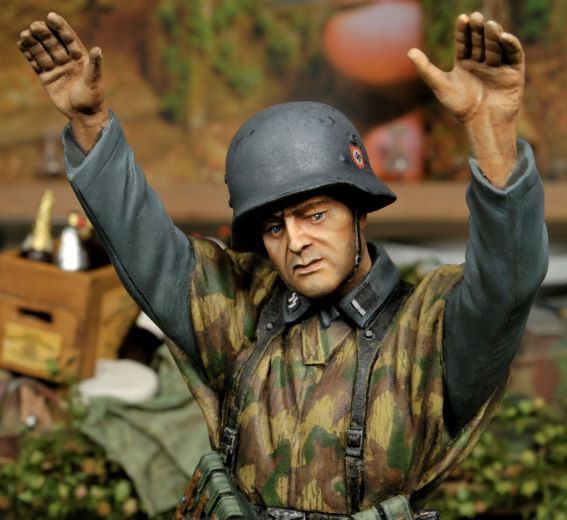
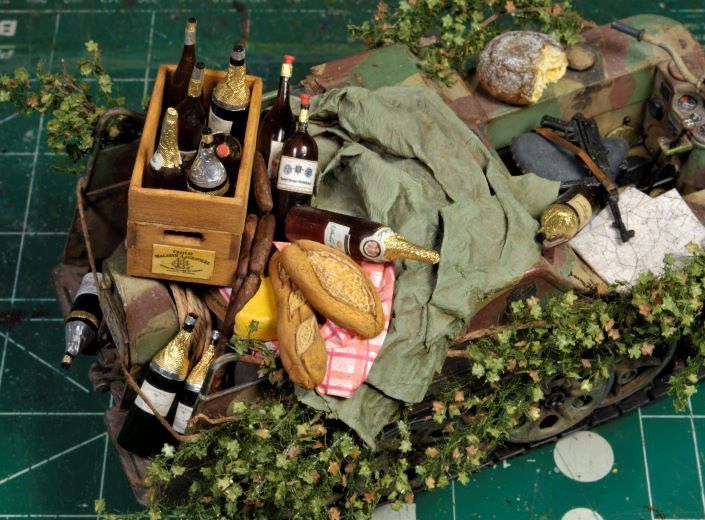
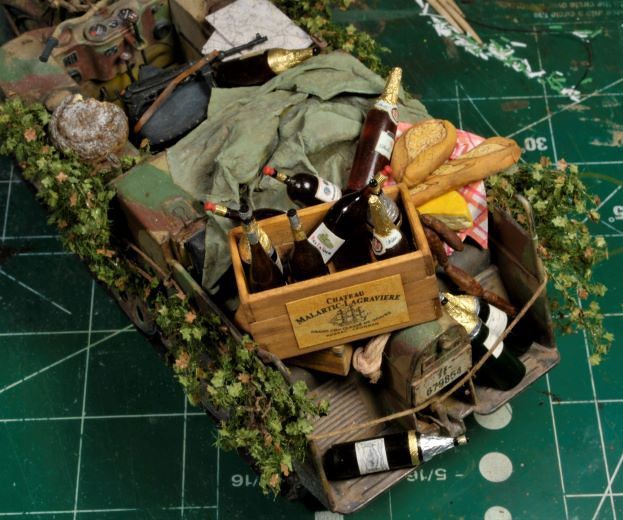
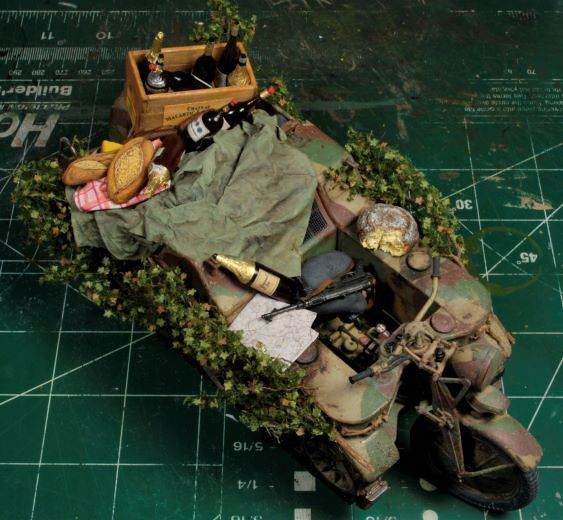
Looking like party time for Bob !!!Loaded Up with Booty
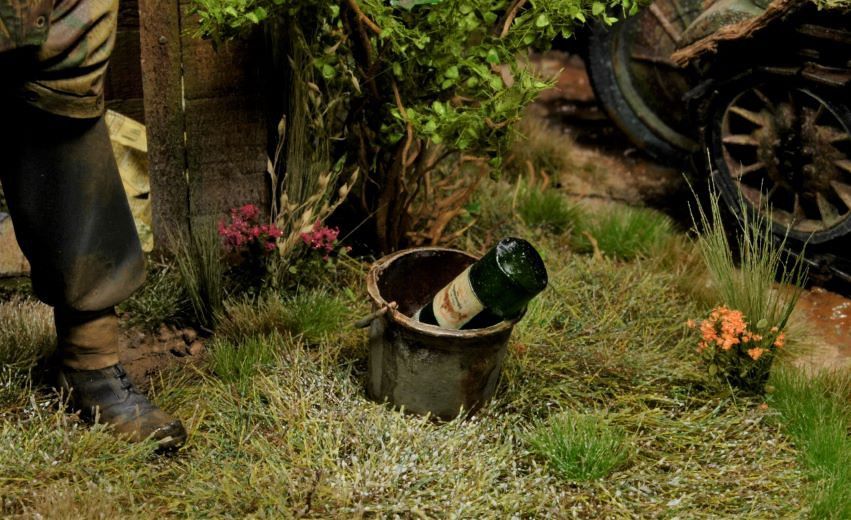
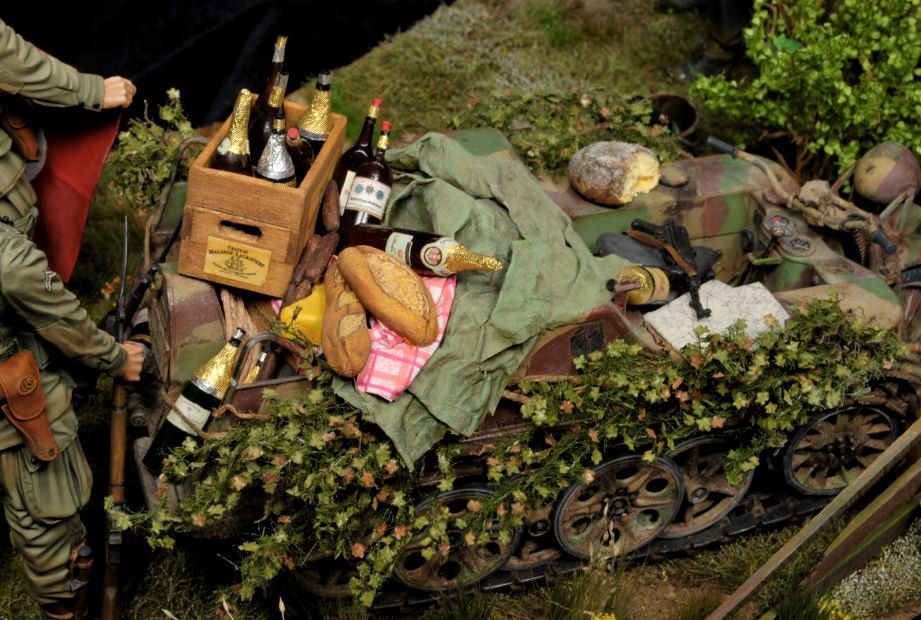
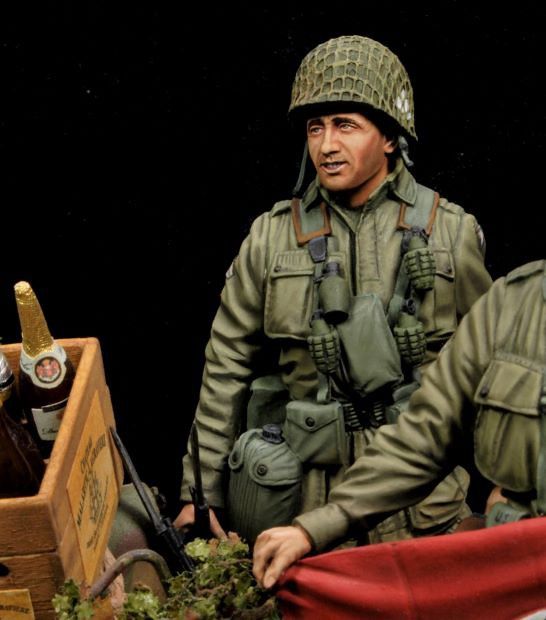
Now that all the figures are basically done until I weather them to match the base it's veggie time. But first, here's a few pics of Bob's booty haul from the local neighborhood. He's loaded alright; sausage links, cheese, bread, wine, and even a few bottles of some really good cognac.
View attachment 99871 View attachment 99872 View attachment 99873
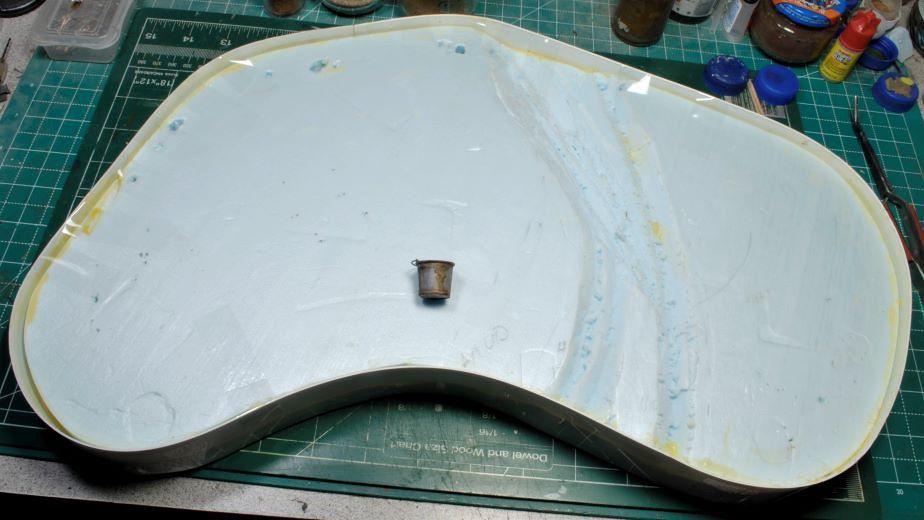
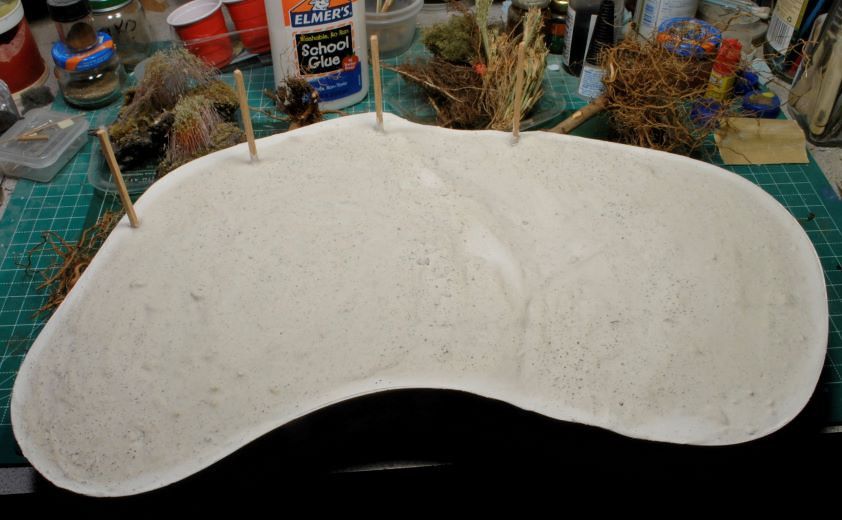
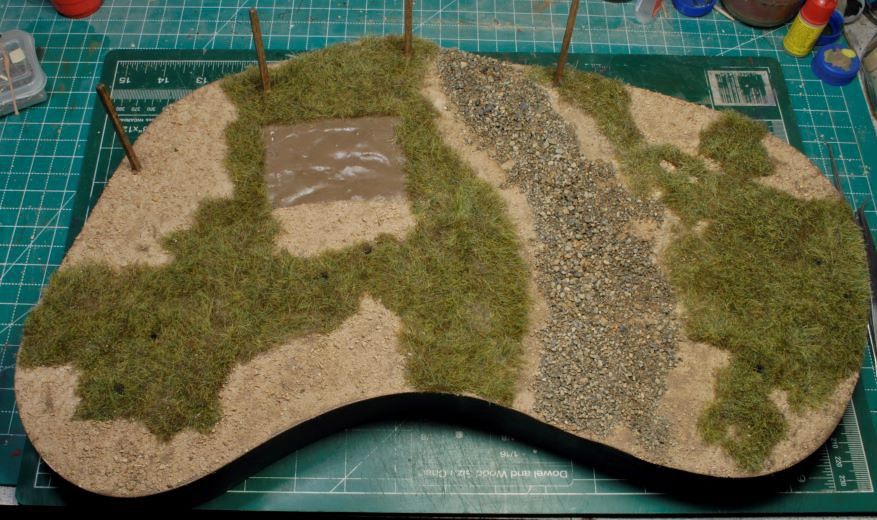
The base work is straight forward using some 3/16th inch MDF (medium density fiber board) under standard blue construction foam glue with good old Elmer's wood glue. Once the foam and MDF were solid I cut some slight elevation features and then mixed some wall putty, Elmer's glue, rocks, and sand. Then I poured the base layer and smoothed everything out. I also added fence posts in place to make sure they were solid. The perimeter of the base is a thin strip of styrene for easy painting and also to retain the wall putty.
View attachment 99874 View attachment 99875
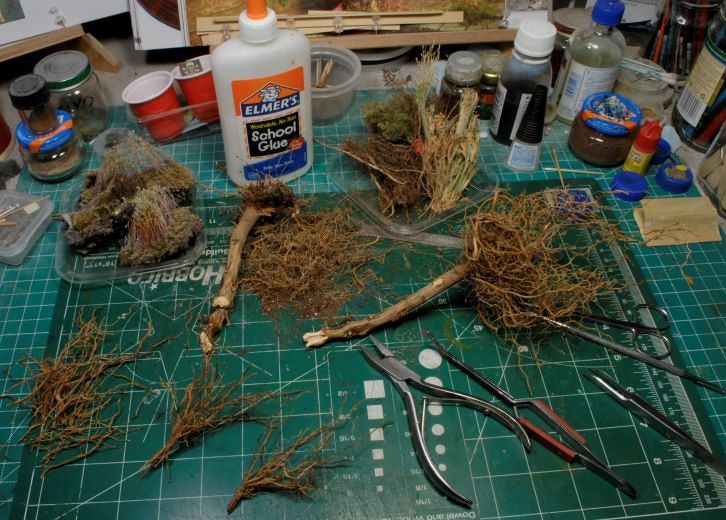
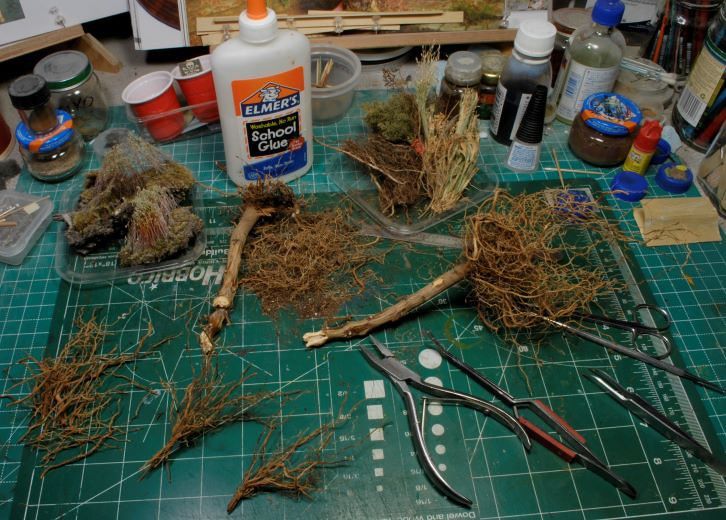
The veggie work is underway and so far, so good. I had left several tomato plant roots in the green house to dry over the winter for this very job and it looks like they will do just fine. The plan is to add some bushes, ivy, and summer grass on the base. I'm going for a semi-hedge appearance as a backdrop for the scene.
View attachment 99876
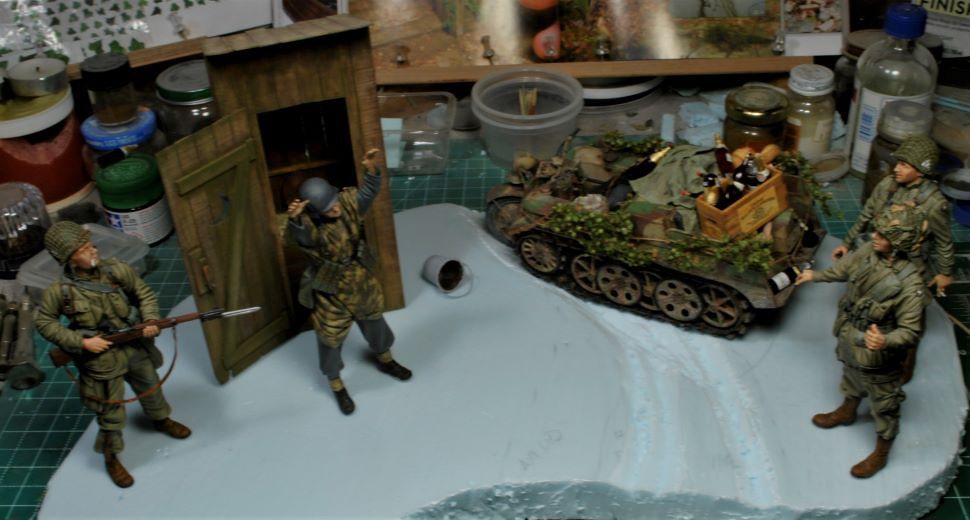
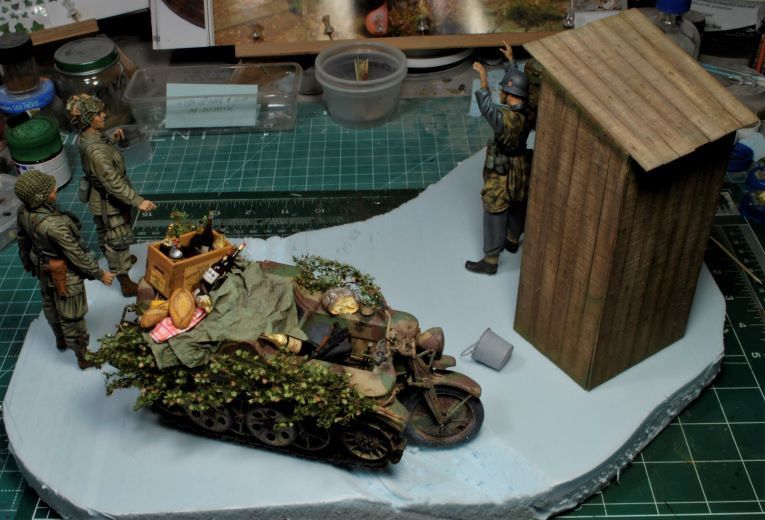
As you can see from the pics this will be the basic layout. I didn't want to give away the plot already, but you can pretty much tell by the placement of the figures that Bob is not in a good position to argue about anything, HA!
The first photo is rather blurry, I caught that one too late, my bad.
View attachment 99877 View attachment 99878
More to follow soon and thanks for watching. Cheers, Ski.
Your eye for details is amazing. Great work as always.Ground Work in Full Swing
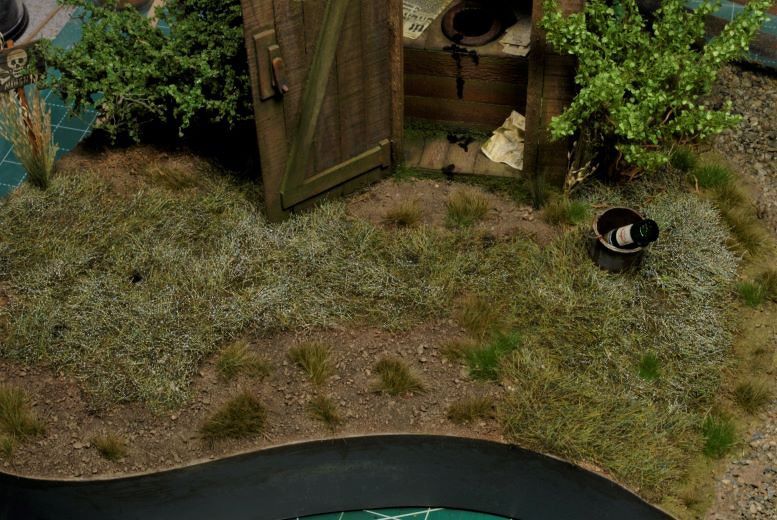
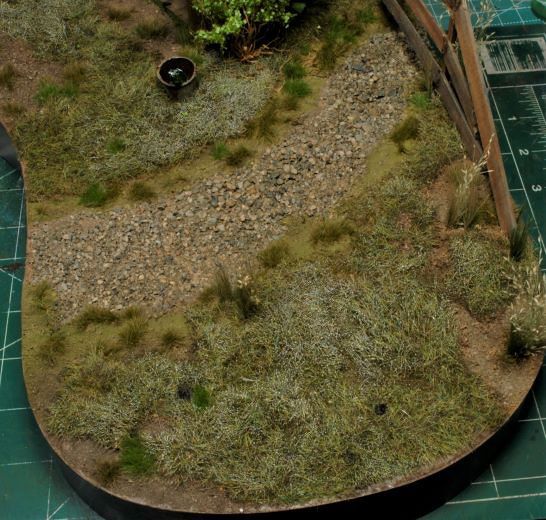
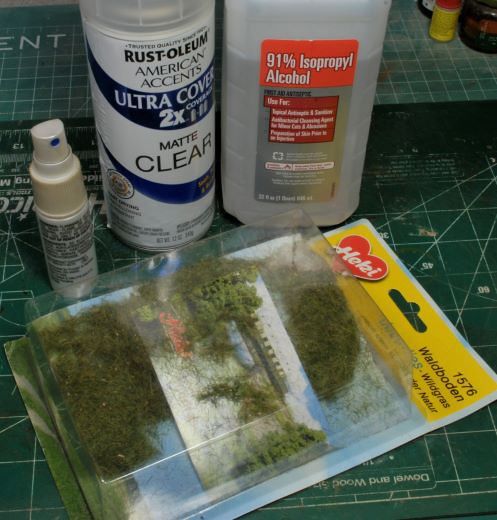
Continuing on with the base work, I began with a basic acrylic earth tone painted over the entire base. Next, I added Heki Grass, #1576 Wild Grass, sheets placed in the desired areas. I found pulling and stretching the sheets gave a decent appearance for my purposes. After the Heki grass was set I scattered crushed cat litter over a wash of water thinned Elmer's glue onto the open areas, but leaving the outhouse area clear. Before going any further with any more grass effects, I gave the cat litter a thinned oil wash of Burnt Umber for depth, then finishing off by highlighting all the gravel with an acrylic light earth tone. Placing sand and small stones in the small wash area was the last step until minor water effect is added. Time to work the brush.
View attachment 100121
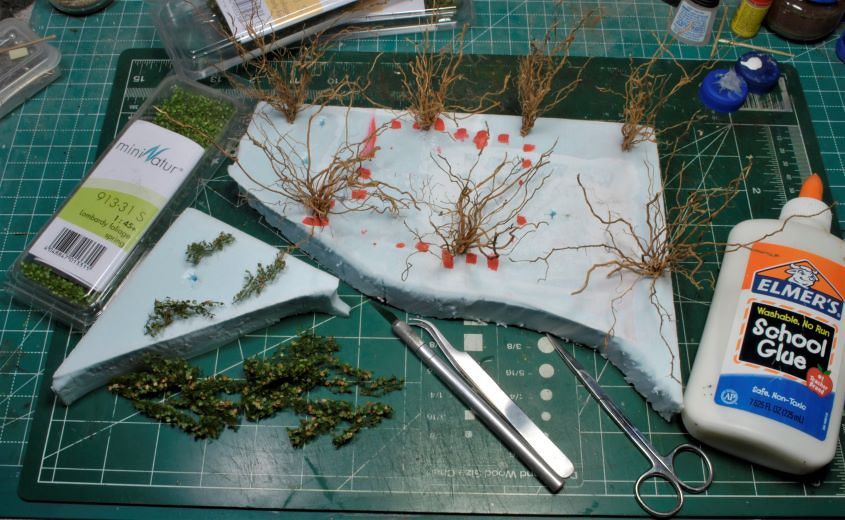
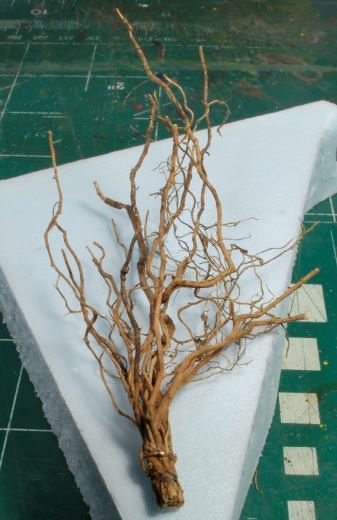
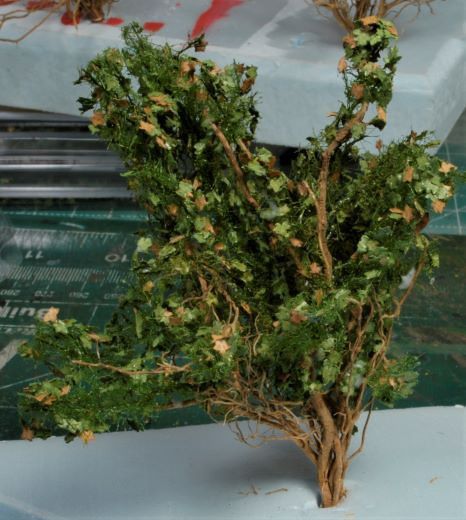
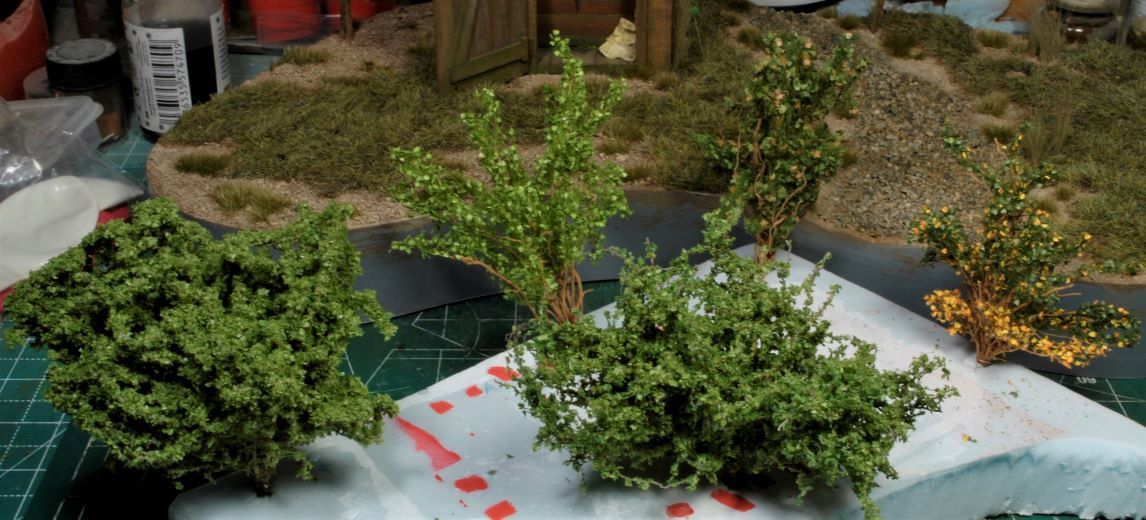
As mentioned before, tomato and even rosemary, roots seem to work really well when making these bushes and shrubs. Pretty much any dried roots will work, but I preferred the tighter clusters for making the shrubs. Mini-Natur has a full line of useful vegetation for what I'm attempting here, even for the larger scale of this diorama. If it looks natural it will work. The root clusters were placed on scrap foam board for easier manipulation. Now it's just a matter of making the bushes and shrubs look as realistic as possible.
View attachment 100122
View attachment 100123
View attachment 100124 View attachment 100125
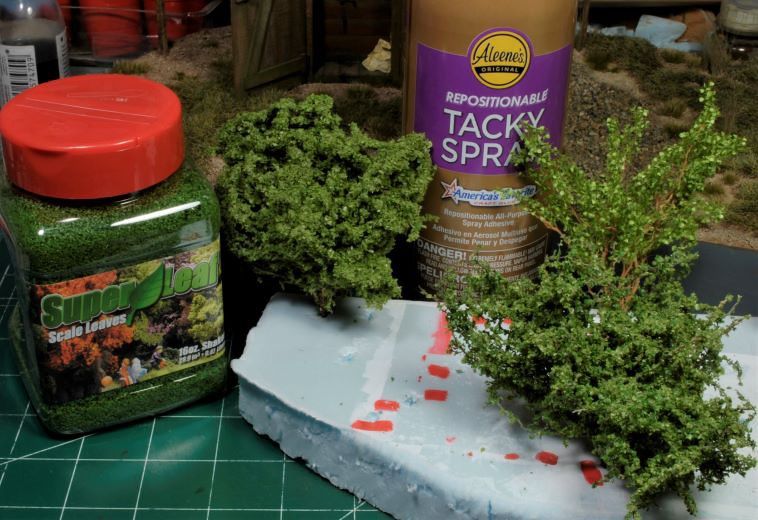
I also tried out Super Leaf from Scenic Express. These tiny leaves are more in the 1/35th scale but I wanted to see how they would work for shrubs which would have a tighter foliage than the other bushes. I still need a bit more experience with this material, but I think these two shrubs will work well with my planned placement.
View attachment 100126
View attachment 100127
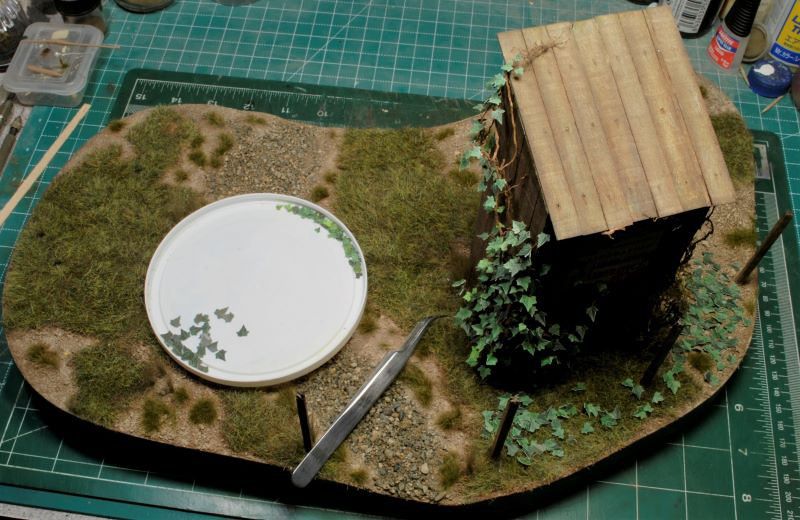
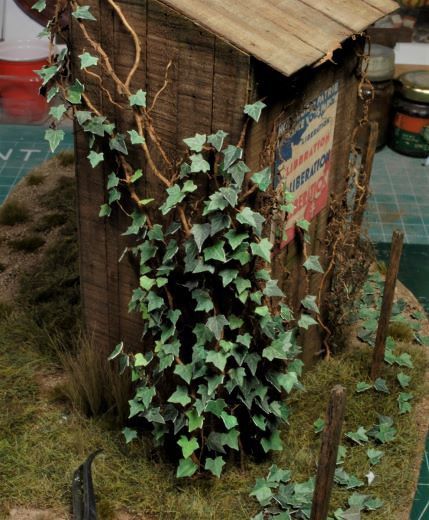
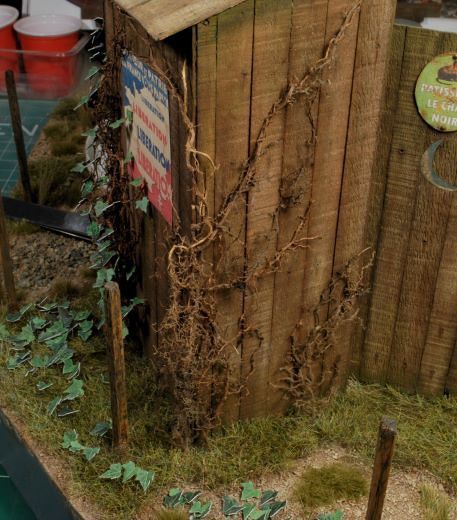
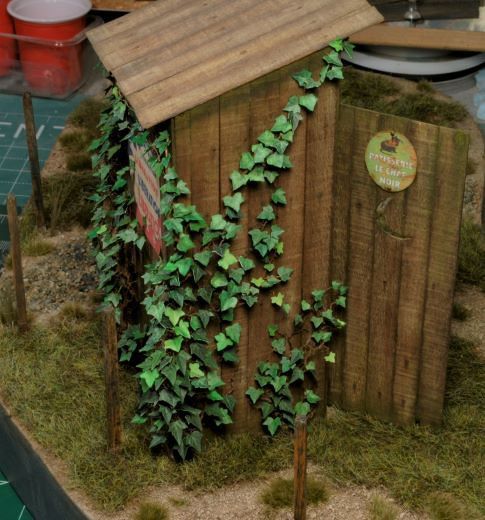
Next on the list in the sequence was the ivy crawling up the sides of the outhouse. Using some of the more open pattern dried roots I placed the skeletal frame work in the desired locations and then went back and filled in some areas with tighter root clusters. There is no easy way to make a realistic ivy vine without printing up leaves and cutting each and every one out with an Xacto knife. This is very time-consuming and tedious.
View attachment 100128
View attachment 100129
View attachment 100130
View attachment 100131
After I cut and pasted the desired leaf photos to a Word doc and printed them onto heavy paper, I painted the back sides of each sheet a dark green tone. Save a step and do it now, right? Once all the leaves are glued to the vines you still need to go back with a light green acrylic tone and touch up each exposed edge. If not, you'll have quite a few white lines showing all throughout the structure. This too was time consuming and required a steady hand. The ivy work was close to two weeks in the making, but I just had to have that old over growth appearance.
There is still quite a bit more veggie work to do, but the major heavy lifting is done. Once all the bushes and shrubs are in place I will go through and add plant debris and more grass clusters as well as alter grass tones where needed.
More to follow and thanks for watchin. Cheers, Ski.
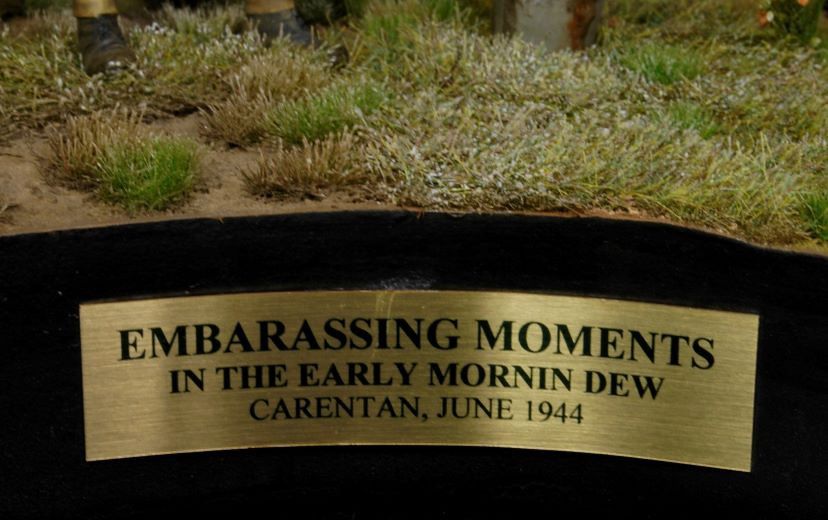
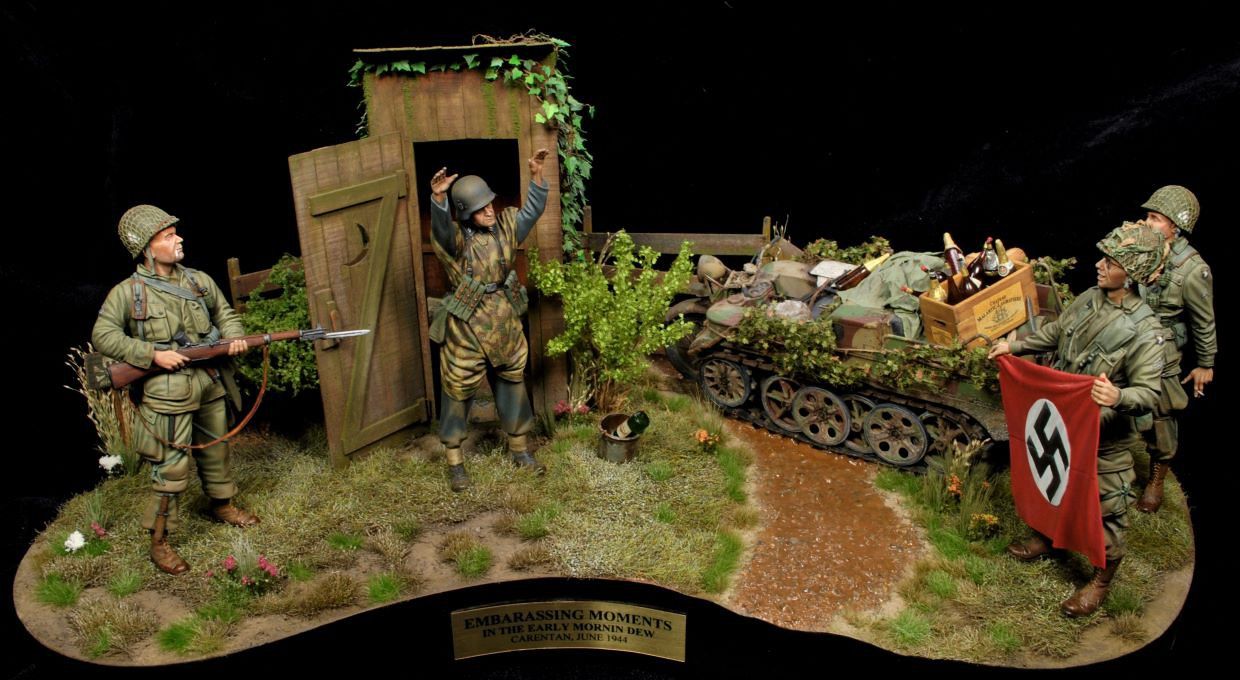
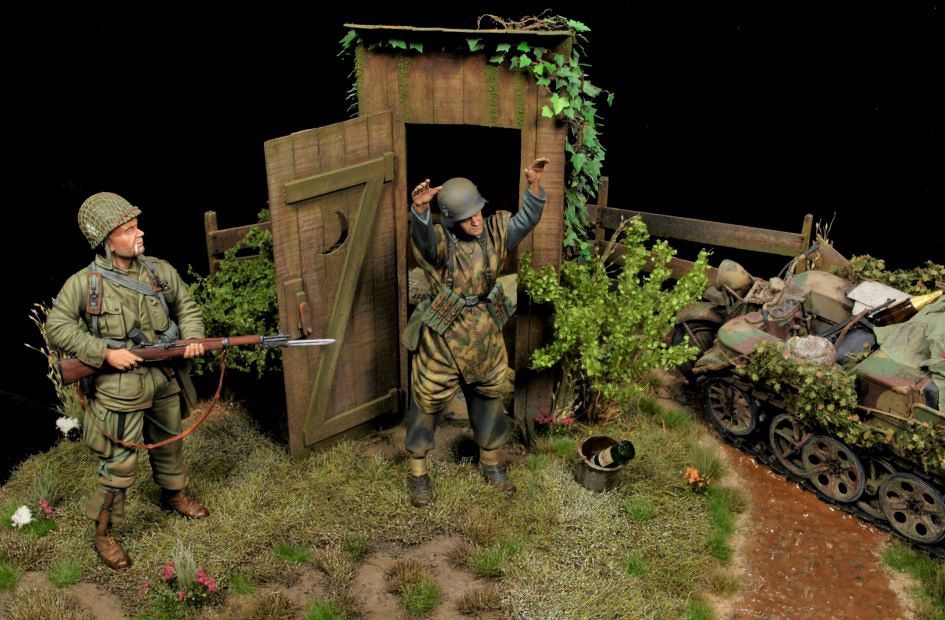
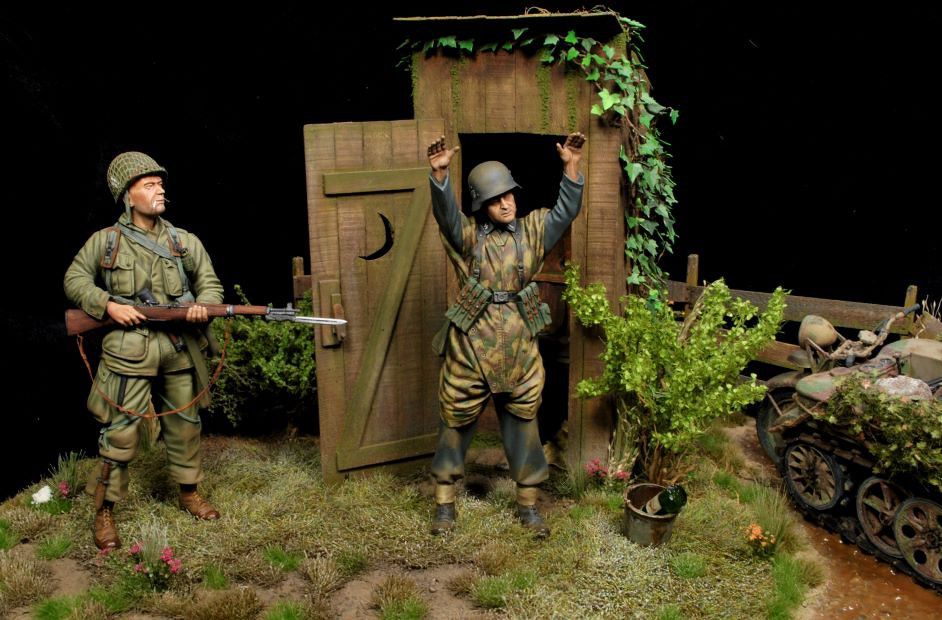
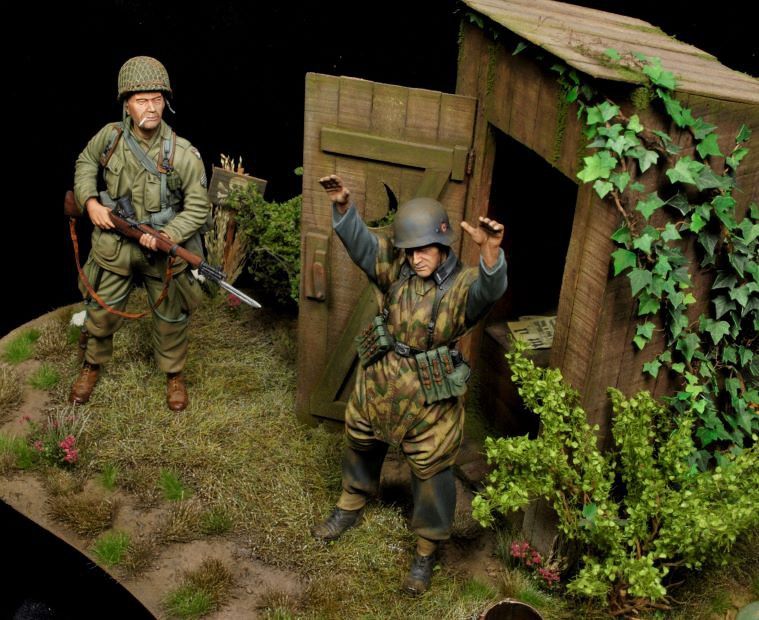
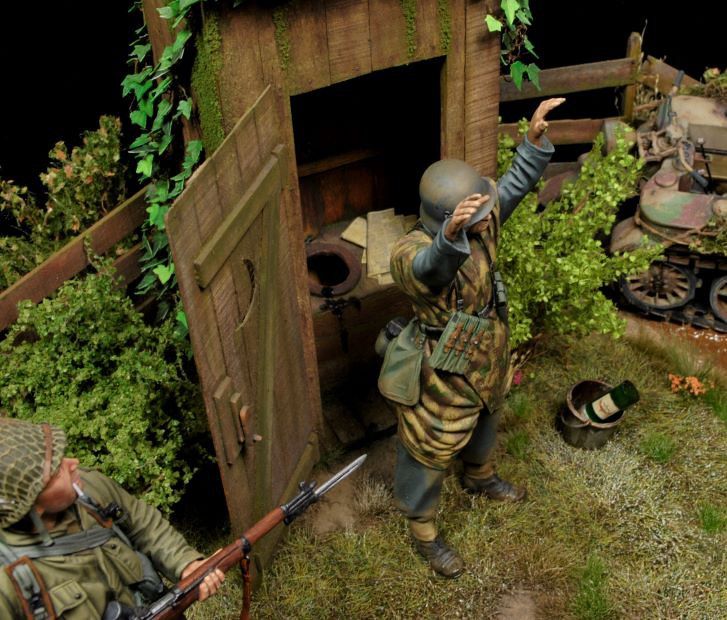
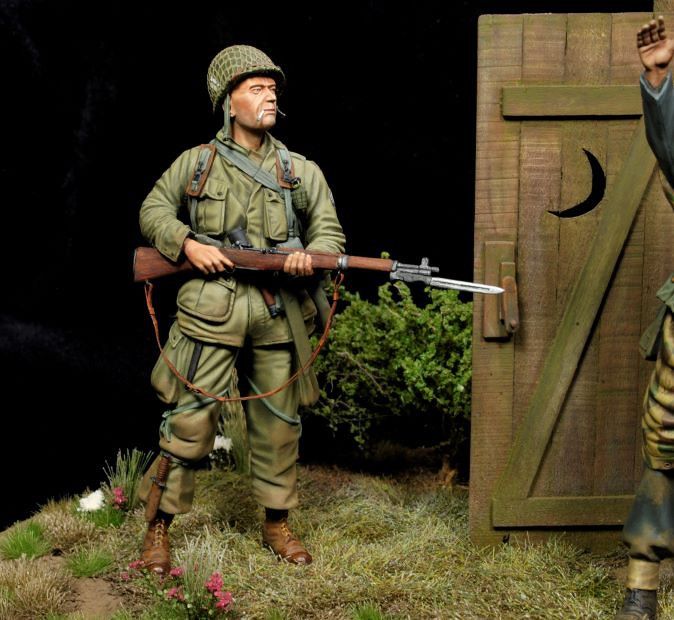
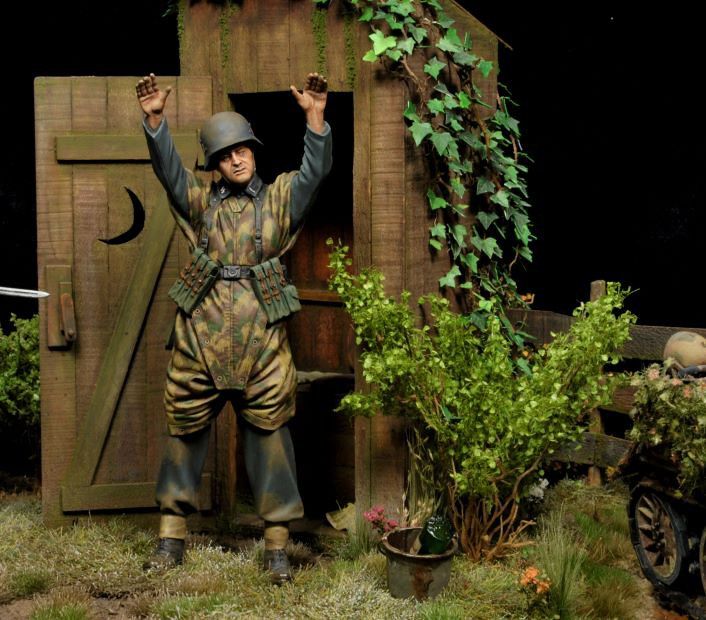
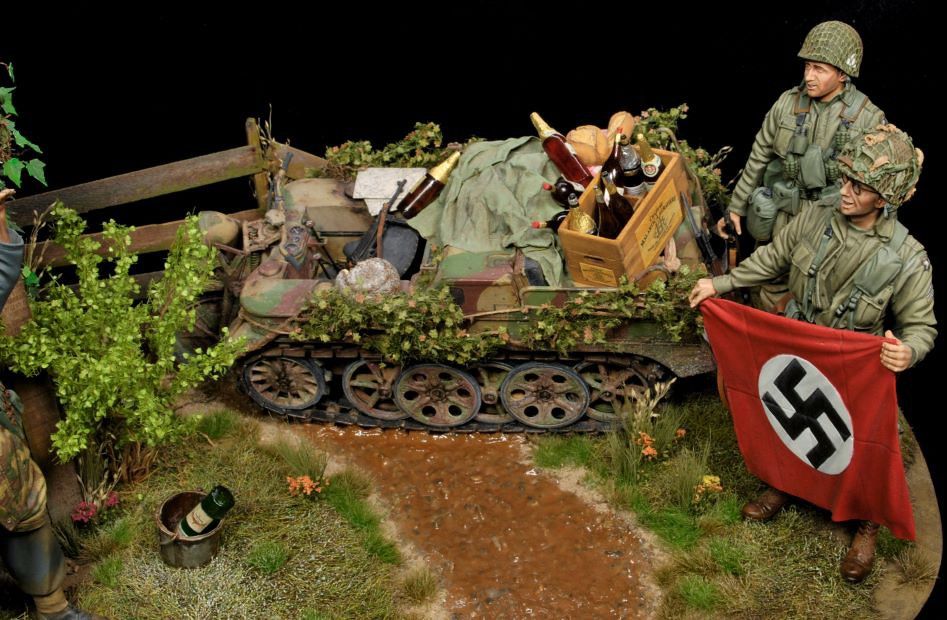
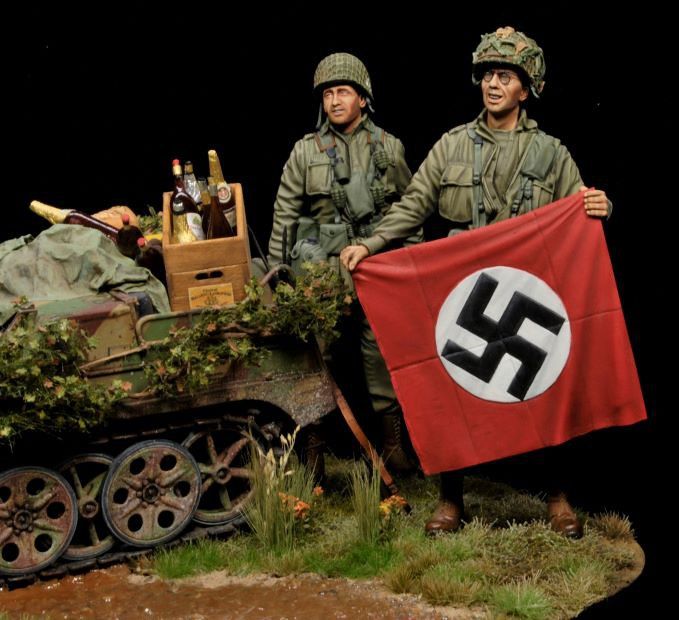
Awesome as usual.Embarrassing Moments In The Early Mornin Dew, Carentan, June 1944
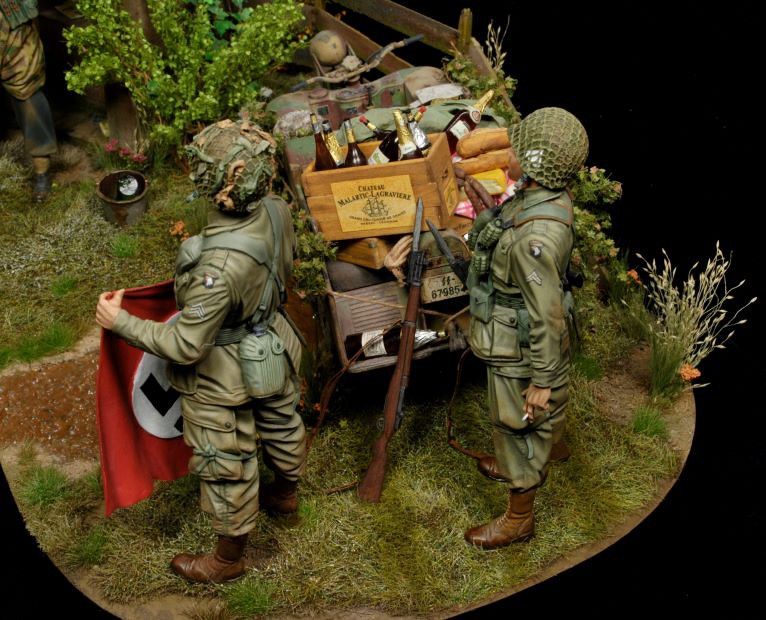
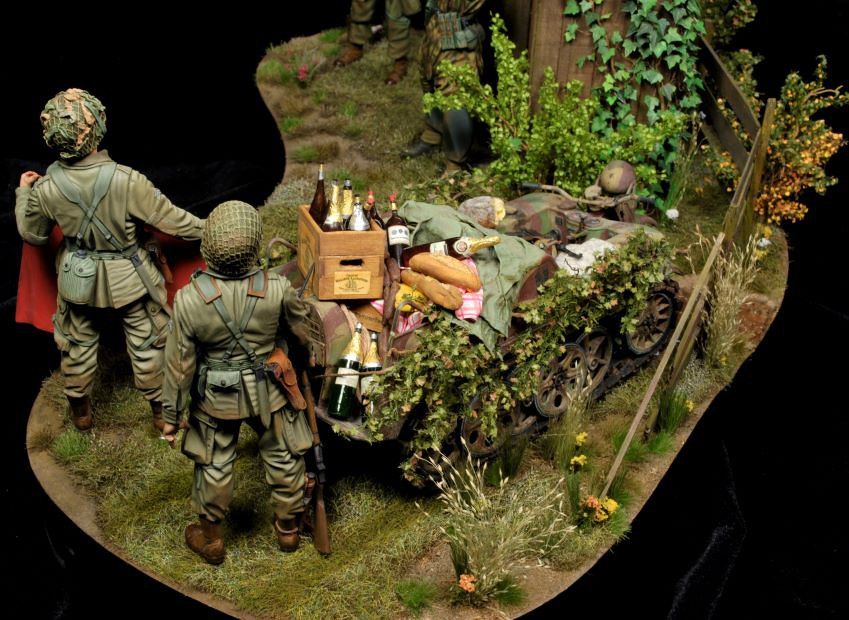
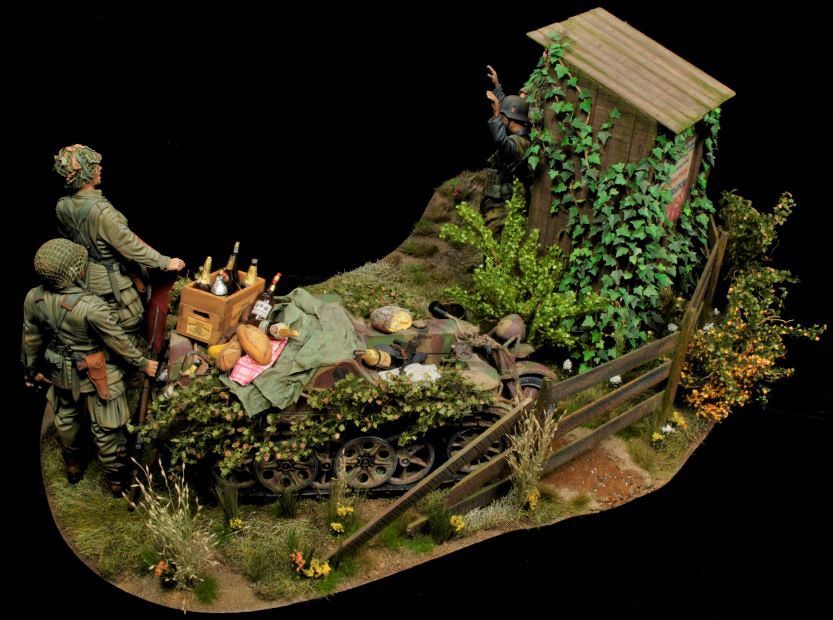
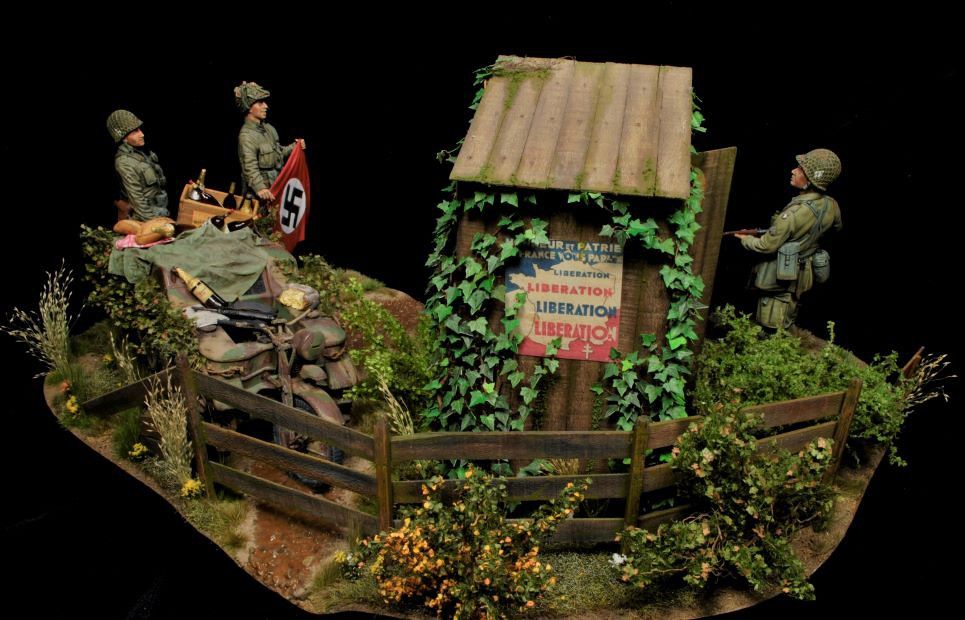
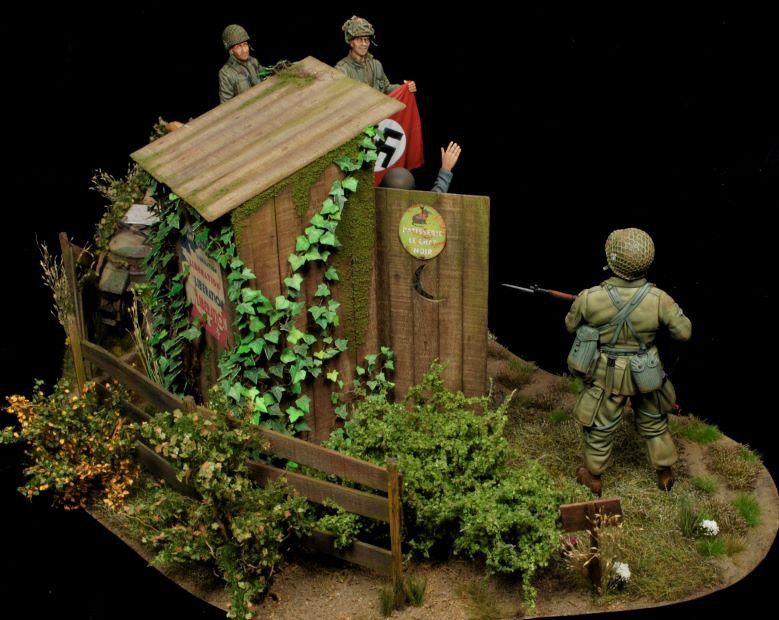
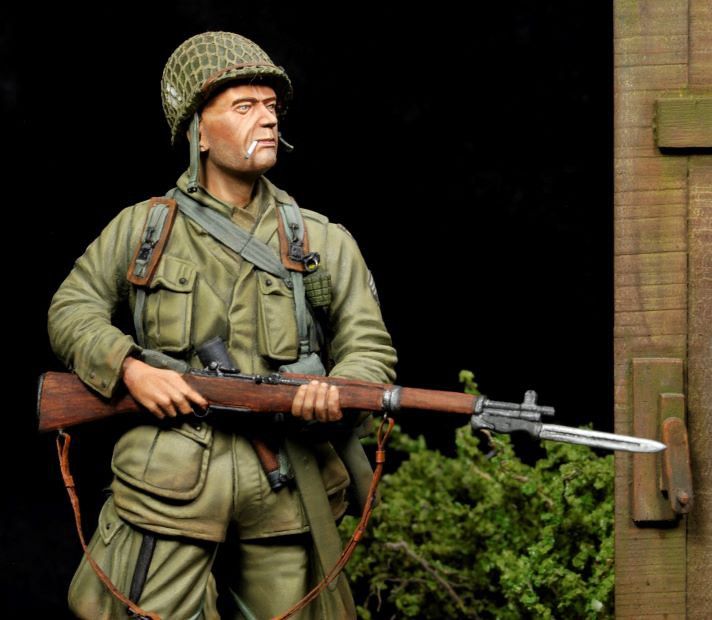
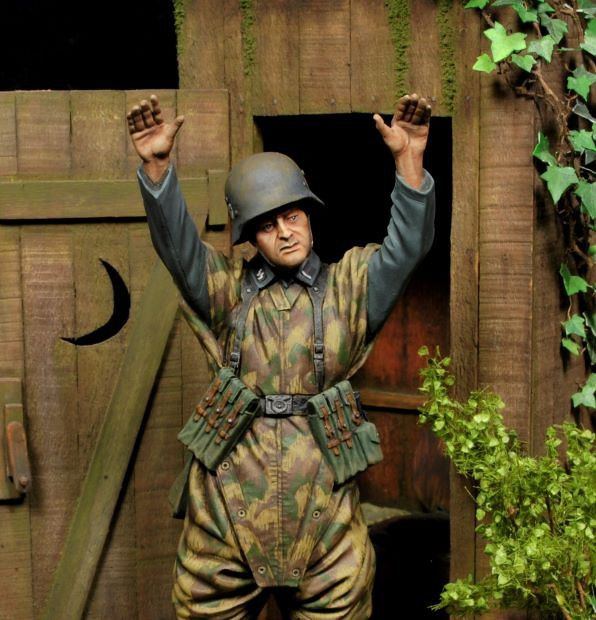
120mm Airborne Resin Figures Sculpted by Maurice Corry, offered by Mitches Military Models, Freedom Model Kits 1/16th German Sd.kfz.2 Kettenkraftrad Typ HK 101.
Resin figures painted in oils over an acrylic base. Scratch built outhouse and fencing with standard ground work applied over blue construction foam.
Bob was not expecting guests this fine June morning when he made a quick stop to take care of business. Freddie and Billy, however, were pretty giddy when they found a prize souvenir and plenty of chow and booze in the back of the track-bike. Sgt. Hank kept Bob under guard while the booty was tallied. Poor Bob!
This was a really fun build with a great set of figures and some good old scratch work as well. This is by far the quickest I have ever produced a Large-Scale figure diorama, just under six months.
View attachment 100429
View attachment 100430
View attachment 100431
View attachment 100432
View attachment 100433
View attachment 100434
View attachment 100435
View attachment 100436
View attachment 100437
View attachment 100438
View attachment 100439
View attachment 100440
View attachment 100441
View attachment 100442
View attachment 100443
View attachment 100444
View attachment 100445
View attachment 100446
View attachment 100447
View attachment 100448
All comments welcome. Cheers, Ski.


![Pampers Sensitive Baby Wipes, Clinically Proven, Fragrance Free, Unscented, Water Based, Hypoallergenic, Multi-Use, Hand Wipes 336 Wipes Total (6X Flip-Top Packs) [Packaging May Vary]](https://m.media-amazon.com/images/I/41KLBHu9CAL._SL500_.jpg)