Go Flight
Member
- Joined
- May 11, 2009
- Messages
- 174
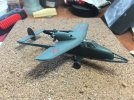
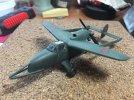
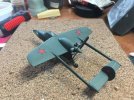
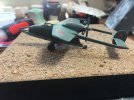
After a not so recent build article in SAMI, I had to find and build this oddball plane.
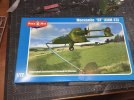
As the author mentioned it's hard to get any info from the instructions as it's all written in Russian. There is also very little on this on the net. One thought it might be a trainer. Another went a little further and said "It seems this was a proposed ground attack/support aircraft with a unique twist. The rear wheel was on a long arm running the length of the fuselage. In flight, it was extended down to the ground and the concept was it would be a crude terrain following device. Somehow a secondary arm attached to the main arm was directly linked to the elevator. When the wheel rolling on the ground compressed as the terrain changed upward, it would cause the elevator to automatically adjust the plane’s height to keep it at a constant ground hugging level."
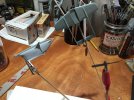
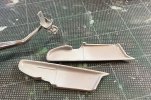
Lets get started. First, this model is tiny. Here we have the simple cockpit built. I even drilled out the lightening holes to give it a little something extra. The other pieces shown are all that there is of the fuselage --
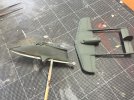
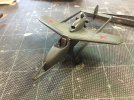
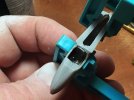
Here we have the fuselage glued together. You can look in and see that I added seat belts. I thought they looked pretty good, but looking at the image, they are *way* too wide. No matter once the canopy goes on, you won't see anything anyway.
Here's another view. The extra piece (lower right) is the start of the engine nacelle -
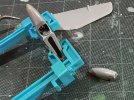
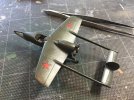
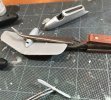
Finally for this session here's the engine nacelle installed on the wing.
Thanks for looking.

As the author mentioned it's hard to get any info from the instructions as it's all written in Russian. There is also very little on this on the net. One thought it might be a trainer. Another went a little further and said "It seems this was a proposed ground attack/support aircraft with a unique twist. The rear wheel was on a long arm running the length of the fuselage. In flight, it was extended down to the ground and the concept was it would be a crude terrain following device. Somehow a secondary arm attached to the main arm was directly linked to the elevator. When the wheel rolling on the ground compressed as the terrain changed upward, it would cause the elevator to automatically adjust the plane’s height to keep it at a constant ground hugging level."
Lets get started. First, this model is tiny. Here we have the simple cockpit built. I even drilled out the lightening holes to give it a little something extra. The other pieces shown are all that there is of the fuselage --

Here we have the fuselage glued together. You can look in and see that I added seat belts. I thought they looked pretty good, but looking at the image, they are *way* too wide. No matter once the canopy goes on, you won't see anything anyway.

Here's another view. The extra piece (lower right) is the start of the engine nacelle -

Finally for this session here's the engine nacelle installed on the wing.

Thanks for looking.

