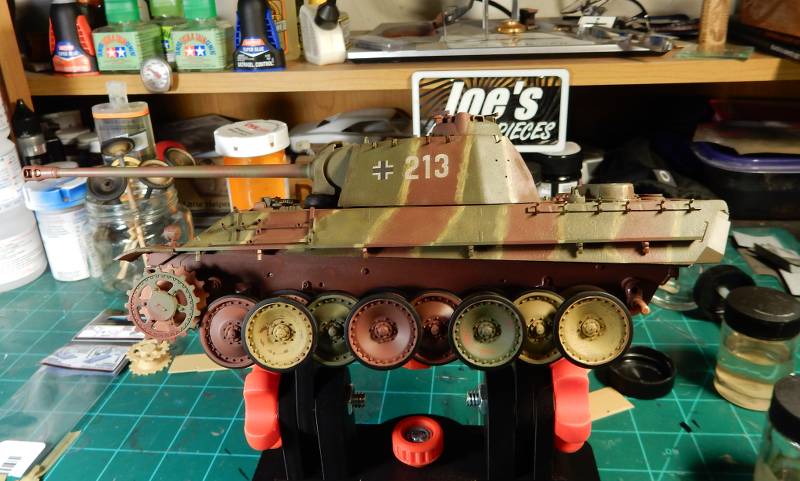
1/35 Tamiya Panther Type G--Completed 31 January 2026

Scale Model Addict - Model Tips, Guides, Tools & Tech, Tutorials, and Community

Help Support Scale Model Addict:

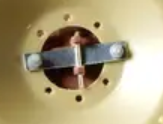
Not sure I would have added the bolts, but it wouldn't hurt to have them :) As long as the bar can't go anywhere inside the wheel, it should keep it attached to the tank.

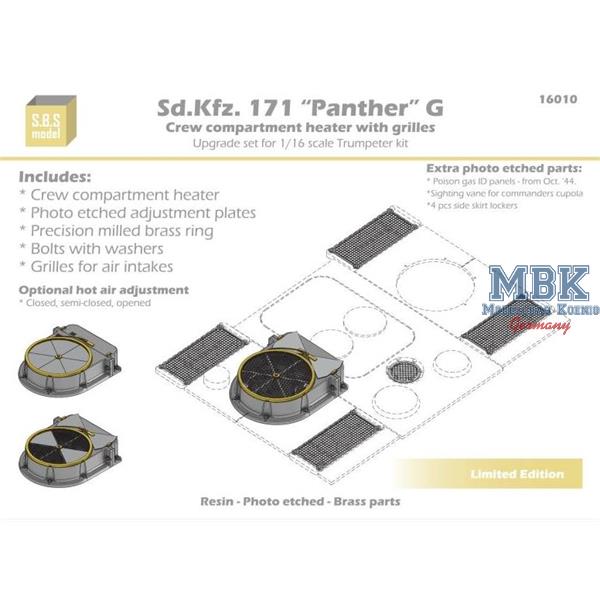
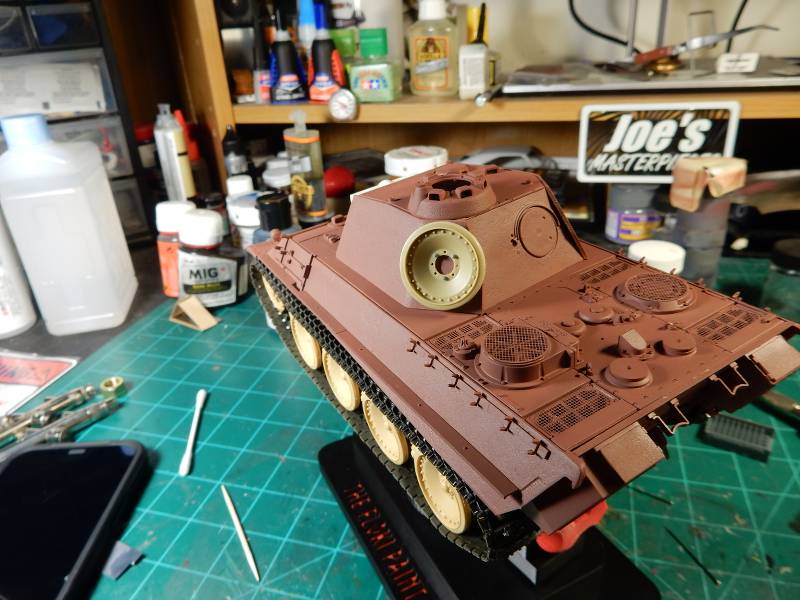
The screens, BTW, are over both intakes and exhausts: the rectangular grilles at the front and rear are the cooling air inlets, the round grilles are cooling air outlets, with a fan underneath that draws air in through the rectangular grilles. There is a radiator between each rectangular grille and the round one, and the raised fan on the left is because it incorporates a heater for the crew compartment that (as I understand it) uses the hot air from the cooling exhaust.
 
1761693778999.png

Oooohhh!

the rectangular grilles at the front and rear are the cooling air inlets
Didn't they have moveable louvers or grates that could open or close (partially both ways) the openings?
 
Under the rectangular gratings were curved pieces of sheet steel to direct the incoming air to the radiators, but no moveable ones, AFAIK. In late 1944, some Panthers did begin getting shutters on the heater, though. I can only find pictures of models with that, however:

sbs16010.jpg
 
Thank you guys for the comments and for following along.

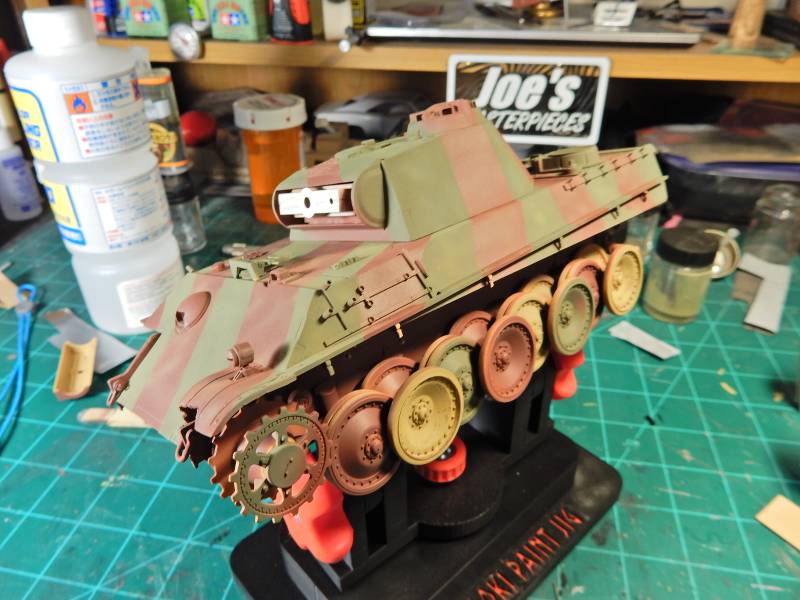
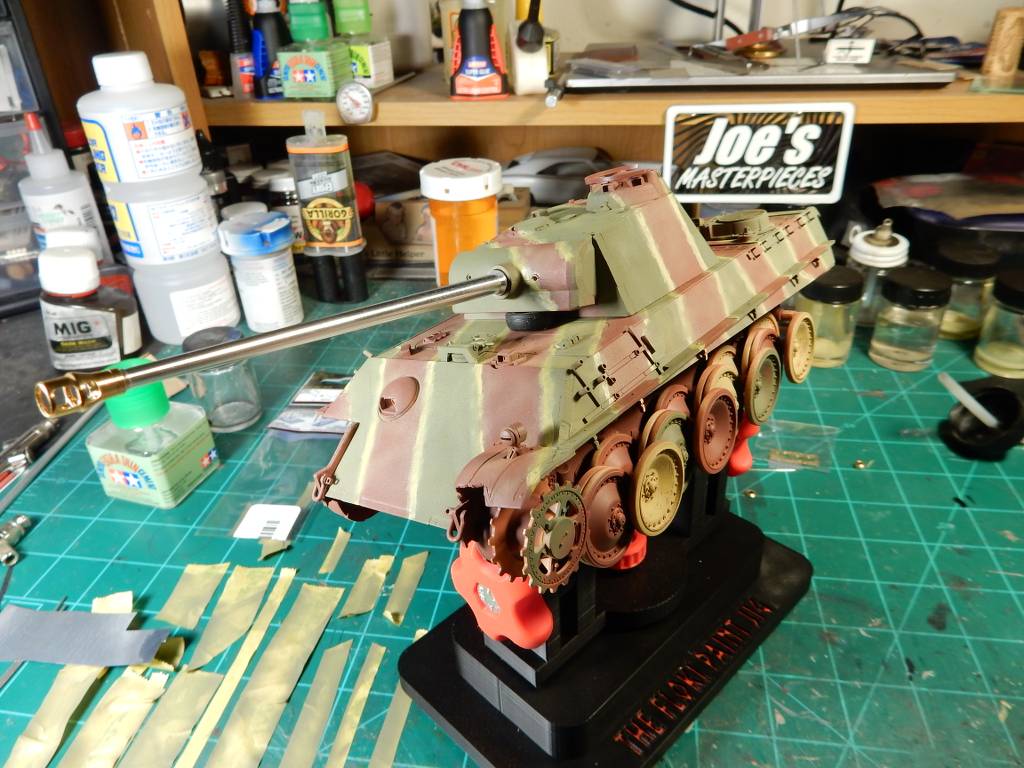
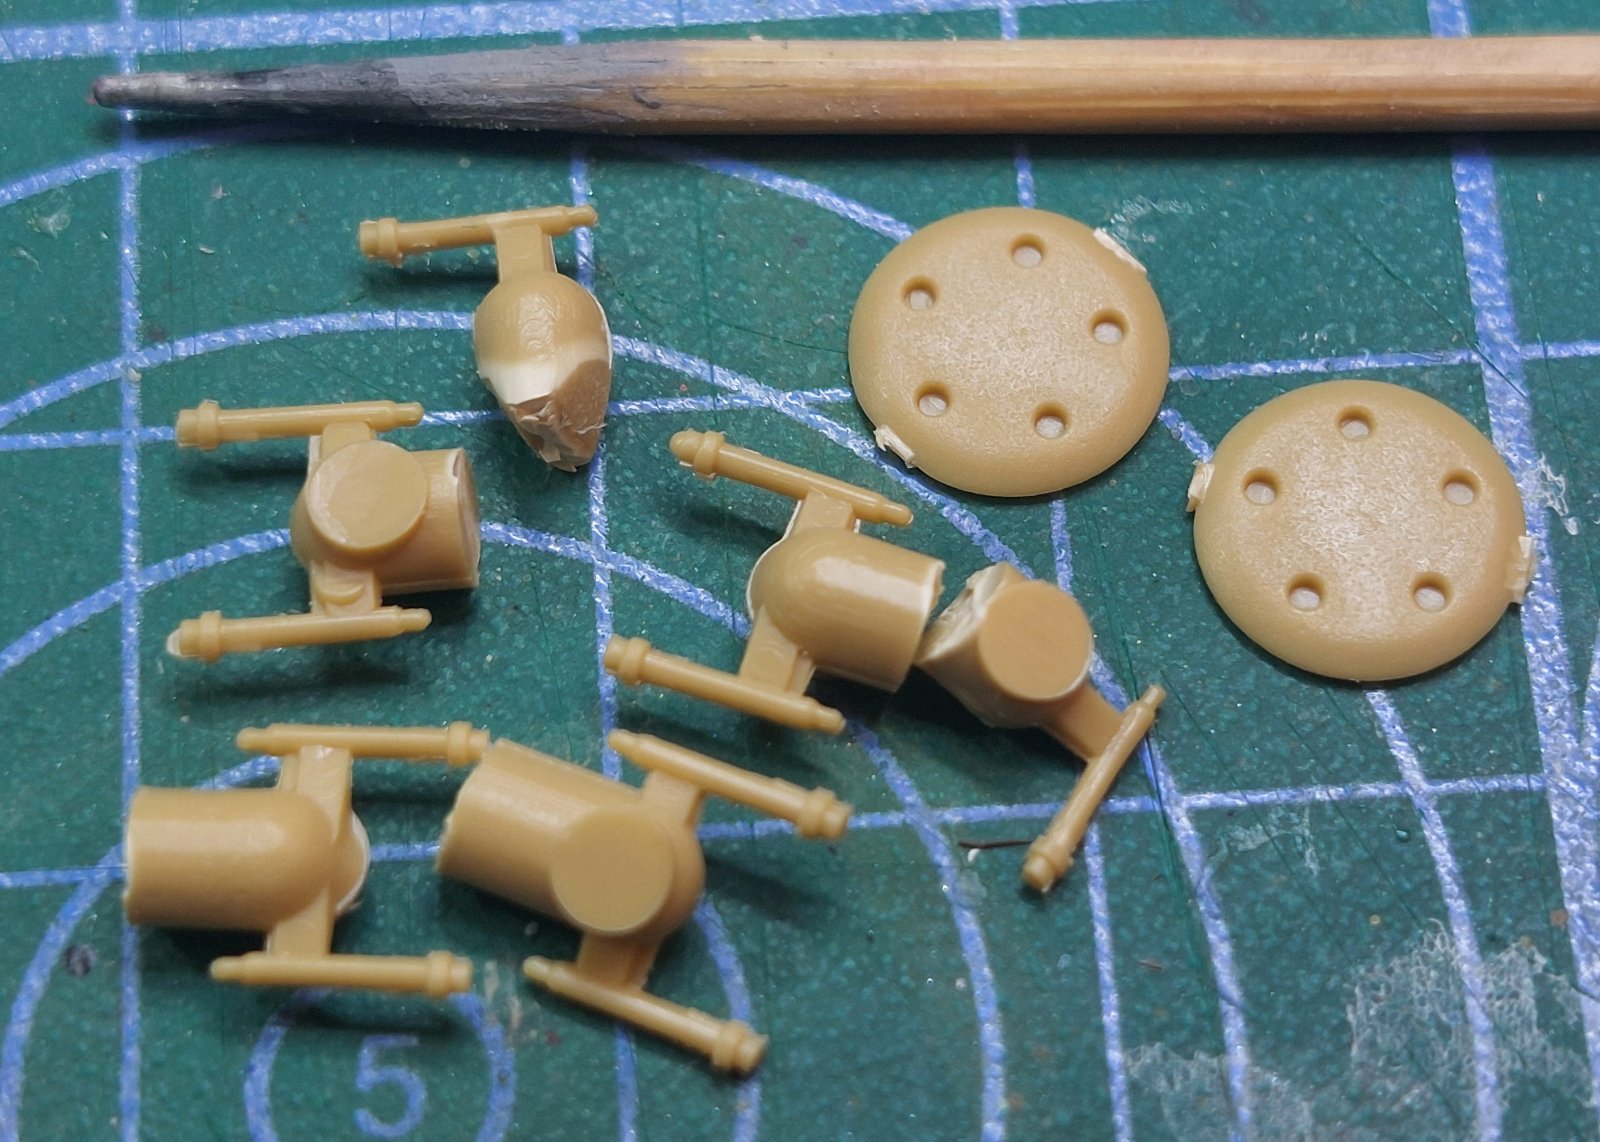
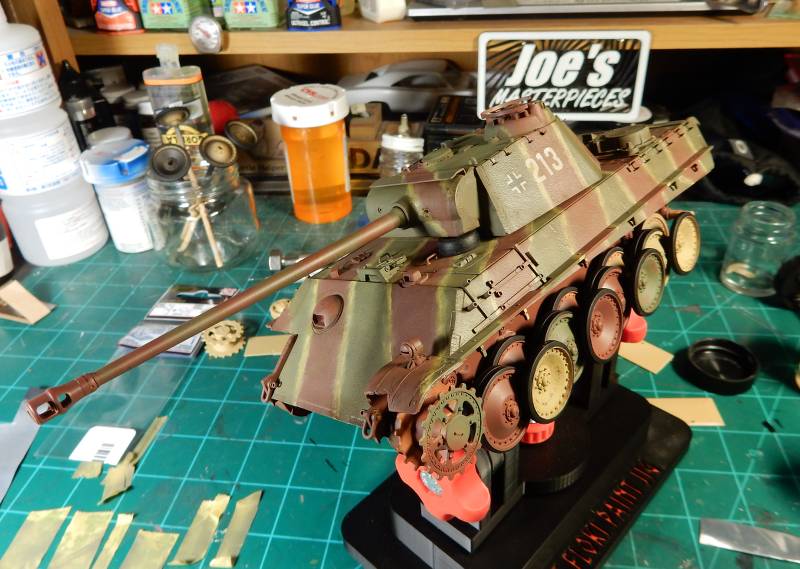
Progress report. Going with a late war camo pattern and I've got the secondary color & color modulation applied and have done some additional work on the road wheels. I'm finding that building armor is pretty enjoyable.

VNCbxx.jpg
 
As an Amazon Associate we earn from qualifying purchases. Product prices and availability are accurate as of the date/time indicated and are subject to change.
Well........I mixed 60% Tamiya Dark Yellow Enamel with 40% Tamiya White and hand brushed the lines between the color borders of the camouflage and then came back over the lines with some Tamiya X-20 Enamel Thinner and brushed over the lines causing a blurred / worn effect.

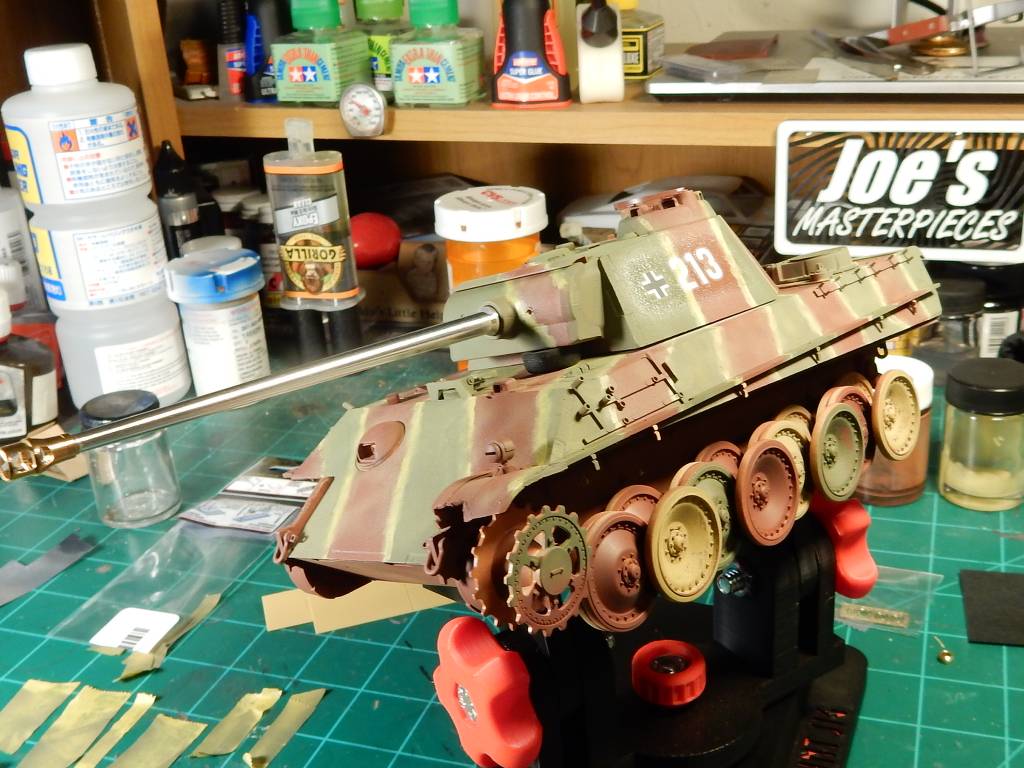
I also acquired an Aber metal gun barrel as I just didn't feel right about the two-piece OOB gun barrel. This will be getting primed and painted soon. Next up will be some gloss coat in the areas of the turret and hull where the decals are going to be positioned and decals will be going on after that.


uHSpTZ.jpg
 
Thanks fellas.

@kevin : I can only imagine how much those things are in that scale. o_O

She's started taking on a little personality with the addition of decals to the turret and R/H rear infrared storage box at the R/H rear of the tank. Also hung a couple more parts on her and completed painting the barrel cleaning kit stowage tube which will be put on after I coat the whole tank with semi-gloss clear. Then .......it's off to building & painting the road wheels and then the weathering process.


S8reqC.jpg


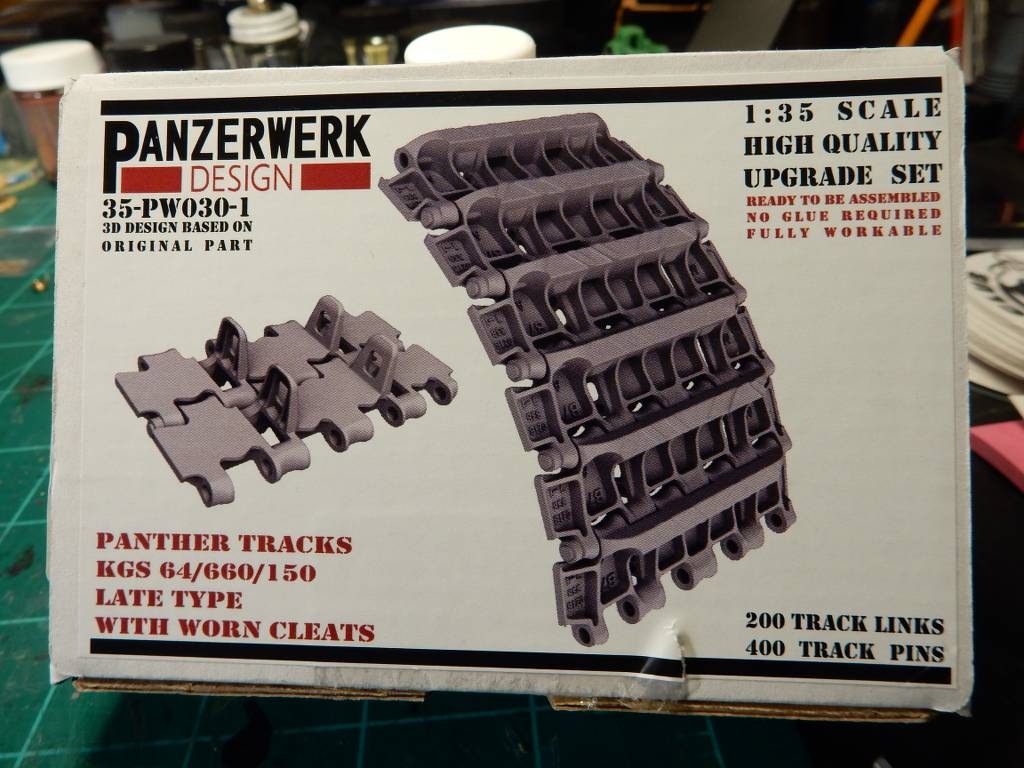
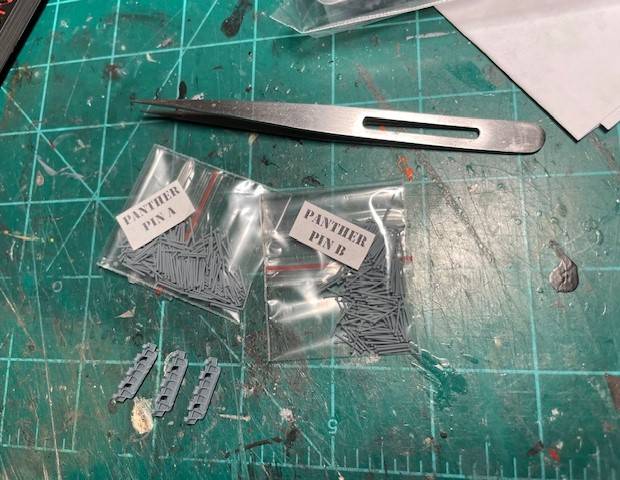
I also opted against the use of the rubber band tracks that come in the kit and went with a 3D printed set from Panzerwerk Design.


06dKhj.jpg


QazdXh.jpg
 
This is my first ever armor build and I've been pretty stoked to get started with this new to me genre of modeling anyways so......here it is. I've been watching plenty of videos and am looking forward to giving this a go.

I'll be going with the Tamiya kit for this and already have all of the materials to make this all happen.


View attachment 165855
That's a great kit, bit of flash but decent fit. Pantherman
 
I managed to get the rubber painted on the L/H side road wheels, install some hooks on the side of the turret for hanging things like water bottles, gear and camo netting, applied a pin wash over the details, installed all of the hand holds & handles and applied a dark wash using burnt umber & black oils mixed over the sides and lower sides of the hull.

Up next will be the chipping effects using different colors.


0jNJAo.jpg


p27HVn.jpg
 
Back at the bench and have made some progress in the weathering department. After reading a book called Panzer Ace over the past month or so I found out that these things got stuck all the time at the end of the war with some of the less experienced crews, so I depicted this one as just getting out of a muddy situation. Things like grit effects, weathering pastes and washes took center stage here.

EGyTPx.jpg
 
I feel that I may have gone a little overboard with some of the mud around the lower sides of the hull but it's all a learning curve for me right now. I can break some of that up with the addition of a side skirt panel or two I think though.

I took it a slight bit easier at the back of the hull:

3FFlH8.jpg


These Panzerwerk tracks are the frickin' BOMB!! A little time consuming but these are SO easy to put together that it's almost a dang crime.

06dKhj.jpg


Got one side done and have it tacked in place on the build. I am VERY pleased with this:


U66G7k.jpg
 
I'm really trying to keep the weathering "in check" and have only gotten carried away with the mud aspects on the sides of the hull really. Just didn't know how much was too much when applying but I think I've got that all figured out now.


There's been a lot of work going on as far as painting and weathering these tracks. I started with a base coat of 70% gun metal and 30% brown mixed and then moved on to a wash of White Mud Weathering Paste followed up by a light coat of Dark Mud Weathering Paste on in the center portion of the track links. This was then followed up by a dry brushing of Steel over the links to bring out the bare metal on the high points of the track. I've still got to apply a metal effect on the center track guides but we're getting there:


iUnAmO.jpg
 
Back
Top