adampolo13
New Member
- Joined
- Dec 7, 2011
- Messages
- 2,633
Hi guys,
So some of you may be wondering what has happened to me over the last few months. Welp, a new baby girl, busy work, a wife, and the laundry list of other life things that go on. Doesn't mean I haven't been at the bench. In fact I've been working on this little bird.
Some of you may be following it on my Facebook thread but I also wanted to get it up here on SMA as this really is my forum home. ;D
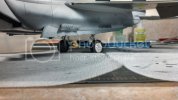
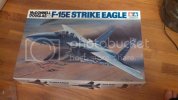
I've got a few 1/32 scale planes and jets in the stash but have been kind of afraid to build one. Well I bought this one at a show 6 months ago for $40 and thought it'd be a great choice for my first attempt at 1/32. Up until this build I hadn't used white metal landing gear, which this kit supplied. I thought I'd start with the landing gear at the same time as the cockpit tub.
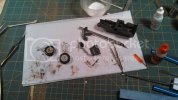
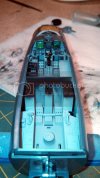
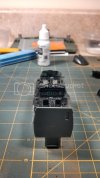
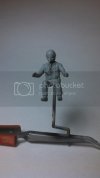
As I work on the office and other various parts I also started the pilots. This is an area I found the kit really lacked, the mold lines on these guys were huge and the details are pretty soft. But, alas I soldier on.
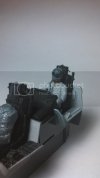
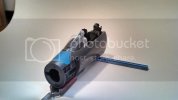
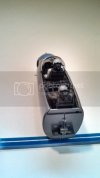
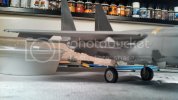
Once I got the kit to this point I couldn't resist from doing a dry fit of things.
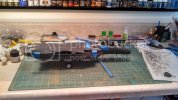
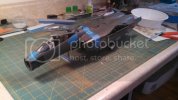
Really starting to look like an F-15E here.
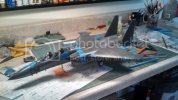
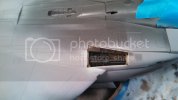
Then it was on to, well the worst part of the kit. The intakes.... They are filled with N-A-S-T-Y E.P.M's and the joint is horrible. I did my best to get rid of it.
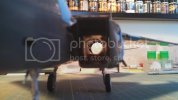
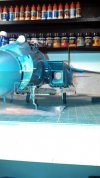
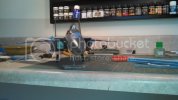
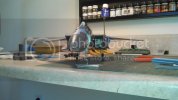
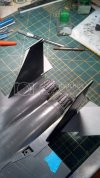
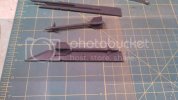
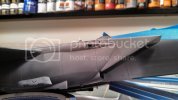
While the glue, MEK, and filler was drying on the intakes I sanded and primer painted the rear fins.
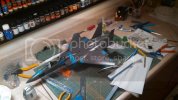
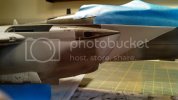
Then I moved on to the front of the intakes. These were each made up of three pieces which required a bit of super glue, Mr. Surfacer 1000 and some patience.
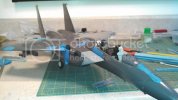
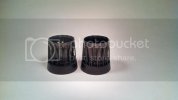
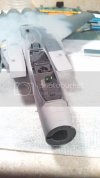
Once those were out of the way I started on the cans and what can I say but E.P.M's..... UGLY! No wonder there's so many resin companies out there.
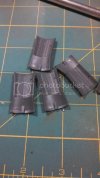
Filler, filler, filler...
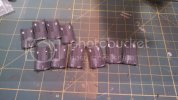
One night I got board and decided to paint the inside of one of pieces. Thought I'd do it without looking a ref pics... Spoiler alert I did go back and fix this as it looks nothing like this on the real thing. But I'm happy I got the E.P.M.'s somewhat under control.
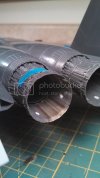
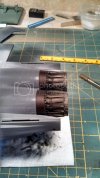
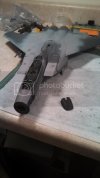
while the filler dried on those I worked on the exhaust itself.
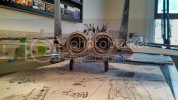
There's a pretty nasty seam line in there that I tried to hide the best I could with some more realistic looking weathering.
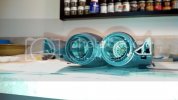
I did go back and repaint the whole inside of the burner cans black and will paint and weather them accordingly.
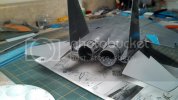
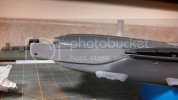
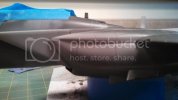
Once the exhaust was painted up I could screw the two fuselage halves together and start thinking about attaching the cockpit. But first I had to glue the two cockpit halves together. Long story short, the panel lines didn't line up too well and there was a bit of a gap. I got it sanded a smooth as I could, really I just got sick of sanding the seam and called it done.
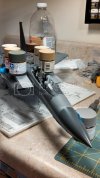
After that I screwed and glued the cockpit into the main body and there was a nasty gap and step which would end up looking a little odd. I fiddled with the alignment for a while, tried to position everything better but nothing was working. After a bit I realized it may not be me and did a quick google search and found another example of the kit here.
http://www.aircraftresourcecenter.com/Fea1/901-1000/Fea976_F-15_Wilson/14.jpg
http://www.aircraftresourcecenter.com/Fea1/901-1000/Fea976_F-15_Wilson/15.jpg
These made me feel a bit better as I'm not the cause of the poor fit, it was Tamiya! ;D
So, once I got everything to line up as best I could I screwed it down tight and threw some extra thin/M.E.K. on the joint and gave it 24 hours to cure. (The Tamiya paints were used as weight to hold the position I thought would work best.

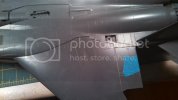
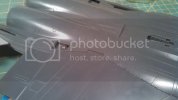
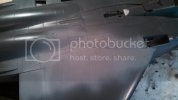
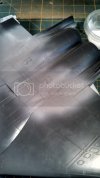
After everything was dry I sanded down the port side and re-scribed the panel lines and rivet detail and this is how it looks.
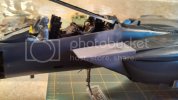
The right hand side, well that's another story. I had to take a piece of styrene and weld it on and then go back and blend it in. The panel line joint had to be filled with CA and re-scribed.
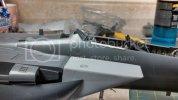
After more than an hour or two and a few attempts at getting this to look right here's the finished product.
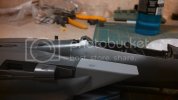
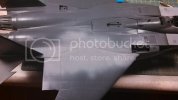
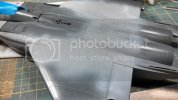
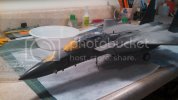
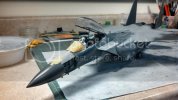
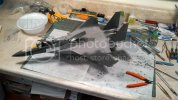
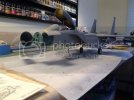
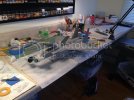
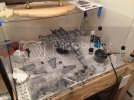
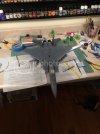
As of Thursday 12/26/13 this is how she sits. All in all I'm very happy with the way it's going. Lots of work, the kit's not perfect but I'm having a lot of fun! My plan for tonight is to eat some dinner, go see a few friends, and then later tonight start attacking the seams along the main fuselage halves. After that and the wing joints it should be easy flying for me. ;D Thanks for checking out the build, there's surely more to come!
So some of you may be wondering what has happened to me over the last few months. Welp, a new baby girl, busy work, a wife, and the laundry list of other life things that go on. Doesn't mean I haven't been at the bench. In fact I've been working on this little bird.

Some of you may be following it on my Facebook thread but I also wanted to get it up here on SMA as this really is my forum home. ;D
I've got a few 1/32 scale planes and jets in the stash but have been kind of afraid to build one. Well I bought this one at a show 6 months ago for $40 and thought it'd be a great choice for my first attempt at 1/32. Up until this build I hadn't used white metal landing gear, which this kit supplied. I thought I'd start with the landing gear at the same time as the cockpit tub.


As I work on the office and other various parts I also started the pilots. This is an area I found the kit really lacked, the mold lines on these guys were huge and the details are pretty soft. But, alas I soldier on.


Once I got the kit to this point I couldn't resist from doing a dry fit of things.


Really starting to look like an F-15E here.

Then it was on to, well the worst part of the kit. The intakes.... They are filled with N-A-S-T-Y E.P.M's and the joint is horrible. I did my best to get rid of it.


While the glue, MEK, and filler was drying on the intakes I sanded and primer painted the rear fins.

Then I moved on to the front of the intakes. These were each made up of three pieces which required a bit of super glue, Mr. Surfacer 1000 and some patience.

Once those were out of the way I started on the cans and what can I say but E.P.M's..... UGLY! No wonder there's so many resin companies out there.

Filler, filler, filler...

One night I got board and decided to paint the inside of one of pieces. Thought I'd do it without looking a ref pics... Spoiler alert I did go back and fix this as it looks nothing like this on the real thing. But I'm happy I got the E.P.M.'s somewhat under control.

while the filler dried on those I worked on the exhaust itself.

There's a pretty nasty seam line in there that I tried to hide the best I could with some more realistic looking weathering.

I did go back and repaint the whole inside of the burner cans black and will paint and weather them accordingly.

Once the exhaust was painted up I could screw the two fuselage halves together and start thinking about attaching the cockpit. But first I had to glue the two cockpit halves together. Long story short, the panel lines didn't line up too well and there was a bit of a gap. I got it sanded a smooth as I could, really I just got sick of sanding the seam and called it done.

After that I screwed and glued the cockpit into the main body and there was a nasty gap and step which would end up looking a little odd. I fiddled with the alignment for a while, tried to position everything better but nothing was working. After a bit I realized it may not be me and did a quick google search and found another example of the kit here.
http://www.aircraftresourcecenter.com/Fea1/901-1000/Fea976_F-15_Wilson/14.jpg
http://www.aircraftresourcecenter.com/Fea1/901-1000/Fea976_F-15_Wilson/15.jpg
These made me feel a bit better as I'm not the cause of the poor fit, it was Tamiya! ;D
So, once I got everything to line up as best I could I screwed it down tight and threw some extra thin/M.E.K. on the joint and gave it 24 hours to cure. (The Tamiya paints were used as weight to hold the position I thought would work best.

After everything was dry I sanded down the port side and re-scribed the panel lines and rivet detail and this is how it looks.

The right hand side, well that's another story. I had to take a piece of styrene and weld it on and then go back and blend it in. The panel line joint had to be filled with CA and re-scribed.

After more than an hour or two and a few attempts at getting this to look right here's the finished product.

As of Thursday 12/26/13 this is how she sits. All in all I'm very happy with the way it's going. Lots of work, the kit's not perfect but I'm having a lot of fun! My plan for tonight is to eat some dinner, go see a few friends, and then later tonight start attacking the seams along the main fuselage halves. After that and the wing joints it should be easy flying for me. ;D Thanks for checking out the build, there's surely more to come!

