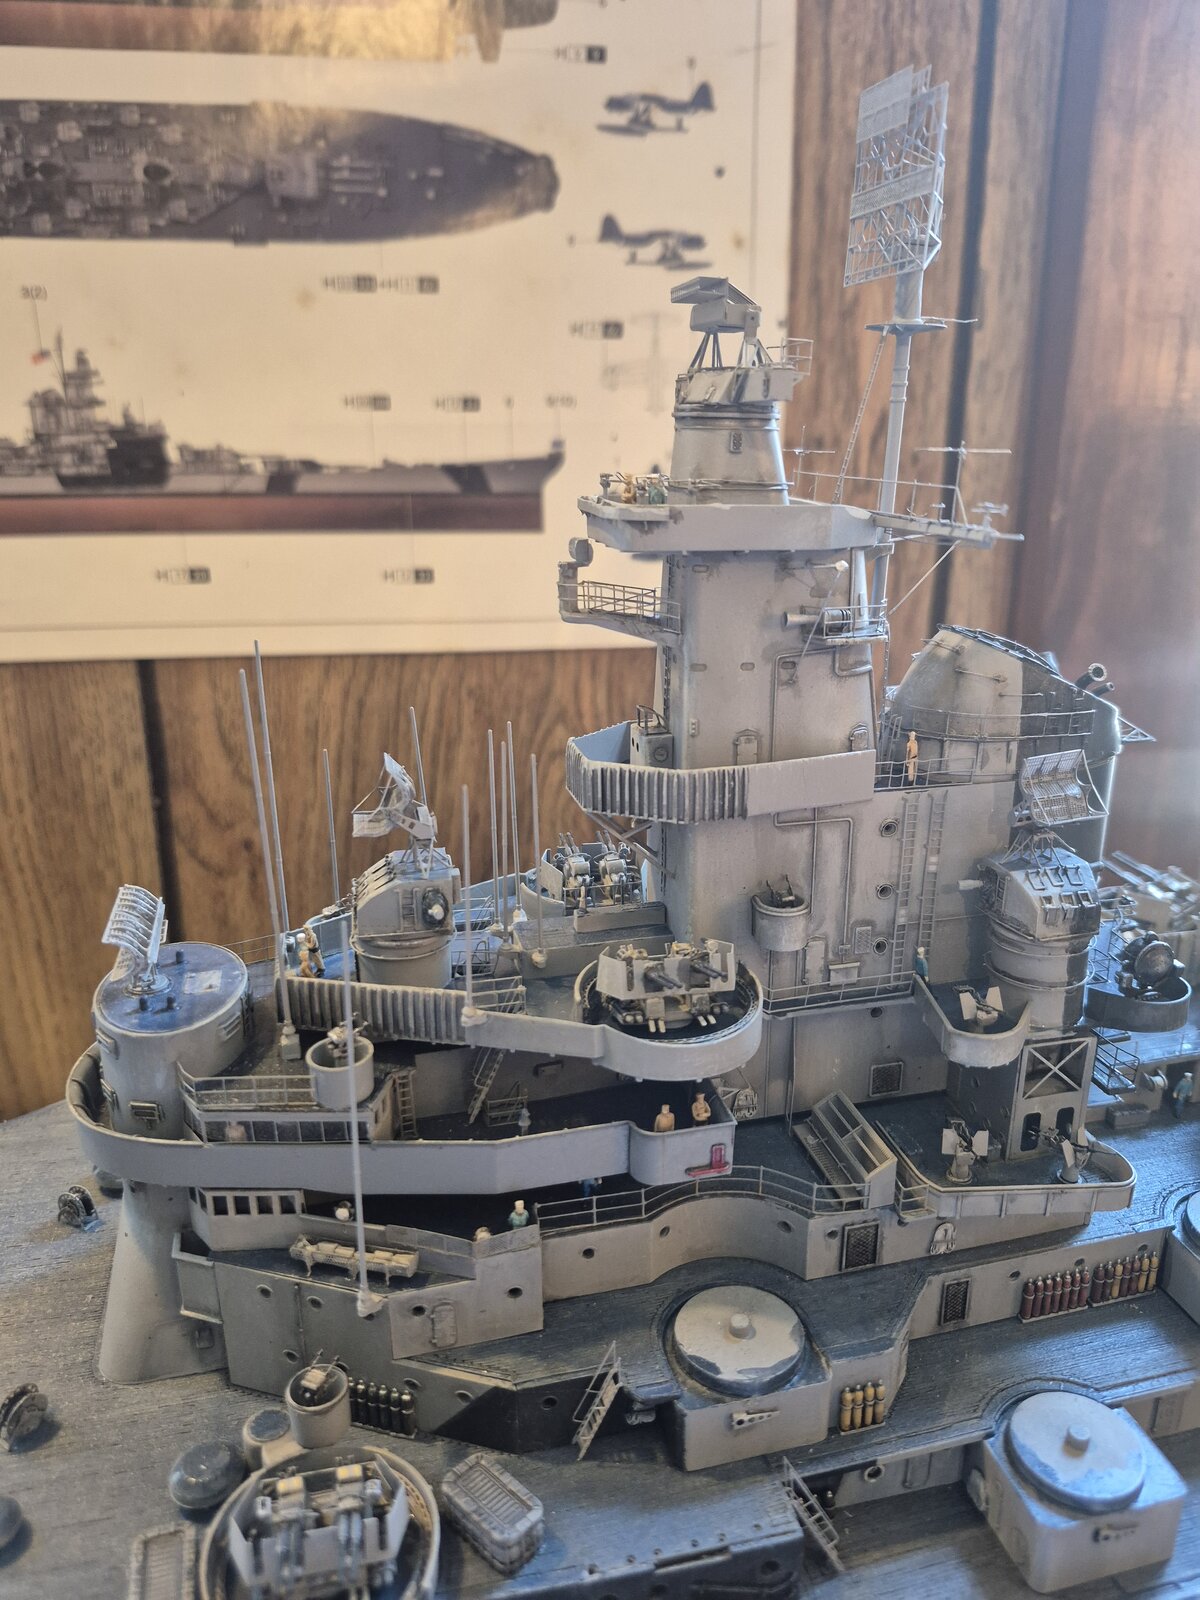
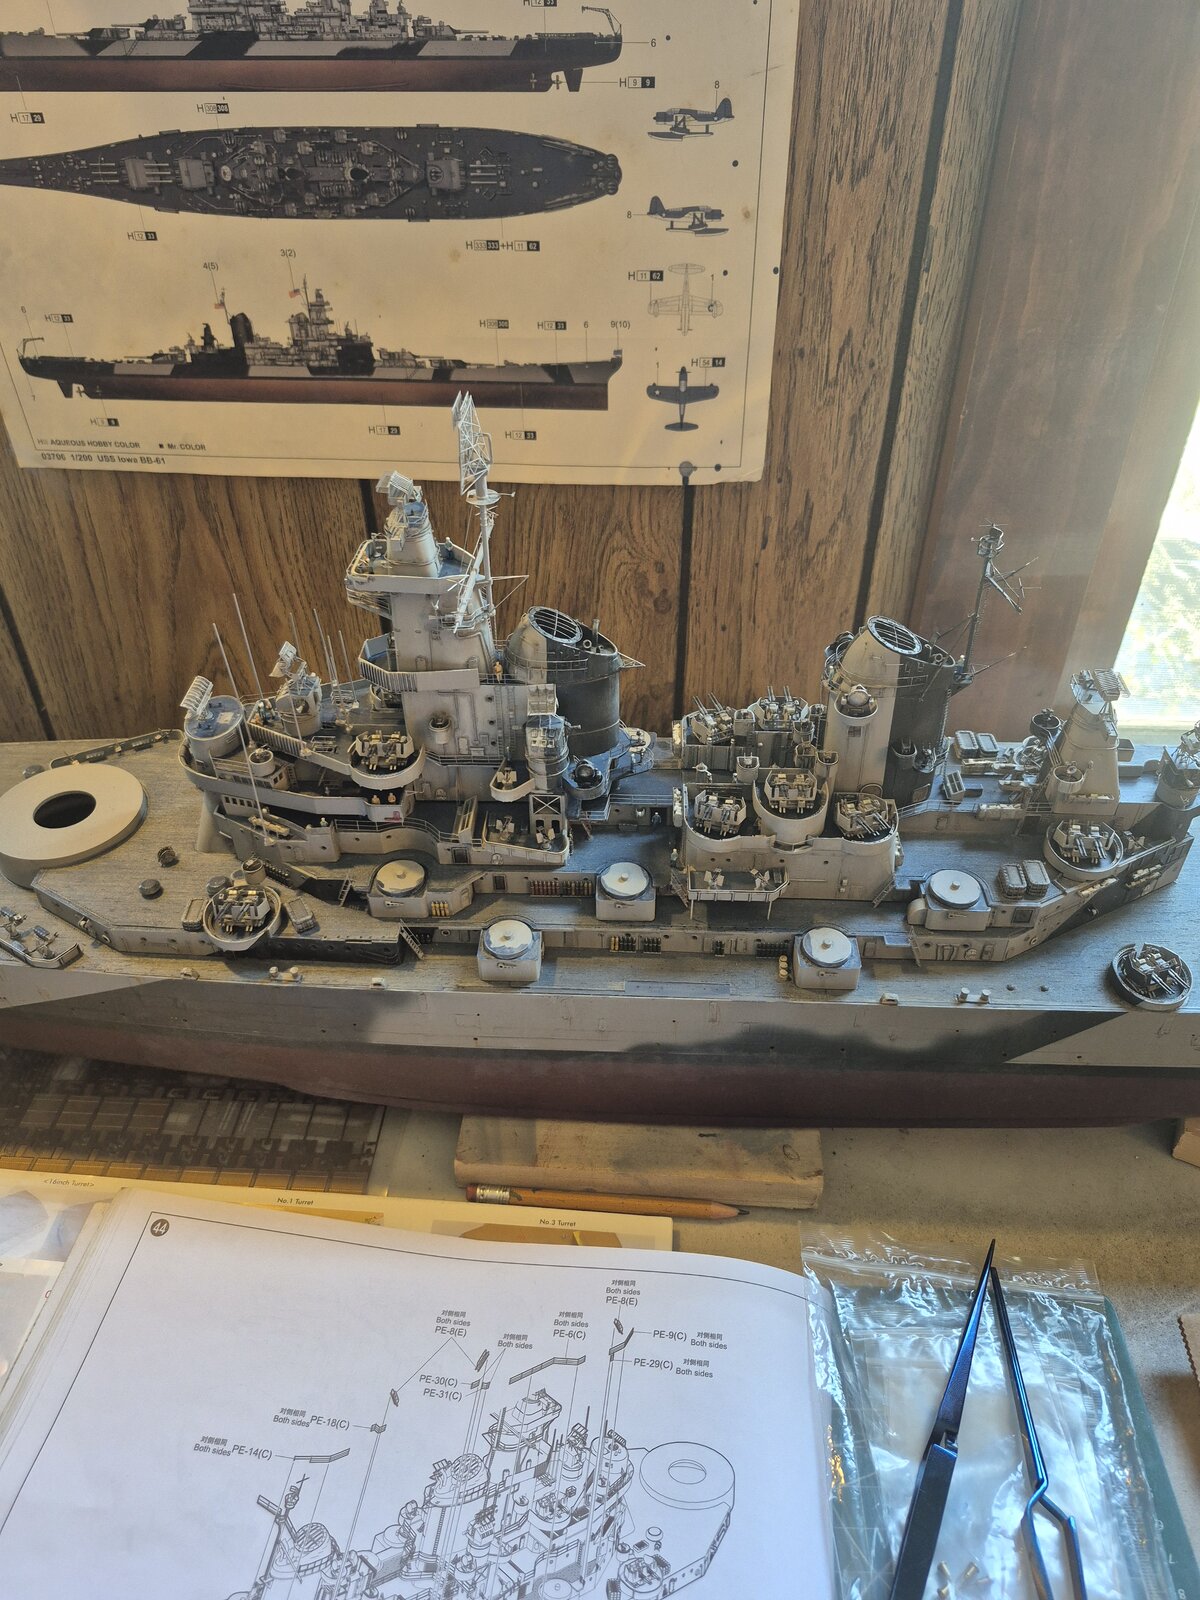
1/200 USS IOWA

Scale Model Addict - Model Tips, Guides, Tools & Tech, Tutorials, and Community

Help Support Scale Model Addict:

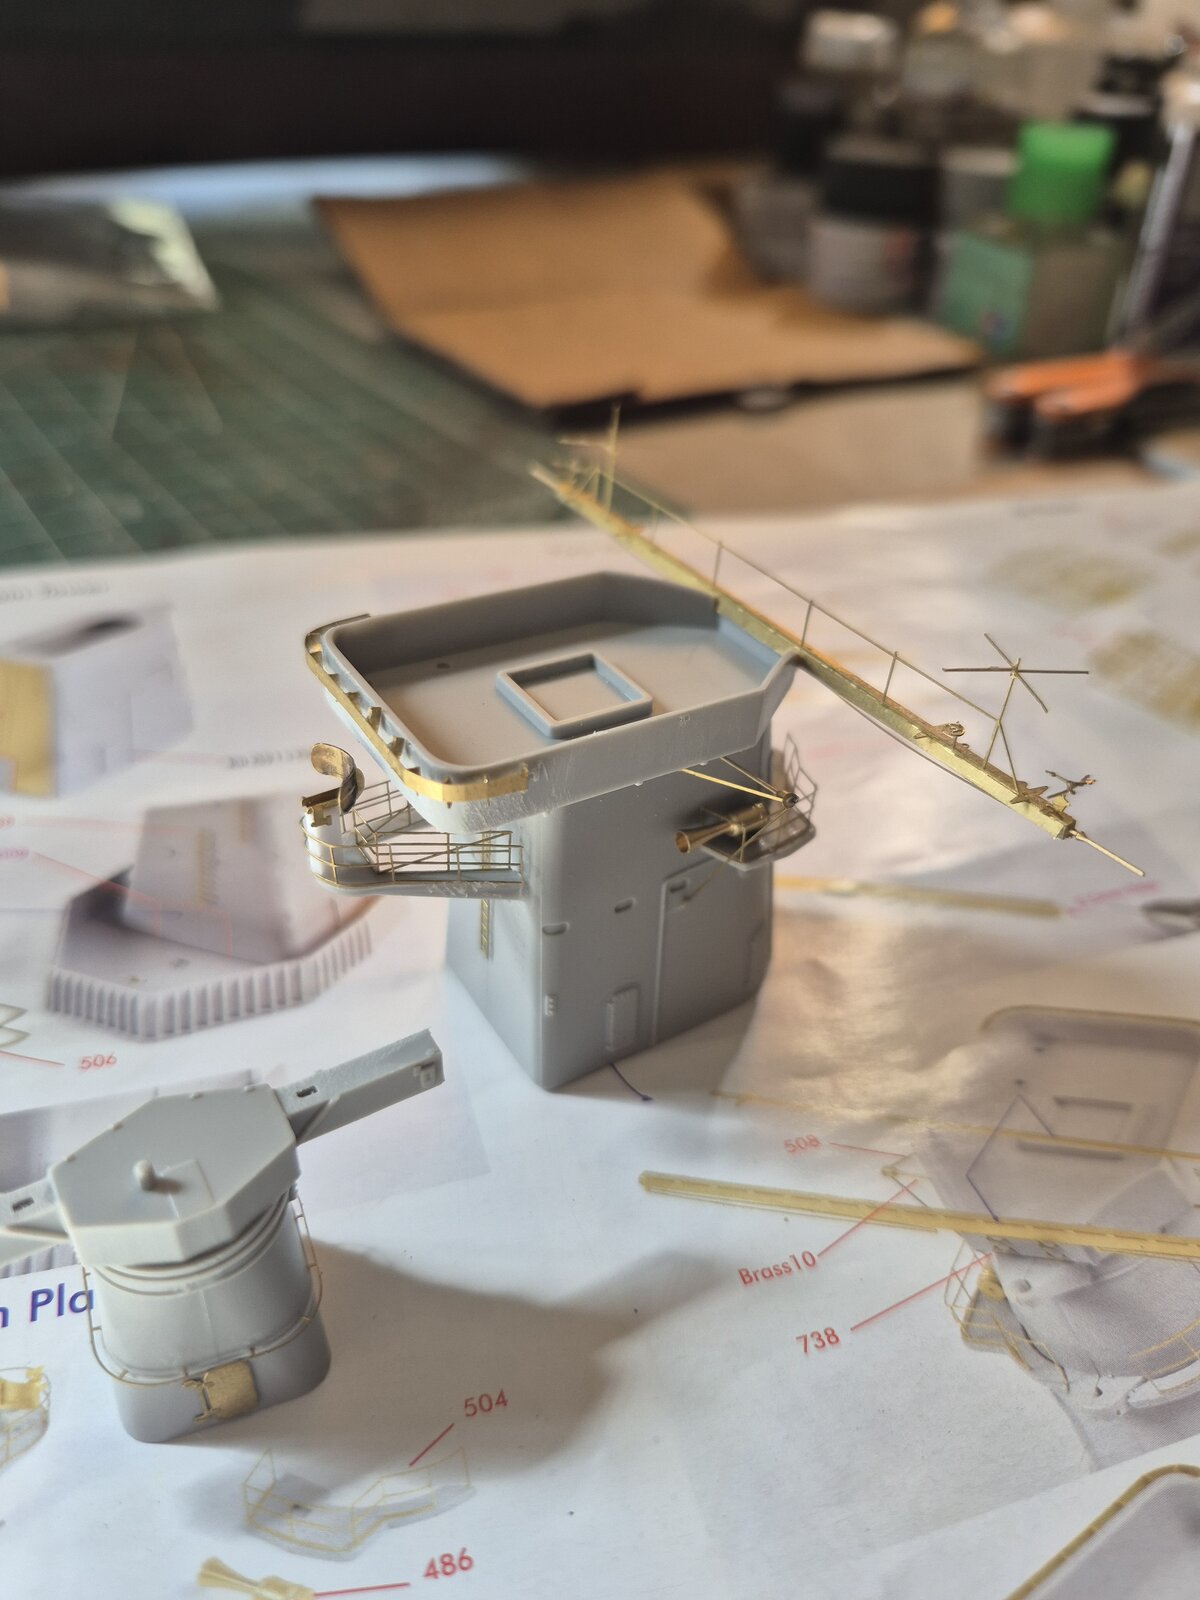
I have a tool I got from MicroMark for the angle bends, works great. Clamp the part down and bend it with the razor blade.
The curved or radius bends I use trick I saw on you tube. Hold the PE part over a candle flame for a couple seconds until it changes color alittle. It becomes more pliable and won't crease or fold when you roll it around something to get the curve you need.View attachment 154401


Yep, "annealing metal" to make it "softer".

It brings back my jewelry/metalsmithing days

Generally though it involves heating until the metal is glowing slightly red, but being careful that it is not hot enough to melt and then letting it gradually cool

On the flip side, if you heat it to glowing red and then immediately quench it in water it hardens it into shape

It can be really tricky though as photo etch is often very thin making it easy to accidentally melt parts

It is something I wanted to try with photo etch to try forcing it to keep some shapes and be less bendy after applied

Not sure how effective it would be with brass though since brass is already kind of a softer metal compared to steel for example

just afraid of melting expensive parts. I be much more willing to experiment if was doing making my own photo etch though
 
Yep, "annealing metal" to make it "softer".


It can be really tricky though as photo etch is often very thin making it easy to accidentally melt parts
I learned that lesson the hard way. Melted the first part I tried it on.
It was Pontos PE part, but luckily Trumpeter supplied alot of its own PE with the kit. So I have the luxury of duplicate parts in some places on the model.
 
I've been spending more time at the beach than the bench lately. :) View attachment 154362
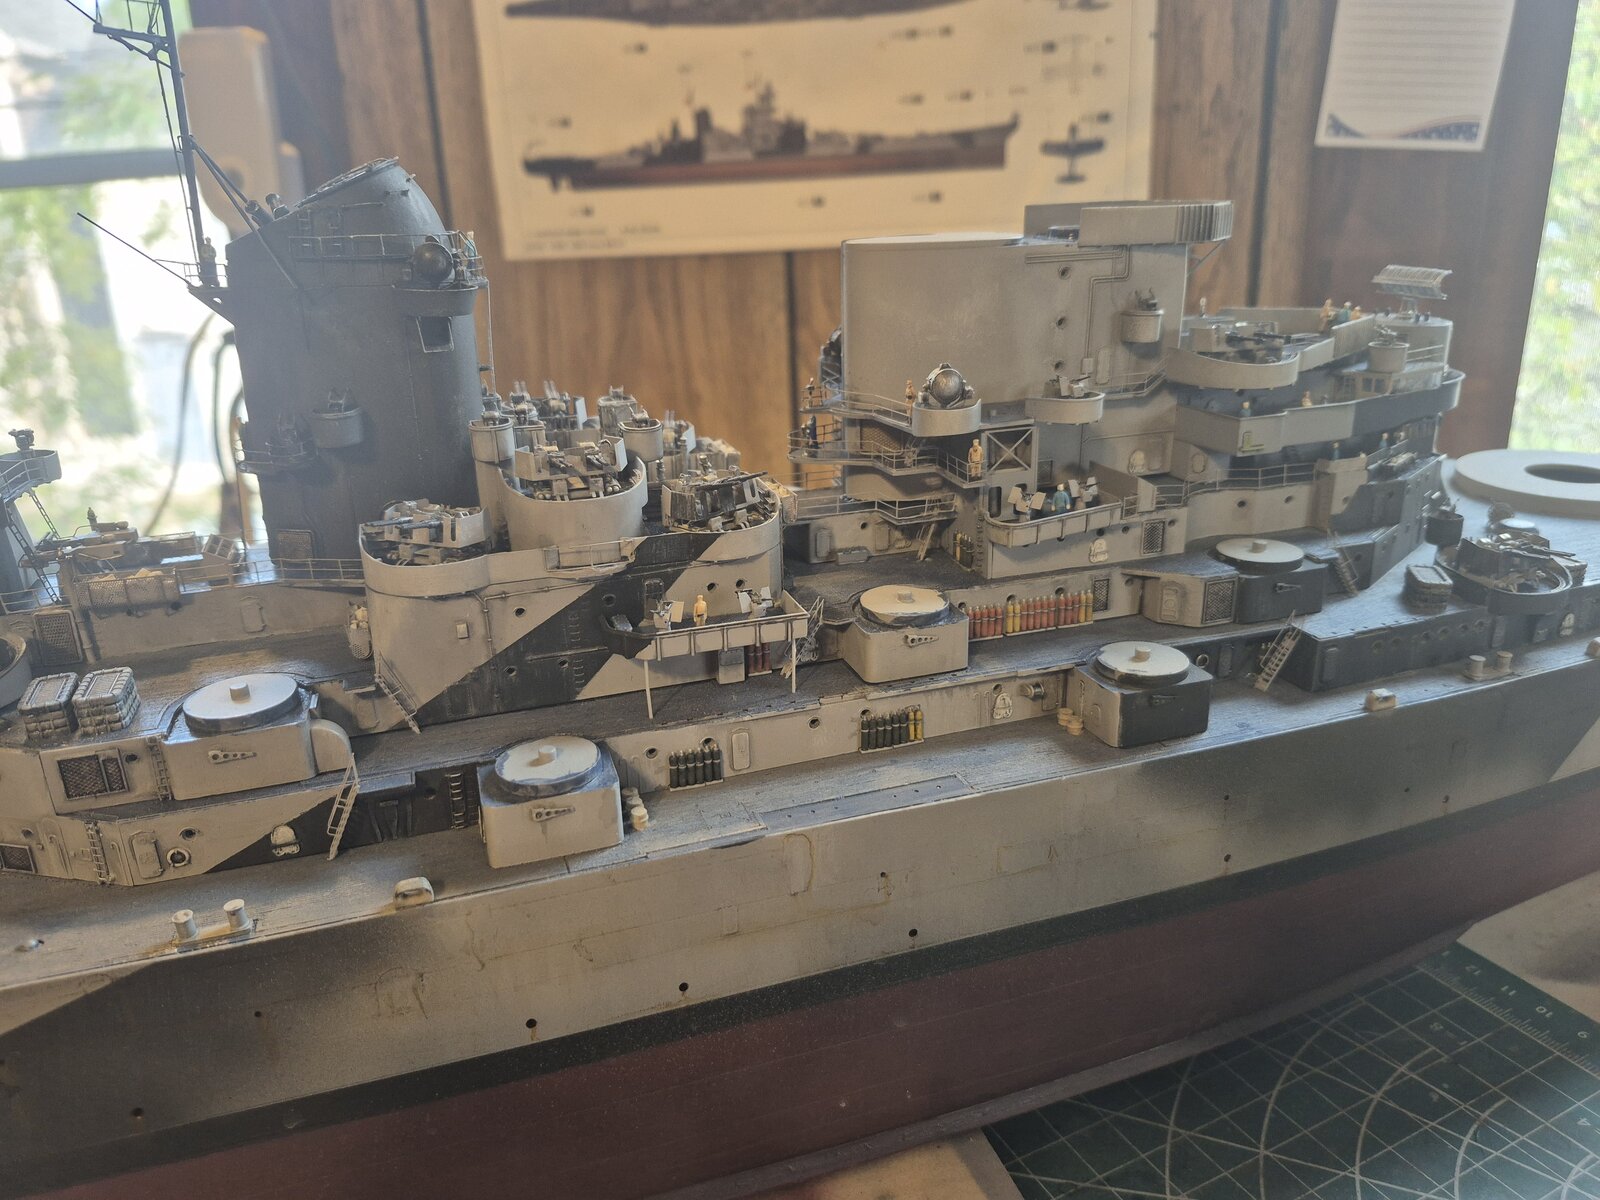
Today it rained and I managed to finish the aft funnel stack and get it mounted to the ship.
View attachment 154363
View attachment 154366
View attachment 154368
I haven't been very motivated to work on this project for awhile. Same old song and dance.......PE!
Completing this stage of the build has been a boost to keep me moving forward.
Nice job Kevin...
Yours has so much more details compared to my 1/350, but as you, slowing down due to number of PE and small parts... Well done
 
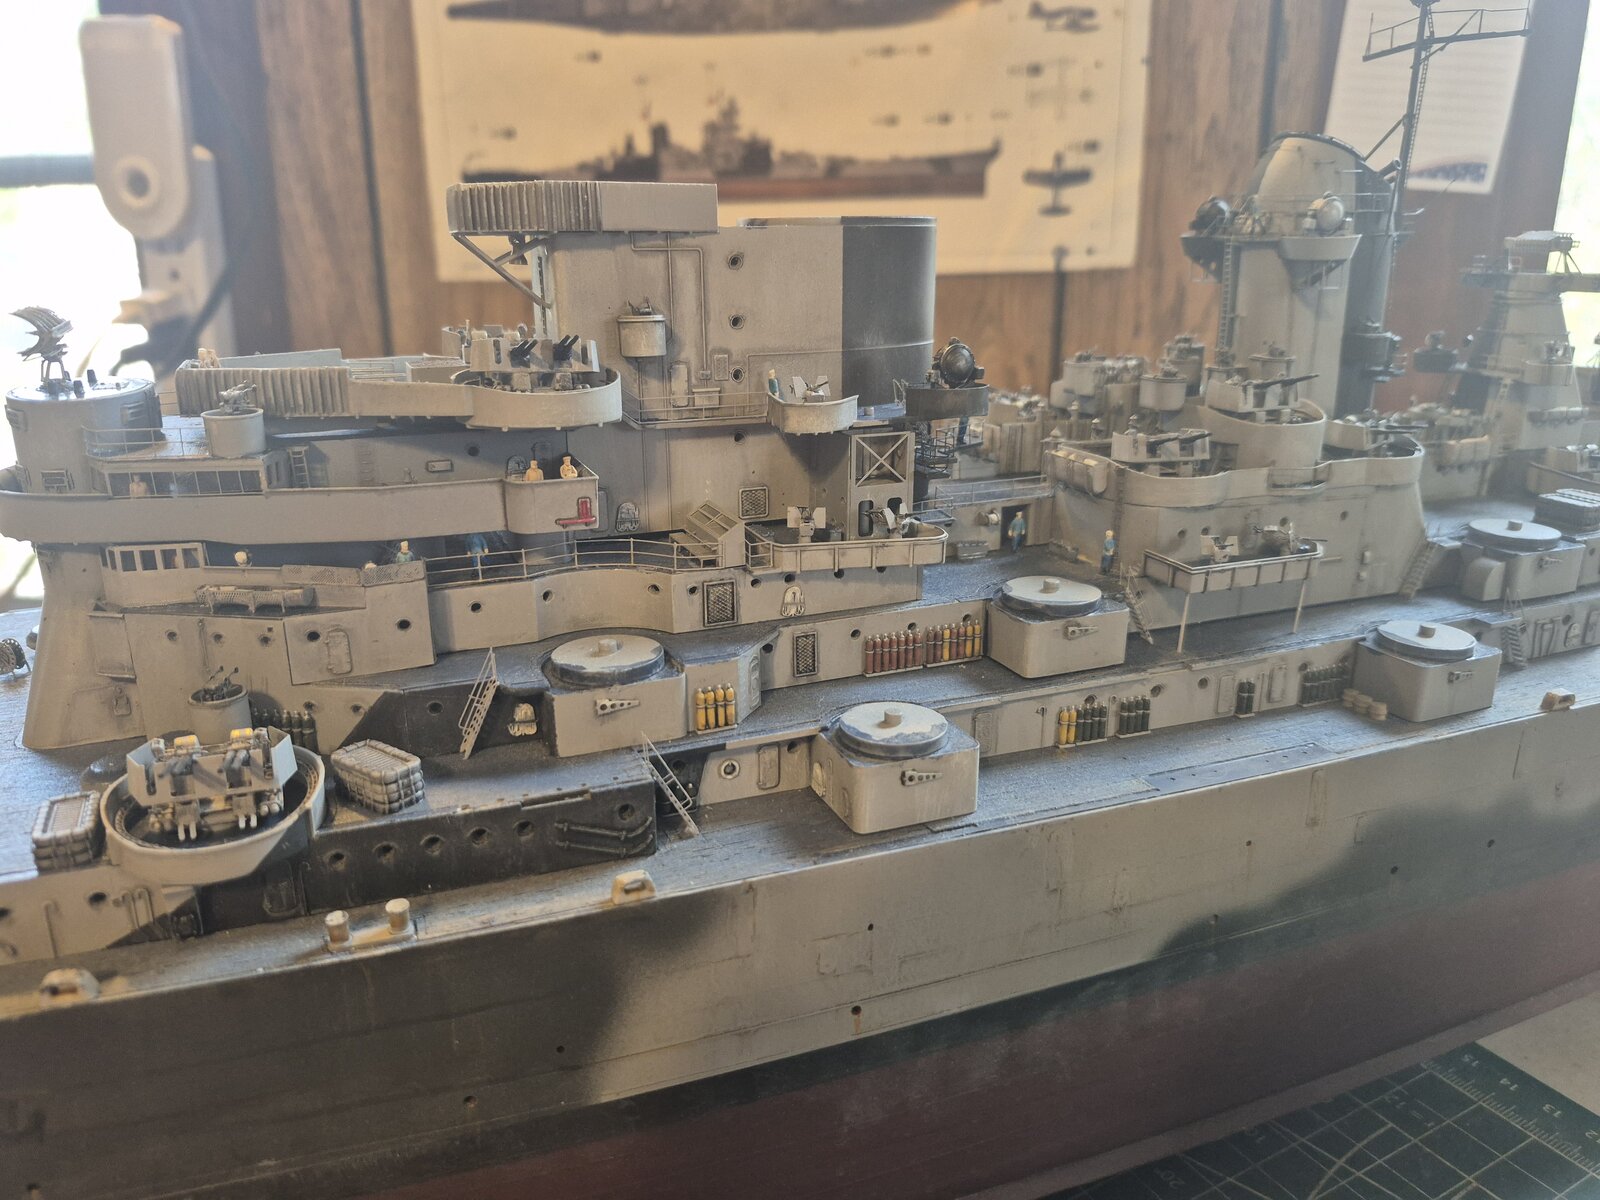
I added the forward funnel stack / superstructure. There is about 1/16" gap where it meets the deck. I screwed around with it for awhile, but that's as good as it's gonna get. There is too much delicate stuff already attached to it to get aggressive enough with it for a tight fit.
17544313329253790028715414115130.jpg

I might try to piece in a strip of plastic, not sure yet. It may just dissappear as more and more detail gets added.
17544315566311296431807490994567.jpg

17544316409058327759499756777056.jpg

It's starting to look like something now. :)
 
As an Amazon Associate we earn from qualifying purchases. Product prices and availability are accurate as of the date/time indicated and are subject to change.
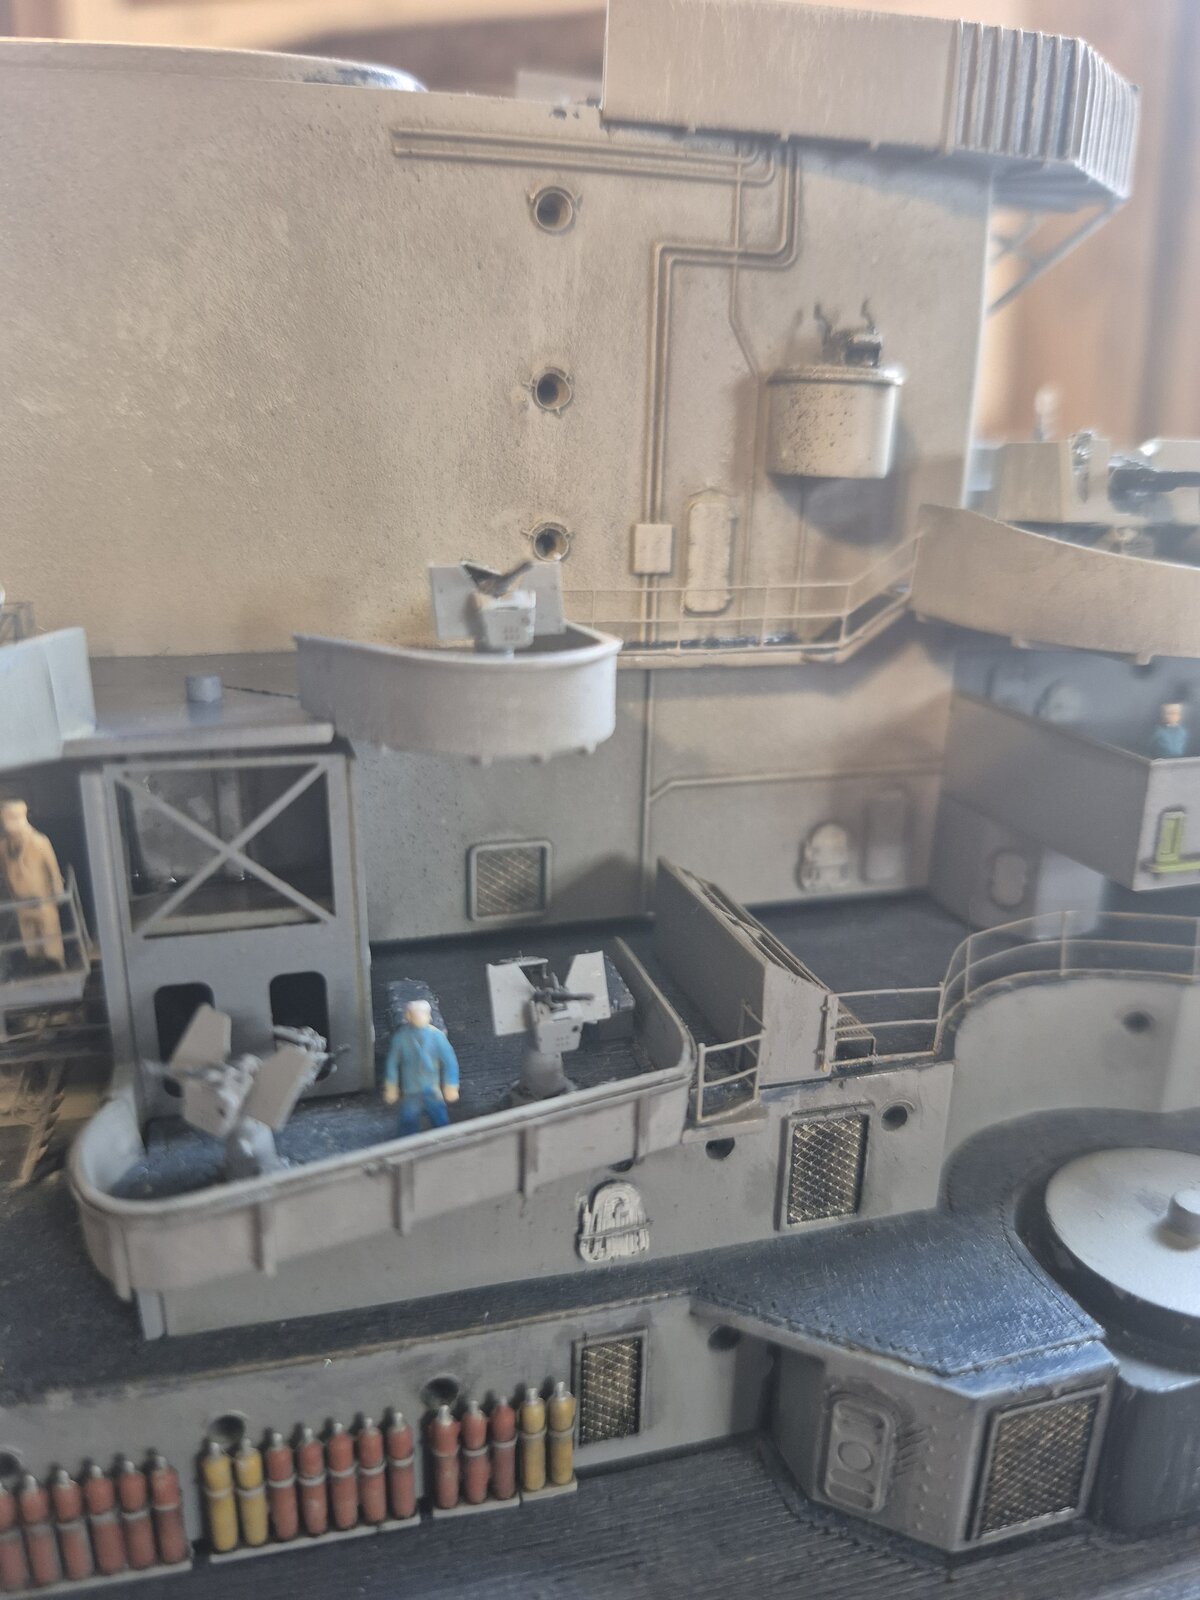
YES Kevin i aggree with the chaps above your battle wagon now is beggining to look very impressive an try as i might i could not see that gap you was on about as it looks a brilliant bit of modelin to me very well done so far sir an what are those cylinder all standing in a row for ?
chrisb
 
so Kevin youve been sunning your self on the beach eh an skivin lol wish we could get to the beach as how hot it has been an still is but there are loads of beaches around my area but its tryin to get a parkin space so jen an i sun ourselves out on the lawn in the garden
chrisb
 
HI Kevin well im now up to the stage of havin to fit some P/E an i was goin to spray the P/E GREY an just before i started i realised id nearly made a big blunder as i dint notice the very thin polathene coatin over said P/E an on both sides
NOW does your P/E have the same stuff stuck to it ? an did you spray the P/E or hand brush paint ?
chrisb
 
I've been learning as I go with all the PE on this build.
Yes, the sheets have clear plastic coating on each side, that gets peeled off and thrown away.
I tried spraying the sheet with primer then cutting off and assembling the parts. The CA glue doesn't seem to adhere to the paint well, and the paint chips easy.
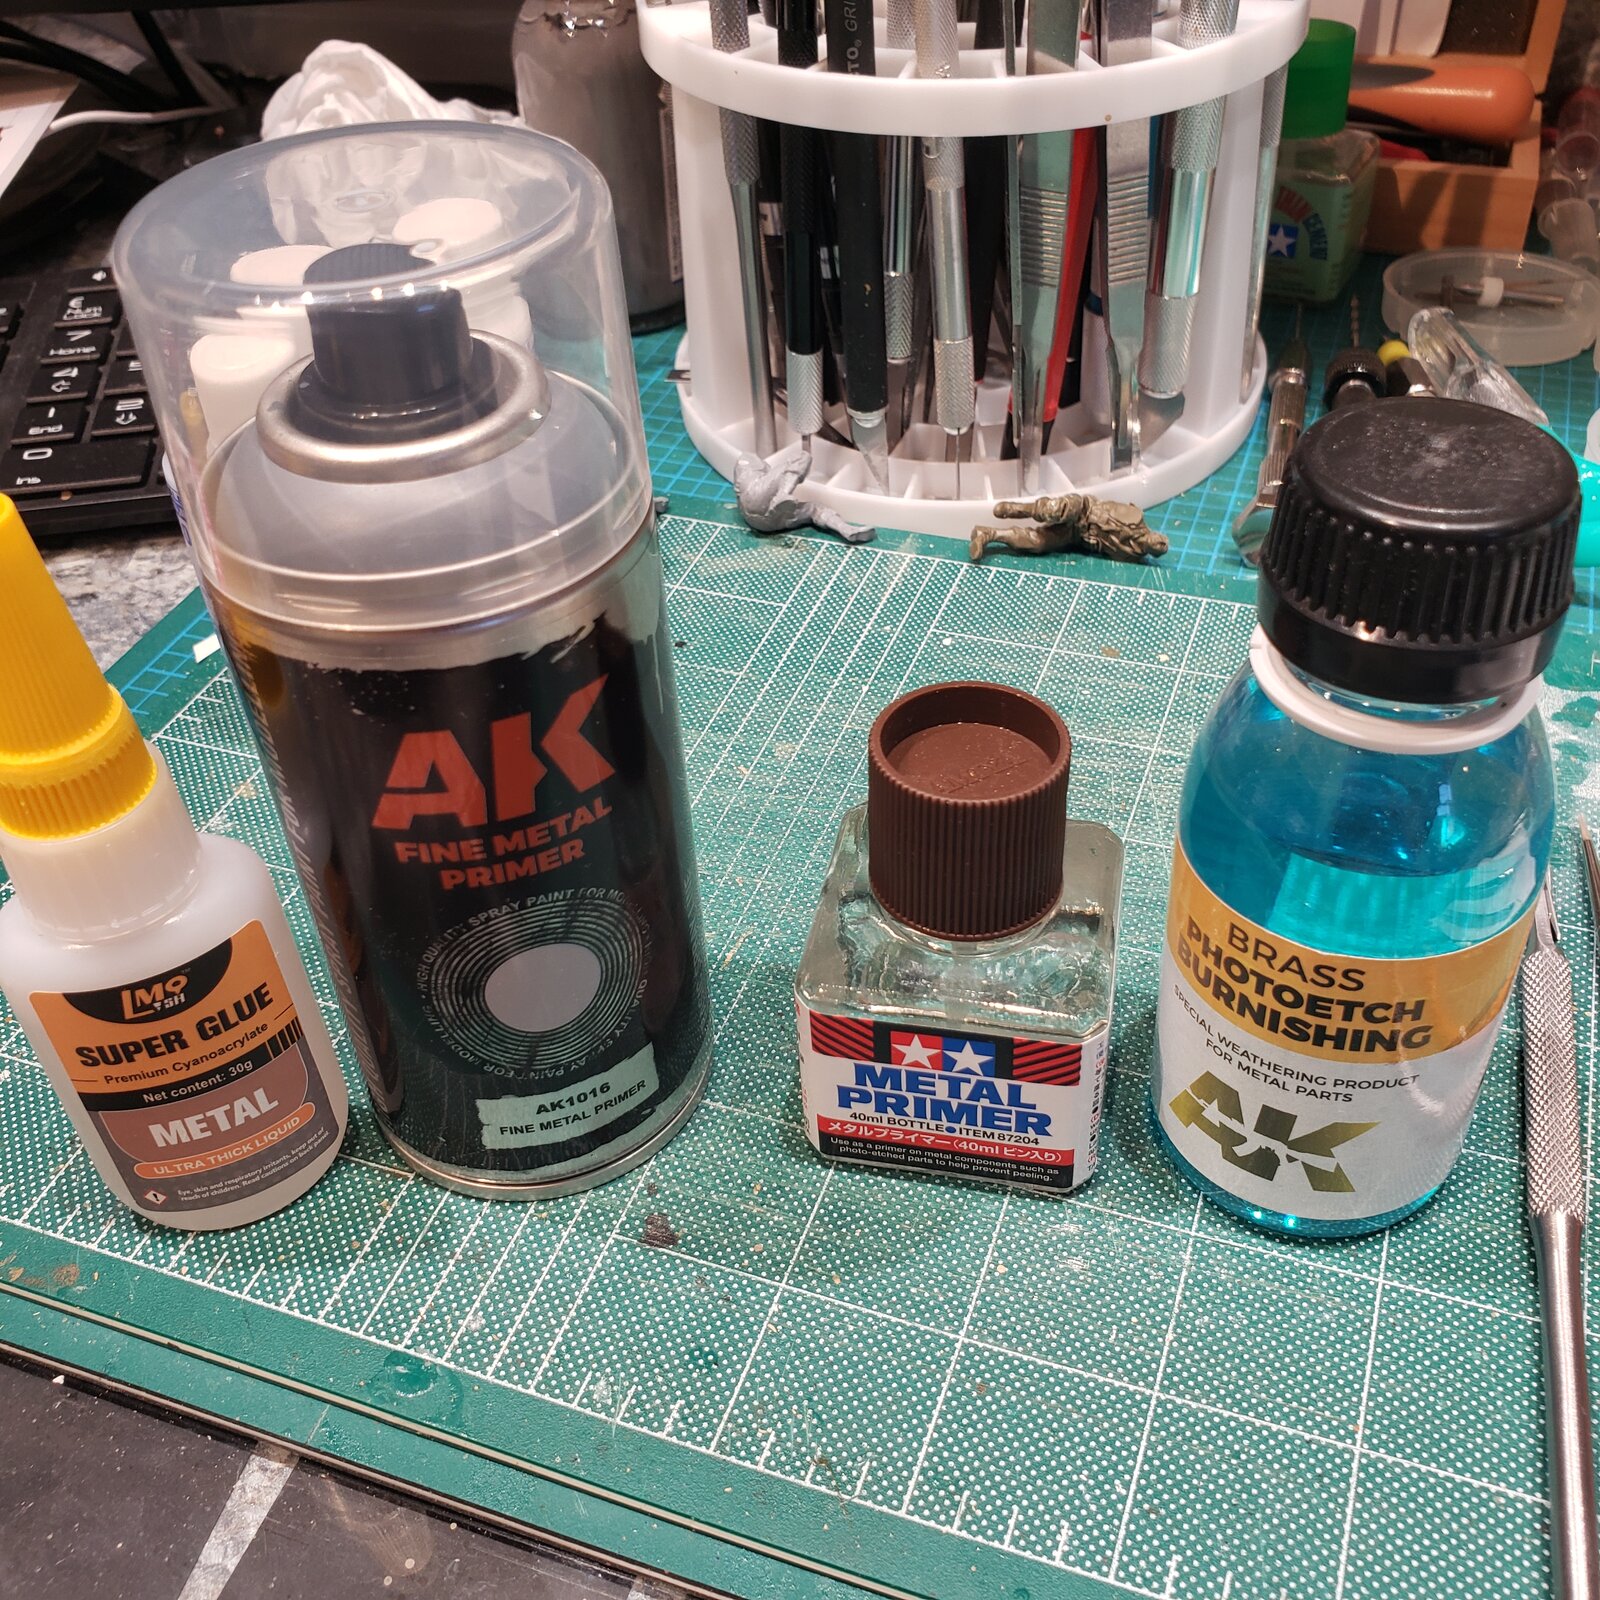
Now, I'm building the sub assemblies and spraying with primer, then use the airbrush.

17560441758895318449188440630762.jpg

I have knocked of some of the smallest bits hand painting before. Not getting enough glue on there I guess. On larger, flatter pieces I scuff it up with a sanding stick for better paint adhesion.
The PE use to really frustrate me on the beginning on this build, but I'm getting the hang of it.
 
...there are PE primers available, as well as surface burnishers. The burnished leaves a dark patina, more for weathering.
I do a very fine sanding for larger pieces; I find the liquids/spray less likely to damage delicate parts.

I've been using this 'metal' CA, seems to work well, but no double blind testing to prove it any better than other 'thick' CA.

There are probably household products that would be just as effective at adding a 'tooth'.
@urumomo , I thought you commented somewhere to this effect; if not, maybe one of the other guys?


17560471803934330352123736103947.jpg
 
Many thanks Kevin for your reply an now i know you have had problems on this p/e it will now make me try harder to get my p/e fitted but i think im goin to fit the p/e first an then hand brush the p/e as i havnt got a good air brush an lovein your iowa build
atb sir
 
...there are PE primers available, as well as surface burnishers. The burnished leaves a dark patina, more for weathering.
I do a very fine sanding for larger pieces; I find the liquids/spray less likely to damage delicate parts.

I've been using this 'metal' CA, seems to work well, but no double blind testing to prove it any better than other 'thick' CA.

There are probably household products that would be just as effective at adding a 'tooth'.
@urumomo , I thought you commented somewhere to this effect; if not, maybe one of the other guys?


View attachment 156250

I did what ?
 
Thanks, Urumomo refreshed my memory:
"The etchers are all acids . Acetic acid in vinegar works ."
So, for the purposes of this discussion,
adding a bit of tooth for better paint adhesion, there is a cheaper alternative to the 'branded' products.
You might have to experiment a bit on waste sprue, as I haven't tried it myself.
Hope that helps.
 
It's a good idea to clean the entire sheet of photoetch with acetone before starting into the parts - even that clear , protective film can leave adhesive residue .
If you must paint the parts prior to CA attachment , alkyd ( enamel ) paints are a better choice .
 
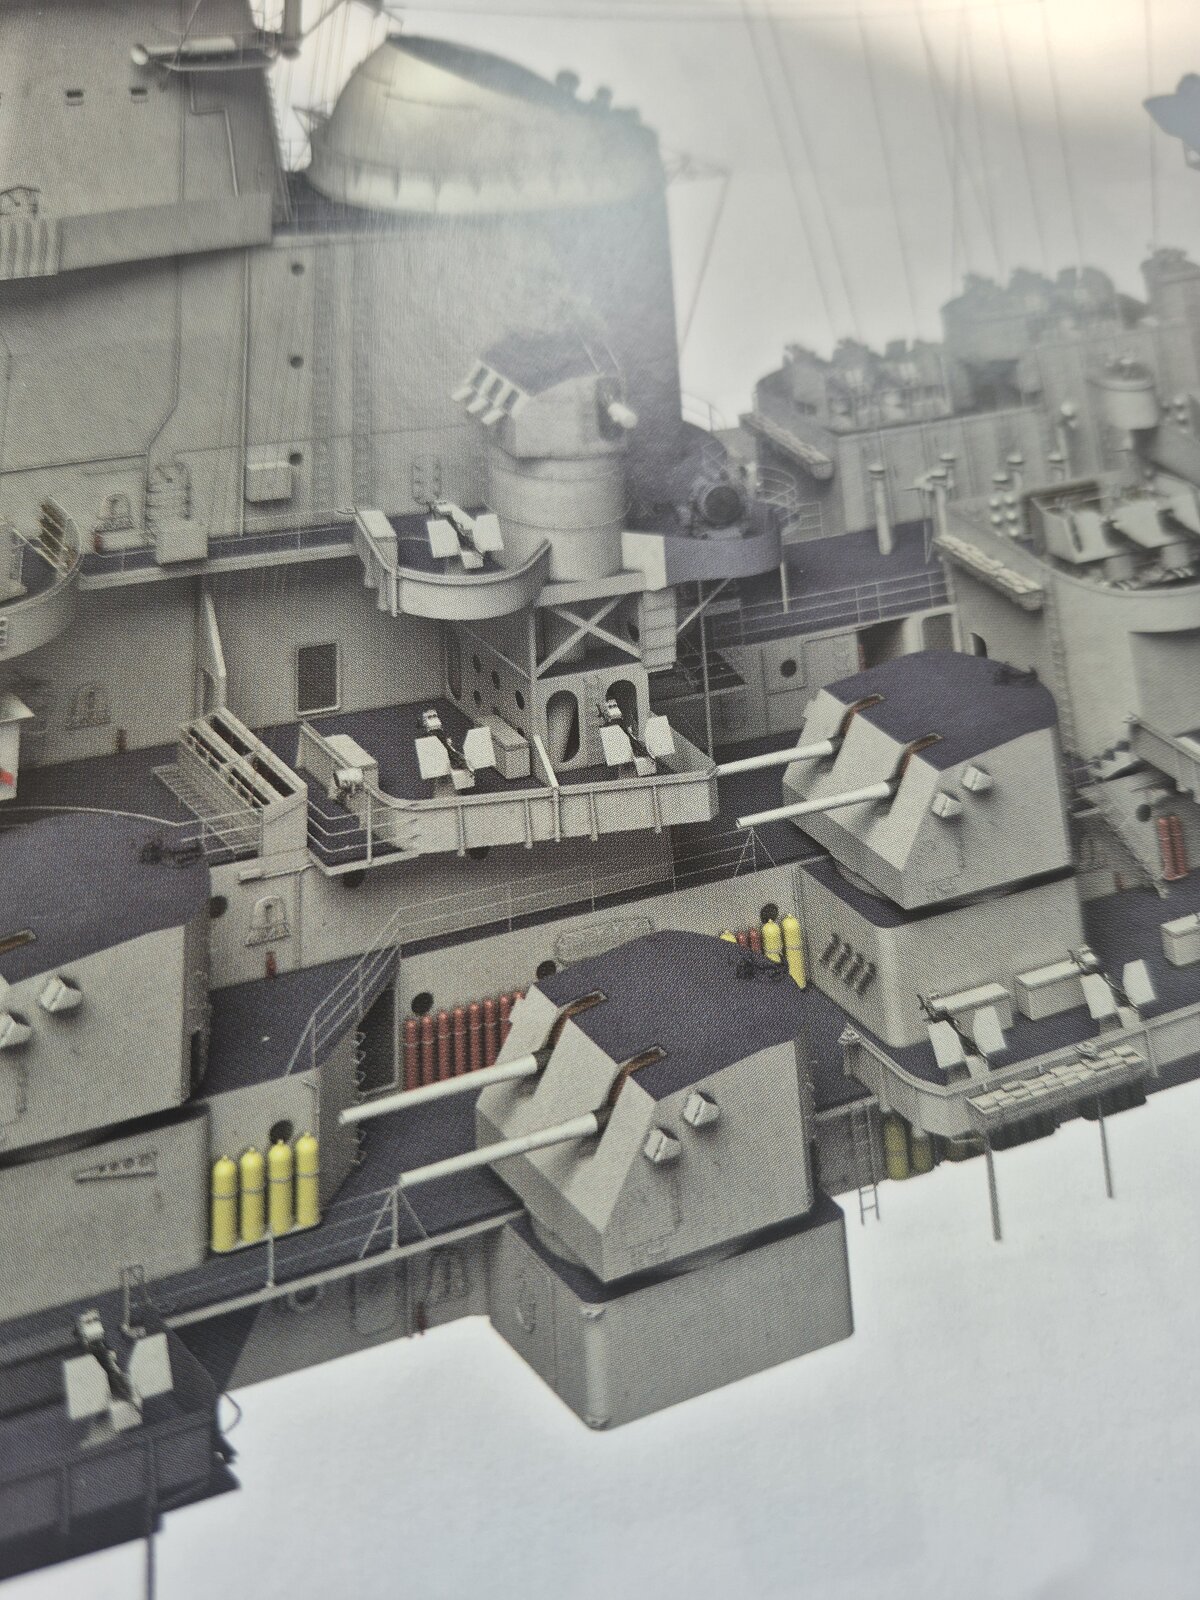
My reference book identifies them only as "gas bottles ".
View attachment 154957
The book shows three colors, yellow, rust and green.
I don't know what the three gasses are, but on a steel ship I'll wager some, or all of them are for welding.
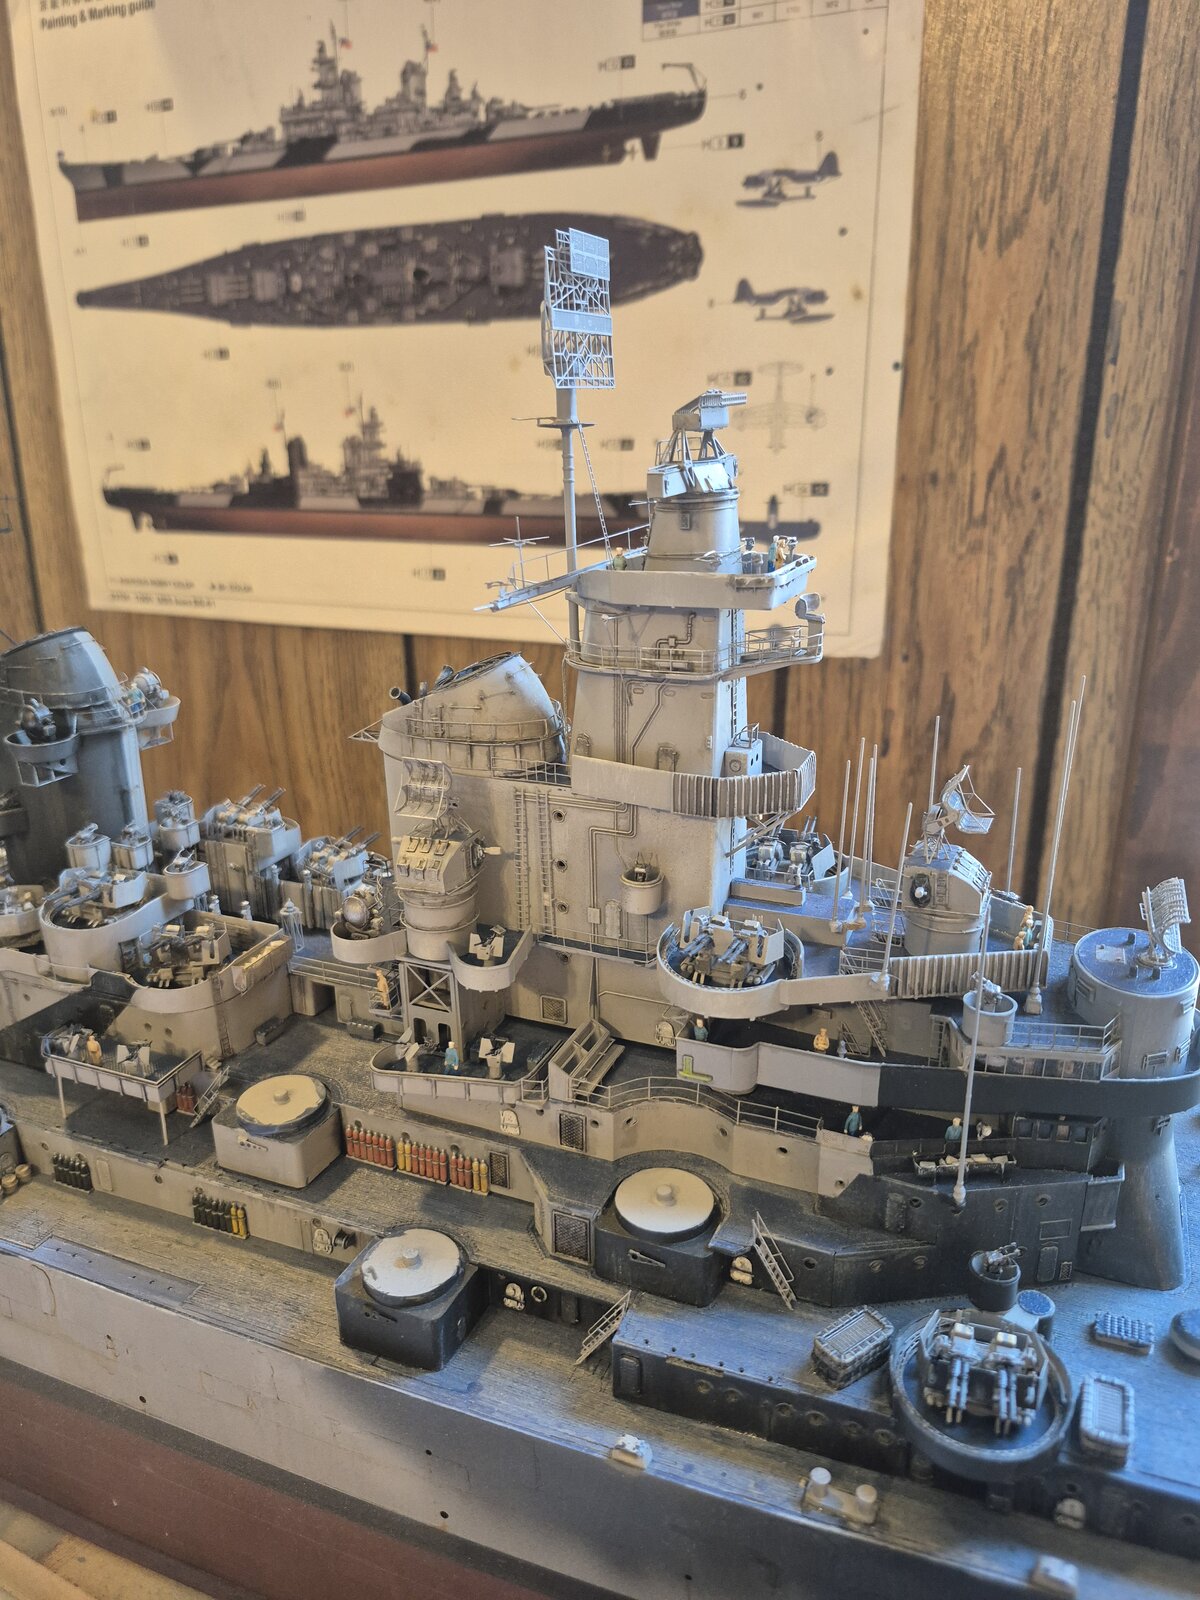
Yellow are compressed air
Green are Oxygen
Red are Hydrogen
Your correct, they use the gasses for cutting and brazing.
An explanation on the USS New Jersey Youtube channel was given about the question on storage of so many flammable gasses on the deck rather than inside the ship was because in case of fire, the cannisters could be easily ejected overboard. Its easier to fight a fire on the outside of the ship than inside it being that the armor should resist the force of any explosion on the deck.

I read that compressed air was need to be available for gun operation and maintenance, but am not sure that is accurate.
 
I lost my motivation for awhile, but I got it back by completing a big sub assembly, the forward funnel stack.
17568407779181895838456998413497.jpg
17568408714052641081910830344987.jpg
17568409689157744739887196499393.jpg

In keeping with working from the center line of the ship outwards, my next project will be the 10 double five inch gun turrets.
There is so much that goes into each section that it feels like I'm starting another model build.
One foot in front of the other. :)
 

Latest posts

Back
Top