1/200 USS IOWA

Scale Model Addict - Model Tips, Guides, Tools & Tech, Tutorials, and Community

Help Support Scale Model Addict:

17459476379848014701067931833993.jpg


174594795297195586591425848417.jpg


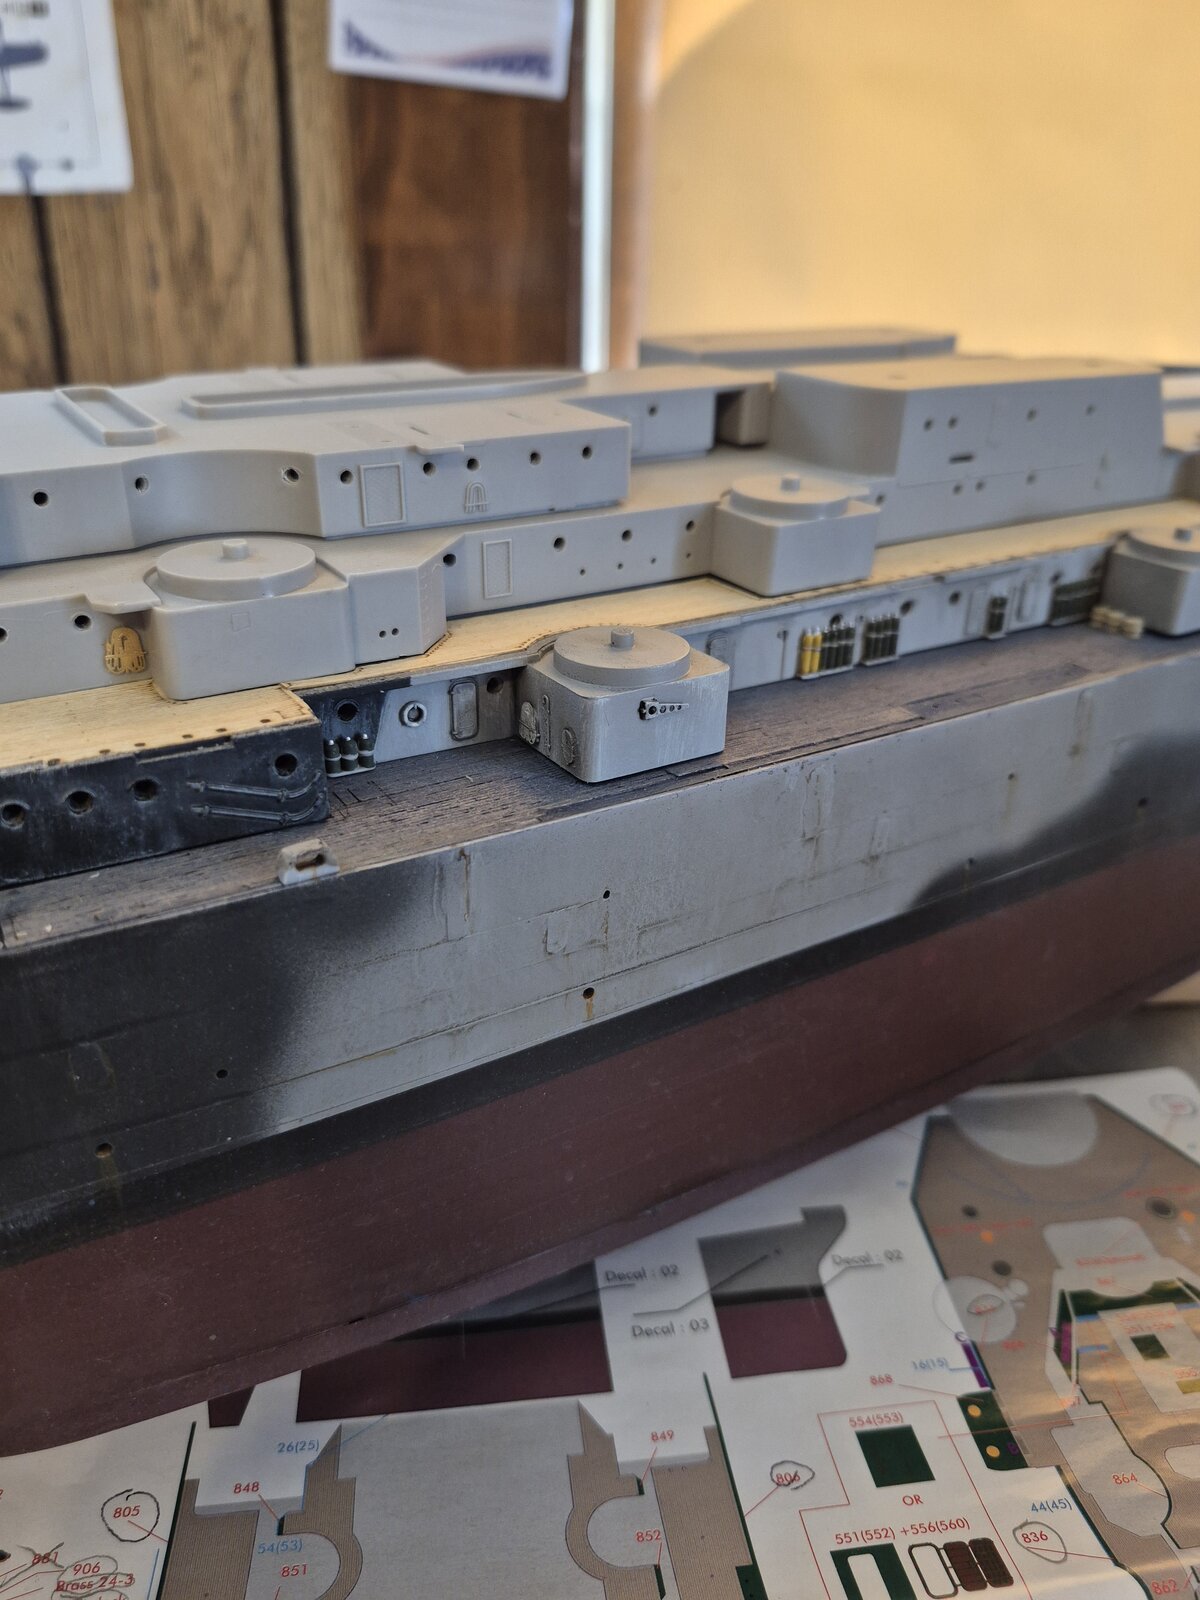
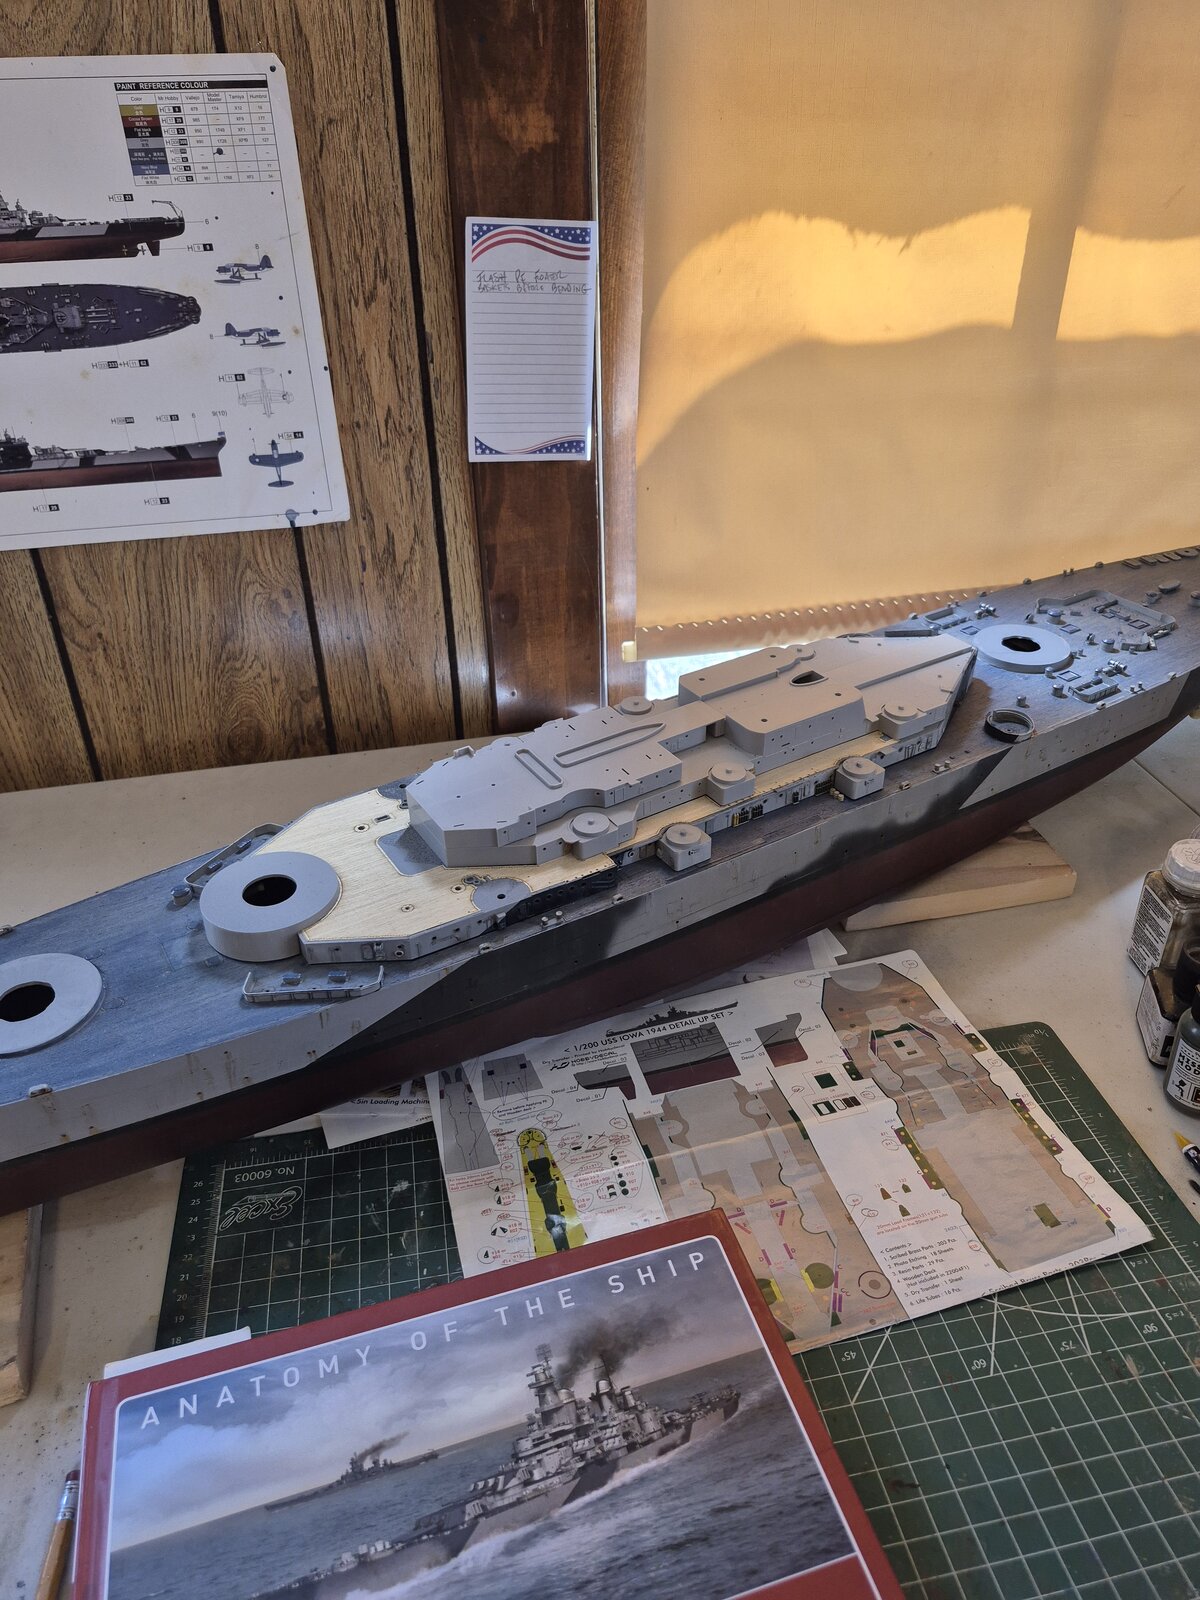
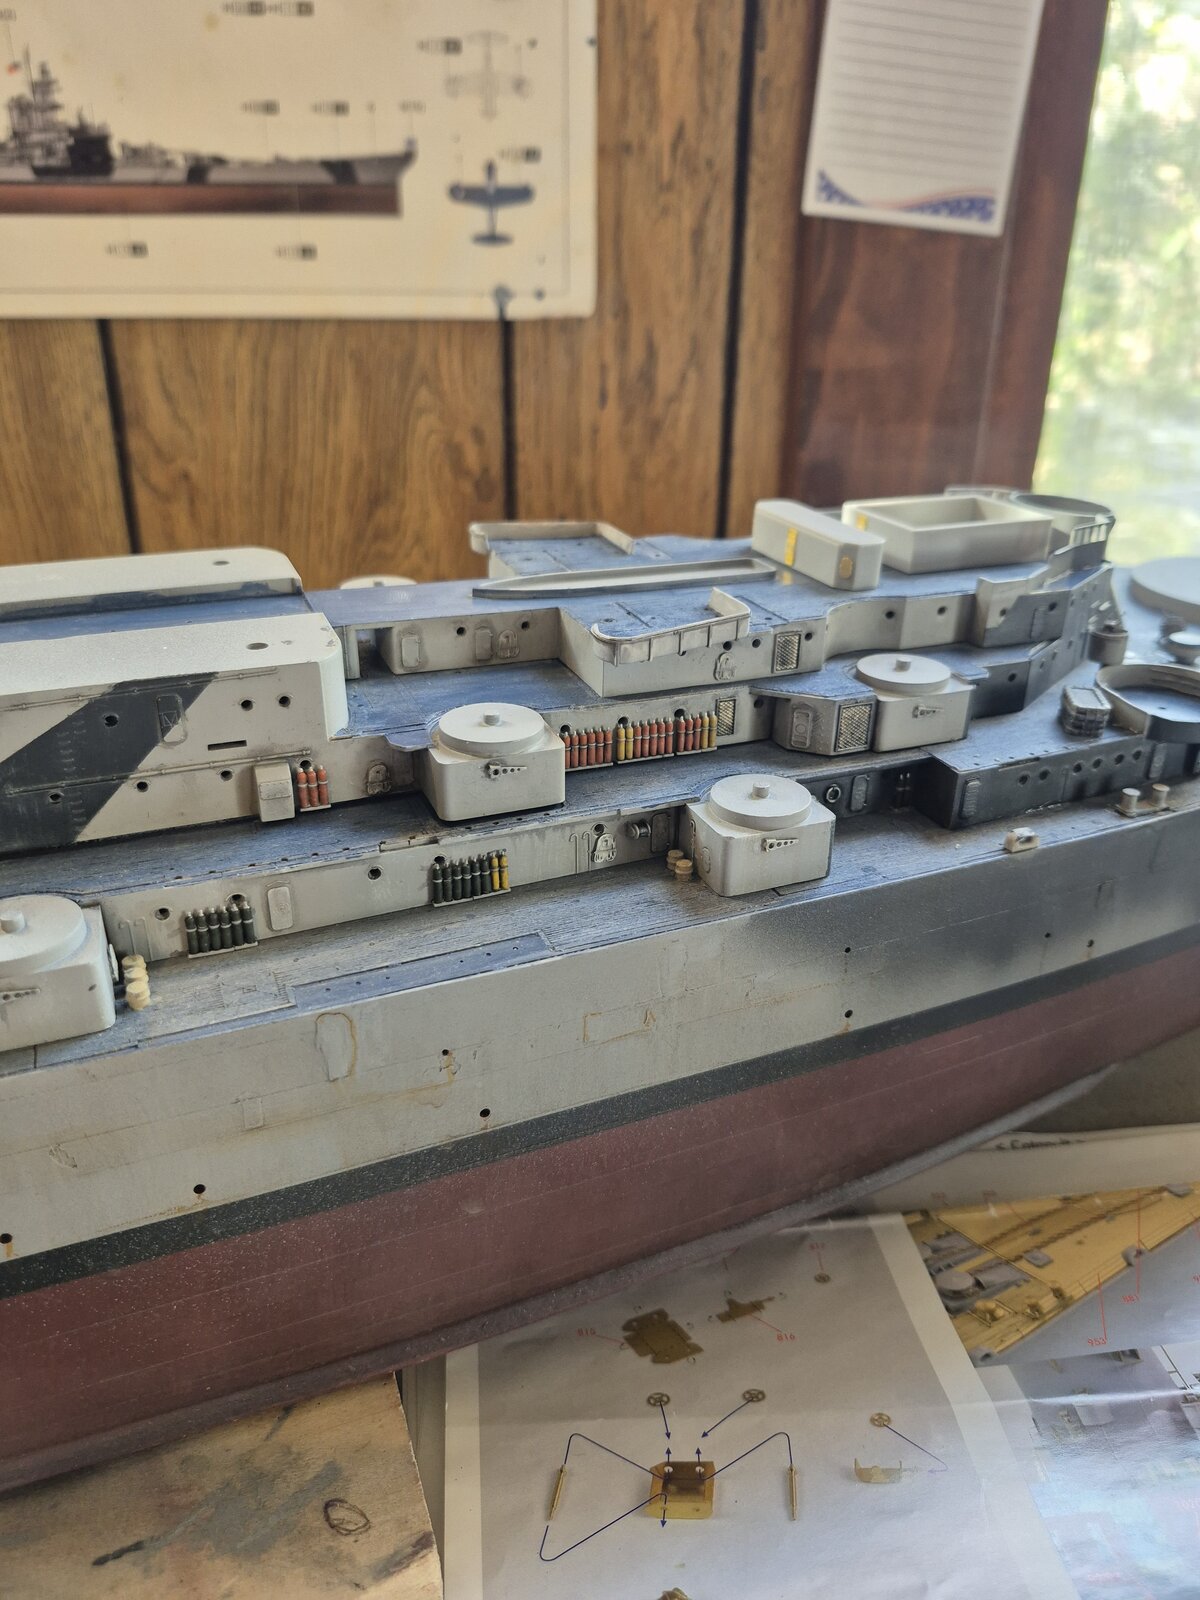
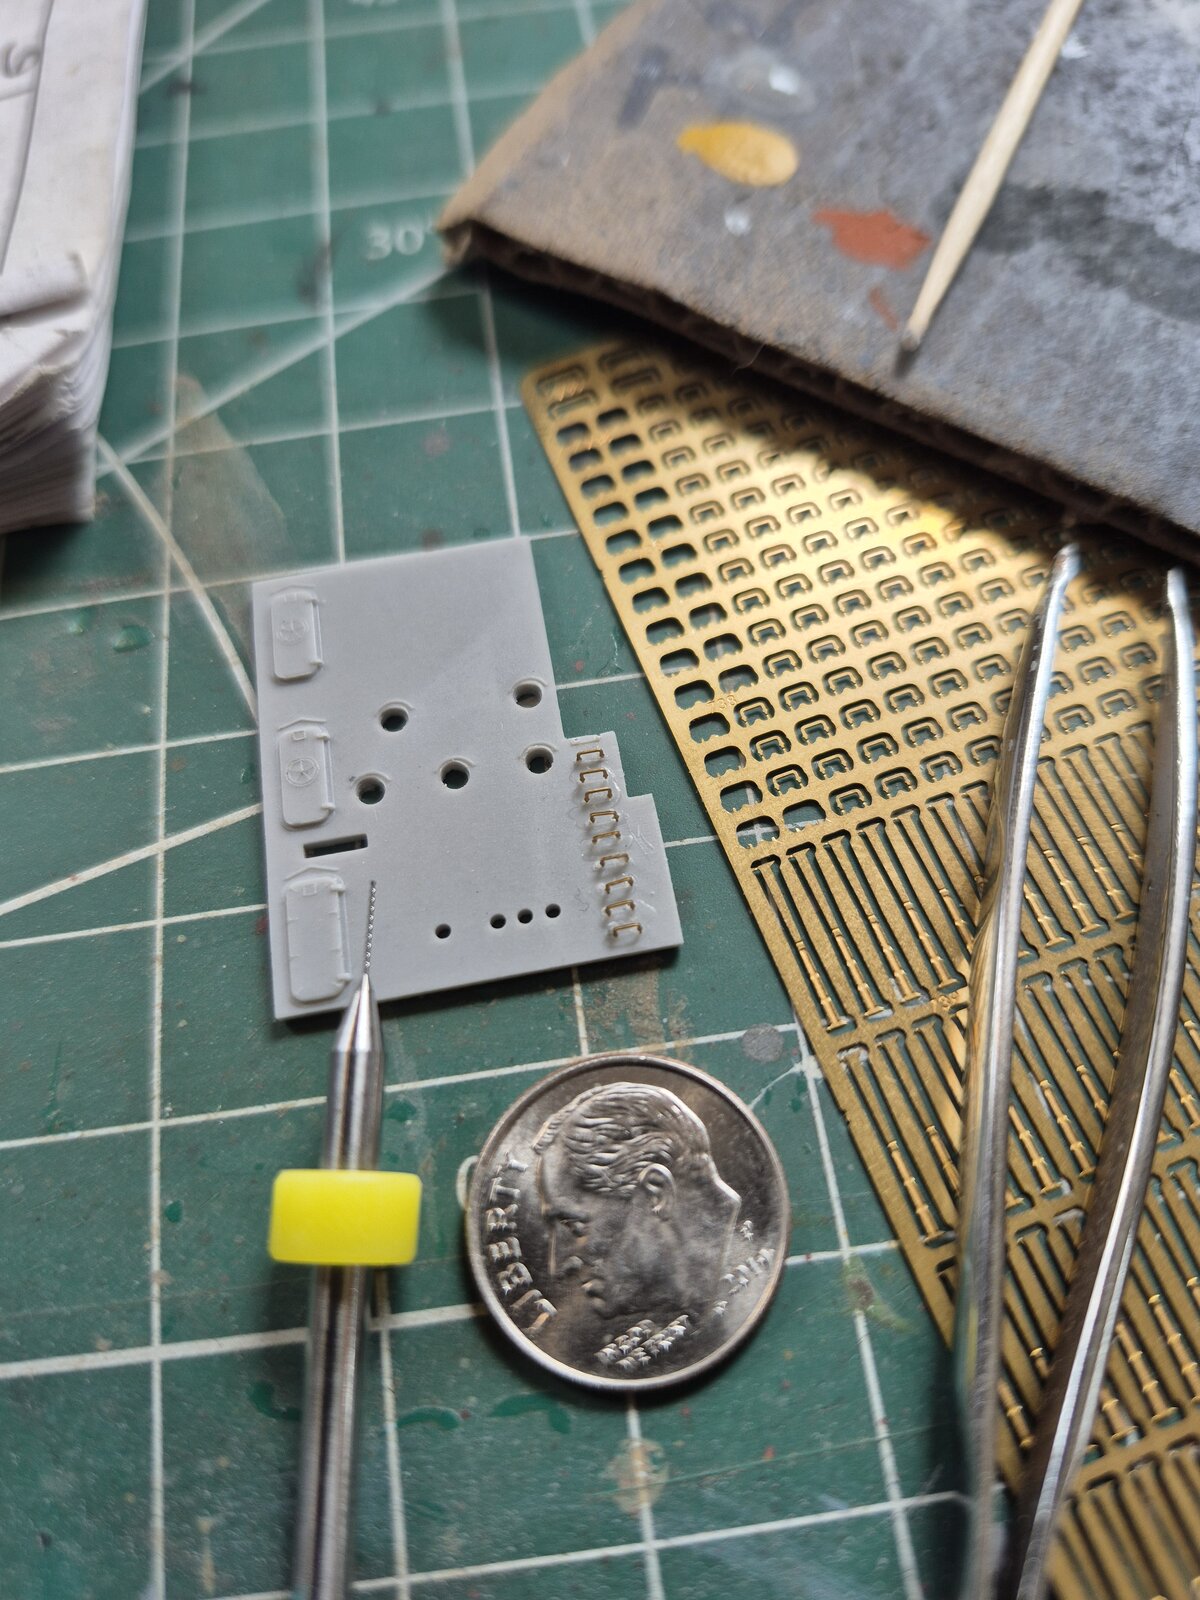
Just a couple update pics.
The superstructures aren't glued to each other, or glued to the deck yet. Getting ready to paint the teak deck blue on the lower superstructure.
 
SHE'S LOOKIN Really good Kevin in some ways i cant wait to start on my big carrier as i love ships an this will look a cracker when lit up
well done so far
chrisb
 
I got into the habit circling parts on the instructions after installation on the model.
It started with my 1/16 King Tiger with full interior. That kit had over 2500 parts. I don't always follow the build order in the instructions, so I wanted to make sure I didn't miss any small part in the build process.
This USS IOWA kit I have two set of instructions, Trumpeter's and the Pontos aftermarket PE set. Lots of chances to miss something along the way.......
 
two set of instructions
Gotcha. I sometimes highlight steps or parts that I think should be done first, or alternatively, that I've saved for later. PE really does throw a wrench in the main build instructions, so marking those parts that need to be replaced helps too.

Ship looking great, must be hard to cover up teak decking!
 
must be hard to cover up teak decking!
YES it is.......
I bought the Pontos set mainly for the teak decks and brass gun barrels. I then started to research the ship and came across the Measure 32 camo scheme. I really like the camo scheme and painting the deck is part of the process, so gotta bite the bullet and go for it.
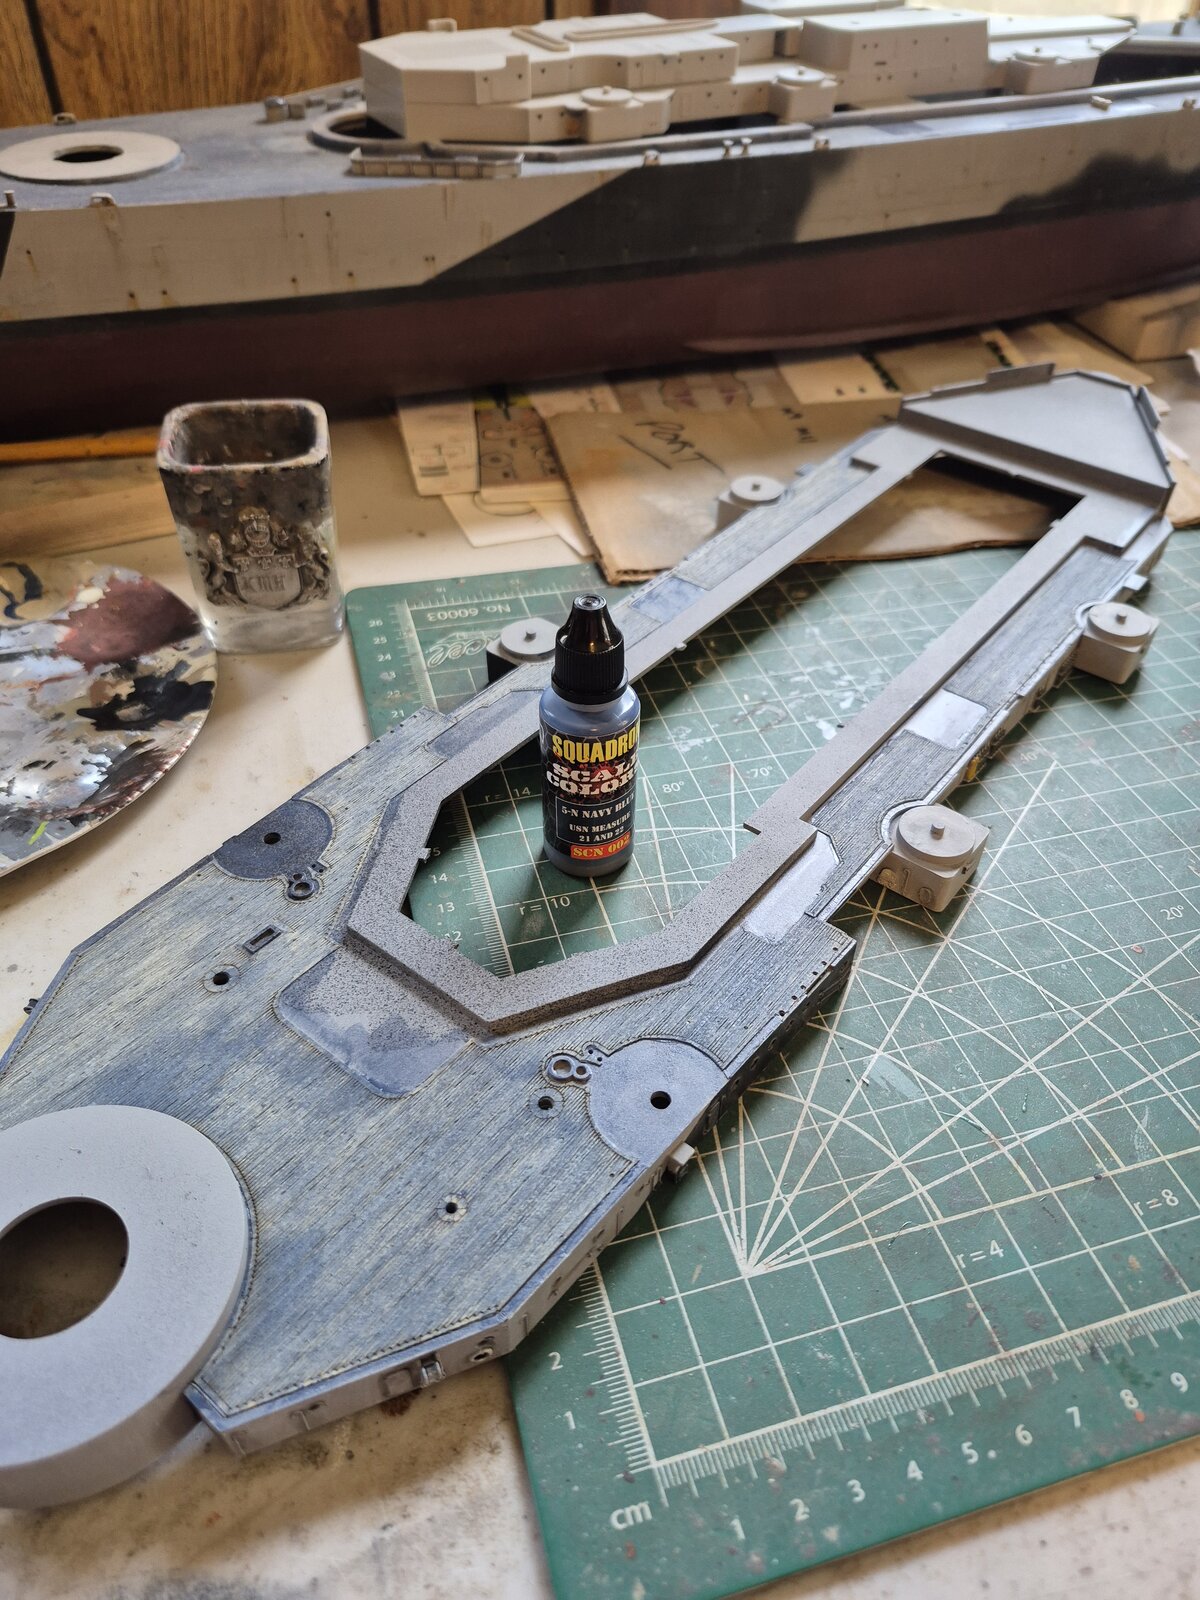
1st coat of blue.
17459519457165976558854439228962.jpg
 
As an Amazon Associate we earn from qualifying purchases. Product prices and availability are accurate as of the date/time indicated and are subject to change.
Thanks,
I'm trying real hard not to over do it on weathering. The camo scheme I'm doing is early 1944, so she has been afloat for a year at this point. The more I look at it, the more I'm thinking of toning it down a little more with the grey in some places.
 
This is my first time using them. I could not get it to spray from my airbrush. Says "Water based acrylic " on the bottle. I thinned with water, but no matter how much I thinned it would still clog the airbrush. Tried Tamiya X-20A thinner and I got it to spray. It dried weird and oily looking.
Its probably me, I've had no luck spraying a couple different brands of paint in the two years I've had my airbrush. The only brand I found I could spray is Tamiya, so I'm just sticking with that for airbrushing.
I hand brushed the Squadron paint on the decks, working just fine that way.
 
@kevin I absolutely love what you have going on here with your Iowa! I have to remind myself almost every time you are building Iowa and not Missouri...lol. Interesting to hear about your troubles shooting the Squadron paints. I hope I don't have similar problems shooting Vallejo for my first time. Maybe I should test it before I continue to build any more models...:oops:
 
@kevin I absolutely love what you have going on here with your Iowa! I have to remind myself almost every time you are building Iowa and not Missouri...lol. Interesting to hear about your troubles shooting the Squadron paints. I hope I don't have similar problems shooting Vallejo for my first time. Maybe I should test it before I continue to build any more models...:oops:
i just recently started airbrushing. always been intimidated by it and used rattle can and brush. ive been using vallejo model air paint right out of the bottle and seems to work great.
 
i just recently started airbrushing. always been intimidated by it and used rattle can and brush. ive been using vallejo model air paint right out of the bottle and seems to work great.
Great to hear. It's why I switched, well one of the reasons. I've heard great things about Vallejo and that it sprays very well. I was a Testors kind of guy for a very long time, but the paints aren't what they use to be and scarce to find anymore.
I tried Tamiya and Mr Hobby, but not much luck there. I still use Mr Metal Primer for my photo etch prep though.
 
This is my first time using them. I could not get it to spray from my airbrush. Says "Water based acrylic " on the bottle. I thinned with water, but no matter how much I thinned it would still clog the airbrush. Tried Tamiya X-20A thinner and I got it to spray. It dried weird and oily looking.
Its probably me, I've had no luck spraying a couple different brands of paint in the two years I've had my airbrush. The only brand I found I could spray is Tamiya, so I'm just sticking with that for airbrushing.
I hand brushed the Squadron paint on the decks, working just fine that way.
Not all acrylic paints can be successfully thinned with the same thinner

Tamiya thinner is specially branded for Tamiya style paints and are thinned/cleaned with alcohol

Squadron paints are more like Vallejo I believe and are thinned/cleaned with water

I know if you try to thin Vallejo paints with Tamiya thinner or alcohol, they also get weird and oily looking

I would stick with either the Squadron Scale Colors thinner, or try the Vallejo Model Air thinner

As far as thinning with just water for the airbrush though, even if it is a water based acrylic paint, thinning too much with just water creates issues
One trick of many figure painters is to put a small drop of dish soap instead of straight water

You really need a retarder of some kind thrown in and that is what some of the glaze mediums and retarders are for in the Vallejo line

I personally think it is easier and quicker to just use the Vallejo Model Air thinner instead, or in the case of the squadron paints, the scale color thinner
 
This is my first time using them. I could not get it to spray from my airbrush. Says "Water based acrylic " on the bottle. I thinned with water, but no matter how much I thinned it would still clog the airbrush. Tried Tamiya X-20A thinner and I got it to spray. It dried weird and oily looking.
Its probably me, I've had no luck spraying a couple different brands of paint in the two years I've had my airbrush. The only brand I found I could spray is Tamiya, so I'm just sticking with that for airbrushing.
I hand brushed the Squadron paint on the decks, working just fine that way.
Thanks, I have been using Model Masters for thirty years and with its demise, been using Vallejo but its been hit and miss. Tamiya has kinda been my go to lately but again, its taking quite a learning curve to find out if the paint chemistry and color matching right. My current USS Texas project turned out more greenish blue than the expected gray.
 
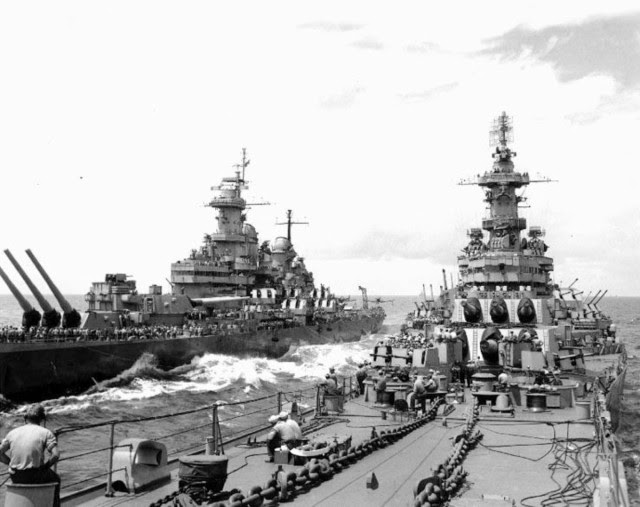
Saw this on the "inch high guy" blog, immediately thought of this thread.

1746739767039.png

Sisterships USS Iowa (BB 61) and USS Missouri (BB 63) conducting a personnel transfer at sea on 20AUG45, after cessation of hostilities and only days before the formal surrender of Japan. The photograph was taken from the bow of Iowa, she is identifiable by the three 20mm mounts on top of Turret Two. All other Iowa class Battleships mounted a 40mm quad Bofers on the tops of Turrets Two and Three. This perspective also displays the massive anchor chains to advantage - each link weighs 130 pounds (59 kilos).

https://inchhighguy.wordpress.com/2025/05/08/picture-of-the-week-71/
 
I recently toured the USS Massachusetts. BB 59, a sign on the bow said each anchor weighs 25,000 lbs.
well Kevin ITS GOT to be heavy enough with the ankor chain to stop the ship driftin an bein a big battle wagon there is a lot of wheight to stop
chrisb
 
Hi all, Kevin, great build.... watching and learning as I go.... with notepad and a coffee !

I used to do a lot of modelling years ago and felt I was fairly competant, so now I have a dedicated workshop and more time on my hands thought I would take this hobby up again. I done the Trumpeter F35b 1-32 scale fighter plane and it turned out 'good' - room for improvement but overall very pleased.

So I decided to take the plunge and get the 1-200 Missouri + Pontos detail up kit - I also have the 1-200 Yamato waiting in the wings !!

All is going well so far, apart from one thing that is really bugging me, I'm at an early stage, getting paint on hull etc and started to look at the PE to go on the hull.
There are lots of templates in the Pontos set for a series of 0.3mm holes for individual ladder rungs... I cannot for the life of me figure out how to get a 0.3mm hole in plastic...

I've tried a few options, have all the drill bits imaginable, it's a case of the plastic is to hard & the drill bits are so fragile... any hints or tips/techniques would be greatly appreciated.

Sorry if this is the wrong forum/thread for the question, but like I said, I will be following this with great interest.

Thanks in advance.
 
Welcome to the forum paul-b.
apart from one thing that is really bugging me,
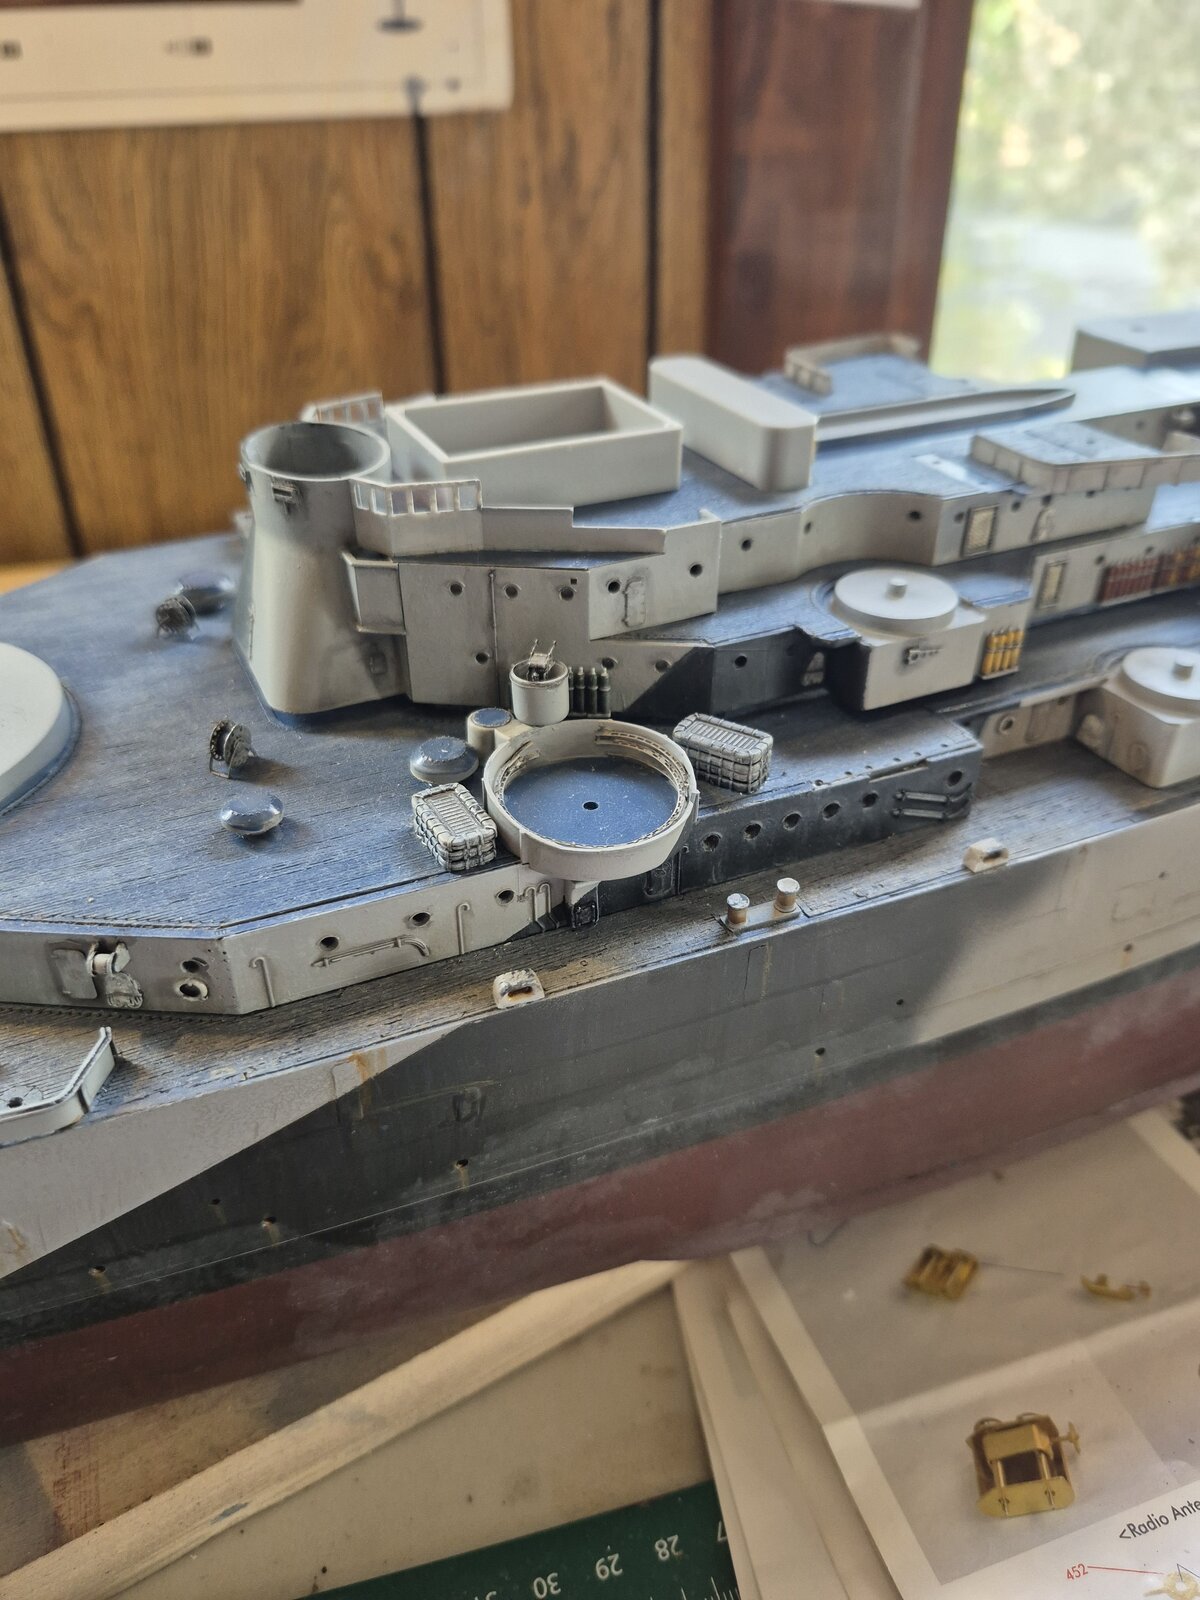
Those individual ladder rungs have really frustrated me. I started at the stern. I broke three .3mm bits, got CA glue on my tweezers, fingers, and a little on the model. I got about eight rungs on, but they weren't perfectly straight like the pictures. So I scrapped them off.
Ordered more drill bits and Tried again on the first level of the super structure. Again no joy, broke half of the new drill bits.
With all the other ladders and stairs on the lower levels I'm going to skip the individual ladder rungs. I'll try again higher up where the individual rungs are the only option.
I'll try not to drill completely through the plastic because thats when I'm breaking my bits, just as it punches through. I'm gonna just drill halfway and try that.
That's the only advice I can offer at this point because I have yet to successfully install those tiny rungs.
Good luck to you, and again welcome.
 
Last edited:
Thanks Kevin, that's useful to know... I did kinda make a rule to myself - If I can't see it, it ain't going on.... The ladder rungs are border line !! I'll give it a go but it's no biggy I guess..

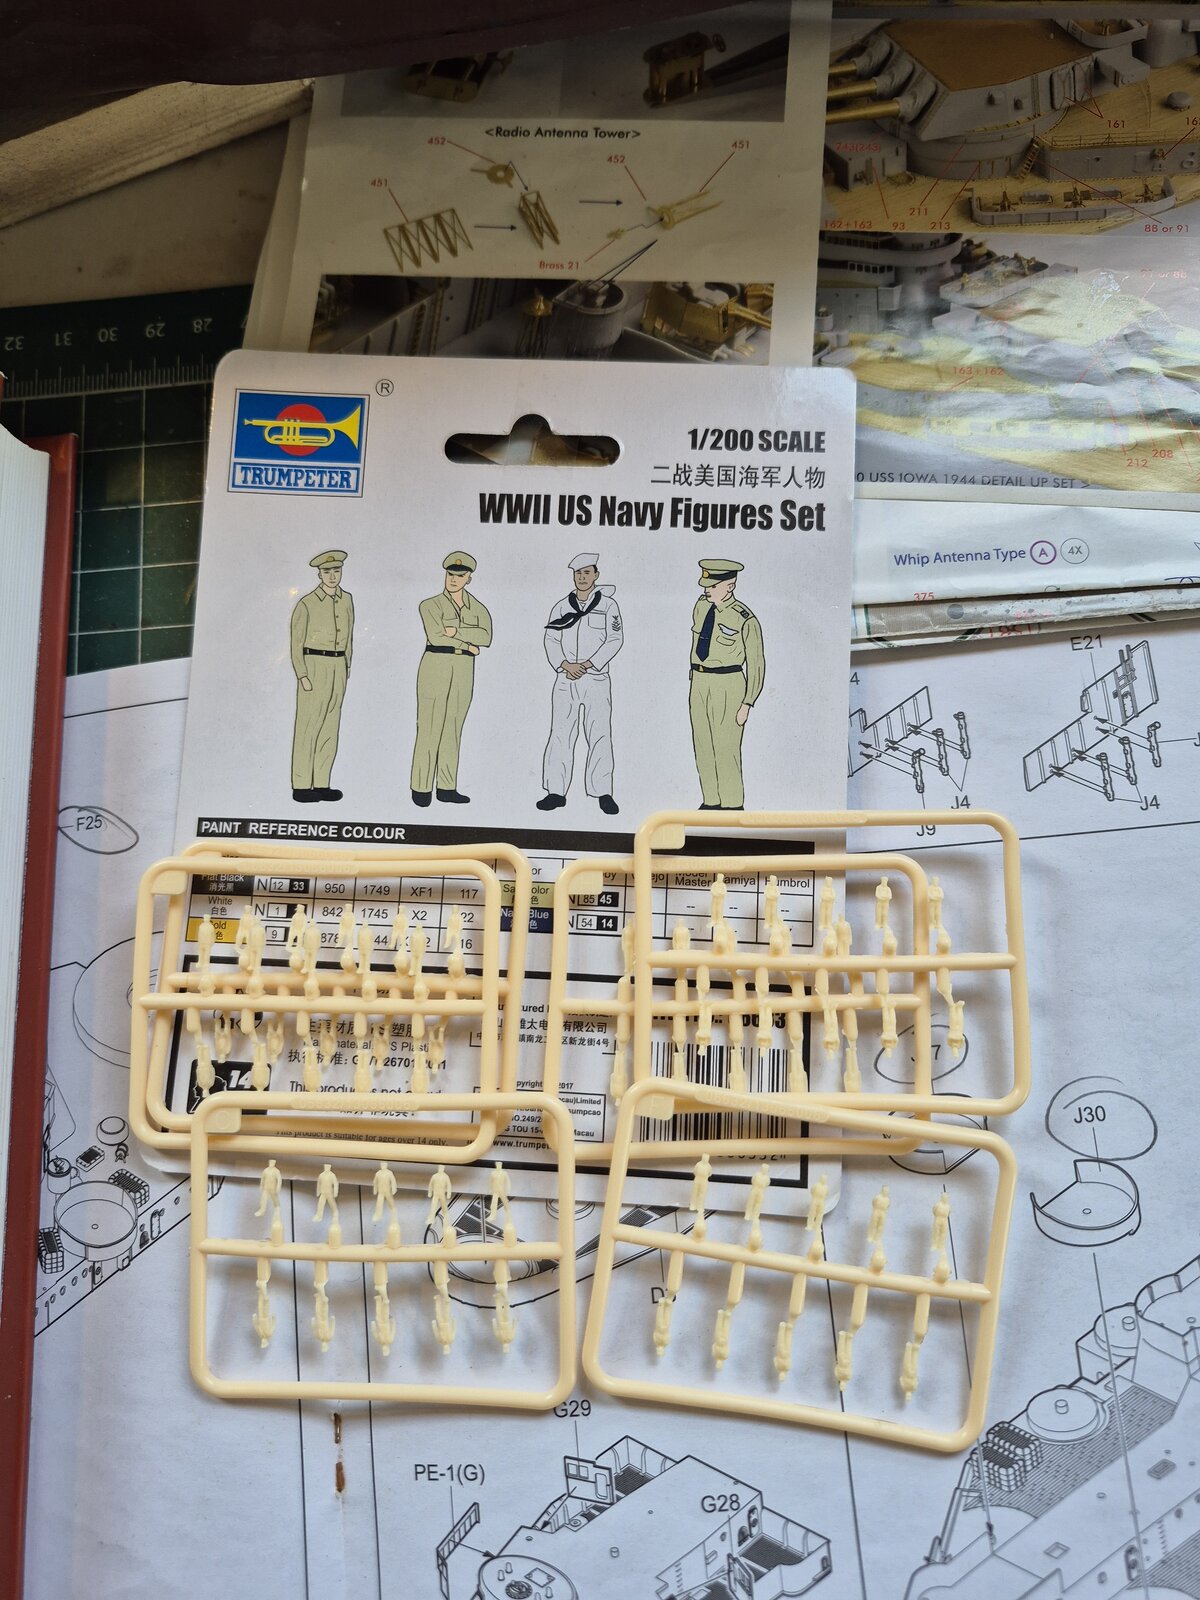
I like the figures, I may have to investigate further... :)
 
I was never very good at painting figures in 1/35, my only attempt at 1/16 came out better than I was expecting. On these 1/200s it's just gonna be basic color and hope for the best.

paul-b inspired me to try the individual ladder rungs again. Best result so far, by not drilling all the way through the plastic ( only broke one bit ). I applied the CA glue to the plastic with a toothpick so it never touched the tweezers or my fingers, for the most part. Not perfect, but it might be acceptable, gotta let the glue dry and get some primer on it to know for sure.
17472397846688439596208221437297.jpg
 
I was never very good at painting figures in 1/35, my only attempt at 1/16 came out better than I was expecting. On these 1/200s it's just gonna be basic color and hope for the best.

paul-b inspired me to try the individual ladder rungs again. Best result so far, by not drilling all the way through the plastic ( only broke one bit ). I applied the CA glue to the plastic with a toothpick so it never touched the tweezers or my fingers, for the most part. Not perfect, but it might be acceptable, gotta let the glue dry and get some primer on it to know for sure.View attachment 147683
Absolutely the best way to apply PE parts that are too small to handle any other way. Always apply the CA to the plastic part and place the PE and position as needed. You can always use an accelerator or IPA to set the part quickly. You can save small drill bits by using a pin or small sewing needle heated up and pressed into the plastic enough for the PE to have a foundation. If the plastic raises from the heat, simply sand it smooth than apply the PE.
 
Hey Kevin, great effort on the ladders, considering how small they are... top marks. I cut two out the PE and I swear they just vanished, they didn't 'ping' off but I just couldn't find them. Maybe I need stronger reading glasses !!

Dan, what a great piece of advice regarding the needle, such a good tip and one of those 'why didn't I think of that' moments... both of you have inspired me to have another go at this.....
 

Latest posts

Back
Top